Archives for April 2009

chocolate cream tart

copy-of-img_4742

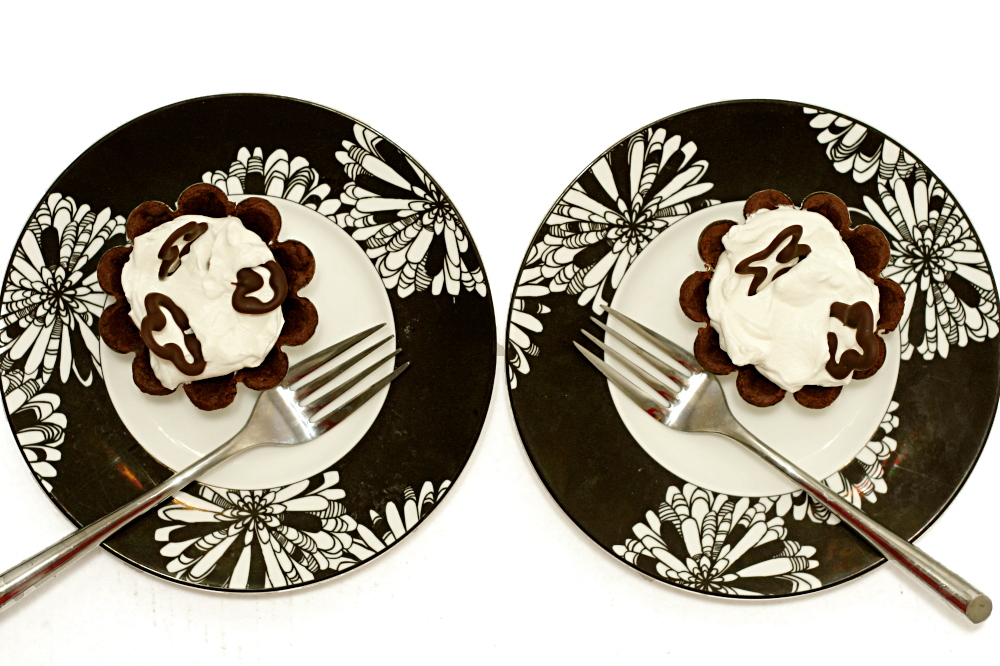
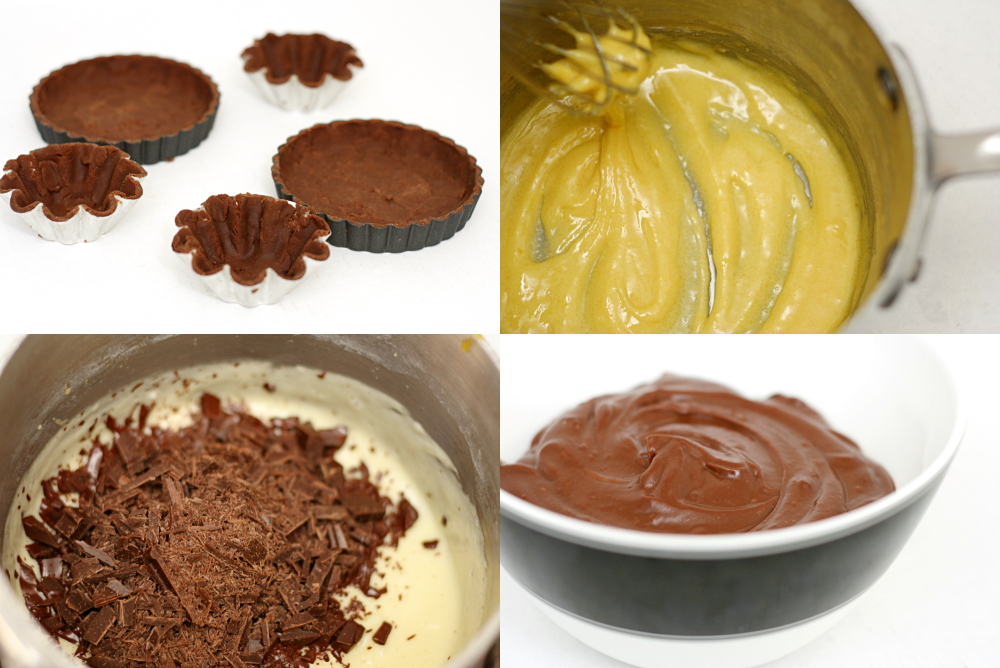
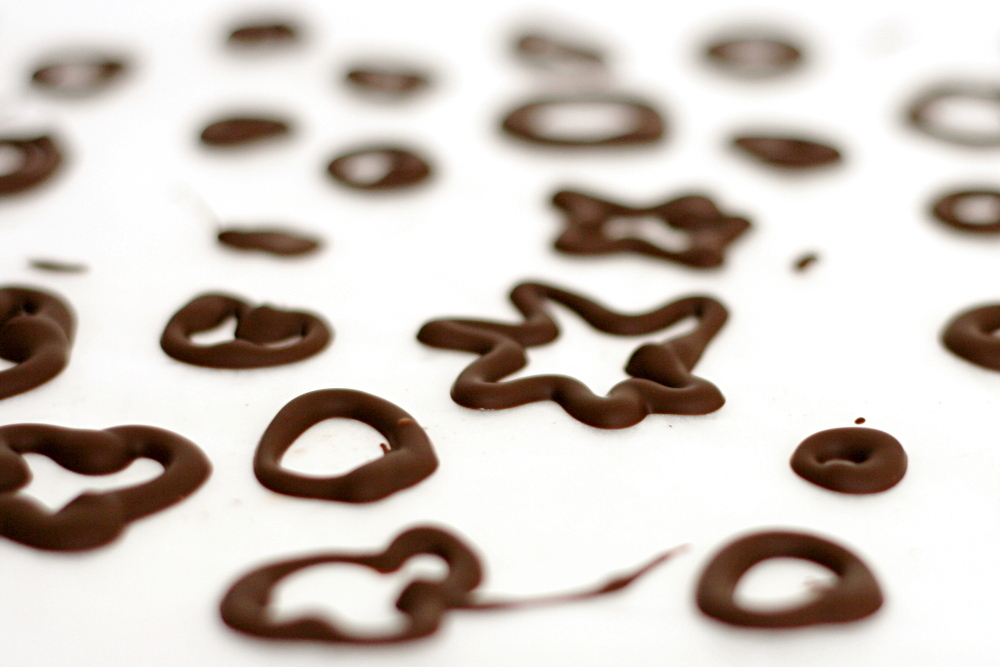
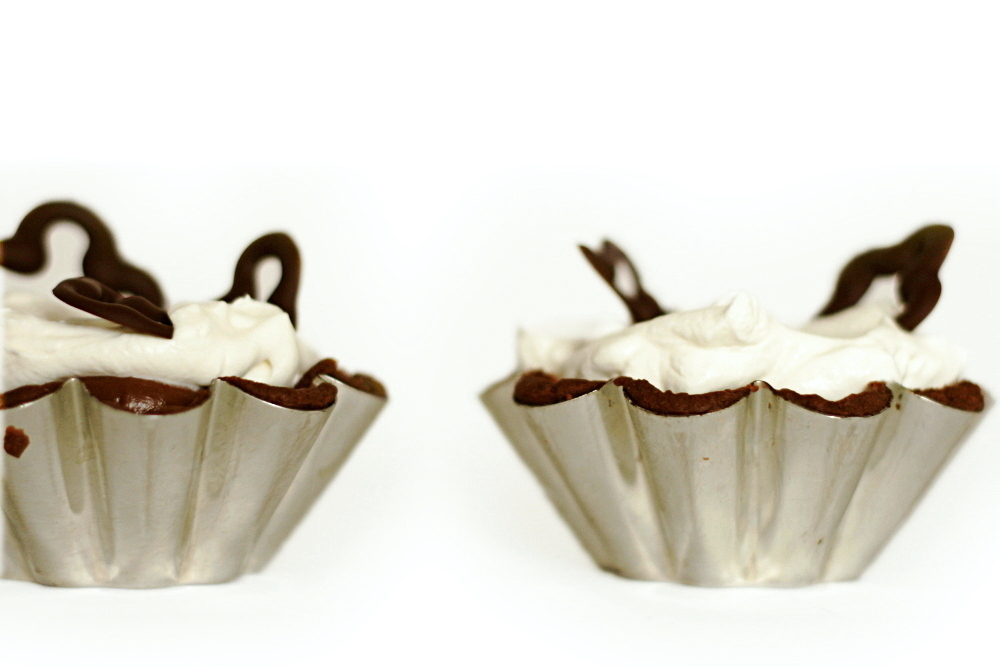
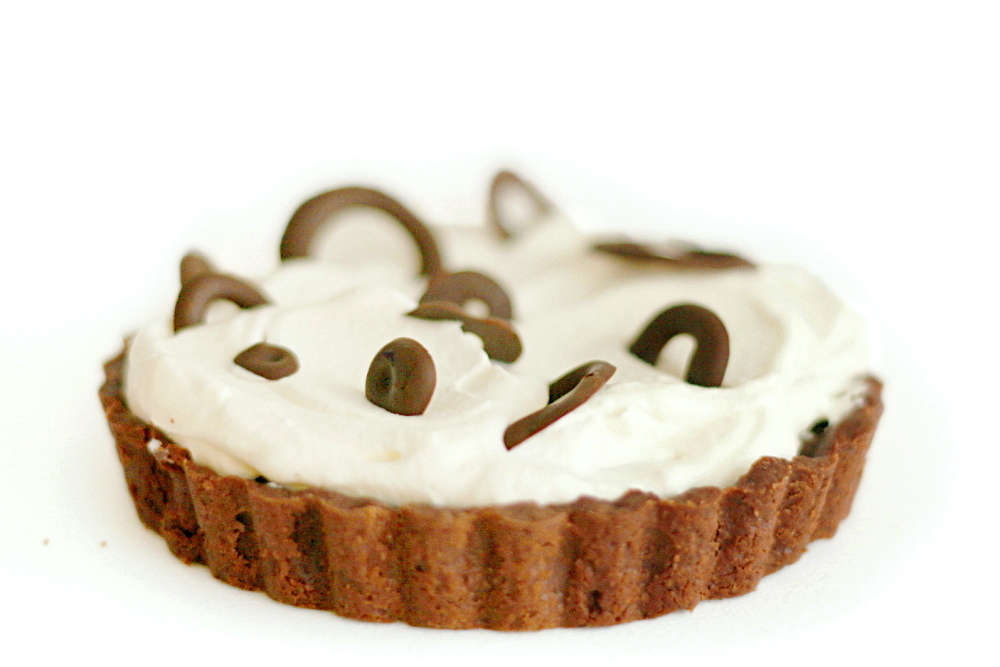
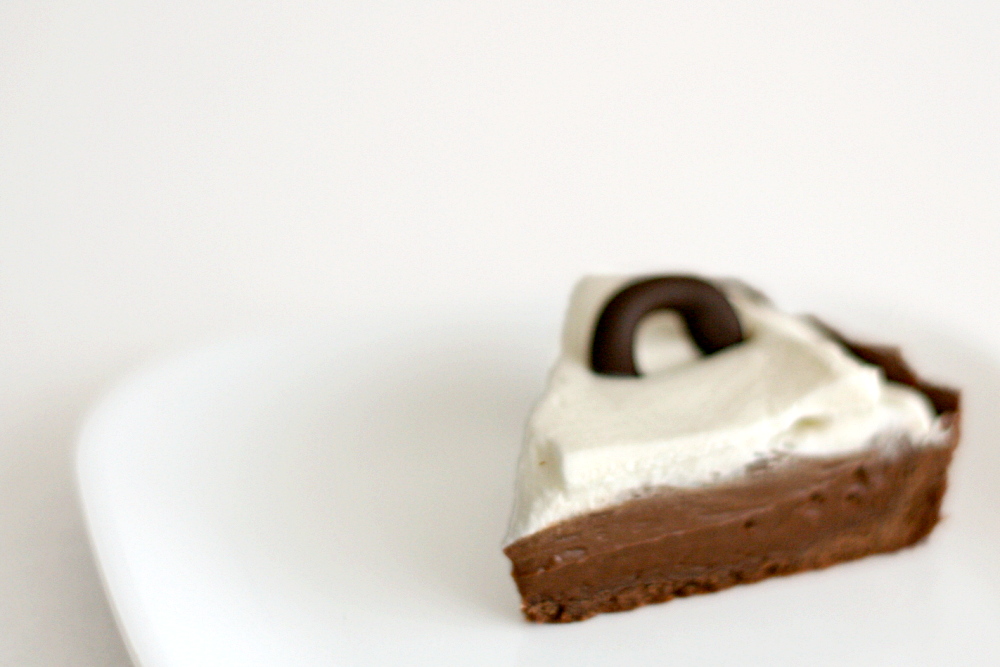
Chocolate cream tart seems like an appropriate way to cap off this month of chocolate, with a bitter chocolate crust and rich chocolate pastry cream balanced by lightly sweetened whipped cream and topped off with decorations of pure bittersweet chocolate. It’s a good thing that  I don’t get tired of chocolate or have problems with rich desserts.
copy-of-copy-of-img_4693

But I was concerned that Dave, who, after eating his umpteenth brownie, mentioned he’s actually not the biggest chocolate fan, wouldn’t like this. Fortunately, I’d forgotten how much he does like custard and pie, which apparently overshadowed his lukewarm feelings toward chocolate.
copy-of-img_4721

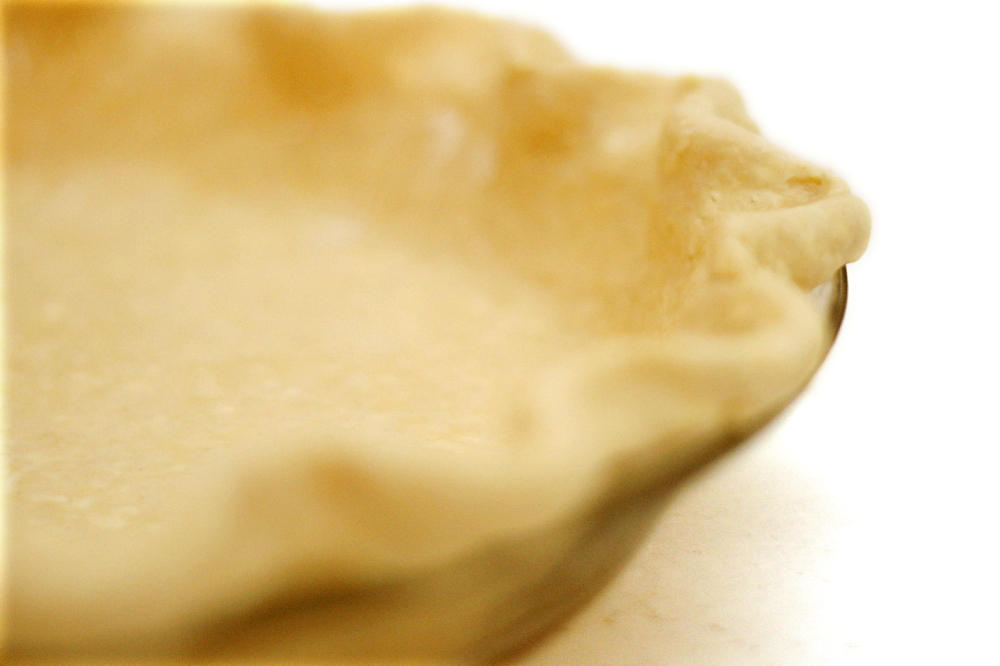
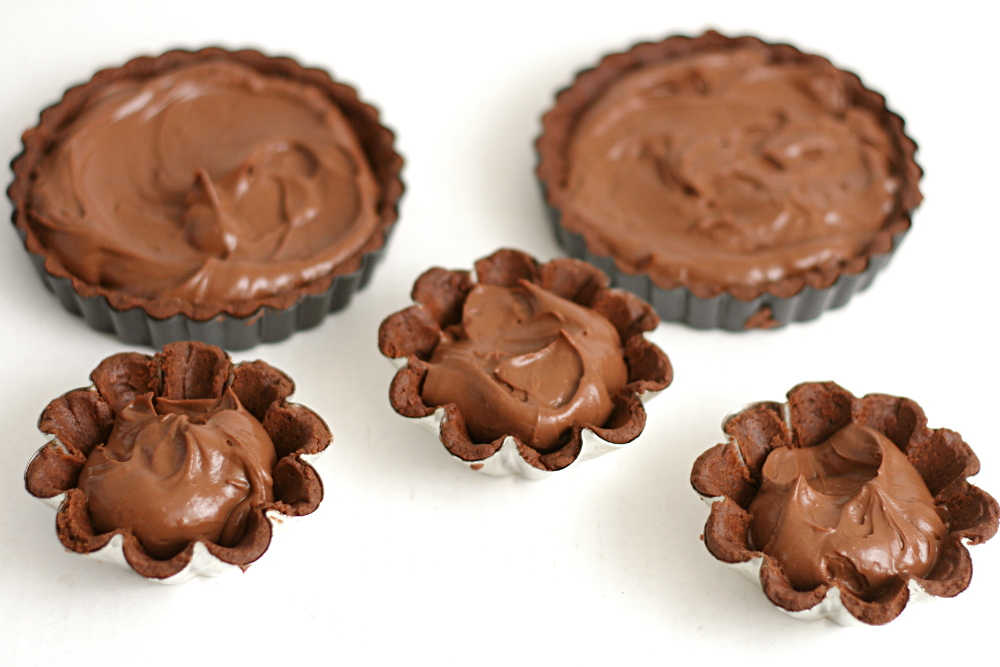
I’m always intrigued by Dorie’s tart dough, which calls for almost no liquid, and instead comes together through far more processing than is usually recommended in crust recipes. She then recommends pressing the dough into the pan instead of rolling it out. Am I the only one who hates pressing dough into pans? I don’t think it’s any less work than rolling it out. I did have to roll it out for the little brioche pans, because in my experience, pressing crusts into these deeply fluted edges results in a huge buildup of crust in the ridges. I pressed the crust into the flat tart pans, and I like both crusts equally.
copy-of-img_4730

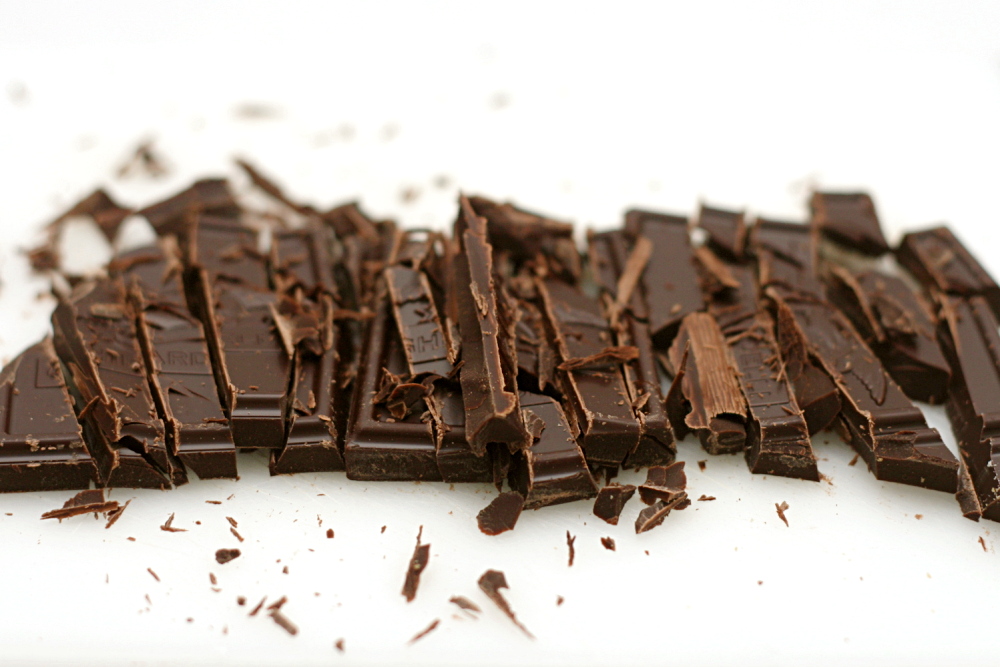
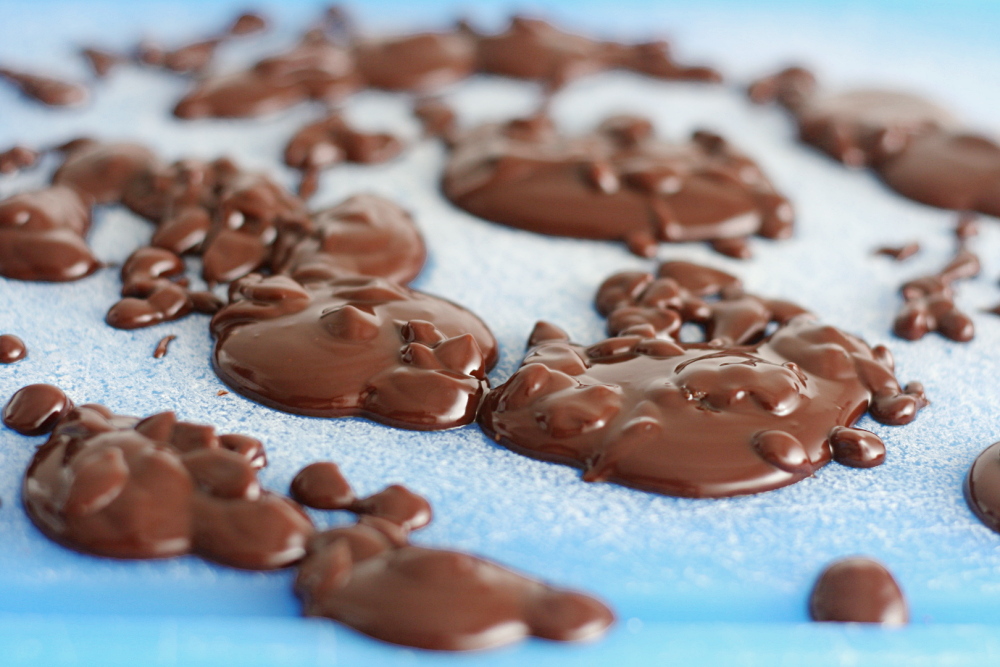
The pastry cream is pretty luscious stuff. I did reduce the cornstarch a bit, remembering how the last few times I’ve made a cornstarch-containing custard from Dorie, the cornstarch didn’t seem to completely dissolve. I don’t mind a softer pastry cream anyway. Also, I missed that the chocolate was supposed to be melted before it was added to the pastry cream until it was too late to do anything about it, so I just finely chopped it and stirred it into the hot cream. It worked great, so this a timesaving trick I’ll keep in mind for the future.
copy-of-img_4733

Overall, I thought the tart was pretty great. Some TWD members indicated that they would have rather had a regular tart crust instead of the chocolate crust, and I wholeheartedly disagree. Usually I think tart crusts just get in the way of the filling, but I felt like the chocolate crust complimented, rather than detracted, from this dessert. All of the components, bitter and sweet, rich and light, balanced each other well.
copy-of-img_4884

Kim has posted the recipe.

One year ago: Carrot Cake
copy-of-img_4891

brownie comparison

copy-of-img_4059
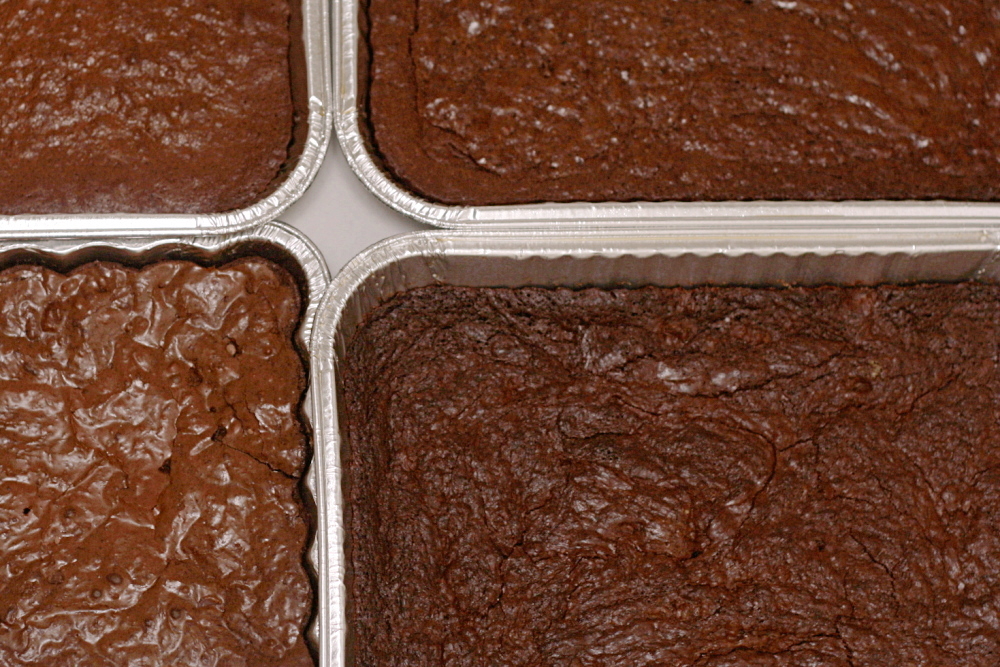
clockwise from upper left: CI, Baked, Outrageous, box

Sometimes these recipe comparisons are a little silly. Once recipes reach a certain point of outstanding-ness, it’s almost meaningless to try to pick a favorite. Plus, we’re talking about brownies – how picky do we really need to be?

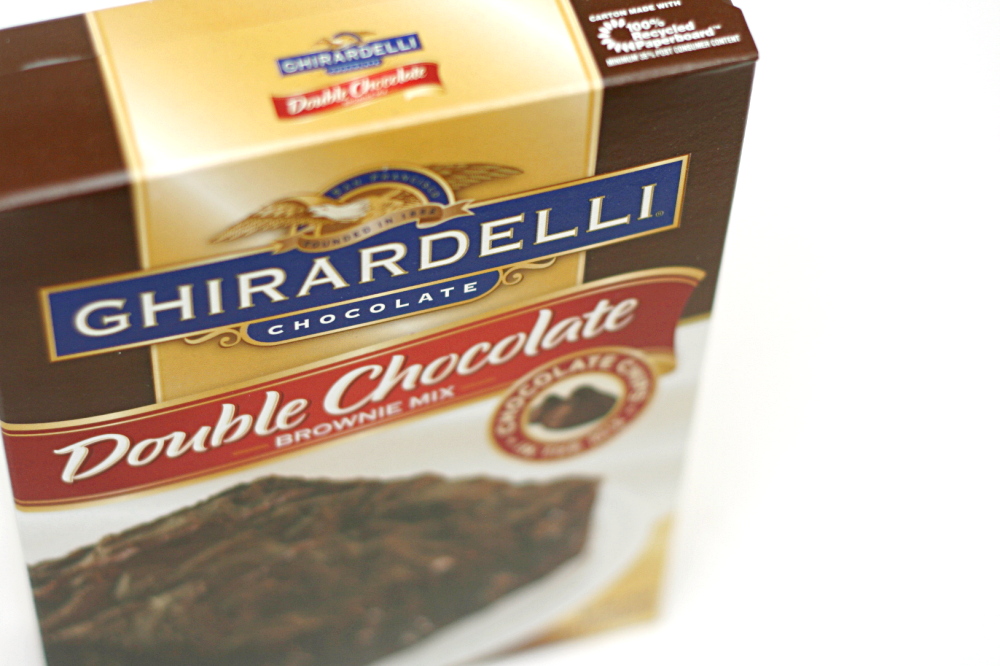
But since I’m not one to be deterred by practicalities, I went ahead with a brownie comparison post. I chose three superstars – Cooks Illustrated’s Classic Brownies, my favorite for years; Ina Garten’s Outrageous Brownies, very popular and the clear winner of another comparison; and the Baked (a bakery in Brooklyn) brownie, famous among people who care about these things. I also threw a boxed mix into the roundup. I chose Ghirardelli because it’s widely available in stores and often receives positive reviews. Plus it was on sale.

copy-of-img_4016

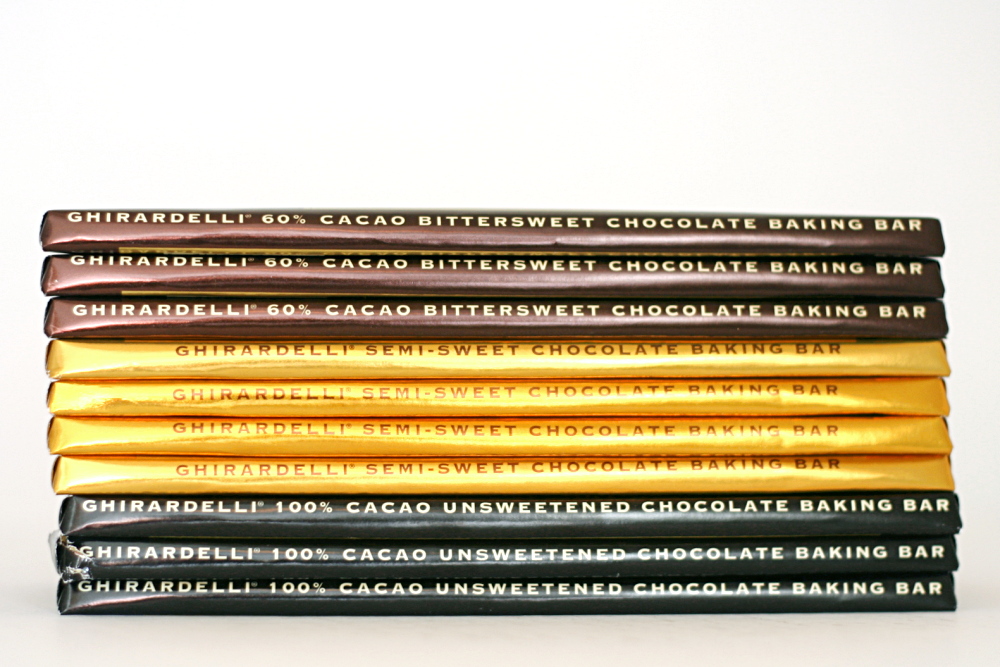
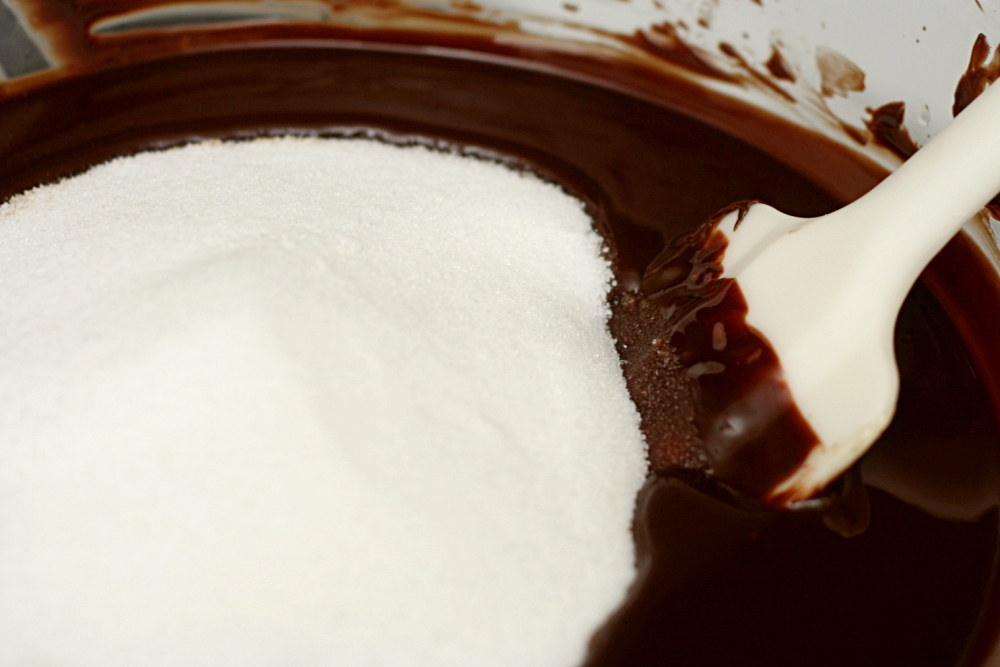
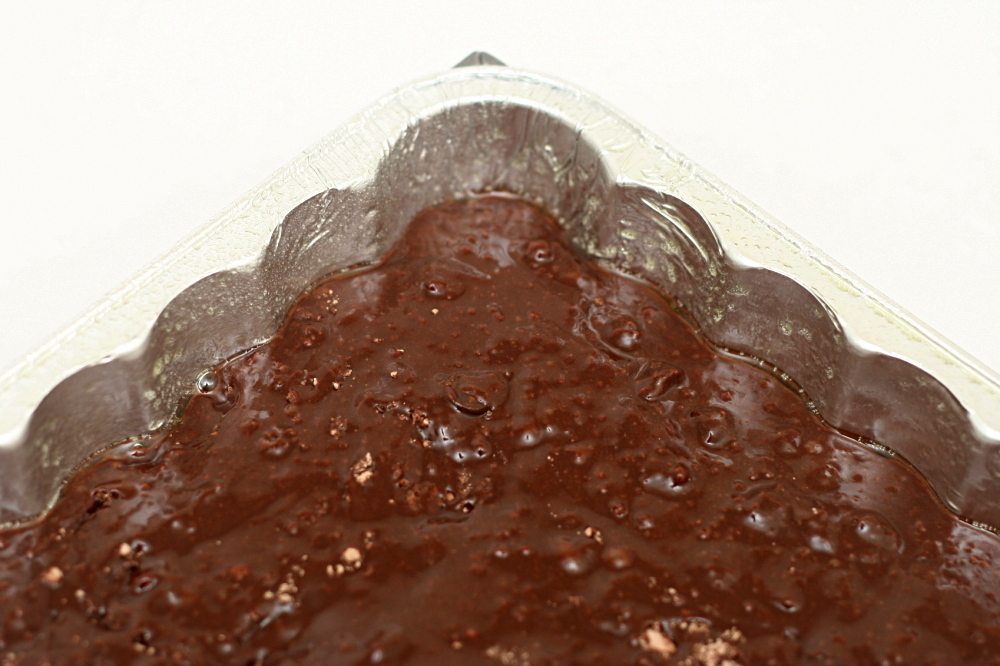
All three homemade recipes are made the same way, by melting the chocolate and butter together, whisking in the sugar, then the eggs, and finally folding in the dry ingredients. I baked the brownies in disposable foil pans (sorry, Earth!) because I was taking them camping. For baking, each foil pan was placed in a metal baking pan of the same size, in an effort to encourage more even heating than the thin foil pans could manage on their own. I chose a basic boxed mix and kept the homemade recipes at their most basic as well, leaving out nuts, spices, etc. I used Ghirardelli brand chocolate for everything.

copy-of-img_4013

It’s a good thing I had 9 tasters, because all of the recipes were good and no clear winner emerged. Here’s the breakdown:

-Ghirardelli boxed mix: This was the favorite of one person. Take that for what it’s worth – the same person had a McDonald’s chicken biscuit for breakfast after I’d made strawberry scones for him. He liked that the brownies were “sugary and moist.” Everyone else thought they were too sweet and not chocolately enough.

-Ina’s Outrageous brownies: When I made these, I was surprised by how much instant coffee powder the recipe calls for. I checked and double-checked. It was the correct amount, and that was the deciding factor for opinions of these brownies. Those who liked the bitter coffee taste (Dave was one) liked these brownies best.

-Cook’s Illustrated brownies: These were the general favorite of those who weren’t as excited about the Outrageous brownies’ coffee flavor. They were described as “cakey” by one person, and while they shouldn’t be confused with truly cakey brownies, I do think they have the most balanced texture. I guess I don’t want my brownies to be “outrageously” rich. They also have a nice strong chocolate flavor. One friend noted that both the initial taste and finish were chocolately, with none of the bitterness associated with the other homemade recipes. Perhaps because this was the only homemade recipe without coffee added?

-The Baked brownies: Major caveat – I underbaked the Baked brownies. (Ironic, no?) The toothpick came out clean, and it isn’t even supposed to be clean for brownies.  Apparently the crispy top was scraping the batter off the toothpick during my tests. I think that really affected people’s opinions of these brownies, which were often described as “too fudgy.” I did think the flavor was well balanced between sweetness and chocolate, and I liked the texture of the less-gooey edge pieces. (There’s an update below after I correctly cooked this recipe.)

copy-of-img_4052

I’m going to have to conclude that any well-reviewed homemade brownie recipe (and there are many more than these three) is going to be great. I often hear people say that they’ve never had homemade brownies better than a boxed mix, and that I don’t understand at all. Either they’re making the wrong brownies or they’re buying a much better mix than I did (or they like sugar a lot more than chocolate, like my chicken biscuit-eating friend). And since homemade brownies take only a few minutes longer to make than boxed brownies, I really don’t see the point.

copy-of-img_4055

Unfortunately, I don’t feel like this was the fairest comparison. What really matters with a brownie recipe is texture and chocolate flavor. But Ina’s brownies were dominated by the coffee flavor, which is very easy to vary by adding more or less instant coffee powder. The Baked brownies were impossible to judge because of my baking screw-up. I’d love to do another comparison that corrects these errors, but that will have to wait. One result of these comparison posts is that I end up burned out on the food for months to come. And I still have brownies in the freezer.

Okay, I guess I’m not that upset about it.

copy-of-img_4049

(I apologize for the lack of photos of each brownie’s texture, which I know would have been informative.  I was camping and hanging out with friends I rarely see, and there was just a lot going on.)

Update: I made the Baked brownie again, this time actually baking them, you know, all the way. I really like them, and they got great reviews from the people I sent them to. But, I still like Cooks Illustrated’s Classic Brownies better.  For one thing, the Baked brownies are so fudgy that it’s difficult to accurately test their doneness.

One year ago: Buttermilk Coleslaw

Classic Brownies (from Cook’s Illustrated)

CI note: Be sure to test for doneness before removing the brownies from the oven. If underbaked (the toothpick has batter clinging to it) the texture of the brownies will be dense and gummy. If overbaked (the toothpick comes out completely clean), the brownies will be dry and cakey.

1 cup (4 ounces) pecans or walnuts, chopped medium (optional)
1¼ cups (5 ounces) cake flour
½ teaspoon salt
¾ teaspoon baking powder
6 ounces unsweetened chocolate, chopped fine
12 tablespoons (1½ sticks) unsalted butter, cut into six 1-inch pieces
2¼ cups (15¾ ounces) sugar
4 large eggs
1 tablespoon vanilla extract

1. Adjust oven rack to middle position; heat oven to 325 degrees. Cut 18-inch length foil and fold lengthwise to 8-inch width. Fit foil into length of 13 by 9-inch baking dish, pushing it into corners and up sides of pan; allow excess to overhand pan edges. Cut 14-inch length foil and, if using extra-wide foil, fold lengthwise to 12-inch width; fit into width of baking pan in same manner, perpendicular to first sheet. Spray foil-lined pan with nonstick cooking spray.

2. If using nuts, spread nuts evenly on rimmed baking sheet and toast in oven until fragrant, 5 to 8 minutes. Set aside to cool.

3. Whisk to combine flour, salt, and baking powder in medium bowl; set aside.

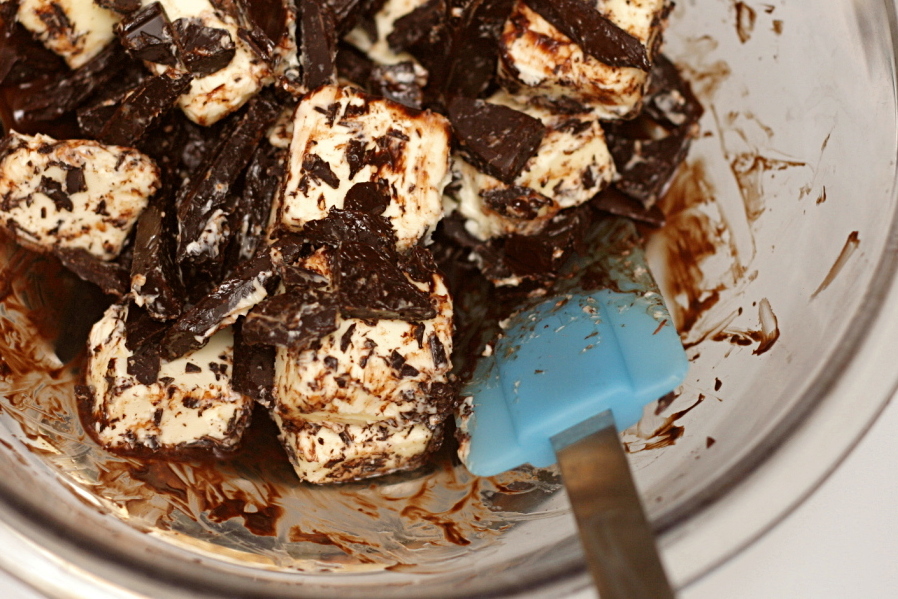
4. Melt chocolate and butter in large heatproof bowl set over saucepan of almost-simmering water, stirring occasionally, until smooth. (Alternatively, in microwave, heat butter and chocolate in large microwave-safe bowl on high for 45 seconds, then stir and heat for 30 seconds more. Stir again, and, if necessary, repeat in 15-second increments; do not let chocolate burn.) When chocolate mixture is completely smooth, remove bowl from saucepan and gradually whisk in sugar. Add eggs on at a time, whisking after each addition until thoroughly combined. Whisk in vanilla. Add flour mixture in three additions, folding with rubber spatula until batter is completely smooth and homogeneous.

5. Transfer batter to prepared pan; using spatula, spread batter into corners of pan and smooth surface. Sprinkle toasted nuts (if using) evenly over batter and bake until toothpick or wooden skewer inserted into center of brownies comes out with few moist crumbs attached, 30 to 35 minutes. Cool on wire rack to room temperature, about 2 hours, then remove brownies from pan by lifting foil overhang. Cut brownies into 2-inch squares and serve. (Store leftovers in airtight container at room temperature, for up to 3 days,

Outrageous Brownies (from Ina Garten/Barefoot Contessa)

2 sticks unsalted butter
8 ounces, plus 6 ounces semisweet chocolate, chopped
3 ounces unsweetened chocolate
3 extra-large eggs
1½ tablespoons instant coffee powder
1 tablespoons real vanilla extract
1.125 (7.85 ounces) cups sugar
½ cup (2.4 ounces) all-purpose flour, plus 2 tablespoons
1½ teaspoons baking powder
½ teaspoon kosher salt

Preheat oven to 350 degrees F. Grease and flour a 13 by 9 by 1 ½-inch baking pan.

Melt together the butter, 8 ounces chocolate, and unsweetened chocolate on top of a double boiler. Cool slightly. Stir together the eggs, instant coffee, vanilla and sugar. Stir in the warm chocolate mixture and cool to room temperature.

Stir together ½ cup of the flour, baking powder and salt. Add to cooled chocolate mixture. Toss the 6 ounces of chocolate chips with 2 tablespoons flour to coat. Then add to the chocolate batter. Pour into prepared pan.

Bake for about 30 minutes, or until tester just comes out clean. Halfway through the baking, rap the pan against the oven shelf to allow air to escape from between the pan and the brownie dough. Do not over-bake! Cool thoroughly, refrigerate well and cut into squares.

The Baked Brownie (from Baked: New Frontiers in Baking from the Baked Bakery in Red Hook, Brooklyn, via Smitten Kitchen)

1¼ cups (6 ounces) all-purpose flour
1 teaspoon salt
2 tablespoons dark unsweetened cocoa powder
11 ounces dark chocolate (60 to 72% cacao), coarsely chopped
1 cup (2 sticks) unsalted butter, cut into 1-inch pieces
1 teaspoon instant espresso powder
1½ cups (10.5 ounces) granulated sugar
½ cup (3.5 ounces) firmly packed light brown sugar
5 large eggs, at room temperature
2 teaspoons pure vanilla extract

1. Preheat the oven to 350 degrees F. Butter the sides and bottom of a 9×13 glass or light-colored metal baking pan.

2. In a medium bowl, whisk the flour, salt, and cocoa powder together.

3. Put the chocolate, butter, and instant espresso powder in a large bowl and set it over a saucepan of simmering water, stirring occasionally, until the chocolate and butter are completely melted and smooth. Turn off the heat, but keep the bowl over the water and add the sugars. Whisk until completely combined, then remove the bowl from the pan. The mixture should be room temperature.

4. Add 3 eggs to the chocolate mixture and whisk until combined. Add the remaining eggs and whisk until combined. Add the vanilla and stir until combined. Do not overbeat the batter at this stage or your brownies will be cakey.

5. Sprinkle the flour mixture over the chocolate mixture. Using a spatula (not a whisk), fold the flour mixture into the chocolate until just a bit of the flour mixture is visible.

6. Pour the batter into the prepared pan and smooth the top. Bake in the center of the oven for 30 minutes, rotating the pan halfway through the baking time, until a toothpick inserted into the center of the brownies comes out with a few moist crumbs sticking to it. Let the brownies cool completely, then cut them into squares and serve.

7. Tightly covered with plastic wrap, the brownies keep at room temperature for up to 3 days.

copy-of-img_4070
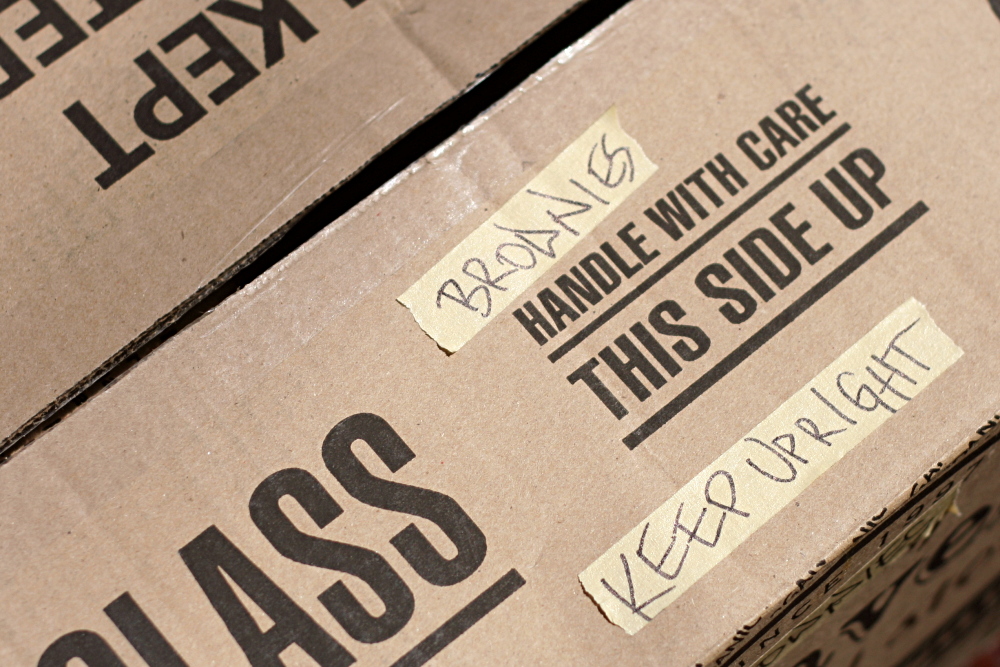
(Another apology: I didn’t realize until I uploaded this picture that it says ASS on the bottom left corner.  I’m too lazy to fix it.  Plus, it’s appropriate for a box full of brownies, no?)

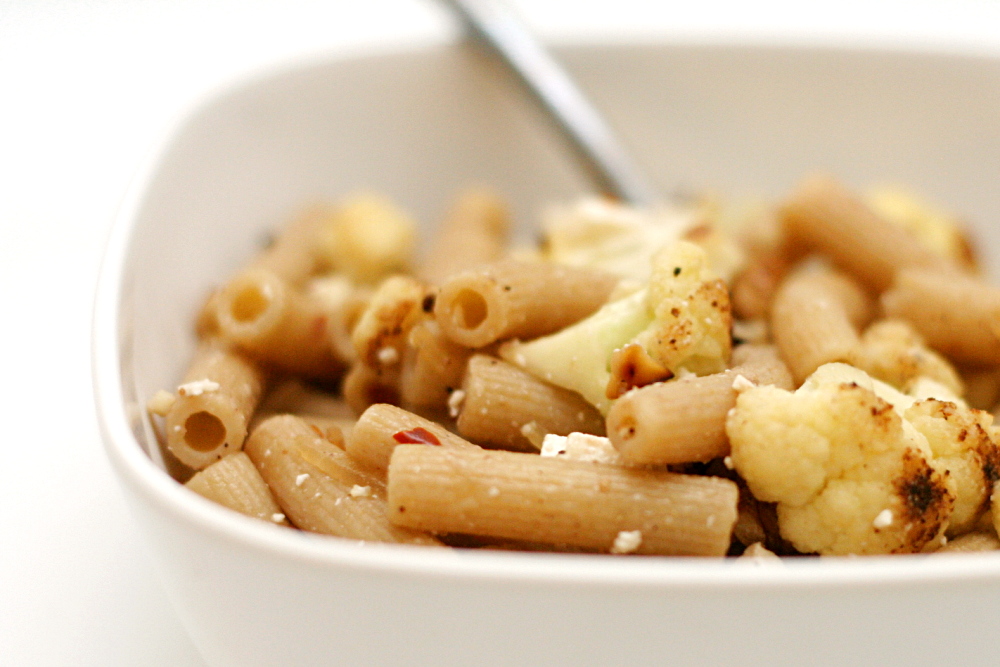
pasta with cauliflower, walnuts, and ricotta salata

copy-of-img_3235

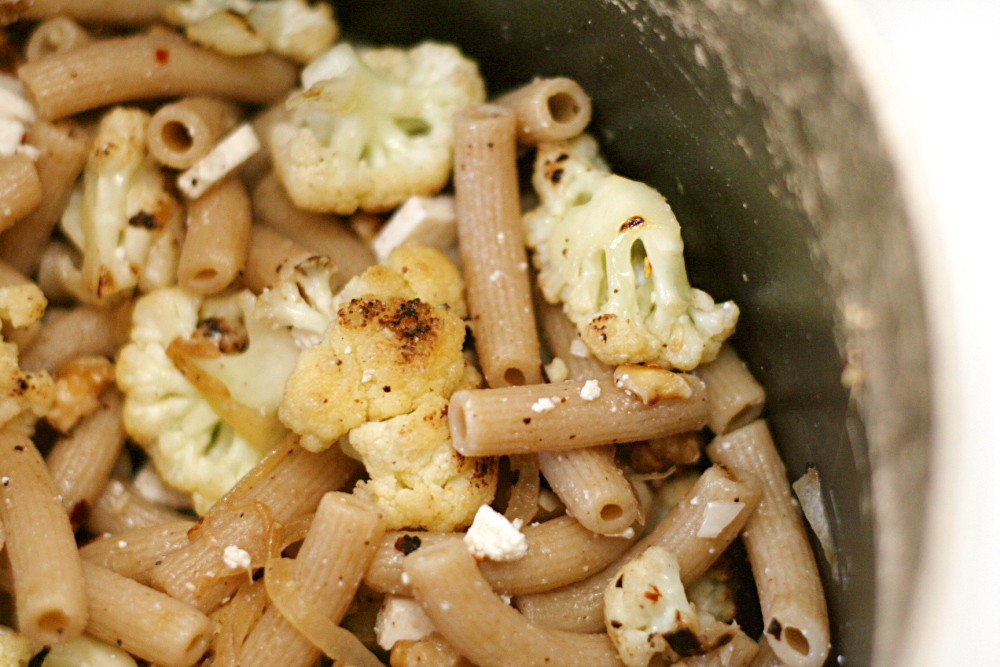
I was recently reminded me of why I unabashedly (okay, maybe a little abashedly) stole Smitten Kitchen’s “one year ago” idea (although all the cool kids are doing it these days it seems). I’ve had this pasta recipe bookmarked since she posted it, and every week when I plan my meals, I consider it, and then pass over it. I didn’t realize I’d been doing this for an entire year until I saw this recipe featured from one year ago.

copy-of-img_3220

Seriously, I love pasta, and we eat it one or twice a week. Also, cauliflower? My favorite vegetable, ever since I was a kid. And quick vegetarian meals are our standard weeknight fare. And, I’ve been meaning to try ricotta salata for ages. I was outrageously overdue for making this recipe.

copy-of-img_3217

But, when I finally made it, I thought it had a lot more potential than it did flavor. The problem is that the recipe’s original author, Alice Waters, took a very easygoing, flexible route with the recipe, providing only approximate ingredient quantities and no recommended cooking times.

copy-of-img_3223

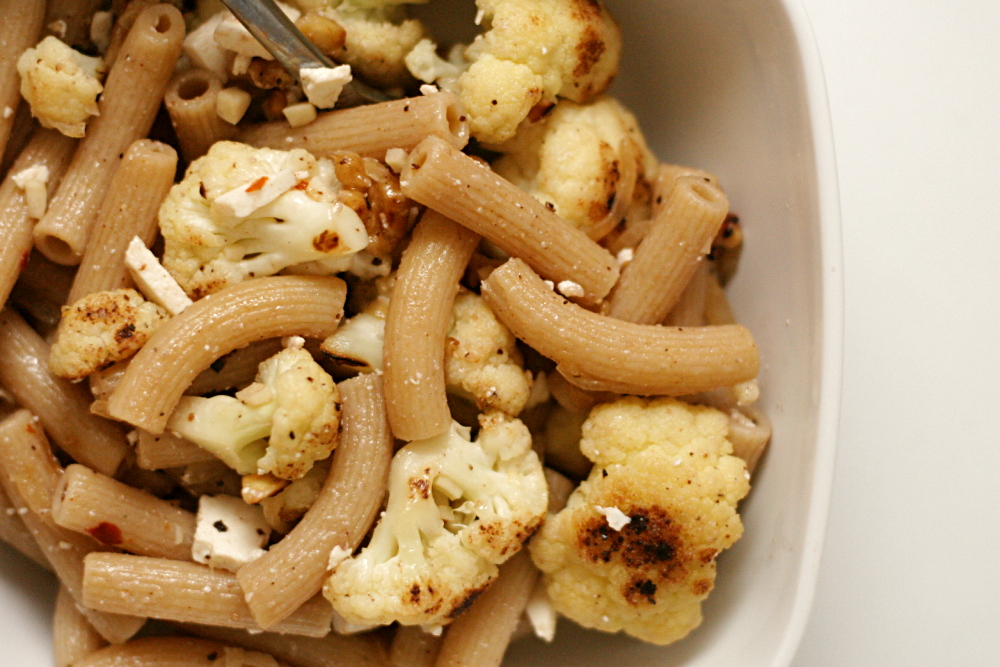
In a nutshell, the cauliflower is pan-roasted, then onions and crushed red pepper are added, then garlic, then lemon juice, white wine vinegar, and toasted walnuts. All of that is mixed with pasta and soft cheese. It’s a nice combination of ingredients and you’d be hard-pressed to make it bad, but ‘not bad’ is generally not my goal for food.

copy-of-img_3225

The next time I made it, in an effort to bump up the flavor, I decreased the pasta significantly. (You could also think of it as increasing the cauliflower, onion, garlic, red pepper flakes, and walnuts.) I’ve also quantified things. Willy-nilly, splash of this, pinch of that recipes drive me crazy and usually end up underseasoned.

Other than the ratio of pasta to everything else, the recipe really isn’t so different from the original. And hopefully it’s reproducible now, so you can have the exact same spicy, fresh flavor from this dish that I enjoyed.

copy-of-img_3228

One year ago: Breakfast Strata with Mushrooms, Sausage, and Monterey Jack

Whole Wheat Pasta with Cauliflower, Walnuts and Ricotta Salata (from Chez Panisse Vegetables via Smitten Kitchen)

Serves 4

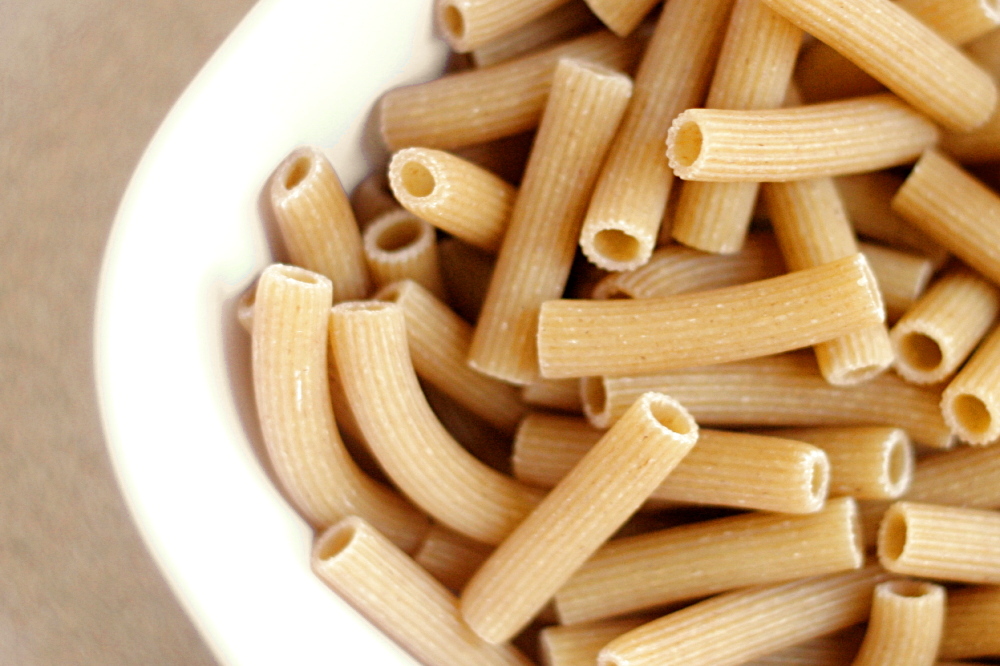
10 ounces whole-wheat pasta
½ cup walnuts
1 tablespoon olive oil (not extra virgin)
2 small heads cauliflower, cut into 1.5-inch florets
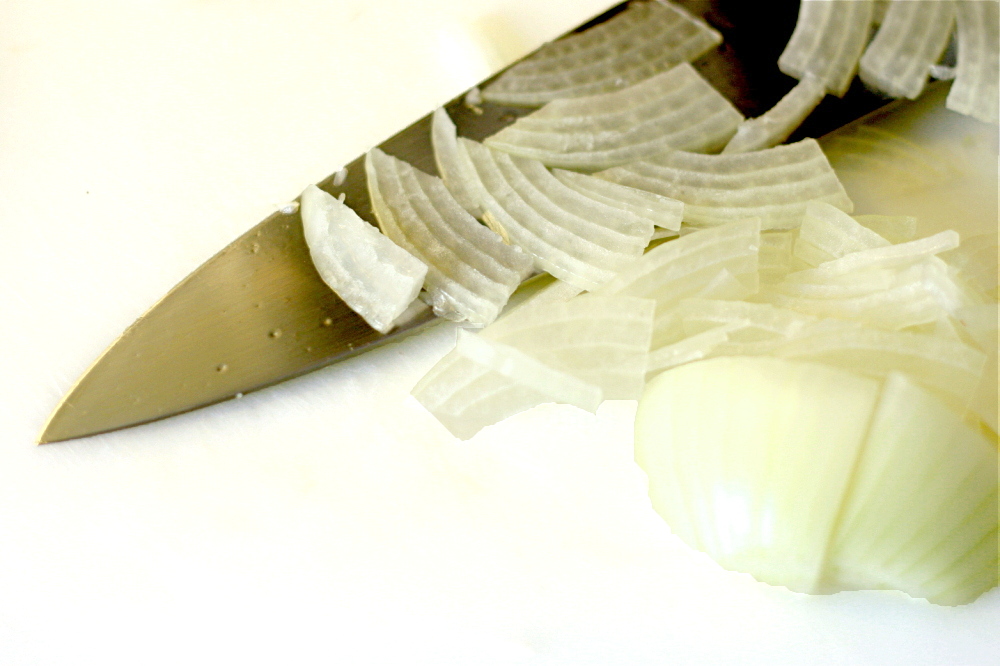
1 large or 2 small onions, sliced very thin
4 cloves garlic, minced
½ teaspoon salt, plus more for the pasta cooking water
¼ teaspoon black pepper
½ teaspoon crushed red pepper
1 tablespoon lemon juice
4 ounces ricotta salata, chopped
extra virgin olive oil, for serving (optional)

1. Bring 3 to 4 quarts water to a rapid boil over high heat. Add 1 tablespoon salt and the pasta. Cook according to package instructions. Before draining the cooked pasta, put about 1 cup pasta cooking water in a separate bowl and set aside. After draining the pasta, return it to the cooking pot.

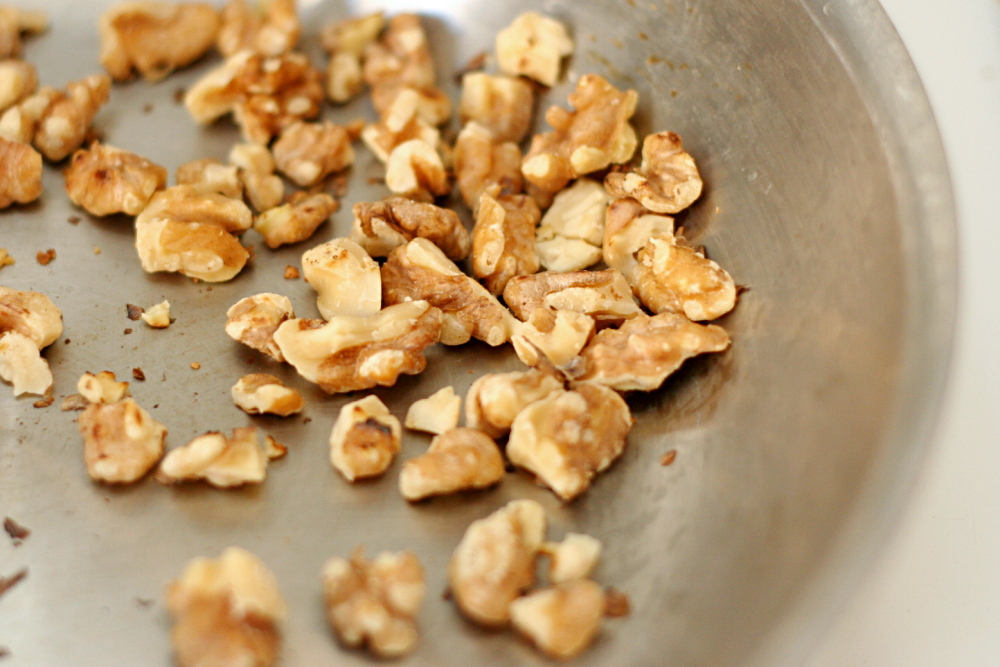
2. Meanwhile, toast the walnuts in a large, not nonstick pan over medium heat until fragrant. Put the walnuts in a small bowl and set aside.

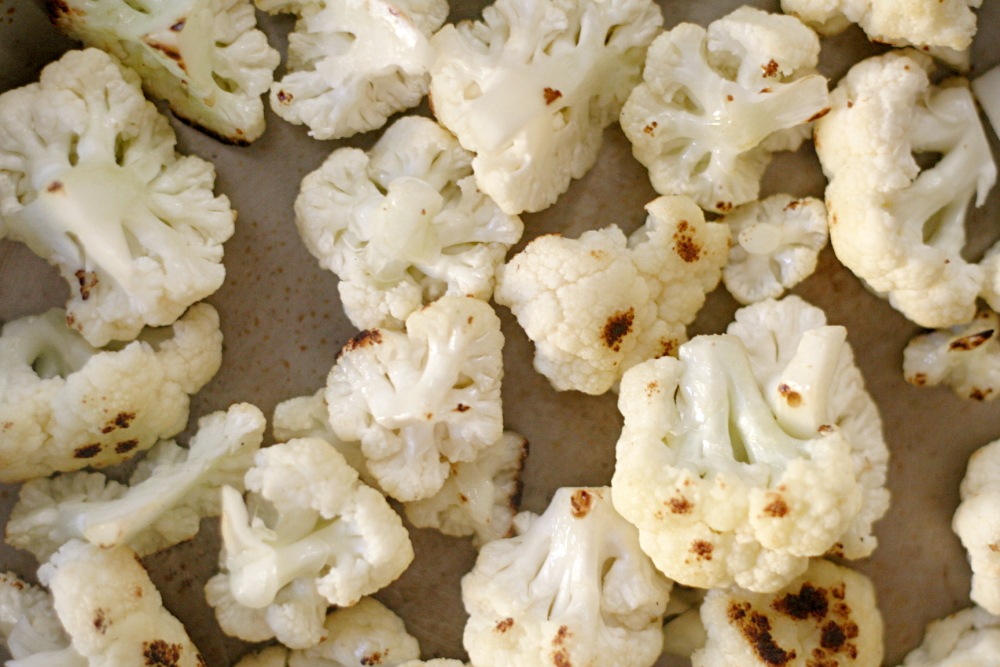
3. Heat 1 tablespoon olive oil in the same pan over medium heat. When hot, add cauliflower and cook, stirring occasionally, until softened, 4-5 minutes. Add onions, red pepper, salt, and black pepper. Continue cooking and stirring until the onions are softened and the cauliflower is crisp-tender. Stir in the garlic, then immediately remove the pan from the heat. Add the lemon juice, walnuts, and cheese.

4. Stir the cauliflower mixture into the pasta. Add enough of the reserved pasta cooking water to moisten the mixture. Adjust the seasonings to taste and serve, garnishing each plate with a drizzle of extra virgin olive oil, if desired.

copy-of-img_3233

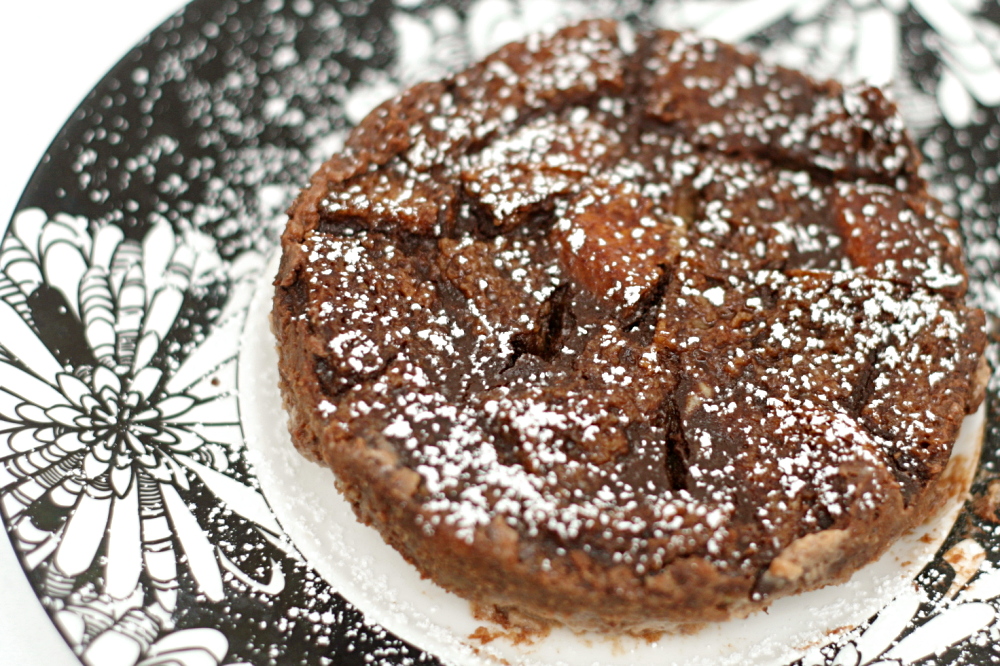
chocolate bread pudding

copy-of-img_3971

My first bread pudding experience involved Dessert Envy, when Dave and my brother and I went out for dessert and beer a few years ago. I ordered something rich and chocolately and otherwise unmemorable, and my brother ordered pumpkin bread pudding. I had one bite, my first taste ever of bread pudding, and was immediately smitten. Regrettably, I’ve only had it once since, another bite of someone else’s dessert order in a restaurant.

copy-of-img_3942

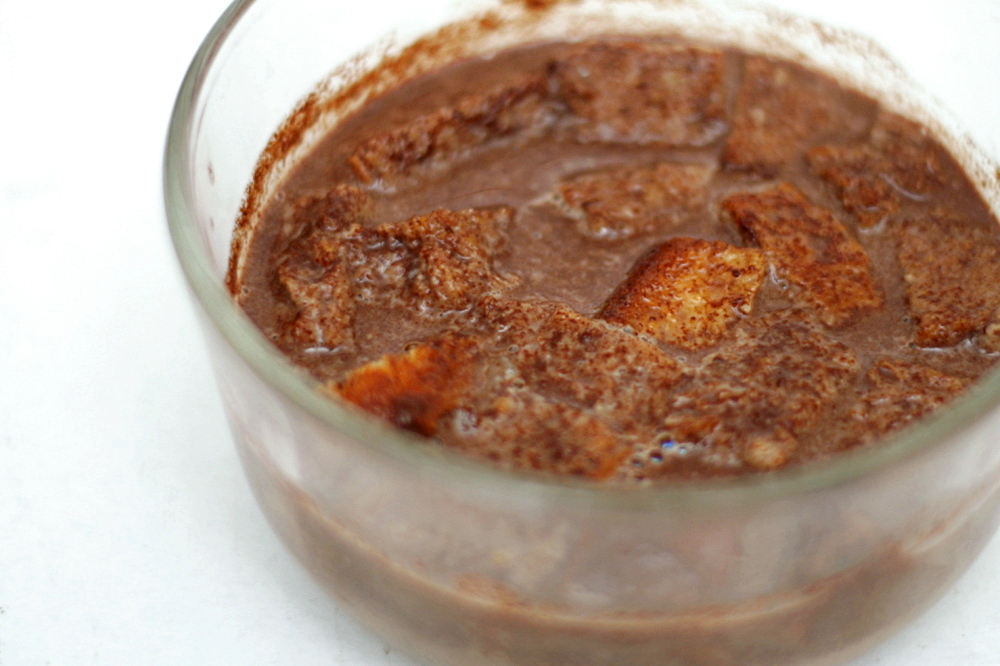
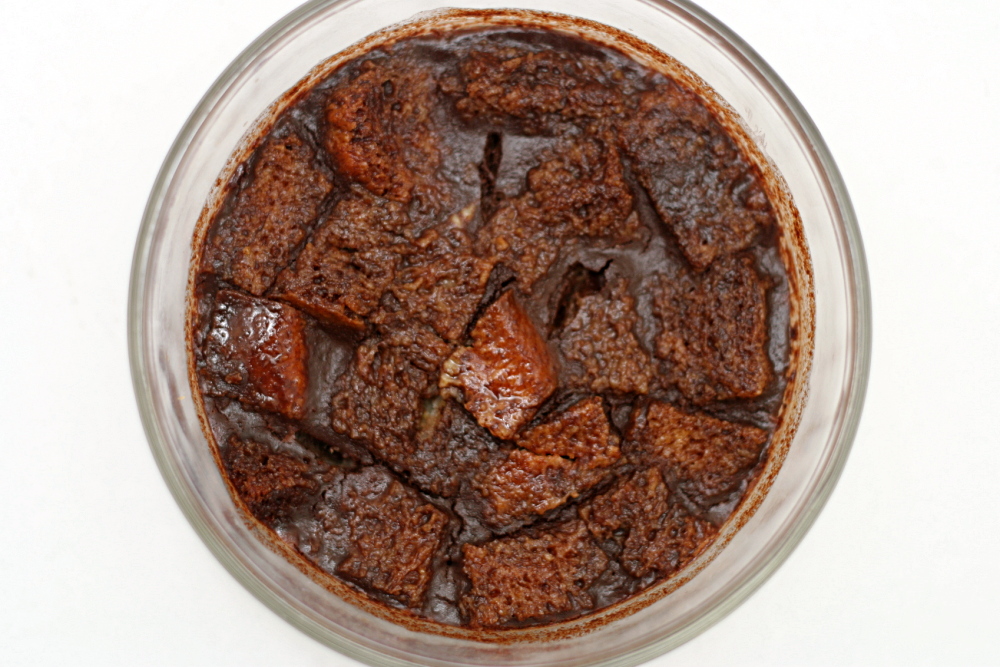
Finally, thanks to TWD, I’ve made my own bread pudding, and even got to eat a full serving instead of a single bite! But since this was my first time making it, I couldn’t troubleshoot as I baked.

copy-of-img_3954

Mostly I was surprised by how much liquid there was compared to the amount of bread. I weighed out the bread before leaving it out to stale, but it lost 33% of its weight by the time I baked with it, so I probably should have used more bread. It probably should have been drier too; it was still a little soft in the middle.

copy-of-img_3969

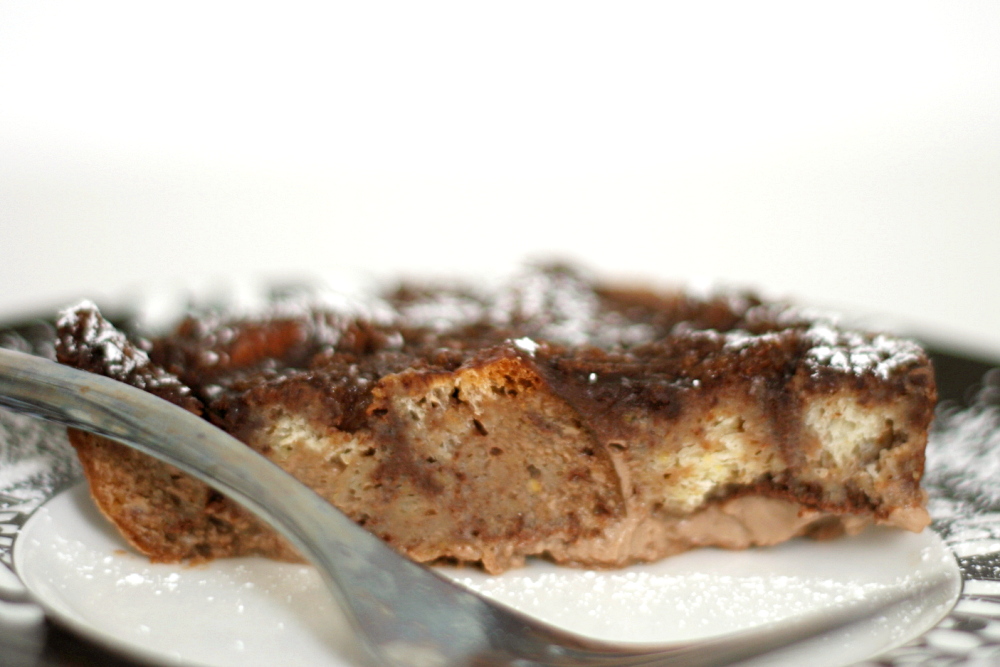
As a result, the bread wasn’t able to soak up all of the custard. (Is it supposed to? I’m assuming so, but I don’t know for sure.) The puddings baked up with a layer of pure custard on the bottom of the pan.

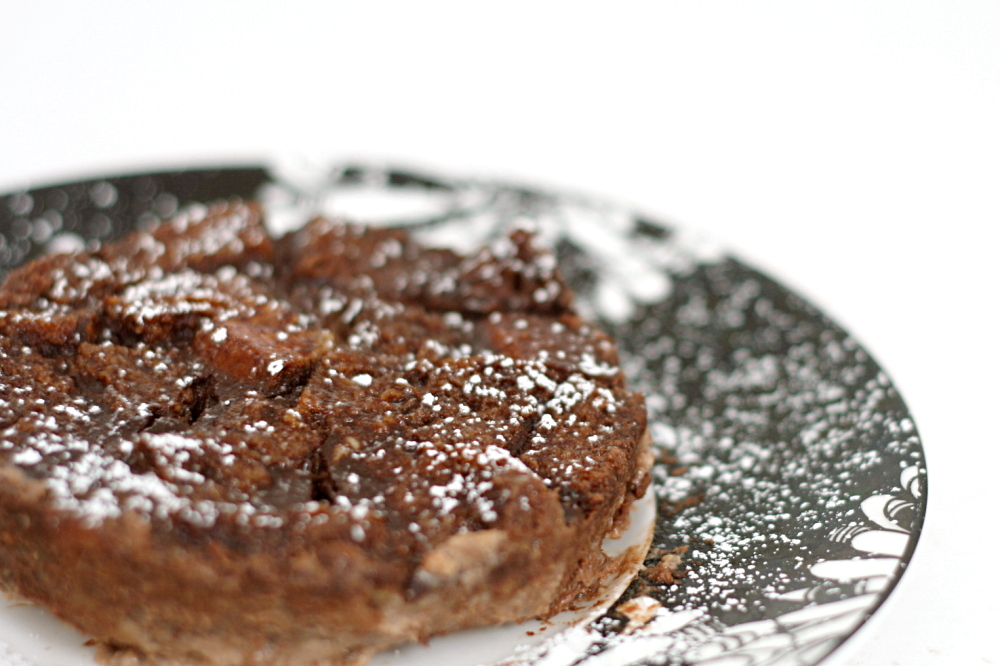
I still really enjoyed it though. Bread and custard sounds like an unlikely combination, but when the bread is saturated with the liquid, it forms, well, pudding. And pudding is good.

copy-of-img_3976

Lauren has the recipe posted. Next time I’ll use a darker chocolate (than the 60% cocao that I used), as the chocolate flavor was a little weak. And like I said, you’ll want 12 ounces of bread after it’s stale, not before.

One year ago: Marshmallows – I made this again and had some problems.   Now I want to try a marshmallow recipe that doesn’t have egg whites.

copy-of-img_3979

brandied berry crepes

copy-of-img_3826

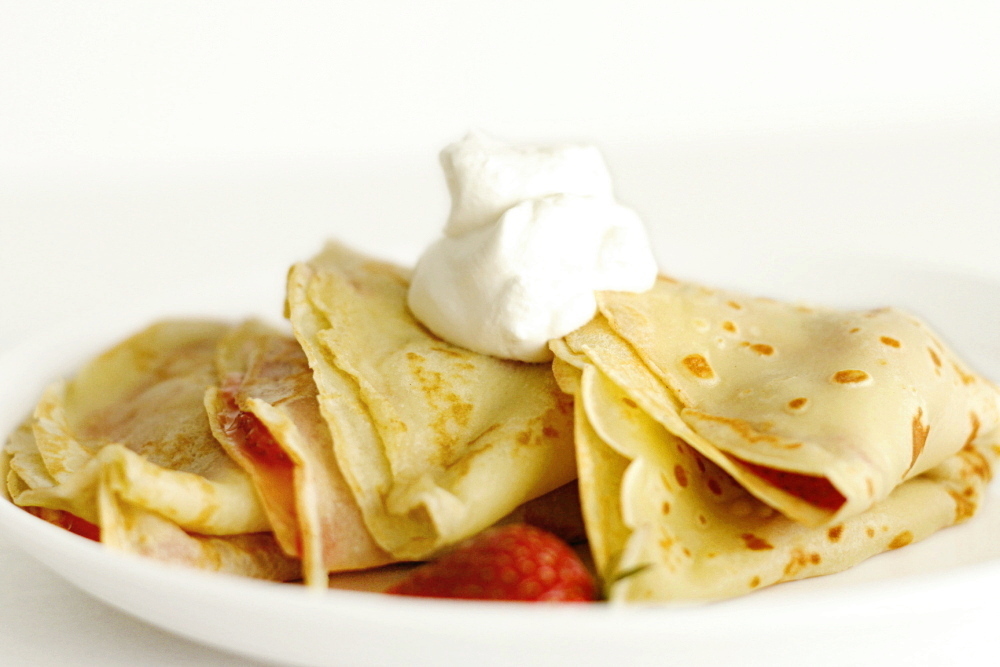
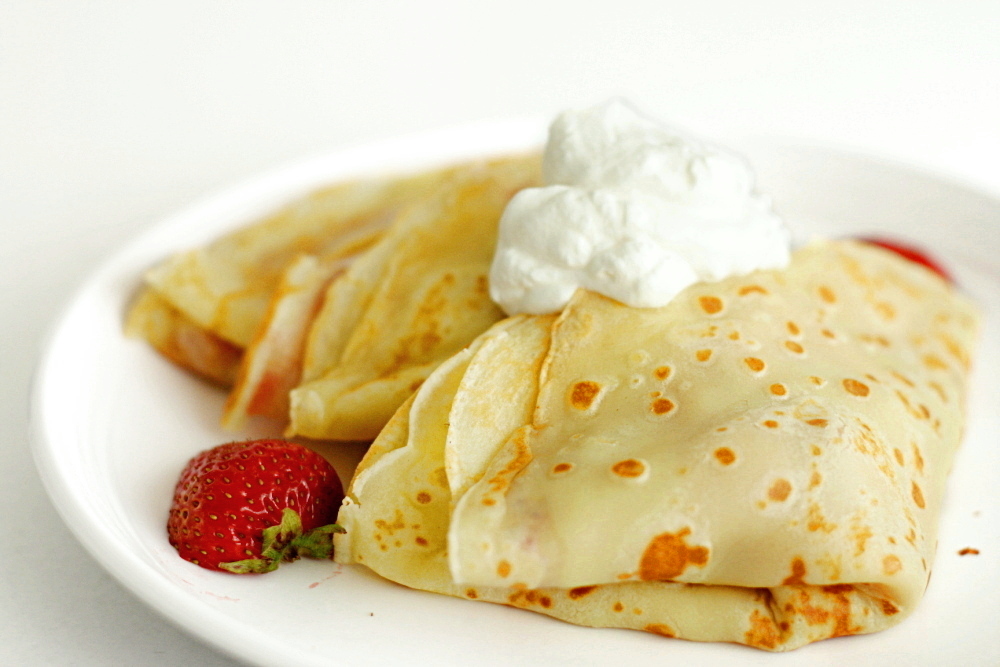
When I scoped out the fresh blueberry selection while shopping for the blueberry crumb cake a few weeks ago, I caught a strong scent of strawberries. Yay! I hadn’t seen them there, hadn’t even though to look for them yet, but I definitely wasn’t passing them up. After months of apples and pumpkin, I am so ready for some different fruit. Since then, I’ve been using strawberries in everything possible.

copy-of-copy-of-img_3818

I made crepes a few months ago, and while I was perfectly happy with the recipe I used, I decided to try a new one anyway. I didn’t use any whole wheat flour this time, but this recipe uses a quarter of the butter as the other one, which is even better. I just mixed everything in a blender and let it set while I waited a few hours for Dave to wake up.

copy-of-img_3831

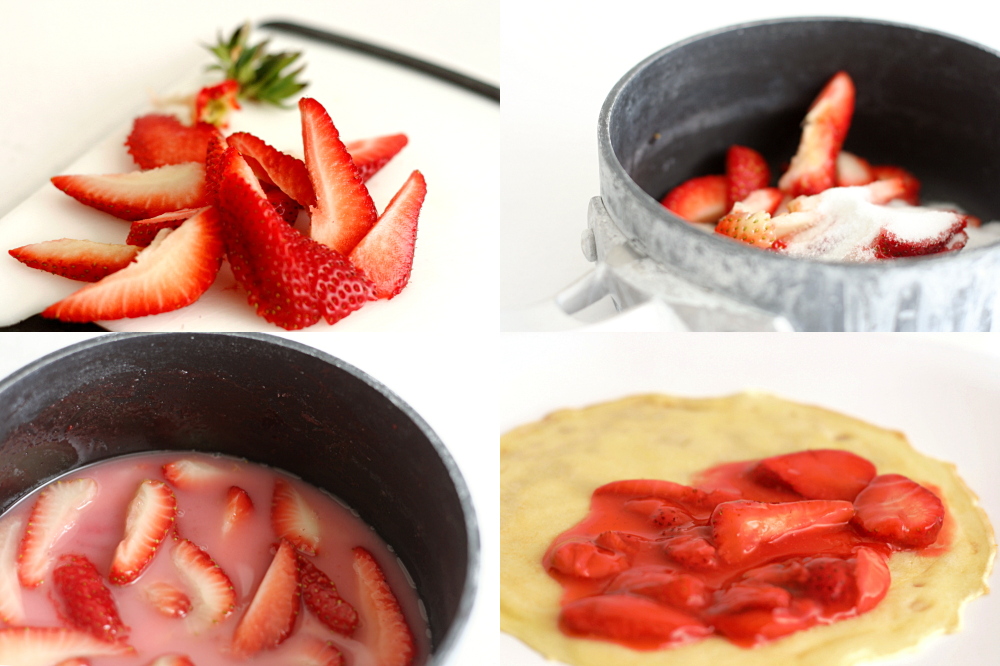
The filling was more of an adventure. Berries and sugar are heated to dissolve the sugar, then a mixture of cornstarch and kirsch is added. The filling is finished off with lemon juice and more fresh berries. For one pound of berries, the filling has ¼ cup kirsch, which seemed on the high side, especially considering the very low quality of my kirsch (and that this is breakfast). Then I accidentally added twice as much alcohol as I was supposed to. Blech, it was disgusting – it tasted like a college party. Fortunately, I had more of everything else, so I just doubled the rest of the ingredients. It still has a pretty strong alcohol flavor, but in a good way.

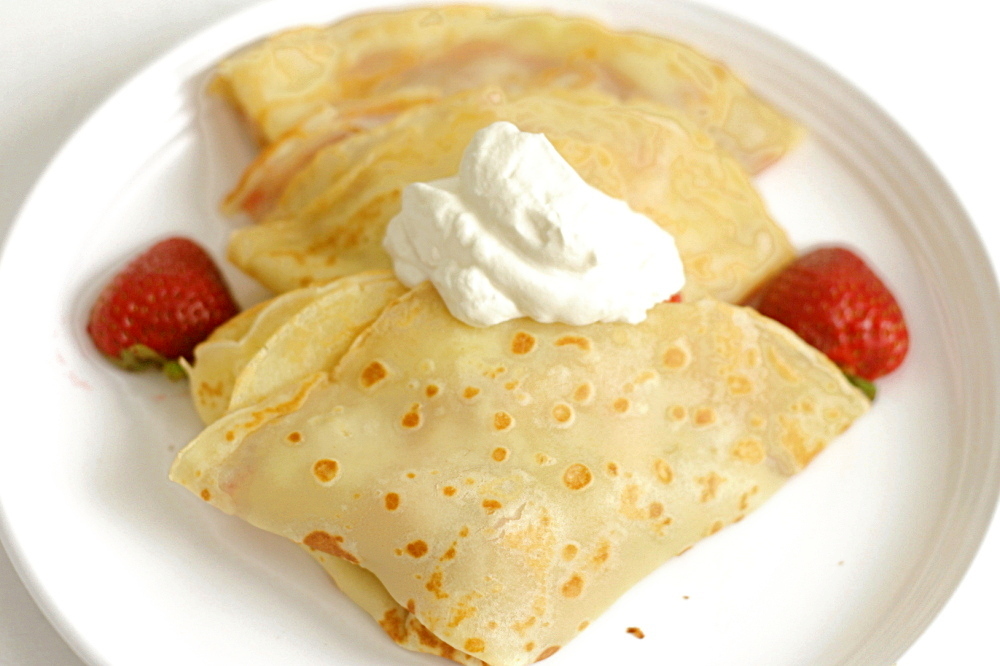
Topping with whipped cream, it’s a pretty decadent breakfast, one that could easily pass as dessert. But who wants to wait all day for something this good?

copy-of-img_3827

One year ago: Almond Biscotti – still the best biscotti I’ve made

Brandied Berry Crepes (adapted from Williams-Sonoma Desserts via Evan’s Kitchen Ramblings)

For the crepe batter:
1¾ cup + 2 tablespoons (8.8 ounces) all-purpose flour
1 tablespoon sugar
¼ teaspoon salt
1 cup + 1 tablespoon milk
1 egg
1 egg yolk
2 tablespoons butter, melted, plus more for cooking the crepes
1 teaspoon vanilla extract

For the filling:
8 ounces mixed berries or berry puree
¼ cup (1.75 ounces) sugar
pinch salt
1½ tablespoon cornstarch
¼ cup brandy, preferably kirsch
1 tablespoon lemon juice
8 ounces mixed berries

1. For the crepe batter: Add all of the ingredients to the blender and blend until smooth. Let stand for at least 15 minutes or refrigerate for up to 8 hours.

2. For filling: Combine cornstarch and brandy in a small bowl. Combine the mixed berries or berry puree, the sugar, and the salt in a medium saucepan, then cook over medium heat, stirring, until the sugar is dissolved. Reduce the heat to maintain a simmer, then stir in the brandy mixture and cook until slightly thickened. Remove from heat. Stir in the lemon juice and add the remaining berries. Set aside.

3. Preheat a crepe pan or medium nonstick skillet of medium heat. When hot, grease with a dollop of butter (using a stick of butter to smear some directly on the skillet works nicely), and add enough batter to coat the skillet in a thin, even layer when you swivel the skillet around in your hand. Cook just until batter is set and golden on bottom, then flip and cook on second side for another minute or two. Repeat with the remaining batter, stacking the cooked crepes on a plate.

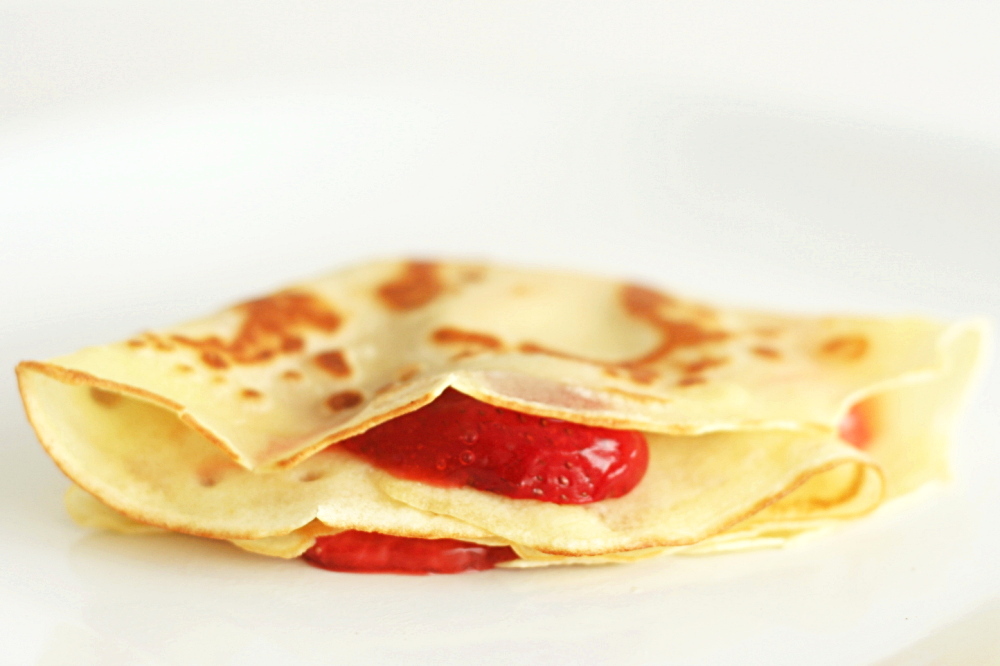
4. Spoon filling onto crepes, fold into quarters and serve.

copy-of-img_3829

pan-roasted asparagus

copy-of-img_3654

Asparagus was part of one of my worst eating experiences. I was spending a few weeks traveling, working with one of the top researchers in my field. She’s an intimidating woman, known for her arrogance and her temper. Fortunately, what little contact I had with her was generally pleasant. She even invited me to her house for dinner a couple times.

copy-of-img_3646

The first time, she served chicken, asparagus and rustic bread she’d bought at a bakery. The asparagus was horrendous. It was grossly overcooked, plus too little of the woody barely chewable ends had been trimmed. It was all I could do to eat it without gagging, but I had to be polite, especially since I was sort of scared of my host.

copy-of-img_3648

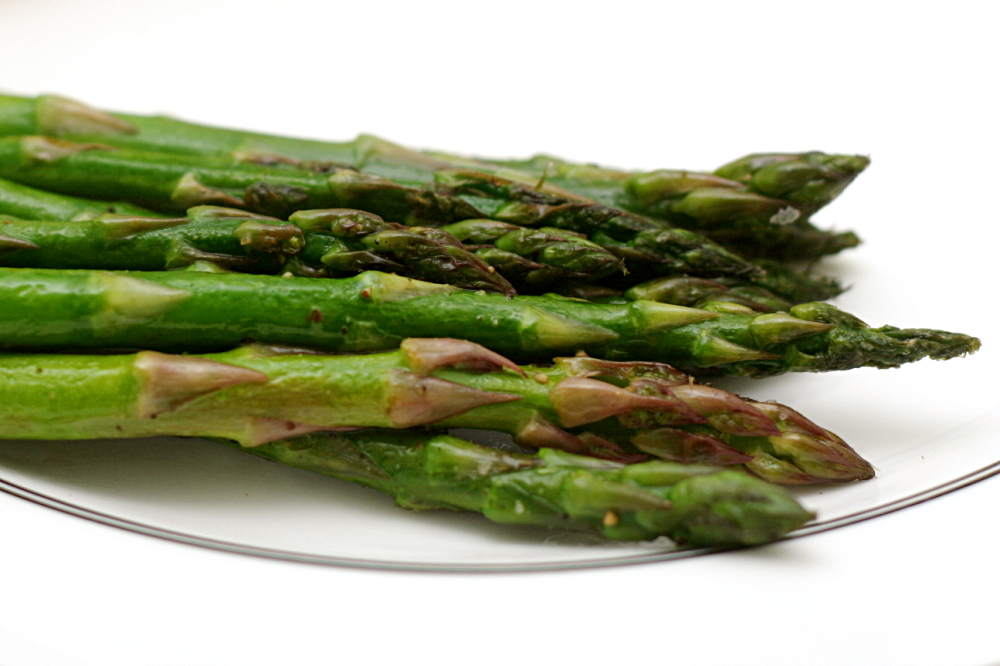
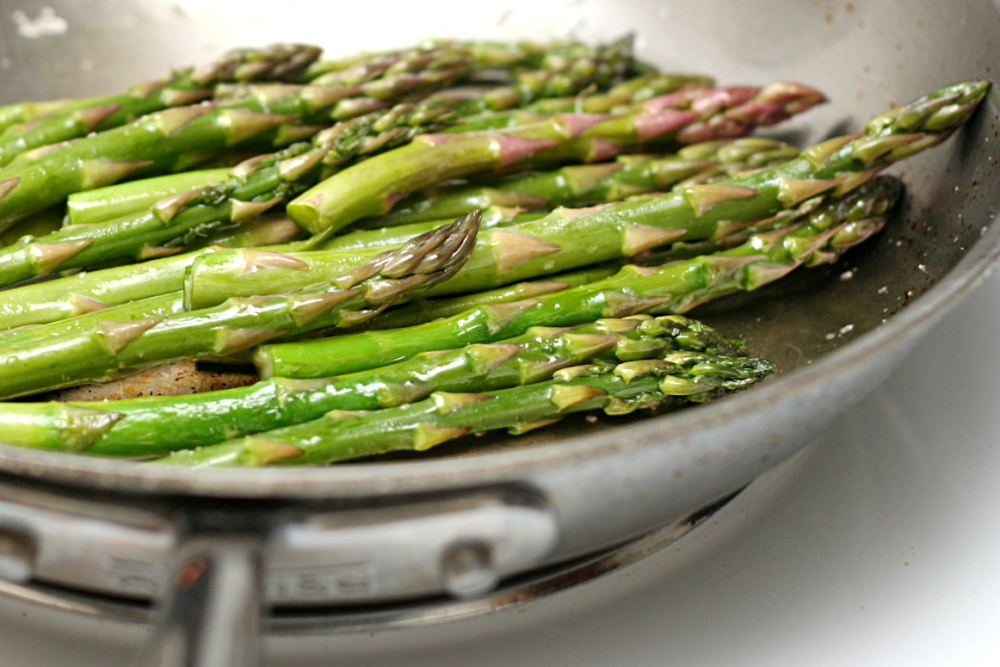
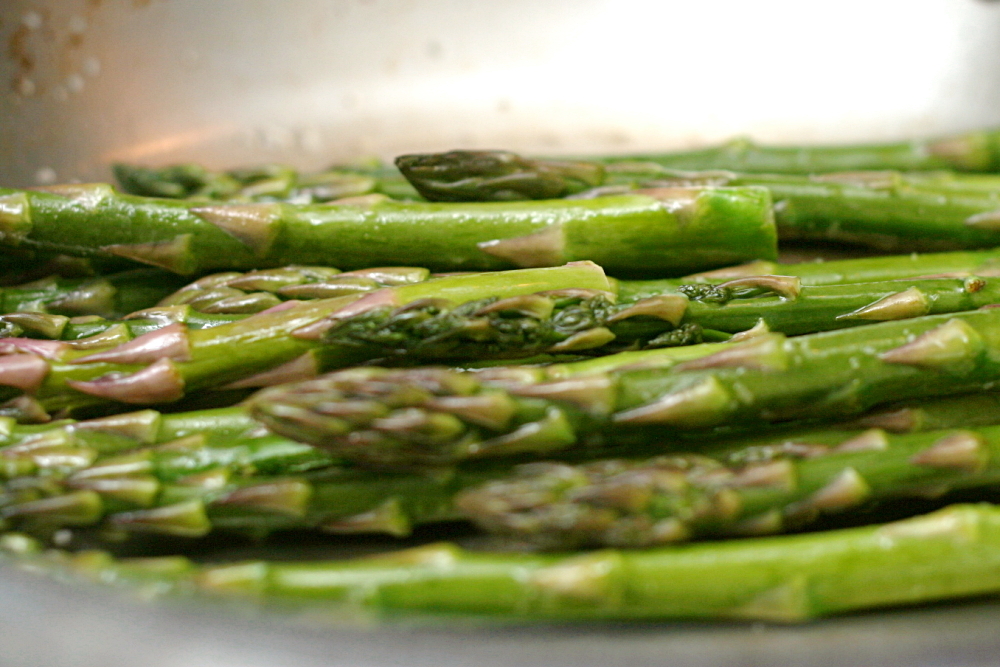
This is not that asparagus. This is lightly browned, tender but still crisp at the center. It’s also easy – just put the asparagus and some salt in a lightly oiled, hot, not nonstick pan, and cook it for a few minutes, giving the pan an occasional shake. Squeeze on some lemon juice, grind a bit of black pepper over the top, and try to erase all of your bad vegetable memories.

copy-of-img_3650

One year ago: Sichuan Green Beans

Pan-Roasted Asparagus

Serves 2

Note: Choose thin (less than ½-inch in diameter) asparagus for this recipe, as the thicker stalks won’t cook through evenly. Trim the asparagus by bending each stalk until it snaps. To double the recipe, use a 12-inch skillet.

1 teaspoon olive oil
8 ounces asparagus, washed and trimmed (see Note)
generous pinch salt
1 teaspoon lemon juice
freshly ground black pepper

Heat the oil in a medium not nonstick skillet over medium heat until it’s hot. (I judge based on the viscosity of the oil – the thinner, the hotter.) Add the asparagus in a single layer and stir or shake to coat with oil. Continue to cook the asparagus until it’s crisp-tender, 5-8 minutes.

copy-of-img_3644

chocolate amaretti torte

copy-of-img_3813

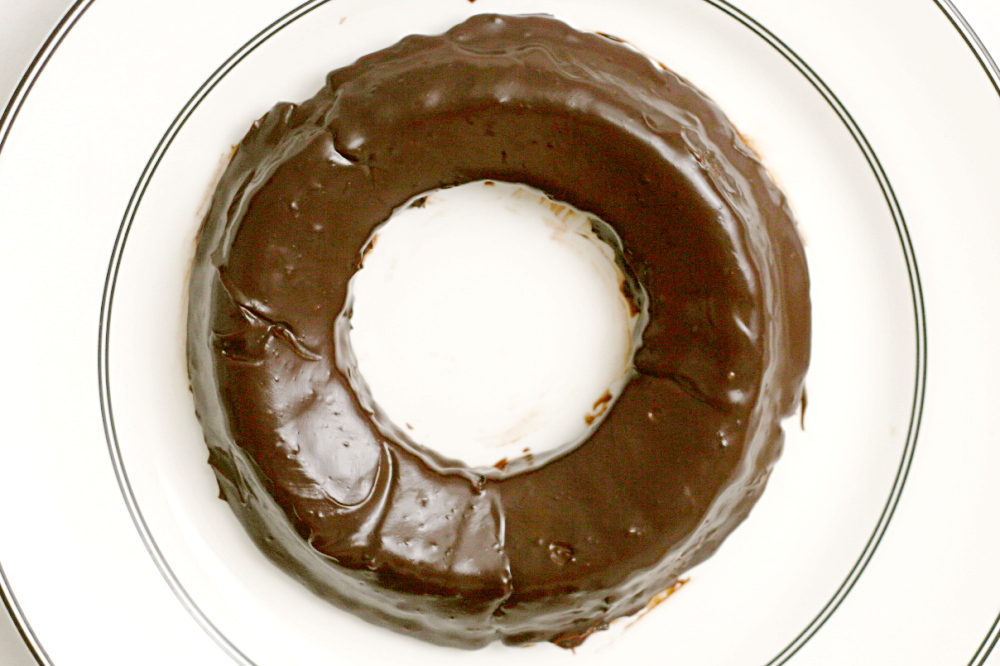
My cake is ring-shaped! Because I’m creative! Because I have a plethora of interesting-shaped pans to choose from! Because, um.

It’s actually because I totally botched this week’s recipe.

copy-of-img_3778

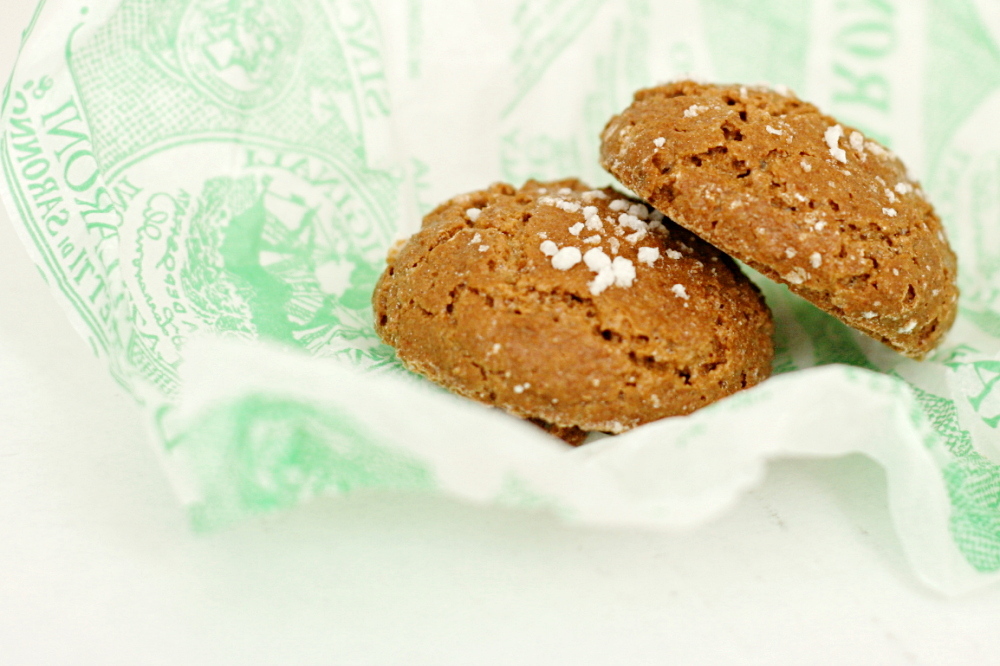
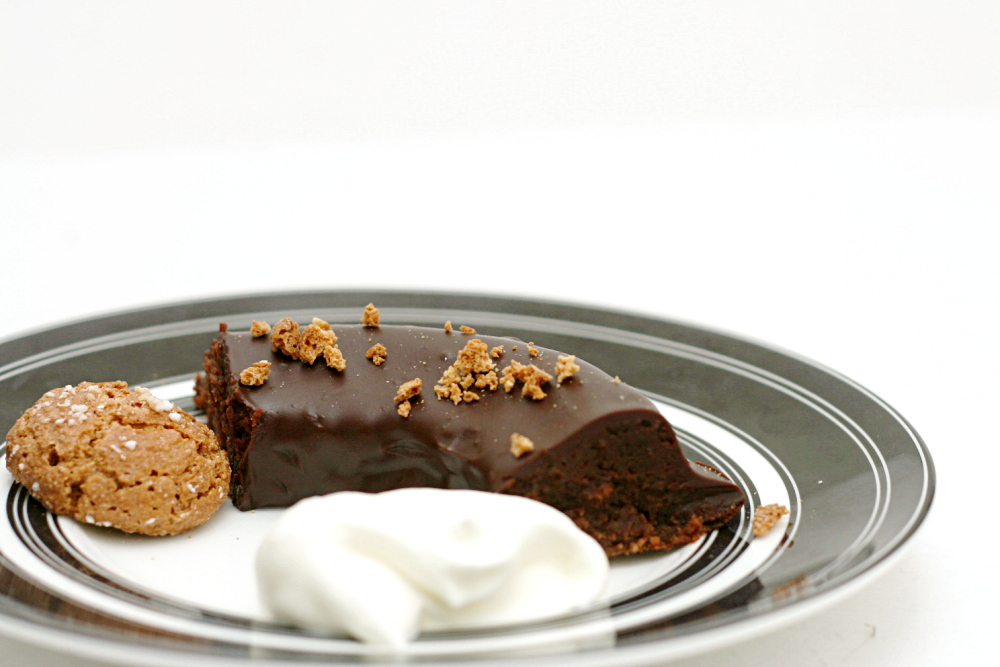
The torte is made by grinding store-bought Italian amaretti cookies with almonds in a food processor. Then butter, sugar, eggs, and chocolate are blended in the food processor and the ground cookies and almonds are mixed in. Then you bake it.

copy-of-img_3789

Which is where I messed up. First, I made 2/3 of the recipe in a pan just about 2/3 the size that the original recipe calls for. So I thought it would take less time to bake than the full recipe. Second, I used a Pyrex pan, and the last several times I’ve baked in Pyrex, my dessert has overcooked. So I lowered the oven temperature by 25 degrees.

copy-of-img_3794

I baked my (6-inch round) torte for 25 minutes, which is the lower end of the range for a full (8-inch round) recipe, and the same amount of time that Dorie recommends for 4-inch mini-tortes. I tested it with a knife, which came out cleanish (Dorie says it should be streaky, not quite dry). I took the torte out of the oven and let it set in the pan for 15 minutes or so.

copy-of-img_3795

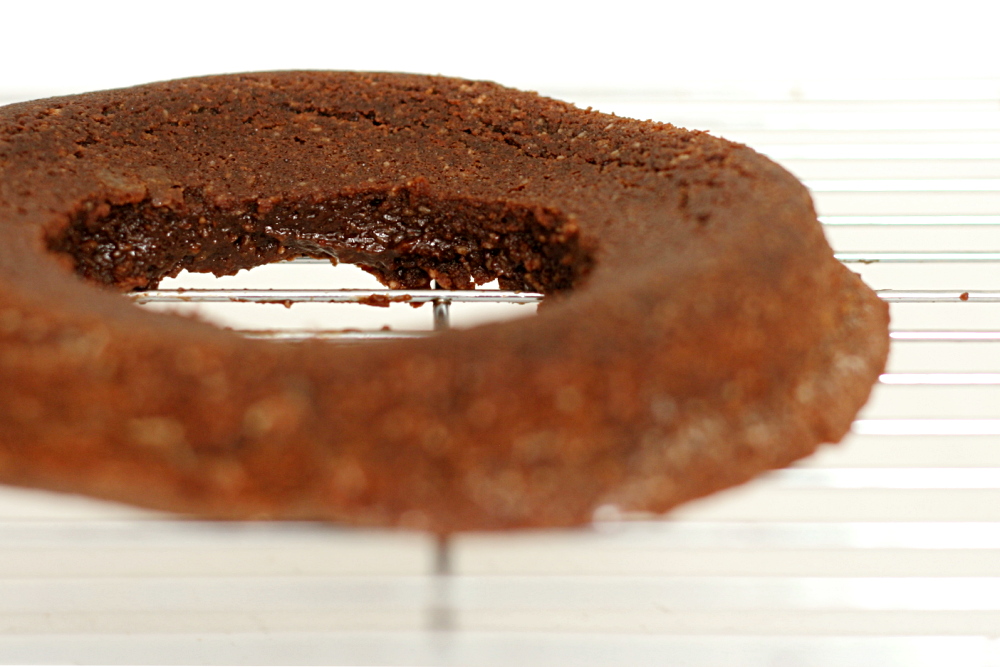
I inverted the cake onto a cooling rack. And then the middle inch or two dripped through the cooling rack onto the counter. Then another inch, and another, until I was left with just a thin ring – a ring that was delicate and broke in several places when I moved it. Yeesh.

copy-of-img_3802

Thank goodness for the ganache coating. And the fact that the torte was so tasty that it could stand up to all the abuse.

Holly chose this recipe for Tuesdays with Dorie and has it posted on her site.

One year ago: Lemon Cream Tart

copy-of-img_3924

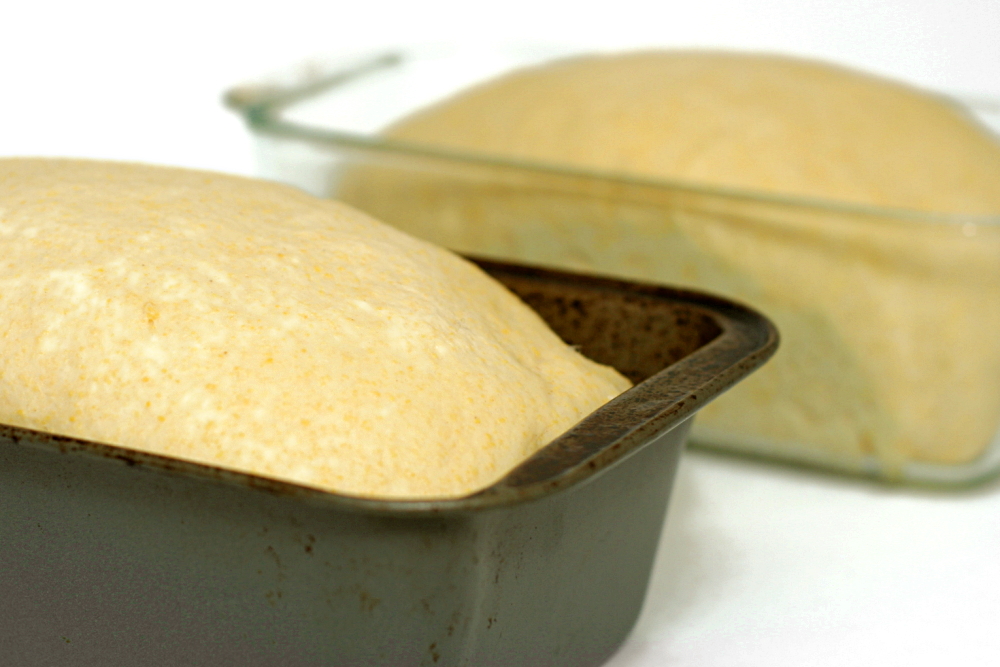
anadama bread

copy-of-img_3605

My friends and I aren’t amateurs at sleeping outdoors, but we went on a disaster of a trip a few years ago. Near the end of October, we went to West Virginia hoping to see some fall colors. We hiked up to a ridge with all of our gear, planning to camp at the top for a couple nights. And a little blizzard blew through. Then my friend leaned over too far while cooking dinner and fell – into the fire. The dog kept running away. Our tent blew away – while we were in it.

copy-of-img_3491

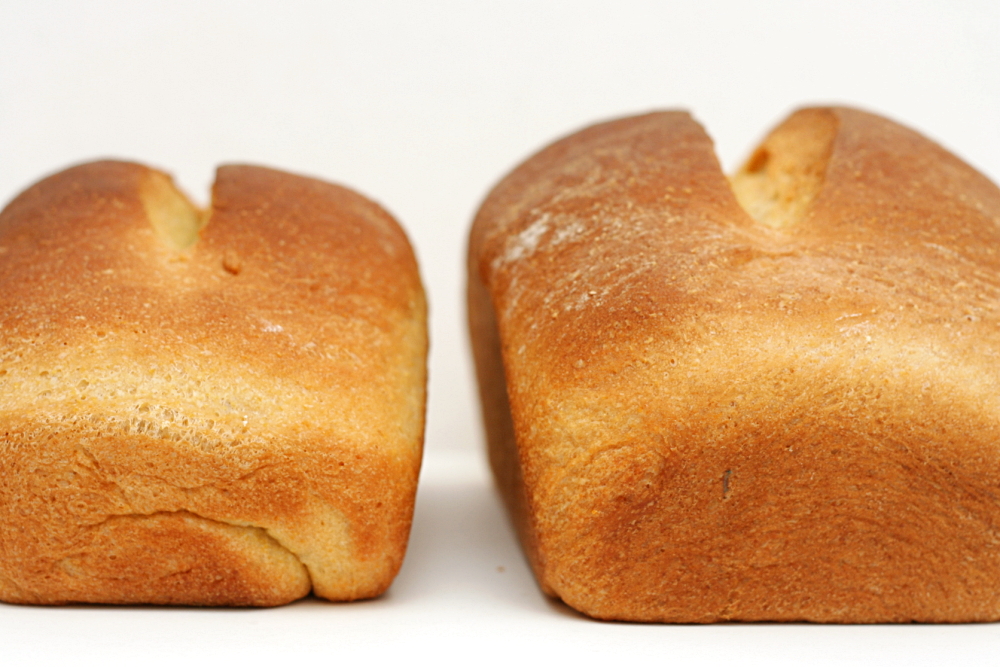
The next morning, we got off of that stupid ridge as early as possible. (Another friend fell and sprained his ankle on the way down.) Once down, we had a very nice, sunny and even warm picnic lunch in a beautiful park at the base of Seneca Rocks. My friend passed around this bread, apologizing that something had gone wrong with the baking. It clearly hadn’t risen – it was so dense it was almost crystalline. But the taste, sweet and complex, was good enough to make up for the texture. I promised her I’d try the recipe and see if I could figure out what went wrong.

copy-of-img_3501

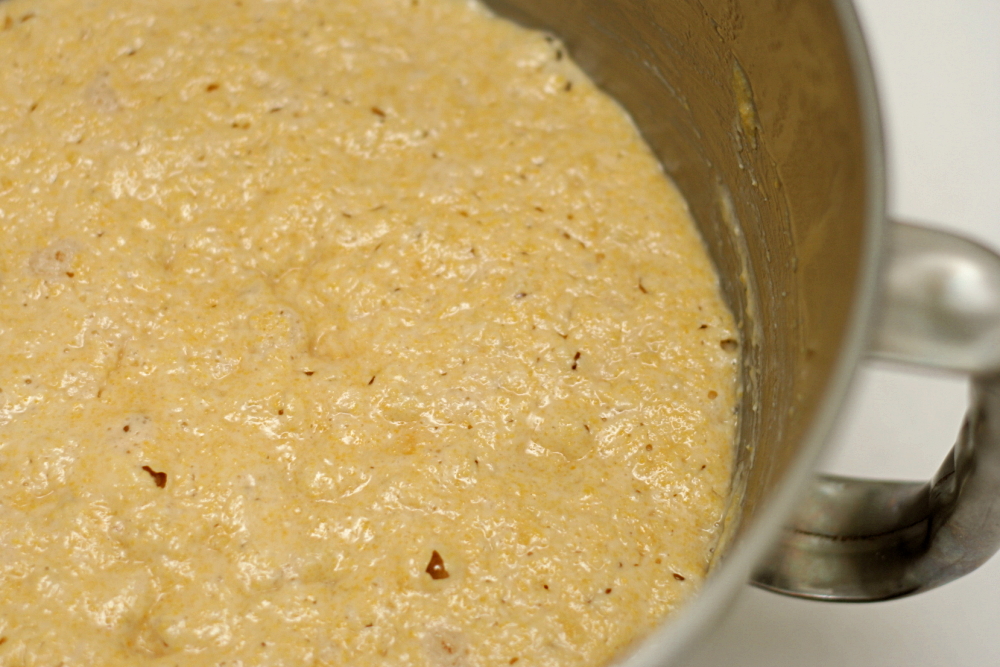
The recipe has quite a number of issues, actually. For one thing, it calls for 12-13 cups of flour and says that it makes two 9×5-inch loafs, where most recipes use just 3-4 cups of flour per loaf. It also instructs the baker to dump cornmeal into hot liquid, but that will cause it to clump. And then there’s the place where I think my friend went wrong: the recipe starts with a hot cornmeal mush, and after that cools for “a bit”, as the recipe misleadingly states, the yeast is added. But it took at least half an hour before it was cool enough not to kill the yeast.

copy-of-img_3506

It’s good thing I’m not new at bread baking.  I halved the recipe and divided the dough between two loaf pans. The cornmeal lumps did seem to break up during kneading, but I’ve reworked the recipe to avoid this problem anyway. And fortunately, I used my thermometer to make sure the mush had cooled enough before adding the yeast.

copy-of-img_3602

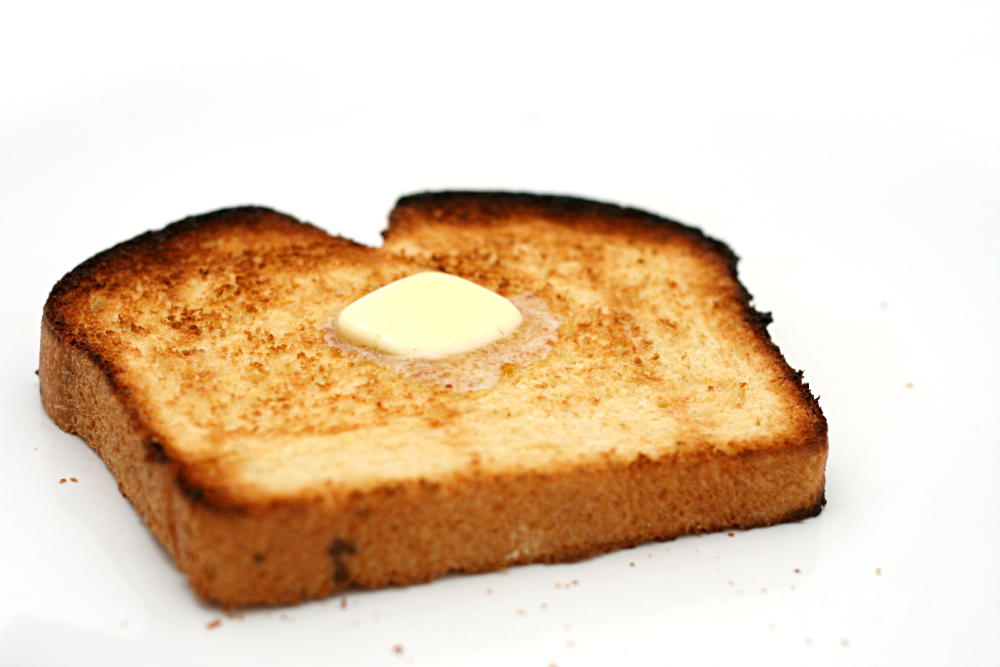
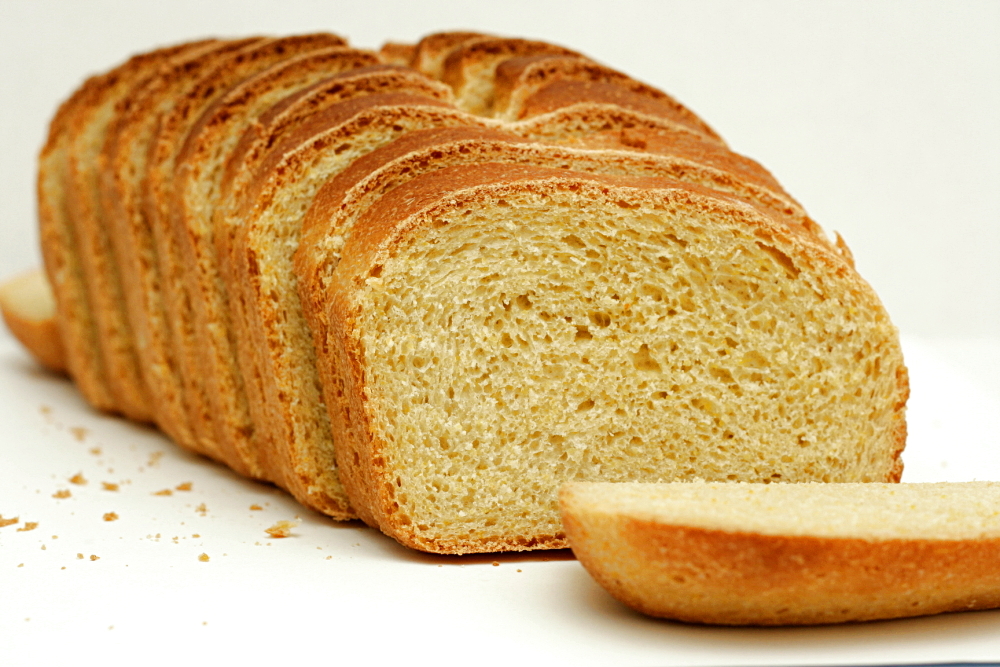
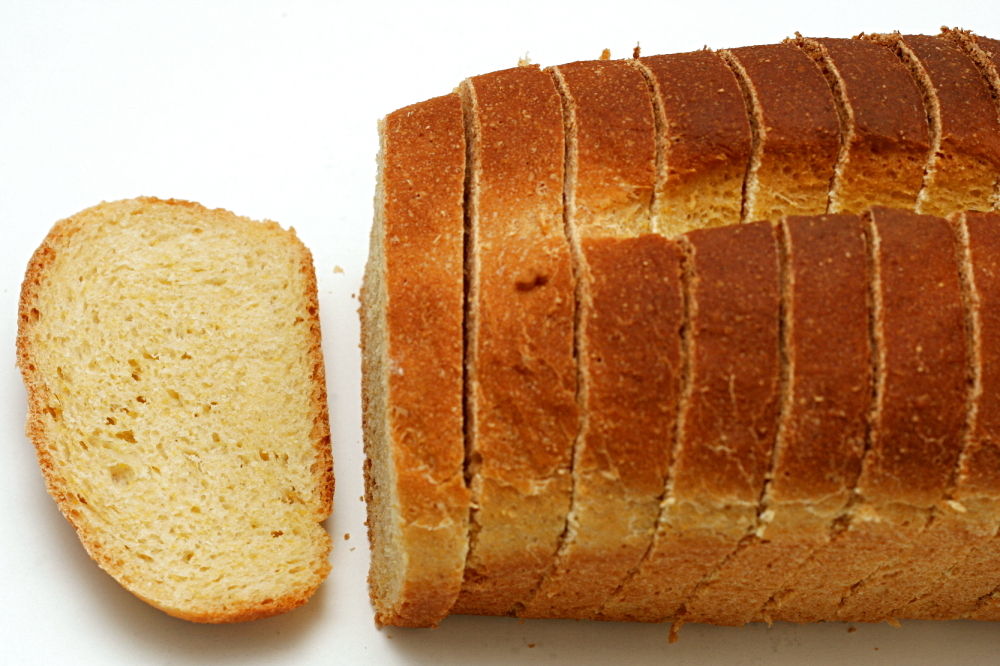
After all was said and done, the bread was great. It was just as sweet as I remember, plus light and tender. So far I’ve eaten it toasted with butter, as French toast, with sliced avocado, and as part of a ham sandwich.  Tomorrow it will be bread pudding.  It’s delicious and versatile.

copy-of-img_3610

One year ago: Cinnamon Rolls

Anadama Bread (revised from Moosewood Restaurant Daily Special)

Makes 2 loaves

Note from Bridget: I have to admit that I didn’t totally make Anadama bread, which requires molasses. It turns out that I didn’t have any, so I used honey instead. Not the same, but still good.

¾ cup water
1 cup milk
1 cup cornmeal
¼ cup (1.75 ounces) packed brown sugar
2 tablespoons molasses
1 package (2¼ teaspoons) instant yeast
6 to 6½ cups (28.8 to 32.2 ounces) unbleached flour
2 tablespoons vegetable or canola oil
1 tablespoon salt

1. Heat the water, milk, cornmeal, and sugar in a medium-saucepan over medium heat, stirring frequently. Once it thickens, transfer to it to the bowl of a standing mixer or other large bowl, stir in the molasses, and set the mixture aside to cool, about 30 minutes.

2. When the cornmeal mush has cooled to 105-110F, add the yeast and 1 cup of the flour, and stir until smooth. Cover the bowl with a damp cloth and set aside until the mixture bubbles, about 45 minutes.

3. Stir the oil, salt, and 3½ cups of the remaining flour into the sponge to make a stiff dough, mixing well (or mix for 2 minutes on low speed in a stand mixer fitted with the dough hook). Generously dust a board with the remaining flour. Turn the dough onto the board and knead it until elastic, about 10 minutes (or knead on medium low for 6 minutes, slowly adding flour until the dough pulls away from the sides and bottom of the mixing bowl). The dough may be sticky, but should be firm.

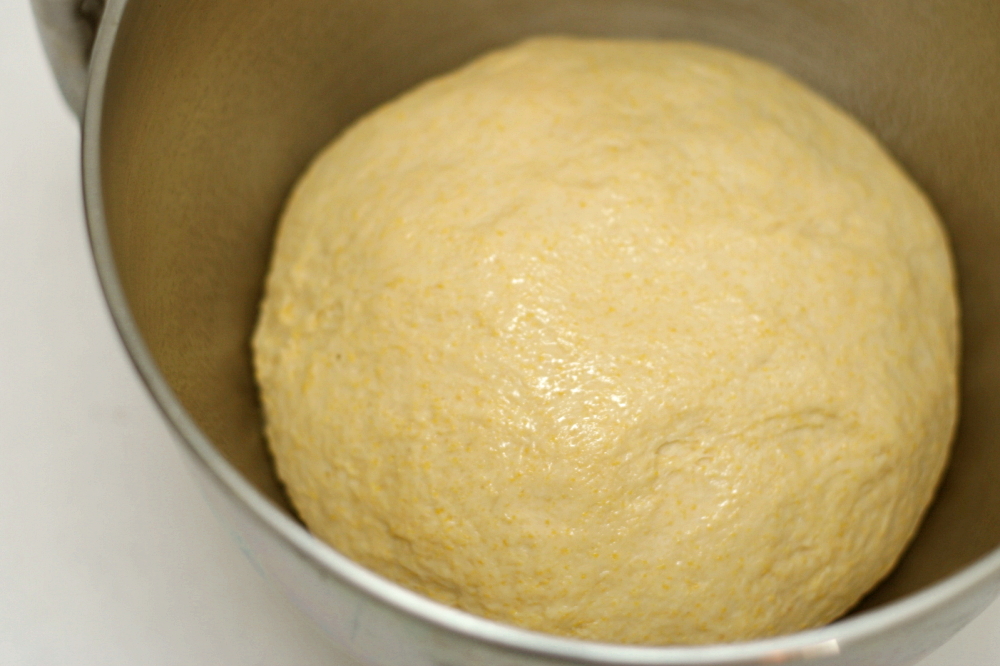
4. Lightly oil a large bowl, shape the dough into a round, and put it in the bowl, turning it to coat both sides with oil. Cover the bowl with a damp cloth and set aside in a warm place until the dough has doubled in size, 45 to 60 minutes.

5. Lightly oil two loaf pans (8.5×4.5 inches or 9×5 inches). Punch down the dough and turn it out onto a lightly floured board. Slice it into halves and shape each half to fit the loaf pans. Place the dough in the prepared pans, cover with a damp cloth, and let rise until doubled, 30-45 minutes. Preheat the oven to 350F.

6. When the dough has risen about an inch above the top of the loaf pans, bake for about 40 minutes, or until golden and hollow-sounding when tapped on the bottom. An instant-read thermometer inserted into the center of the loaf should read 195-200F. Cool on a wire rack for 15 minutes, then use a knife to loosen the edge of the bread from the pans. Invert the loaves onto a cooling rack and cool completely before slicing.

copy-of-img_3606

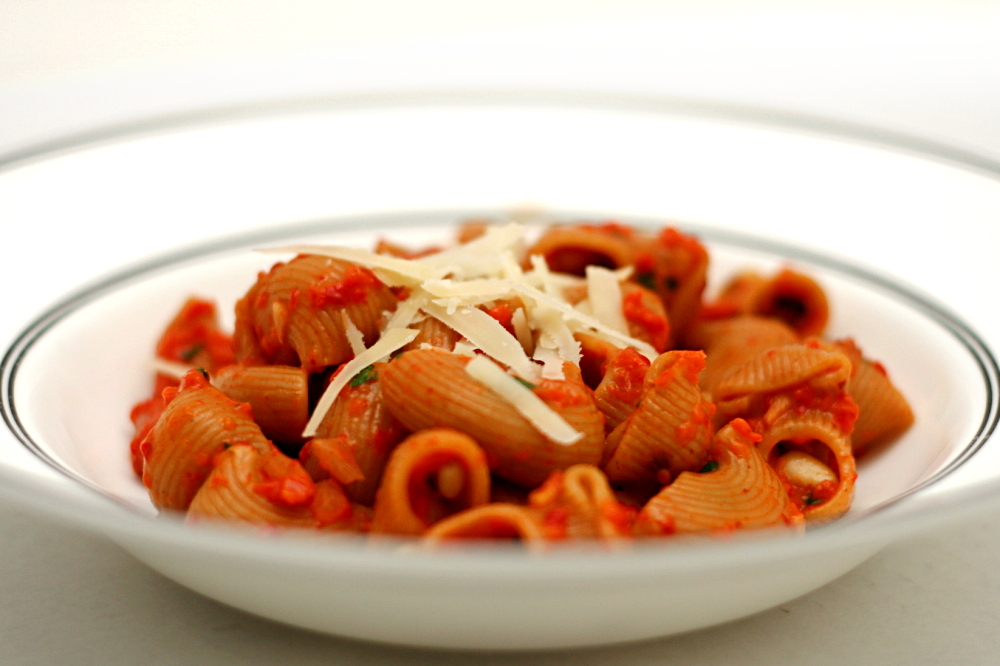
pasta with roasted red pepper sauce

copy-of-img_3718

I read the Pioneer Woman’s cooking blog, even though I don’t find too many recipes there that are my style.  Ree tends to add more butter, more oil, and more cream to her dishes. And yes, all of those things make food very good. But it’s a safe bet that I live a more sedentary life than Ree does on her ranch, so I can’t be adding extra butter to everything I cook.

copy-of-img_3672

Occasionally, though, Ree makes a dish that does click with me, like this one. It’s an easy, fairly healthy, vegetarian, one-dish pasta meal. That is exactly how we normally eat.

copy-of-img_3700

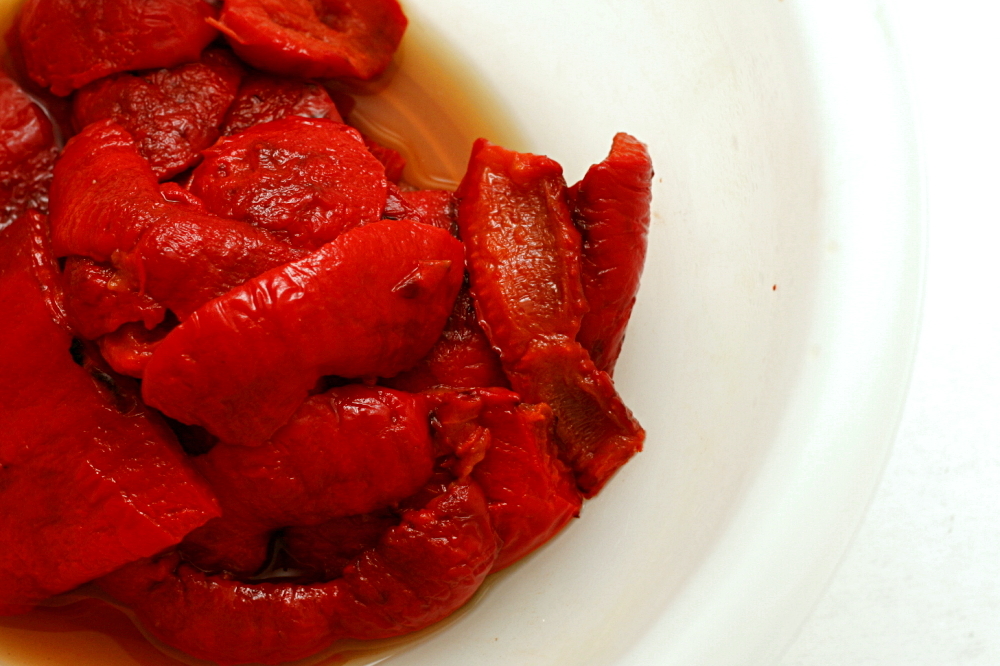
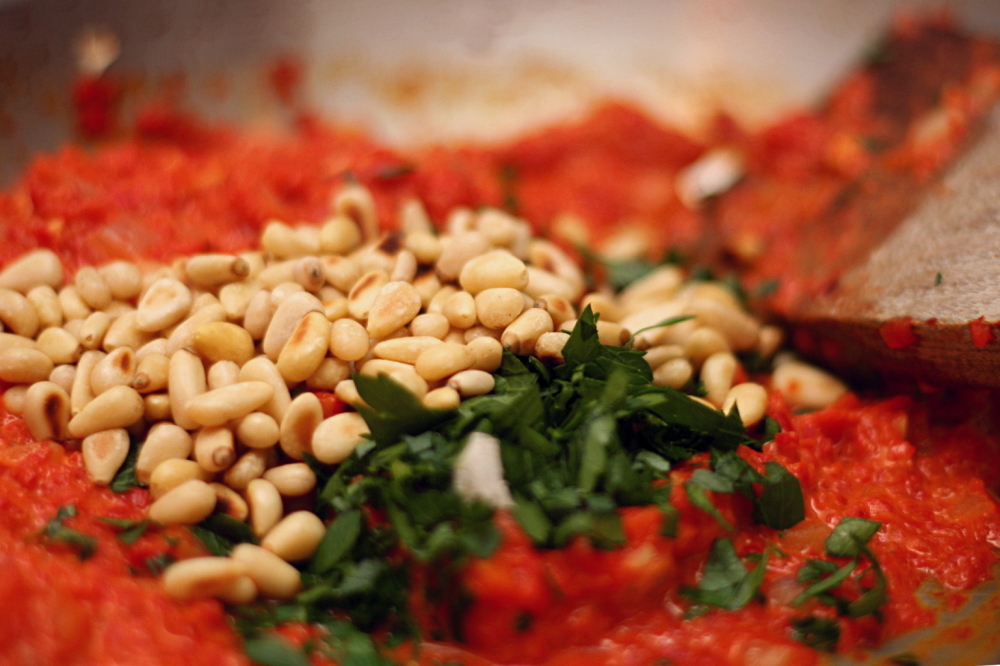
The sauce is simply sautéed onions and garlic with pureed roasted red peppers, pine nuts, and heavy cream stirred in. I used less cream than Ree, of course, and I decided to keep the pine nuts whole instead of grinding them with the roasted peppers. I’m sure either way is fine; recipes as straightforward as this are easy to adapt to your preferences.

copy-of-img_3707

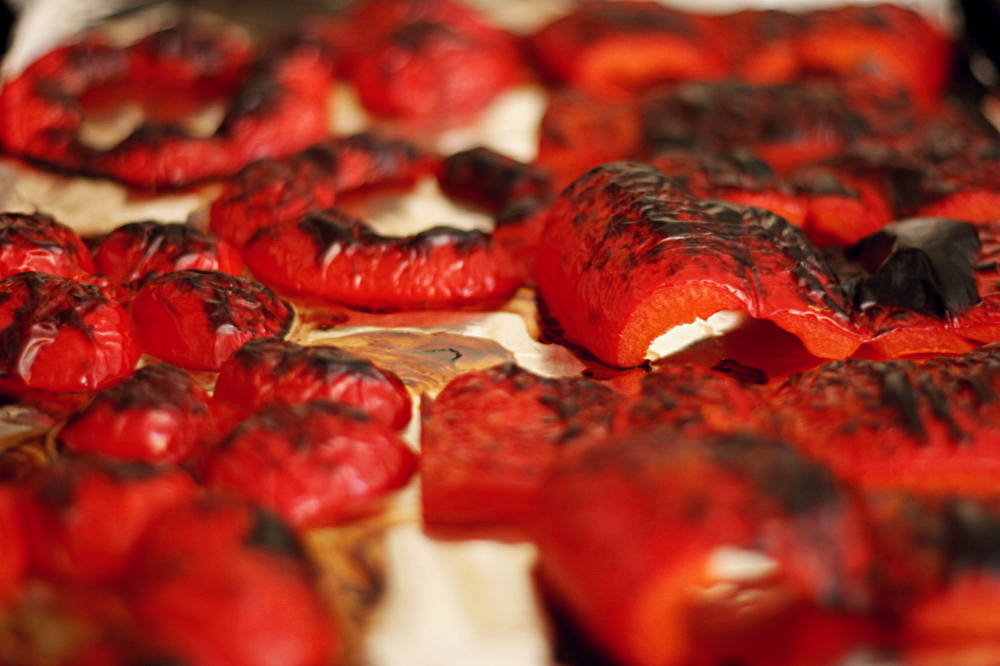
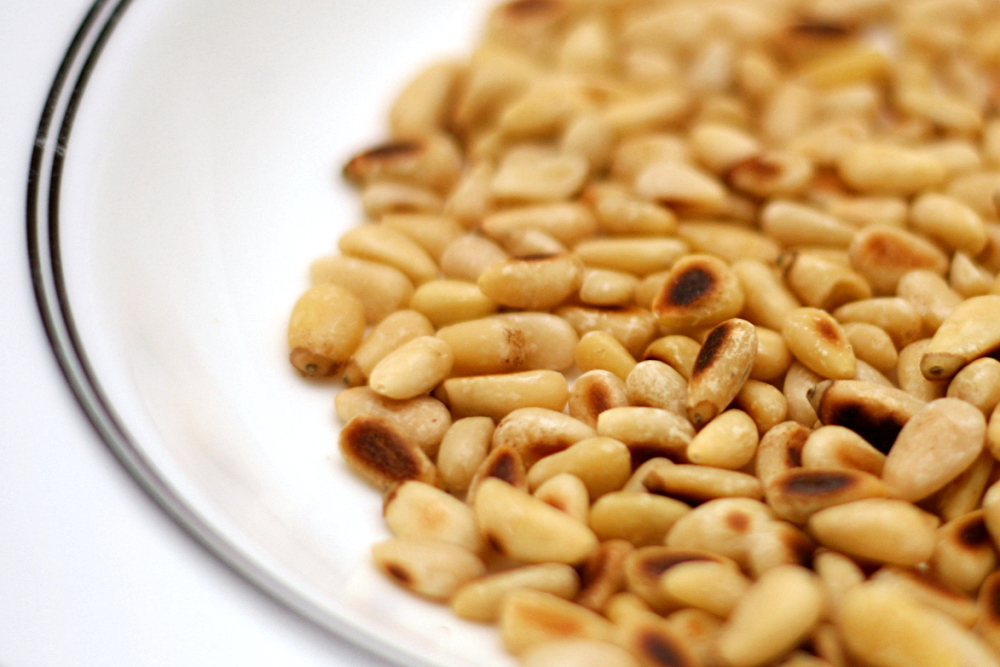
I also burnt the pine nuts and under-roasted the peppers, but these aren’t changes that I recommend that you make. Fortunately, this pasta is so good that even that couldn’t ruin it.

copy-of-img_3712

One year ago: Blueberry Poppy Seed Brunch Cake
Pasta with Roasted Red Pepper Sauce (adapted from The Pioneer Woman Cooks)

Note from Bridget: This is fairly similar to the original recipe, in that it uses the same ingredients in almost the same proportions, but I’ve changed the directions slightly, mostly to give them some more detail. You can roast the peppers a few days advance, and keep them refrigerated (or frozen) either peeled or unpeeled. Also, Ree warns that this dish needs quite a bit of salt, and I found this to be the case. Please don’t be afraid to add salt at the end until the sauce has some flavor!

Serves 2

2 red bell peppers
6 ounces dry pasta
salt
2 tablespoons pine nuts
2 teaspoons olive oil
½ medium onion, finely diced
2 cloves garlic, minced
2 tablespoons heavy cream
1 tablespoon minced flat leaf parsley
fresh Parmesan, shaved, grated or shredded

1. Adjust an oven rack to the top position and heat the broiler. Line a baking sheet with foil. Cut a ½-inch ring off the tops and bottoms of the peppers. Remove the seeds and stems, then cut the remaining cylinders of pepper in half lengthwise, into two wide strips. Lay the strips of pepper and the rings skin-side up on the foil-lined pan, pushing the strips down. Broil until thoroughly blackened, 6-8 minutes. Put the broiled peppers in a bowl; cover the bowl and set aside for at least 10 minutes.

2. Bring a large pot of water to a boil. Once boiling, add 1 tablespoon salt and the pasta. Cook the pasta according to the package instructions, until al dente. Drain and return to the cooking pot.

3. Meanwhile, heat a medium skillet, preferably not nonstick, over medium heat. Add the pine nuts and toast, shaking the pan occasionally, until golden brown and fragrant, 3-6 minutes. Remove the pine nuts from the pan and set aside.

4. Peel the skins off of the peppers. Add them to a blender or food processor and purée.

5. Add the olive oil to the now-empty skillet over medium heat. Once heated, add the onion. Sauté, stirring occasionally, until softened and just browned around the edges, about 5 minutes. Add the garlic and cook until fragrant, about 1 minute, then stir in the red pepper puree and ½ teaspoon salt. Pour in the cream and toasted pine nuts, and stir until the sauce is evenly heated. Check for seasoning, adding additional salt if necessary.

6. Add the sauce to the cooked pasta, and stir over medium-high heat until everything is heated and the pasta absorbs some of the sauce. Serve, topping each portion with parsley and Parmesan.

copy-of-img_3714

banana cream pie

copy-of-img_1410

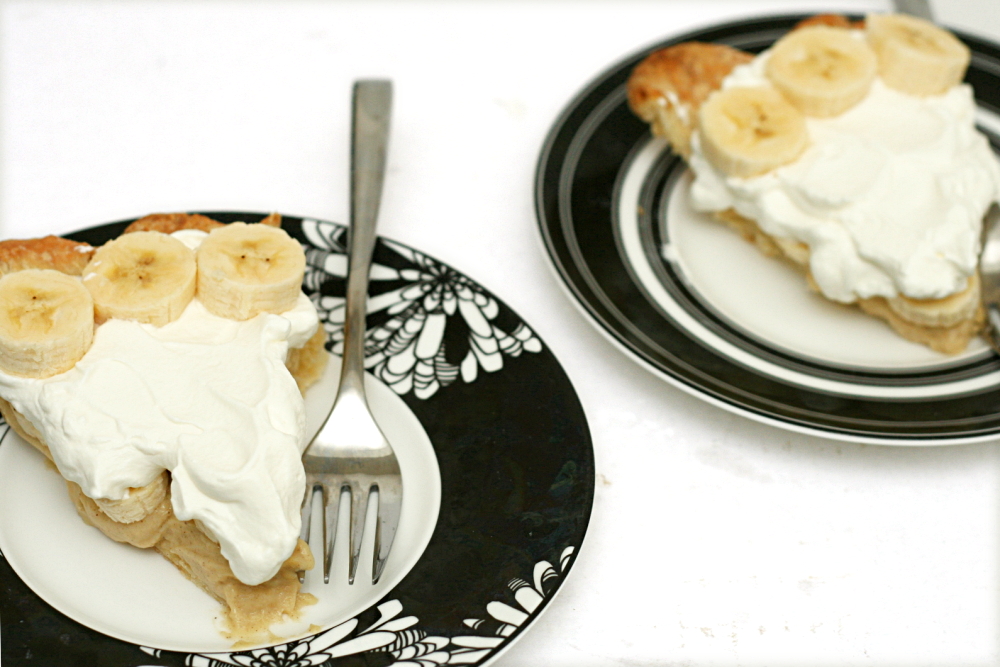
Poor Dave. His favorite dessert is banana cream pie, and I just don’t make it very often. For one thing, it’s kind of a lot of work, what with the crust and the pastry cream and the whipped topping. (Okay, so whipped cream isn’t hard to make. But still.) Plus, it doesn’t have a long shelf life and it isn’t an easy recipe to scale down, so it’s tricky to make for just the two of us. I pretty much only make banana cream pie on his birthday.
copy-of-img_1381

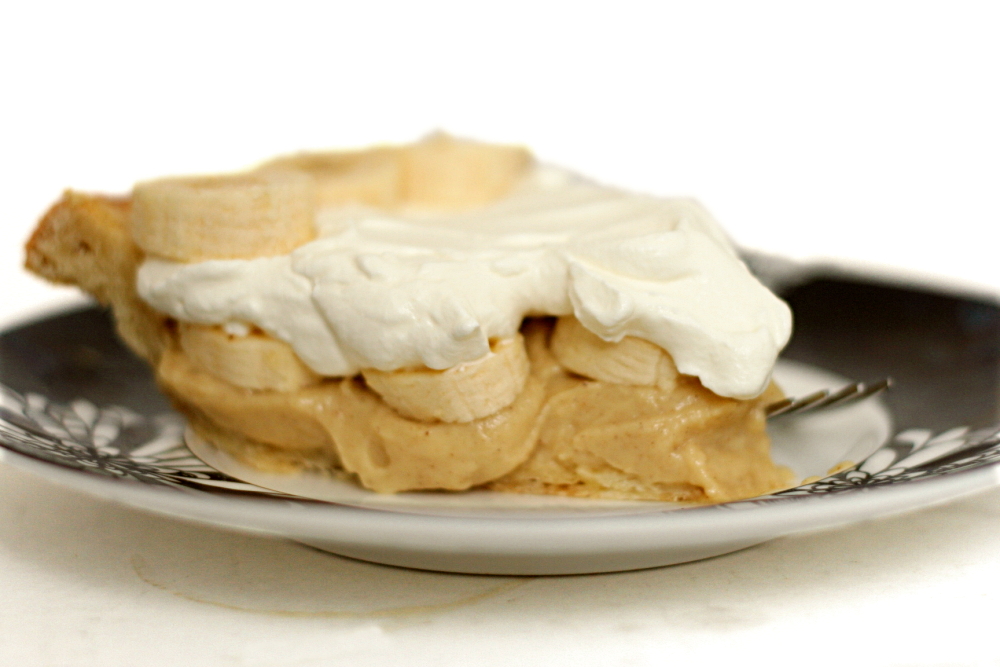
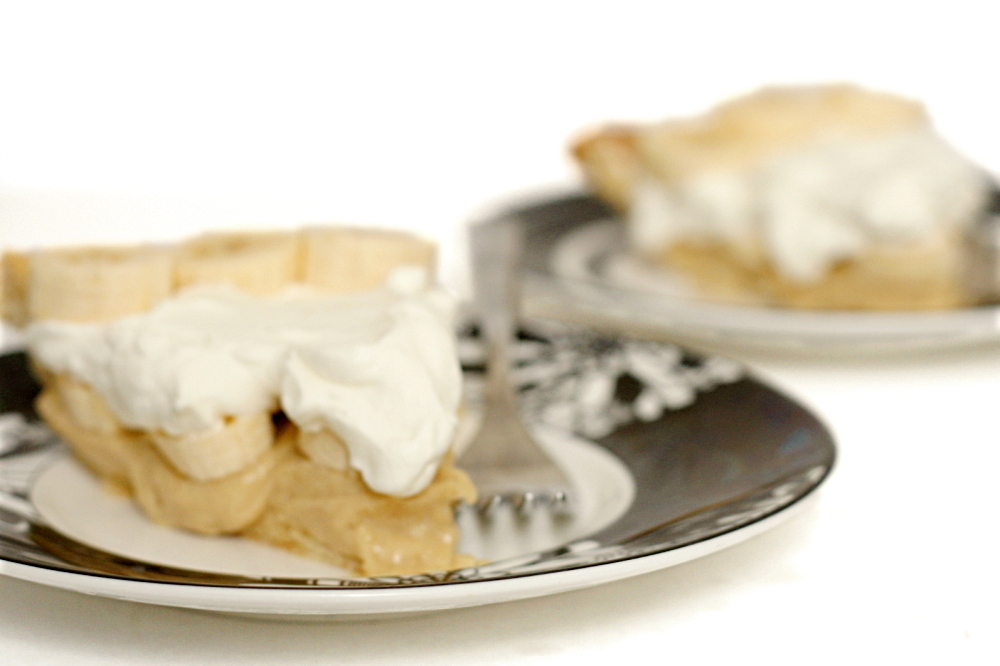
To avoid watery separated whipped cream and old browned bananas, I made and baked the pie crust and spread the pastry cream in it, without adding the bananas and topping. I sliced bananas and whipped cream each time we ate pie, instead of doing it all at once.

copy-of-img_1383

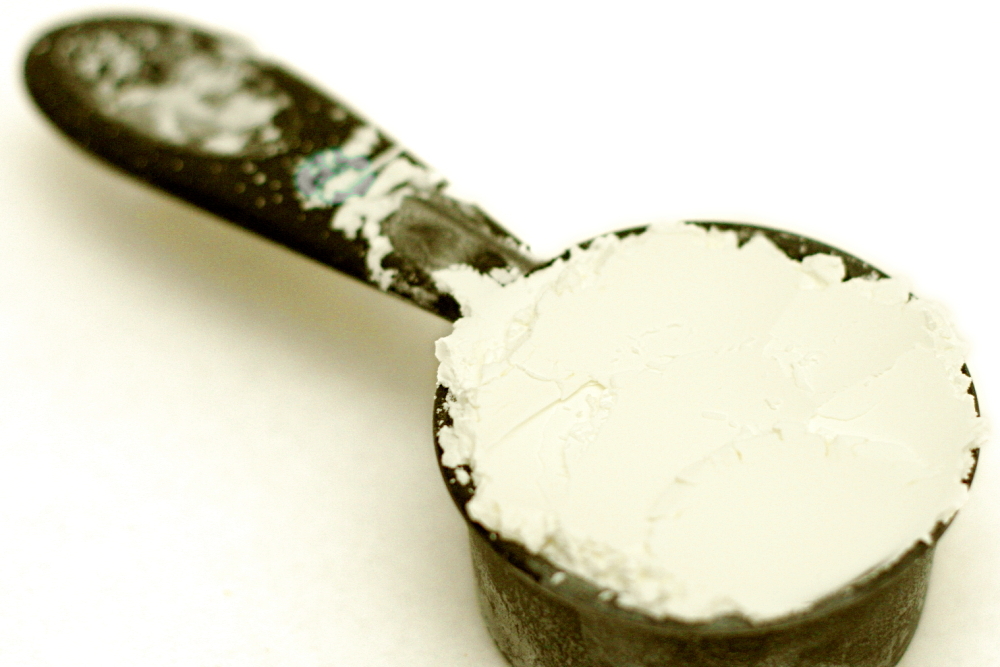
A number of people have said that their pastry cream was too thick, and they added extra milk to thin it. I think I’ll use less cornstarch instead. It seemed like there was a little chalkiness in the pastry cream, which I’m thinking is due to undissolved cornstarch.

copy-of-img_1387

Other than that, I thought the pie was really good. The cinnamon and nutmeg in the pastry cream was subtle; in the future, I think I’ll keep the nutmeg, but maybe not the cinnamon. The small amount of sour cream in the whipped cream added a nice tangy flavor. With just the two of us, it took us, um, less than 2 days to get through the whole pie. Maybe I didn’t need to worry about the pie not storing well after all…

copy-of-img_1417

I’ll be sure to make this again. Next year. For Dave’s birthday.

Amy, who chose this recipe for Tuesdays with Dorie, has the recipe posted.

One year ago: Scotch Eggs

copy-of-img_1416