Archives for June 2009

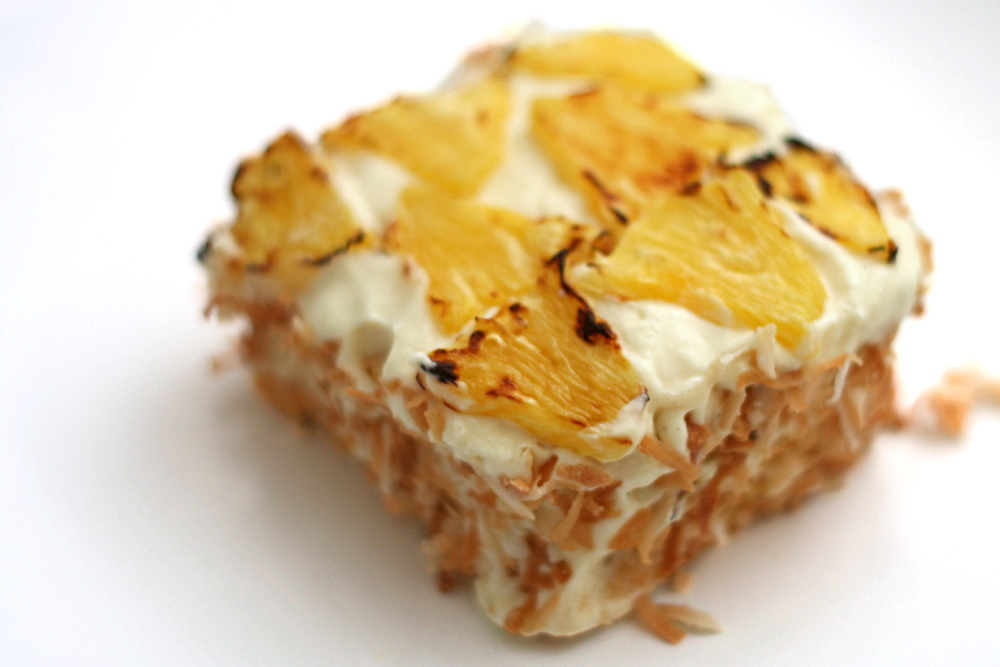
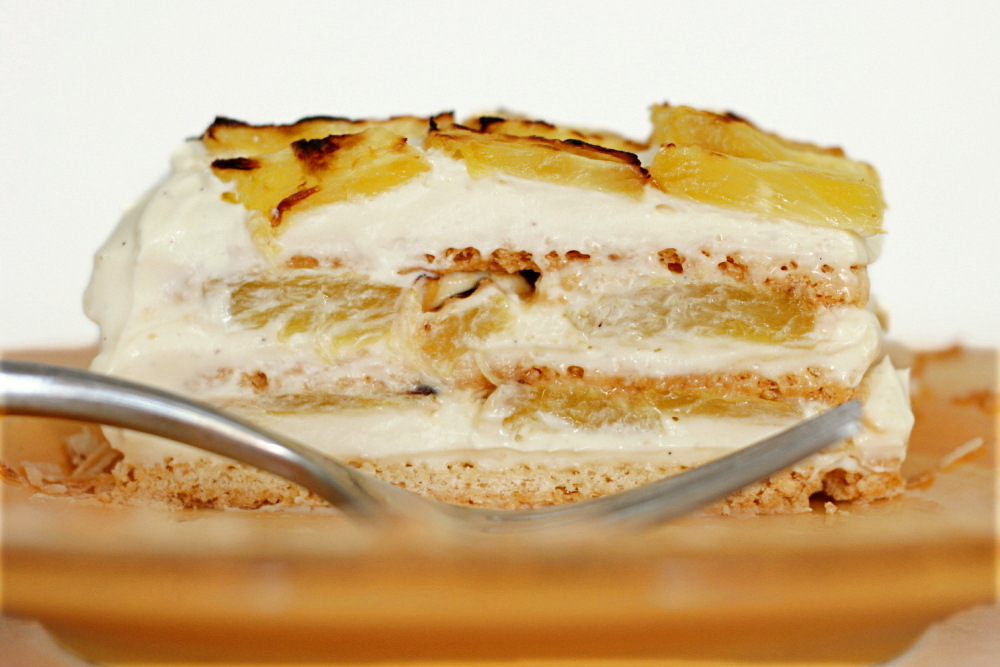
coconut roasted pineapple dacquoise

copy-of-img_6478

I hear people say that they’re a member of Tuesdays with Dorie because it gets them baking recipes they wouldn’t normally choose for themselves. Usually, I think they’re referring to things that don’t necessarily sound good but then are surprisingly tasty, like the peanut butter chocolate chip oatmeal cookies were for me.
copy-of-img_6465

I would never have gotten around to making this dacquoise not because it doesn’t look good (the picture in the book is beautiful), but because it’s a pain in the butt. I believe this is the most complex recipe we have made, or will make, for Tuesdays with Dorie.
copy-of-img_6450

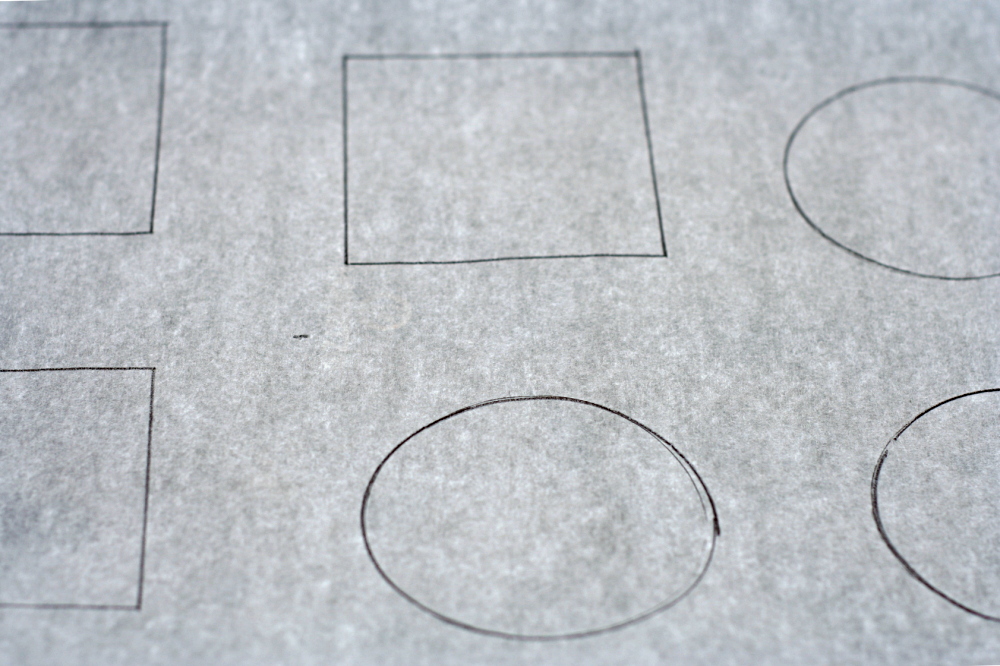
Before the meringue shells can even be made, a few preparation steps are in order – outlining the area on which to spread the meringue and grinding ingredients in the food processor. Only then can the egg whites be whipped and the ground ingredients folded in. Then the meringue needs to bake for three hours.
copy-of-img_6474

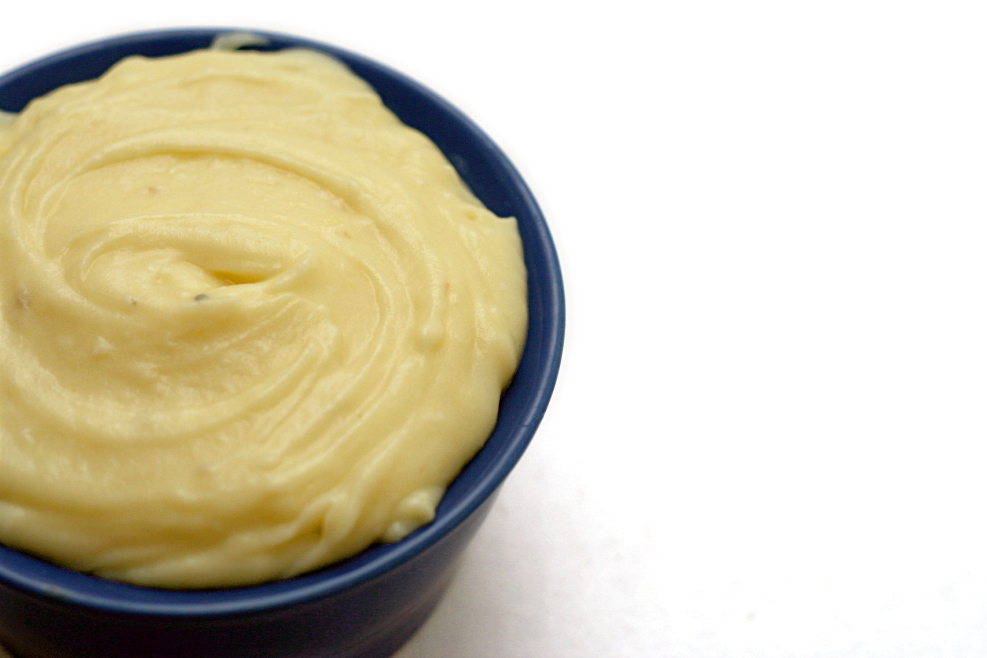
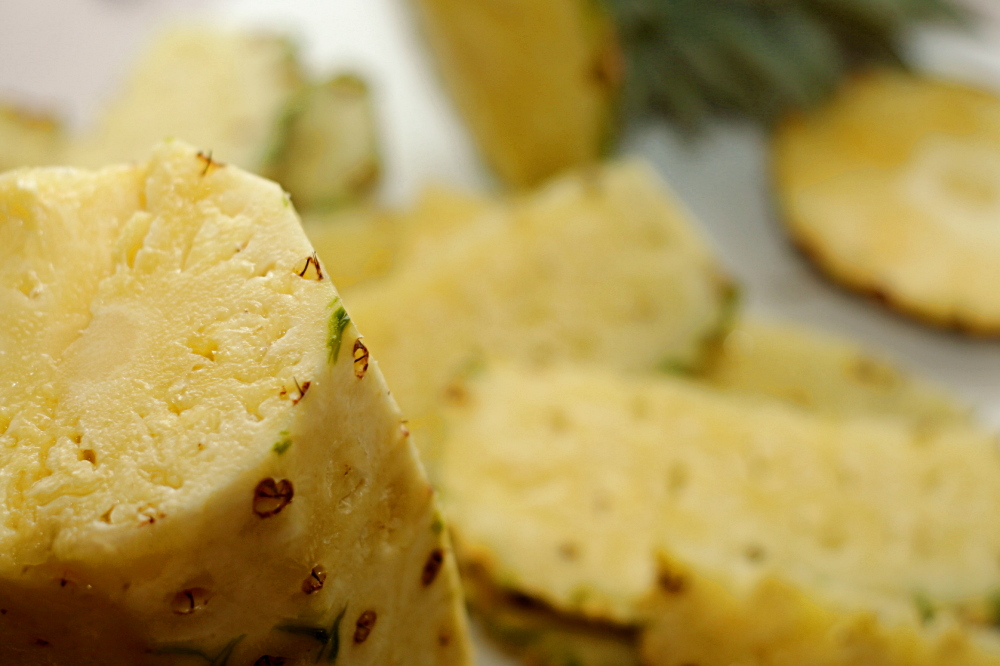
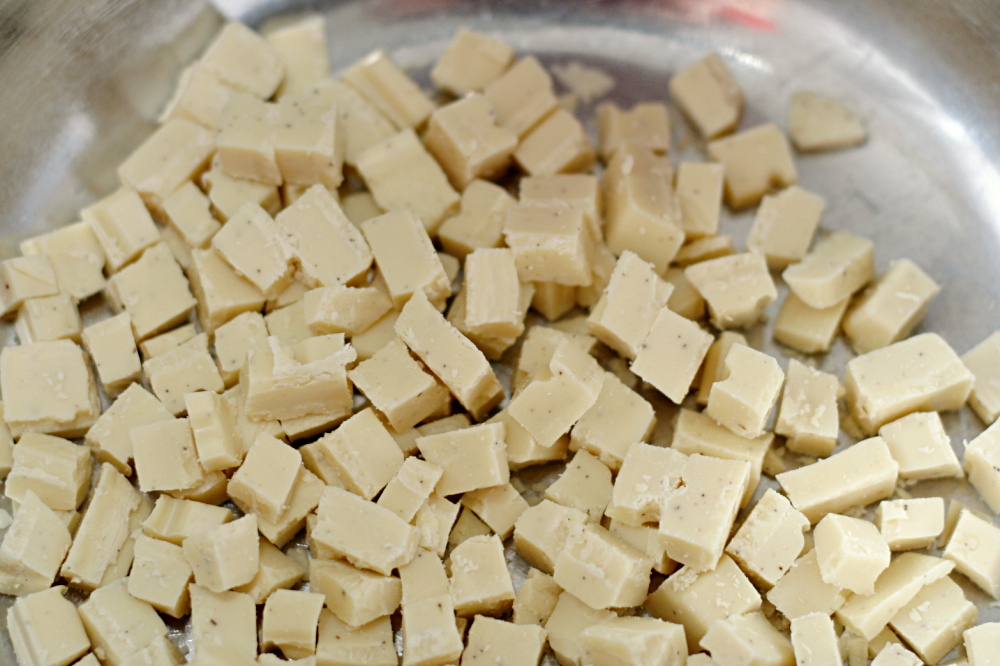
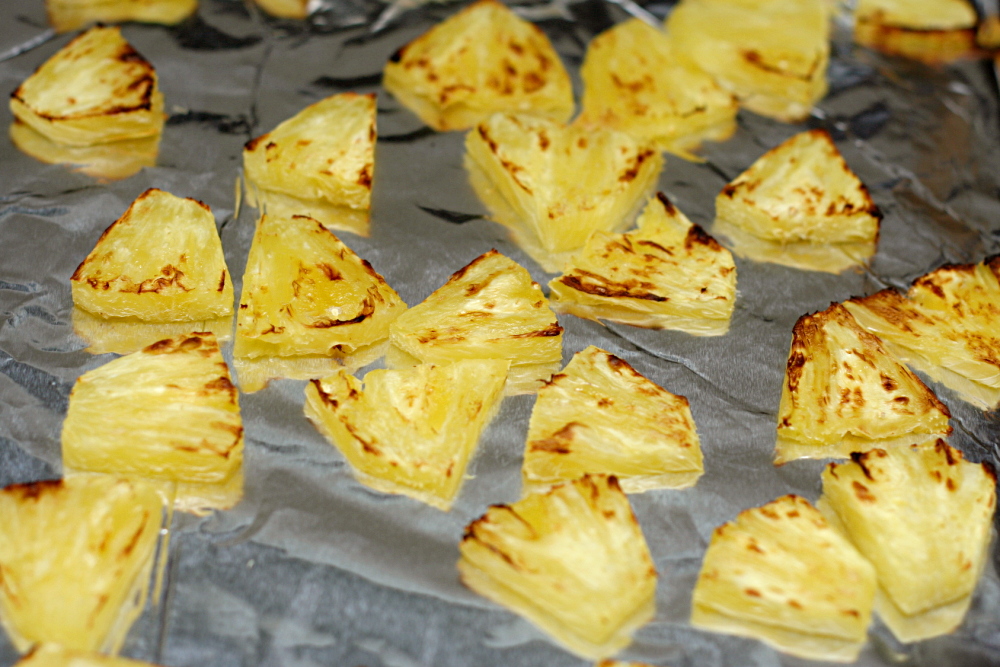
Meanwhile, white chocolate is melted with hot cream, then chilled. And a pineapple has to be cut and roasted, and coconut has to be toasted. Only then can all of the components be combined into a multi-layer dessert – which can’t be eaten until it’s been chilled for several hours.
copy-of-img_6461

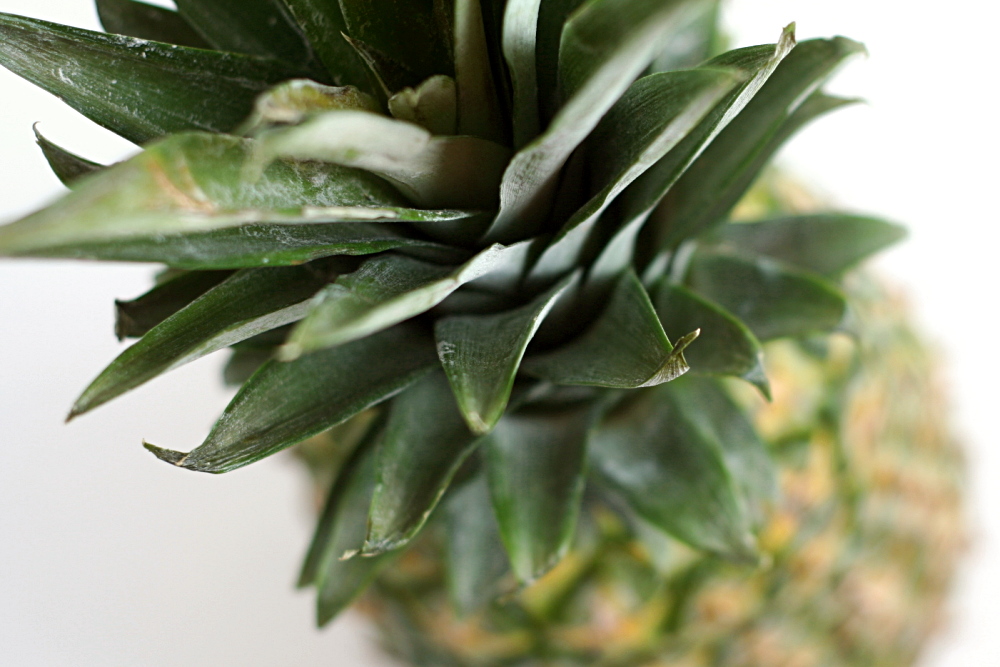
It was a lot of work. But it was fun, because it was the first time I’d baked meringue shells, the first time I’d bought and cut a whole pineapple, and the first time I’ve whipped white chocolate ganache without any swearing.
copy-of-img_6509

I enjoyed the components together. I made enough of everything for two small cakes and layered each one on the day we were going to eat them. The first one didn’t get a chance to set as long as Dorie recommends, and it was good, but a little too sweet for me and Dave. The second one, chilled longer, seemed to mellow as it set, and it was very good. I learned a lot, I had fun, and I got to eat a new, tasty dessert – all in all, it was a good week, despite my initial reservations (i.e., whining).

Andrea chose this recipe, and she has it posted.

One year ago: Pigs in a Blanket – we just had this for dinner last week!
copy-of-img_6520

mushroom salad

copy-of-img_5931

I used to read cookbooks like novels. I don’t require pictures, and I don’t like to skip around – I’ll be annoyed making the chocolate cake from Chapter 10 if I’m still reading through Chapter 2’s salads. It feels like a spoiler; like when I was sad to see Gandalf die in The Fellowship of the Ring, and Dave tried to make me feel better by telling me that he comes back in the next book/movie. I hate spoilers.

copy-of-img_5920

These days, though, I can’t seem get through an entire cookbook. I think I need a new method – like accepting that it’s okay not to read every step in every recipe. I’m only on Chapter 3 (Eggs, Dairy and Cheese, yum) in Bittman’s How to Cook Everything Vegetarian, which I got for Christmas. I’m still very happy with the cookbook – everything I’ve made from it has been great, and the recipes get me excited to cook. But right now, it’s just sitting on my shelf while I focus on other things. Since I haven’t read much more than the soups and salads chapters, that’s all I ever make from the book.

copy-of-img_5925

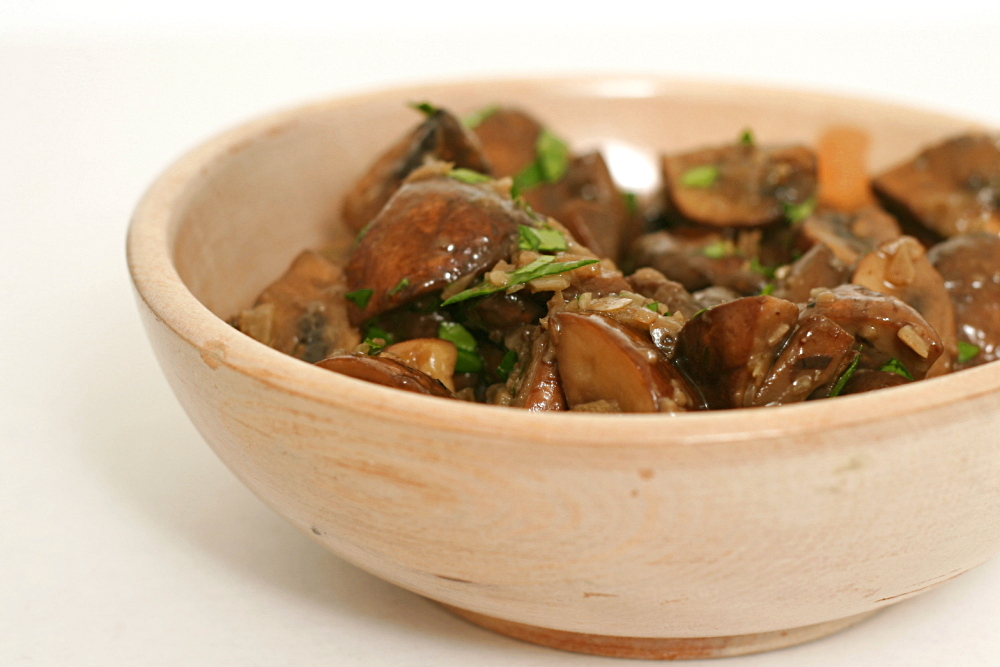
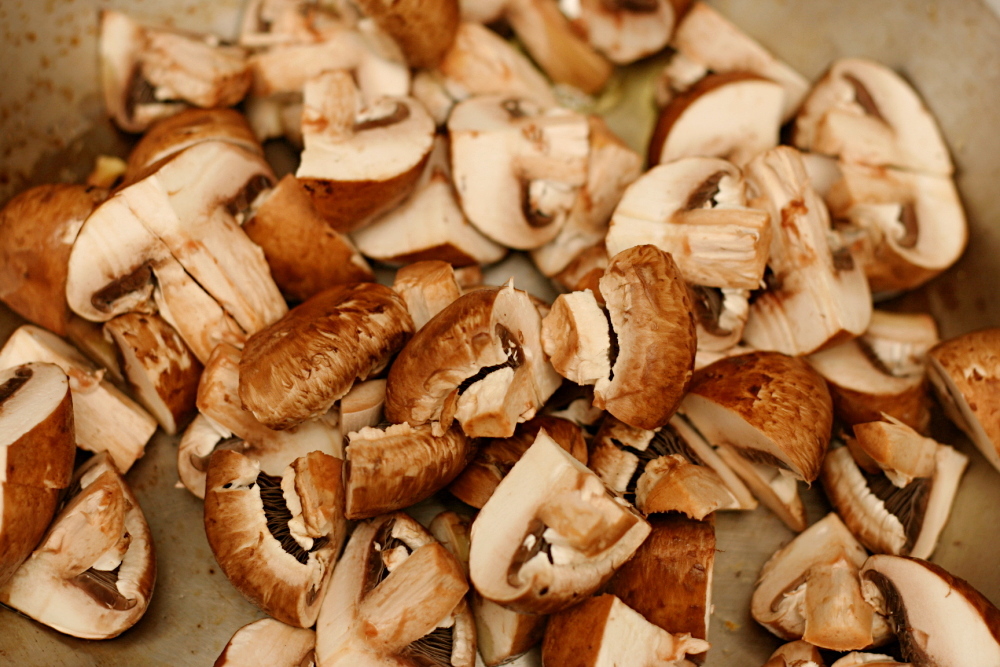
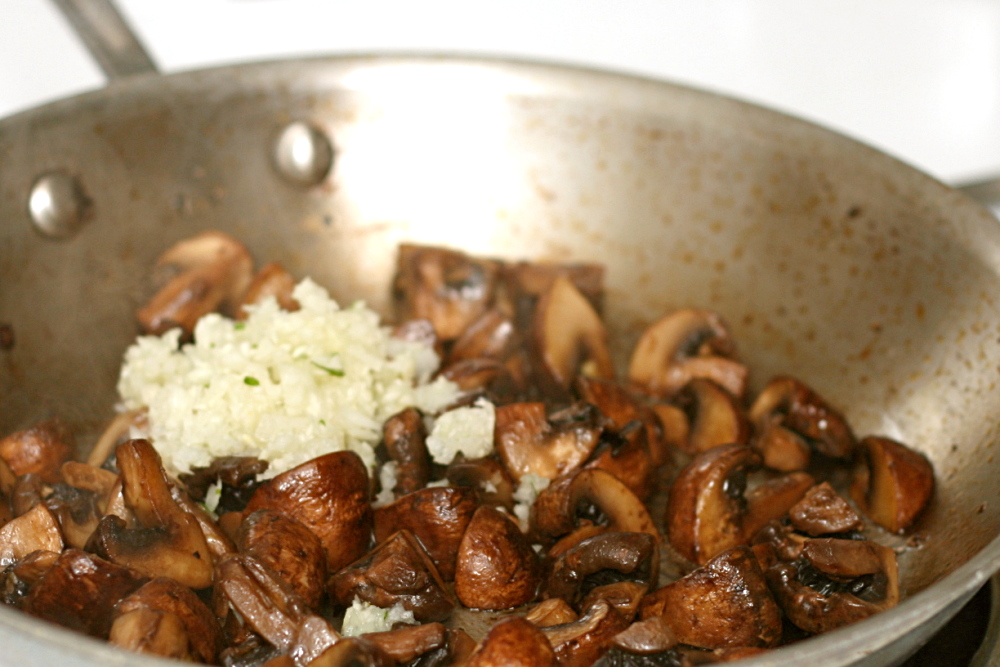
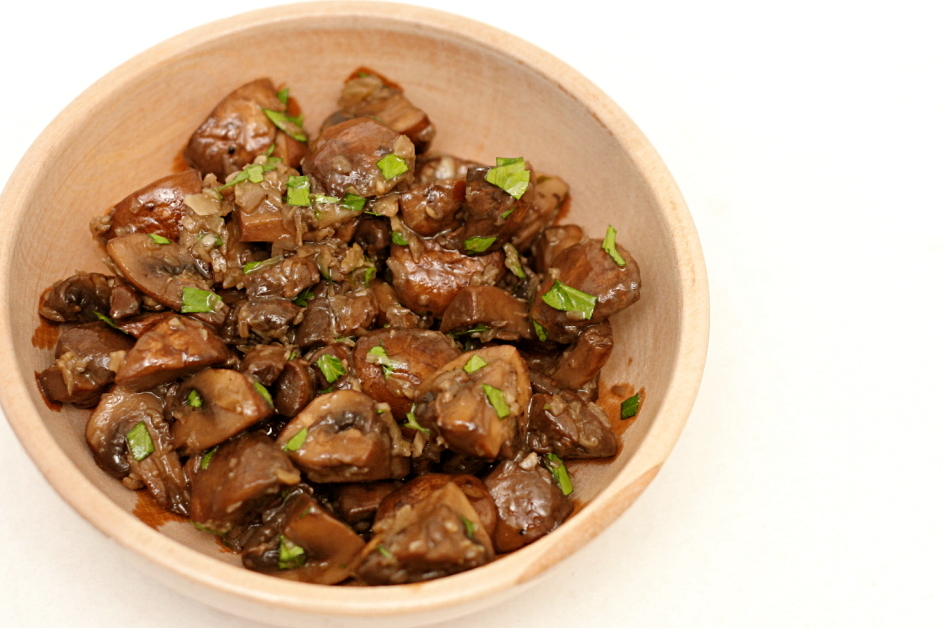
These mushrooms, from the salad chapter, made a handy side dish for meatball sliders. They’re nice and easy – after sautéing the quartered mushrooms with some aromatics, you mix them with vinegar and olive oil. Then just set them aside to marinate.

The simple mixture was surprisingly good. I was worried that Dave wouldn’t like them, because he doesn’t like pickled anything, but they weren’t sour, just a little tangy. It makes the big green cookbook on my shelf that much more enticing.

copy-of-img_5935

One year ago: Cappuccino Cream Puff Rings

Mushroom Salad, Italian-American Style (from Mark Bittman’s How to Cook Everything Vegetarian)

I didn’t actually measure anything, which is normal for me for a Bittman recipe. He presents his recipes more as ideas to get you started than rules to follow. I’m guessing I used less oil, and I just added vinegar to taste.

¼ cup extra virgin olive oil
1 pound butter or other mushrooms, trimmed and quartered
salt and freshly ground black pepper
¼ cup minced onion
1 tablespoon slivered garlic
½ cup red wine vinegar
½ cup chopped parsley leaves for garnish

1. Put 3 tablespoons oil in a wide skillet over medium heat. When hot, add the mushrooms, and cook, stirring occasionally and sprinkling with salt and pepper, until they give up their liquid and begin to brown, about 10 minutes. Lower the heat a bit and add the onion, then cook until the onion softens, another 5 minutes or so. Add the garlic and cool, stirring occasionally, about 2 minutes more. Turn off the heat.

2. Transfer the mushrooms to a bowl and stir in the vinegar and remaining tablespoon of oil. Let cool to room temperature for at least 30 minutes. Garnish and serve or let sit at room temperature for another hour or two before serving.

honey peach ice cream

img_6200-copy

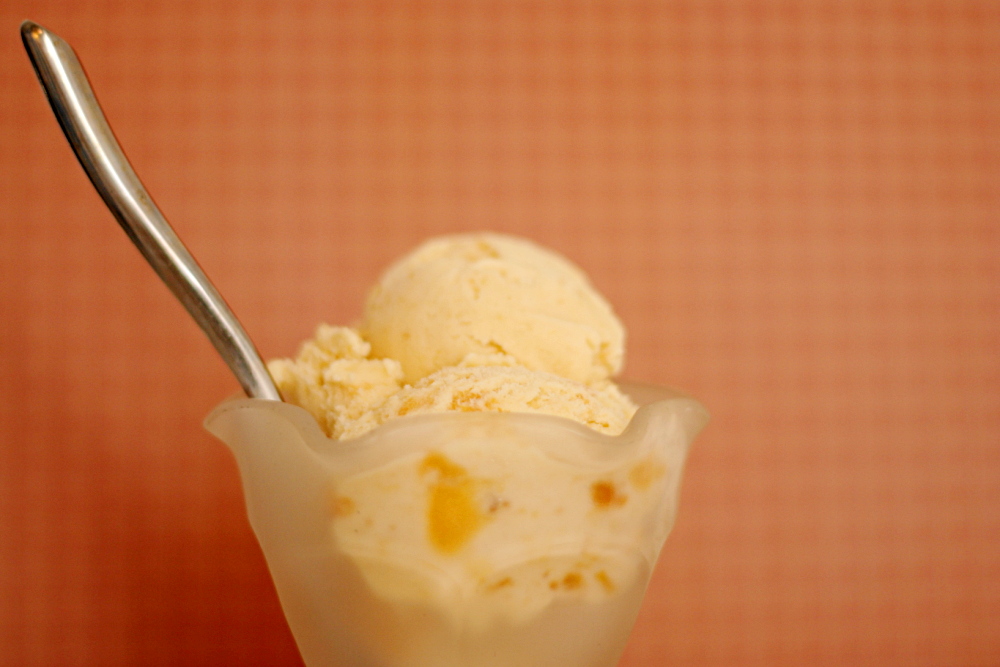
It seems lately that ice cream isn’t really my thing. For one thing, it hurts my sensitive teeth. For another, when it comes to making desserts, I really want to use the mixer. And the oven. And butter and flour and leavening. The blender and the stove? Pbbth! That’s for cooking, not baking. Although watching the ice cream slowly change texture while churning is fun.
img_6156-copy

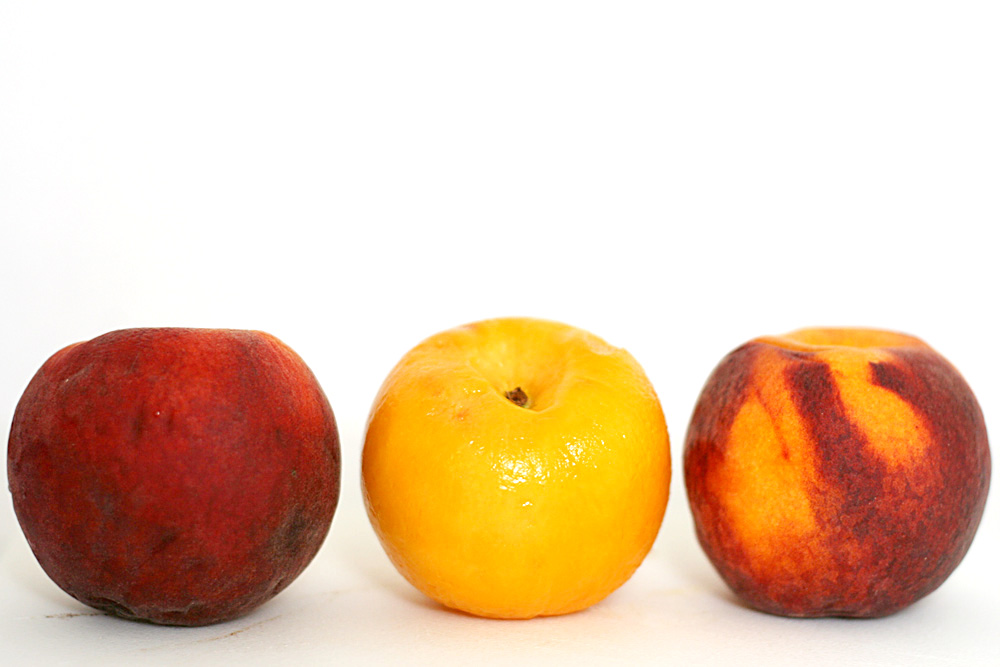
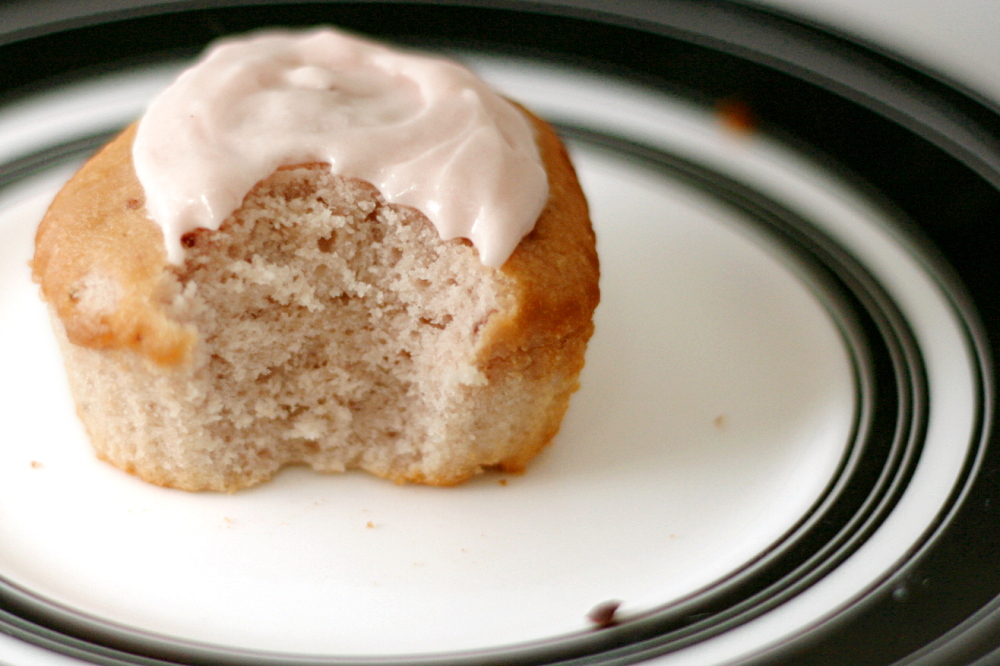
But if I’m making ice cream, at least it’s peach ice cream. It’s the only flavor I remember my mom making as a kid, and I always loved it, even though I thought I didn’t like peaches, picky little brat that I was.

img_6160-copy

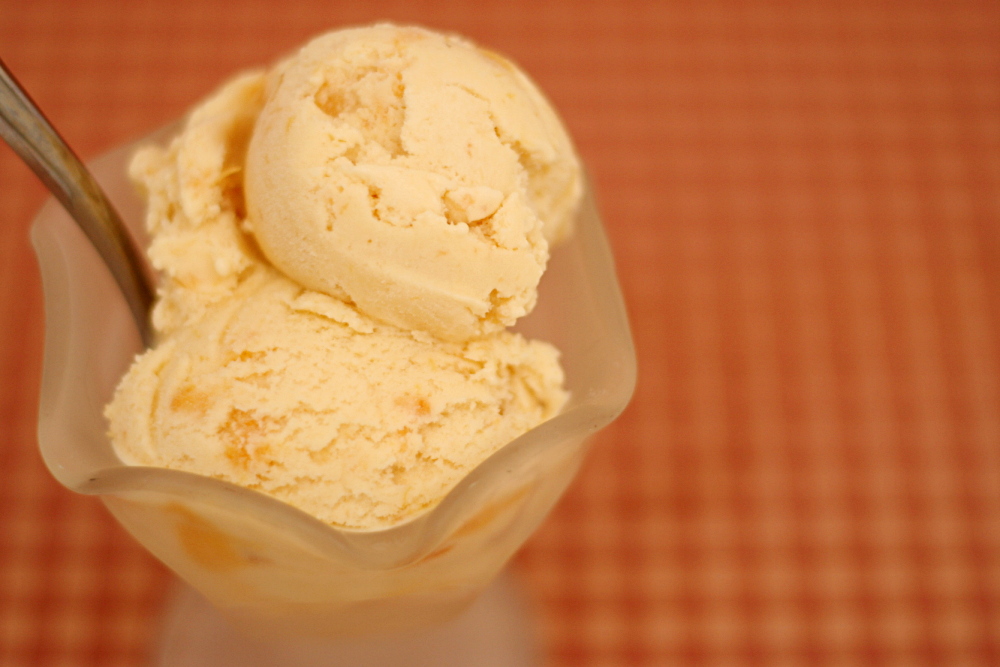
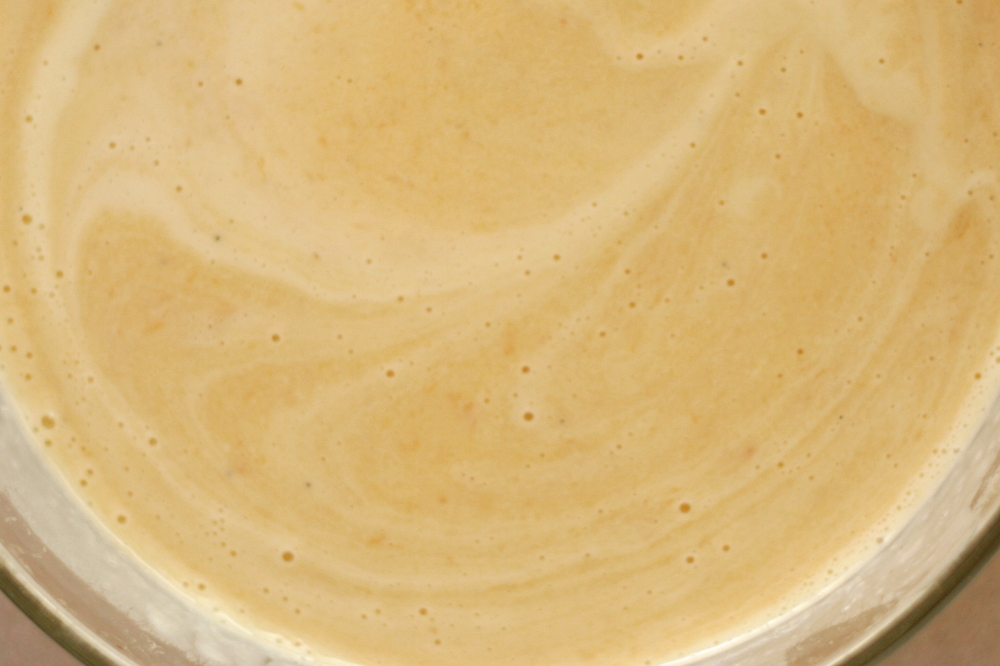
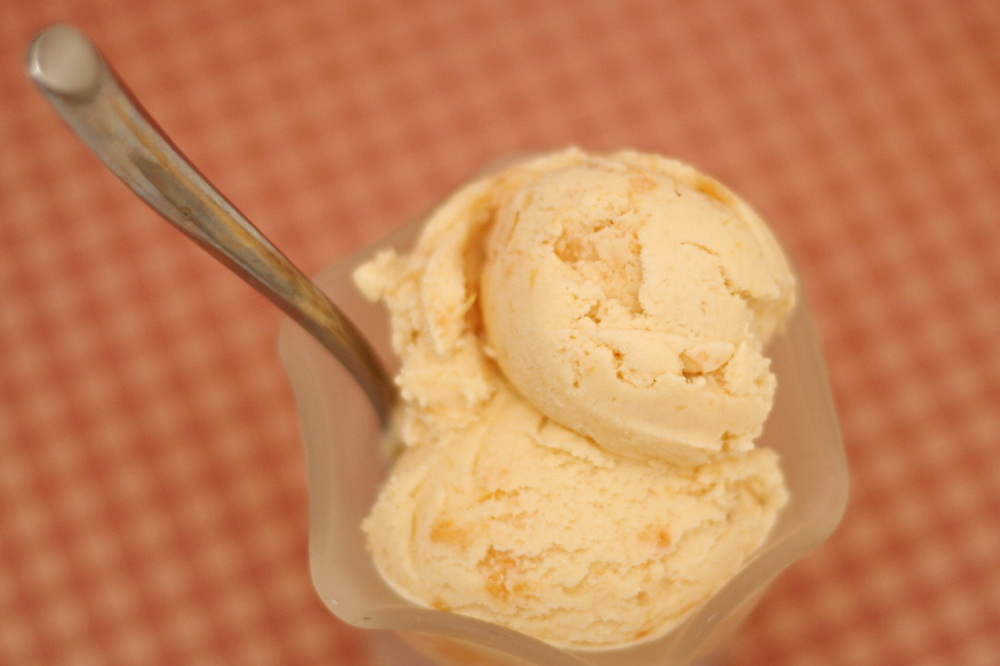
For this ice cream, peaches are softened over low heat with honey, then pureed and made into a custard with egg yolks, sugar, milk and cream. Once the custard is chilled, it’s churned into ice cream, with more peaches, chopped, mixed in at the end.

img_6165-copy

Because I had no desire for peach-flavored ice cubes dispersed throughout my ice cream, I stirred some vodka into the chopped peaches and let them set for a few hours. Hopefully the alcohol would soak into the peaches and keep them from freezing completely.

img_6197-copy

It sort of worked. Nothing is going to stop ice cream from being cold, of course, but at least the peach bits weren’t ice bits. I personally would have still preferred the ice cream without them, but Dave liked them. The custard part of the ice cream was smooth and soft enough to scoop after spending days in the freezer. It tasted pleasantly peachy, although I’m sure the flavor would be improved by more seasonal specimens than I was able to find. I couldn’t really taste the honey, but since I do like honey quite a bit, I think I’m going to start replacing part of the sugar with honey every time I make peach ice cream.

This ice cream was chosen for Tuesdays with Dorie by Tommi, and she has posted the recipe.

One year ago: Deep Dark Chocolate Cookies

img_6192-copy

Temporarily or not, the above link doesn’t work for the recipe.  So here it is!

Honey-Peach Ice Cream (from Dorie Greenspan’s Baking: From my Home to Yours)

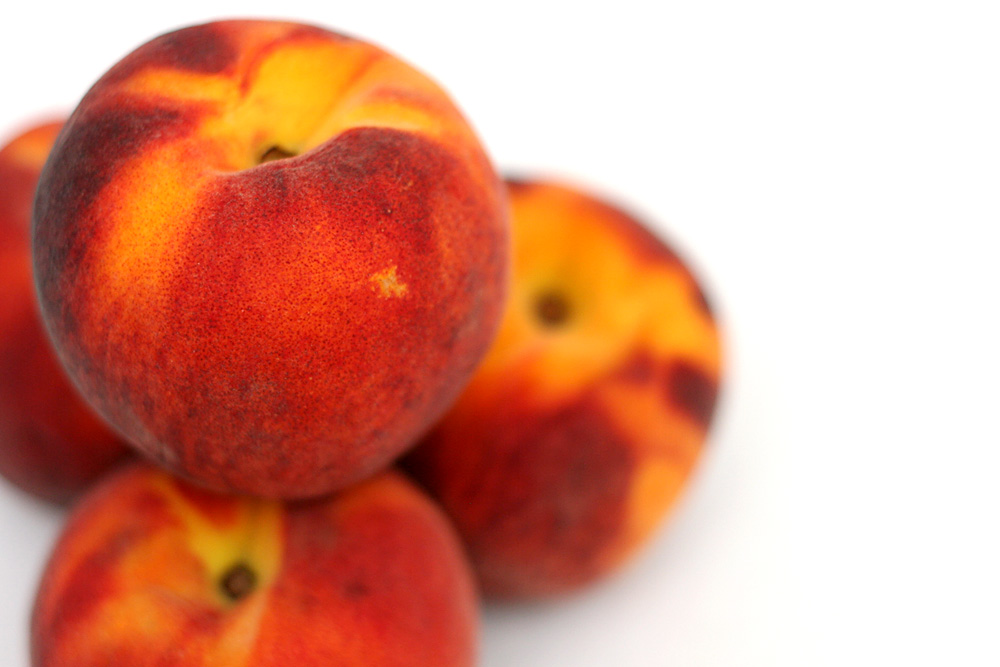
4 large ripe peaches
1/4 cup honey
1 cup whole milk
1 cup heavy cream
3 large egg yolks
1/2 cup sugar
2 tsp vanilla

1. Chop 2 of the peaches into 1/2 inch chunks and toss them in a small saucepan. Add the honey and bring to a boil, lower the heat, cover the pan and cook until the peaches are soft (about 10 minutes). Scrape the mixture into a blender or food processor and puree. Set aside.

2. Bring the milk and cream to a boil in a saucepan. Meanwhile, whisk the yolks and sugar together until blended in a heatproof bowl. Drizzle in a bit of the hot milk mixture to temper the eggs (making sure they don’t curdle). Slowly add the rest of the milk mixture. Pour the milk/egg mixture back into the saucepan and heat while stirring until it thickens. Remove from the heat, pour into a heatproof bowl, and stir in the vanilla and peach puree.

3. Refrigerate the custard until chilled. Scrape into the bowl of an ice cream maker and churn according to the manufacturer’s instructions. While the ice cream is churning, dice the remaining 2 peaches and add them just before the ice cream is thickened. When the ice cream is ready, pack into a container and freeze for at least 2 hours until it is firm enough to scoop.

strawberries and cream pie

copy-of-img_6404

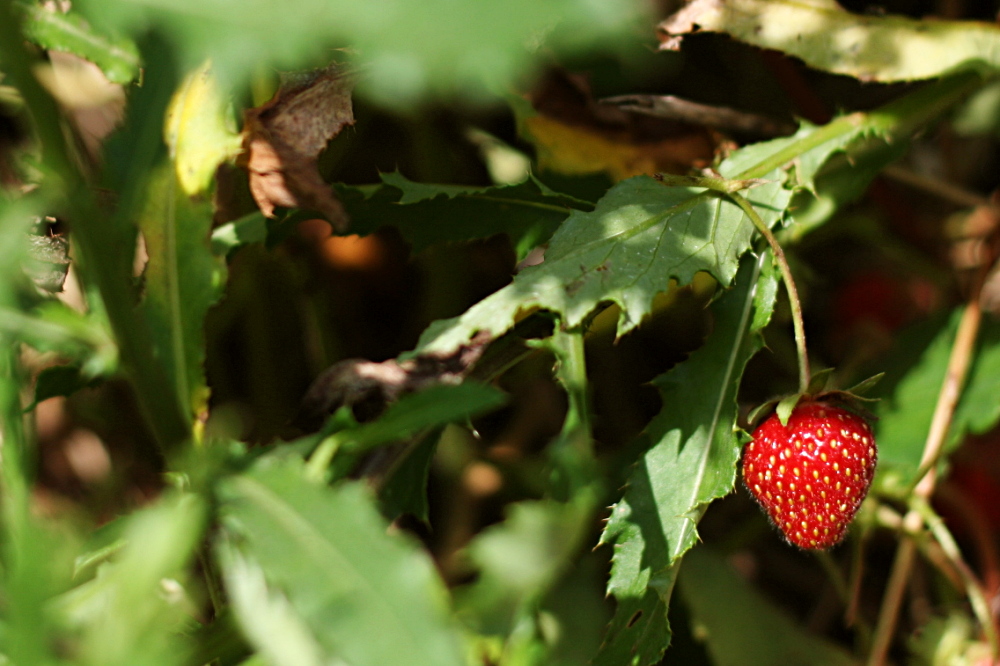
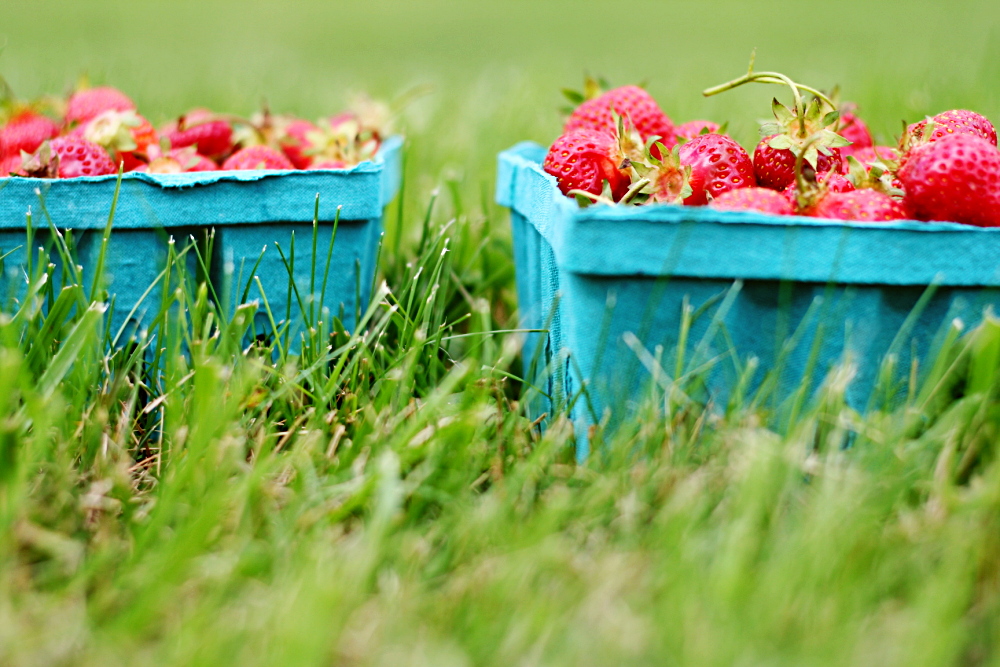
Those U-pick places tend to be better in theory than in practice for me. I do like knowing that my food is picked at its peak ripeness. It makes for some wonderfully sweet strawberries. On the other hand, ew, bugs. And thorns, and rotting berries that you can’t see under all the leaves and you don’t find until you reach under to grab for a nearby berry and squish!

copy-of-img_6327

Not that you shouldn’t try it! Or you could just buy the pre-picked cartons in the farm store right nearby.

copy-of-img_6341

It was worth it in the end though, because I love this pie. I’ve managed to make it once each spring since I found the recipe. And Dave and I managed to eat three-quarters of it within 24 hours this year! That’s something to be proud of.

copy-of-img_6393

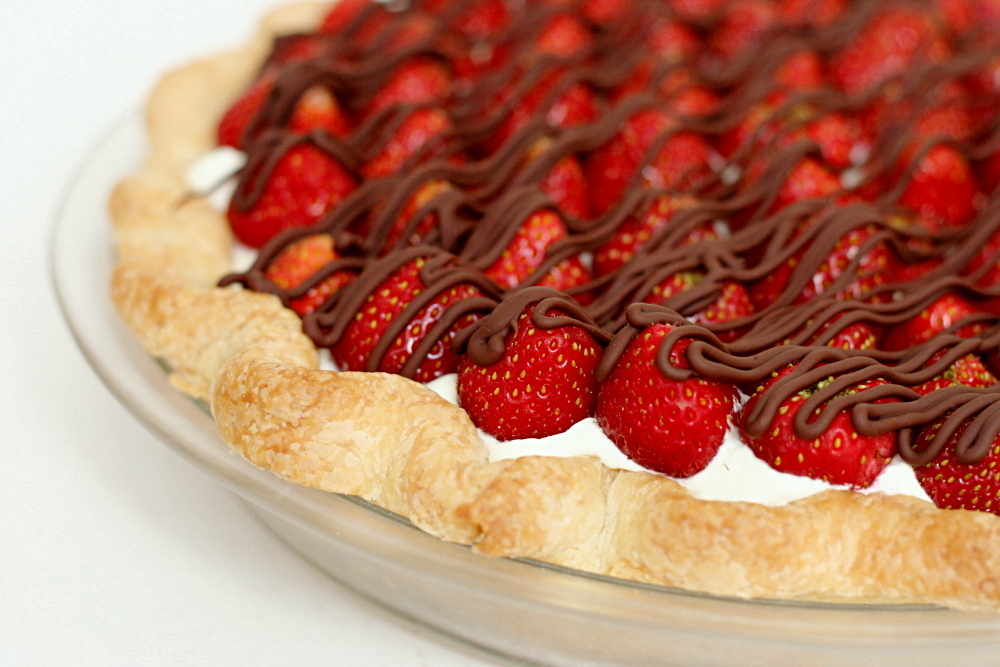
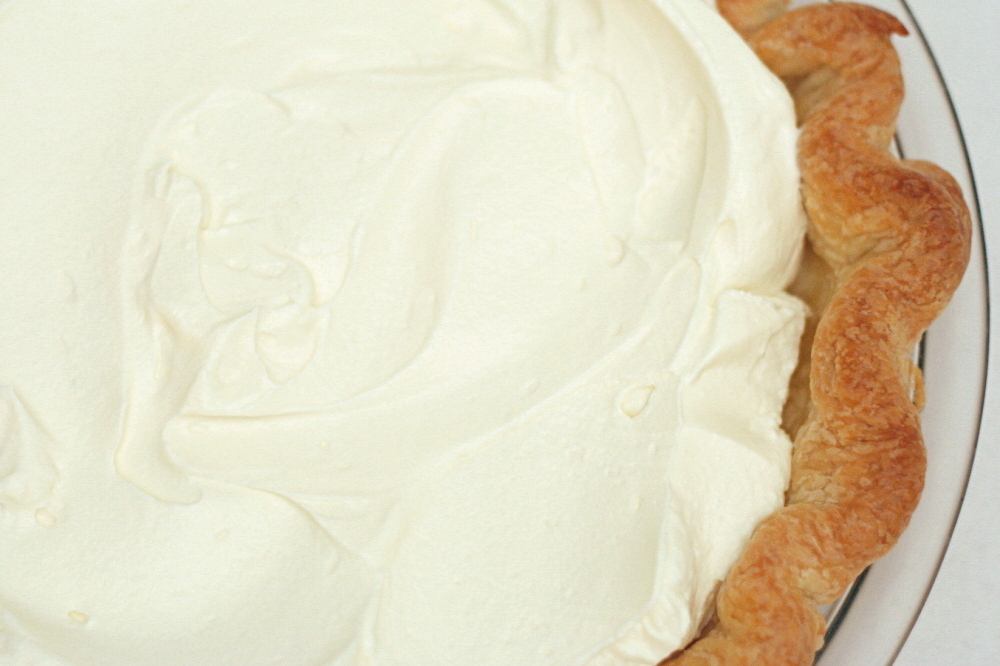
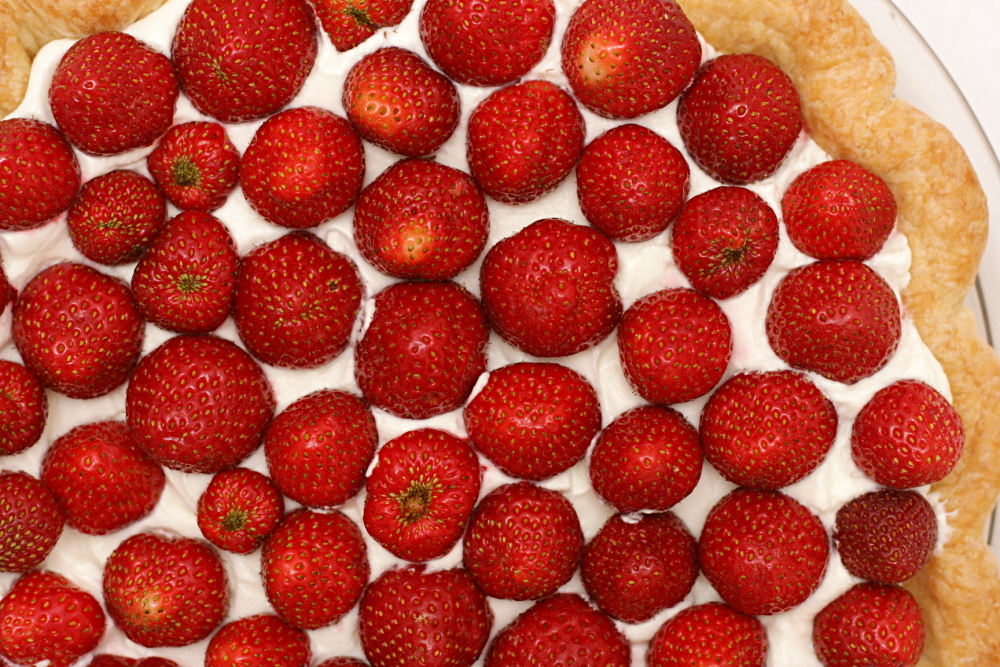
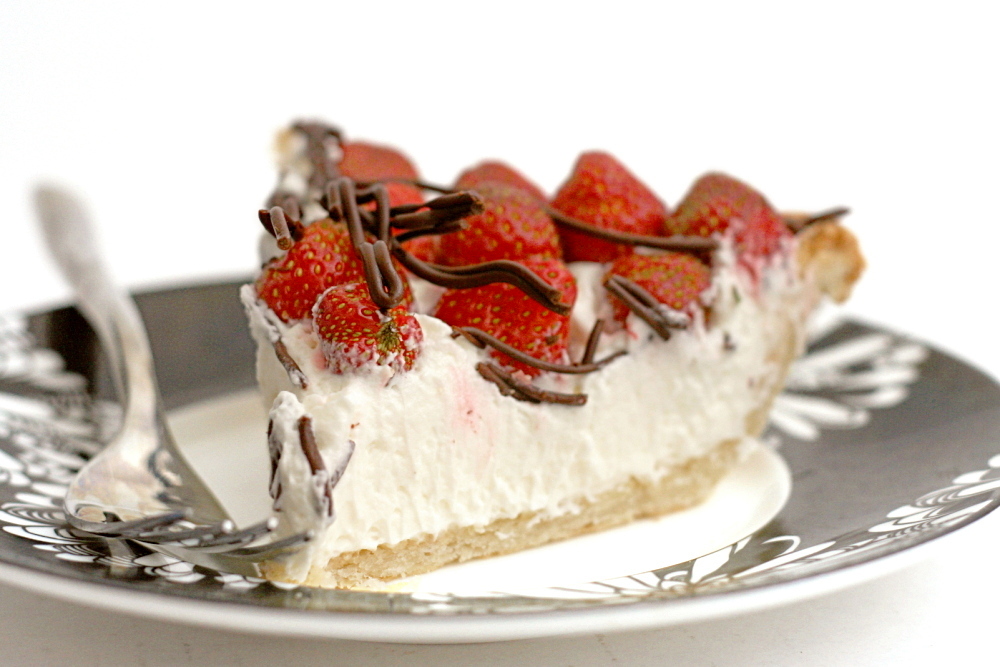
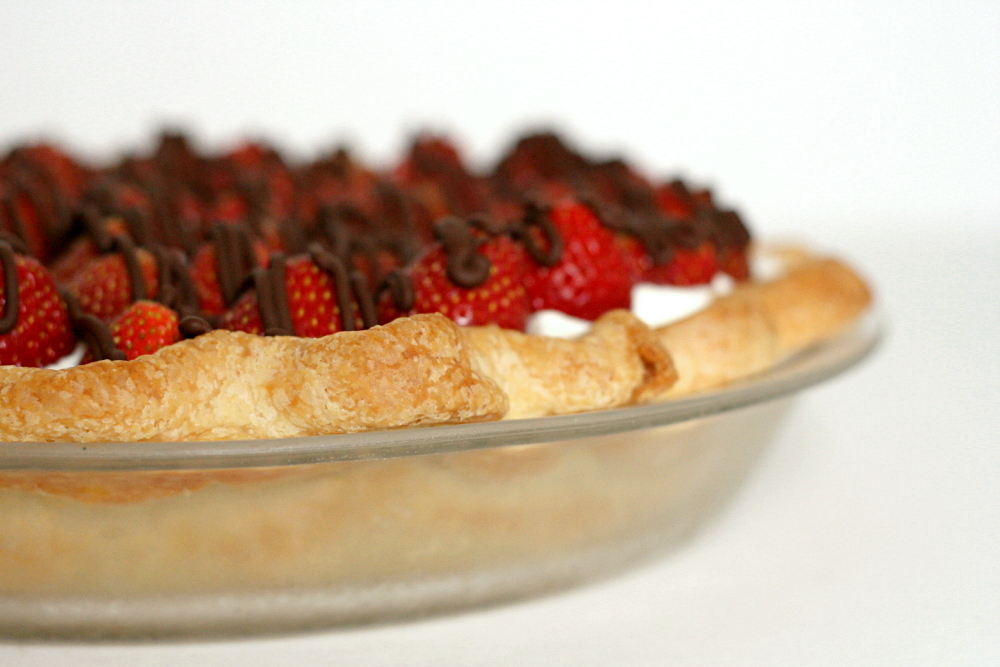
The thing is, I can’t resist cheesecake batter (sugary cream cheese!), and that’s mostly what this pie is. Cream cheese is mixed with sugar and a bit of almond extract, then whipped cream is folded in to lighten it. (I love when heavy cream is used to lighten something.)  The cream filling is topped with strawberries, which are kept whole for maximum visual impact, and then a bit of dark chocolate is drizzled over the top for some contrasting color and flavor.

copy-of-img_6402

You don’t need fresh-picked strawberries for this pie. The little raspberry-sized berries we picked made it a little easier to cut nice slices, but bigger strawberries require less hulling.  And anyway, it’s hard to mess up this pie, with the sweet, creamy filling topped with slightly tart strawberries and just a bit of bitter chocolate, all supported by flaky pie crust.  This is the only strawberry dessert I make a point to make every single spring.

copy-2-of-img_6419

One year ago: Poached Eggs with Arugula and Polenta Fingers

Strawberries and Cream Pie (adapted from Pillsbury’s Complete Cookbook)

Serves 8-10

You could definitely use the full cup of cream in the filling (which is what the original recipe recommends) if you have more cream around for the chocolate, but I didn’t and I kicked myself for not saving a bit of the 1-cup container of cream I’d brought. I used butter with the chocolate instead, but the chocolate hardened too much when it was cold and broke apart into shards when I cut slices.  Cream will keep it softer.

1 cup cold heavy cream, divided
8 ounces cream cheese, softened
1/3 cup (2.33 ounces) sugar
¼ to ½ teaspoon almond extract
1 pie crust for a 1-crust pie, completely baked and cooled
2 pints fresh whole strawberries, hulled
2 ounces bittersweet chocolate, finely chopped

1. In a medium bowl (or the bowl of a standing mixer fitted with the whisk attachment), beat 1 cup minus 1 tablespoon of the cream on medium speed. When the cream is frothy, increase the speed to high and whip until the cream holds firm peaks.

2. In a separate large bowl (or the bowl of a standing mixer fitted with the paddle attachment), beat the cream cheese on medium speed until it’s soft and creamy. Add the sugar and extract and continue beating until combined.

3. Fold about 1/3 of the whipped cream into the cream cheese to lighten the mixture, then add the remaining cream and continue folding until it’s incorporated. Evenly spread the cream mixture in the pie crust. Arrange the strawberries, pointed side up, over the filling.

4. Melt the chocolate with the remaining 1 tablespoon cream over very low heat, stirring constantly, or in the microwave on medium power, or in a double boiler. Drizzle the chocolate over the strawberries. Refrigerate the pie until set, about 1 hour.

copy-of-img_6413

pork tenderloin with rhubarb sauce

copy-of-img_6083

For years, before I had a food blog, I primarily cooked Cooks Illustrated recipes. I did worry about whether I was relying on them too much and if I was creative enough, but because I was making great food and learning useful tricks, I didn’t think too much of it. The main problem I had was that CI’s schtick is to perfect common recipes, so while I was making very good versions of familiar foods, I rarely tried unfamiliar flavor combinations.

copy-of-img_6056

To solve this problem, I bought their Restaurant Favorites at Home cookbook. And then I started a food blog, found other fun recipes to try, and this cookbook mostly got ignored. Feeling uninspired recently, I did a quick flip through it and lucked into something perfect – an opportunity to use rhubarb while it’s in season, plus a type of meat that I underutilitize.

copy-of-img_6057

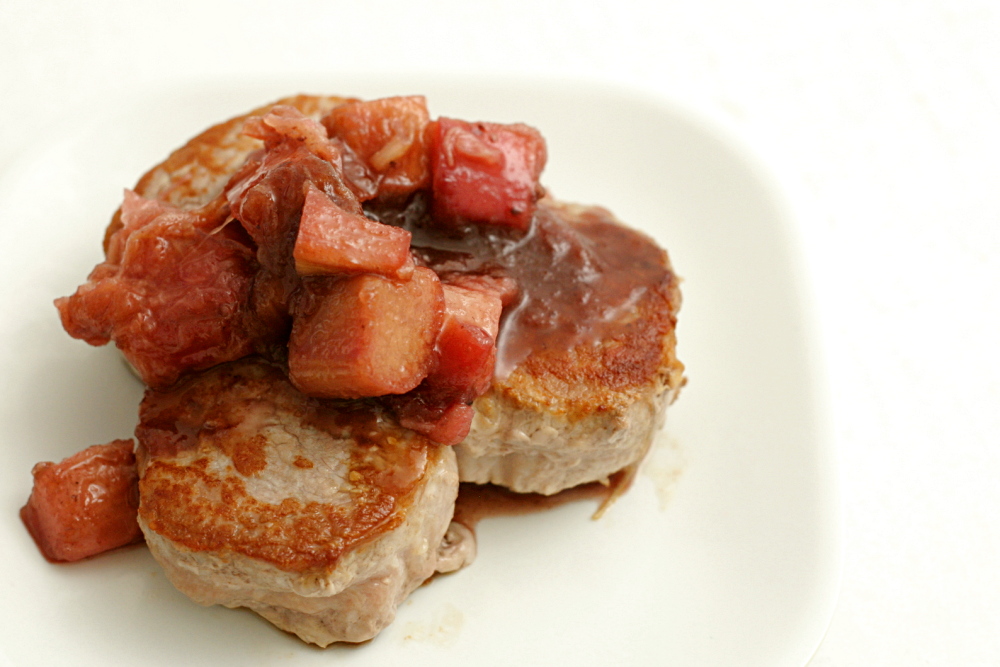
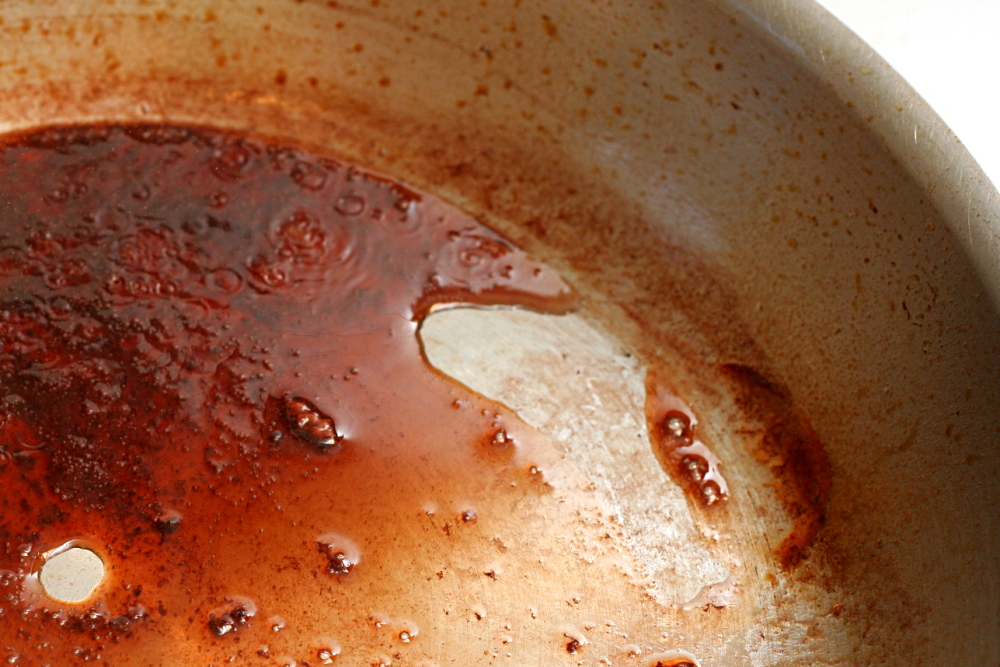
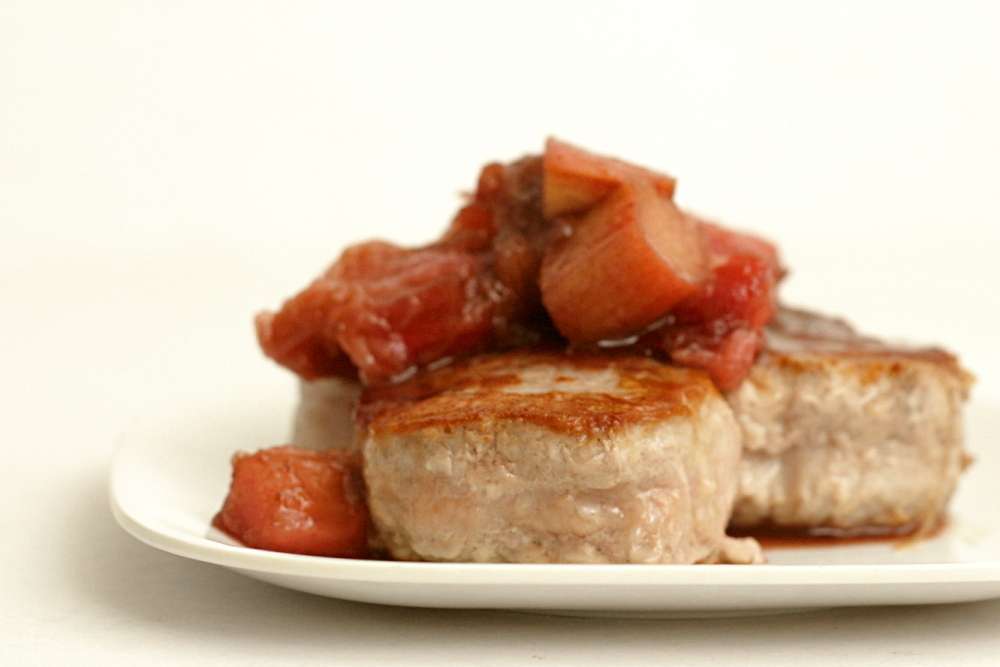
Pork tenderloin seems underappreciated, considering that it’s the pig version of filet mignon. Plus one tenderloin is such a perfect serving size for two people, and it’s easy to cook. Season, set in a hot pan, flip. Then maximize flavor by using the fond in a sauce – a sauce with reduced port and rhubarb.

copy-of-img_6070

As much as I do like sweet sauces with pork, the ratio of rhubarb to meat was too much for me. I’d prefer about half of the amount of sauce because it overpowered the meat. The other, less important, change I needed to make was to cook the rhubarb for a lot less time, previous to adding it to the rest of the sauce ingredients. Reaching the recommended “softened but still retains its shape” texture took about half the time as the recipe implies.

copy-of-img_6081

With those very easy adjustments, this was a simple and elegant seasonal main dish. I love rhubarb, so I’m happy with any chance I get to eat it, and especially with one of my favorite cuts of meat.

copy-of-img_6087

One year ago: La Palette’s Strawberry Tart

Pork Tenderloin with Rhubarb Sauce (from Cooks Illustrated’s Restaurant Favorites at Home)

6 servings

This is the original recipe. Next time I make it, I’ll halve the rhubarb and the sugar (using 3 stalks of rhubarb and 6 tablespoons of sugar) and keep a close eye on the rhubarb while it cooks in Step 1, counting on it being tender after about 15 minutes of cooking. Also, I found it unnecessary to pound the meat – I just squashed it down a bit.

6 large rhubarb stalks, cut into ½ inch dice (about 4 cups)
¾ cup sugar
3 small pork tenderloins (12-16 ounces each, for a total of 2.5-3 pounds), trimmed of silver skin and excess fat
salt and ground black pepper
2 tablespoons vegetable oil
½ cup ruby port
1 cup low-sodium chicken broth

1. Cook the rhubarb and sugar together in a medium, heavy-bottomed saucepan over low heat until the rhubarb has softened but still retains its shape, 25-35 minutes.

2. Cut each pork tenderloin crosswise into six 2-inch-thick slices. With a cut side facing up, lightly pound each slice into a round ¾-inch-thick medallion. Season the medallions generously with salt and pepper.

3. Adjust an oven rack to the middle position and heat the oven to 200 degrees. Heat 1 tablespoon vegetable oil in a 12-inch skillet (not nonstick) over medium-high heat until just smoking. Lay 9 medallions in the pan and cook until lightly browned, 3 to 4 minutes. Flip the medallions and cook on the second side until lightly browned and nearly cooked through, 3 to 4 minutes longer. Transfer to a clean plate and keep warm in the oven. Add the remaining 1 tablespoon vegetable oil to the skillet and repeat with the remaining 9 medallions. Transfer to the plate in the oven.

4. Add the port and bring to a simmer. Simmer until the port is thick and syrupy, about 2 minutes. Stir in the broth and any accumulated rhubarb juices and return to a simmer. Simmer until the mixture is thick and has reduced to about ½ cup, about 12 minutes. Stir in the rhubarb mixture and any accumulated juices from the pork medallions and heat through, about 30 seconds. Season with salt and pepper to taste. Arrange 3 pork medallions on each of 6 individual plates and spoon about ¼ cup of the rhubarb sauce over the top. Serve immediately.

parisian strawberry tartlets

copy-of-img_6106

Once I started making an effort to eat seasonally, I realized that apples were my best bet for a large part of the year. By the end of winter, I’m impatient for strawberries to kick off the farmer’s market season. I try to avoid apples in the spring and summer, because it’s nice to take a break when I can, and then I get to look forward to them in the fall.

copy-of-img_6090

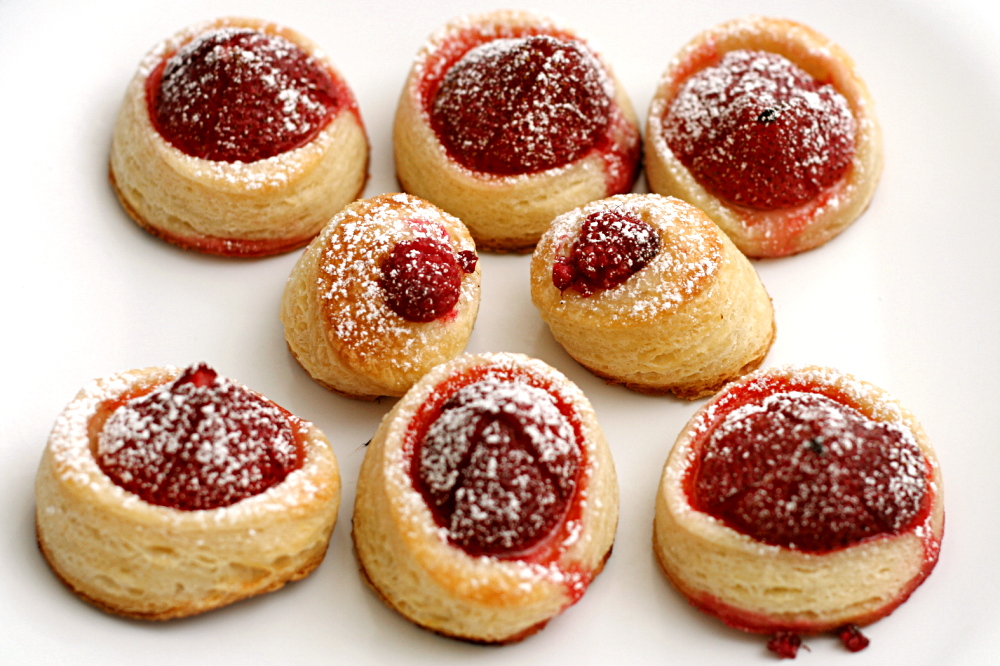
So I didn’t want to make the apple version of this dessert. Most of the other fruits that Dorie recommends are stone fruits that won’t be in season for a month or so. I thought that strawberry mini-tarts would work though.

copy-of-img_6092

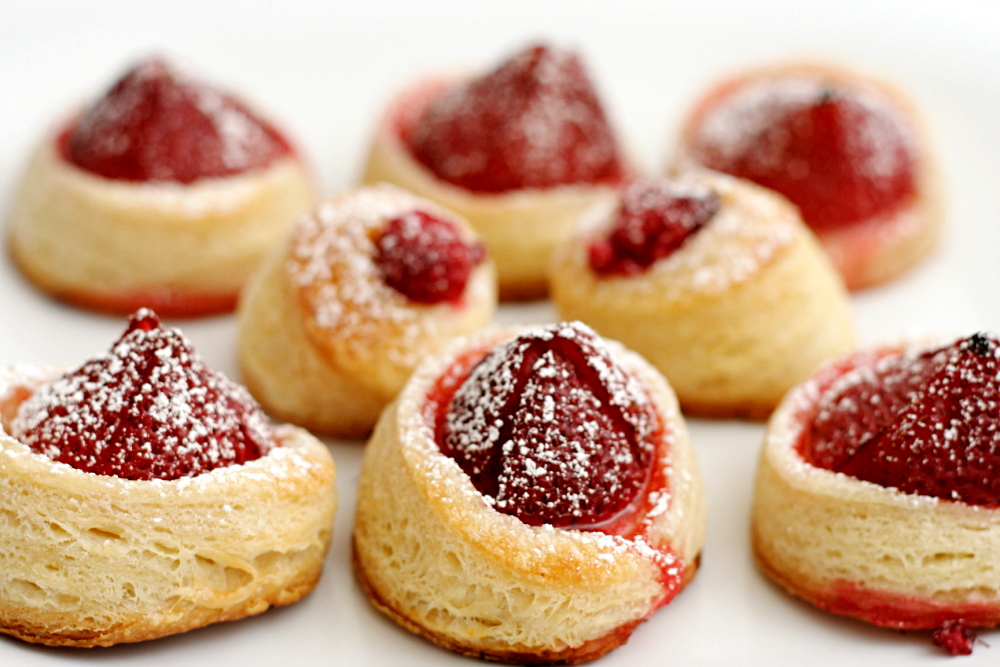
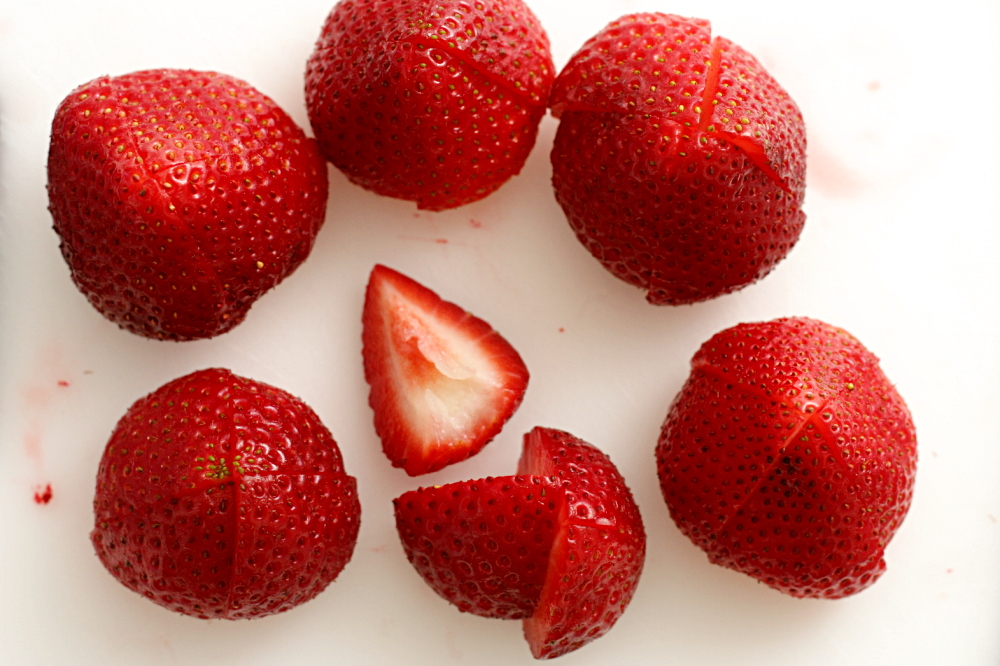
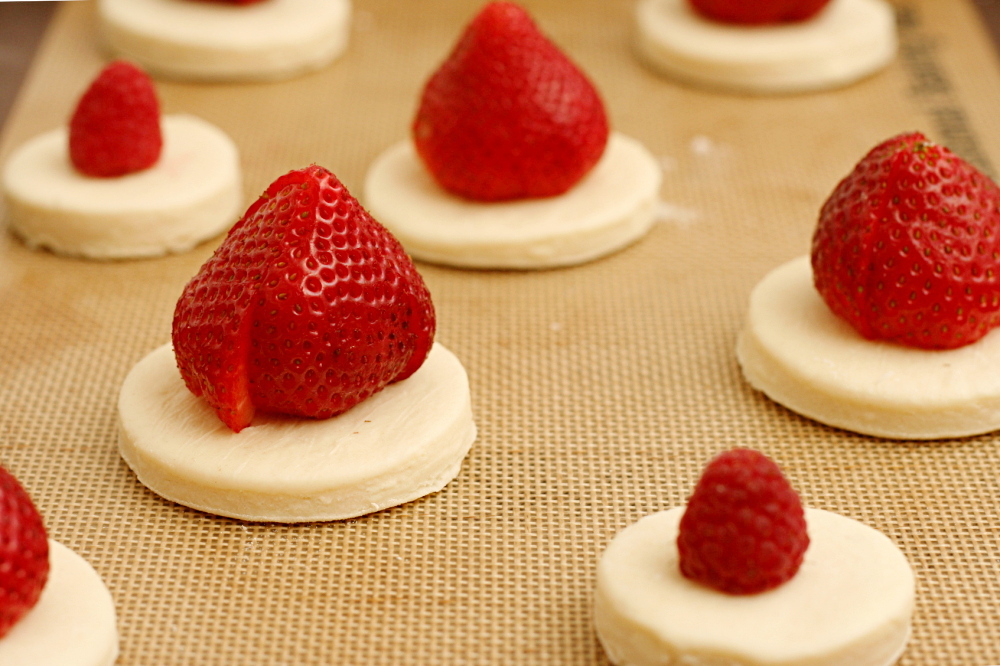
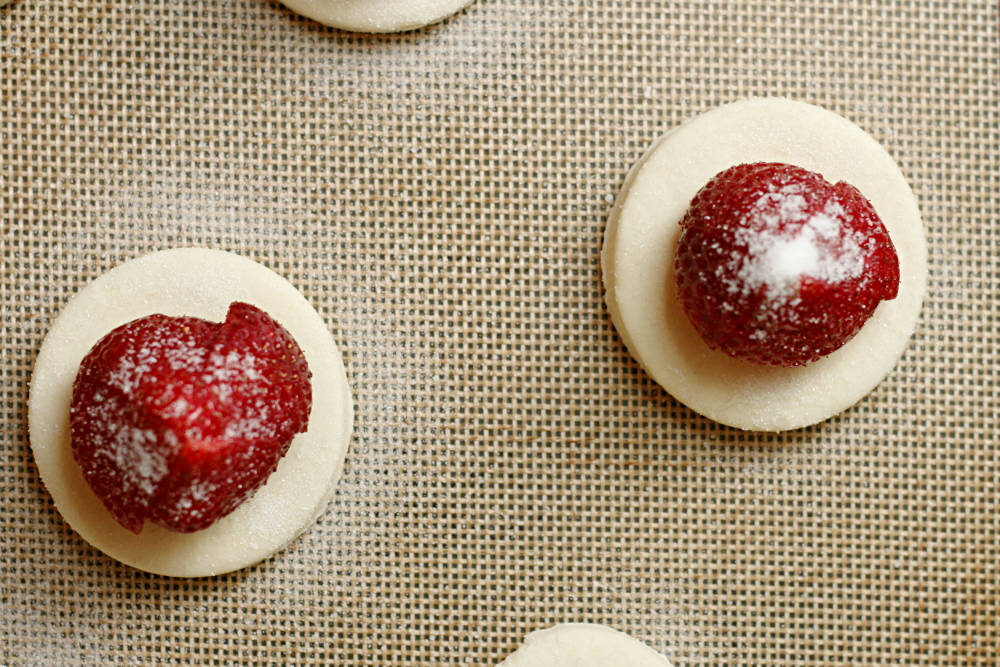
This recipe is very easy. Quartered fruit is positioned in the middle of a round of puff pastry, sprinkled with sugar, dotted with butter, and baked. I skipped the butter and added a pinch of salt.

copy-of-img_6095

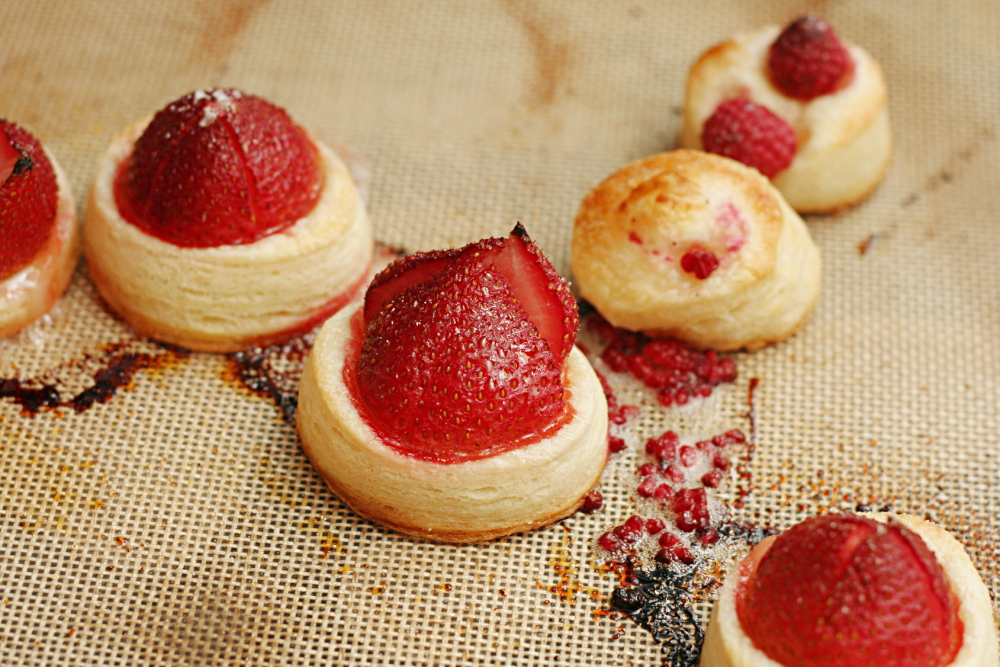
I made even miniaturer tarts too, each topped with a single raspberry, but those didn’t work quite as well. The pastry puffed the berries right off. I sort of balanced the berries back on the pastry after baking, and all was good.

The tarts were great. The flaky, buttery pastry was a great base for the sweet berries.

copy-of-img_6101

Jessica has posted the recipe for this easy, tasty, impressive dessert that she chose for Tuesdays with Dorie.

One year ago: Pita Bread

copy-of-img_6107

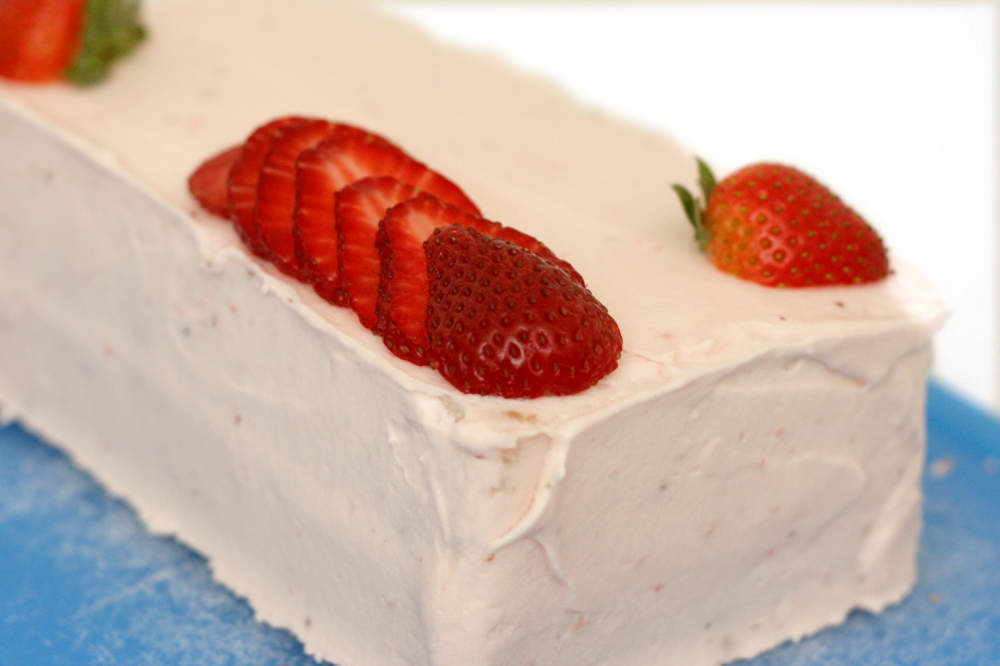
strawberry cake

copy-of-img_5603

I do not like oddball mixing methods. In fact, unless they’re explained, my habit is to ignore them completely. I know that muffins are sometimes mixed like cakes and that there are different types of cookies, but in general, I’m familiar with the normal mixing methods, and if something strays too far from what I recognize, it annoys me and I adapt the recipe to what seems more sensible.

copy-of-img_5021

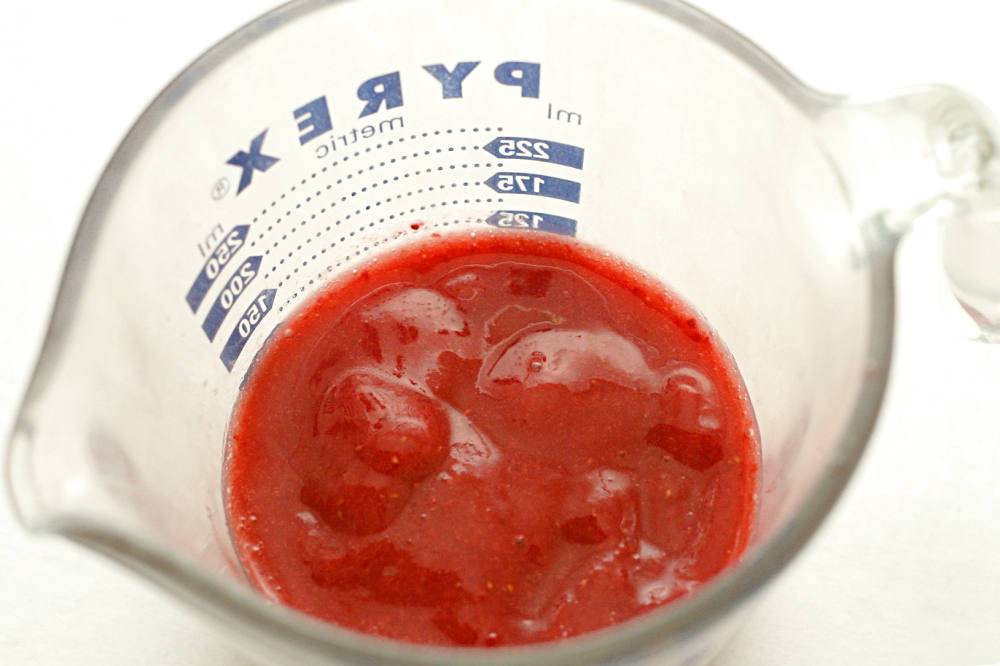
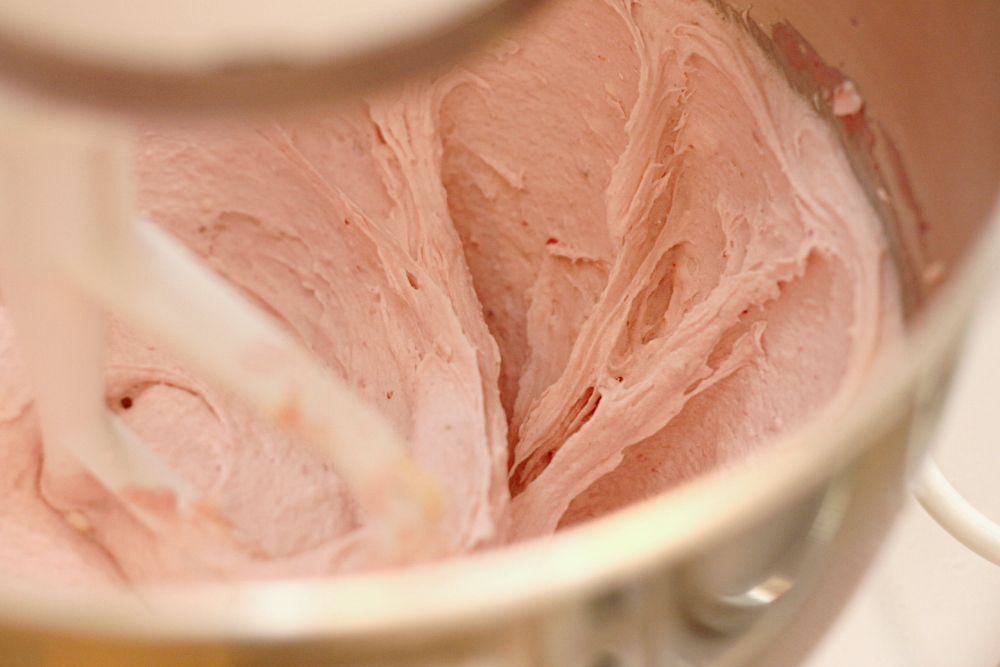
The first strawberry cake I made has a weird mixing method. You mix the dry ingredients in the mixer bowl, then add strawberry puree and softened butter and beat the mixture until it’s fluffy. Only then do you add milk and the egg whites in a few additions, mixing just until they’re mixed in.

copy-of-img_5026

The egg whites are added at the end? Bizarro.

*Disclaimer: I accidentally added the milk with the strawberry puree. I don’t think this would have a significant effect on the outcome, but I can’t be sure.

copy-of-img_5033

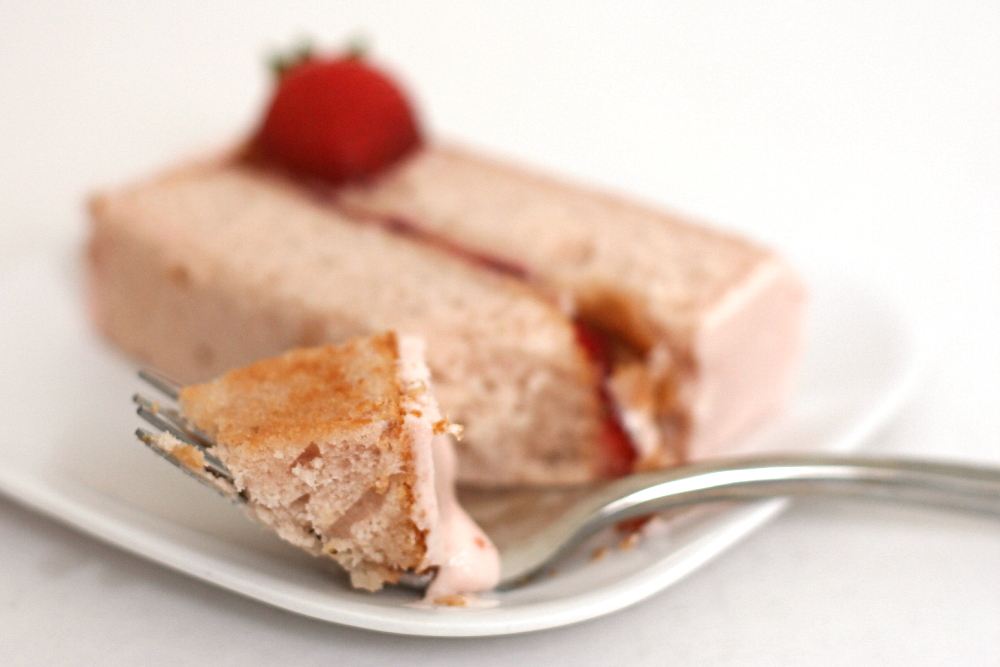
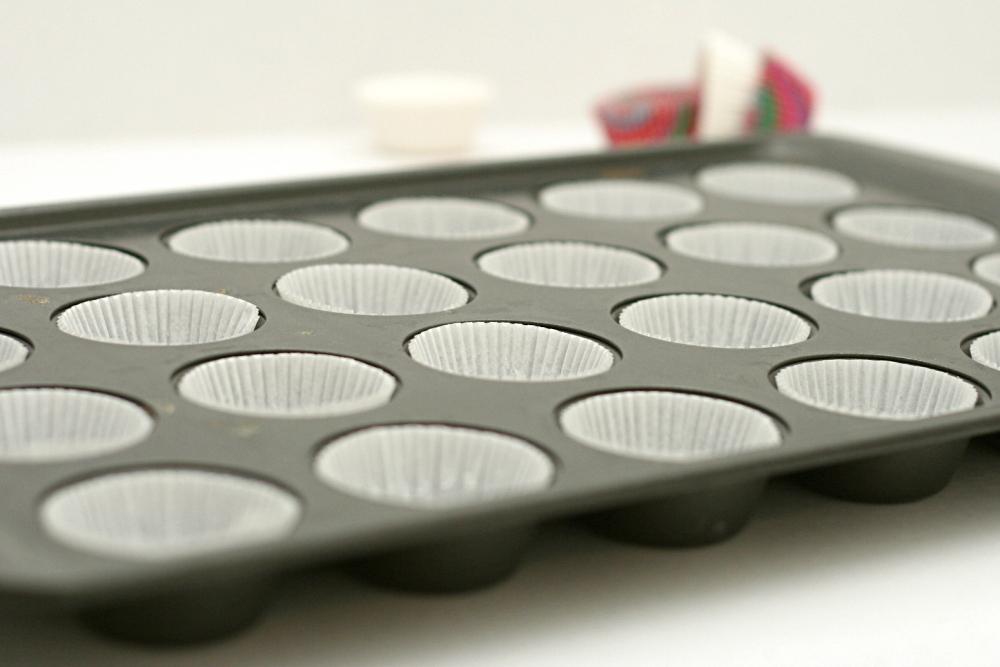
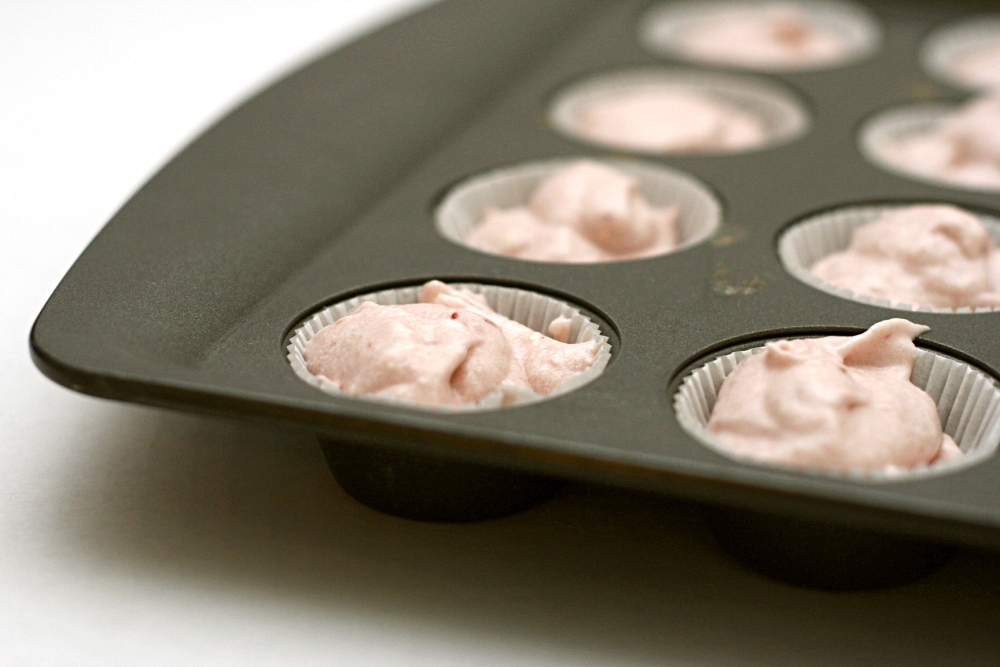
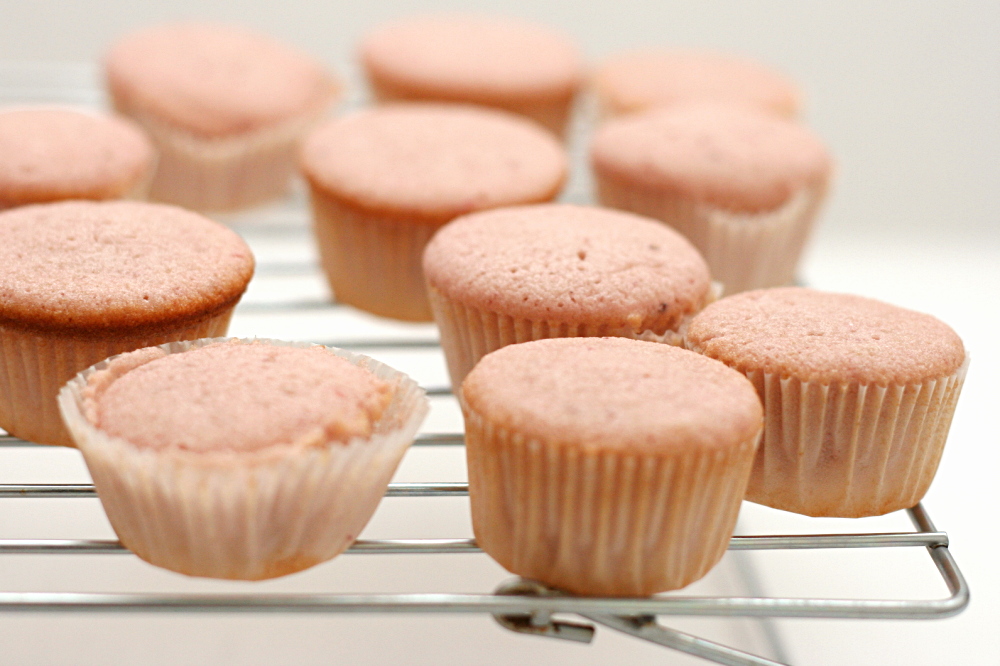
The cake was good, but, to me, not perfect. My mini cupcakes were a little sticky, or maybe gummy is a better word. What’s stranger is that all of the cupcake wrappers detached themselves from the cupcake within a few hours of baking. The flavor was great though, and every time I opened the lid to the container, I got a nice whiff of strawberries.

copy-of-img_5042

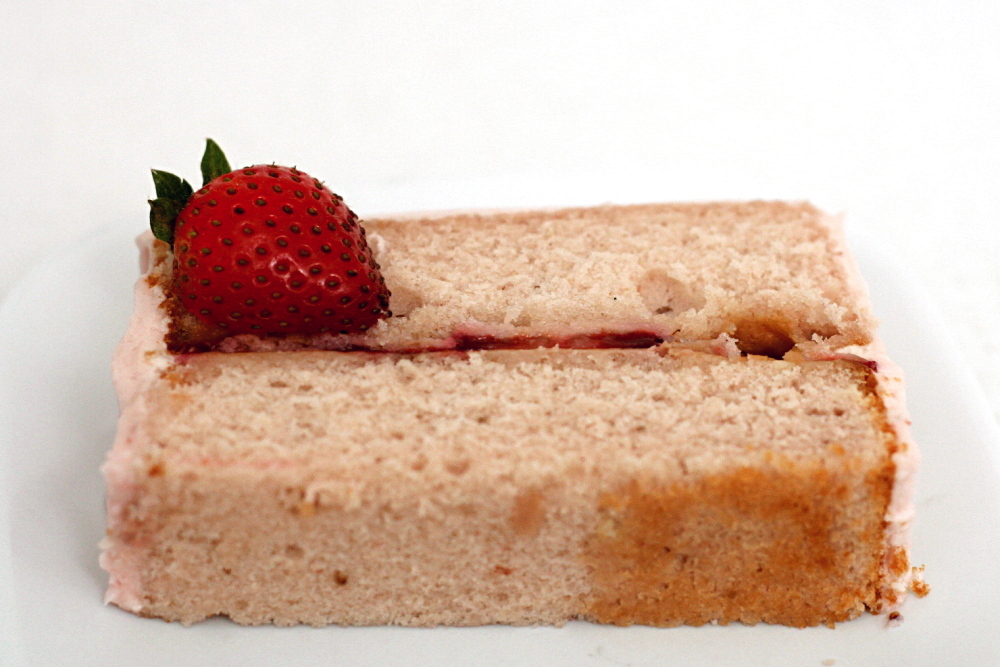
The other recipe I tried, from Good Things Catered, is similar to Cooks Illustrated’s white cake recipe, which I have previously enjoyed, with strawberry puree substituted for a portion of the milk. This recipe also has an unusual method – dry ingredients, then butter, most of the eggs + liquid, and then the rest of the eggs and liquid, followed by about a minute of beating the batter.

copy-of-img_5565

This cake, I have to admit, seemed a little dry. On the other hand, I did refrigerate it almost immediately after cooling, and then it was in and out of the freezer as I tried to neatly frost it, so perhaps I was a little too rough with it.

copy-of-img_5043

Both cakes were good. The strawberry flavor is definitely noticeable, which is nice. If I had to choose between the two, I’d choose the first one, from the Sky High cookbook, because it seemed more tender. However, what I really want to do is try the ingredients of the first one with a different mixing method. I have a feeling you can’t combine those ingredients and end up with anything that isn’t good, but I love to experiment.

copy-of-img_5568

One year ago: Baba Ghanoush and Fafafel

Pink Lady Cake (from Sky High via Smitten Kitchen)

Keep in mind that Sky High designs recipes for big cakes. If you’re not feeding a crowd, don’t be afraid to cut the recipe in half, which will yield the same amount of cake as most other cake recipes. Divide the batter between two 8- or 9-inch round pans and bake for 23-25 minutes.

All of the cupcake pictures are of this cake.

4½ cups cake flour
3 cups sugar
5¼ teaspoons baking powder
¾ teaspoon salt
3 sticks (12 ounces) unsalted butter, at room temperature
1½ cups pureed frozen strawberries (from about 12 ounces of strawberries)
8 egg whites
⅔ cup milk
1 to 2 drops red food dye, optional (to make the pink color more intense)

1. Preheat the oven to 350F. Butter three 9-inch round or 8-inch square cake pans. Line with parchment or waxed paper and butter the paper.

2. Put the flour, sugar, baking powder, and salt in a large mixer bowl. With the electric mixer on low speed, blend for 30 seconds. Add the butter and strawberry puree and mix to blend the ingredients. Raise the speed to medium and beat until light and fluffy, 2 to 3 minutes; the batter will resemble strawberry ice cream at this point.

3. In another large bowl, whisk together the egg whites, milk and red food dye, if using, to blend. Add the whites to the batter in two or three additions, scraping down the sides of the bowl well and mixing only to incorporate after each addition. Divide the batter among the three prepared pans.

4. Bake the cakes for 30 to 34 minutes, or until a cake tester or wooden toothpick inserted into the center comes out clean. Allow the layers to cool in the pans for 10 to 15 minutes. Invert and turn out onto wire racks and peel off the paper liners. Let stand until completely cooled before assembling the cake, at least an hour.

copy-of-img_5054

Strawberry Cake (adapted from Good Things Catered and Cooks Illustrated’s Classic White Layer Cake)

All of the layer cake pictures are from this cake.

Serves 12

Nonstick cooking spray
2¼ cups cake flour (9 ounces), plus more for dusting the pans
¼ cup whole milk, at room temperature
¾ cup strawberry puree (from about 6 ounces strawberries)
6 large egg whites (¾ cup), at room temperature
1 tablespoon vanilla extract
1¾ cups granulated sugar (12¼ ounces)
4 teaspoons baking powder
1 teaspoon table salt
12 tablespoons unsalted butter (1½ sticks), softened but still cool

1. Set oven rack in middle position. (If oven is too small to cook both layers on a single rack, set racks in upper-middle and lower-middle positions.) Heat oven to 350 degrees. Spray two 9-inch round cake pans with nonstick cooking spray; line the bottoms with parchment or waxed paper rounds. Spray the paper rounds, dust the pans with flour, and invert pans and rap sharply to remove excess flour.

2. Pour milk, strawberry puree, egg whites, and extract into 2-cup glass measure, and mix with fork until blended.

3. Mix cake flour, sugar, baking powder, and salt in bowl of electric mixer at slow speed. Add butter; continue beating at slow speed until mixture resembles moist crumbs, with no powdery streaks remaining.

4. Add all but ½ cup of strawberry mixture to crumbs and beat at medium speed (or high speed if using handheld mixer) for 1½ minutes. Add remaining ½ cup of strawberry mixture and beat 30 seconds more. Stop mixer and scrape sides of bowl. Return mixer to medium (or high) speed and beat 20 seconds longer.

5. Divide batter evenly between two prepared cake pans; using rubber spatula, spread batter to pan walls and smooth tops. Arrange pans at least 3 inches from the oven walls and 3 inches apart. (If oven is small, place pans on separate racks in staggered fashion to allow for air circulation.) Bake until thin skewer or toothpick inserted in the center comes out clean, 23 to 25 minutes.

6. Let cakes rest in pans for 3 minutes. Loosen from sides of pans with a knife, if necessary, and invert onto wire racks. Reinvert onto additional wire racks. Let cool completely, about 1½ hours.

copy-of-img_5597

aligot (french mashed potatoes)

copy-of-img_3910

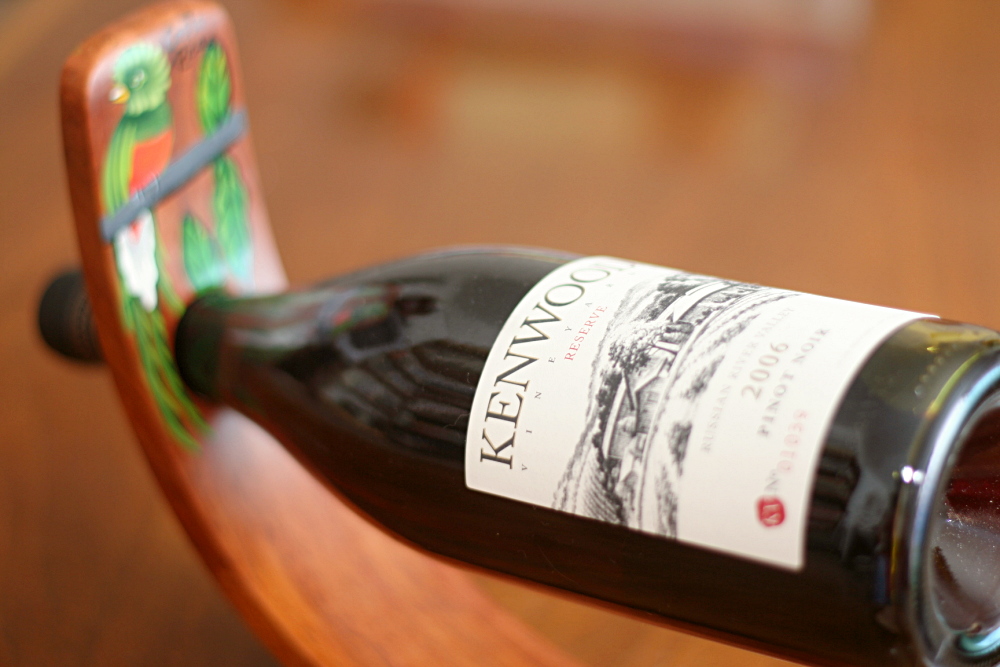
When I saw this recipe is a recent issue of Cooks Illustrated, it was immediately registered as “for special occasions only.” Seriously, I consider regular mashed potatoes fairly decadent, much less the cheese-laden variety. But then I managed to create a special occasion: Dave and I found a cheap, good bottle of Pinot Noir! In Pennsylvania even! (Don’t get me started on PA’s inane liquor laws.  Drives me. Up the. Wall.)

copy-of-img_3866

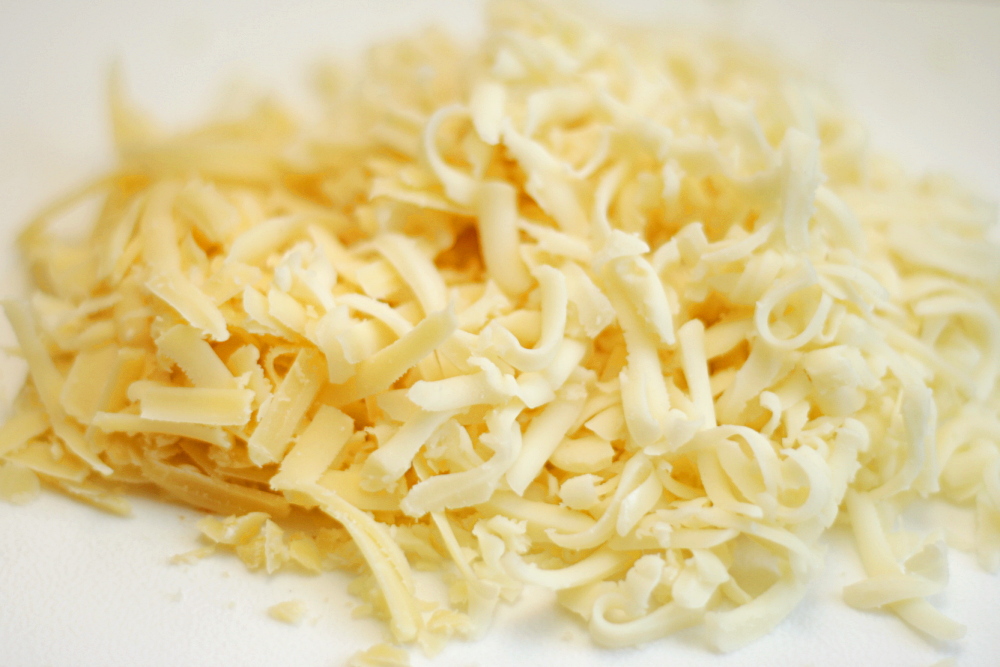
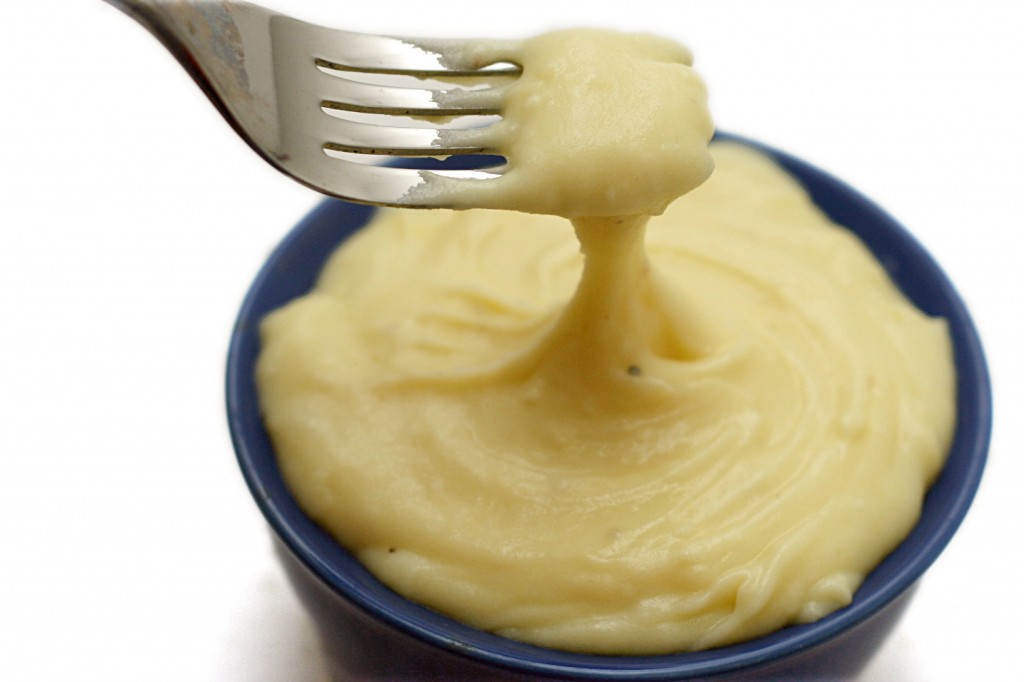
This is a great recipe for learning about the chemistry of potatoes. Have you ever heard that “mashing” boiled potatoes with a mixer will result in gluey mashed potatoes? This recipe goes one step further and processes them in the food processor. The resulting texture is fascinating – very stretchy, even before any cheese is added. Then the potatoes are mixed with garlic and milk, and shredded Gruyere (for flavor) and mozzarella (for texture) are vigorously stirred in.

copy-of-img_3880

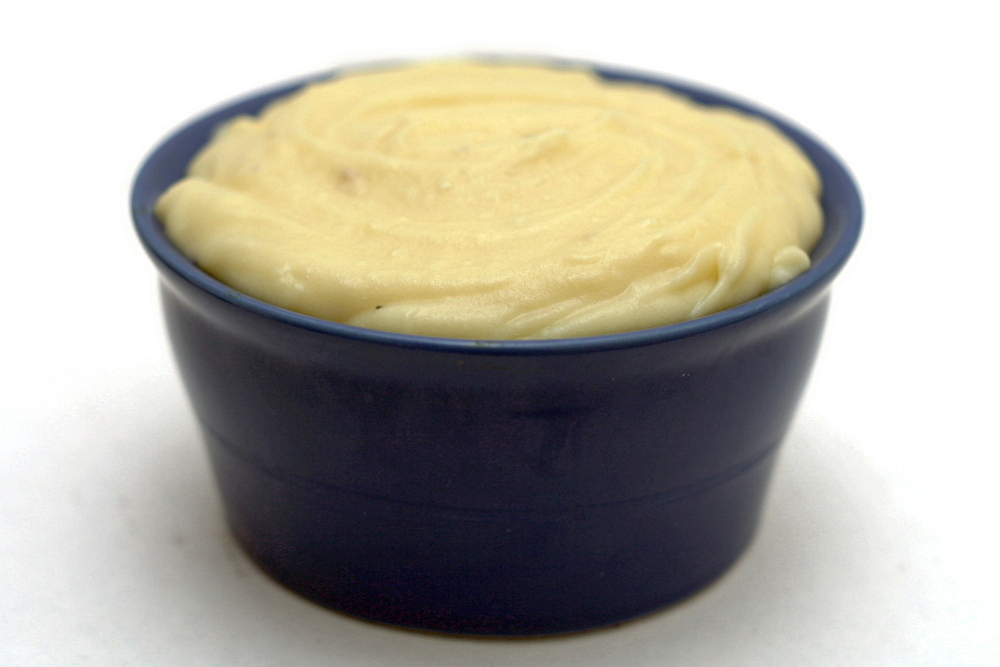
I love how little changes in technique can make such a big difference in the outcome. I’m not giving up on regular mashed potatoes, but I also enjoyed the smooth texture and rich flavor of these. It’s hard to go wrong with potatoes and garlic and cheese.

copy-of-img_3912

One year ago: French Chocolate Brownies

Aligot (French Mashed Potatoes) (from Cooks Illustrated)

CI note: The finished potatoes should have a smooth and slightly elastic texture. White cheddar can be substituted for the Gruyere. For richer, stretchier aligot, double the mozzarella.

My potatoes did end up too salty, so that’s something to watch out for.

2 pounds Yukon Gold potatoes (4 to 6 medium), peeled, cut into ½-inch-thick slices, rinsed well, and drained
table salt
3 tablespoon unsalted butter
2 medium garlic cloves, minced or pressed through a garlic press (about 2 teaspoons)
1-1½ cups whole milk
4 ounces mozzarella cheese, shredded (about 1 cup)
4 ounces Gruyere cheese, shredded (about 1 cup)
Ground black pepper

1. Place the potatoes in a large saucepan, add water to cover by 1 inch and add 1 tablespoon salt. Partially cover the saucepan and bring the potatoes to a boil over high heat. Reduce the heat to medium-low and simmer until the potatoes are tender and just break apart when poked with a fork, 12 to 17 minutes. Drain the potatoes and dry the saucepan.

2. Transfer the potatoes to a food processor; add the butter, garlic, and 1½ teaspoon salt. Pulse until the butter is melted and incorporated into the potatoes, about ten 1-second pulses. Add 1 cup milk and continue to process until the potatoes are smooth and creamy, about 20 seconds, scraping down the sides halfway through.

3. Return the potato mixture to the saucepan and set it over medium heat. Stir in the cheeses, 1 cup at a time, until incorporated. Continue to cook the potatoes, stirring vigorously, until the cheese is fully melted and the mixture is smooth and elastic, 3 to 5 minutes. If the mixture is difficult to stir and seems thick, stir in 2 tablespoons of milk at a time (up to ½ cup) until the potatoes are loose and creamy. Season with salt and pepper. Serve immediately.

copy-of-img_3909

artos (greek celebration bread)

copy-of-img_5976

I’ve always wanted to make this bread just because the shape of one of the variations is so cool. It’s a round loaf with strips of dough crossed over the top, the ends split and curled around.

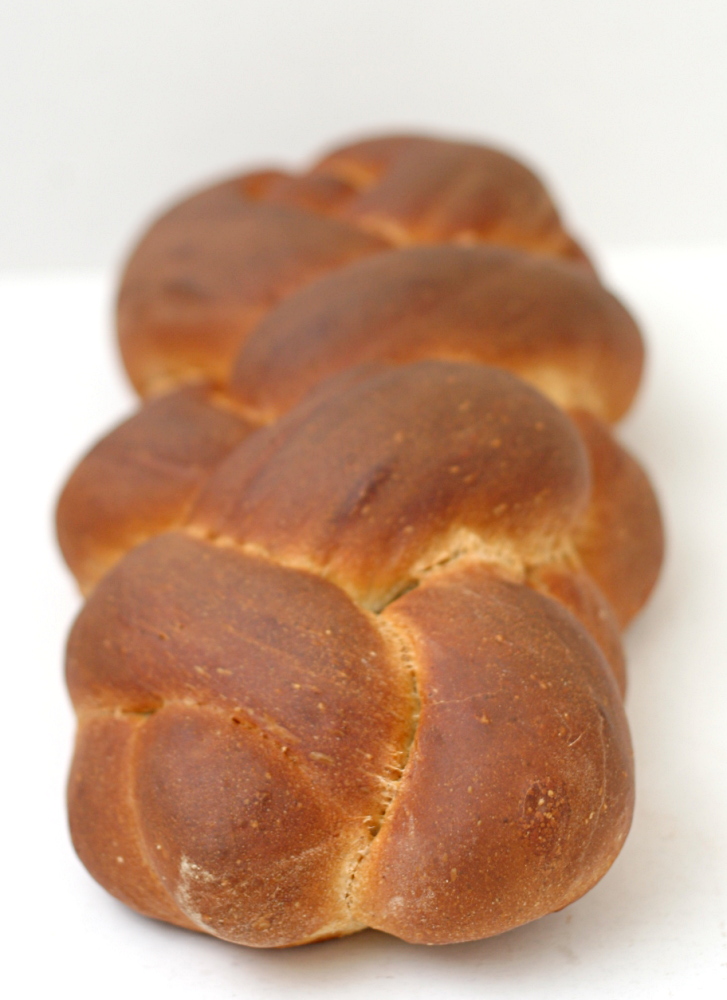
I ended up not using that shape though. The bread is flavored with all sorts of things – almond extract, lemon zest, fall spices, olive oil, honey – so I thought it would make a particularly good French toast, and a round loaf didn’t seem practical for that. Instead, I tried a 4-strand braid, which looks pretty much like a 3-strand braid after baking. That’s okay, it was easy to do.

When Dave tried the bread, he said “This smells like Christmas. Did you put Christmas in this? The bread did, indeed, make for some pretty amazing French toast. Except I think it needs more salt. I’m a broken record.

For the recipe for this bread, check Michelle’s blog.  She also shows the shape I described above.  However, I skipped the dried fruit, nuts, and glaze, plus I used sourdough starter instead of the poolish.

rhubarb scones

copy-of-img_5500

Scones get a seriously bad rap. People think they’re bland, dense, and/or crumbly. People think you can only enjoy them if you have a mug of coffee or tea with them. Branny told me that her husband thinks they taste like chalk. And these people aren’t completely wrong – some scones are pretty terrible. As for the whether they need to be accompanied by a hot drink, I happen to think that everything even a little sweet is better with coffee or tea.  But that doesn’t mean that I can’t enjoy a cookie without coffee.

copy-of-img_5281

Like a lot of foods, you might have to make scones yourself to get good ones. I can’t personally attest to the scones at coffee shops, but if they’re on par with every other baked treat I’ve ordered from a national coffee shop chain, they’ll be stale and bland. Don’t judge scones based on this example.

copy-of-img_5288

Scones are similar to biscuits, although many scone recipes have eggs included, which is rare in biscuits. In both, the dry ingredients are mixed first, and cold butter is cut in, then cold liquid is gently stirred in. Compared to the last scone recipe I made, this one has less butter, but richer dairy (cream as opposed to yogurt + milk).

copy-of-img_5517

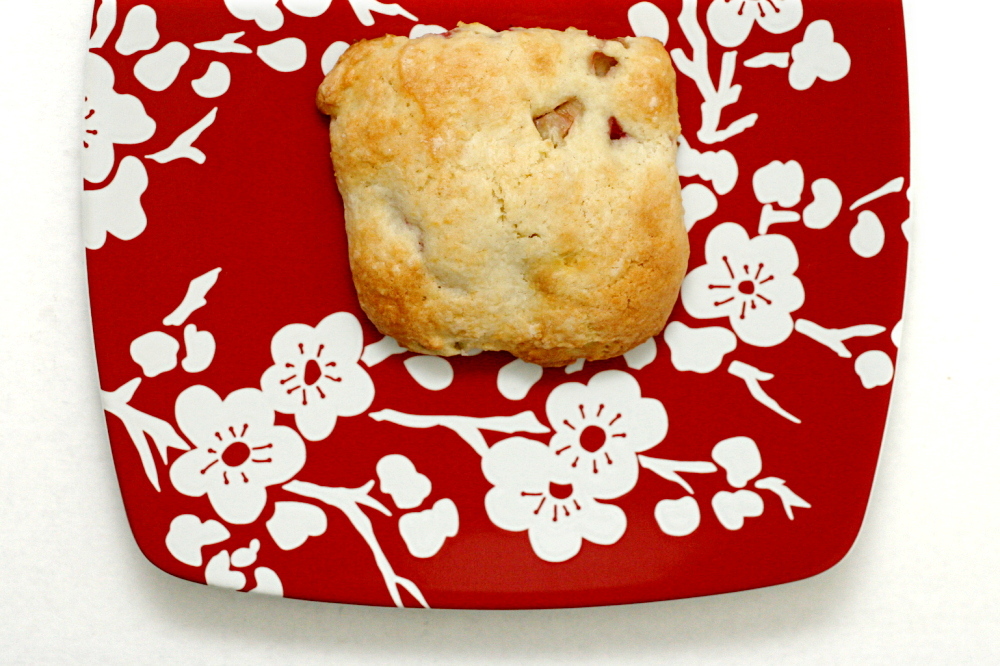
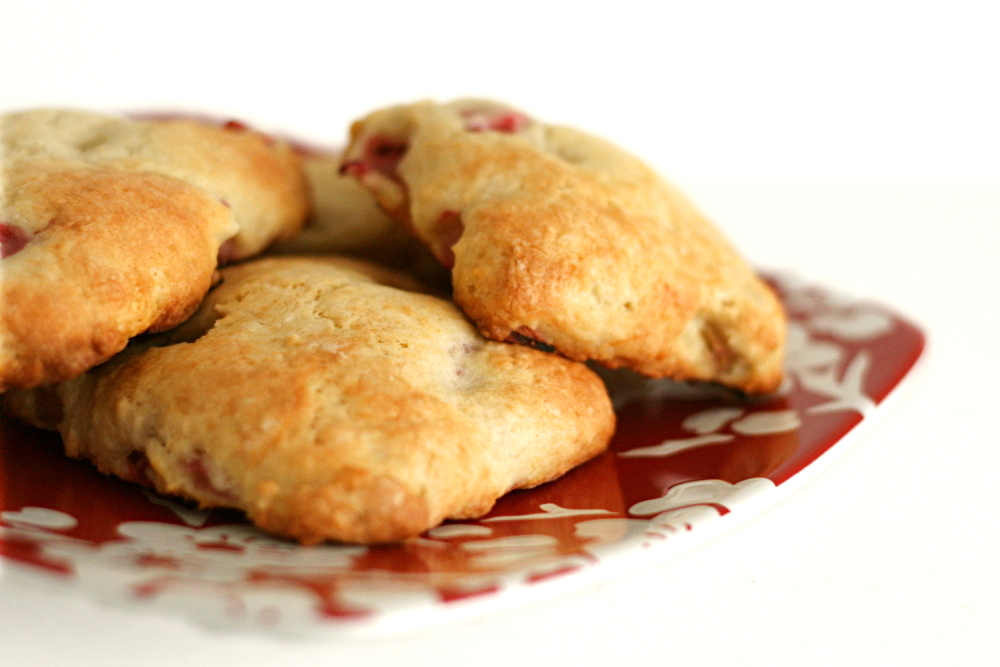
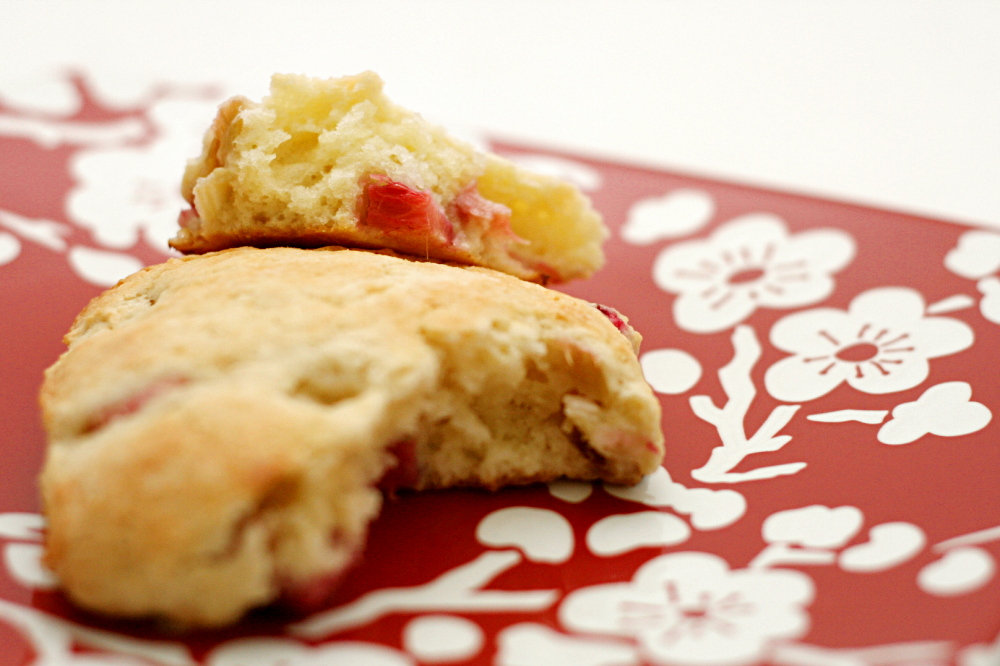
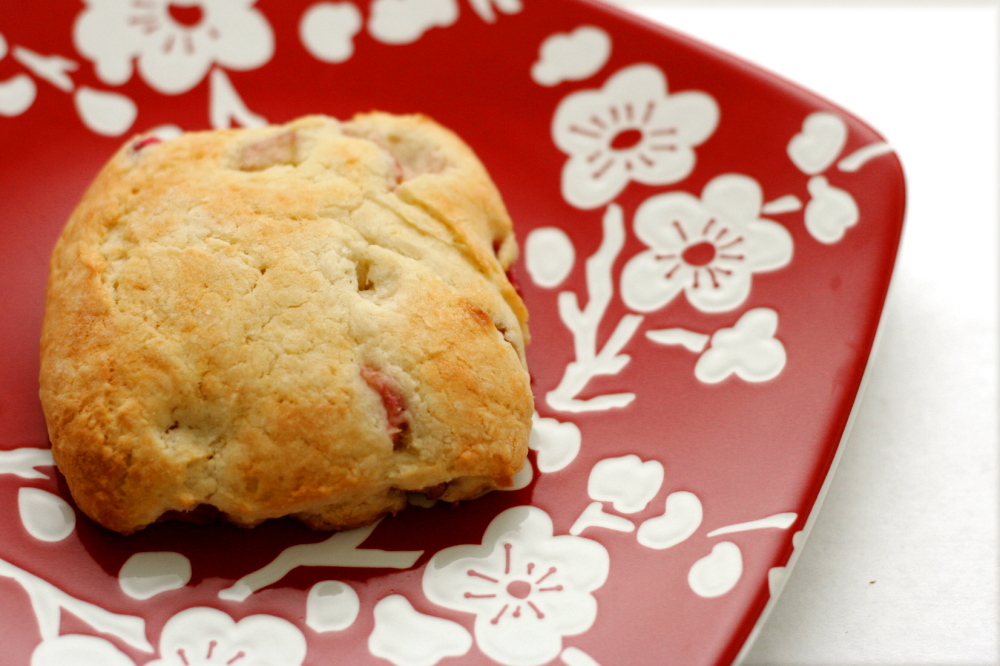
The cream changes the texture from flaky to melt-in-your-mouth tender. They’re sweet, but only slightly so, and studded by juicy, tart bits of rhubarb. There’s nothing bland, dense, crumbly, or chalky about these scones, and while I enjoyed mine with my Saturday cup of coffee, a hot drink is not required to appreciate these. If you think you don’t like scones, try these.

copy-of-img_5496

One year ago: Kaiser Rolls – I have to admit that I’ve made these twice and have decided that they’re just not worth the effort.  I like using this much easier dough instead.

Printer Friendly Recipe
Rhubarb Cream Scones
(adapted from Gourmet via Smitten Kitchen)

I only used 1½ cups (2 stalks) of rhubarb, but it wasn’t nearly enough. I would even err on the high side of 2 cups.

Update 5/8/2012 – While many people have had good results with this recipe, a few commenters have complained that their dough was too wet. This might have to do with imprecise volume measurements of flour, variability in rhubarb juiciness, or perhaps the size of the eggs used. Regardless, start with ½ cup of cream, then add more until the dough comes together but holds its shape. It might be sticky, but you should be able to pat it out with floured hands.

2½ cups (12 ounces) all-purpose flour
½ cup sugar (3.5 ounces) plus 3 tablespoons
1 tablespoon baking powder
½ teaspoon salt
¾ stick (6 tablespoons) cold unsalted butter, cut into bits
2 cups diced rhubarb (¼-inch cubes), about 3 stalks
1 large egg
1 large egg yolk
1 cup heavy cream (see update)

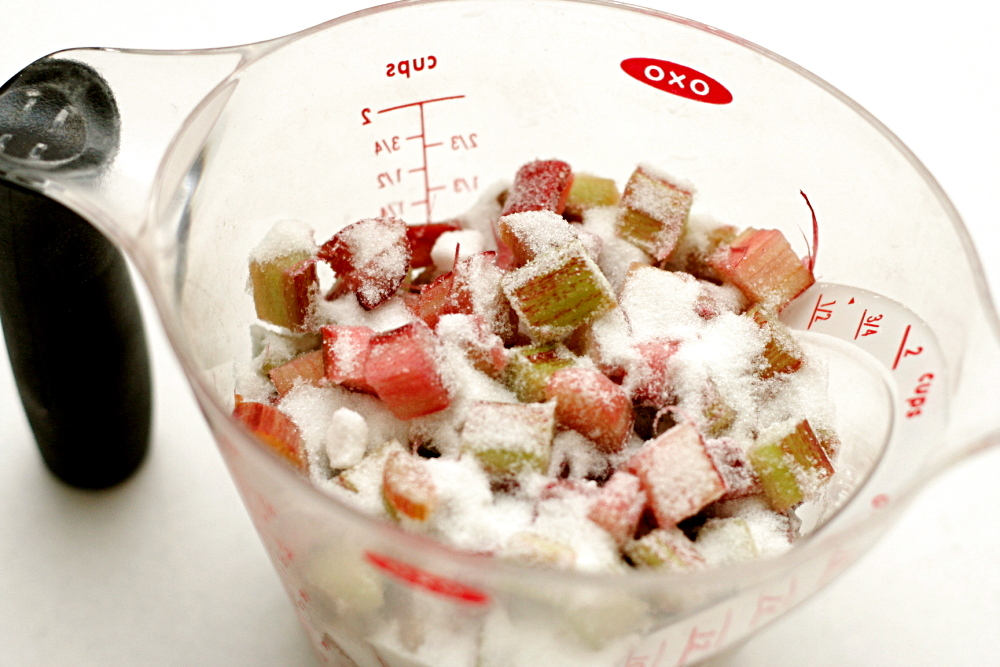
1. Preheat oven to 400F and line a large baking sheet with parchment paper. Adjust a baking rack to the middle position. In a small bowl, mix the rhubarb with 3 tablespoons sugar.

2. In a food processor, pulse the flour, ½ cup sugar, baking powder, and salt a few times, just to mix. Distribute the butter evenly over the dry ingredients and pulse until the mixture resembles coarse meal. Transfer to a large bowl.

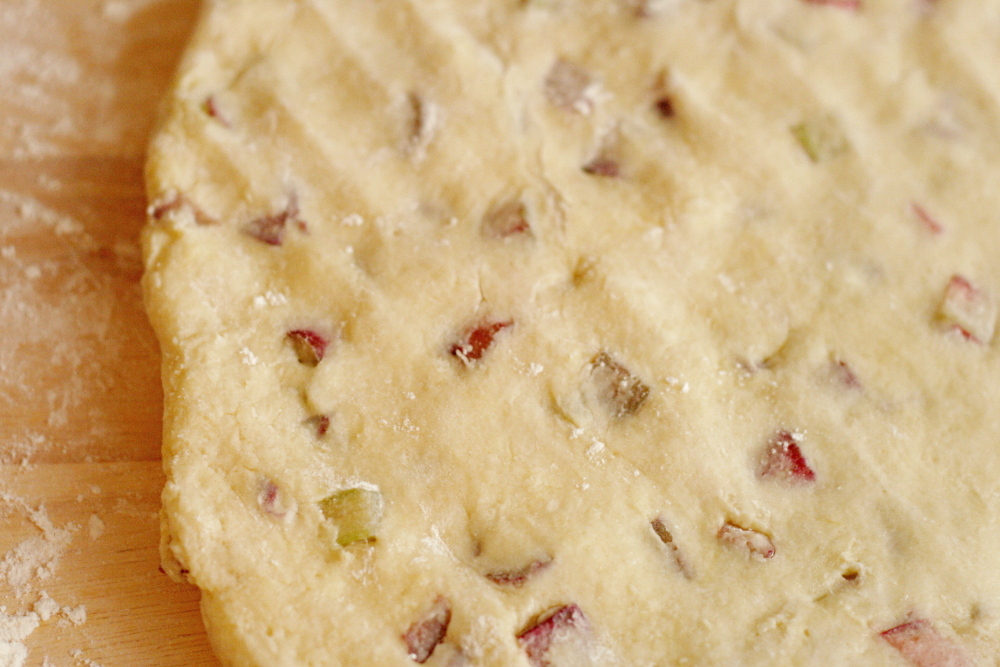
3. Stir the rhubarb into the flour mixture. Lightly beat the egg, yolk, and cream together in a bowl (use the same one you used for the rhubarb), then add this mixture to the flour mixture. Stir until just combined.

4. On a well-floured surface with floured hands, pat the dough into a 1-inch-thick round (about 8 inches in diameter). Using a 2-inch round cutter or rim of a glass dipped in flour, cut out as many rounds as possible, rerolling scraps as necessary. Arrange rounds about 1 inch apart on baking sheet and bake for 15 to 20 minutes, or until pale golden.  Transfer the scones to a cooling rack and let them cool slightly before serving.

copy-of-img_5495