Archives for July 2009

brioche

Copy of IMG_6324

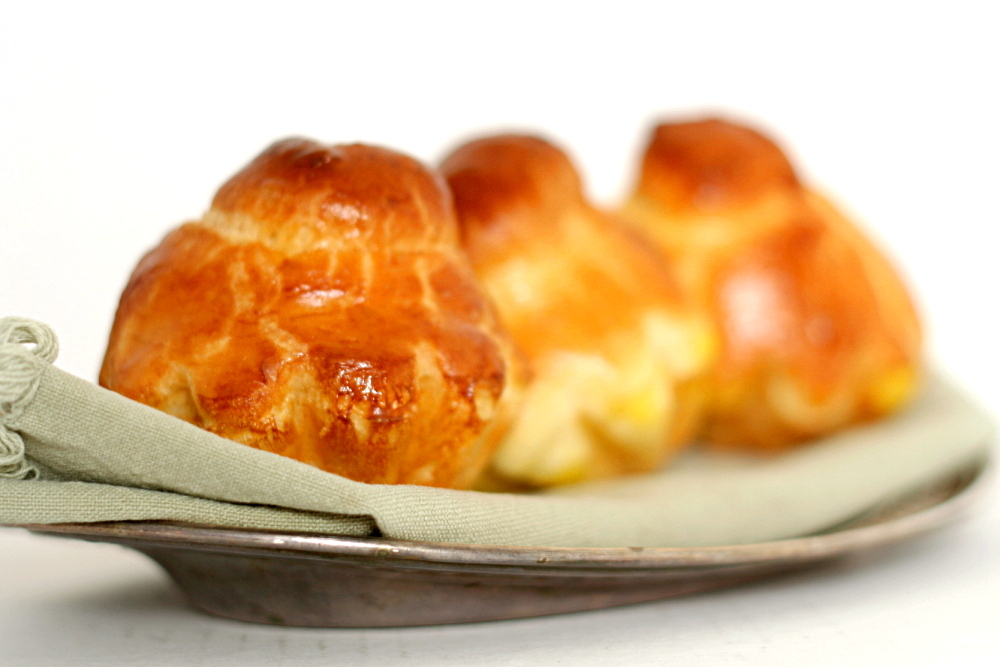
You know how you hear people talk about getting ready for bathing suit season? Um, yeah, I’m no good at that sort of thing. A month before I went on a vacation to the beach, I decided I should undertake a croissant project. A week before the trip, I made brioche. On the drive to the beach, we ate casatiello (a less rich brioche full of sausage and cheese bits). Maybe it’s maturity, or maybe it’s laziness, but I just don’t find myself as worked up about looking perfect as I used to. I’m healthy and that’ll do for now.
Copy of IMG_6275

I certainly could have made the brioche less rich, if I was worried about that. Peter Reinhart gives three brioche recipes – his rich man’s brioche has the most butter, and poor man’s has the least, with middle-class brioche in between. I was having trouble choosing and eventually went with “upper middle-class brioche”, by averaging the rich man’s (buttery and delicious) and the middle class (easier to work with) recipes.
Copy of IMG_6317

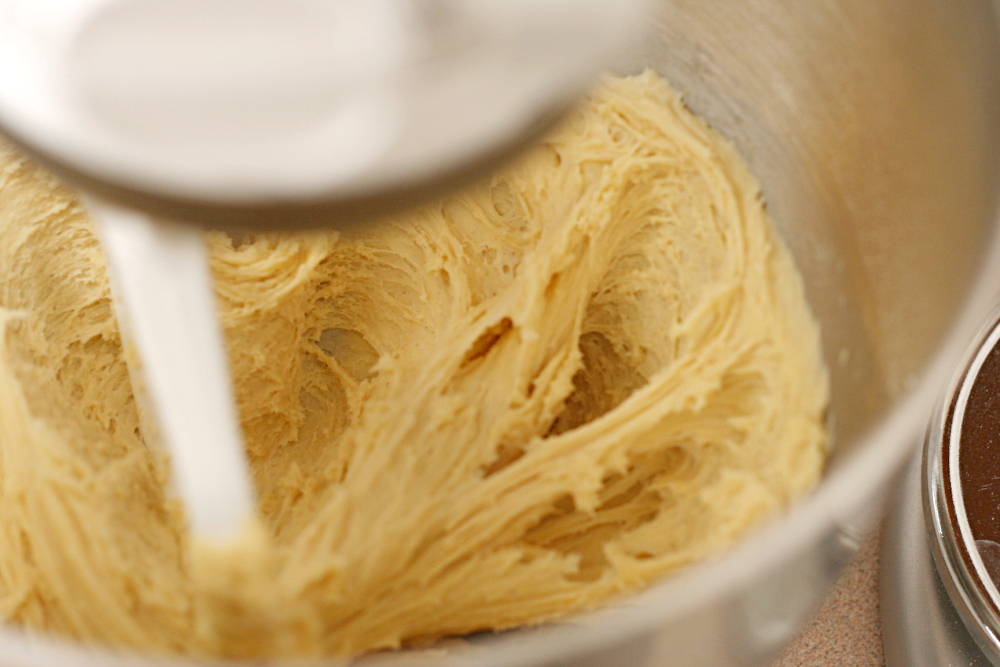
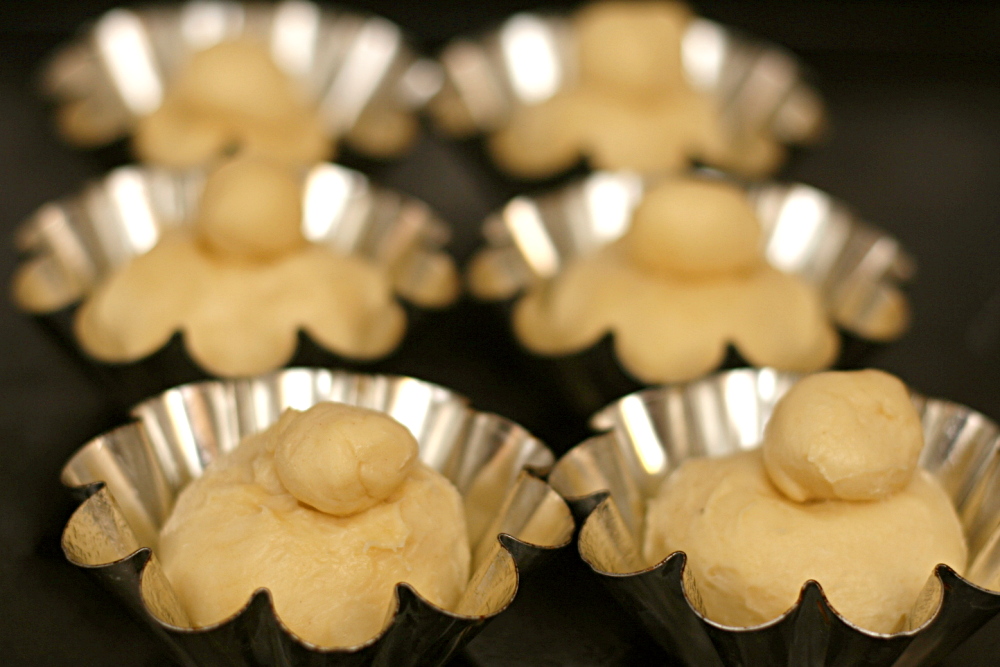
Brioche, with all of its extra butter and eggs, isn’t made too differently than any other type of bread. It starts with a sponge, because Reinhart loves his long fermentations. Then a lot of eggs are added – five eggs for the amount of flour that usually makes one loaf of sandwich bread. After the dry ingredients are mixed in and the dough starts to form, softened butter is slowly worked in. I used, I kid you not, almost one stick of butter per cup of flour.
Copy of IMG_6319

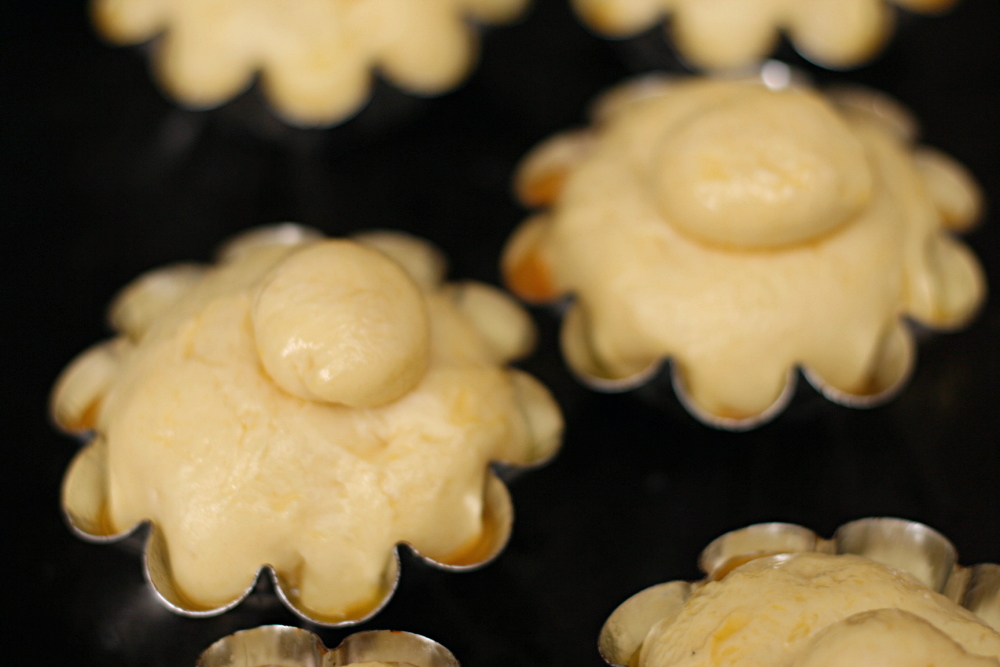
The rising process is different from the traditional bread method though, as the dough is immediately refrigerated, and needs to remain cold while it’s being shaped. It’s proofed at room temperature, then baked and slightly cooled. (For all my talk about not caring how I look in a bikini, I did go for a run while the rolls rose.)
Copy of IMG_6321

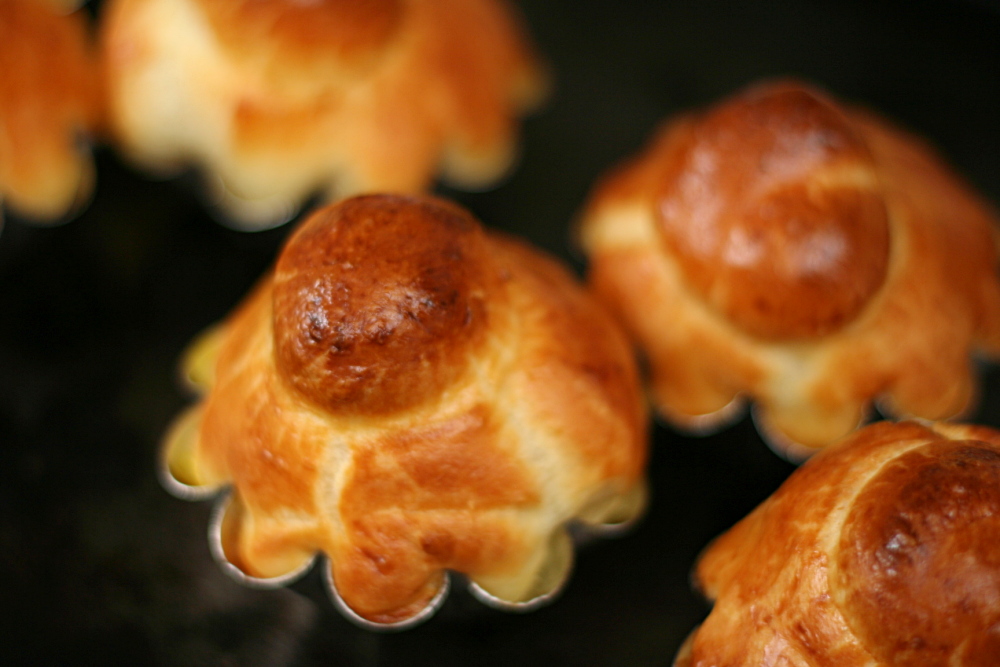
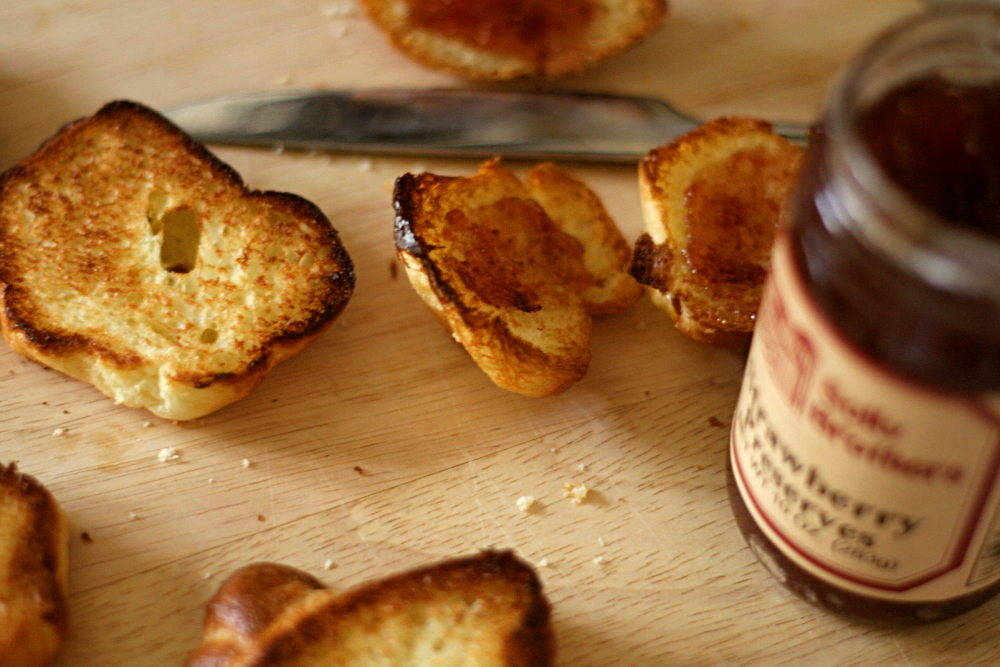
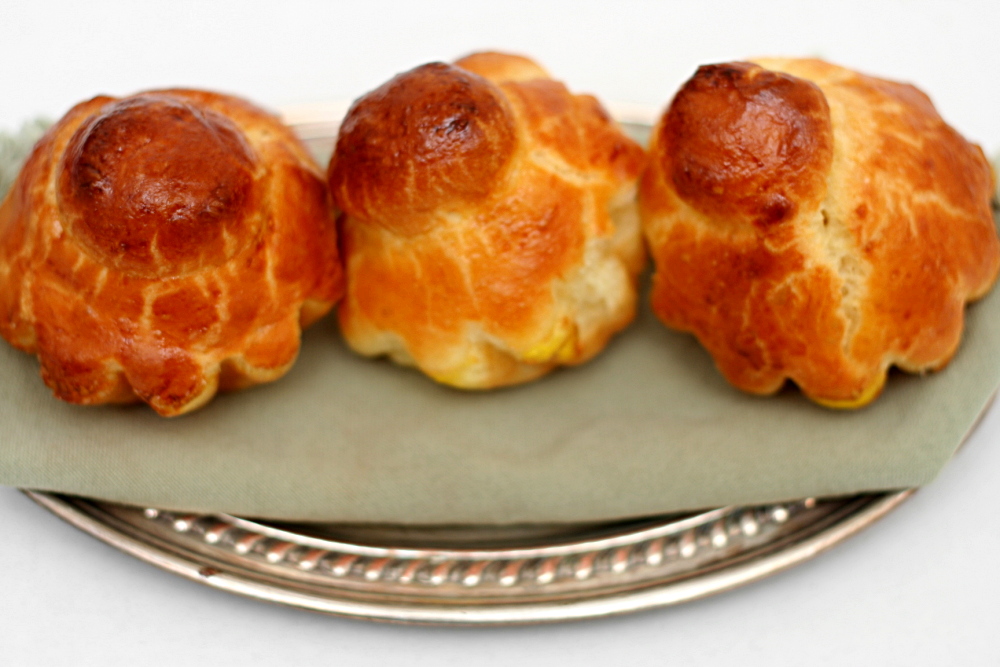
Oddly, I’m not sure I’d ever eaten brioche plain before. If I had, it wasn’t memorable. But this? Is memorable. I couldn’t get over how light they felt. All that butter is all-too-easily hidden. We ate the tender, delicious rolls plain for breakfast, and when we came home from strawberry picking in the afternoon, we toasted slices and smeared them with farmer’s market strawberry jam. I would definitely rather eat brioche than be a size smaller.
Copy of IMG_6353

One year ago: Blueberry Pie

Upper Middle-Class Brioche (very slightly adapted from Peter Reinhart’s Bread Baker’s Apprentice)

Makes 12-16 petite brioches à tête, 2-4 large  brioches à tête, or two 1-pound loaves

Sponge:
½ cup (2.25 ounces) unbleached bread flour
2 teaspoons instant yeast
½ cup (4 ounces) whole milk, lukewarm

Dough:
5 large eggs, slightly beaten
3 cups (13.75 ounces) unbleached bread flour
2 tablespoons (1 ounce) granulated sugar
1¼ teaspoons salt
24 tablespoons (3 sticks) unsalted butter, at room temperature
1 egg, whisked until frothy, for egg wash

1. To make the sponge, stir together the flour and yeast in a large mixing bowl (or in the bowl of an electric mixer). Stir in the milk until all of the flour is hydrated. Cover with plastic wrap and ferment for 30 minutes, or until the sponge rises and then falls when you tap the bowl.

2. To make the dough, add the eggs to the sponge and whisk (or beat on medium speed with the paddle attachment) until smooth. In a separate bowl, stir together the flour, sugar, and salt. Add this mixture to the sponge and eggs and stir (or continue to mix with the paddle attachment on low speed for about 2 minutes) until all the ingredients are hydrated and evenly distributed. Let this mixture rest for about 5 minutes so that the gluten can begin to develop. Then, while mixing with a large spoon (or on medium speed with the paddle), gradually work in the butter, about one-quarter at a time, waiting until each addition of butter assimilates before adding more. This will take a few minutes. Continue mixing for about 6 more minutes, or until the dough is very well mixed. You will have to scrape down the bowl from time to time as the dough will cling to it. The dough will be very smooth.

3. Line a sheet pan with baking parchment and mist lightly with spray oil. Transfer the dough to the sheet pan, spreading it to form a large, thick rectangle measuring about 6 inches by 8 inches. Mist the top of the dough with spray oil and cover the pan with plastic wrap or place it in a large food-grade plastic bag.

4. Immediately put the dough into the refrigerator and chill overnight, or for at least 4 hours.

5. Remove the dough from the refrigerator and shape it while it is very cold. If it warms up or softens, return it to the refrigerator. If you are making brioches à tête, lightly oil or use spray oil to grease the fluted molds. Divide the dough into 12 to 16 portions for petites brioches à tête and 2 to 4 portions for larger shapes. (The size of each portion should correspond to the size of the molds; petites brioches à tête are typically 1.5 to 2 ounces each, while larger versions can range from 1 to 2 pounds. Whatever size you are making, the molds should only be half full with dough to allow for expansion during proofing.) Shape the petites brioches à tête into small balls and the larger ones into round loafs. Dust your hands with flour, and, using the edge of your hand, divide a ball of dough into a large and small ball by rolling down, but not quite all the way through, the dough. Place the large ball into the oiled brioche mold and use the tips of your fingers to indent the top and to round and center the smaller ball. Place the molds on a sheet pan after final shaping. If you are making loaves, grease two 8.5 by 4.5-inch loaf pans. Divide the dough into 3 pieces and shape the dough into loaves.

6. Mist the top of the dough with spray oil and loosely cover with plastic wrap, or slip the pan(s) into a food-grade plastic bag. Proof the dough until it nearly fills the molds or loaf pans, 1.5 to 2 hours for petites brioches à tête and longer for larger shapes. Gently brush the tops with egg wash. Cover the dough with plastic wrap that has been lightly misted with spray oil. Continue proofing for another 15 to 30 minutes, or until the dough fills the molds or pans.

7. Preheat the oven to 400F with the oven rack on the middle shelf for petites brioches à tête, or 350F for larger shapes.

8. Bake for about 15 to 20 minutes for petites brioches à tête and 35 to 50 minutes for larger shapes. The internal temperature should register above 180F for the small ones and about 190F for the larger shapes. The bread should sound hollow when thumped on the bottom and be golden brown.

9. Remove the brioches or loaves from the pans as soon as they come out of the oven and cool on a rack for at least 20 minutes for small brioches and 1 hour for larger shapes before serving.
Copy of IMG_6325

tribute to katharine hepburn brownies

Copy of IMG_7294

I allowed myself a special treat this time – I made the whole recipe. It’s rare that I get to bake without doing fractions or figuring out pan dimensions, and it’s so nice to be able to actually rely on the baking times in the recipe. To say nothing of having a pan of brownies around all weekend for easy snacking.

Copy of IMG_7246

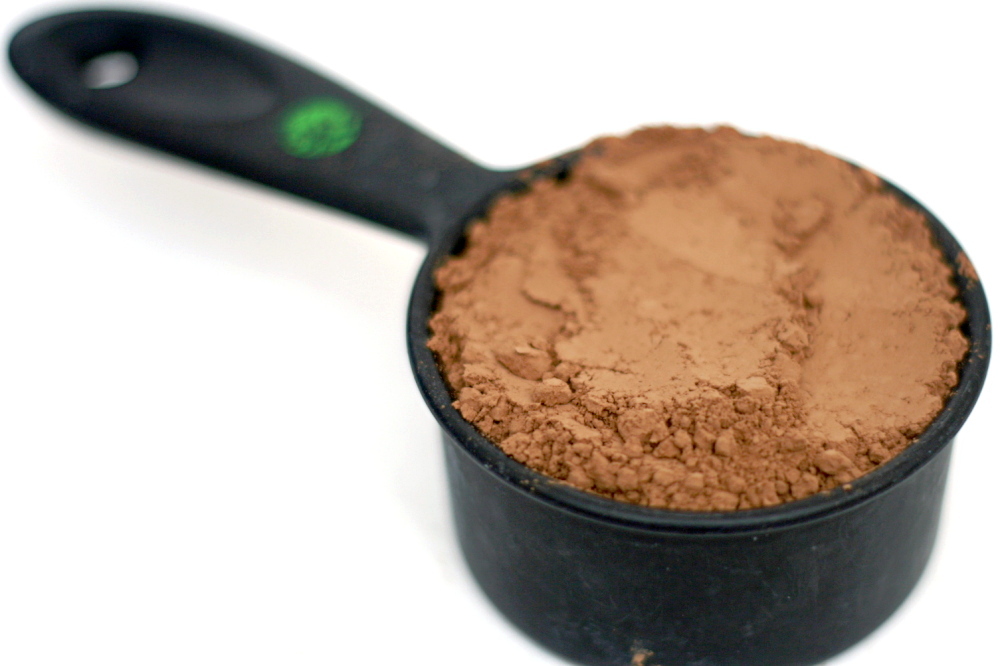
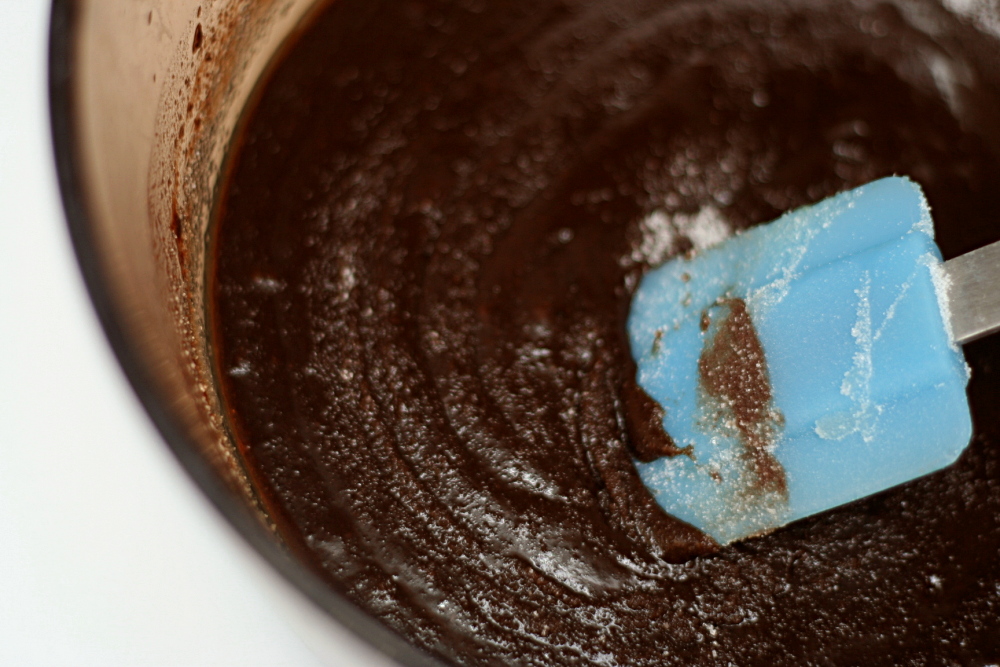
Most brownie recipes that I’ve made start with melting butter and chocolate over a double boiler, then stirring in sugar, eggs, and the dry ingredients (flour, salt, maybe some leavener). This recipe follows that same basic format, except instead of melting chocolate and butter together, cocoa is stirred into the already melted butter. I admittedly have a prejudice against cocoa being the primary source of chocolate in a chocolate dessert, but it’s mostly unfounded.

Copy of IMG_7249

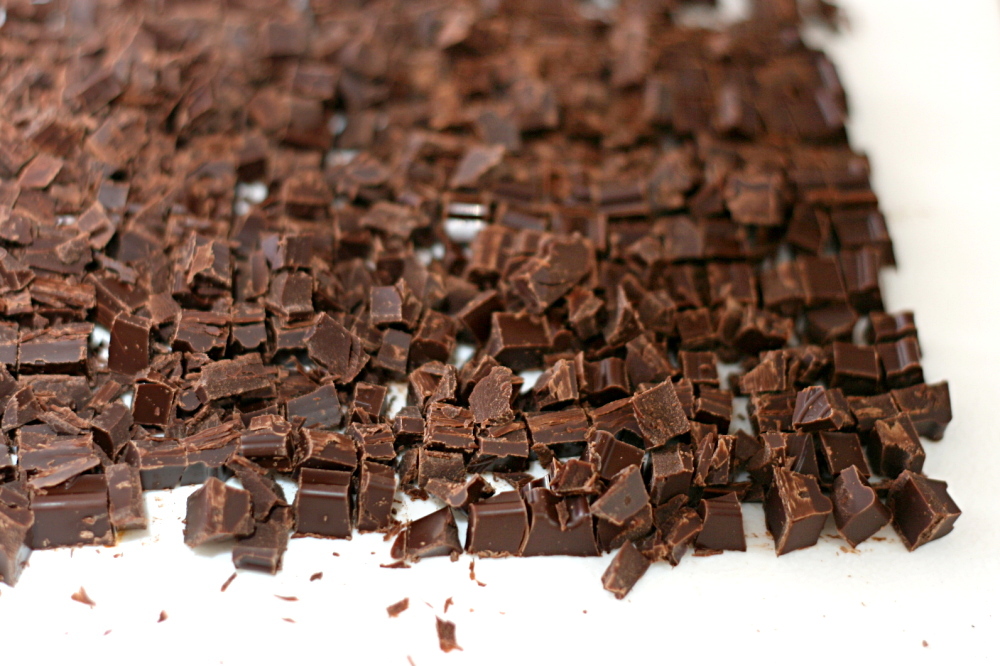
At least chocolate is included somewhere. Not really one for crunchy mix-ins in my brownies, I very finely chopped the chocolate that was stirred into the batter. I was also hoping that tiny chocolate bits would melt into the batter and give me an overall deeper chocolatelyness than cocoa alone can provide.

Copy of IMG_7253

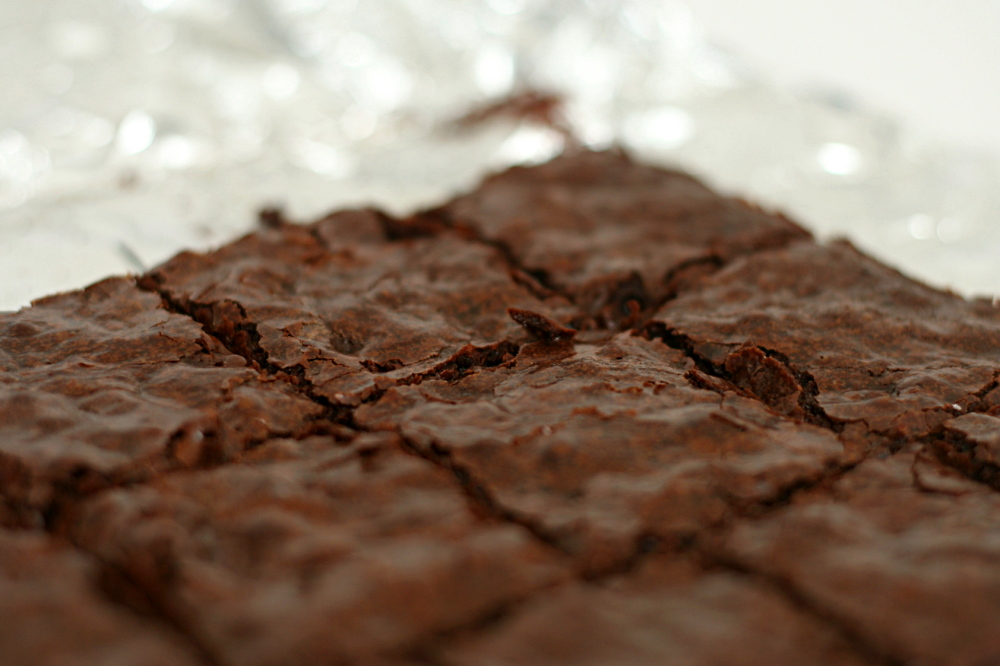
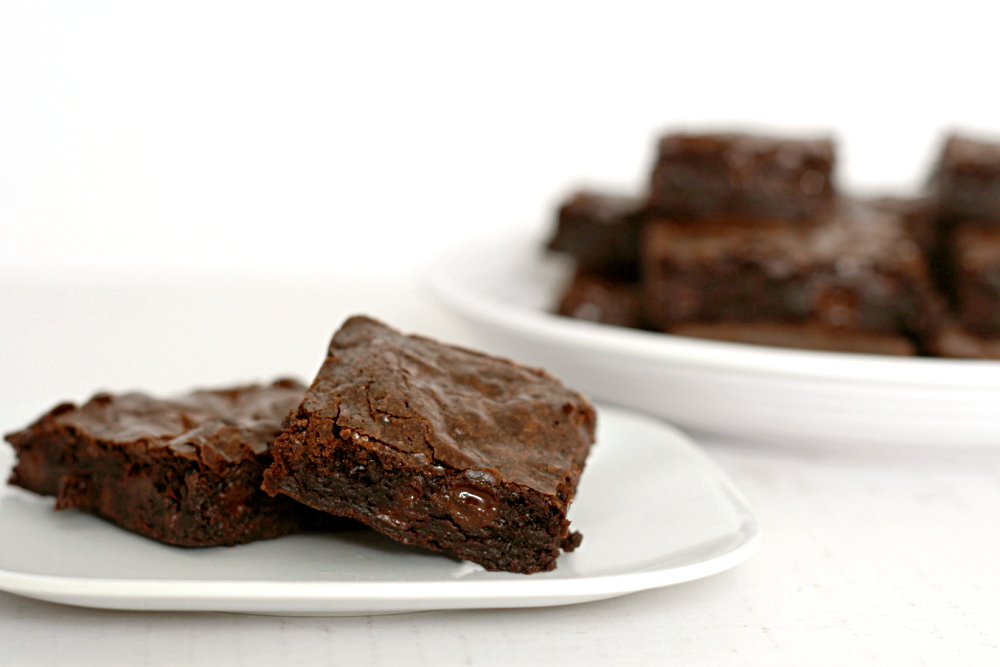
A number of bakers commented that after the recommended 30 minutes of baking, their brownies were still exceedingly gooey. Mine, however, were perfect – intensely fudgy, yes, but certainly cooked all the way through. I can only surmise that this must be a difference in the material of the pan and perhaps inaccuracies in our ovens’ thermometers.

Copy of IMG_7280

The brownies were perfect for what I wanted them for – sundaes with vanilla ice cream and raspberry sauce. And they weren’t so bad for random snacking either.

Lisa, who isn’t a member of Tuesdays with Dorie but won a recent logo design contest, chose this recipe and has the recipe posted on her blog. I skipped the nuts, and I’d use about half the amount of coffee called for.

One year ago: Vanilla Ice Cream (Apparently I’m all about the vanilla ice cream in the beginning of July.)

Copy of IMG_7346

seafood lasagna

Copy of IMG_5691

My sister reads my blog, more because she likes me than because she likes cooking.  She doesn’t hate to cook; but she has a full-time job, two toddlers, and the normal allotment of hobbies, friends, and family to balance.

Copy of IMG_5638

I try to keep her in mind when I need perspective, so I don’t say things like “this extra step is worth the effort.”  It’s all relative.  It’s worth it to me, sure, but I like cooking enough to have a blog about it.  What’s worth the effort for her is very different than it is for me.

Copy of IMG_5642

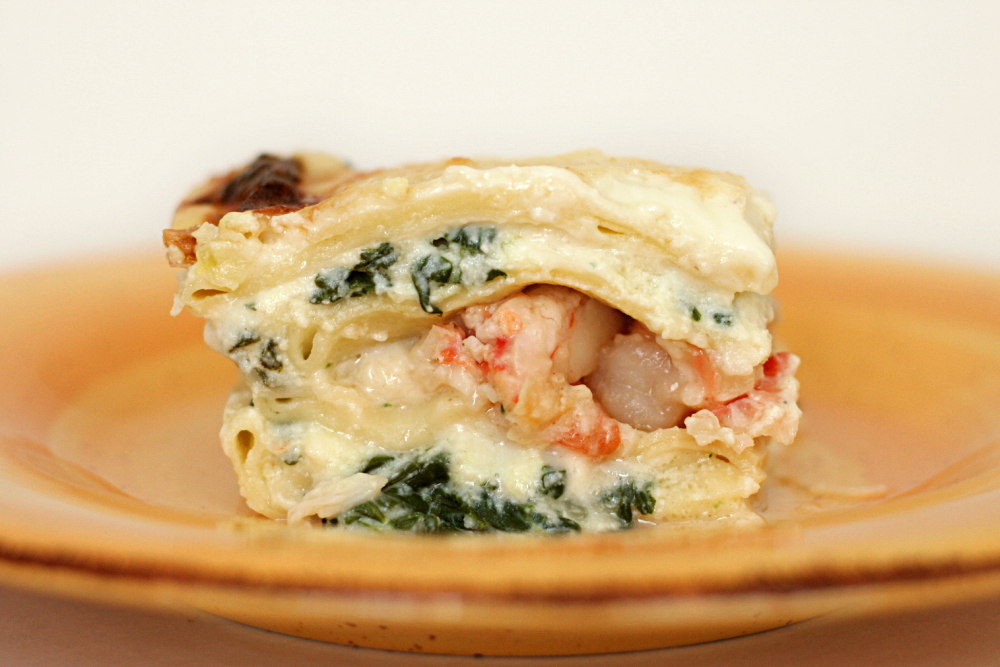
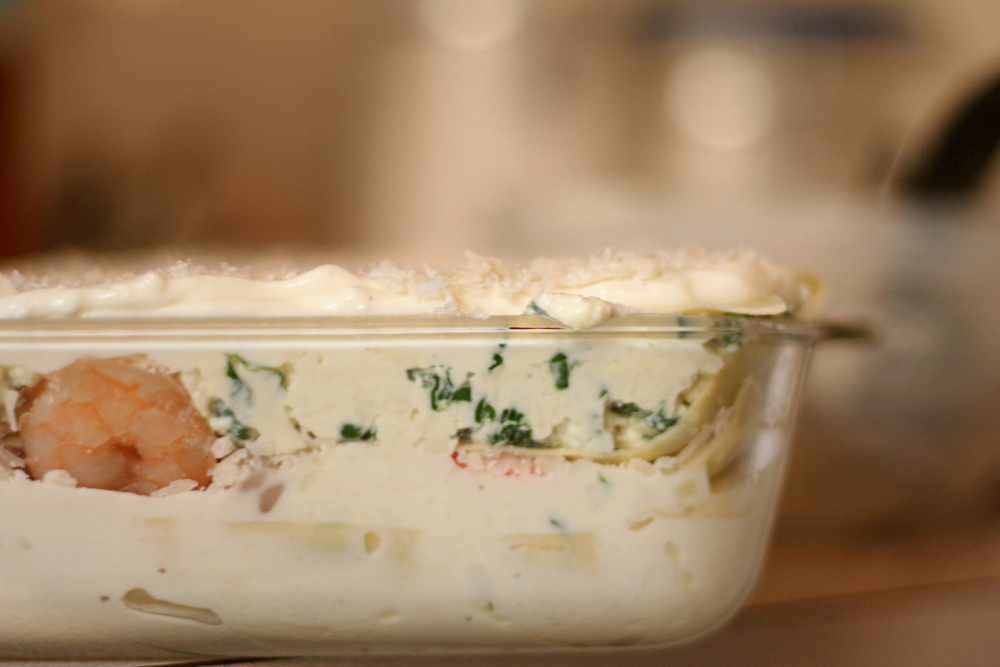
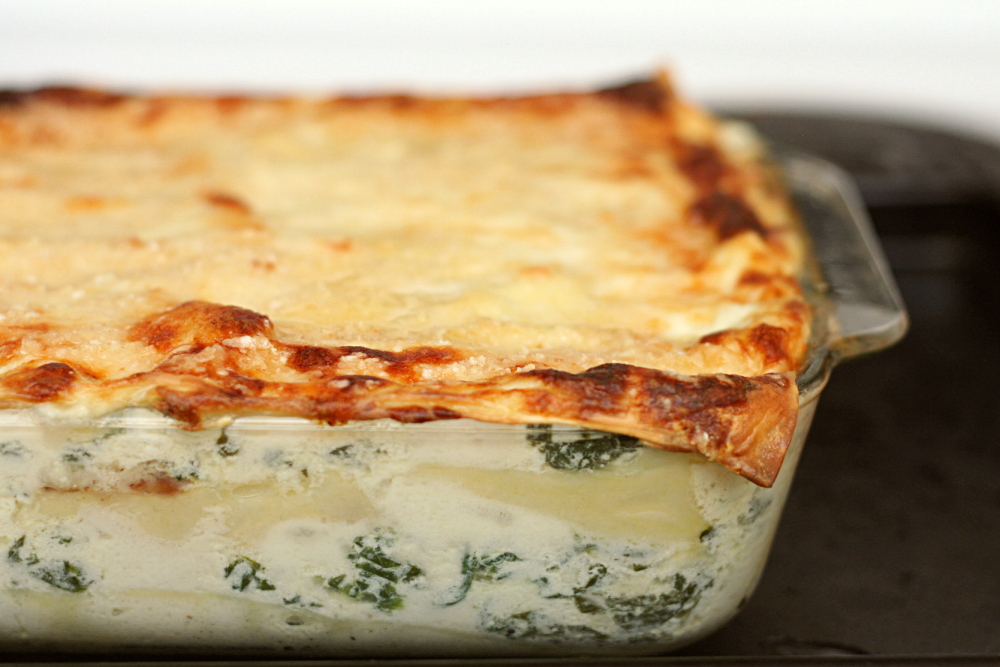
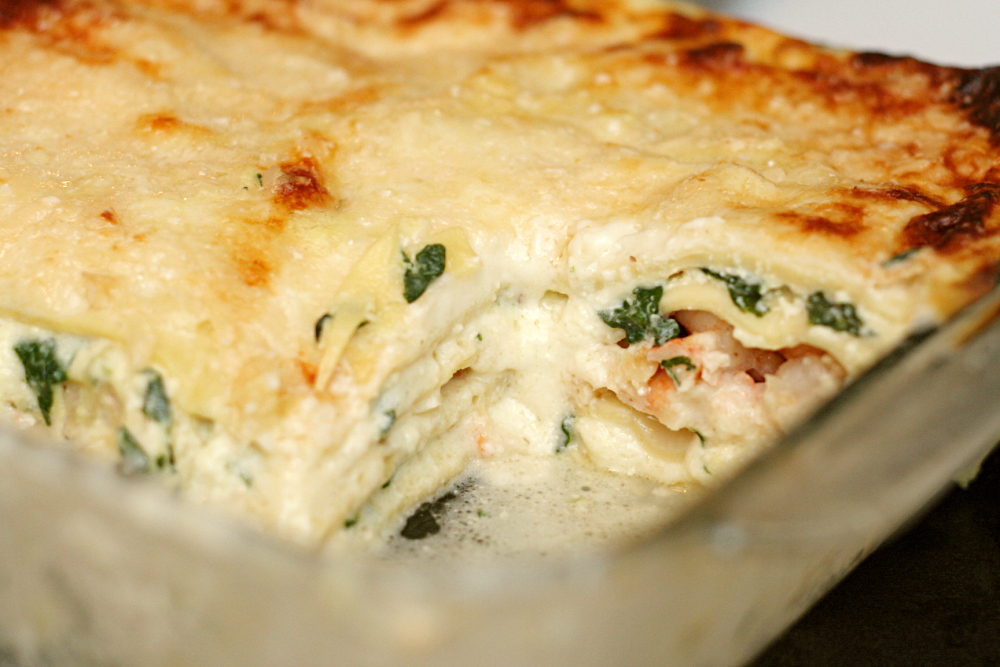
For example, my sister would not make this lasagna. This lasagna is a lot, a lot, of effort. It was worth it to me, sure, not just because the lasagna turned out amazing and it made enough food for a week, but because I had all kinds of fun making it.

Copy of IMG_5676

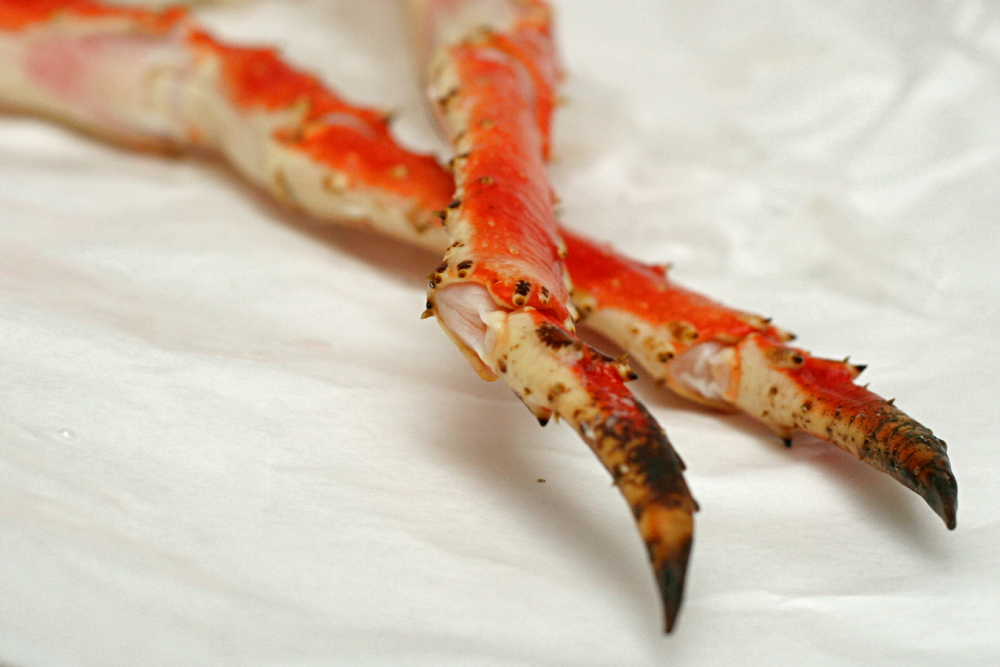
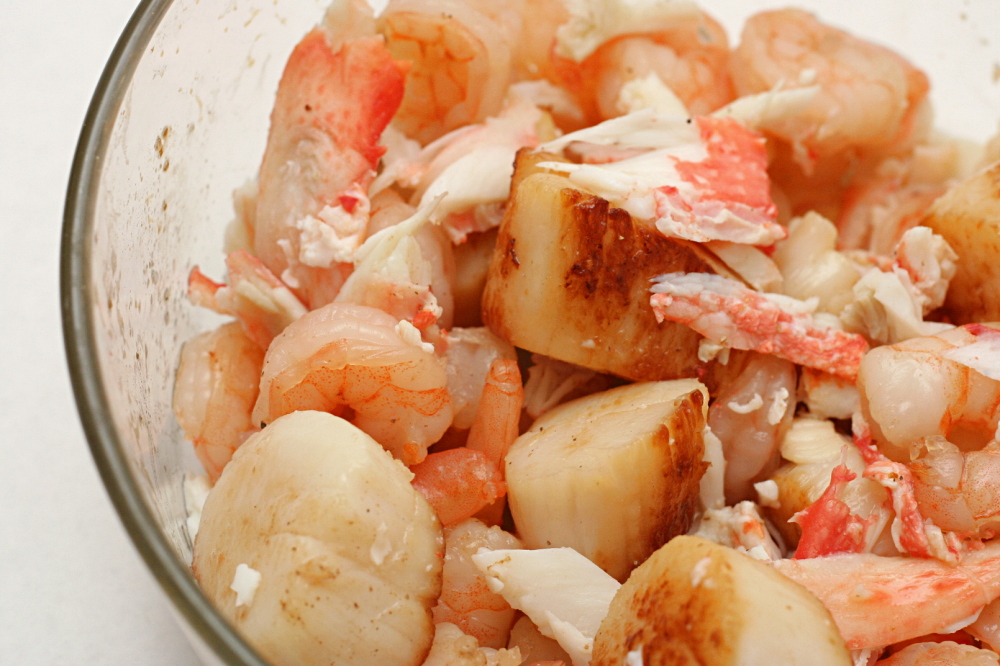
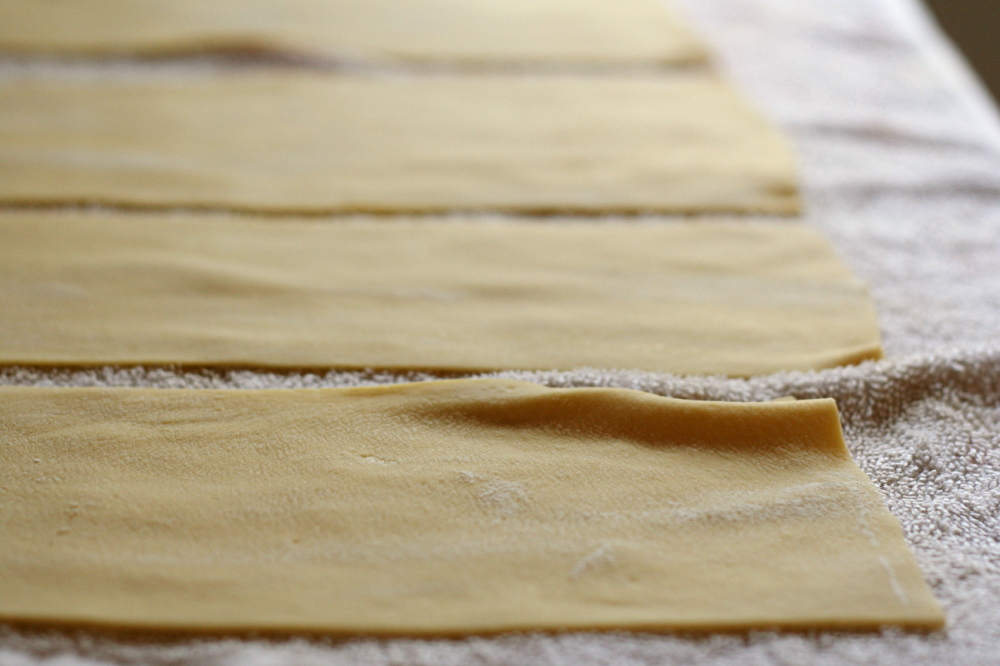
There are a whole lot of components. A béchamel sauce, which is no problem. The seafood mixture – crab legs steamed in the oven, scallops sautéed on the stove, shrimp that was supposed to be poached, but instead I sautéed them quickly on the stove after the scallops. Cheese needs to be grated and shredded, spinach needs to be cooked, dried, and chopped (I never like the frozen blocks). Fresh pasta needs to be made (or purchased, I suppose, but man, that’s a lot of money for what are actually very cheap ingredients). Only once all of that is finally prepared can the ingredients be layered and baked.

Copy of IMG_5677

The end product was so, so good. There are so many flavors all supporting and enhancing each other. The seafood wasn’t overshadowed by the other rich ingredients. The sweetness of the scallops stood out, as well as the salty ocean flavor of the crab. What’s more, we ate two dinners worth of leftovers, plus several lunches. (I was surprised by how well it reheated, but by slightly undercooking the lasagna the first time and then heating individual portions in the oven on low heat just until hot, the seafood didn’t overcook and the top didn’t burn.) All in all, it was a lot of effort, but I had fun and I made delicious meals for almost a week. One might even say that it was worth all the effort. You know, if you’re into that sort of thing.

Copy of IMG_5688

One year ago: Salmon Clubs with Avocado Butter

Seafood Lasagna (adapted from Foodie Bride, who adapted it from the Food Network)

Serves 10-12

If you’re as stubborn as I am about frozen spinach (too stemmy!) and purchased fresh pasta (too expensive!), you can find preparation instructions for both of those ingredients here. (You’ll want to make half the dough recipe and all of the spinach.) The only change I’d consider making to this recipe for next time is cutting the scallops into smaller pieces. As it was, there were occasional bites of pure scallop, which isn’t as fun as scallops + other lasagna goodness.

Seafood mixture:
3 king crab legs
1 tablespoon butter
12 ounces scallops
12 ounces shrimp, peeled, deveined, tails removed
salt
freshly ground white pepper

Béchamel:
6 tablespoons butter
2 teaspoons chopped garlic
6 tablespoons flour
4 cups milk
1 ounce (½ cup) grated parmesan cheese
salt
freshly ground white pepper

Cheese mixture:
10 oz frozen spinach, thawed and squeezed of excess water
15 ounces part-skim ricotta cheese
1 egg
1 ounce (½ cup) grated parmesan cheese
salt
freshly ground white pepper
8 ounces grated Mozzarella cheese

8 ounces lasagna noodles, cooked and drained

1. Cook the seafood: Preheat the oven to 350F. Form a large foil pouch around the king crab legs. Before sealing tightly, add ¼ cup water. Heat in the oven for 8-10 minutes. Remove the pouch from the oven and carefully open it to vent the steam. Let it cool for a few minutes, then crack the shells and place the meat in a medium bowl. Lightly shred any large pieces but don’t overshred.

2. Heat the butter in a sauté pan over medium-high heat. Pat the scallops dry with a paper towel. Place them in the pan and cook, without stirring, for 3-4 minutes, until golden brown. Flip the scallops and cook on the second side until browned, another 3-4 minutes. Drain the scallops and place them in the bowl with the crab meat.

3. Add the shrimp to the same pan (no need to wash or even rinse) used for sautéing the scallops. Cook, stirring occasionally, just until the shrimp are opaque, 5-6 minutes. Place them in the bowl with the crab meat and scallops. Add a pinch of salt and some white pepper, them toss to mix.

4. Make the béchamel: Melt the butter in a medium saucepan over medium heat. Add the garlic, and cook until very fragrant, but don’t let the garlic brown (about 3 minutes). Whisk in the flour and cook 2-3 minutes, stirring constantly. Gradually add the milk, whisking continuously. Cook an additional 4-6 minutes, stirring frequently and taking care that the bottom does not scorch. Remove from heat and whisk in salt and pepper to taste and ½ cup (1 ounce) of Parmesan cheese.

5. Make the ricotta filling: Mix the spinach, ½ cup (1 ounce) Parmesan, ricotta, egg, all of the mozzarella, salt, white pepper, and 1 cup béchamel in a bowl until thoroughly combined.

6. Assemble: Spread 1 cup of the béchamel sauce in the bottom of a 9×13 pan. Arrange 3 lasagna noodles in the pan and spread half of the ricotta-spinach mixture over the noodles, covering completely. Top with ½ cup béchamel. Arrange 3 lasagna noodles in the pan and add all of the crab-shrimp-scallops, spreading to distribute evenly. Sprinkle half of the remaining parmesan cheese over the seafood layer and top with ½ cup béchamel. Arrange 3 lasagna noodles in the pan and spread the remaining ricotta-spinach mixture over the noodles. Top with ½ cup béchamel. Add the remaining 3 lasagna noodles, remaining béchamel, and sprinkle the remaining Parmesan cheese over the top.

(A simple breakdown of the lasagna structure: sauce, noodles, ½ of the cheese mixture, sauce, noodles, all of the seafood, ½ the remaining parmesan, sauce, noodles, the rest of the cheese mixture, sauce, noodles, the rest of the sauce, the rest of the parmesan.)

7. Place in the oven and bake until bubbly and golden, about 55 minutes. Remove from the oven and let sit for 15 minutes before serving.
Copy of IMG_5696

sourdough bagels

Copy of IMG_6204

After my initial trials with sourdough last year, in which I mixed up an easy starter and made a couple loaves of not-at-all sourdoughy bread, I gave up for a while. I ignored the starter I’d made until it eventually dried up and I had to throw it away. When I visited my parents last winter, I tried making bread with my mom’s sourdough starter, which is much older than mine was, to see if it would taste sour. It did, at least a little, so my mom sent me home with some of her starter.

Copy of IMG_6138

Which I, again, basically ignored, for six months, until I had a friend visit who is experienced in the ways of sourdough. She gave me some tips on how to bring my old neglected starter back to life, and, more importantly, helped me realize that sourdough starter can be used in all sorts of breads, not just rustic loaves that I want to taste sour.

Copy of IMG_6145

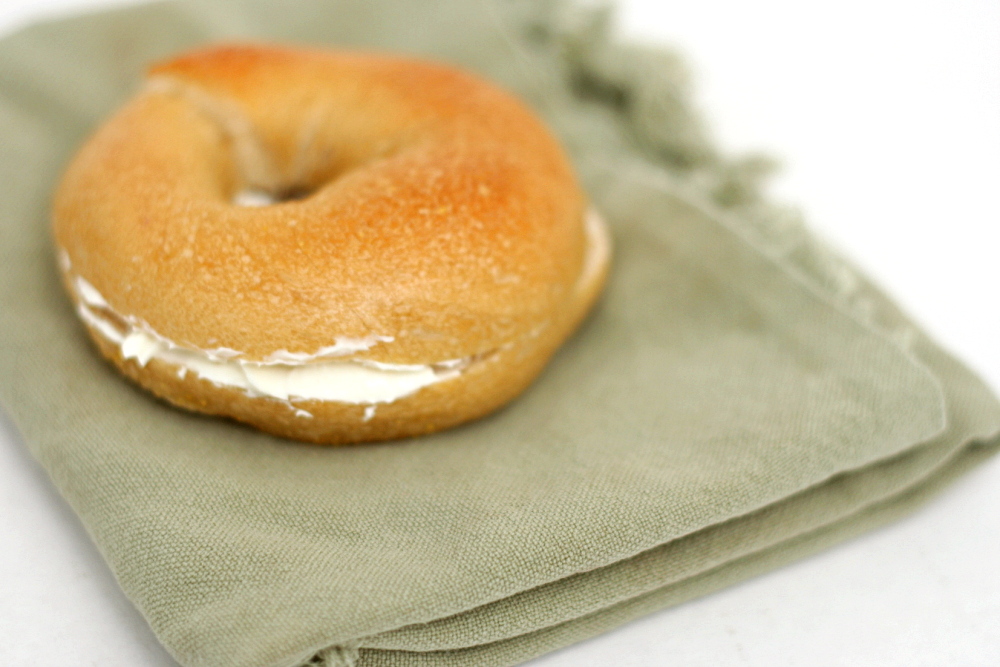
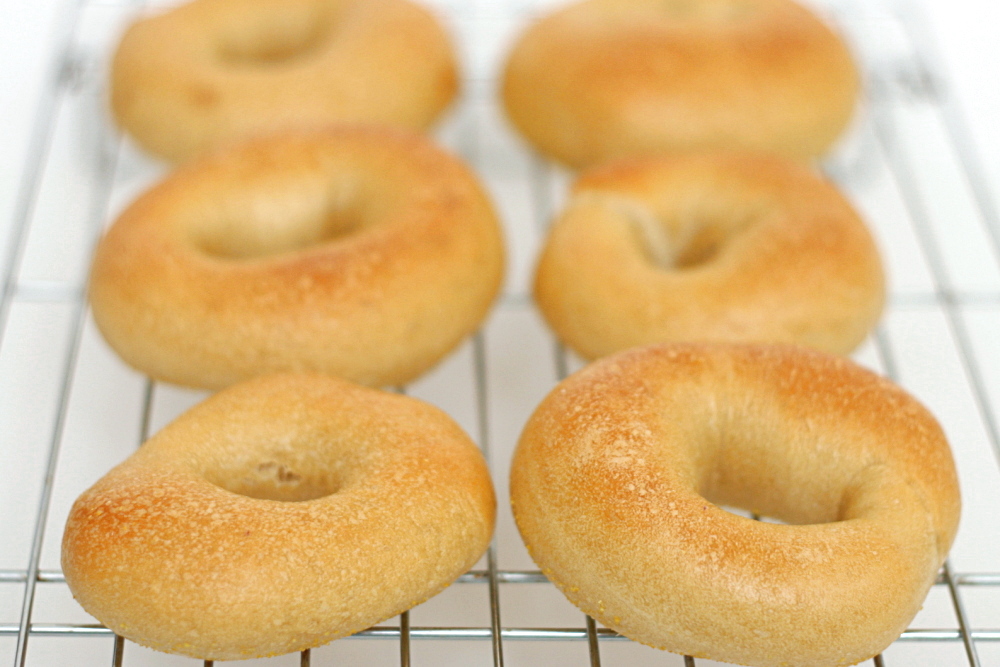
This was important because I don’t make rustic breads all that often, certainly not enough to keep my sourdough starter healthy. But there are some breads that I do make every week or so – pizza and bagels. The transition to sourdough was especially easy for bagels.

Copy of IMG_6151

I’ve been making bagels for years, usually using a slight adaptation of Peter Reinhart’s recipe. His recipe utilizes a sponge, a mixture of flour, yeast, and water that has to sit for a few hours before the recipe can be completed. I simply replaced that sponge with sourdough starter, so I saved myself a step and could more quickly move on to mixing and kneading the dough.

Copy of IMG_6176

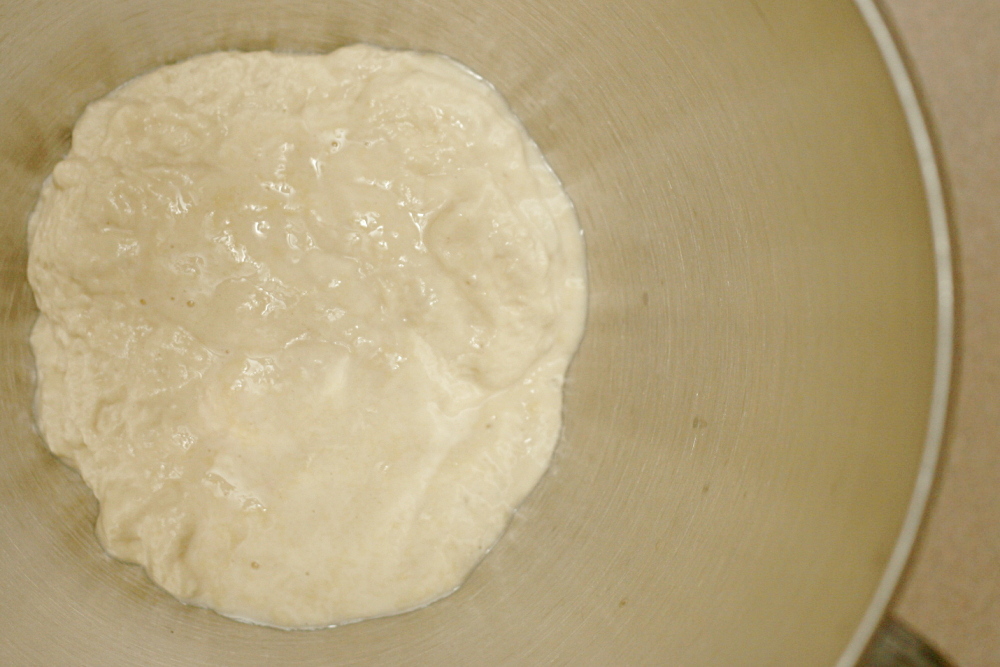
The only problem with this method is that I don’t always keep enough starter around to make even half of Reinhart’s recipe. I was only able to make six small bagels. So I tried again, this time using half the amount of starter and mixing it with more flour and water. Once that was frothy, I continued with the recipe.

Copy of IMG_6179

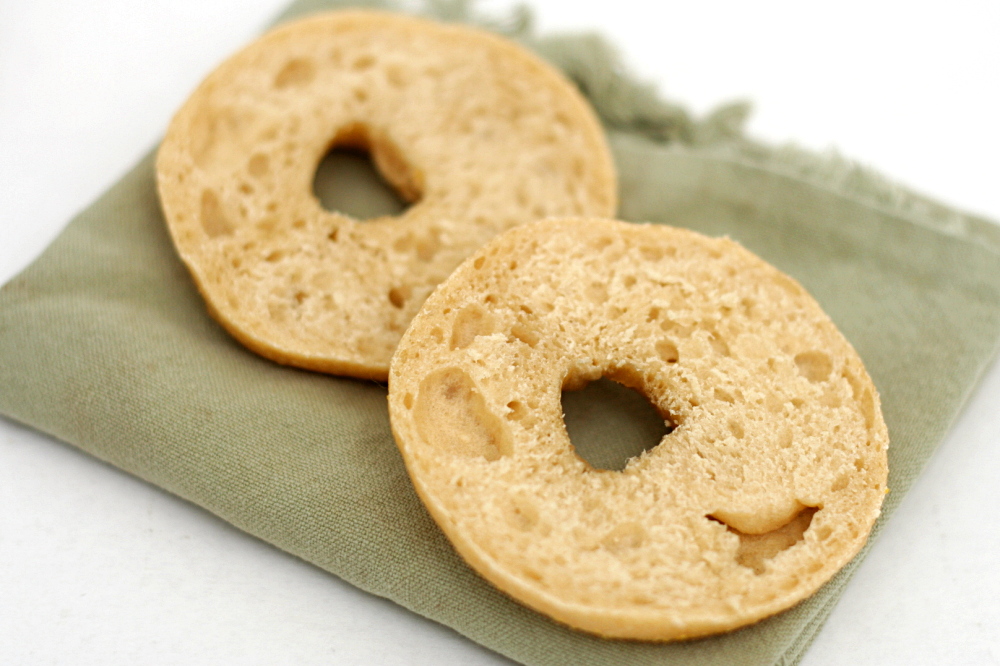
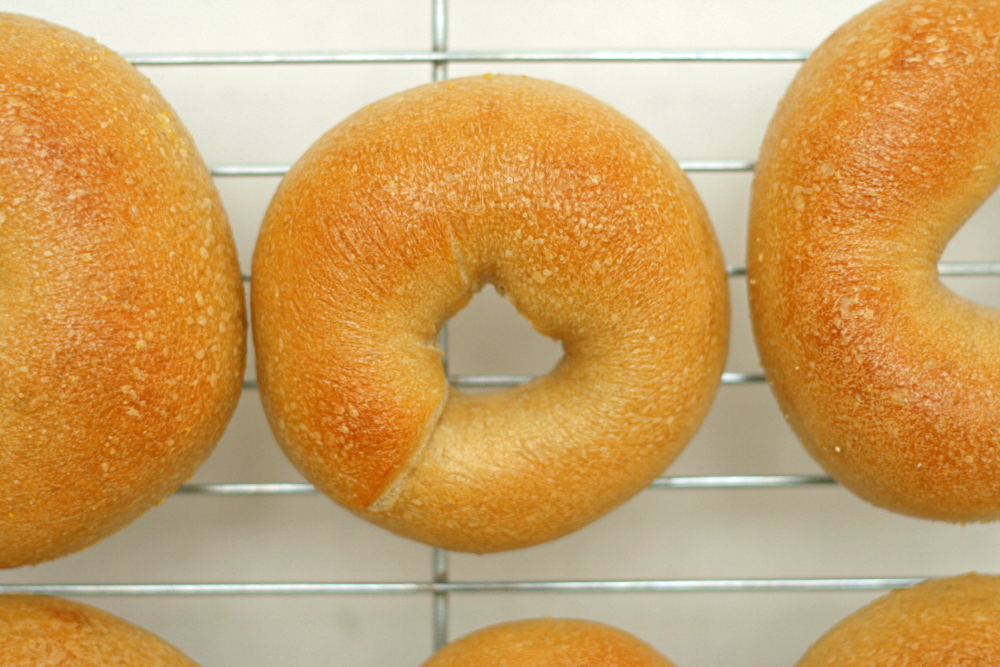
Both batches of bagels were very good. Neither had a strong sourdough flavor, although it was slightly more intense in the first batch, where the starter completely replaced the sponge. In the future, I’ll make whichever recipe I have the right amount of starter for. Because the version that completely replaces the sponge with starter is quicker, plus sourdough starter is so easy to make, I’ll probably just make some extra starter the day before I want to make bagels. Altogether, it’s a great way to use my starter often enough to keep it active.

Copy of IMG_6202

One year ago: Mixed Berry Cobbler

Sourdough Bagels (adapted from Peter Reinhart’s Bread Baker’s Apprentice)

12 small bagels or 8 large bagels

My sourdough starter is half flour and half water, by weight.

16 ounces sourdough starter
¼ teaspoon instant yeast
1¾ cup (8 ounces) bread flour (approximately)
1½ teaspoons salt
1 tablespoon barley malt syrup
1 tablespoon cornmeal

1. Place the sourdough starter in the bowl of a standing mixer and leave it at room temperature until it loses its chill and becomes frothy, 1-2 hours, depending on how active your starter is.

2. Add the additional yeast to the starter and stir. Then add most of the remaining flour and all of the salt and malt. Mix on low speed with the dough hook until the ingredients form a ball, slowly working in the remaining flour to stiffen the dough.

3. Knead at low speed for 6 minutes. The dough should be firm and stiff, but still pliable and smooth. There should be no raw flour – all the ingredients should be hydrated. If the dough seems too dry and rips, add a few drops of water and continue kneading. If the dough seems tacky or sticky, add more flour to achieve the stiffness required. The kneaded dough should feel satiny and pliable but not be tacky.

4. Immediately divide the dough into 8-12 equal pieces. Form the pieces into smooth balls.

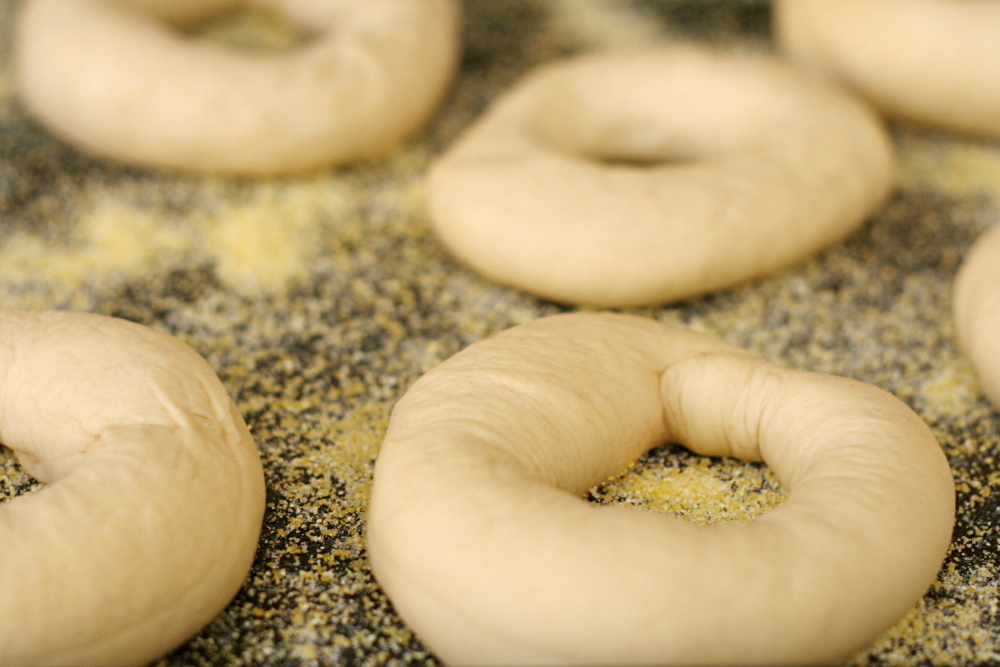
5. Cover the balls with plastic wrap and allow them to rest for 20 minutes. Dust a baking sheet with the cornmeal.

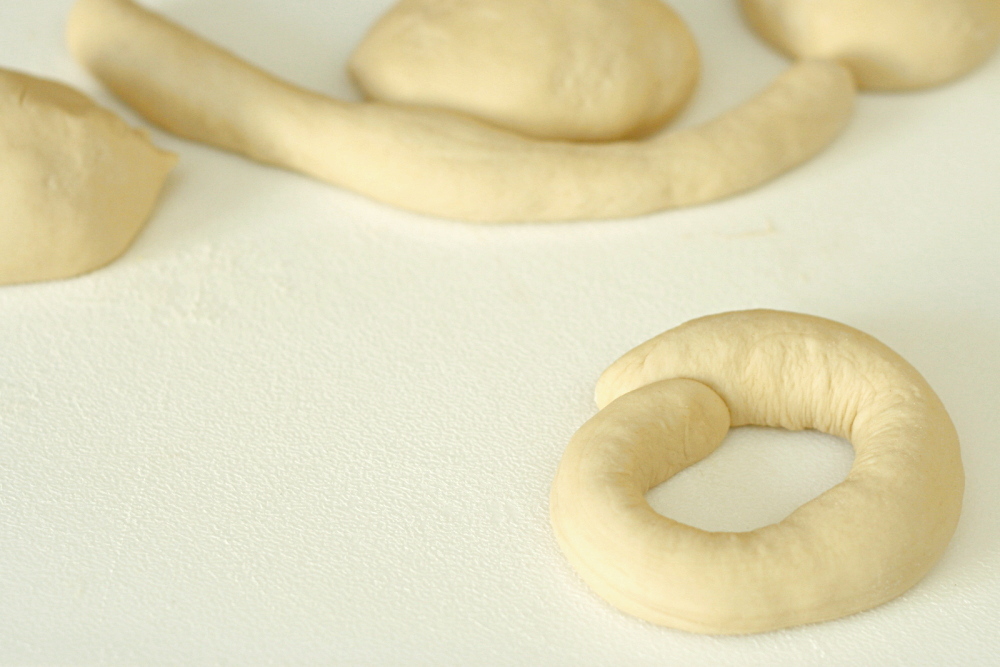
6. Form each dough ball into a rope 9 inches long by rolling it under your outstretched palms. Do not taper the ends of the rope. Overlap the ends of the rope about 1 inch and pinch the entire overlapped area firmly together. If the ends of the rope do not want to stick together, you can dampen them slightly. Place the loop of dough around the base of your fingers and, with the overlap under your palm, roll the rope several times, applying firm pressure to seal the seam. The bagel should be roughly the same thickness all the way around.

7. Place each of the shaped pieces about an inch apart on the prepared pan. Cover loosely with plastic wrap. Let the pan sit at room temperature for about 20 minutes.

8. Check to see if the bagels are ready to be retarded in the refrigerator by using the ‘float test.” Fill a small bowl with cool or room-temperature water. The bagels are ready to be retarded when they float within 10 seconds of being dropped into the water. Take one bagel and test it. If it floats immediately return the tester bagel to the pan, pat it dry, cover the pan, and place it in the refrigerator overnight (it can stay in the refrigerator for up to 2 days). If the bagel does not float, return it to the pan and continue to proof the dough at room temperature, checking back every 10 to 20 minutes or so until a tester floats. The time needed to accomplish the float will vary, depending on the ambient temperature and the stiffness of the dough.

9. The following day (or when you are ready to bake the bagels), adjust the rack to the middle position and preheat the oven to 450 degrees. Bring a large pot of water to a boil (the wider the pot the better). Have a slotted spoon or skimmer nearby. Line a baking sheet with parchment paper.

10. Remove the bagels from the refrigerator and gently drop them into the water, boiling only as many as comfortably fit (they should float within 10 seconds). Stir and submerge bagels with Chinese skimmer or slotted spoon until very slightly puffed, 30 to 35 seconds. Remove rings from water; transfer to wire rack, bottom side down, to drain.

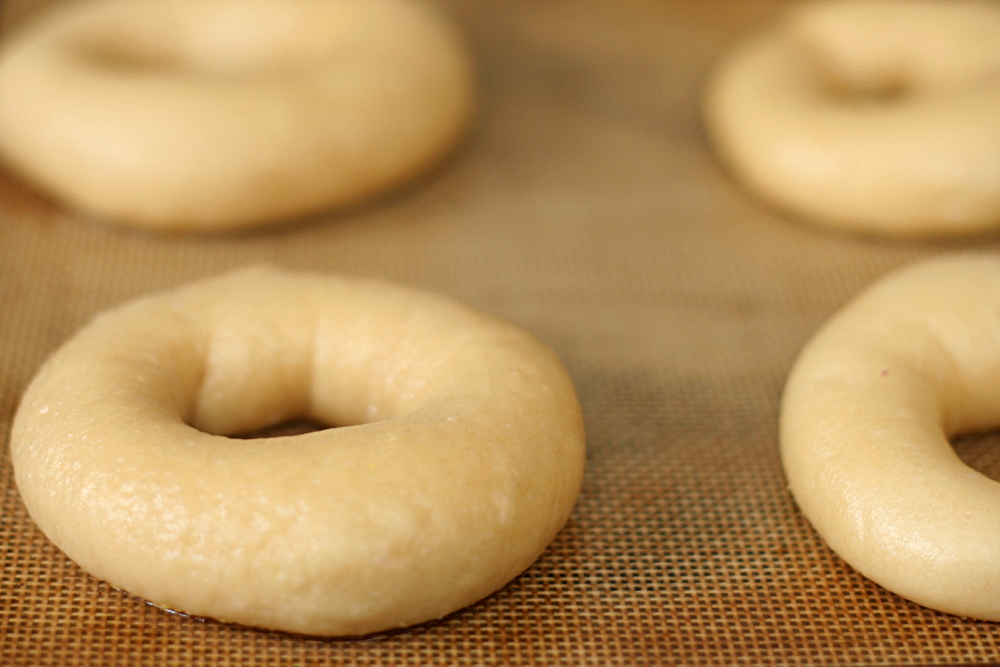
11. Transfer boiled rings, rough side down, to parchment paper-lined baking sheet. Bake until deep golden brown and crisp, about 12 minutes.

12. Remove the pans from the oven and let the bagels cool on a rack for 10-15 minutes before serving.
Copy of IMG_6182

white cake comparison 2

Copy of IMG_7198

Last year, I compared three white cake recipes, including Dorie’s Perfect Party Cake. I was torn between Dorie’s recipe, which I thought tasted great, and Cooks Illustrated’s, which had the perfect texture. I had an idea for what I would try the next time I made white cake, but at the time, I was white caked out, and, indeed, I haven’t made it since. Since the Perfect Party Cake was chosen by Carol for Tuesdays with Dorie this month, it was a great opportunity to try out my adaptation and compare it to my two previous favorites.

Copy of IMG_7065

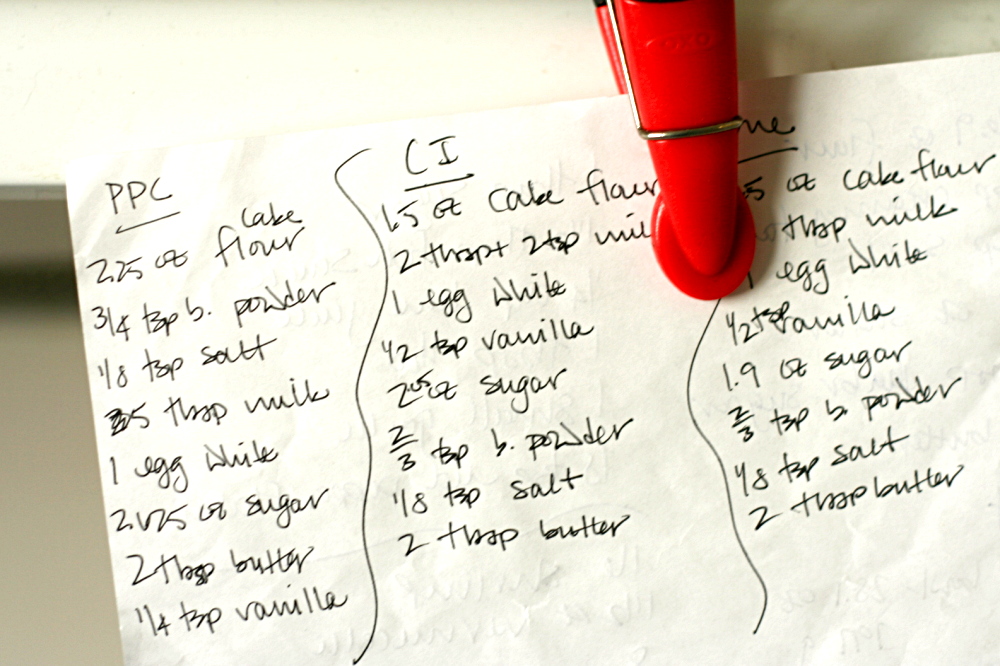
Cooks Illustrated’s white cake recipe and Dorie’s Perfect Party Cake have different mixing methods and different ratios of ingredients, but the end results are actually quite similar. I had really enjoyed the moistness and springiness of CI’s recipe, but found it a bit too sweet. Dorie’s recipe tasted great – it’s less sweet, so a bit of tanginess is detectable. Her recipe does have less sugar, plus more milk than CI’s, presumably to make up for the moisture that sugar provides. My idea was to reduce the sugar of CI’s recipe slightly and increase the milk, keeping the other ingredients and the mixing method the same.

Copy of IMG_7034

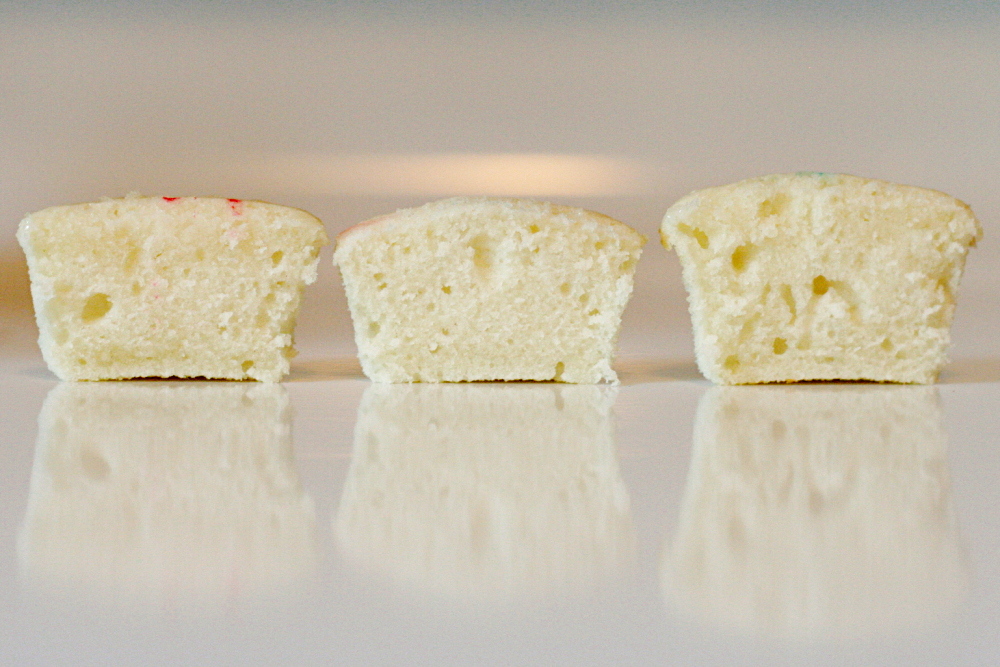
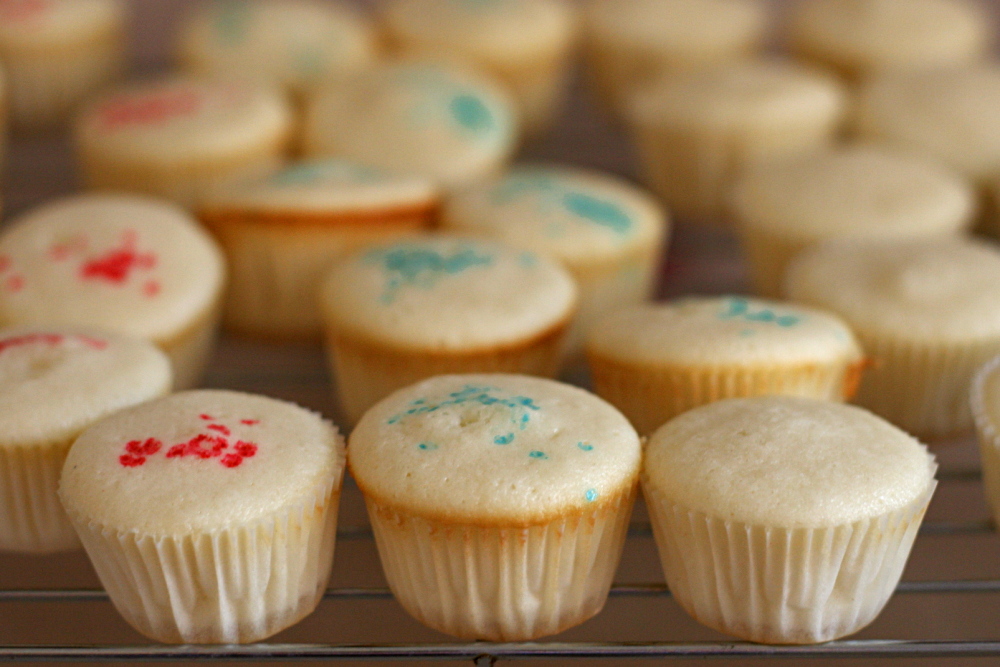
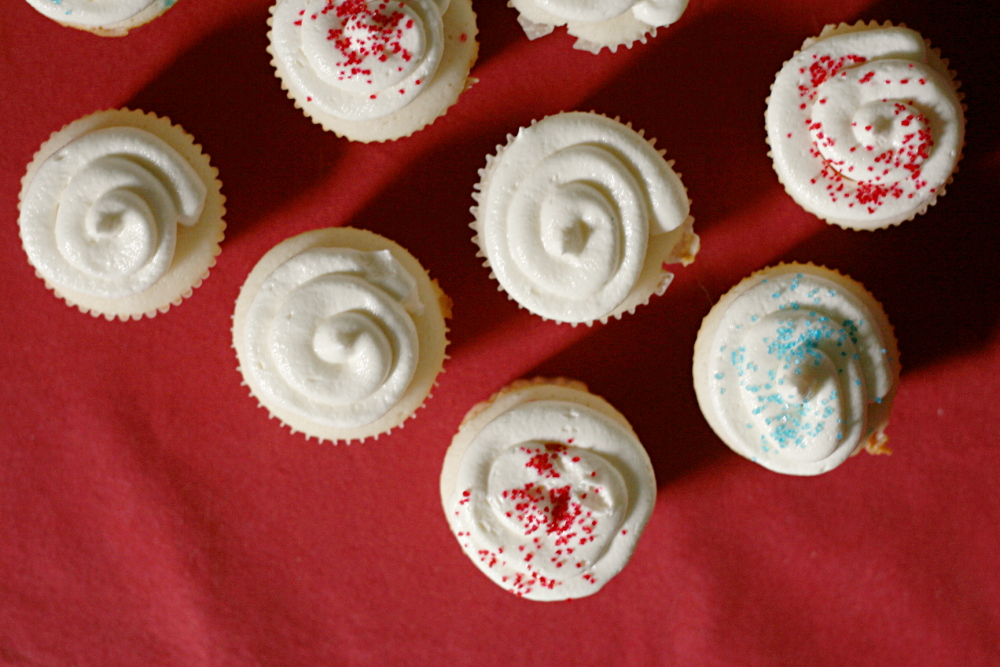
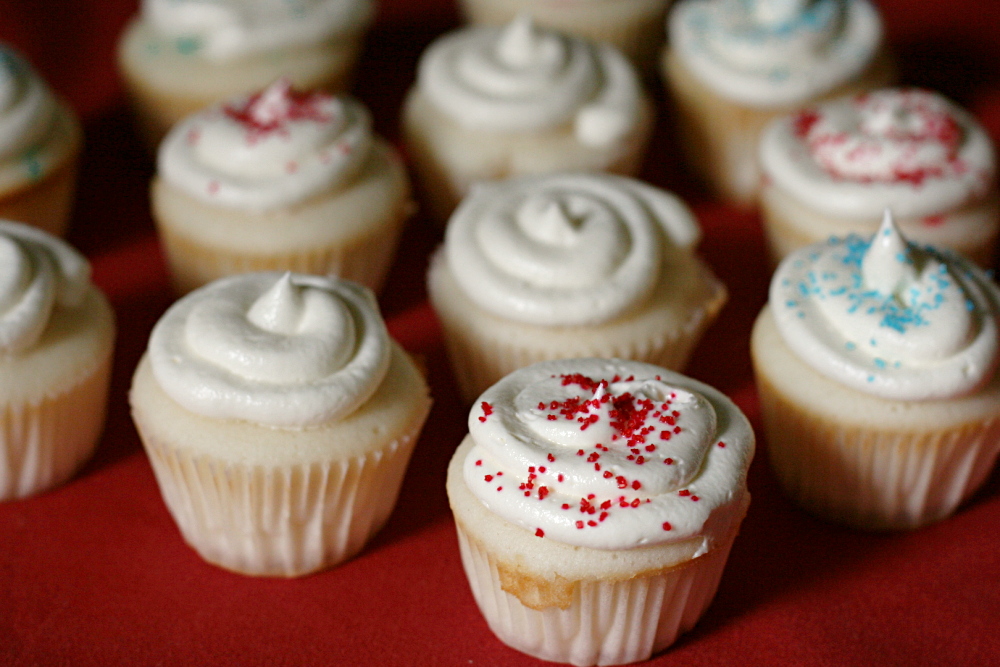
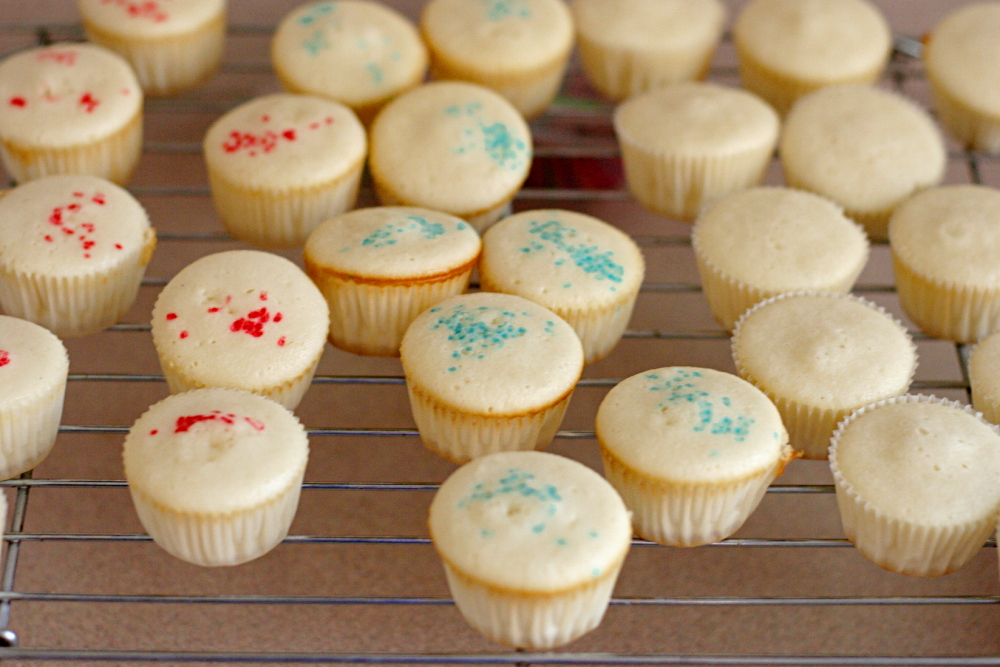
This time, I made three recipes – Dorie’s and CI’s as written, plus my adjustment of CI’s. I made mini-cupcakes of each and baked them all at 350F for 12 minutes. I did make small portions of each recipe, but I’m a pretty precise measurer, so I’m confident that this won’t have a significant impact. I flavored each cake with only vanilla, leaving out lemon and almond flavors. The sprinkling of sugar on top of each cupcake is to keep the recipes straight – white is Dorie’s, blue is CI’s, and red is my adaptation.

Copy of IMG_7096left – my recipe; middle – Dorie’s; right – CI’s

I still like the texture of CI’s better than Dorie’s. Dorie’s was just a bit dry, and CI’s has a fun sponginess to it. And I still like the flavor of Dorie’s better than CI’s – again, that slight tanginess gives some contrast to the sweetness. And, just personally, I thought my adaptation was pretty much perfect. It had the flavor I like, and it had the moist, springy texture that I like.

Copy of IMG_7067

However, let me perfectly honest. First, all three recipes are really really good. And, frankly, really really similar. I’m really splitting hairs here. And second, Dave’s (my only other tester) preferences were exactly the opposite of mine. He liked Dorie’s recipe the best because the other two were too moist. He’s cute and all, but I’m still going to make my favorite, the adaptation of Cooks Illustrated’s recipe, in the future.

Copy of IMG_7195

One year ago: Croque-Madame – I really need to come up with an excuse to make this again.  4th of July, maybe?

Classic White Layer Cake (from Cooks Illustrated)

Serves 12

CI note: If you have forgotten to bring the milk and egg white mixture to room temperature, set the bottom of the glass measure containing it in a sink of hot water and stir until the mixture feels cool rather than cold, around 65 degrees. Cake layers can be wrapped and stored for one day.

Nonstick cooking spray
2¼ cups cake flour (9 ounces), plus more for dusting the pans
1 cup whole milk, at room temperature
6 large egg whites (¾ cup), at room temperature
2 teaspoons almond extract
1 teaspoon vanilla extract
1¾ cups granulated sugar (12¼ ounces)
4 teaspoons baking powder
1 teaspoon table salt
12 tablespoons unsalted butter (1½ sticks), softened but still cool

1. For the Cake: Set oven rack in middle position. (If oven is too small to cook both layers on a single rack, set racks in upper-middle and lower-middle positions.) Heat oven to 350 degrees. Spray two 9-inch round cake pans with nonstick cooking spray; line the bottoms with parchment or waxed paper rounds. Spray the paper rounds, dust the pans with flour, and invert pans and rap sharply to remove excess flour.

2. Pour milk, egg whites, and extracts into 2-cup glass measure, and mix with fork until blended.

3. Mix cake flour, sugar, baking powder, and salt in bowl of electric mixer at slow speed. Add butter; continue beating at slow speed until mixture resembles moist crumbs, with no powdery streaks remaining.

4. Add all but ½ cup of milk mixture to crumbs and beat at medium speed (or high speed if using handheld mixer) for 1½ minutes. Add remaining ½ cup of milk mixture and beat 30 seconds more. Stop mixer and scrape sides of bowl. Return mixer to medium (or high) speed and beat 20 seconds longer.

5. Divide batter evenly between two prepared cake pans; using rubber spatula, spread batter to pan walls and smooth tops. Arrange pans at least 3 inches from the oven walls and 3 inches apart. (If oven is small, place pans on separate racks in staggered fashion to allow for air circulation.) Bake until thin skewer or toothpick inserted in the center comes out clean, 23 to 25 minutes.

6. Let cakes rest in pans for 3 minutes. Loosen from sides of pans with a knife, if necessary, and invert onto wire racks. Reinvert onto additional wire racks. Let cool completely, about 1½ hours.

Perfect Party Cake (from Dorie Greenspan’s Baking: From my Home to Yours)

For the Cake
2¼ cups (9 ounces) cake flour
1 tablespoon baking powder
½ teaspoon salt
1¼ cups whole milk or buttermilk (I prefer buttermilk with the lemon)
4 large egg whites
1½ cups (10½ ounces) sugar
2 teaspoons grated lemon zest
1 stick (8 tablespoons or 4 ounces) unsalted butter, at room temperature
½ teaspoon pure lemon extract

For the Buttercream
1 cup sugar
4 large egg whites
3 sticks (12 ounces) unsalted butter, at room temperature
¼ cup fresh lemon juice (from 2 large lemons)
1 teaspoon pure vanilla extract

For Finishing
2/3 cup seedless raspberry preserves stirred vigorously or warmed gently until spreadable
About 1½ cups sweetened shredded coconut

Getting Ready:
Center a rack in the oven and preheat the oven to 350 degrees F. Butter two 9 x 2 inch round cake pans and line the bottom of each pan with a round of buttered parchment or wax paper. Put the pans on a baking sheet.

To Make the Cake:
Sift together the flour, baking powder and salt.

Whisk together the milk and egg whites in a medium bowl.

Put the sugar and lemon zest in a mixer bowl or another large bowl and rub them together with your fingers until the sugar is moist and fragrant. Add the butter and working with the paddle or whisk attachment, or with a hand mixer, beat at medium speed for a full 3 minutes, until the butter and sugar are very light. Beat in the extract, then add one third of the flour mixture, still beating on medium speed. Beat in half of the milk-egg mixture, then beat in half of the remaining dry ingredients until incorporated. Add the rest of the milk and eggs beating until the batter is homogeneous, then add the last of the dry ingredients. Finally, give the batter a good 2- minute beating to ensure that it is thoroughly mixed and well aerated.

Divide the batter between the two pans and smooth the tops with a rubber spatula. Bake for 30-35 minutes, or until the cakes are well risen and springy to the touch – a thin knife inserted into the centers should come out clean. Transfer the cakes to cooling racks and cool for about 5 minutes, then run a knife around the sides of the cakes, unfold them and peel off the paper liners. Invert and cool to room temperature, right side up (the cooled cake layers can be wrapped airtight and stored at room temperature overnight or frozen for up to two months).

To Make the Buttercream:
Put the sugar and egg whites in a mixer bowl or another large heatproof bowl, fit the bowl over a plan of simmering water and whisk constantly, keeping the mixture over the heat, until it feels hot to the touch, about 3 minutes. The sugar should be dissolved, and the mixture will look like shiny marshmallow cream. Remove the bowl from the heat. Working with the whisk attachment or with a hand mixer, beat the meringue on medium speed until it is cool, about 5 minutes.

Switch to the paddle attachment if you have one, and add the butter a stick at a time, beating until smooth. Once all the butter is in, beat in the buttercream on medium-high speed until it is thick and very smooth, 6-10 minutes. During this time the buttercream may curdle or separate – just keep beating and it will come together again. On medium speed, gradually beat in the lemon juice, waiting until each addition is absorbed before adding more, and then the vanilla. You should have a shiny smooth, velvety, pristine white buttercream. Press a piece of plastic against the surface of the buttercream and set aside briefly.

To Assemble the Cake
Using a sharp serrated knife and a gentle sawing motion, slice each layer horizontally in half. Put one layer cut side up on a cardboard cake round or a cake plate protected by strips of wax or parchment paper. Spread it with one third of the preserves. Cover the jam evenly with about one quarter of the buttercream. Top with another layer, spread with preserves and buttercream and then do the same with a third layer (you’ll have used all the jam and have buttercream leftover). Place the last layer cut side down on top of the cake and use the remaining buttercream to frost the sides and top. Press the coconut into the frosting, patting it gently all over the sides and top.

Serving
The cake is ready to serve as soon as it is assembled, but I think it’s best to let it sit and set for a couple of hours in a cool room – not the refrigerator. Whether you wait or slice and enjoy it immediately, the cake should be served at room temperature; it loses all its subtlety when it’s cold. Depending on your audience you can serve the cake with just about anything from milk to sweet or bubbly wine.

Storing
The cake is best the day it is made, but you can refrigerate it, well covered, for up to two days. Bring it to room temperature before serving. If you want to freeze the cake, slide it into the freezer to set, then wrap it really well – it will keep for up to 2 months in the freezer; defrost it, still wrapped overnight in the refrigerator.
White Cake (my adaptation from Cooks Illustrated’s Classic White Cake)

Serves 12

Nonstick cooking spray
2¼ cups cake flour (9 ounces), plus more for dusting the pans
1 cup + 2 tablespoons whole milk, at room temperature
6 large egg whites (¾ cup), at room temperature
2 teaspoons almond extract
1 teaspoon vanilla extract
1½ cups + 2 tablespoons granulated sugar (11.35 ounces)
4 teaspoons baking powder
1 teaspoon table salt
12 tablespoons unsalted butter (1½ sticks), softened but still cool

1. For the Cake: Set oven rack in middle position. (If oven is too small to cook both layers on a single rack, set racks in upper-middle and lower-middle positions.) Heat oven to 350 degrees. Spray two 9-inch round cake pans with nonstick cooking spray; line the bottoms with parchment or waxed paper rounds. Spray the paper rounds, dust the pans with flour, and invert pans and rap sharply to remove excess flour.

2. Pour milk, egg whites, and extracts into 2-cup glass measure, and mix with fork until blended.

3. Mix cake flour, sugar, baking powder, and salt in bowl of electric mixer at slow speed. Add butter; continue beating at slow speed until mixture resembles moist crumbs, with no powdery streaks remaining.

4. Add all but ½ cup of milk mixture to crumbs and beat at medium speed (or high speed if using handheld mixer) for 1½ minutes. Add remaining ½ cup of milk mixture and beat 30 seconds more. Stop mixer and scrape sides of bowl. Return mixer to medium (or high) speed and beat 20 seconds longer.

5. Divide batter evenly between two prepared cake pans; using rubber spatula, spread batter to pan walls and smooth tops. Arrange pans at least 3 inches from the oven walls and 3 inches apart. (If oven is small, place pans on separate racks in staggered fashion to allow for air circulation.) Bake until thin skewer or toothpick inserted in the center comes out clean, 23 to 25 minutes.

6. Let cakes rest in pans for 3 minutes. Loosen from sides of pans with a knife, if necessary, and invert onto wire racks. Reinvert onto additional wire racks. Let cool completely, about 1½ hours.

Copy of IMG_7190