Archives for August 2009

pickled coleslaw

Copy of IMG_6584

Salads can be tricky, because if I’m eating a big bowl of vegetables, it better be healthy, you know? But there’s the whole salad dressing issue. Vinaigrette is the standard lighter option, but even it’s usually based on olive oil.

Coleslaw is no exception to the salad dressing problem. Many coleslaws are simply cabbage, mayonnaise and seasoning. Not only is this a little plain for my taste, but it turns coleslaw into a full-on indulgence. Even my favorite buttermilk coleslaw recipe includes a bit of mayonnaise and sour cream (which could probably be replaced by plain yogurt), although the base of the dressing is lowfat buttermilk.
Copy of IMG_6553

A lot of people don’t even like creamy coleslaws, preferring vinegar-based slaws instead. I like both types, and at first I thought these vinegar dressings were the no-fat answer for coleslaw, until I found out that most involve oil, like a typical vinaigrette does.
Copy of IMG_6547

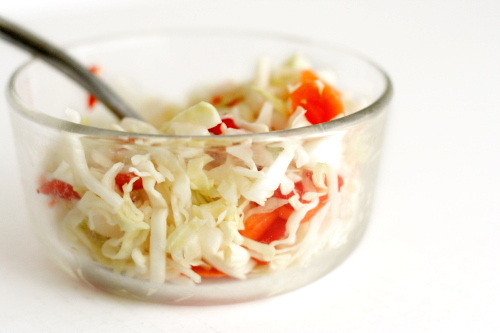
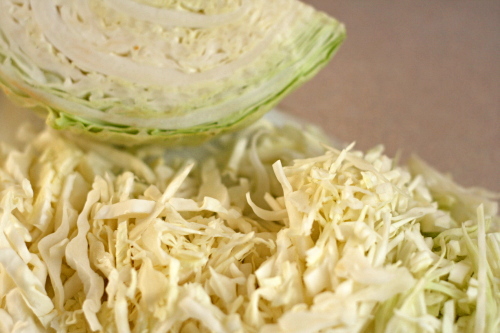
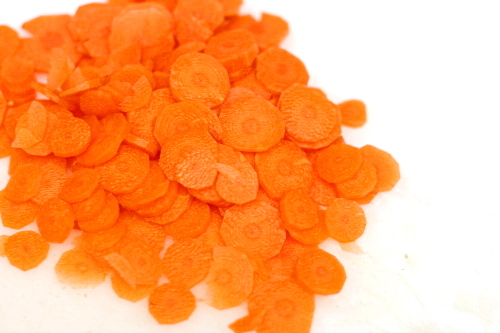
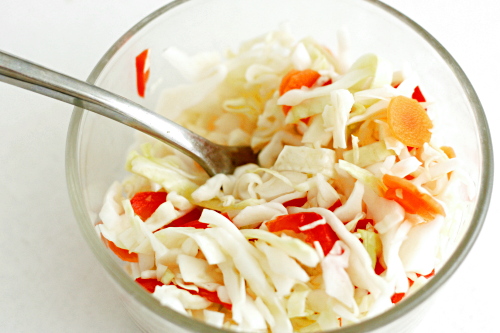
The solution, it turns out, is pickled coleslaw. The cabbage here is mixed with nothing but vinegar, water, sugar and salt. Those ingredients have to be heated to dissolve the sugar, then cooled so they don’t wilt the cabbage. Then they’re mixed with the shredded cabbage and a few other vegetables (sadly, I didn’t have a cucumber around when I made this, so I had to skip it), and refrigerated overnight – or for longer, if need be.

Copy of IMG_6556

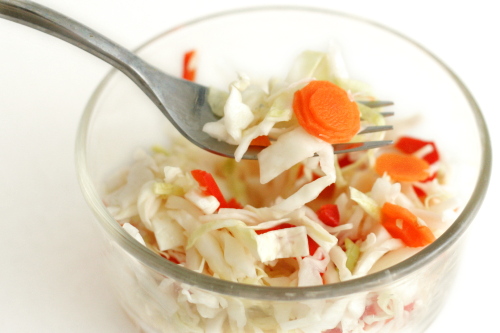
What a great way to eat a big bowl of vegetables. Since I’m not worried by a wee bit of sugar, there’s nothing for me to feel guilty about here. And it isn’t just about being healthy – it tastes great too. It’s tart without being too sour and has a wonderful crunch. Even Dave, pickle-hater that he is, enjoyed it. Gotta love a salad without compromise.
Copy of IMG_6583

One year ago: Mashed Potatoes with Kale

Pickled Coleslaw (from Deb Perelman for NPR)

Makes 8 to 10 servings

Brine:
1½ cups distilled white vinegar
1½ cups water
⅓ (2.33 ounces) cup sugar
2½ tablespoons kosher salt

Slaw:
1 small head green cabbage
1 red bell pepper, cored, seeded and thinly sliced into 1- to 2-inch pieces
1 carrot, peeled and very thinly sliced
1 kirby cucumber, thinly sliced

Bring brine ingredients to a boil in a 2-quart nonreactive saucepan over moderate heat, stirring until sugar is dissolved. (Use a pan of stainless steel, glass and enameled cast iron; avoid pure aluminum and uncoated iron, which can impart an unpleasant taste to recipes with acidic ingredients) Transfer to a 3- to 4-quart nonreactive bowl and cool completely. To speed this process up, you can set the bowl over a second bowl of ice water, and stir, which will quickly chill the brine.

Halve, core and halve again the head of cabbage, then finely slice it with a knife, or run the quarters through a food processor fitted with a slicing blade.

Toss sliced cabbage, bell pepper, carrot and cucumber in bowl with brine. Cover with lid or plastic wrap, and refrigerate, tossing the ingredients once or twice in a 24-hour period. After one day in the brine, the coleslaw is ready to serve. It keeps for up to 1 week, chilled.
Copy of IMG_6586

quick baking powder pizza crust

Copy of IMG_7780

I’m not exactly Ms. Spontaneous.  I like a Plan. I like following the Plan. I do not like when the Plan is disrupted.
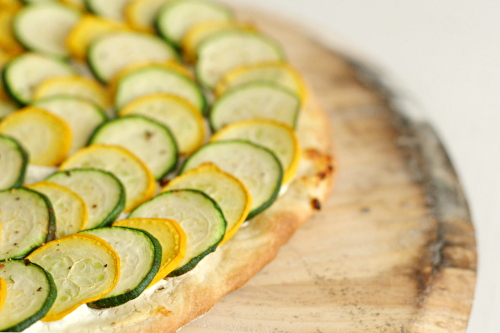
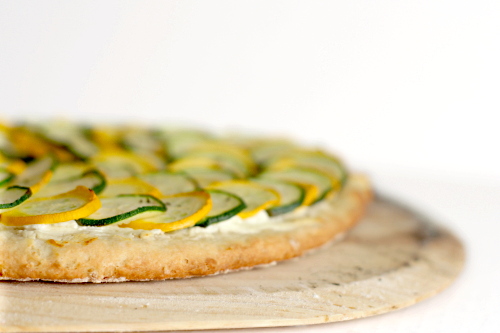
Dave was supposed to stop at the farm stand after work one day to pick up some corn on the cob for black bean and corn quesadillas, but the farm stand was closed. A quick juggle of my meal Plan for the week left me with the option of making Smitten Kitchen’s squash and goat cheese pizza that night instead, except that I didn’t have time to make regular pizza dough, and I certainly didn’t have time to defrost the dough I already had in the freezer, as per the original Plan.
Copy of IMG_7772

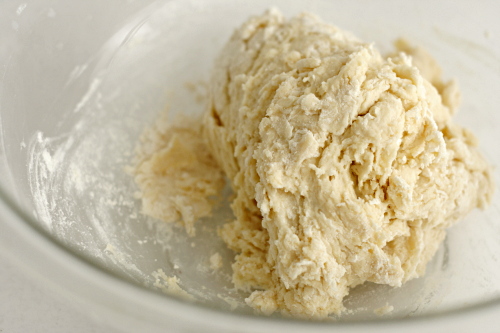
Instead, I mixed up this quick-bread version of pizza dough that I’ve always been curious about. It’s basically a biscuit, so the dry ingredients are mixed, then butter (less butter than in most biscuit recipes) is cut in, and milk is stirred into the mixture to bind it.

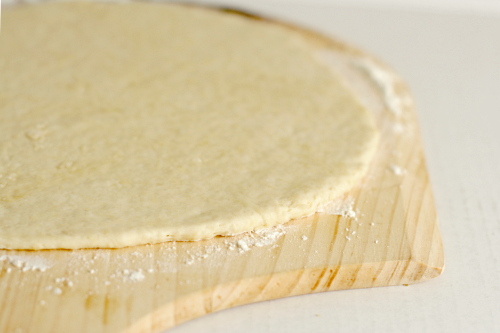
After that, you can treat it like regular pizza dough, by rolling it out and baking it on a pizza stone. At least that’s what I did, but I do wonder if, in this case, a lower oven temperature and a regular baking sheet might work better. Then again, biscuits are usually baked a really high temperature too…

Copy of IMG_7775

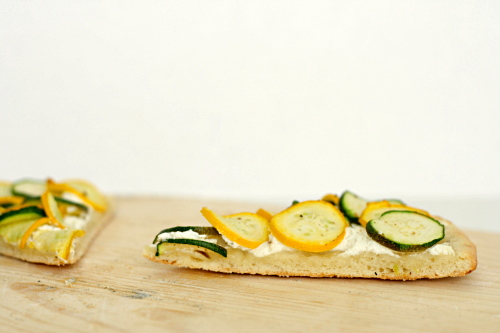
I’m probably trying to fix something that isn’t broken, because I thought the pizza crust was good the way I made it. It doesn’t have much in common with regular yeasted pizza crust, but its thinner, crisper, almost cracker-like texture was a great base for this lighter non-traditional pizza. For a sauce-drenched, cheese-laden, meat-topped pizza, yes, I’d want something more substantial. But for just a bit of goat cheese and some fresh summer squash, it was perfect, even preferable. Not to mention, quick, so no Plan is needed.

Copy of IMG_7788

One year ago: Banana Nutella Crepes

Quick Baking Powder Pizza Dough (from Jeanne Lemlin’s Vegetarian Classics)

For 4 (8-inch) pizzas

I believe I made half the recipe into a 12-inch pizza.

Tip from Lemlin: If you want to make the dough in advance, just roll it out and place it on a baking sheet, then pop it in the freezer until you are ready for dinner. Let it thaw at room temperature for 30 minutes or so before covering it with your toppings.

2½ cups (12 ounces) unbleached flour, plus extra for dusting
1½ teaspoons baking powder
½ teaspoon salt
4 tablespoons unsalted butter, chilled and cut into pieces
1 cup low-fat milk
olive oil for greasing or cornmeal for sprinkling

1. Place the flour, baking powder, and salt in a large bowl. Add the butter and toss to coat. Rub the butter into the flour with your fingertips until the mixture resembles coarse meal. You can do this in a food processor, if desired. Add the milk slowly and mix just until the dough is evenly moistened.

2. Turn the dough onto a lightly floured surface and knead 2 or 3 times, or just until it is pliable. Divide the dough into 4 balls.

3. Lightly oil a large baking sheet, or if you will be using a pizza stone, sprinkle some cornmeal on a pizza peel. Using a lightly floured rolling pin, roll out each ball into an 8-inch circle. Place 2 on a baking sheet or 1 on the pizza peel. Proceed with your pizza recipe.

Copy of IMG_7778

lime cream meringue pie

Copy of IMG_8317

Oh, how times change. I had kind of thought that last year’s lemon cream tart would be my first and last citrus cream experience. Seriously, that is a lot of butter. But apparently, my attitude toward rich foods has slowly evolved from ‘this is way too fattening for me to indulge in more than a few bites at a time’ to ‘well…it’s not like I eat like this all the time…’ except that, these days, I kinda do.

Copy of IMG_8202

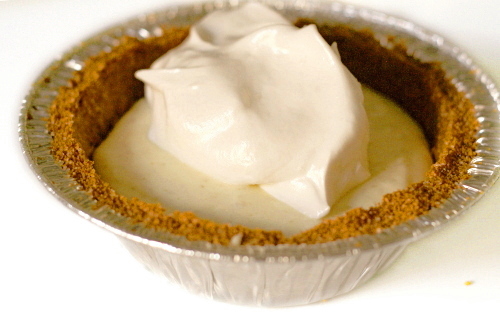
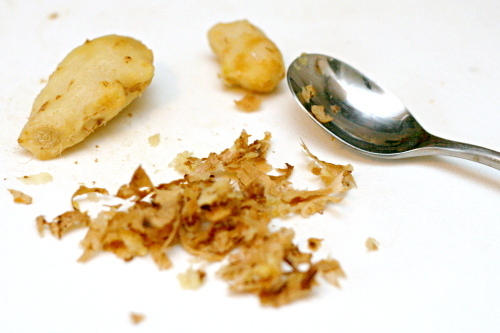
The lime cream is made almost exactly the same as last year’s lemon cream – heat sugar, eggs, zest, and juice, then blend in softened butter – with the only difference a couple teaspoons of cornstarch that is added to the lime version, along with grated fresh ginger. Don’t take me lightly when I say there’s a lot of butter involved – the full pie calls for 2½ sticks (20 tablespoons), and that doesn’t even include the portion in the crust.

Copy of IMG_8204

Fortunately, I was hearing that some Tuesdays with Dorie members were decreasing the butter, sometimes by as much as half. I didn’t make quite such a dramatic change, using 4 tablespoons for the quarter of the recipe I made – so the equivalent of 16 tablespoons (2 sticks) for a whole recipe. It worked really well.

Copy of IMG_8207

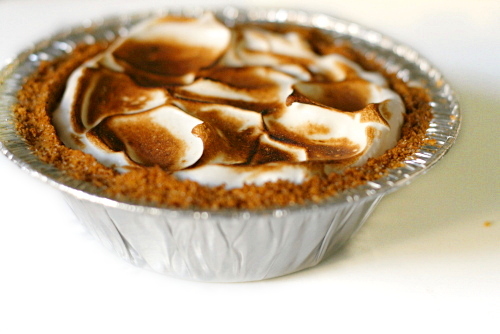
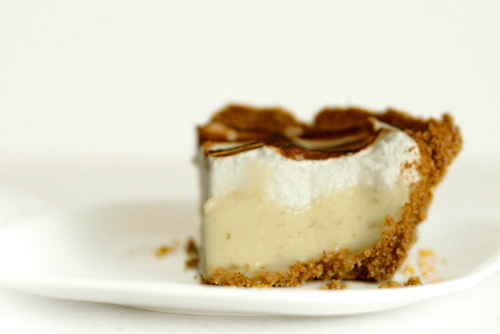
I do like these citrus creams. I’m a big fan of citrus desserts, and of smooth, rich custards, so the combination is wonderful. I also really like meringue and, you know, torching food. So there really wasn’t much not to like for me this week! Except for the tiny portions I forced upon myself. Ah, compromise…

Copy of IMG_8312

Linda has the recipe posted. I decreased the meringue by half, because I happened to have that amount of egg whites leftover from something else.  Also, I didn’t strain out the zest.

One year ago: Black (and Pink) and White Chocolate Cake

Copy of IMG_8326

amaretto cheesecake

Copy of IMG_5299

My brother became known as the family cheesecake maker early on. I think we were still teenagers when he started getting cheesecake cookbooks. In one of those, there was a recipe for amaretto peach cheesecake that became a family favorite.

Copy of IMG_5223

I’m guessing it’s a Kraft recipe that’s widely available on the internet, but, frankly, I think I can do better than Kraft these days. Okay, fine, I think Dorie Greenspan can do better than Kraft, and I can add a bunch of amaretto to her Tall and Creamy Cheesecake recipe.

Copy of IMG_5216

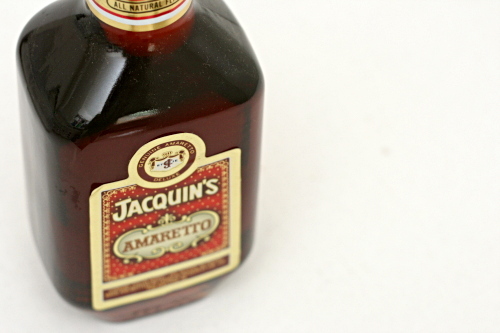
The ratio of the main ingredients – the cream cheese, eggs, and sugar – is the same as Dorie’s recipe. I used heavy cream this time instead of sour cream because I didn’t want anything to fight with the almond flavor of the amaretto. I dumped in as much amaretto as I thought the batter could take, then added a teaspoon of almond extract to bump up the flavor even more. I used a sugar cookie crust instead of a graham cracker crust, again, so as not to fight with the almond flavor. Something sweet and subtle was more in line with my goals.

Copy of IMG_5219

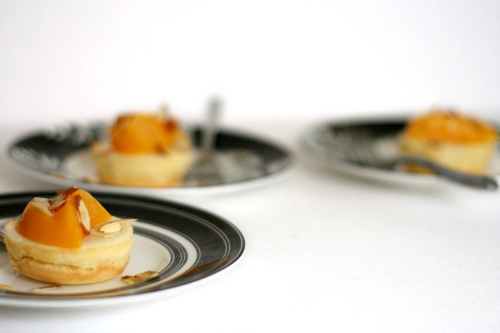
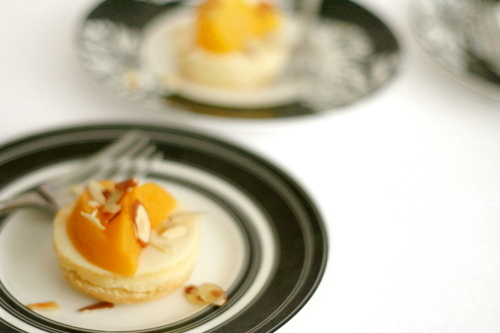
The peach part of the picture was an afterthought in my case. I considered somehow adding it directly to the cream cheese mixture, but, I couldn’t figure out how to make this work. In the end, I think I’m happier with keeping the almond and peach parts separate anyway. I had wanted to make a peach coulis to top the cheesecake, but I ran out of time. Instead, I thinly sliced some peaches (canned, as this was several months before peach season) and sprinkled the tops with toasted almonds.

Copy of IMG_5226

And – yum. I was worried that the amaretto flavor would be too subtle, but I thought it was perfectly balanced. The texture was smooth and creamy, just what you want from cheesecake. It wasn’t quite as light as some cheesecakes, since I didn’t use much heavy cream, but it wasn’t overly dense either. The peaches and almond are such a great combination. I still think a light peach coulis would be perfect, but there’s certainly nothing bad about almond-scented cheesecake, sliced peaches, and toasted almonds. Who’s the family cheesecake maker now? 😉

Copy of IMG_5243

One year ago: Fruit Bruschetta

Amaretto Cheesecake

To make a full cheesecake instead of miniatures, use a 9-inch springform pan; bake the crust for 10 minutes and cook the cheesecake in a water bath for 90 minutes, keeping the same temperatures noted below.

Crust:
3 tablespoons butter
⅓ cup (2.33 ounces) sugar
pinch salt
1 egg
¾ cup (3.6 ounces) unbleached all-purpose flour

Cheesecake:
4 (8-ounce) boxes cream cheese, room temperature
1⅓ cup (10.5 ounces) granulated sugar
½ teaspoon salt
4 eggs, room temperature
½ cup heavy cream
¼ cup amaretto
2 teaspoons lemon juice
1 teaspoon almond extract

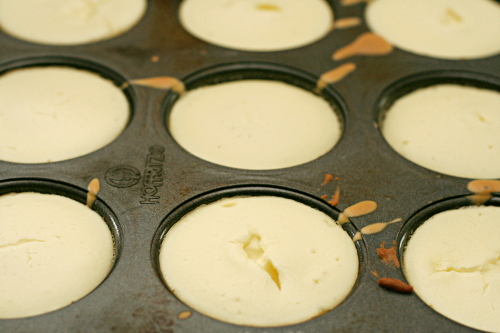
1. Adjust an oven rack to the middle position and preheat the oven to 350 degrees. Spray a muffin pan with nonstick spray. (You could also line the muffin tin with cupcakes liners.)

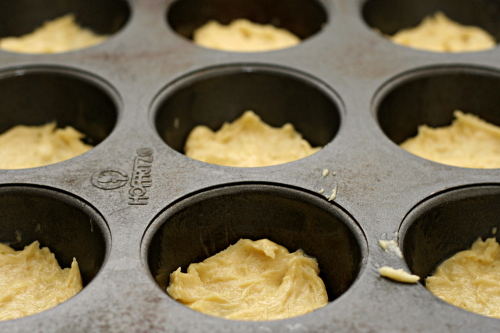
2. For the crust: Beat the butter on medium speed until smooth. Add the sugar and salt and continue beating until the mixture is light and fluffy. Add the egg, mixing until thoroughly integrated. Gradually add the flour, mixing just until combined. Divide the batter evenly between 24 muffin cups and spread over just the bottom of each tin. Bake 7-10 minutes, until the crusts are firm and just slightly browned around the edges. Cool on a wire rack. Reduce the oven temperature to 325 degrees.

3. Meanwhile, beat the cream cheese in the bowl of a standing mixer fitted with the paddle attachment until soft and smooth. (Of course, you can also use a hand mixer for this.) Add the sugar and salt and continue beating until smooth and light. Add the eggs, one at a time, beating for about 1 minute between each addition. Add the cream, amaretto, lemon juice, and almond extract and beat until combined.

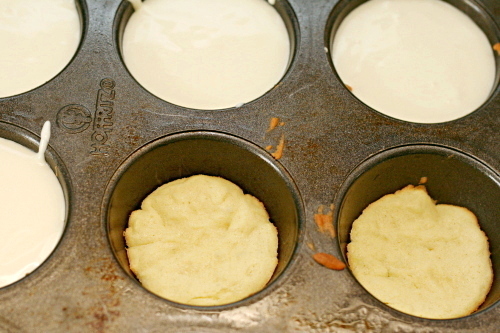
4. Pour the batter into the crust-lined muffin cups. It won’t rise significantly, so feel free to fill the cups. Bake in the preheated oven for 25-30 minutes, until an instant-read thermometer inserted into the center of a cheesecake measures 150 degrees.

5. Let the cheesecakes cool on a wire rack until they’re at room temperature. Use a thin-bladed knife or offset spatula to remove the cheesecakes from the pan. (If you can’t seem to get them to budge without breaking them, try putting the pan in the freezer for 15 minutes first.) Refrigerate for several hours, until cool. Top with something peachy and lightly toasted sliced almonds, if desired.

Copy of IMG_5303

pasta with no-cook tomato sauce and fresh mozzarella

Copy of IMG_8005

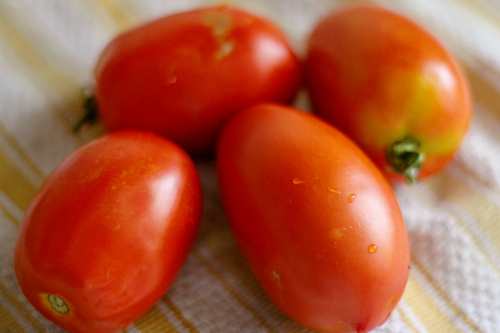
I know I’ve been harping on my love of summer lately, and I did the same thing last year. Honestly, while summer is undoubtedly my favorite season, fall is a not-too-distant second, and really, there are aspects I like about every season. But summer doesn’t just have sunlight and warmth and lightning bugs and beach trips and fireworks and…well, all of those other things I love, but very importantly, it has tomatoes.

Copy of IMG_7989

I love fresh summer tomatoes so much that, other than the very occasional container of cherry tomatoes, I don’t bother buying fresh tomatoes any other time of the year. Why set myself up for disappointment? Why bother with those dry, mealy, flavorless winter tomatoes? I’d rather just wait for the real thing.

Copy of IMG_7995

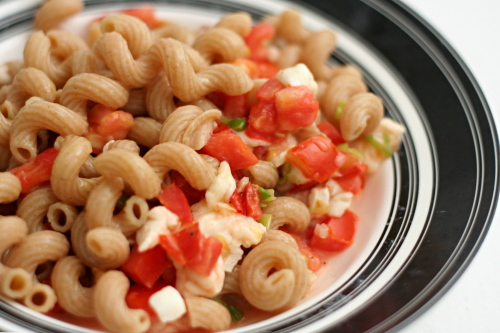
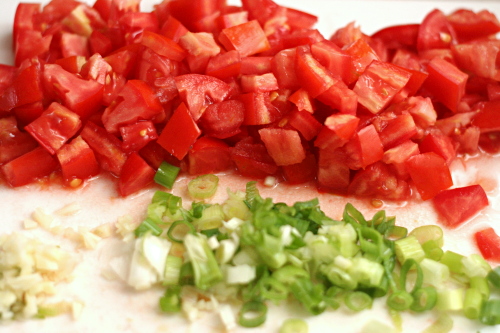
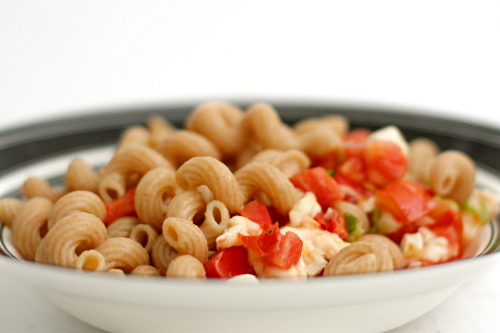
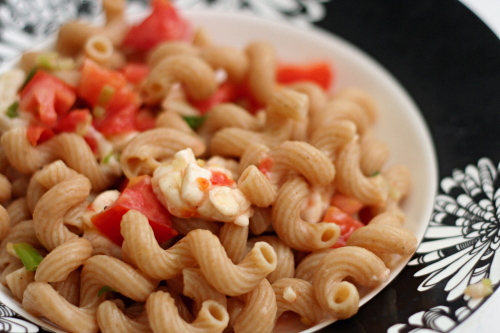
And then – then I go crazy. Gazpacho, BLTs, maybe a potato tomato tart, and this pasta. Oh this pasta. It’s a perfect meal. Super simple, it can be made in the time it takes to boil the noodles. The sauce, uncooked, retains the brightness of tomatoes at their peak, accented with smooth fresh mozzarella, tangy green onions, and fruity extra virgin olive oil.

Copy of IMG_7999

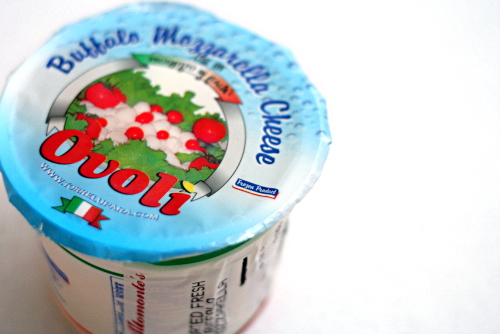
With almost no cooking and so few ingredients, you need to make sure you’re using the best ingredients you can get. Summer tomatoes, of course. Use whatever your favorite mozzarella is – this time I used buffalo mozzarella, but I’ve also tried the little balls my grocery sells in its olive bar, as well as the shrink-wrapped balls that I’m guessing are more widely available. Also, be careful of your garlic – I once made this (for a large group, no less) with some incredibly strong garlic, and it really ruined the whole dish. I recommend toasting the unpeeled cloves, either in a dry skillet or in the oven if it’s already on.

Copy of IMG_8001

Fall is closing in fast (pumpkin and cider and football and colorful trees and crisp air!) but there’s still time! We still have at least a month of wonderful tomatoes left! What are your favorite ways to use them?

Copy of IMG_8006

One year ago: Blueberry Sour Cream Ice Cream

Pasta with No-Cook Tomato Sauce and Fresh Mozzarella (from Cooks Illustrated)

This is the recipe directly from Cooks Illustrated. I do make a few small changes. First, I don’t seed the tomatoes, which does make the pasta a little wetter, but I just can’t throw away so much precious summer tomato flavor. I also use less oil, because, you know, fat and all that. And sometimes I reduce the amount of pasta.

Also, you’ll probably want to warm your serving bowl for this recipe.  I usually put the bowl in the oven, turn the oven on to warm for a few minutes, then turn the oven off, leaving the bowl in there until I’m ready for it.

salt
1 pound pasta (a short, curly type is best)
1½ pounds ripe tomatoes, cored, seeded, and cut into ½-inch dice
¼ cup extra virgin olive oil
1 medium garlic clove, minced or pressed through a garlic press
3 medium scallions, sliced thin
ground black pepper
8 ounces fresh mozzarella cheese, cut into ½-inch cubes

1. Bring 4 quarts water to a rolling boil in a large pot. Add 1 tablespoon salt and the pasta to the boiling water, stir to separate the noodles, and cook until al dente. Drain and return the pasta to the pot.

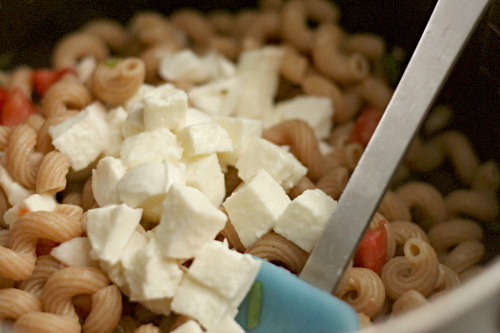
2. While the pasta is cooking, prepare the sauce. Combine the tomatoes, oil, garlic, scallions, ½ teaspoon salt, and ¼ teaspoon pepper in a medium bowl. Add the tomato mixture and mozzarella to the pasta in the pot and toss to combine. Adjust the seasonings with salt and pepper to taste and serve immediately.

Copy of IMG_8002

applesauce spice bars

Copy of IMG_8183

My sister’s kids are very early risers. There are times when they get up so early that their parents have to creep into their room and tell them “It’s still night! Go back to sleep!”

I feel that way in August with food bloggers: It’s still summer! Put away the pumpkin!

Copy of IMG_8172

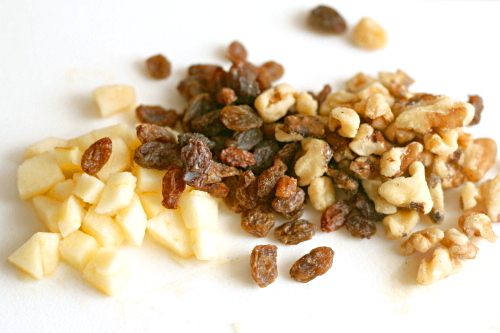
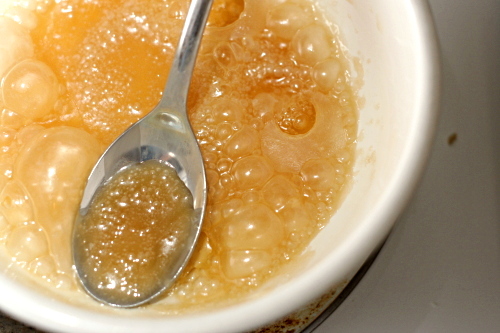
In revolt against making a dessert in August that Dorie recommends serving with mulled cider, I tried my darndest to screw it up. Most of my problems came down to dividing ½ cup by 8, because I made one-eighth of the recipe (again, in revolt). Guess what? It isn’t two tablespoons. It’s one tablespoon. So I added twice as many nuts and raisins, plus twice as much applesauce, which I then tried to scoop out before I mixed it in all the way. I’m a genius. Oh, I also heated the butter and sugar too much before adding the eggs, so the first bit of egg that I added to the mixture cooked immediately, and I had to pick out bits of cooked egg.

Copy of IMG_8178

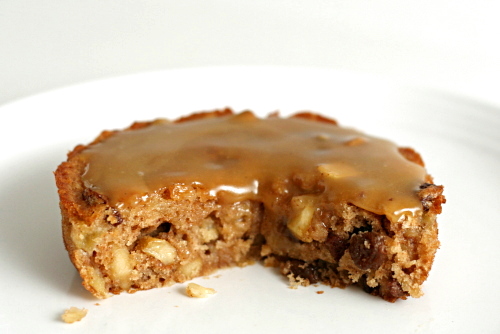
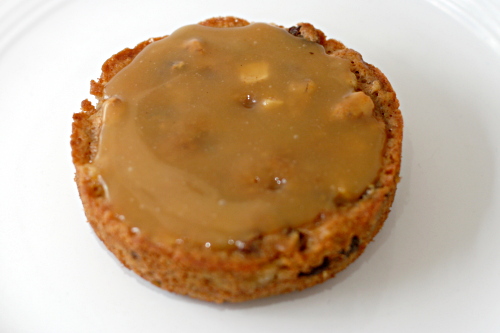
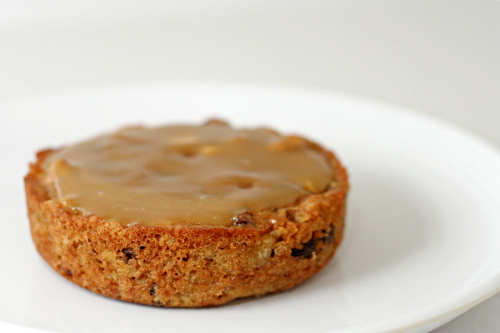
Despite my reluctance to make what’s clearly a fall treat in the middle of August and then my efforts to make it all wrong, the applesauce bars were pretty good. Really soft and tender, not too sweet, with a bit of tartness from (twice the amount of) the raisins. Dave said they made him want turkey and crackling leaves and hikes through crisp fall air. Maybe in a couple months.

Copy of IMG_8180

Karen chose this for Tuesdays with Dorie, and she has the recipe posted.

One year ago: Country Egg Scramble

Copy of IMG_8179

potato tomato tart

Copy of IMG_8028

Dave and I have this conversation nearly once a week:

Me (whining, after baking all day): I’ve been cooking all day and I’m tired and I haven’t even stupid started dinner. Stupid stupid stupid.

Dave: Okay. We’ll order pizza.

Me: We can’t order pizza! I bought ingredients for dinner! If we don’t use them tonight, they’ll go to waste!

Copy of IMG_8007

Once the week’s menu is set, it does not change.

But last week something went haywire, and I needed to come up with an extra meal on short notice.

Copy of IMG_8012

I had two potatoes that I’d bought and never got around to using (see! they almost went to waste!) and there was a pile of tomatoes leftover from tomato picking. But I couldn’t find any recipes that fit all of my requirements – used plenty of both tomatoes and potatoes, didn’t require any ingredients I didn’t have, and actually sounded good. So I <gasp> came up with something on my own.

Copy of IMG_8020

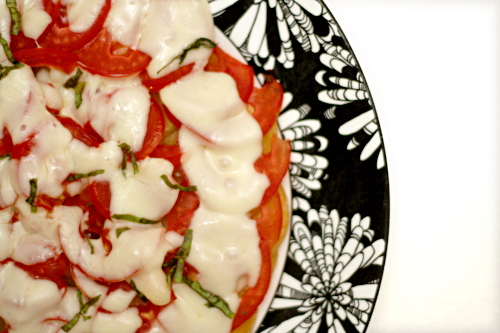
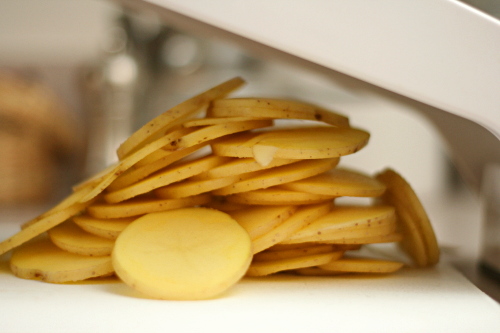
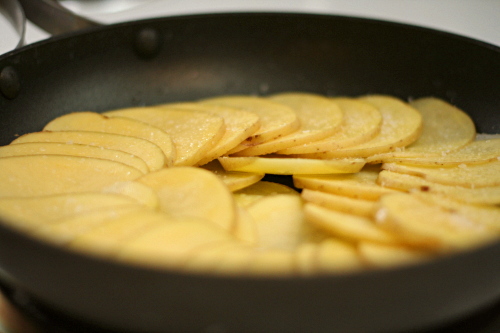
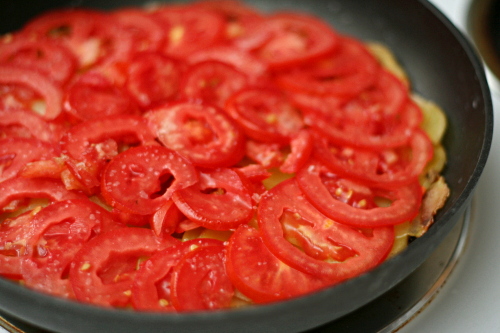
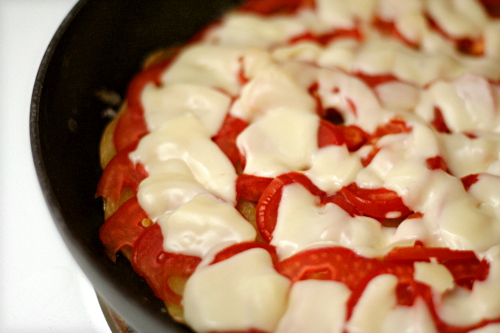
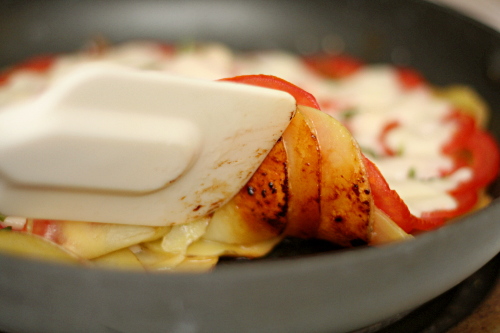
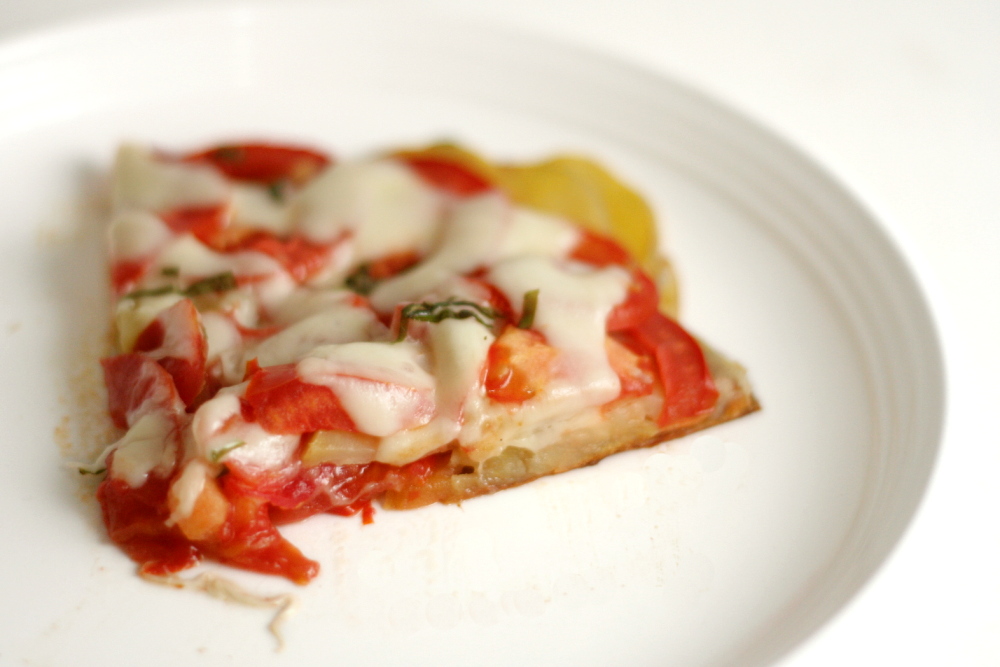
I sliced the potatoes thin and arranged them in a skillet. Once they were crisped on the bottom and mostly cooked through, I arranged sliced tomatoes over the top. Once those were softened, I arranged sliced mozzarella on top of that. It melted almost immediately, so I quickly picked a few leaves from my pathetic sun-starved basil plant, and sprinkled them over the tart.

Copy of IMG_8023

It was pizza-like, which is always a plus. The potatoes were browned and crisp on the bottom.  It was pretty. It was easy. It was tasty. It used up ingredients I didn’t know what else to do with. Perfect.

Copy of IMG_8027

One year ago: Banana Coconut Muffins

Potato Tomato Tart

Serves 2 for a light meal

I used a mandoline set at 1/8-inch to slice the potatoes and tomatoes.

1 tablespoon olive oil
2 medium Yukon gold potatoes, sliced thin
salt and pepper
2 large (or maybe 3 small) plum tomatoes, sliced thin
2½ ounces mozzarella cheese, sliced thin (or just over ½ cup shredded)
3-4 basil leaves, sliced thin

1. Heat the oil in a medium nonstick skillet over medium heat. Arrange the potatoes in one layer on the bottom of the skillet, overlapping each slice. Season with pepper and a generous pinch of salt. Cover the pan, reduce the heat to medium-low, and cook for 20 minutes, until the potatoes are almost tender and are lightly browned on the bottom.

2. Arrange the tomatoes in one layer of overlapping slices over the potatoes. Cover and cook for 5 minutes, until the tomatoes are slightly softened. Evenly disperse the mozzarella over the tomatoes and cook a few minutes, until it’s melty. Sprinkle the top of the tart with basil.

3. Serve. I was able to move the tart once, by sliding it from the pan to a serving plate. Then I realized it would be easier to cut the tart if it was on a cutting board, but moving it from the serving plate wasn’t nearly as easy as moving it from the pan. By which I mean that the whole thing mostly fell apart. So don’t try to move it around too much.

Copy of IMG_8030

vegetable curry

Copy of IMG_7904

I’m particular about cookbooks. I’ve gotten into the habit of buying one hopefully comprehensive cookbook per cuisine. It started with Julia Child’s Mastering the Art of French Cooking and Marcella Hazen’s Essentials of Classic Italian Cooking, then it was Corinne Trang’s Essentials of Asian Cooking, and most recently, Julie Sahni’s Classic Indian Cooking.

Copy of IMG_7885

The thing is, I’ve hardly made anything from any of these. I’ve barely even opened Indian Cooking since I got it for Christmas this year, and to be honest, I’m really not bothered by this. It makes me happy just knowing that I have them, and that someday, hopefully sooner rather than later, I’ll find the time and discipline to learn what I can from each one.

Copy of IMG_7889

In fact, I’ve only made a couple of Indian dishes ever, but that was all I needed to be convinced that I’ll love it; I enjoy the basic flavors and ingredients so much. One of my favorites is a vegetable curry dish from Cooks Illustrated, but every time I made it, I was surprised by how long it took. I wanted something simpler that I could reasonably make on a weeknight.

Copy of IMG_7892

Then I found a recipe for Aloo Gobi that had a lot of the same ingredients, except less of them, plus a simpler cooking method. It has potatoes in it, as does the CI recipe, but since I wanted to serve my curry mixture over rice, I decided that I could eliminate the potatoes. I also wanted this to be a one-dish meal, but the original didn’t have any protein. Exchanging the potatoes for chickpeas killed two birds with one stone.

Copy of IMG_7898

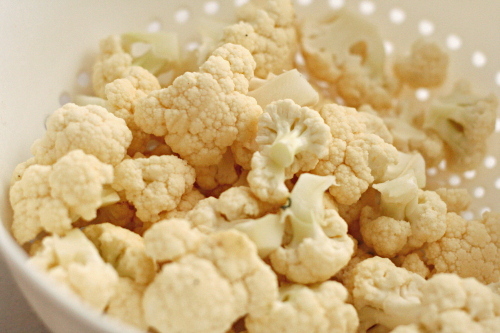
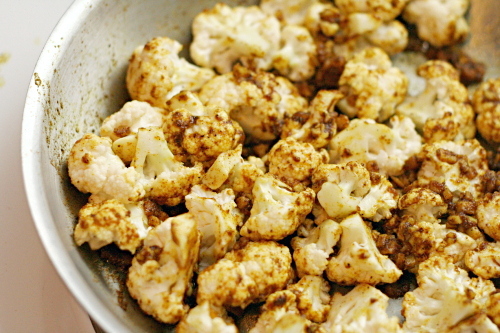
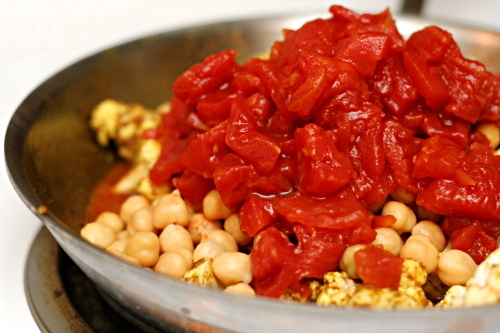
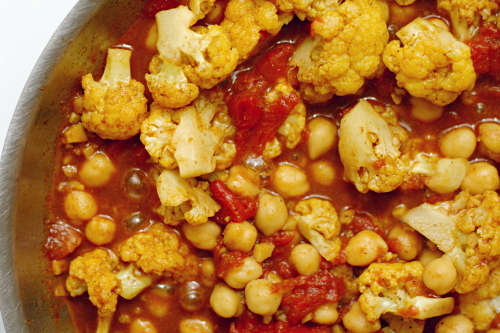
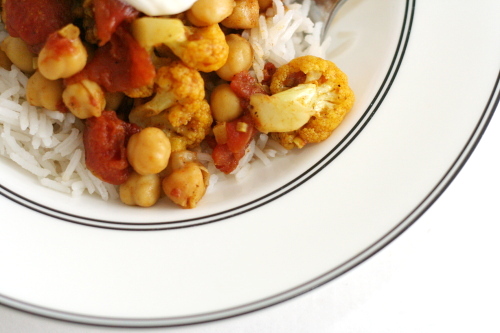
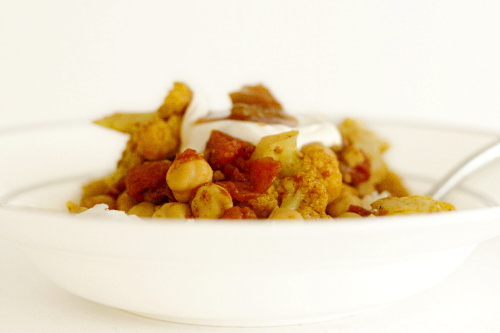
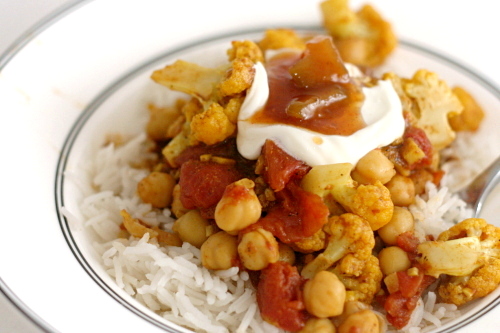
The recipe starts out with sautéing all sorts of delicious aromatics – garlic and ginger of course, but also spices, including curry powder and garam masala. Garam masala is seriously delicious stuff. It’s a blend, so brands will vary, but I’ve been perfectly happy with McCormick’s. Then I added cauliflower, which is my favorite vegetable, and then tomatoes and chickpeas. One ingredient I love after another. At the end, peas are stirred in.

Copy of IMG_7900

This was exactly what I was looking for. It has similar ingredients to the Cooks Illustrated recipe that I enjoyed so much, but it’s easy enough to make on a weeknight. Aloo gobi  has similar flavors, but this version has the right nutritional balance for a one-pot meal. I wonder how many more great Indian dishes I can discover by actually looking through a cookbook?

Copy of IMG_7905

One year ago: Grits, Onion, and Cheese Souffles

Printer Friendly Recipe
Vegetable Curry

Serves 3-4

I love this over basmati rice (I like to put a cinnamon stick and some cloves in the pot with the rice cooks) and topped with mango chutney and plain yogurt.

I didn’t have peas when I photographed this. Also, I used too much of the spices; the recipe below calls for less than I used, so if yours looks a little different from the pictures, that may be the reason.

1 tablespoon canola oil
1 tablespoon minced or grated ginger
3 large garlic cloves, finely chopped
1 teaspoons garam masala
2 teaspoons curry powder
Salt
½ medium head cauliflower, cut into small-medium sized florets
1 (15-ounce) can diced tomatoes
1 (15-ounce) can chickpeas, drained and rinsed
4 ounces (about ¾ cup) frozen peas

1. In a large skillet, heat the canola oil over medium heat. Add the garlic, ginger, garam masala, and curry powder. Cook until fragrant, 1-2 minutes, stirring constantly.

2. Add the cauliflower and toss to incorporate with the spices, then stir in ½ teaspoon salt, the chickpeas, and the tomatoes with their liquid. Cover the pan and simmer over medium heat for 10 to 15 minutes, until the cauliflower is tender, stirring occasionally. Stir in the peas, cover again, and continue simmering for 2-3 minutes, until the peas are heated through. Serve over rice, topped with plain yogurt and mango chutney, if desired.

Copy of IMG_7902

brownie buttons

Copy of IMG_7912

It took me a long time to understand edge people. In fact, my family is so squarely middle piece people that I didn’t even know brownie edge lovers existed until college. When my roommate and I would go out for dessert, I’d order a big piece of chocolate torte (with a side of mini cream puff), and she’d get a brownie (with a side of mini cream puff); but not just any brownie – a corner piece. What what what?

Copy of IMG_7829

Eventually, I realized it’s the chewiness that entices edge people. I think. I can somewhat see what edge people like about edge pieces, but I still am all about the middle. Soft and gooey all the way through.

Copy of IMG_7831

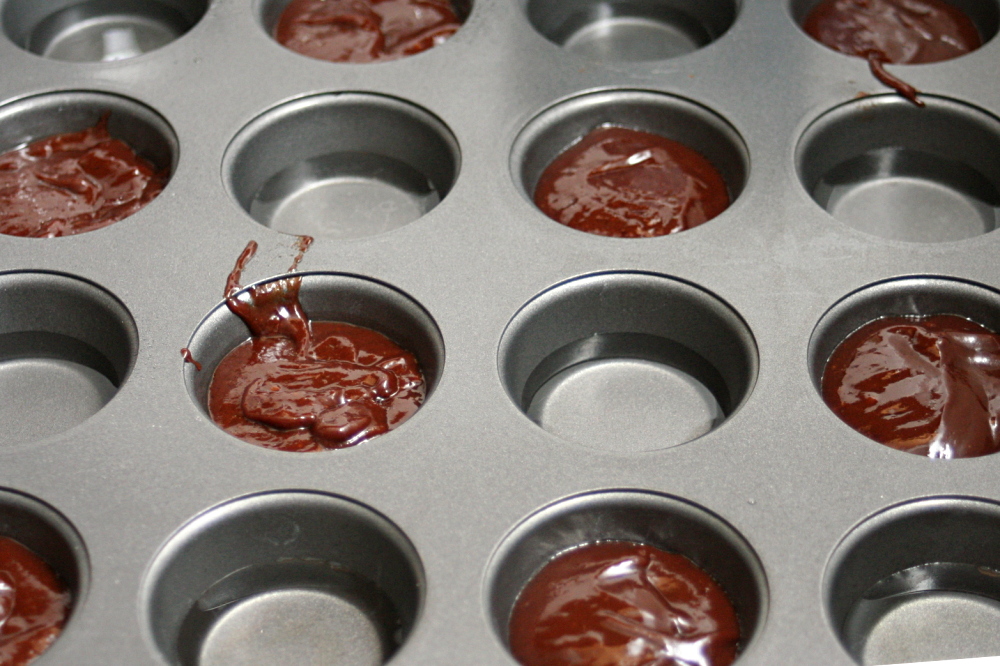
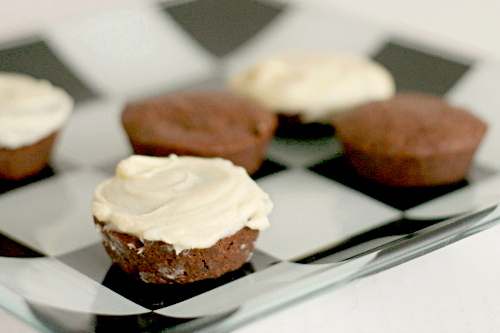
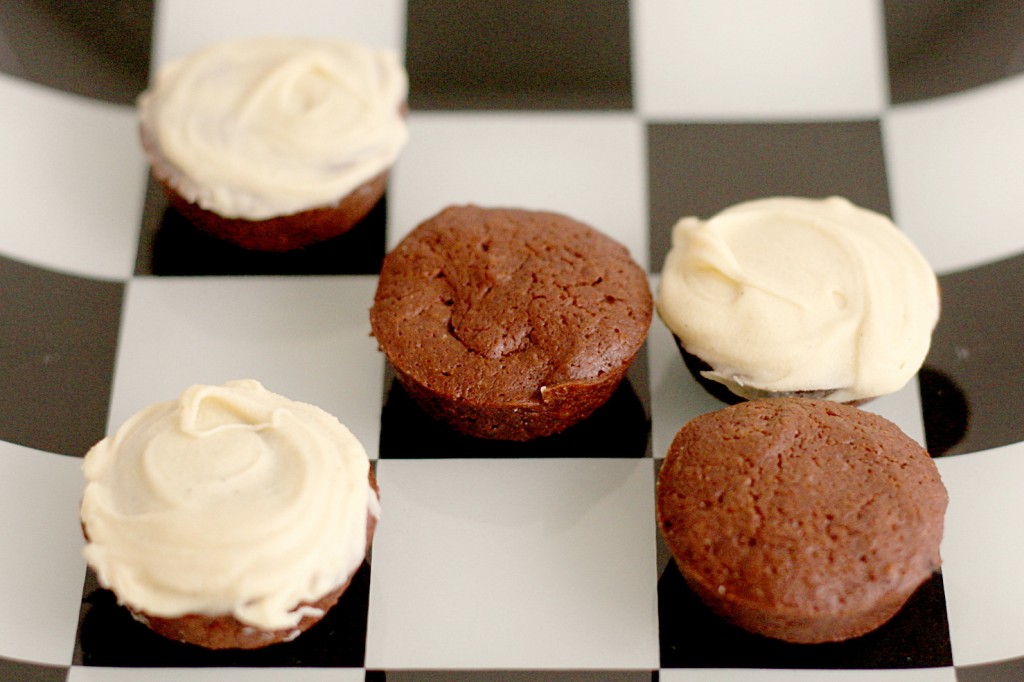
I was concerned that brownies baked in a mini muffin pan would be pretty much all edge. They weren’t. They were evenly textured, soft, and not chewy or dry. I did bake them for a lot less time than Dorie recommended, but they seemed cooked through. They certainly weren’t overcooked, which was my first priority.

Copy of IMG_7915

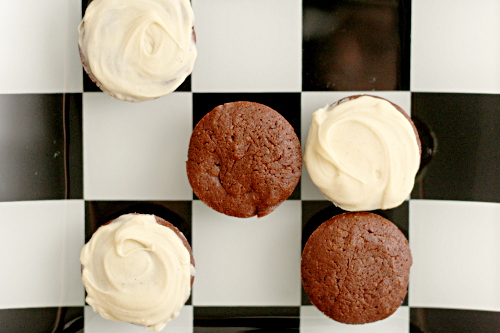
Overall, these were pretty much what you’d expect – brownies, but small and round. I like brownies. I like small things. (I can take or leave roundness.) I liked them.

Jayma chose this recipe for Tuesdays with Dorie, and she has it posted. I made 12 instead of 16 mini brownies, and baked them for 10 minutes instead of 14.

One year ago: Black and White Banana Loaf

Copy of IMG_7911

lemon meringue cake

Copy of IMG_7956

“I’m gonna go torch my birthday cake. Do you want to watch?”

It was late and I was crabby, so I thought I would get more of a reaction. But apparently I’d already shown Dave a picture of the cake I was planning to make for my birthday, so he knew exactly what I was talking about.

Copy of IMG_7926

Yes, I made my own birthday cake. Bakers are often disappointed on their birthday when no one offers to make them a cake. I might feel this way if I had plenty of opportunities to bake cakes for other people, but most of my baking is limited to what Dave and I can eat within a few days. For cakes, that means making a few cupcakes at a time. Having an opportunity to say (emphatically) screw that and just make a damn layer cake is rare. My birthday is one, and I take advantage of it.

Copy of IMG_7931

Of course, you have to take that with a grain of salt, because someone does make me a birthday cake every year, although how close that happens to my birthday is a crapshoot. I usually see my family once during the summer, and if it’s within about a month of my actual birthday, we’ll celebrate then, and whoever’s house we’re at will make a cake. (Last year, it was my brother, and when he asked me what kind of cake I wanted, he was sure to specify “a basic cake, not a four-hour project.”) When I visited my family a few weeks ago, my mom satisfied my chocolate craving with a chocolate cake with raspberry filling. That left me free to try something more adventurous.

Copy of IMG_7939

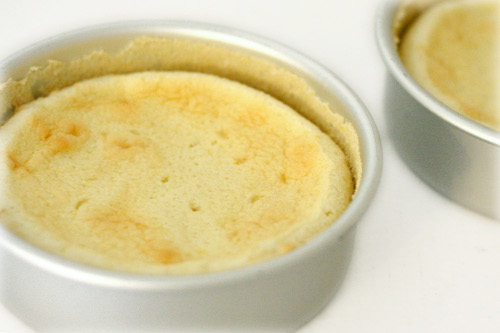
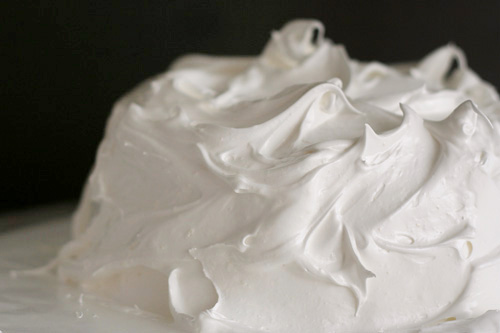
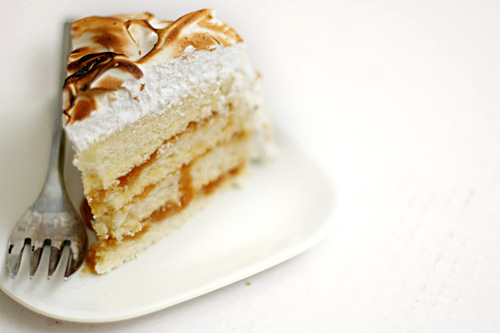
Tartine’s lemon meringue cake is a lemon chiffon cake brushed with lemon syrup and layered with caramel and lemon cream, then topped with meringue and torched. (“Four-hour project” is optimistic.) After making lemon cream last year, I was pretty sure I wouldn’t be making it again – it’s lemon-flavored butter. But it’s my birthday, and I say again, screw that. Mark made this cake recently and assured me I wouldn’t have any problems.

Copy of IMG_7944

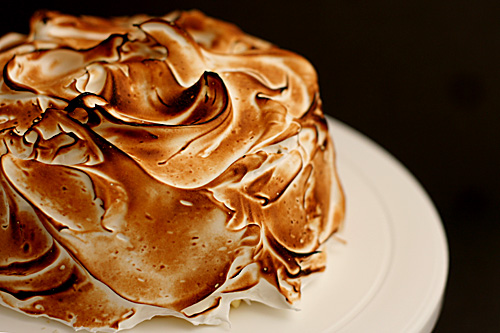
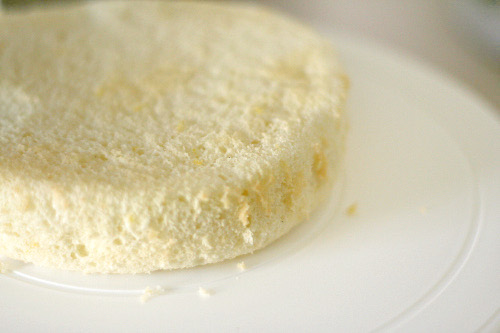
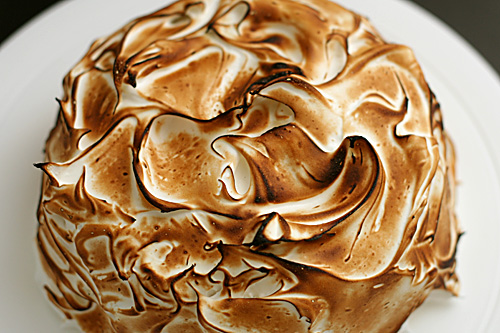
And I didn’t have any big problems. The cake sank quite a bit after baking, so I probably underbaked it. Then I overcooked the caramel a little, so it hardened too much. And I underbeat the lemon cream because I was too lazy to wash my blender and I left the immersion blender I got for my birthday at my parents’ house. (Gah!) Nothing ruined the cake though, and anyway, do you see those perfectly browned peaks?! I’m such a rockstar. (It’s my birthday and I’ll brag if I want to.)

Copy of IMG_7948

Hot damn, that’s a delicious cake. Yes, the cake part is too dense – I’m a chronic underbaker. But the lemon cream remained stable, and the caramel softened up nicely.

Copy of IMG_7953

The caramel, at first blush, stands out as a decidingly non-lemon component of this lemon cake. But the flavor was somehow remarkably complimentary. And I’d forgotten how much I love the feeling of meringue bubbles popping in my mouth. In the end, the cake is neither overbearingly citrusy nor overbearing sweet. (Um, at least I thought so – Dave couldn’t eat his without tea.) It was a wonderful at-least-four-hour already-got-my-chocolate-fix birthday cake project.

Copy of IMG_7982

One year ago: Fried Egg and Sausage Ciabatta Breakfast Pizzas

Lemon Meringue Cake (from Tartine, by Elisabeth Pruett and Chad Robertson)

Makes a 10-inch round cake

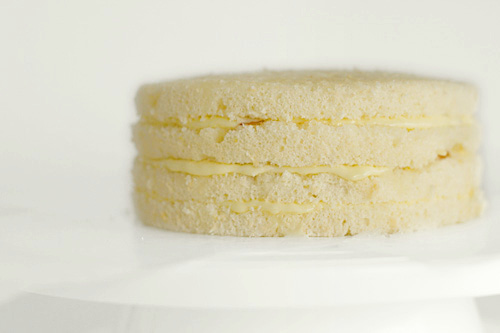
I made ⅓ of this recipe and divided the batter between two 6-inch pans. I cut each layer in half to create 4 even layers. Mark has the recipe amounts for an 8-inch cake.

Chiffon Cake:
2¼ cups (11.25 ounces) all-purpose flour
2 teaspoons baking powder
1½ cups (10.5 ounces) sugar
¾ teaspoon salt
½ cup vegetable oil
6 large egg yolks, at room temperature
½ cup water
¼ cup lemon juice
1½ teaspoon grated lemon zest
10 large egg whites, at room temperature
¼ teaspoon cream of tartar

Preheat the oven to 325F. Line the bottom of a 10-inch cake or springform pan with 3-inch sides with parchment paper cut to fit exactly; don’t grease the pan.

Sift together the flour and baking powder into a large mixing bowl. Add 1¼ cups (8.75 ounces) of the sugar and the salt and whisk to combine. In a small bowl, whisk together the oil, egg yolks, water, lemon juice, and lemon zest. Make a well in the flour, add the yolk mixture, and then whisk thoroughly and quickly for about 1 minutes until very smooth.

In another large mixing bowl, beat the egg whites until frothy, then add the cream of tartar and beat on medium-high speed until it holds soft peaks. Add the remaining ¼ cup (1.75 ounces) sugar slowly while beating on medium-high speed until the whites hold firm, shiny peaks. Add a third of the egg whites and fold into the yolk mixture to lighten, then fold in the rest of the whites until just combined.

Pour the batter into the pan, smoothing the top if necessary. Bake until a toothpick inserted in the center comes out clean, about 45-55 minutes. Let cool in the pan on a wire rack. Once completely cool, run a thin knife around the sides of the pan to loosen the cake an then release and lift off the pan sides. Invert the cake and peel off the parchment.

Caramel:
⅔ cup heavy cream
¼ vanilla bean
1¼ cup (8.5 ounces) sugar
¼ cup water
¼ teaspoon salt
2 tablespoons light corn syrup
¾ teaspoon lemon juice
4 tablespoons unsalted butter

Pour the cream into a small, heavy saucepan. Split the vanilla bean in half lengthwise and use the tip of a sharp knife to scrape the seeds from the pod halves into the milk. Place over medium-high heat and bring to just under a boil, stirring occasionally. Reduce the heat to low to keep the cream warm.

In a medium, heavy saucepan, combine the sugar, water, salt, and corn syrup. Bring to a boil over medium heat, stirring to dissolve the sugar. Then cook, without stirring, until the mixture is amber colored, 5 to 8 minutes. Remove from the heat.

The mixture will continue to cook off the heat and become darker, so make sure to have your cream close by. Carefully and slowly add the cream to the sugar syrup. The mixture will boil vigorously at first. Let the mixture simmer down, and then whisk until smooth. Add the lemon juice. Let cool for about 10 minutes.

Cut the butter into 1-inch chunks and add to the caramel one at a time, whisking constantly after each addition. Then whisk the caramel periodically as it continues to cool.

Lemon Cream:
½ cup + 2 tablespoons lemon juice
3 large eggs
1 egg yolk
¾ cup (6 ounces) sugar
pinch salt
16 tablespoons (8 ounces) unsalted butter

In a heatproof bowl set over a saucepan of simmering water, combine the lemon juice, eggs, yolk, sugar, and salt (make sure the bottom of the bowl doesn’t touch the water). Whisk them together constantly until very thick, or 80°C (180°F) on an instant-read thermometer. Remove from the heat and let it cool down until warm to touch (60°C or 140°F on a thermometer). Place the lemon cream in a blender and with the motor running, add the butter in small pieces. Allow to cool completely. (You may refrigerate it, but allow to come to cool room temperature before using.)

Lemon Syrup:
⅓ cup water
⅓ cup (2.5 ouncs) sugar
⅓ cup lemon juice

In a nonreactive saucepan, combine the sugar and water and bring to a boil over medium heat. Transfer to a cool bowl, let cool for a bit, then chill for half an hour. Stir in the lemon juice.

Assembly:
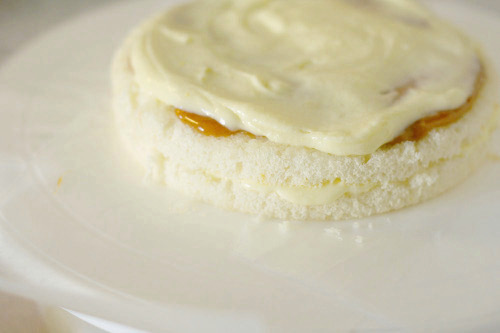
Split the chiffon cake horizontally into four equal layers. Place one layer on your serving plate (which I lined with wax paper around to cake) and moisten evenly with ¼ of the lemon syrup. Spread ⅓ of the caramel over the cake, then ⅓ of the lemon cream. Repeat with 2 more layers, using up the remaining caramel and lemon cream. Top with the fourth cake layer and moisten with the remaining lemon syrup. Cover the cake completely with plastic wrap and refrigerate for at least four hours or overnight.

Swiss Meringue:
7 egg whites
1¾ cup (12.25 ounces) sugar
pinch of salt

In a heatproof bowl over a pan of simmering water, combine the egg whites, sugar, and salt and whisk until the whites are hot to the touch, about 120F, about 5 minutes. Beat on high speed until the mixture is very thick and holds stiff, glossy peaks.

Unmold the cake and spread the meringue all over. Use a spatula or a spoon to create dramatic swirls. Using a propane torch if available, scorch the meringue, blackening the tips and swirls.

Copy of IMG_7957