Archives for September 2009

100% whole wheat sandwich bread

Copy of IMG_8503

My guidelines for nutrition can pretty much be summed up by:

  1. Only eat when hungry. But don’t eat too much.
  2. Don’t eat processed crap.
  3. Eat as many fruits and vegetables as you can stand.
  4. Don’t be a baby about whole grains.

Copy of IMG_8488
I’ve been getting worse and worse about that last one recently. I’ve walked by Reinhart’s book on whole grain breads in the bookstore so many times and never even bothered to pick it up. It’s just that white bread, made well, is so darn good, you know? I’m not talking about Wonder Bread or something, I mean a nice sweet tender sandwich bread or a fantastic complex rustic baguette.
Copy of IMG_8491

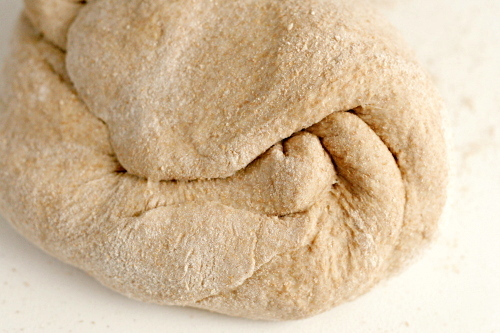
But my interest was sparked when I saw the whole wheat bagels that Stefany made from this book. They look at least as good as any bagels I’ve made – but they’re so much healthier.  Within a week, I tried the recipe, was pleased with the results, and bought the book.
Copy of IMG_8494

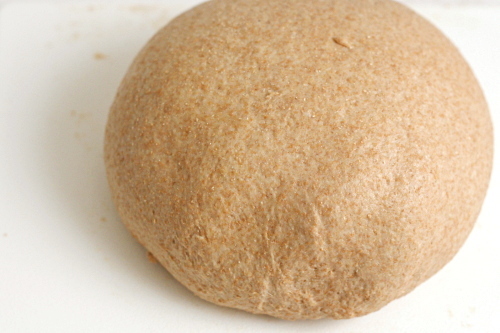
It’s Peter Reinhart, so we’re not talking about the most simple recipes here. In general, they’re two day affairs. The first day, you mix two things. One is a thick paste of whole wheat flour, liquid, and salt, and the other one is a mixture of whole wheat flour, liquid, and yeast. These both set overnight (or longer, if necessary) and are incorporated into the rest of the dough the next day. On the day of baking, you follow essentially a normal bread-baking procedure, from mixing and kneading, through rising, shaping, proofing, and baking.
Copy of IMG_8498

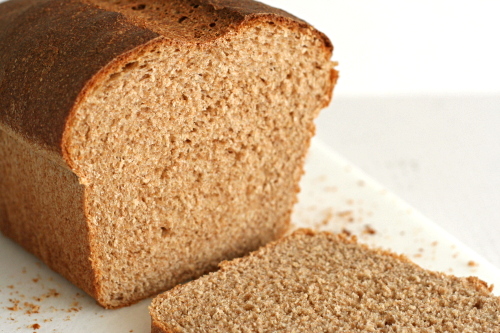
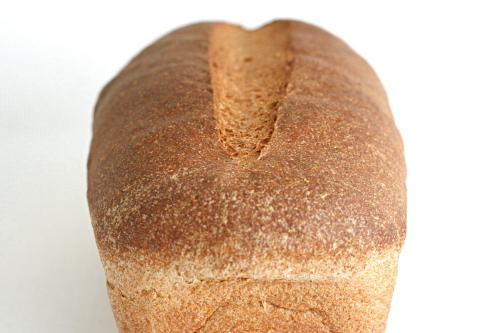
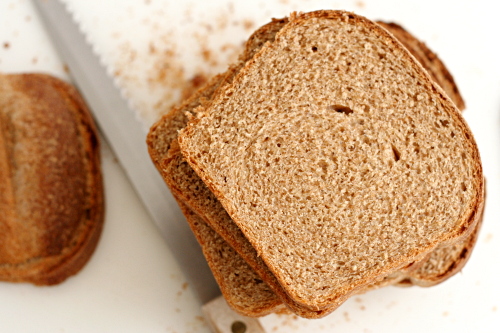
Most homemade whole wheat bread recipes call for, at most, half whole wheat flour. This recipe uses 100% whole wheat flour, and it’s as good as any of those other recipes. It’s tender and light, just like you want from a sandwich bread. And it tastes seriously good. Obviously it tastes whole wheaty, but it has more to it than that. The long soaks from the pre-doughs give the bread a full flavor that includes sweetness and a bit of acidity. I am officially hooked on 100% whole wheat breads.
Copy of IMG_8500

One year ago: Lemon Pancakes with Blueberry Syrup

Printer Friendly Recipe
100% Whole Wheat Sandwich Bread (from Peter Reinhart’s Whole Grain Breads)

Reinhart also has a “Transitional Whole Wheat Sandwich Bread” that is made the same way, except it uses white unbleached bread flour in the biga. If you decide to make this version instead, keep in mind that you’ll need a little less water when working with white flour (1-2 teaspoons per ounce of flour).

Soaker:
1¾ cups (227 grams) whole wheat flour
½ teaspoon (4 grams) salt
¾ cup plus 2 tablespoons (198 grams) milk, buttermilk, yogurt, soy milk, or rice milk

1. Mix all of the soaker ingredients together in a bowl for about 1 minute, until all of the flour is hydrated and the ingredients form a ball of dough.

2. Cover loosely with plastic wrap and leave at room temperature for 12 to 24 hours. (If it will be more than 24 hours, place the soaker in the refrigerator; it will be good for up to 3 days. Remove it 2 hours before mixing the final dough to take off the chill.)

Biga:
1¾ cups (227 grams) whole wheat flour
¼ teaspoon (1 gram) instant yeast
¾ cup (170 grams) filtered or spring water, at room temperature (about 70F)

1. Mix all the biga ingredients together in a bowl to form a ball of dough.  Using wet hands, knead the dough in the bowl for 2 minutes to be sure all of the ingredients are evenly distributed and the flour is fully hydrated. The dough should feel very tacky. Let the dough rest for 5 minutes, then knead it again with wet hands for 1 minute. The dough will become smoother but still be tacky.

2. Transfer the dough to a clean bowl, cover tightly with plastic wrap, and refrigerate for at least 8 hours and up to 3 days.

3. About 2 hours before mixing the final dough, remove the biga from the refrigerator to take off the chill. It will have risen slightly but need not have risen significantly in order to use it in the final dough.

Final dough:
All of the Soaker
All of the biga
7 tablespoons (56.5 grams) whole wheat flour, plus extra for adjustments
5/8 teaspoon (5 grams) salt
2¼ teaspoons (7 grams) instant yeast
2¼ tablespoons (42.5 grams) honey or agave nectar
1 tablespoon (14 grams) unsalted butter, melted, or vegetable oil

1. Using a metal pastry scraper, chop the soaker and the biga into 12 smaller pieces each (sprinkle some of the extra flour over the pre-doughs to keep the pieces from sticking back to each other).

2. If mixing by hand, combine the soaker and biga pieces in a bowl with all of the other ingredients except the extra flour and stir vigorously with a mixing spoon or knead with wet hands until all of the ingredients are evenly integrated and distributed into the dough. It should be soft and slightly sticky; if not, add more flour or water as needed.

If using a stand mixer, put the pre-dough pieces and all of the other ingredients except the extra flour into the mixer with the paddle attachment (preferable) or dough hook. Mix on slow speed for 1 minute to bring the ingredients together into a ball. Switch to the dough hook and mix on medium-low speed, occasionally scraping down the bowl, for 2 to 3 minutes, until the pre-doughs become cohesive and assimilated into each other. Add more flour or water as needed until the dough is soft and slightly sticky.

3. Dust a work surface with flour, then toss the dough in the flour to coat. Knead by hand for 3 to 4 minutes, incorporating only as much extra flour as needed, until the dough feels soft and tacky, but not sticky. Form the dough into a ball and let it rest on the work surface for 5 minutes while you prepare a clean, slightly oiled bowl.

4. Resume kneading the dough for 1 minute to strengthen the gluten and make any final flour or water adjustments. The dough should have strength and pass the windowpane test, yet still feel soft, supple, and very tacky. Form the dough into a ball and place it in the prepared bowl, rolling to coat with oil. Cover loosely with plastic wrap and let rise at room temperature for approximately 45 to 60 minutes, until it is about 1½ times its original size.

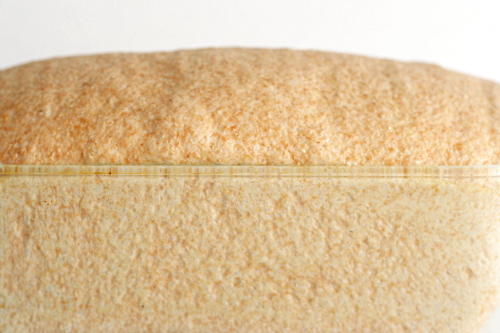
5. Transfer the dough to a lightly floured work surface.  To shape it for a loaf pan, pat it out to a square approximately 1-inch thick, then roll the dough into a cylinder.  Place the dough in a greased 4 by 8½-inch bread pan. Cover the dough loosely with plastic wrap and let rise at room temperature for approximately 45 to 60 minutes, until it is about 1½ times its original size.

6. Preheat the oven to 425F. When the dough is ready to bake, place it in the oven and bake for 20 minutes. Rotate the loaf 180 degrees and continue baking for another 20 to 30 minutes, until the loaf is a rich brown on all sides, sounds hollow when thumped on the bottom, and registers at least 195F in the center.

7. Transfer the bread to a cooling rack and allow it to cool for at least 1 hour before serving.
Copy of IMG_8506

chocolate souffle

Copy of IMG_8302

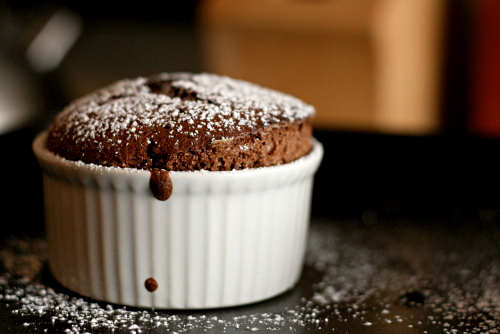
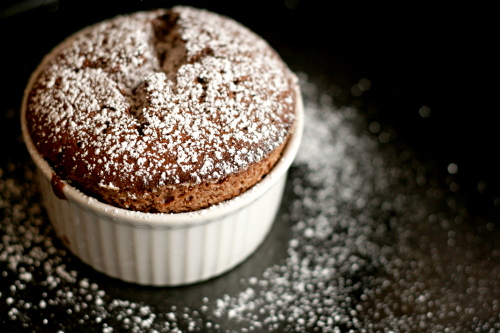
I’ve noticed lately that some of the fanciest desserts are actually the easiest to make. Crème brulée? Mousse? Molten chocolate cake? There’s nothing difficult about any of them, and the same can be said of chocolate soufflé.

Copy of IMG_8292

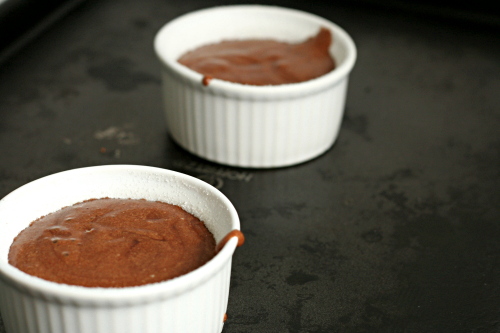
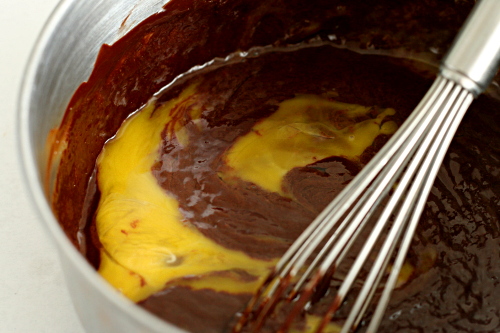
You really just melt chocolate with sugar, then stir in milk and egg yolks. Whip some egg whites and fold them into the chocolate mixture. Bake. That’s all there is to it.

Copy of IMG_8297

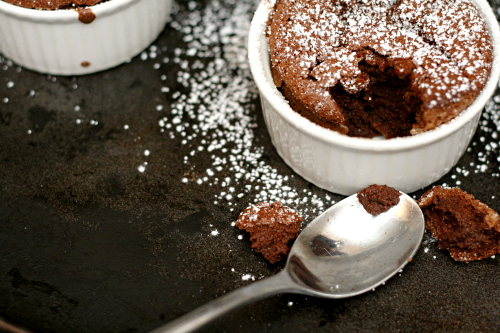
Maybe the trickiest part is knowing when they’re done. I’ve underbaked, overbaked and perfectly baked soufflés, and I recommend erring on the side of less baked. I think I overbaked these, because they seemed too dry.

Copy of IMG_8298

They were also really really sweet, and I’m not sure if that was related to overbaking them, or the type of chocolate I used (Ghirardelli bittersweet), or something else. But even too sweet and too dry, it’s still chocolate soufflé, so no complaints. Especially considering how easy it was to make!

Copy of IMG_8309

Susan chose this for Tuesdays with Dorie, and she has the recipe posted.

One year ago: Chocolate Whopper Malted Drops

Copy of IMG_8303

zucchini bread

Copy of IMG_8571

You know what always makes me twitchy with envy? Hearing people talk about how they just have sooo many zucchini or tomatoes or whatever from their garden, and they just don’t know what to do with it all.

Shut. Up.

Also: Give them to me.

Copy of IMG_8549

I live in an apartment. There are no raised beds and no compost bins. There isn’t enough sunlight for container plants. I can’t even keep herbs because the cats eat them.

No, I bought these zucchini from the grocery store, although it at least was from the local farm section. But it’s the end of summer, and, damn it, I wanted zucchini bread.

Copy of IMG_8552

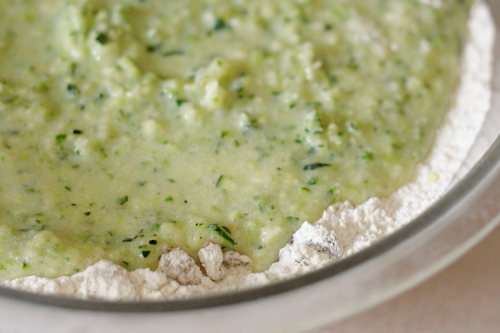
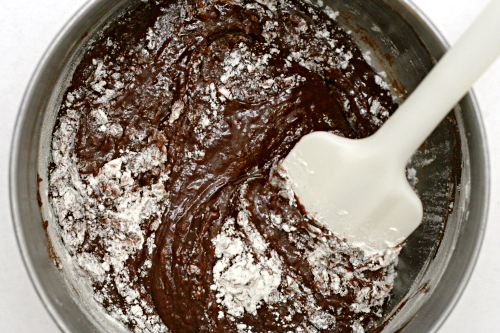
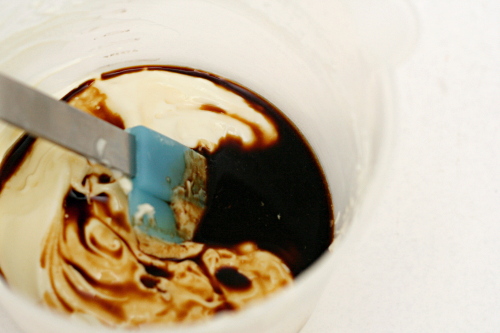
I’m not a big carrot cake fan – vegetables? dessert? they do not belong together – but zucchini bread I can do. It’s a quick bread, a snack; it isn’t masquerading as a fancy cake. Like most quick breads, this one starts with the dry ingredients (flour, salt, leavener, nuts) and the wet ingredients (eggs, butter, sugar, yogurt, a little lemon juice) mixed separately before being folding together.

Copy of IMG_8557

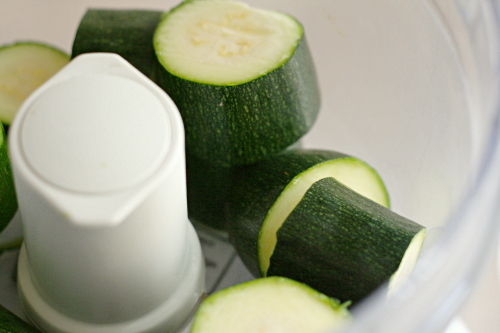
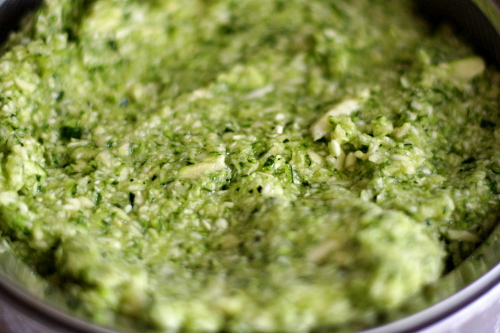
What I like about this recipe is how it treats the zucchini. Zucchini is full of water, and think about it – when did you last add water to a quick bread? You don’t, because it makes baked foods wet and gummy. So you have to remove the water from the zucchini. After the zucchini is shredded, mix it with a couple tablespoons of sugar, and let it sit and drain in a strainer while you prepare the rest of the ingredients. By the time you’re ready to move on with the recipe, the zucchini will have given up something like a half-cup of (bright green) water. What’s even better about this method is that you end up using more zucchini than you could if you had to keep all of the water in the dough.

Copy of IMG_8562

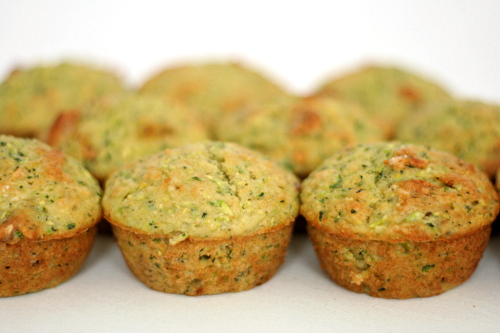
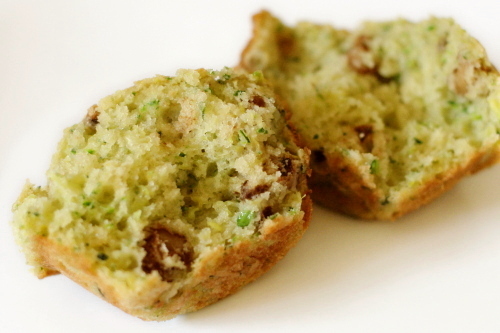
Ooh, I loved these. Loved them. So soft, so tender, so pretty and green. They don’t taste at all vegetal, and they’re just sweet enough. Someday I’ll have a house and a vegetable garden, and I will turn so much zucchini into beautiful bread. Until then, I’ll be grateful that zucchini is available year-round from the grocery store.

Copy of IMG_8568

One year ago: Sausage and Red Pepper Hash

Zucchini Bread (from Cooks Illustrated)

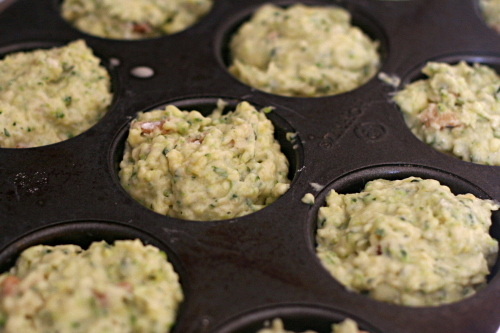
To make muffins instead of a loaf, divide the batter between 12 greased and floured muffin cups. Bake at 375 degrees for 18-25 minutes.

2 cups (10 ounces) all-purpose flour, plus more for dusting
1 pound zucchini, washed and dried, ends and stems removed, cut in half lengthwise and seeded if using large zucchini, each half cut into 1-inch pieces
¾ cups (5¼ ounces) sugar
½ cup pecans or walnuts, chopped coarse
1 teaspoon baking soda
1 teaspoon baking powder
½ teaspoon salt
¼ cup plain yogurt
2 large eggs, beaten lightly
1 tablespoon lemon juice
6 tablespoons (¾ stick) butter, melted and cooled

1. Adjust an oven rack to the middle position and heat the oven to 375 degrees. Grease the bottom and sides of a 9 by 5-inch loaf pan; dust with flour, tapping out the excess.

2. In the bowl of a food processor fitted with the metal blade, process the zucchini and 2 tablespoons of the sugar until the zucchini is coarsely shredded, twelve to fifteen 1-second pulses. Transfer the mixture to a fine-mesh strainer set at least 2 inches over a bowl and allow to drain for 30 minutes. Alternatively, you can shred the halved zucchini (don’t cut into 1-inch pieces) on the large holes of a box grater, toss with the 2 tablespoons of sugar, and drain.

3. Meanwhile, spread the nuts on a baking sheet and toast until fragrant, 5 to 7 minutes. Transfer the nuts to a cooling rack and cool completely. Transfer the nuts to a large bowl; add the flour, baking soda, baking powder, and salt, and whisk until combined. Set aside.

4. Whisk together the remaining ½ cup plus 2 tablespoons of sugar, yogurt, eggs, lemon juice, and melted butter in a 2-cup glass measure until combined. Set aside.

5. After the zucchini has drained, squeeze the zucchini with several layers of paper towels to absorb excess moisture. Stir the zucchini and the yogurt mixture into the flour mixture until just moistened. Scrape the batter into the prepared pan and smooth the surface with a rubber spatula.

6. Bake until the loaf is golden brown and a skewer inserted in the center comes out clean, 55 to 60 minutes, rotating the pan halfway through baking. Cool in the pan for 10 minutes, then transfer to a wire rack and cool for at least one hour before serving. (The bread can be wrapped with plastic wrap and stored at room temperature for up to 3 days.)
Copy of IMG_8579

espresso cheesecake brownies

Copy of IMG_8405

One of the things I like about summer is wearing sundresses. For the bulk of the summer, that’s all I wear. They’re cute and comfortable and I love them.

But last week, it suddenly became a bit chillier. I put on a pair of jeans.

And I couldn’t button them. And the same thing happened the next day, with a different pair of pants.

Not good.

Copy of IMG_8342

Dave suggested I give up dessert, or at least limit it to weekends. And I was like “Wow?! Really?! It totally didn’t occur to me to consider the most indulgent part of my lifestyle as contributing to my recent weight gain! Thanks so much!” Also: <glare>

Copy of IMG_8344

At this point, I have no plans to give up dessert, even on weekdays. I will try not to go overboard. I will reduce my dinner portions. I will be extra careful with my daily snacks. But I’m not ready to give up dessert.

I can perhaps be convinced to leave the sour cream topping off of my cheesecake brownies though. Sacrifices!

Copy of IMG_8345

The base of these is a standard brownie. (Oh! I also left out one of the five tablespoons of butter from the brownies! Because of the pants and the not fitting! Also, I had four tablespoons easily available.) The next layer is a fairly standard cheesecake batter, although with a high ratio of eggs. Espresso is added to the cream cheese mixture.

Copy of IMG_8348

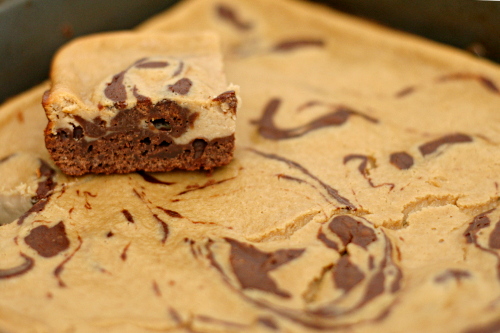
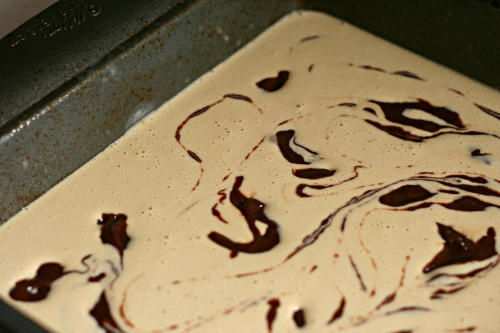
After most of the brownie batter is spread in a pan, the cheesecake portion is poured over it, and then the remaining brownie batter is dotted over the top. The two are swirled together before baking. This was a little iffy for me, because the brownie batter was a lot thicker than the cheesecake batter. But it basically worked.

Copy of IMG_8354

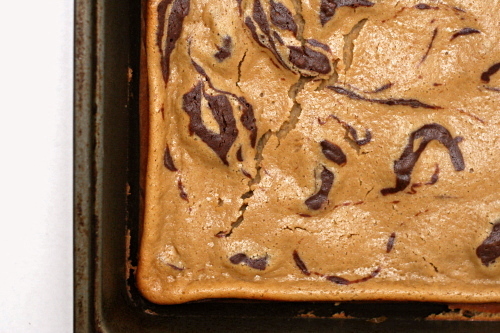
Overall, these were pretty good. No one component was overpowering. And, swirling issues aside, I thought they turned out quite attractive. And it took me five whole days to eat the entire pan, with almost no help from Dave!

Yeesh. Good thing I left the topping off, right?

Melissa chose this for Tuesdays with Dorie and has the recipe posted.

One year ago: Chunky Peanut Butter and Oatmeal Chocolate Chipsters

Copy of IMG_8395