Archives for October 2009

sweet potato hash

Copy of IMG_0431

While I can be, shall we say, particular about preparation, I think keeping an open mind is so important when it comes to both ingredients and certain dishes.

Copy of IMG_0397

For example, stuffing. There’s nothing unpleasant about bread, seasonings, aromatics, and broth baked until the flavors are blended and the top is crispy. When people say they don’t like stuffing, I really think they just didn’t like the stuffing they had when they were young. They just need to try a different recipe (add bacon!) to enjoy it more.

Copy of IMG_0399

As far as ingredients that often inspire pickiness, sweet potatoes have a bad name. For a lot of people, one of the only ways they’ve seen sweet potatoes prepared is in that sugary, marshmallow-topped weirdness at Thanksgiving. Hey! Let’s take something already sweet, cook it in sugar, top it with more sugar, and serve it with dinner! Blech.

Copy of IMG_0413

Because I don’t like those sweet potatoes and wasn’t exposed to them prepared other ways, I always assumed I didn’t like sweet potatoes at all. But now I know better! I like them quite a bit in more savory preparations.

Copy of IMG_0416

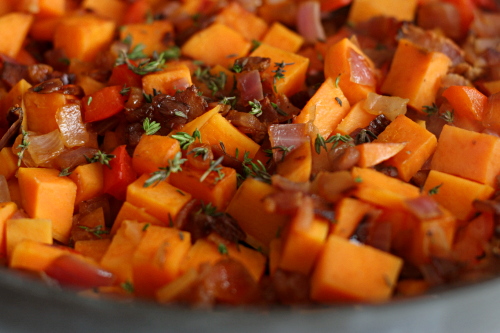
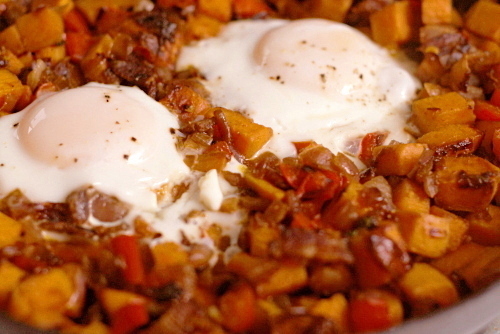
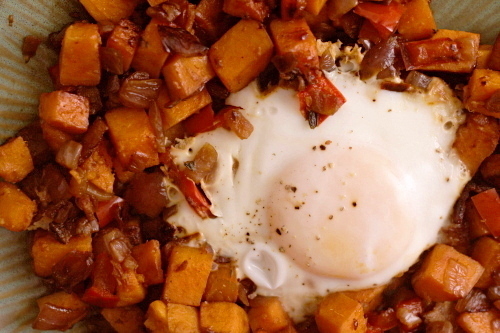
Take this dish. Salty bacon, flavorful slightly caramelized vegetables, and browned sweet potatoes. What is there not to like, especially when the whole thing is topped with an egg? It goes to prove that I could miss out on some great meals if I don’t remember that just because I don’t like an ingredient prepared one way doesn’t mean I won’t like it in other dishes.

Copy of IMG_0422

One year ago: Peter Reinhart’s Pizza Dough

Printer Friendly Recipe
Sweet-Potato Hash with Bacon (adapted from epicurious/Gourmet)

Serves 4

These are the same ingredients in the same proportions as the original recipe, but I’ve tweaked the preparation a bit because a number of reviewers complained that the original was too greasy. Adding eggs on top is also my addition, but Dave and I tried it with and without the eggs, and while it was good without, it was even better with.

½ pound sliced bacon, cut into ¼-inch strips
2 medium onions, chopped
1 large red bell pepper, cut into thin strips
salt and pepper
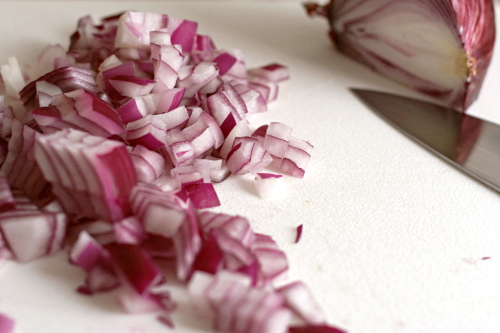
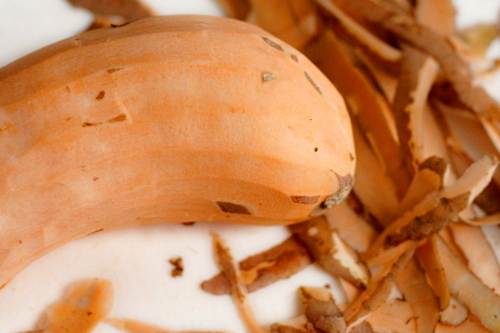
2 pound sweet potatoes, peeled and cut into ½-inch cubes
1 teaspoon chopped fresh thyme
4 eggs (optional)

1. Cook the bacon in a 12-inch nonstick skillet over medium heat until it renders some fat and begins to brown. Drain off all of the fat except for a thin coating on the pan, then add the onions, red pepper, ½ teaspoon salt, and ½ teaspoon pepper. Cook uncovered, stirring occasionally, until the vegetables are softened, 7-8 minutes.

2. Stir in the potatoes and ½ teaspoon salt. Cover the pan and cook, stirring occasionally, until the potatoes are tender and starting to brown, 10 to 14 minutes. Stir in the thyme and season to taste.

3. If you’re adding the eggs, create four indentions in the hash and break an egg into each. Season the eggs and cover the pan. Lower the heat to medium-low and cook without removing the lid for at least 6 minutes, when you can start testing for doneness. I like my eggs without any runniness at all in the white but with gooey yolks, and it takes around 8 minutes.

Copy of IMG_0432

cherry-fudge brownie torte

Copy of IMG_0762

Most people I know have some Thing that they are, corny and dramatic as it sounds, passionate about. For Dave it’s music. I have a friend who brews beer, another who gardens, one who is all about house renovation, one who could spend hours a day researching his next bottle of wine. I love this aspect of people.

But damn, to have your Thing be baking? When you’re small and only moderately active, it presents a challenge. I think I could more easily give up eating dessert if I wouldn’t also have to give up baking dessert. I love watching butter and sugar and flour turn into dough. I love watching the shapes the beater makes as it spins through batter, the soft peaks of heavy cream, the smooth shine of melted chocolate.

Copy of IMG_0699

I’m not overweight and I don’t think I’m even continually gaining weight – but my pants are a lot tighter than they were a year ago, and damn it, I like those pants. I like my clothes to be flattering, and I like being comfortable wearing a bathing suit.

But something has to give, other than the buttons on my jeans, that is. I’ve said this before. Nothing has given before.

Copy of IMG_0704

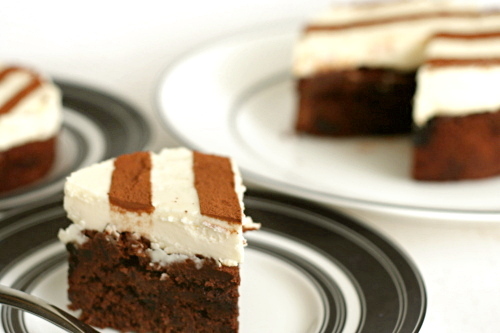
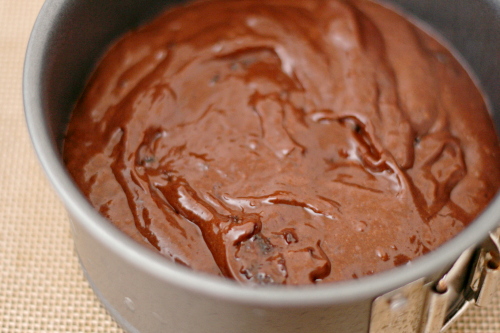
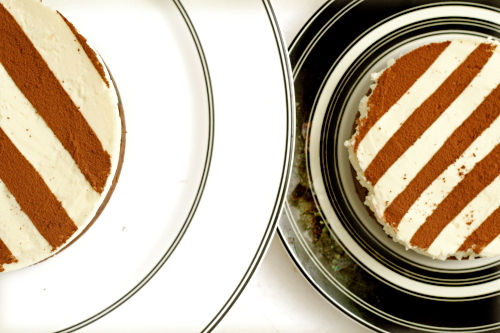
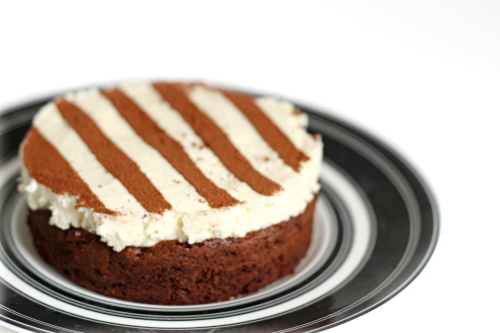
This cake is definitely not a good place to start. The base is almost flourless, largely chocolate and butter and eggs. Dried cherries are added to the cake batter after they’re plumped in water, then flambéed in kirsch. Remembering how much I liked the partially pureed, evenly dispersed prunes in the chocolate whiskey cake, I mashed up these cherries as well.

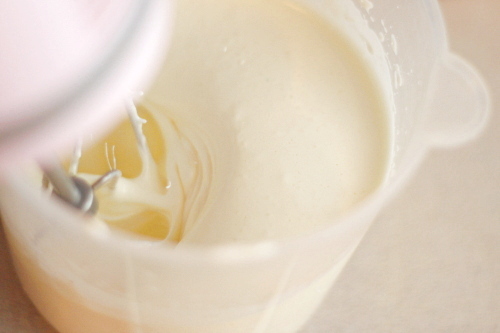
The chocolate brownie base is covered in a mixture of cream cheese, mascarpone, and cream. Yeah, Tuesdays with Dorie hasn’t made a dessert this rich is a while. It is a good one though. I love the bright tartness of the cherries in the chocolate cake, and light mousse is a nice contrast to the dense cake.

Copy of IMG_0759

So what to do in the face of this cake when I also want to feel good about myself? Well, eat healthier during the times when I’m not eating dessert, for one thing. For another, don’t bake anything extra, at least until Thanksgiving, when I’ll re-evaluate.

So, my goal, which I present to you: From now until Thanksgiving, so for a month, I won’t bake anything other than what’s required for my blog, 100% whole wheat bread, and a batch or two of biscotti for Dave to eat at work. I’m passionate about baking and it makes me happy, but having clothes that fit makes me happy too. I have to compromise. (Please don’t be confused if you see a slew of dessert recipes here over the next month. I have a huge backlog of recipes to post.)

If you’d like to try this cake, April has it posted on her blog. I accidentally melted all of the chocolate instead of saving a portion to mix in to the batter at the end.

One year ago: Dorie’s Chocolate Cupcakes

Copy of IMG_0751

sun-dried tomato jam

Copy of IMG_0278

Crusty bread, cheese, cured sausage, fruit. It’s a seriously underestimated meal. Yes, a meal. Not a particularly healthy one, I admit, but it does cover all of the nutritional bases, as long as you make an extra effort to eat a lot of the fruit. It doesn’t hurt to use 100% whole wheat bread either.

Copy of IMG_0255

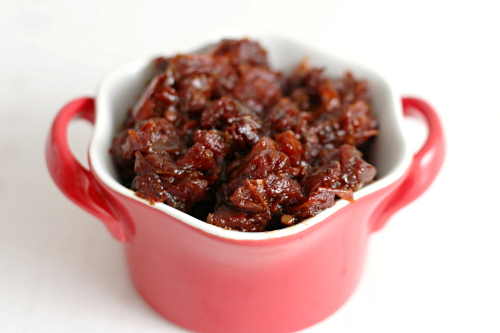
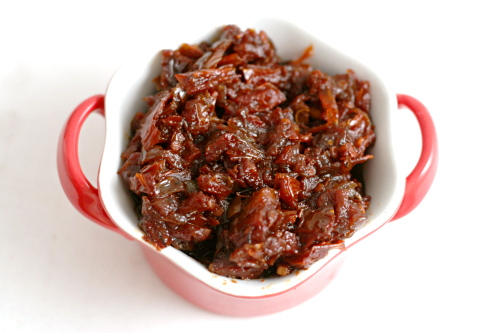
And if you add a bit of tomato jam, you’ve just given yourself one more healthy-ish vegetably option. (“Healthy-ish” and “vegetably” really is how I think about nutrition. It seems to sorta kinda work.) The jam is just sautéed and then stewed vegetables.

Copy of IMG_0266

The result is a perfect counterpart for creamy or sharp or tangy cheese (or one of each!), salty salami, and fresh berries or grapes. The jam is both sweet and savory, fantastic spread on a slice of baguette by itself or combined with cheese. Definitely a great addition to one of my favorite somewhat indulgent meals.  Or maybe you’re a normal person and would serve this as an appetizer?  I guess that would work too.

Copy of IMG_0288

Printer Friendly Recipe
Sun-dried Tomato Jam
(adapted from Everyday Italian via Confections of a Foodie Bride)

The original recipe is for crostini with goat cheese, but I thought the jam was a great addition to a cheese plate on its own.

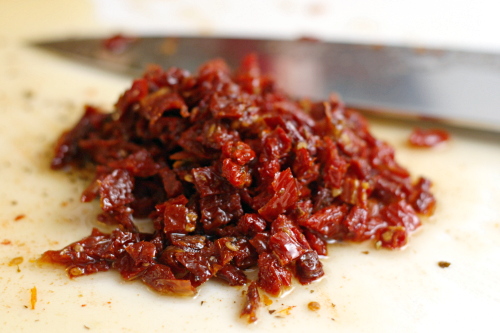
If you can find pre-sliced dried tomatoes, your life will be much easier.  Chopping greasy, slippery tomatoes is the hardest part of this recipe.

Makes about 1½ cups

8oz jar sun-dried tomatoes packed in oil, drained and chopped, oil reserved
1 tablespoon olive oil
½ onion, thinly sliced
1 clove garlic, minced
2 tablespoon sugar
¼ cup red wine vinegar
1 cup water
½ cup chicken broth
1 teaspoon chopped fresh thyme leaves
½ teaspoon salt
½ teaspoon freshly ground black pepper

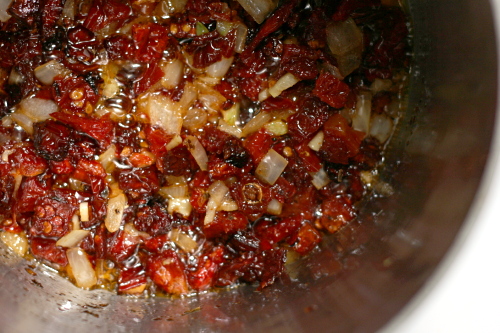
1. Place a medium saucepan over medium heat. Add the chopped sun-dried tomatoes, 1 tablespoon of the reserved sun-dried tomato oil, olive oil, onion, and garlic. Stir and cook until the onions are soft and beginning to brown at the edges, about 5 to 7 minutes.
2. Add the sugar, vinegar, water, chicken broth, thyme, salt, and pepper. Bring the liquid to a boil, reduce the heat, and simmer, covered, for 30 minutes. Remove the cover and continue simmering until most of the liquid is reduced and the mixture is the consistency of jam, about 5 to 10 more minutes. Remove from the heat, let cool slightly, and serve.
Copy of IMG_0280

brown rice with black beans

Copy of IMG_0357

Of all the whole grains, brown rice has been the hardest for me to accept. I realize now that I’d been cooking it wrong for years. I just couldn’t seem to cook it through all the way, and I tried a bunch of different recipes, but it was always crunchy.

Copy of IMG_0345

Then sometime last year, Cooks Illustrated sent me a recipe to test for them for brown rice with andouille, and not only does it have andouille, which, come on, andouille, delicious, but at the time I was religiously making every recipe they sent for me to test. (It got to the point where I’d get the magazines and I’d already have made half the recipes. I’ve since slacked off.) So I only made the recipe because I felt like I had to, plus of course the andouille. But it was fantastic, just so, so good. It was a revelation for me, because it was the first brown rice I’d made that was not just edible, but delicious.

Copy of IMG_0344

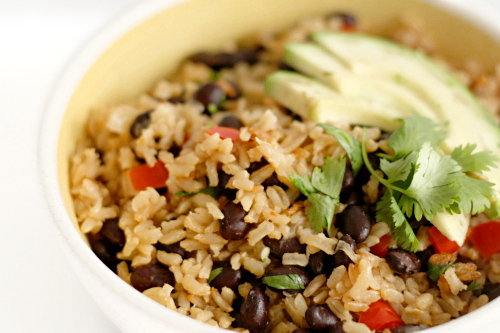
But that isn’t the recipe I’m telling you about today. Ha! When the magazine issue came out, it had a few other variations, and one is just perfect for me. Brown rice, black beans and a bunch of aromatics, how healthy and tasty does that sound?

Copy of IMG_0347

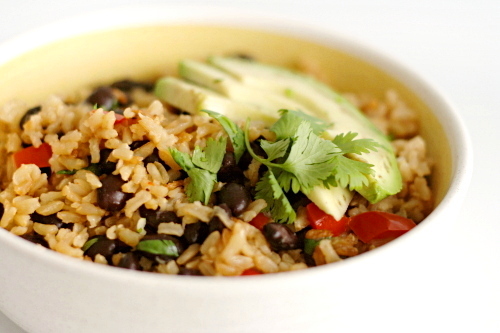
The first time I made it, I followed the directions fairly closely, just adding the scraped-off kernels of one cob of corn at the end of cooking. That was a great addition, especially visually. Corn isn’t in season anymore, so I skipped it this next time. I doubled the black beans the second time, because you can never go wrong with more black beans. I also added an avocado and wow! I mean, it goes without saying that avocado improves almost anything, but it was particularly complimentary with this.

Copy of IMG_0354

If you’ve ever had doubts about brown rice, this recipe will make a believer out of you. And if you’re already a convert, this dish will be a great addition to your repertoire.

Copy of IMG_0355

One year ago: Sushi Bowls

Printer Friendly Recipe
Brown Rice with Black Beans and Cilantro
(from Cooks Illustrated)

I like to double the black beans. Corn, either cut off of the cob or 1 cup frozen and defrosted, is a good addition stirred in with the black beans. One diced avocado is delicious added with the cilantro. I used red pepper, because I like them better than green.

Serves 4 to 6

4 teaspoons olive oil
1 medium onion, chopped fine (about 1 cup)
1 green bell pepper, chopped fine
3 garlic cloves, minced
1 cup low-sodium chicken broth
2¼ cups water
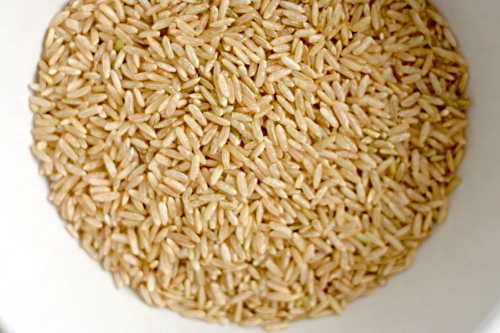
1½ cups brown rice, long-grain
1 teaspoon salt
1 (15.5-ounce) can black beans, drained and rinsed
¼ cup chopped fresh cilantro leaves
¼ teaspoon ground black pepper
1 lime, cut into wedges

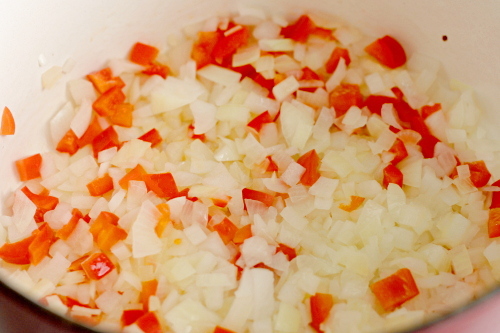
1. Adjust oven rack to middle position; heat oven to 375 degrees. Heat oil in large Dutch oven over medium heat until shimmering. Add onion and pepper and cook, stirring occasionally, until well browned, 12 to 14 minutes. Stir in garlic and cook until fragrant, 30 seconds.
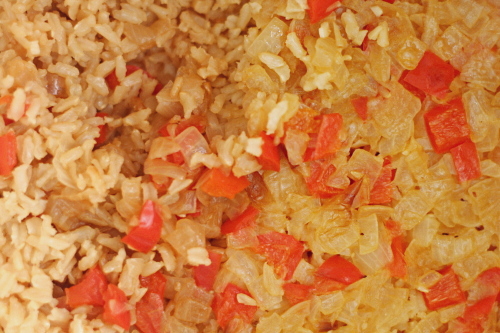
2. Add broth and water; cover and bring to boil. Remove pot from heat; stir in rice and salt. Cover and bake rice until tender, 65 to 70 minutes.
3. Remove pot from oven, uncover, fluff rice with fork, stir in beans, and replace lid; let stand 5 minutes. Stir in cilantro and black pepper. Serve, passing lime wedges separately.
sweet potato biscuits

Copy of IMG_0056

I love that not just one, but two of this month’s Tuesdays with Dorie recipes are non-desserts. I haven’t baked a TWD dessert in weeks! I’ve gone almost a month with choosing all of my own desserts!

Copy of IMG_0028

I don’t mean to complain; obviously I like being part of the group, or, well, I wouldn’t be. It’s just that I’m only baking for me and Dave, so if a dessert recipe makes 12 servings, that’s all we get for the week. That’s why I have a calculator in the kitchen and many many small oddly shaped pans. Fractions are my friend if I want to bake more than once per week.

Copy of IMG_0030

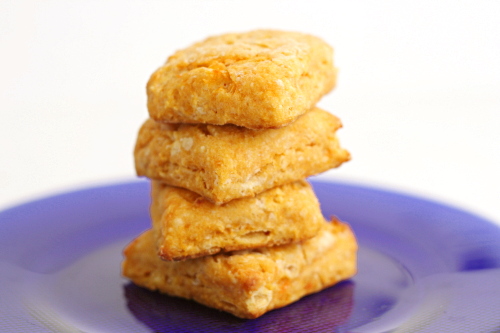
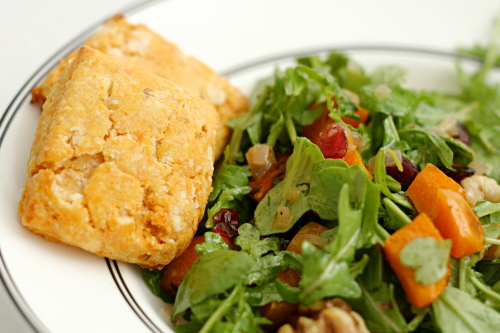
Getting to serve a TWD recipe with dinner is a rare treat. These sweet potato biscuits were a nice complement to the roasted butternut squash salad I made a few weeks ago.

Copy of IMG_0035

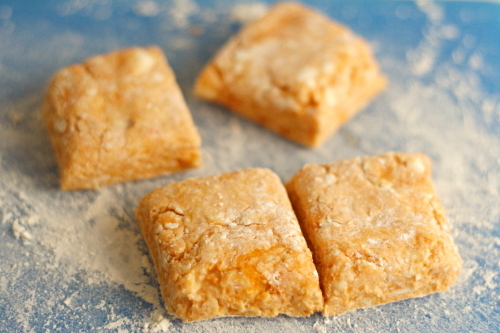
These biscuits are made the standard biscuit way – cut cold butter into flour+flavoring+leavening, then moisten the mixture, in this case with mashed sweet potatoes. It quickly became apparent that my sweet potatoes (bought fresh, then cooked and mashed) weren’t going to be able to turn the dry ingredients into biscuit dough, so I added some buttermilk, which helped.
Copy of IMG_0036

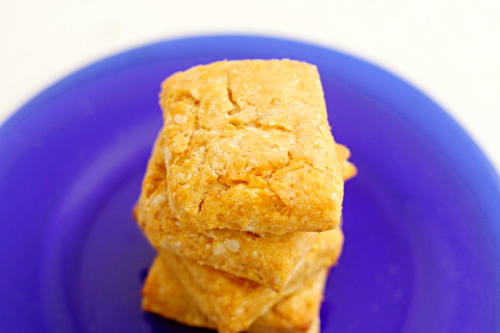
Except that something seems to have gone wrong, because my biscuits didn’t rise hardly at all. I liked the flavor quite a bit, but the texture was oh-so-dense. Still, this is the first sweet potato biscuit I’ve tried, and I quite like the idea. I’ll need to play with some more recipes.
Copy of IMG_0068

Erin chose this recipe for TWD, and she has it posted.
One year ago: Pumpkin Muffins

Copy of IMG_0058

pumpkin risotto

Copy of IMG_0156

Everyone’s goal for their food blog is different. Are you keeping a log of recipes you make for your own sake – to store them somewhere, or to track your progress as a cook? Do you only publish recipes that you recommend others make? Do you have a blog just to cook along with various groups? All are perfectly fine reasons to maintain a food blog.

Copy of IMG_0100

Periodically I have to ask myself what my stance is. The question only comes up when I make something that I’d like to share, even though it wasn’t necessarily my favorite dish ever. And I think I’ve decided that, for me, my food blog is somewhere I get to talk about cooking to people who are also interested in food. Basically it’s to offload my food thoughts to people who actually care, saving my friends and family from hearing about cooking nonstop. Not that the topic doesn’t still come up…let’s just say, periodically.

Copy of IMG_0102

So, let us discuss, then, this risotto. I’ve made risotto plenty of times before, but usually following the same basic recipe and just adding in whatever extra ingredient I wanted (peppers, peas, greens, etc). This time I decided to follow a different recipe.

Copy of IMG_0114

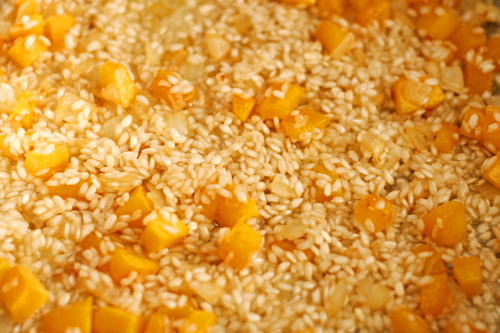
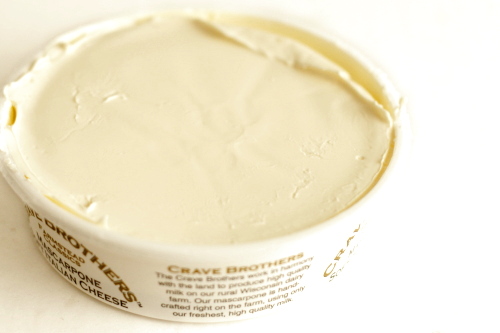
You probably know the basic risotto process – sauté onions and garlic, add the rice, then the wine, then the chicken broth, gradually, and ending with parmesan cheese. This recipe is a bit different. It starts with substantially more butter than I would normally use, in which the onion (supposed to be leeks, but I always forget to buy them) and pumpkin are sautéed. Then the rice is stirred in, like normal, but next is the chicken broth instead of the wine. The broth and wine are added alternately as the rice cooks. Mascarpone is stirred in at the end along with the parmesan.

Copy of IMG_0133

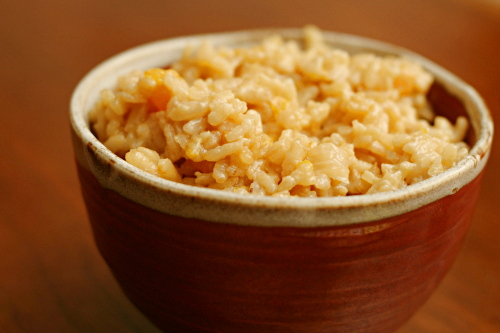
It was quite a bit winier than I’m used to risotto tasting, which isn’t necessarily a bad thing. It was also quite a bit cheesier, which I suppose should have been a no-brainer with all the mascarpone, but somehow I was expecting it to add richness without the cheesy flavor.

Copy of IMG_0147

Overall, it was…fine. Good? Not necessarily great. I just like my regular risotto better. Some foods are already rich enough that you don’t really need to add twice the butter and a dollop of the creamiest cheese ever. So maybe I don’t strongly recommend this recipe, but I thought it was interesting, and when it comes to choosing recipes to blog about, I guess interesting (to me, and if I’m lucky, to you) is what I’m most concerned with.

Copy of IMG_0163

One year ago: Mulled Cider

Printer Friendly Recipe
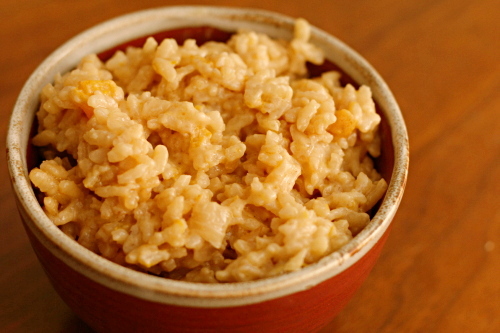
Pumpkin Risotto
(copied with no changes from Cucina Italiana April 2001)

3.5 cups chicken broth
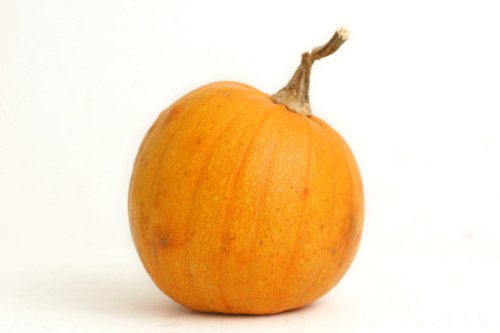
1 small pumpkin (about ½ pound)
6 tablespoons unsalted butter
1 large leek, white part only, halved lengthwise, rinsed, and diced
1 cup Arborio rice
1 cup dry white wine
¼ cup Mascarpone
⅓ cup (.67 ounce) grated Parmigiano Reggiano

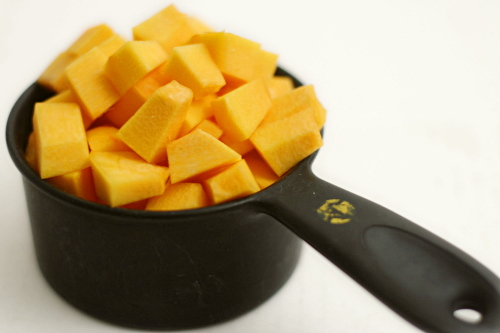
1. Heat broth in a small pan and keep it hot. Cut off the pumpkin stem. With a vegetable peeler, remove the skin. Cut the pumpkin in half, and remove and discard the seeds and stringy flesh. Dice enough of the pumpkin to make 1 cup. (Save any remaining pumpkin for another use; soup is a particularly good possibility.)

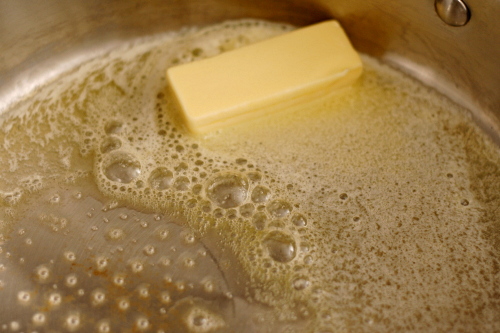
2. In a large saucepan, melt the butter. Add the pumpkin and leek, and cook over medium heat, stirring often, until softened, about 10 minutes. Add the rice and stir well to coat it with the butter. Cook, stirring, until the rice begins to crackle, about 5 minutes; do not let the rice brown.

3. Slowly add ½ cup of the broth and stir constantly until the rice absorbs all the liquid; add 2 tablespoons of the wine and continue stirring until it is absorbed by the rice. Continue adding broth and wine alternately to the rice, stirring all the while, until the rice is al dente and has a creamy consistency, about 15 minutes.

4. Stir in the Mascarpone and Parmigiano, blending well and stirring until the Mascarpone melts. Serve immediately.

white bean avocado sandwich

Copy of IMG_8653

I believe that people are what they think they are, which is just a less fancy way of saying that you can do just about anything you think you can do. I remember in high school, I consistently got an 89% in my classes, and I always wondered why I hadn’t worked just a bit harder to get an A. But I knew myself as a B+ student, so I worked just hard enough to get a B+.

Copy of IMG_8622

Early on in college, more by luck than design, I got straight A’s one semester. And then I knew I could do it – from then on, I was a pretty solid A student.

Copy of IMG_8627

Lately I’ve been thinking of myself as an indulgent eater. I see so many people on strict diets – raw food, clean food, low carb, vegan. I don’t, and never plan to, follow any of these eating philosophies. I eat refined flours and sugars, red meat and full-fat cheeses, butter and alcohol. When I compared myself to these people, I felt lax in my eating habits. And once I started believing I ate poorly, my eating habits did, indeed, decline.

Copy of IMG_8634

But the truth is, more of the time, I eat very healthfully. All of those treats above? You’ve heard it before – moderation. Most of my snacks are fresh fruit and vegetables. My tiny daily bagel is 100% whole grain. We rarely eat meat on weekdays, and I don’t drink alcohol on weekdays. I do eat dessert every single day, but we’re talking one, maybe two, small cookies.

Copy of IMG_8638

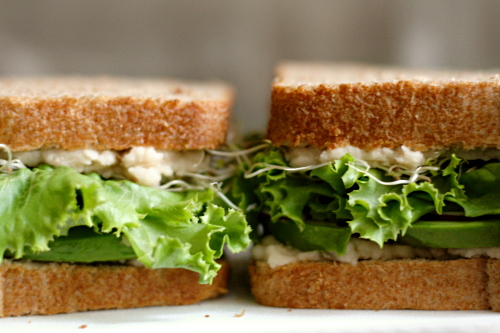
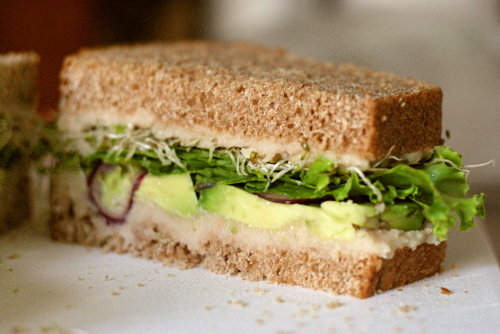
I need to remember that I do follow a good diet regularly, so that making healthy choices is easier. This sandwich, introduced to me by the same friend whose recipes for pumpkin muffins and peanut dip I love, is a perfect example of how I like to eat. Whole grains, beans, and lots of vegetables. It’s easy, filling, portable, and most importantly – delicious.

Copy of IMG_8641

One year ago: Green Chile Rellenos

Printer Friendly Recipe
White Bean Avocado Sandwich

Serves 4

I’ve tried mushing the beans up with a potato masher, but I really do prefer the creamy smooth texture a food processor provides. Also, one thing I’ve learned after making this a few times is to overseason the beans. The seasonings in the beans are flavoring the entire sandwich, so add the lemon juice, salt, and pepper until just past how you’d normally prefer them. Because I’m apparently salt-crazy, I also give the avocado slices a light sprinkling of salt, as well as squeeze some more lemon juice over them.

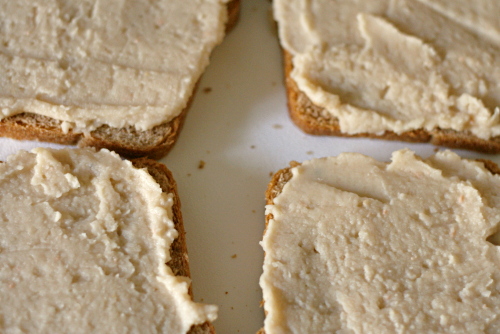
1 (15-ounce) can white beans, drained and rinsed
1 lemon
salt and pepper
8 slices hearty whole-grain sandwich bread
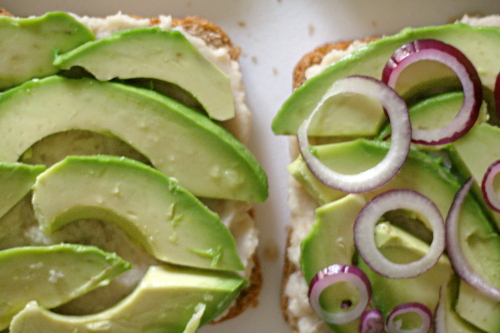
1 avocado, quartered, peeled, and sliced thin
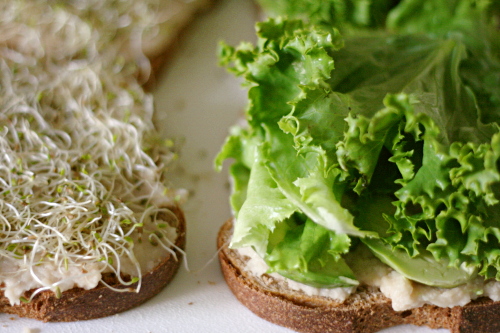
a few leaves of leaf lettuce, torn into sandwich-sized pieces
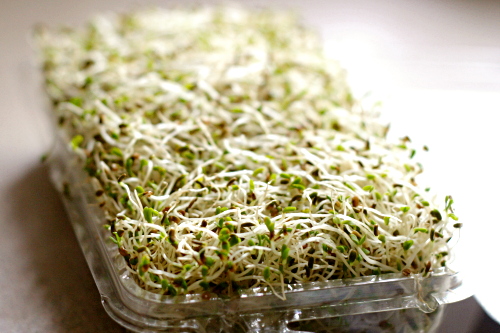
some alfalfa sprouts
a bit of red onion, sliced thin

1. In a food processor, puree the beans until they’re completely smooth. Season with lemon juice, salt and pepper to taste (see note).  I took notes on about how much of everything to add and then lost them, but I think a reasonable place to start is 2 tablespoons lemon juice, ¼ teaspoon salt, and ⅛ teaspoon pepper.

2. Thickly spread one side of each piece of bread with the bean mixture. Top four of the bread slices with slices of avocado, a bit of onion, and plenty of lettuce. Press some sprouts into the bean mixture on the other four slices of bread. Place the sprout-bread, spout side down (duh) on the other-stuff-bread, slice the sandwich in half if you want, and enjoy.

Copy of IMG_8649

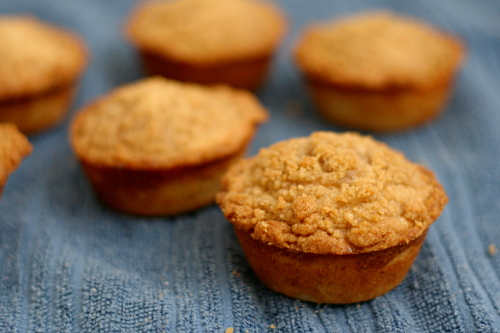
allspice crumb muffins

Copy of IMG_0191

Dave wants just one thing to make his workday more enjoyable, just one simple thing, and that’s biscotti. Although what he really wants is almond biscotti, and not any almond biscotti, it has to be this recipe.

Copy of IMG_0169

Sadly for Dave, biscotti aren’t one of my favorite things to bake, and I certainly have no interest in making the same recipe over and over again. No no, I have much more fun making muffins, so usually he brings muffins to work instead of biscotti. Poor, poor Dave.

Copy of IMG_0174

Muffins are just so easy. Mix up some dry ingredients, mix up some wet ingredients, stir them together. Lately I’ve been adding the sugar and salt with the wet ingredients instead of the dry. They both dissolve easily, and if it’s brown sugar, I don’t have to worry about it clumping.

Copy of IMG_0179

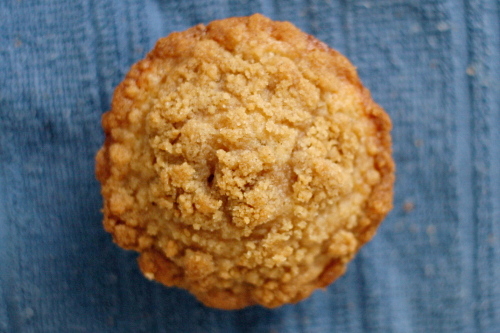
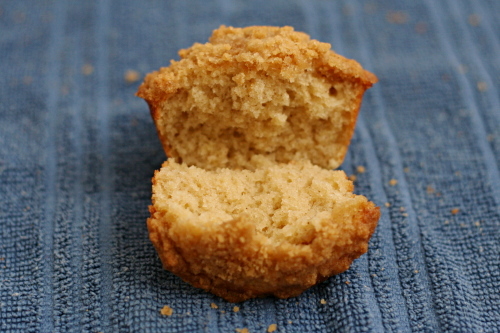
I wish I had taken the time to grind my own allspice – I have whole berries, plus a spice-dedicated coffee grinder, but I got lazy and stuck to the powder and my allspice flavor didn’t seem very distinct. But that’s okay, because these still make an excellent muffin – light, tender, tasty. I would certainly rather eat one of these with my morning tea instead of biscotti, biscotti, and more biscotti.

Copy of IMG_0200

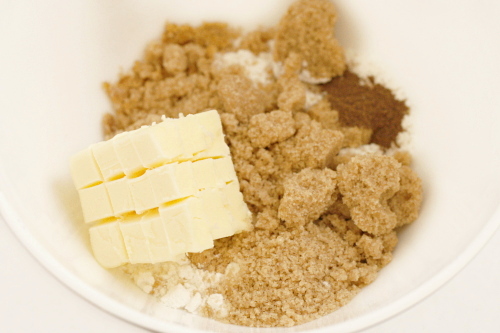
Kayte chose these muffins for Tuesdays with Dorie and she has posted the recipe. Next time, I’ll reduce the butter in the crumb topping by a tablespoon or two. Not only did I have more topping than I needed, but it didn’t seem quite solid enough and flowed off the muffin a bit.

One year ago: I swear this is a coincidence, but one year ago was the Lenox Almond Biscotti.  Which are good, but do not pass Dave’s Biscotti Approval Test.

Copy of IMG_0188

snickerdoodle experiments

Copy of IMG_6966
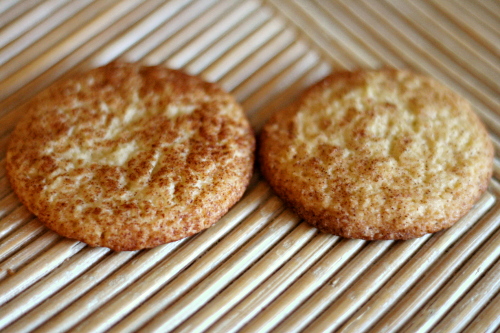
Uh…sorta forgot to write down which cookie is which, but, does it really matter?  They’re just about identical.

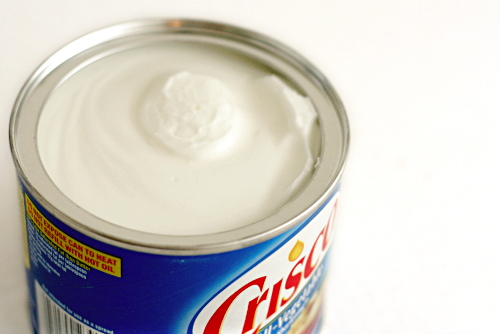
I don’t cook with shortening.  I just don’t.  Look, I know a tablespoon here or there isn’t going to kill me, but my granola-like reasons go beyond my health.  For one thing, it kind of grosses me out.  Mmm, chemically solidified oil, yum.  No.  Also, and here is where I really start to sound like a crazed liberal, but I try to vote with my dollar.  So if I don’t like how a product is produced or what the product stands for, I try not to buy it.

Copy of IMG_6572

Besides, shortening isn’t any good.  Its only advantage is it doesn’t melt as easily as butter, but if you know how to work with butter correctly, that isn’t an issue.

I absolutely don’t judge you if you cook with shortening, okay?  To each his own.  I’m fully aware that I’m being stubborn and probably impractical.  If I was at your house and you made a light, flaky pie crust with shortening, I would absolutely eat it and enjoy it.  And heck, good for you for not being as close-minded as I apparently am.

Copy of IMG_6901

So.  When I saw that Cooks Illustrated requires shortening in their snickerdoodle recipe, I had my doubts.  Yes, maybe the cookies would spread just a tiny bit more if they’re made with only butter, but is it significant?  To see how big of a difference the shortening would make, I made the recipe both ways and compared.  (Yes, I had to buy shortening to do this.)

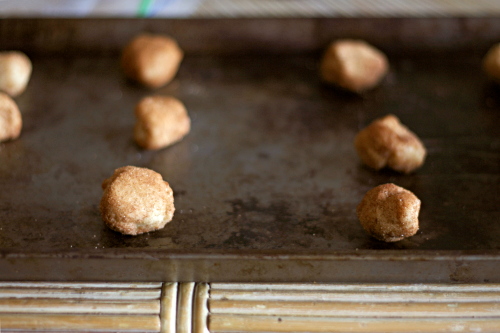
I made the dough and baked some immediately.  I sent most of those away, but my initial impression was that the cookies were identical.  I also froze some of each batch after forming it into balls, then toted in on a 9-hour drive for vacation, then refroze it, then defrosted it and left it in the fridge for a few days until I finally got around to baking it.  Way to respect my food, right?  Fortunately, they came out just fine.

Copy of IMG_6909

There were four of us comparing the cookies, and the others didn’t know which cookie had shortening and which used all butter.  Here are some of the comments:

  • Shortening: uniform texture; dry; generic; tastes storebought
  • All-butter: buttery; delicate; firm edges, soft middle; tastes like a snickerdoodle should taste; better

Copy of IMG_6964
butter + shortening

Are those conclusive results or what?  Also, I didn’t see an issue with the all-butter cookies spreading.  But in the interest of full disclosure, one of my friends didn’t really notice a difference between the two, so while the all-butter cookie did undoubtedly have a better, more buttery flavor and the other tasted a little flat in comparison, the difference isn’t huge.  Both cookies were good, of course.

But, I will certainly be leaving the shortening out of my snickerdoodles (and my pie crust and my biscuits and everything else) in the future.

Copy of IMG_6955
all butter

Printer Friendly Recipe
Snickerdoodles
(from Cooks Illustrated via Annie’s Eats)

Makes about 30 cookies

I recommend replacing the shortening with more (4 tablespoons) butter.  Also, I made my cookies smaller, didn’t flatten them, and baked them for about 2 minutes less.  I only ever bake one sheet of cookies at a time.

2¼ cups (11¼ ounces) unbleached all-purpose flour
2 teaspoon cream of tartar
1 teaspoon baking soda
½ teaspoon salt
12 tablespoon unsalted butter, softened but still cool
¼ cup vegetable shortening
1½ cups (10½ ounces) granulated sugar, plus 3 tablespoon for rolling dough
2 large eggs
1 tablespoon ground cinnamon, for rolling dough

1. Adjust oven racks to upper- and lower-middle positions.  Preheat the oven to 400ºF.  Line baking sheets with parchment paper.  In a medium bowl, whisk together the flour, cream of tartar, baking soda and salt; set aside.  In the bowl of an electric mixer fitted with the paddle attachment, cream the butter, shortening and 1½ cups sugar on medium speed until well combined, 1 to 1½ minutes.  Scrape down the sides of the bowl, add the eggs, and beat again until combined, about 30 seconds.  Add in the dry ingredients and beat at low speed until just combined, about 20 seconds.

2. In a small, shallow bowl, combine the 3 tablespoons sugar and the cinnamon for rolling the dough.  Stir or shake well to combine.  Working with a heaping tablespoon of dough each time, roll the dough into 1½-inch balls.  Roll the balls in the cinnamon sugar mixture and place them on the prepared baking sheets, about 2 inches apart.  Use a drinking glass with a flat bottom to gently flatten the dough balls to ¾-inch thickness (butter the bottom of the glass before starting, and dip it in sugar between cookies if it begins to stick).

3. Bake until the edges of the cookies are beginning to set and the center are soft and puffy, 9-11 minutes, rotating the baking sheets front to back and top to bottom halfway through the baking time.  Let the cookies cool on the baking sheets 2-3 minutes before transferring them to a wire rack to cool completely.

roasted butternut squash salad with cider vinaigrette

Copy of IMG_0065

It’s hard to believe that most years, I’m anti-anything fall until October 1st. Not this year. September included pumpkin breakfasts, apple desserts, and plenty of pumpkin beer. Granted, the weather was pretty warm in September and the trees were still green so it didn’t feel much like fall, but it didn’t feel like summer either.

Copy of IMG_0045

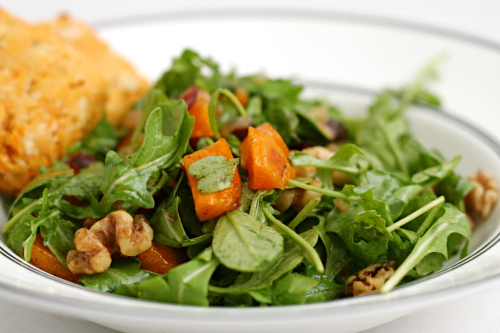
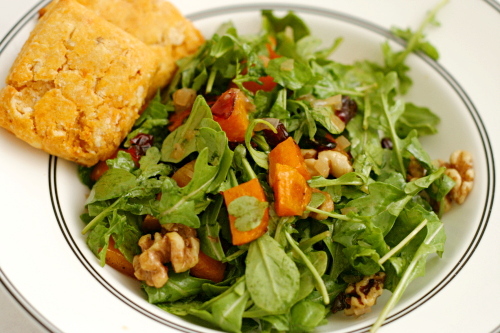
That all changed on October 1st, when I had to turn the heat on for the first time, and our dinner complimented the cool, crisp weather – salad with roasted butternut squash, cranberries, walnuts, and dressing made from reduced apple cider, served with sweet potato biscuits.

Copy of IMG_0049

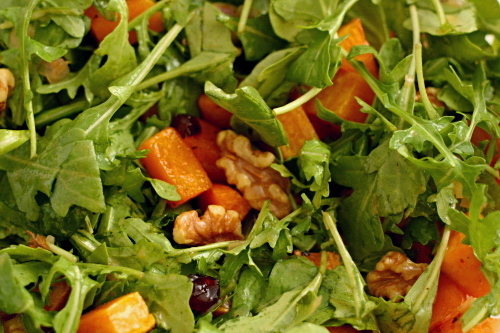
Every ingredient in the salad is maximized. The squash, seasoned and drizzled with maple syrup, is roasted until it’s caramelized. The walnuts are toasted, and so are the cranberries, which was a trick I hadn’t seen before. The cider, reduced to less than a third of its initial volume, is mixed with acidic cider vinegar and emulsifying mustard to form the base of the dressing.

Copy of IMG_0062

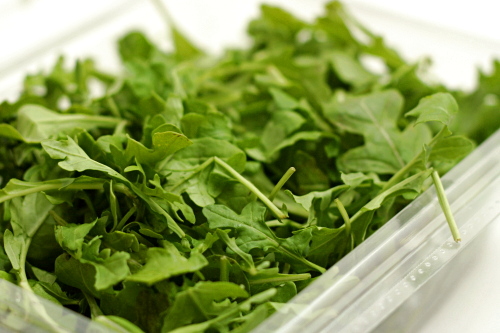
It was delicious; so good, in fact, that I made again the next day for lunch. It was sweet, but also tangy from the dressing, a bit bitter from the walnuts, and spicy from the arugula. I also like that the hot squash and dressing slightly wilt the arugula – it shrinks it a bit, so it doesn’t take so darn long to eat a nice bowl full of greens. Which is a good thing, because then I can eat more of it.

Copy of IMG_0063

One year ago: Spinach, Artichoke, and Red Pepper Strata

Printer Friendly Recipe
Roasted Butternut Squash Salad with Warm Cider Vinaigrette
(adapted just slightly from Barefoot Contessa)

I used less oil. I didn’t measure the amount, but I’m guessing it was ¼ cup; I only ever use enough oil to just balance the acidity. Also, I liked to let the dressing and squash cool just a few minutes before mixing them with the greens. I forgot the cheese the first time I made the salad, when I photographed it.

1 (1½-pound) butternut squash, peeled and ¾-inch) diced
good olive oil
1 tablespoon pure maple syrup
kosher salt and freshly ground black pepper
3 tablespoons dried cranberries
½ cup walnuts halves
¾ cup apple cider or apple juice
2 tablespoons cider vinegar
2 tablespoons minced shallots
2 teaspoons Dijon mustard
4 ounces baby arugula, washed and spun dry
¾ cup freshly grated Parmesan

1. Preheat the oven to 400F.

2. Place the butternut squash on a sheet pan. Add 2 tablespoons olive oil, the maple syrup, 1 teaspoon salt and ½ teaspoon pepper and toss. Roast the squash for 15 to 20 minutes, turning once, until tender. Add the cranberries and walnuts to the pan for the last 5 minutes.

3. While the squash is roasting, combine the apple cider, vinegar, and shallots in a small saucepan and bring to a boil over medium-high heat. Cook for 6 to 8 minutes, until the cider is reduced to about ¼ cup. Off the heat, whisk in the mustard, ½ cup olive oil, 1 teaspoon salt, and ½ teaspoon of pepper.

4. Place the arugula in a large salad bowl and add the roasted squash mixture, the walnuts, and the grated Parmesan. Spoon just enough vinaigrette over the salad to moisten and toss well. Sprinkle with salt and pepper and serve immediately.

Copy of IMG_0064