Archives for October 2009

split-level pudding

Copy of IMG_9800

Have you ever had a recipe go haywire and just not be able to figure out for the life of you what went wrong?  You review the recipe again and again, thinking, “well, it certainly looks like I did exactly what I was supposed to…”

One of the best parts of Tuesdays with Dorie is the discussion of the weekly recipe, where people can voice concerns, provide tips, and compare results.  If a bunch of us have the same issue, I feel pretty safe saying that the recipe has a finicky step.  We didn’t all follow the directions incorrectly, after all.  (But usually only a portion of us have problems, and I swear, I am always in that portion.)

Copy of IMG_9788

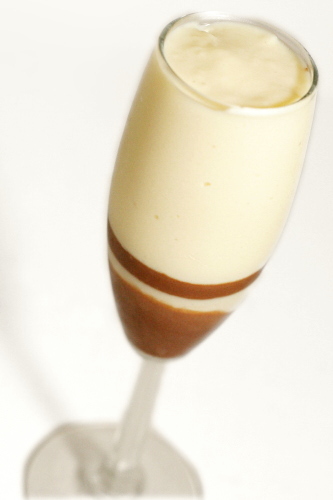
My pudding didn’t set up quite right.  It seemed perfect right off the stove, but then Dorie likes to give pudding a whirl in a food processor or blender before she chills it, just to make sure it’s lump free.  My smooth, thickened pudding turned right back to liquid after its time in the blender.  After it set up in the fridge, it was kind of…weird and lumpy.  And I wasn’t the only one with this problem.  No more blender/food processor step for me!  A fine-mesh strainer will do from here on out.

Copy of IMG_9791

Other that a slightly odd texture, what’s not to like about this?  Soothing, fresh vanilla paired with rich, comforting chocolate.  It’s a classic flavor combination for a reason.  Remind me in the future how good vanilla pudding is when a simple ganache is added.  That’s probably true for most things, though, right?

Copy of IMG_9809

Garrett should have the recipe posted.  As I said, in the future I’ll skip the food processor steps in favor of using a whisk and a fine-mesh strainer.  I might also add a little more cream (or less chocolate) to the ganache, because it was quite a bit more solid than the pudding.

One year ago: Caramel Peanut-Topped Brownie Cake
Copy of IMG_9811

stuffed mushrooms with sun-dried tomatoes

Copy of IMG_9931

I’ve started my annual football season tradition of planning to eat snacks on Sundays instead of a full dinner, which will invariably last two weeks before I forget all about it and go back to planning a meal and then whining that “I don’t feel like cooking, I just wanna relax!” My life is so hard.

Copy of IMG_9913

But it can be tricky to come up with snacks that are really good but not so filling that I can’t graze on them for a while. (Translation: I’d like to be eating cheese and bread and sausage and mayonnaise-based dips and chips and cookies and, you know, tasty delicious things like that. But I also want my pants to fit.)

Copy of IMG_9924

Stuffed mushrooms are a good example of something that seems like it should be fairly healthy, but on closer inspection, is often full of cheese, and not just any cheese, but that most-delicious and fattening of examples – cream cheese.

Copy of IMG_9919

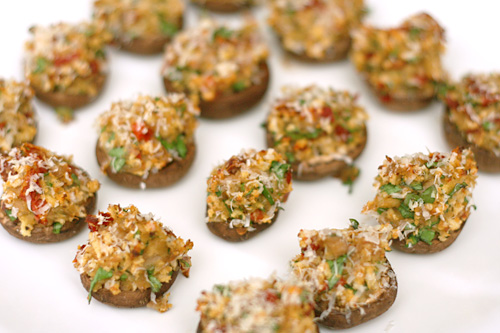
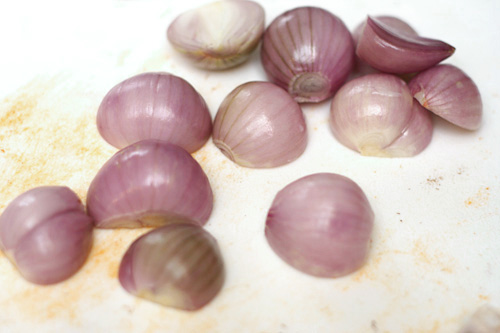
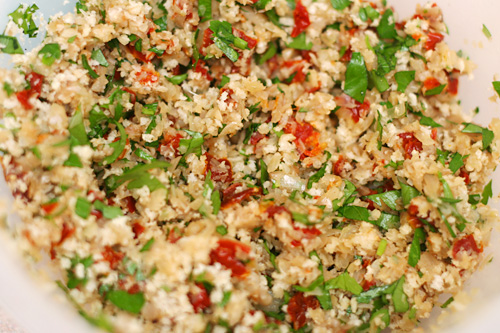
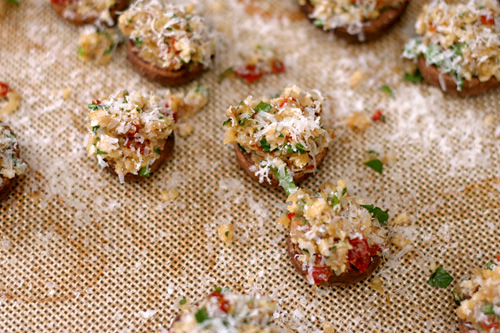
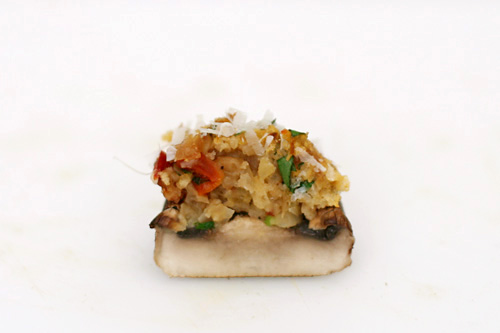
Fortunately, this recipe keeps it light by skipping the cheese, flavoring the filling with just shallots, parsley, and sun-dried tomatoes, with bread crumbs used for bulk and just a sprinkle of parmesan grated on top for an accent.

Copy of IMG_9922

Even though it was just Dave and I watching football together on a Sunday afternoon, and we had a few other snacks, I made the full recipe. But it turns out these stuffed mushrooms aren’t the type of snack that you graze on throughout an afternoon, because they were so darn good that we snarfed them up immediately. And since they’re not very filling, you can eat a bunch of them and still have plenty of room for some hummus!

Copy of IMG_9929

One year ago: Roasted Carrots

Printer Friendly Recipe
Mushrooms Stuffed with Sun-Dried Tomatoes
(adapted from Gourmet via Smitten Kitchen)

The only minor change I’ll make to this recipe, to bring it from really damn good to perfect, is to sprinkle the inside of the mushrooms with a bit of salt before roasting them the first time. Not so much to eliminate more liquid, but just to season them. (Even Dave agreed with this, and he isn’t as salt-crazy as I am.)

Makes 18

½ ounce sun-dried tomatoes (about 5)
2 tablespoons olive oil
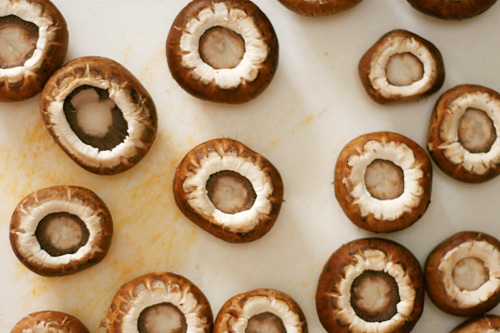
18 white mushrooms, caps reserved, stems pulled out and chopped fine
½ cup finely chopped shallots
2 garlic cloves, minced
⅓ cup fine dry bread crumbs
1 large egg yolk, beaten lightly
¼ cup fresh parsley leaves, washed well, spun dry, and minced
½ teaspoon dried basil, crumbled
2 tablespoons freshly grated Parmesan

1. Preheat oven to 400°F.

2. If your tomatoes are packed in oil, rinse them before chopping them finely. If they’re not packed in oil, soak them in a small bowl in hot water to cover for 5 minutes. Reserving 1 tablespoon soaking liquid, drain tomatoes well and chop fine.

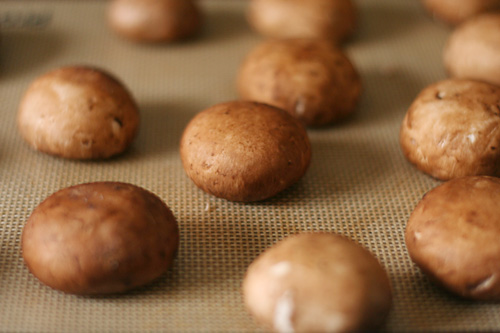
3. Lay mushroom caps, stems removed, face down on baking sheet either lightly sprayed with cooking spray or lined with parchment paper. Bake them approximately 10 minutes, or until their liquid puddles underneath. Remove from the oven. Carefully pour off liquid that has gathered in the bottom of the pan, and then again, carefully, turn mushroom caps over so they are ready to be filled.

4. In a small skillet heat oil over moderate heat until hot but not smoking and cook chopped mushrooms stems, shallots and garlic, stirring until shallots are softened. In a bowl stir together mushrooms mixture, bread crumbs, tomatoes, reserved soaking liquid, yolk, parsley, basil, and salt and pepper to taste. Mound stuffing in reserved mushroom caps and arrange caps in a lightly greased shallow baking dish, or the same parchment-lined pan you’ve roasted your mushrooms in. Sprinkle mushrooms with Parmesan and bake in middle of oven 15 minutes.

Copy of IMG_9937

applesauce snack cake

Copy of IMG_0023

You must make this cake.

I try not to say that. I know everyone has their own preferences. Not everyone likes to bake. There is no shortage of apple cake recipes. But –

You must make this cake.

Copy of IMG_0002

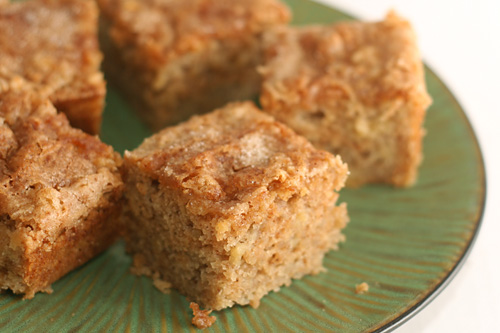
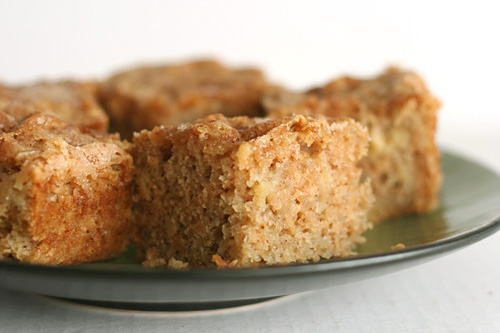
It’s the essence of fall, all in one small unassuming square of cake. It will make your house smell warm and cozy while you bake. The flavor is spot-on apple, and yet there are no chunks of fruit to break up the smooth cake. The texture is soft and moist, with just the thinnest crisp sugar coating on top.

Copy of IMG_0015

Of course, this perfection comes at a price.

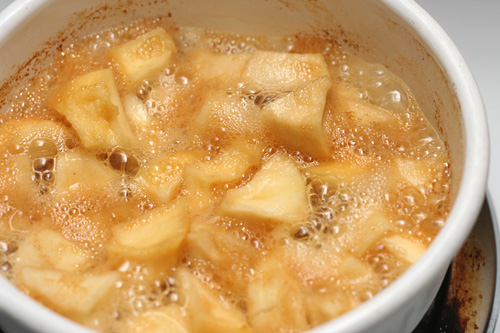
The fantastic smell of fall permeating your kitchen comes from reducing apple cider, which takes some time. Getting the chunk-free texture I appreciate so much requires a quick whiz in the food processor, dirtying several large dishwasher-hogging dishes.

Copy of IMG_0007

But, oh, it’s worth it. It’s worth it. Really, while the cider is reducing and hydrating the dried apples, you can prepare the baking pan, measure the rest of the ingredients, and clean up after yourself as you go. Then don’t bother waiting for the hot rehydrated apples to come to room temperature like the recipe hopes you will – mix them with cold-from-the-fridge applesauce and puree them together in the food processor. From that point, the recipe is a simple quick bread, mixing the wet ingredients, then stirring in the dry ingredients and baking.

Copy of IMG_0016

From getting out ingredients to putting the cake in the oven really took maybe 45 minutes. From cutting the cake to eating the cake – darn blog requiring pictures! – took maybe 10 minutes, and it was the longest 10 minutes of my day.

You must make this cake. Seriously.

Copy of IMG_0020

Printer Friendly Recipe
Applesauce Snack Cake
(from Cooks Illustrated)

Makes one 8-inch square cake

I never do Cooks Illustrated’s trick of lining the pan with parchment or foil; it just seems really wasteful to me, and this cake came out of the pan with no problem.

Start the cider and apples simmering before you do anything else. It seems to take longer than 15 minutes for me, so you may want to bump the heat up to just higher than medium (or use a wide pot). And like I said above, I see no reason to wait for the cider mixture to cool and the applesauce (assuming that it’s cold) to warm to room temperature, when you can just combine them and move on with the recipe.

¾ cup (2 ounces), dried apples, cut into ½-inch pieces
1 cup apple cider
1½ cups (7½ ounces) unbleached all-purpose flour
1 teaspoon baking soda
⅔ cup (4¾ ounces) sugar
½ teaspoon ground cinnamon
¼ teaspoon fresh ground nutmeg
⅛ teaspoon ground cloves
1 cup unsweetened applesauce, room temperature
1 large egg, room temperature, lightly beaten
½ teaspoon table salt
8 tablespoons (1 stick) unsalted butter, melted and cooled slightly
1 teaspoon vanilla extract

1. Adjust oven rack to middle position; hear oven to 325 degrees. Cut 16-inch length parchment paper or aluminum foil and fold lengthwise to 7-inch width. Spray 8-inch square baking dish with nonstick spray and fit parchment into dish, pushing it into corners and up sides; allow excess to overhang edges of dish.

2. Bring dried apples and cider to simmer in small saucepan over medium heat; cook until liquid evaporates and mixture appears dry, about 15 minutes. Cool to room temperature.

3. Meanwhile, whisk flour and baking soda in medium bowl to combine; set aside. In second medium bowl, whisk sugar, cinnamon, nutmeg, and cloves. Measure 2 tablespoons sugar-spice mixture into small bowl and set aside for topping.

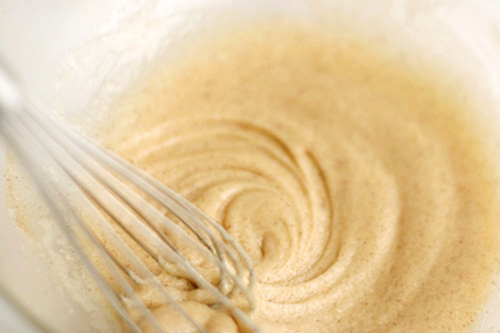
4. In food processor, process cooled dried-apple mixture and applesauce until smooth, 20 to 30 seconds, scraping sides of bowl as needed; set aside. Whisk egg and salt in large bowl to combine. Add sugar-spice mixture and whisk continuously until well combined and light colored, about 20 seconds. Add butter in three additions, whisking after each. Add applesauce mixture and vanilla and whisk to combine. Add flour mixture to wet ingredients; using rubber spatula, fold gently until just combined and even moistened.

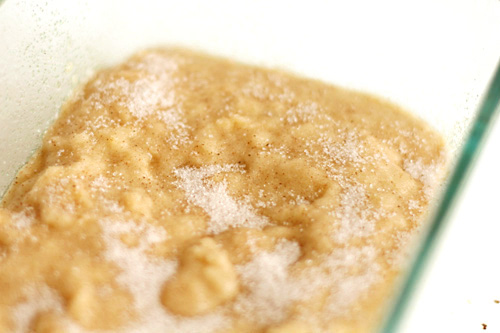
5. Turn batter into prepared pan, smoothing top with rubber spatula. Sprinkle reserved 2 tablespoons sugar-spice mixture evenly over batter. Bake until wooden skewer inserted in center of cake comes out clean, 35 to 40 minutes. Cool on wire rack to room temperature, about 2 hours. Run knife along cake edges without parchment to release. Remove cake pan by lifting parchment overhand and transfer to cutting board. Cut cake and serve.

Copy of IMG_0021