While I nursed the four-day-old baby, my mother-in-law asked when we wanted to eat dinner. She said it would take fifteen minutes to cook, and I told her that I should be ready by then, not having yet figured that the baby likes to savor her meals and takes far longer than fifteen minutes to eat.
But I also didn’t believe my mother-in-law that she could make a full meal in someone else’s kitchen in fifteen minutes. However, it turns out that not everyone makes things as complicated as I do, and this easy dish served with instant rice and steamed broccoli was ready long before the baby was finished eating. It was the not the last time I’d eat my dinner lukewarm after the baby ate hers fresh.
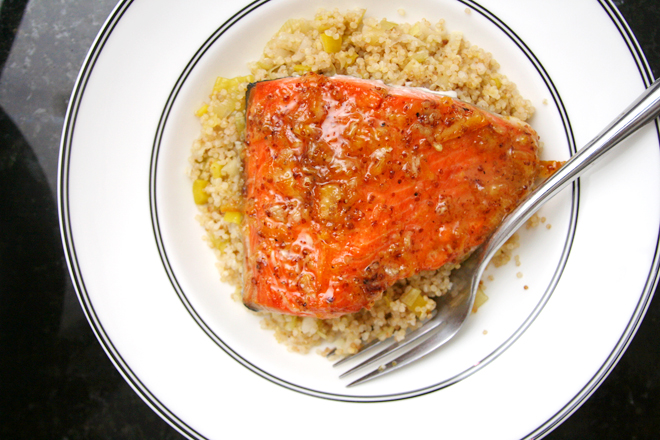
It was also not the last time we’d eat this dish. A recipe that can be made in an unfamiliar kitchen in fifteen minutes is a good one to have around. The glaze has plenty of flavor to spread around the whole meal, so I often serve it over a simple quinoa pilaf with vegetables mixed in. As a bonus, it tastes almost as good lukewarm as it does hot from the oven.
Broiled Salmon with Marmalade-Mustard Glaze (slightly adapted from Cooking Light)
Serves 4
½ cup orange marmalade
2 tablespoons Dijon mustard
1 garlic clove, minced or pressed through a press, or ½ teaspoon garlic powder
½ teaspoon salt
¼ teaspoon black pepper
4 (6-ounce) salmon fillets
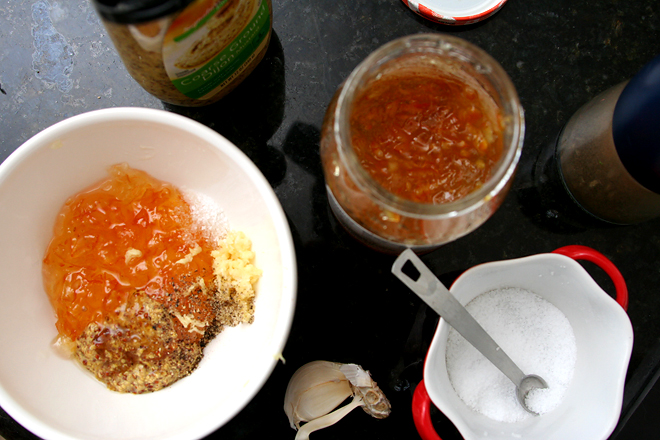
1. Adjust an oven rack to 6 inches below the broiler. In a medium bowl, combine the marmalade, mustard, garlic, salt, and pepper.
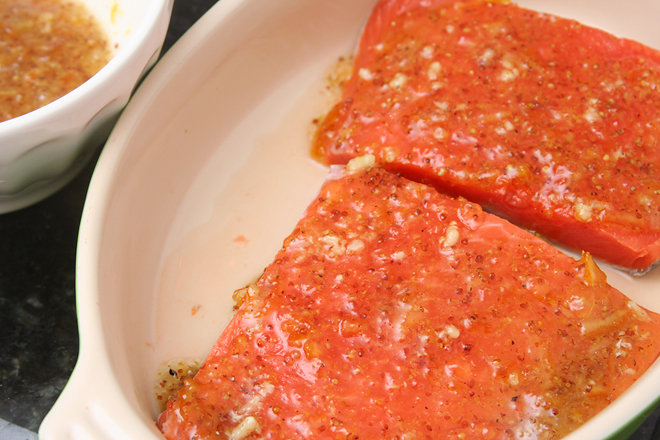
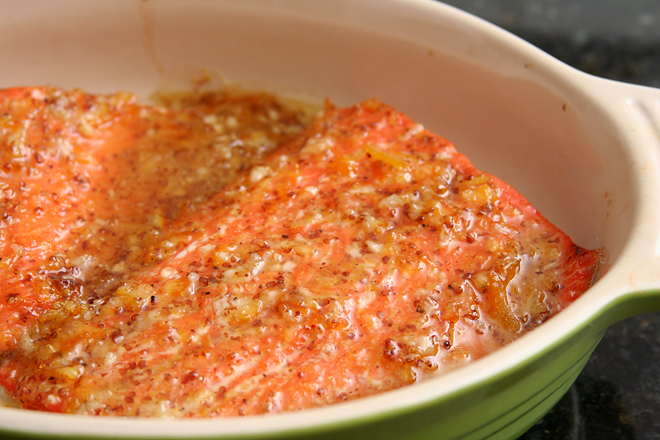
2. Arrange the salmon in a broiler-safe dish, skin-side down. Spread half of the marmalade mixture over the salmon.
3. Broil until the glaze is bubbling, about 6 minutes. Spread the remaining marmalade mixture over the salmon, and continue to broil until the salmon breaks into flakes or reads 125 degrees on an instant-read thermometer, about 2 additional minutes. Serve.