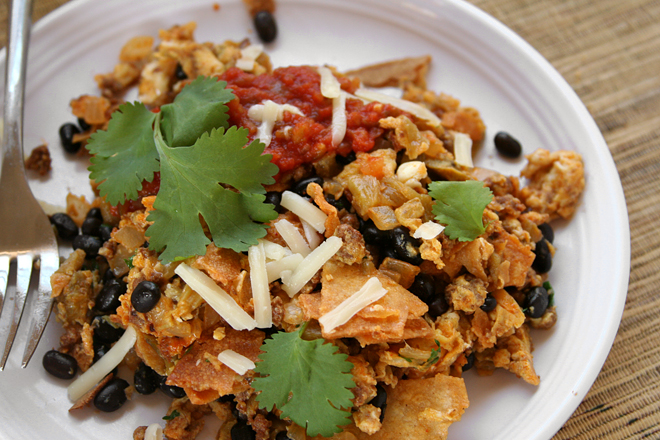
I’ve been raving about migas since the first time I made them, several months ago. They’re such a perfect breakfast for me that I’ve had them almost every weekend since. Somewhere along the way, after I talked my brother into making them, he pointed out that they’re basically just scrambled eggs.
Which is true, and in a way, sums up what it is I love about them – their simplicity. Scrambled eggs is not a complicated breakfast, so that must mean that migas are also not a complicated breakfast. And beyond that, it’s healthy and filling and flexible.

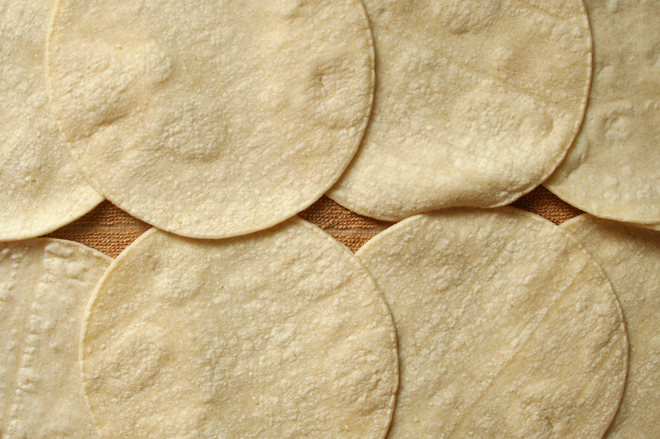
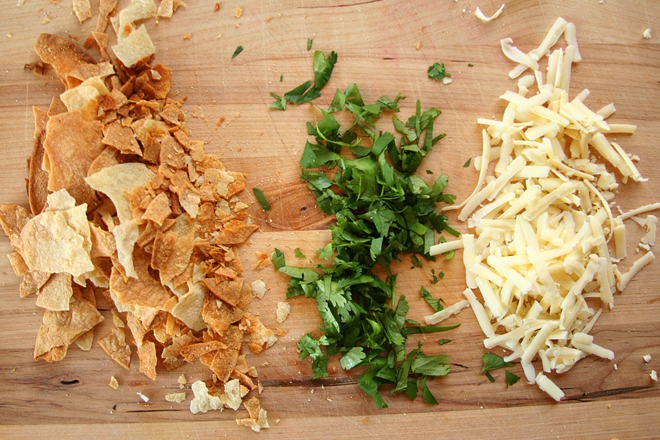
The recipe I’ve given here is one of my favorite ways to make it, and the simplest way I like it. First, I bake lightly oiled corn tortillas until browned. I tried frying them once, but since baking results in crisp tortillas every bit as good as those that are fried, but is healthier, I’m sticking with that. However, it’s not uncommon that I’ll use the crumbs at the bottom of the tortilla chip bag either, when they’re too small to dip in salsa but there’s too many to throw away.
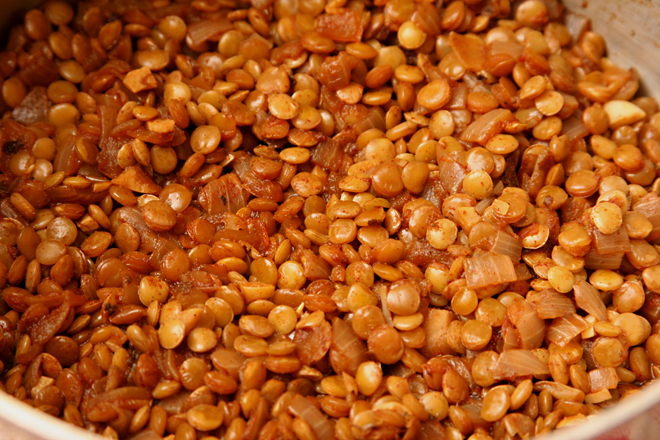
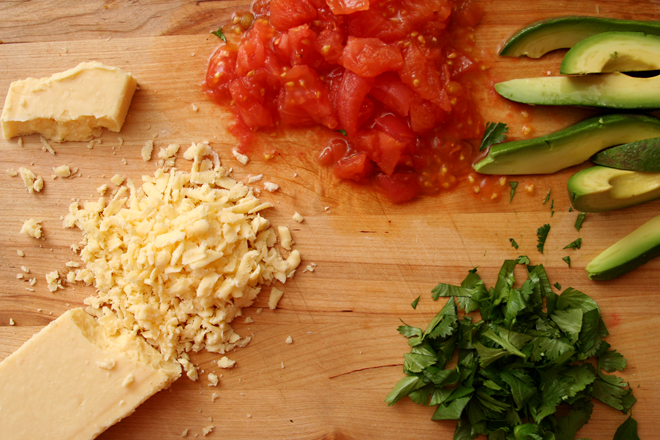
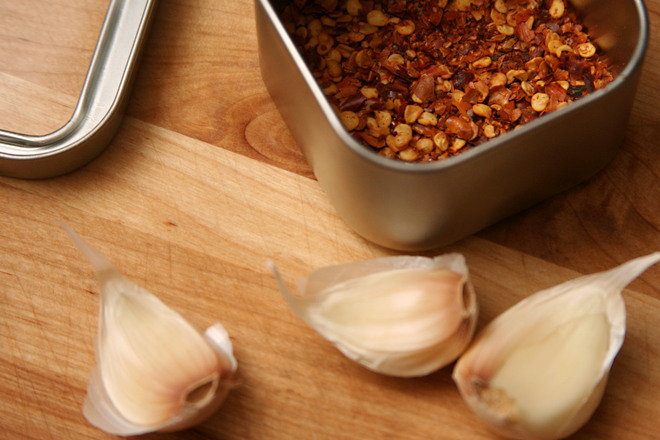
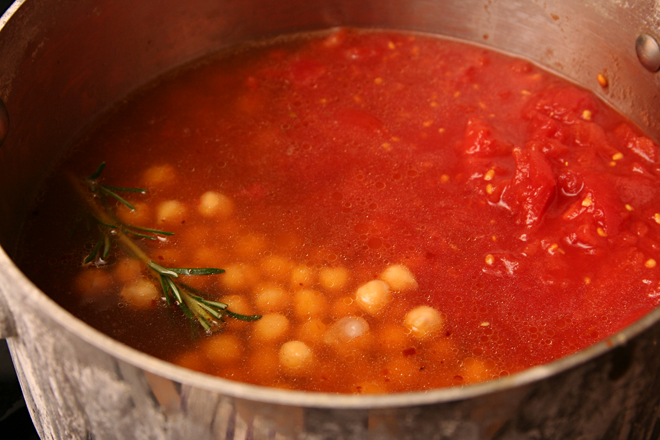
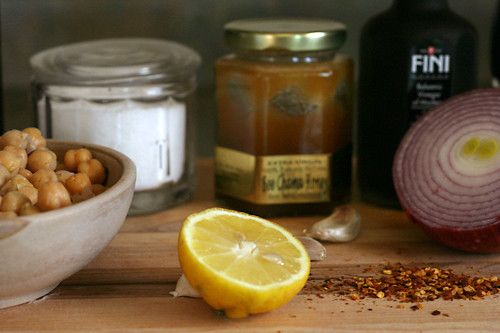
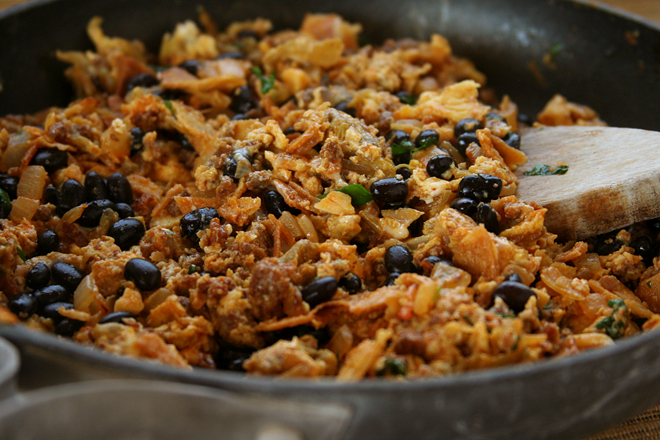
The other ingredients I consider crucial to migas are chiles and cheese. I use roasted and peeled Hatch green chiles, but any chile you like would be fine. I suspect that while beans are a common side, adding them to the migas themselves isn’t traditional, but the sweetness they add to the dish is too good to skip.
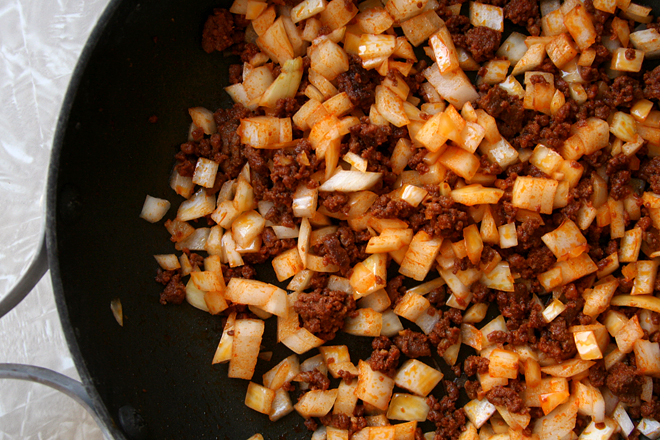
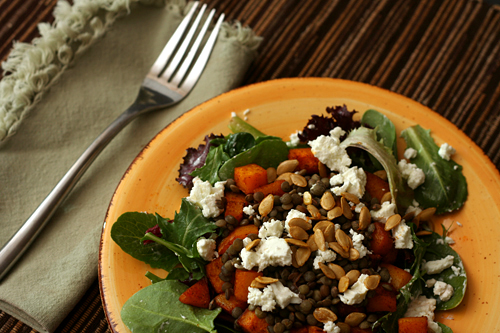
In addition to these standards, I’ve also added chorizo (shown here), spaghetti squash, and random unlabeled spicy tomato stuff I found in the freezer (probably meant for this dish, but who can be sure). It’s not a dish that requires precision or even consistency. Every single time I’ve made it, it’s been different, but it always been delicious – and easy.
One year ago: Greek Yogurt Dill Dip
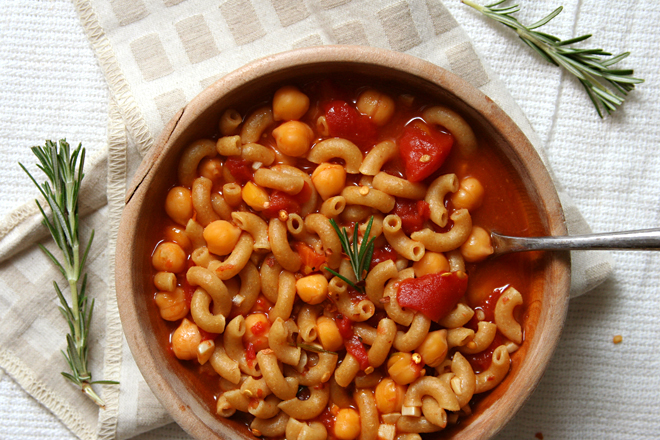
Two years ago: Roasted Red Pepper Pasta Salad
Three years ago: White Cake (comparison of 3 recipes)
Four years ago: Danish Braids (for the Daring Bakers)
Printer Friendly Format
Migas (adapted from Homesick Texan)
4 servings
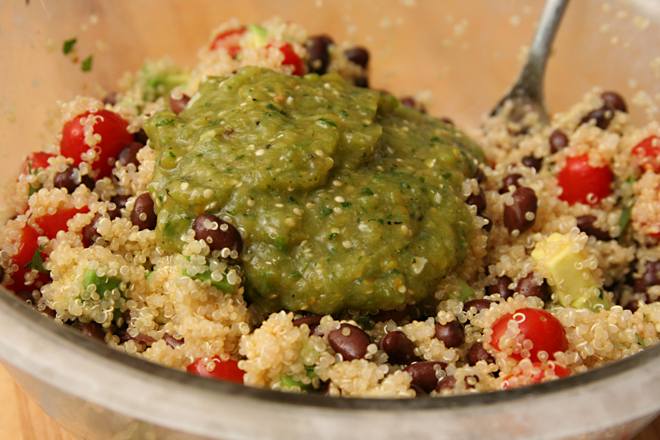
When I add chorizo, I brown it before adding the cooking the onion, replacing the oil with the fat rendered from the sausage. When I’ve added pre-cooked leftover squash, I add it with the beans and tortillas. I often add the salsa with the beans too, although the texture of the finished isn’t as firm as when it’s added as a garnish.
8 corn tortillas
8 eggs
salt
4 ounces chopped green chiles
1 tablespoon oil
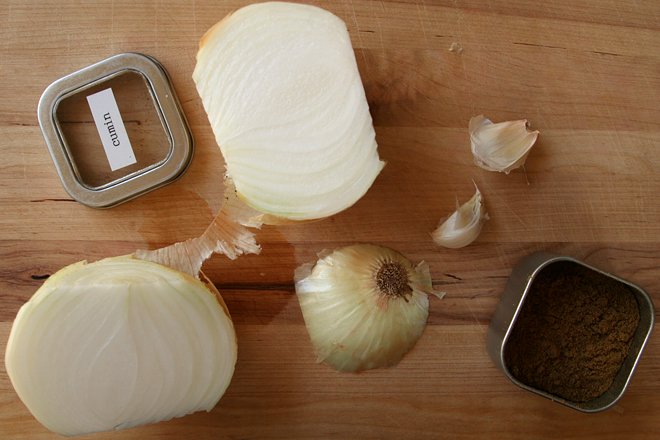
1 onion, chopped
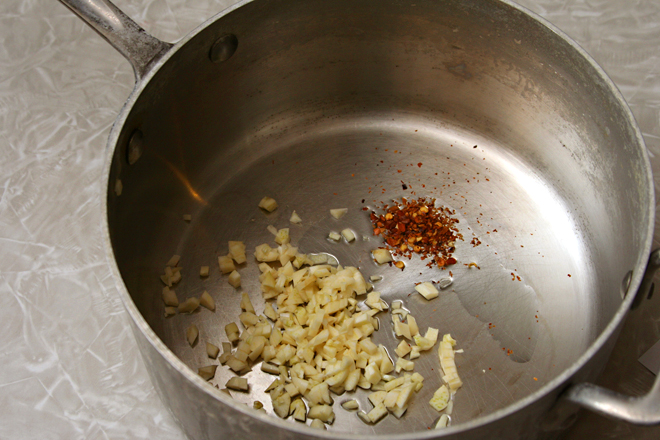
2 garlic cloves, minced
½ teaspoon ground cumin
1 (15-ounce) can black or pinto beans, drained and rinsed
2 ounces (½ cup) shredded cheddar, Monterey jack, or pepper jack
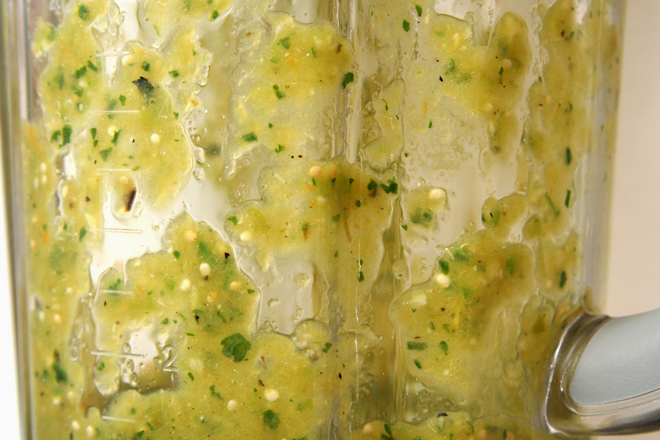
salsa
cilantro
1. Heat the oven to 425 degrees. Arrange an oven-safe cooling rack on a baking sheet. Light spray both sides of the tortillas with nonstick spray; lay them in a single layer on the cooling rack and bake, flipping once, for 12-16 minutes, until browned and crisp. Break into bite-sizes pieces.
2. In a medium bowl, beat the eggs, ¼ teaspoon salt, and green chiles with a whisk until large bubbles start to form around the edges of the bowl.
3. In a large nonstick skillet, heat the oil over medium heat. Add the onions and a pinch of salt; sauté, stirring occasionally, until just browned around the edges, 5-8 minutes. Pour in the egg mixture and cook without stirring for about a minute, then drag a spatula through the eggs a few times to lightly stir them. Let the eggs set for approximately 30 seconds, then stir again. Add the tortilla pieces, beans, and cheese. Cook and stir the eggs until set. Serve immediately, topping each portion with salsa and cilantro.