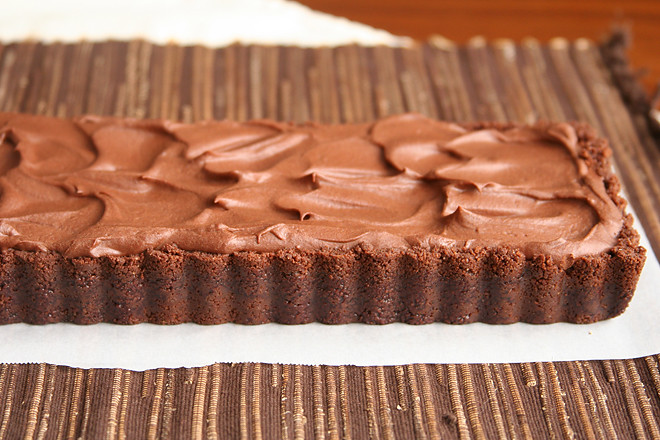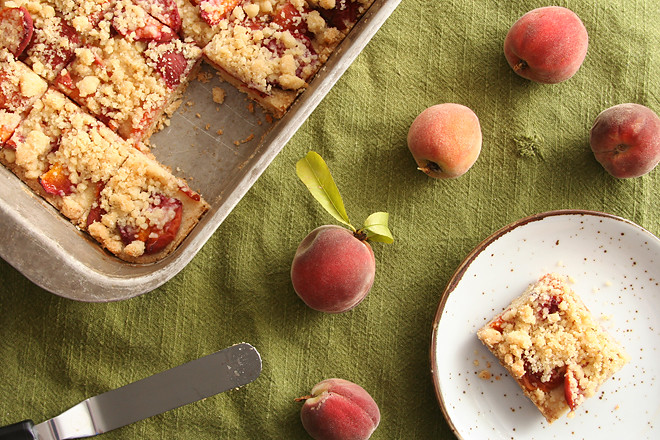
I’m finding that I don’t prefer eating the desserts I bring to events at the events I bring them to. For one thing, by the time I’m finished baking them, I’ve been surrounded by sugar for so long that I’ve lost interest in eating it. For another, and this is surely the real issue, I’ve usually spent the whole party grazing on the food that the host or other guests have provided, and I’m simply out of room for dessert.
I haven’t figured out just what to do about this yet. When I brought the chocolate port wine cake to a crowded party, I didn’t think the host would notice that a slice was already taken out (for pictures! and to save for later), but much to my embarrassment, she most definitely did. I’ve taken to bringing a container with me and sneaking – or openly snagging, depending on how friendly I am with the host – a piece to bring home. Every bite of that treat will be savored over my tea the next morning, far more than if I tried to stuff in more food after gorging on stuffed jalapenos.
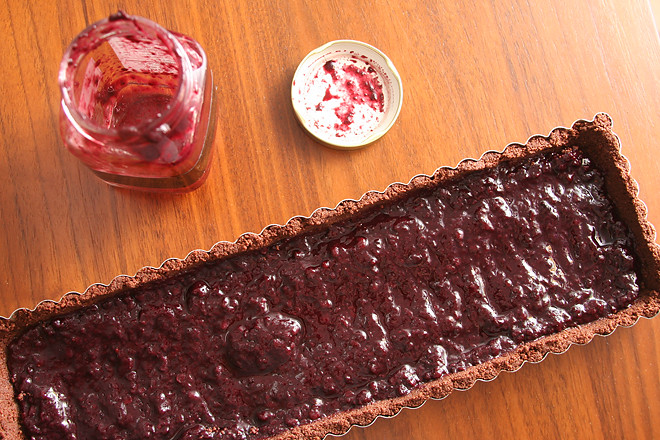
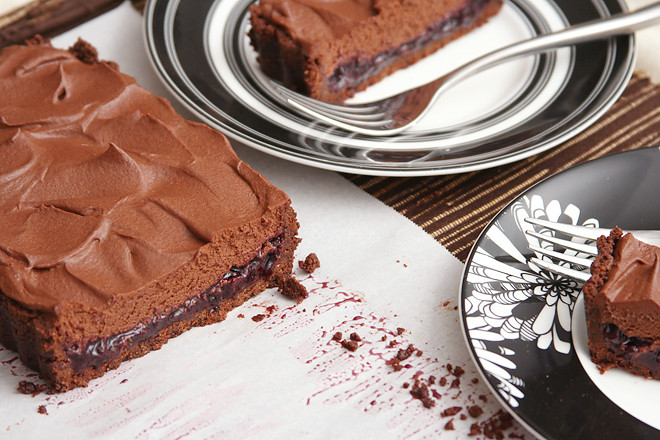
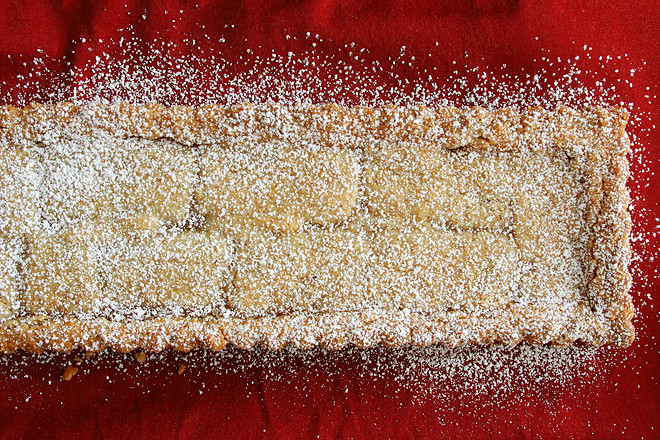
This was a classic example. I brought it to a party last year, set it on the dessert table already crowded with cookies and cupcakes, then went outside to drink cocktails and eat pulled pork. One of my friends makes green chile cheese rice for most potlucks, and it’s one of my favorites, so that was my dish to overeat that night. After several servings, I was in no mood for a slice of tart.
But I hadn’t yet established my policy of bringing a slice home for the next day, so I stuffed some down without the wherewithal to gauge flavor and texture details. So then I had to make it again. This time I just brought it to work, and after all the treats I’ve shared there, no one would begrudge me a tart with one slice removed. This time I got to eat it at home by myself after the workday; it isn’t as good as a weekend morning after a party, but at least I paid attention to how good it was this time.
Printer Friendly Recipe
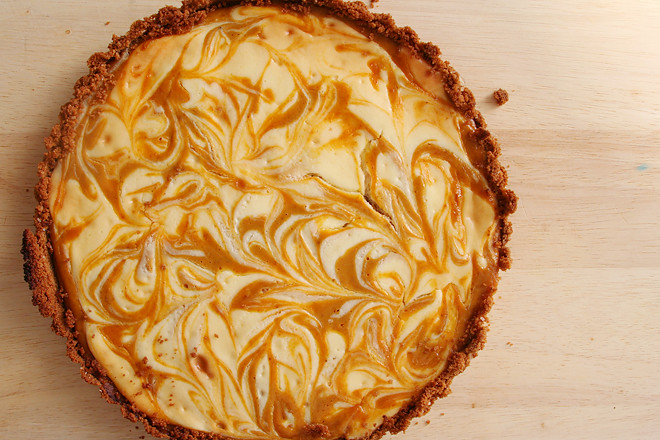
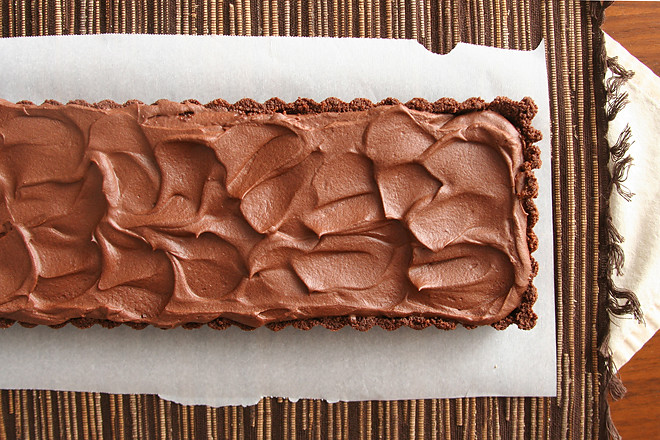
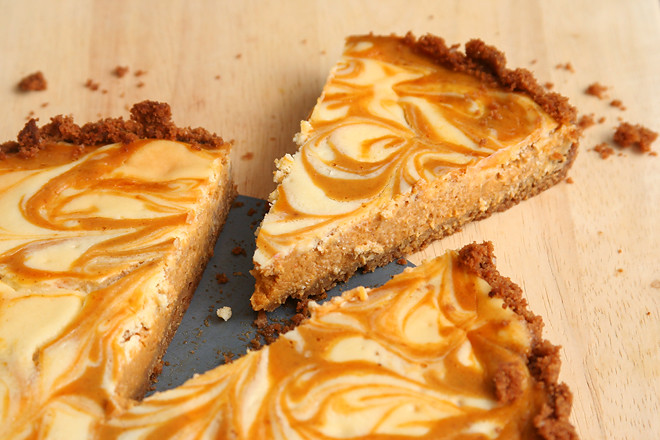
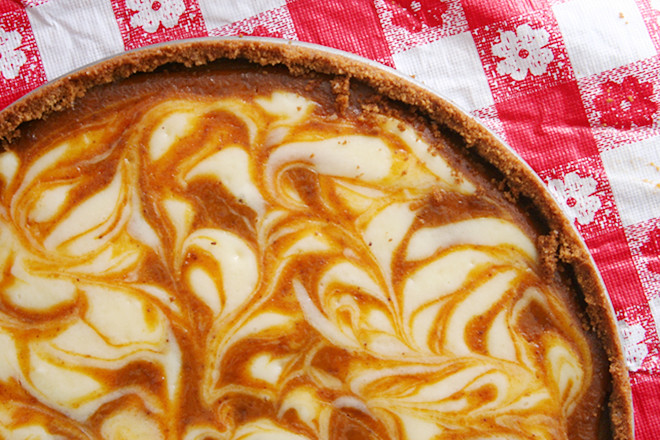
Pumpkin Cheesecake Tart (adapted from The Smitten Kitchen Cookbook)
8-12 servings
The original version of this recipe has a full cup of cream in the pumpkin batter and none in the cheesecake batter. On her blog’s cookbook page, Deb mentions that she’s received feedback that the two batters were difficult to swirl together due to their different consistencies, so she recommends using two tablespoons of cream in the cheesecake batter and ⅞ cup (which is 1 cup minus those 2 tablespoons) in the pumpkin batter. I found that using a little more cream in the cheesecake batter and less in the pumpkin batter worked even better for me.
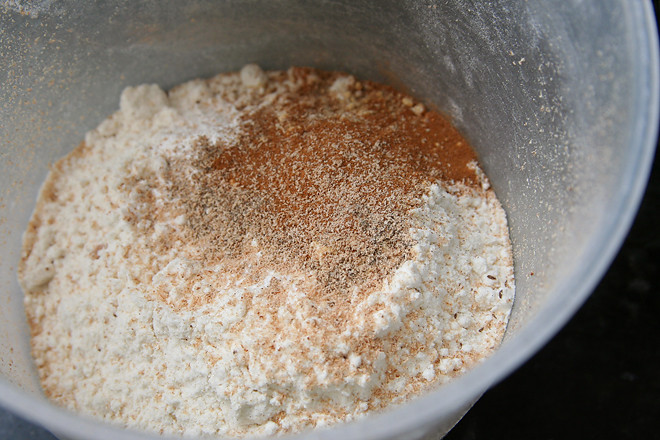
I used pumpkin pie spice because I’m lazy, but if you don’t keep it around, the original recipe calls for 3⁄4 teaspoon ground cinnamon, 1⁄4 teaspoon ground ginger, 1⁄4 teaspoon ground cloves, and a few fresh gratings of nutmeg. I’ve also added a step for pre-baking the crust to make it a little more sturdy.
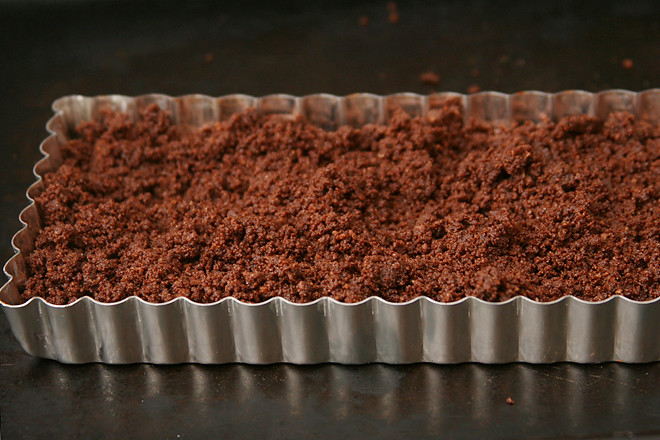
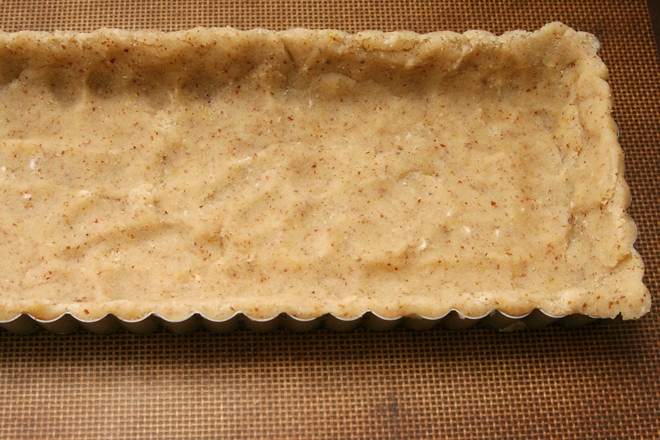
Crust:
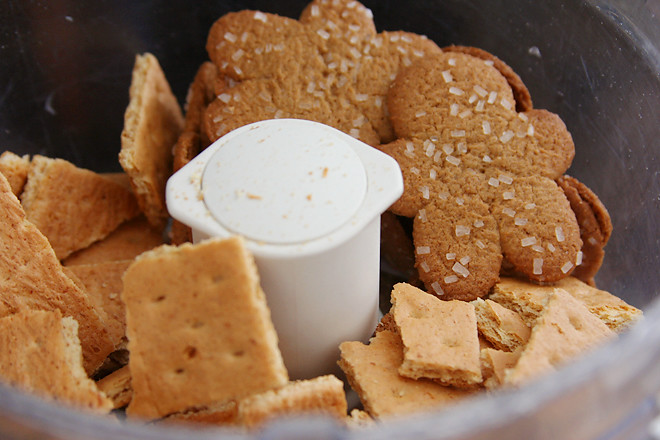
4 ounces gingersnap cookies
3 ounces graham crackers (5½ full sheets)
4 tablespoons (½ stick) unsalted butter, melted
¼ teaspoon salt
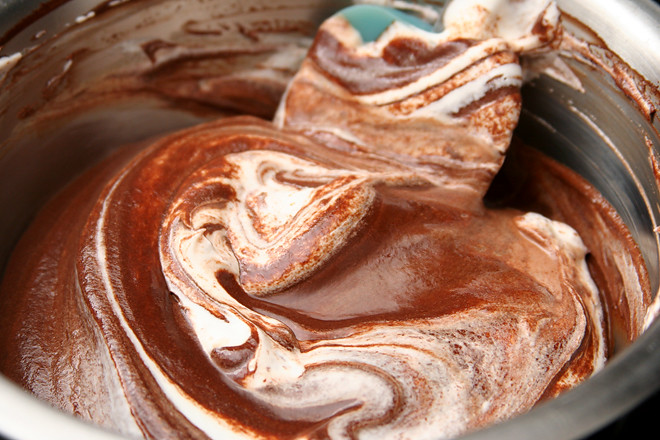
Cheesecake batter:
4 ounces cream cheese, softened
3 tablespoons granulated sugar
pinch salt
1 large egg yolk
¼ cup heavy cream
Pumpkin batter:
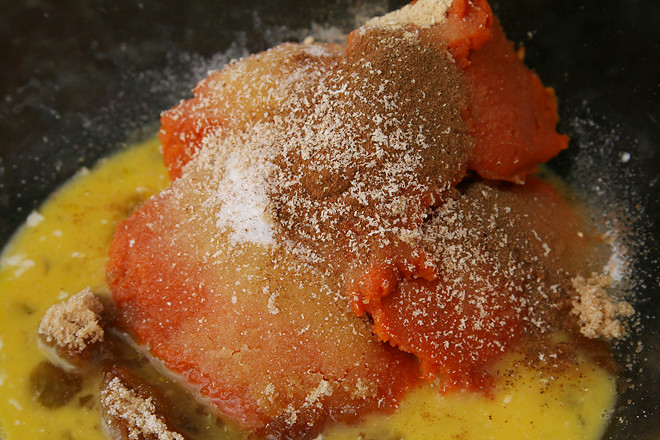
1 large egg
1 large egg white
1¼ cups (10.5 ounces) pumpkin purée
¼ cup (1.75 ounces) granulated white sugar
¼ cup (1.75 ounces) brown sugar
½ teaspoon table salt
1½ teaspoons pumpkin pie spice
1 teaspoon vanilla extract
¾ cup heavy cream
1. For the crust: Heat the oven to 350 degrees.
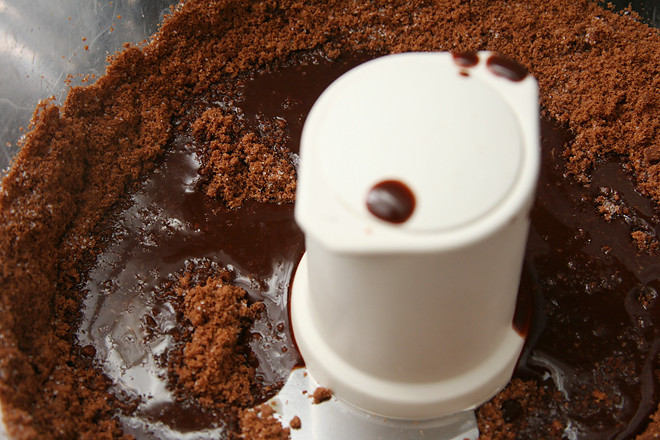
2. In the food processor, process the gingersnaps and graham crackers until finely ground (or put the cookies in a large ziploc bag and use a rolling pin to crush them, then transfer them to a bowl); you should have about 1½ cups crumbs.
Add the sugar and salt and pulse to combine. Pour the melted butter over the crumbs; pulse until evenly coated. Press the mixture evenly onto the bottom and up the sides of a 9-inch round (or equivalent size) tart pan. Bake until fragrant, 10 to 12 minutes. Cool on a wire rack while preparing the filling. Increase the oven temperature to 425°F.
3. For the cheesecake batter: In a small bowl, use a whisk or hand mixer to beat the cream cheese until creamy. Add the sugar and salt, mixing until evenly combined. Add the egg yolk and cream, mixing until smooth. Set aside.
4. For the pumpkin batter: In a medium bowl, whisk the egg and egg white until broken up. Add the pumpkin, sugars, salt, and spices, mixing until smooth. Add the vanilla and cream and mix until evenly combined.
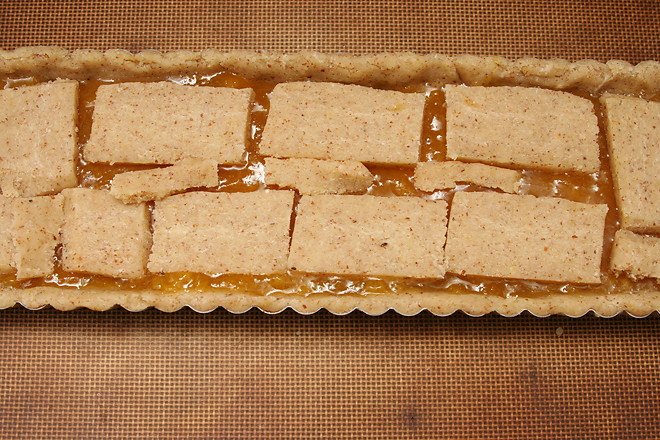
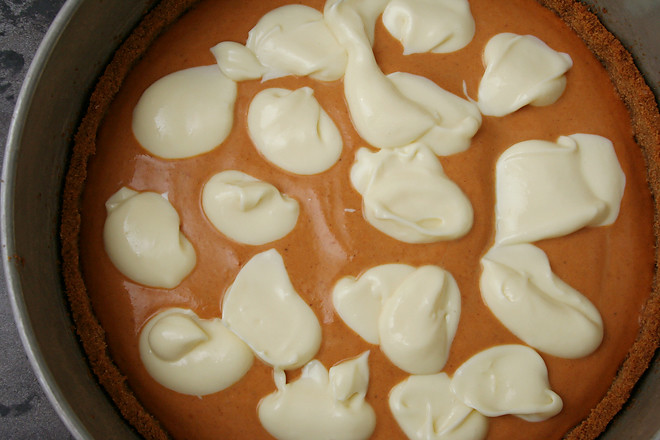
5. Spread the pumpkin batter evenly over the cooled crust. Use a spoon to dollop the cheesecake batter over the pumpkin batter, then run a knife through the cheesecake batter, dragging it into the pumpkin batter to create swirls.
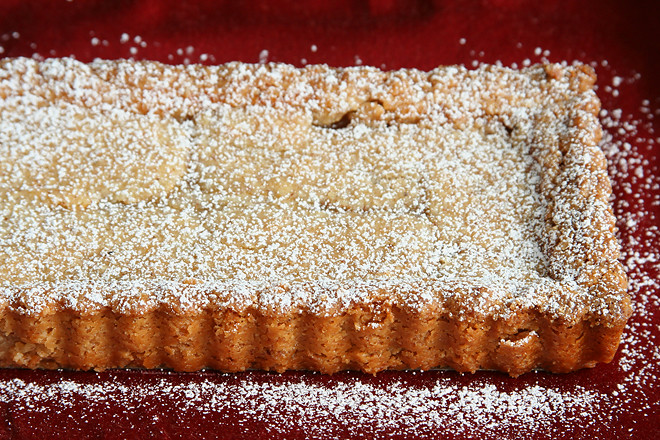
6. Transfer the tart to the oven and bake for 10 minutes. Reduce the oven temperature to 350 degrees and continue baking until the center of the tart is just slightly jiggly, 30 to 40 minutes. Transfer to a cooling rack and cool completely before serving. (Can also be covered and refrigerated overnight.)