I tend to think of this as my dad’s cheesecake, even though it’s really my grandmother’s cheesecake, based on the handwritten recipes that she gave to each of her granddaughters, wildly inaccurate baking time included. I think we each discovered the error the hard way before talking to each other (and my mom) and figuring out that we needed to almost double my grandmother’s recommended baking time.
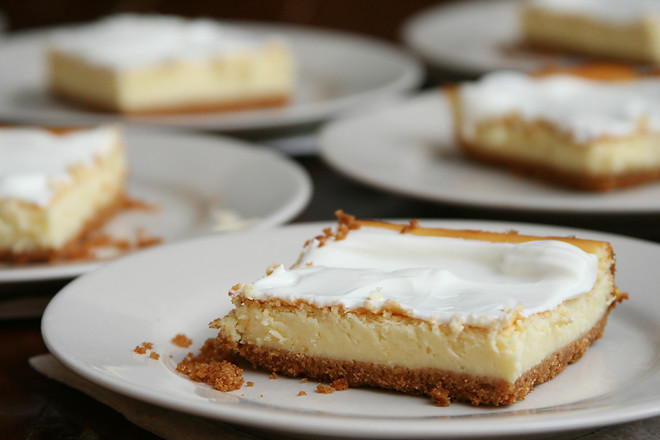
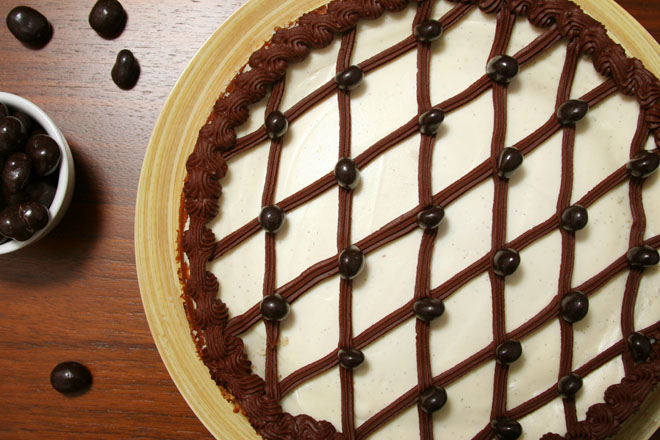
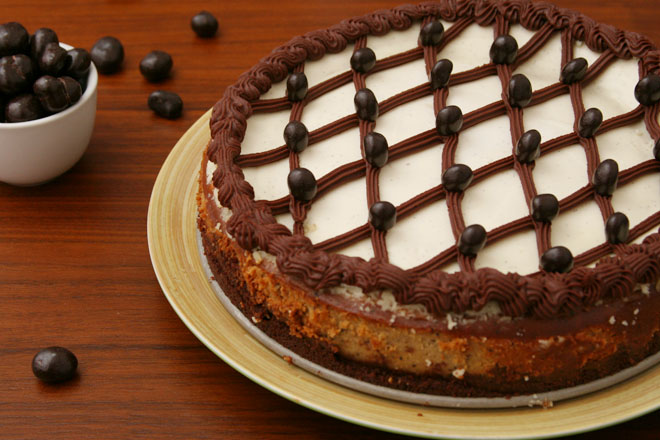
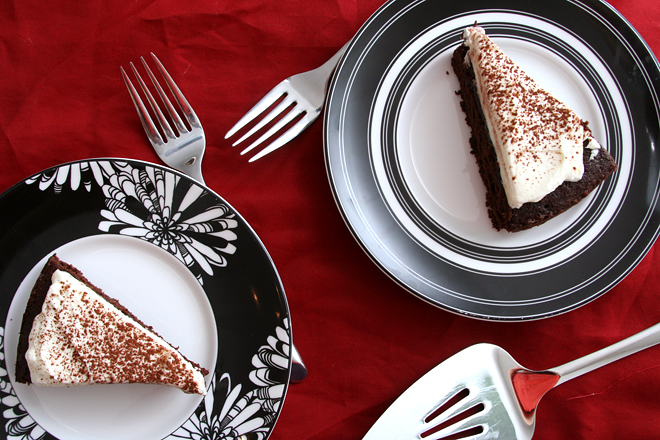
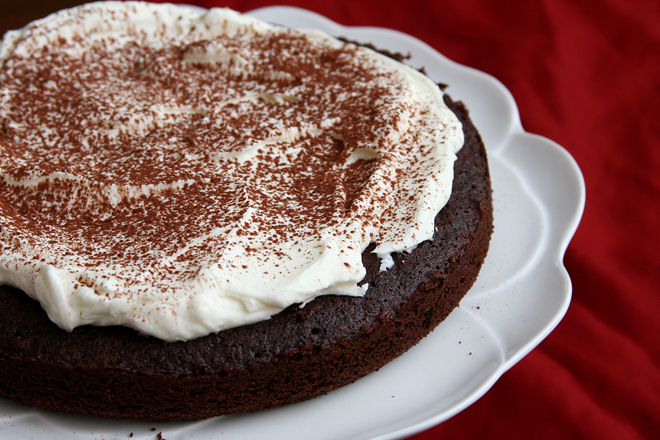
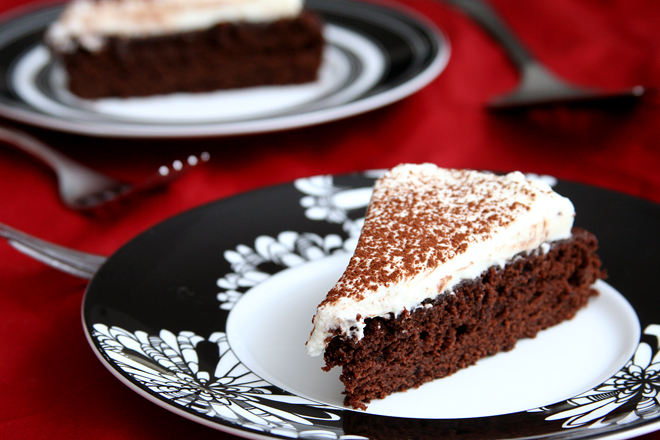
I also think of it as “the flat cheesecake.” Most cheesecakes are tall, round, and impressive. This one is flat and, served straight from the 9-by-13-inch pan it’s baked in, maybe not particularly impressive, no matter how hard I try to add pretty swirls in the topping.
But I love it anyway. It’s simple – no goat cheese, no amaretto, no pumpkin. There’s nothing to distract from sugary cream cheese, which is one of my favorite flavors. The sour cream topping, which might sound weird, is the perfect sweet and tangy complement to the cake underneath. It’s no wonder that my grandmother and my dad and I all love this recipe so much.
Printer Friendly Recipe
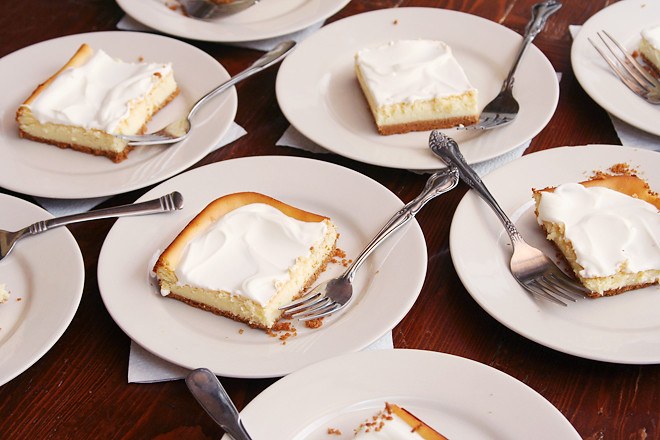
Cheesecake Squares with Sour Cream Topping
12 servings
Once the topping is added, it’s best to serve the cheesecake within about a day, because the topping dries out. However, both the cheesecake and the topping can be made several days in advance if kept separate until shortly before serving.
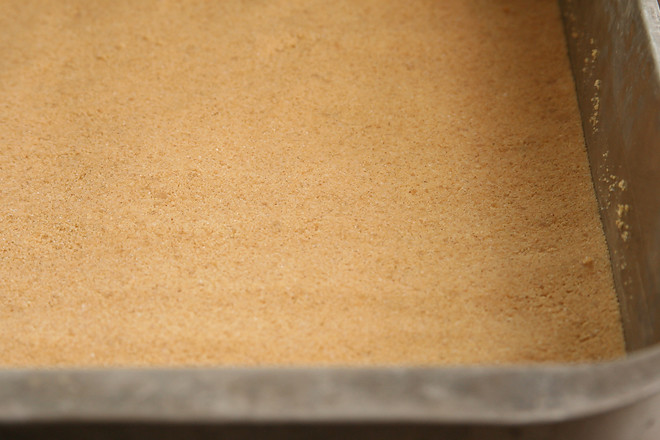
Crust:
18 full sheets (10 ounces) graham crackers
2 tablespoons granulated sugar
pinch salt
5 tablespoons butter, melted
Filling:
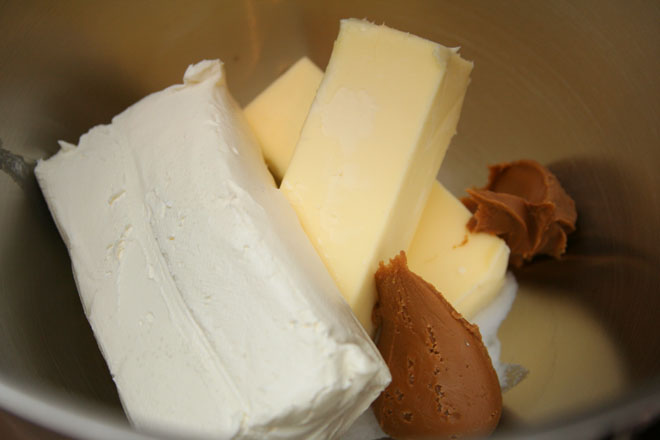
3 (8-ounce) packages cream cheese, softened
¼ teaspoon salt
1 cup (7 ounces) granulated sugar
4 eggs
2 teaspoons vanilla extract
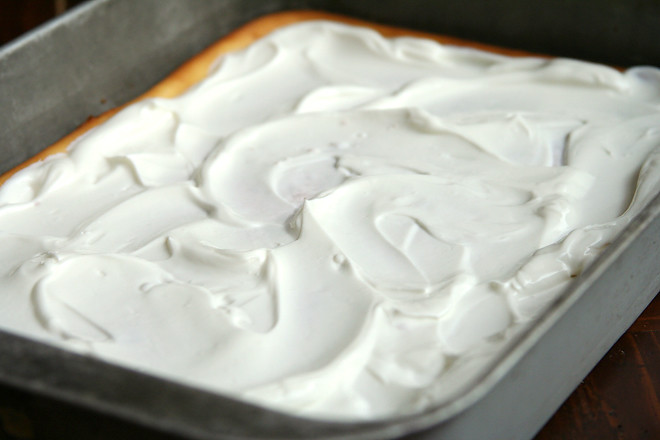
Topping:
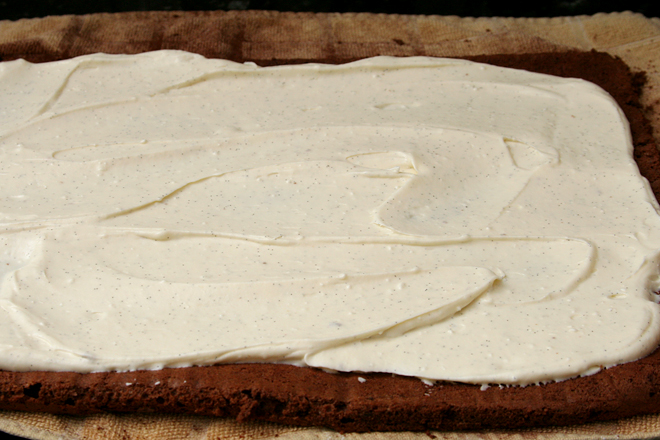
1 cup sour cream
2 tablespoons granulated sugar
1. Adjust a rack to the middle position and heat the oven to 350 degrees. Spray a 9-by-13-inch pan with cooking spray.
2. In a food processor, process the graham crackers until finely ground. (Alternatively, put the crackers in a ziploc bag and use a rolling pin to crush them. Transfer the crumbs to a bowl and stir in the remaining ingredients.) Add the sugar and salt and process until mixed. Add the butter and process until evenly incorporated, stopping to scrape the sides as necessary.
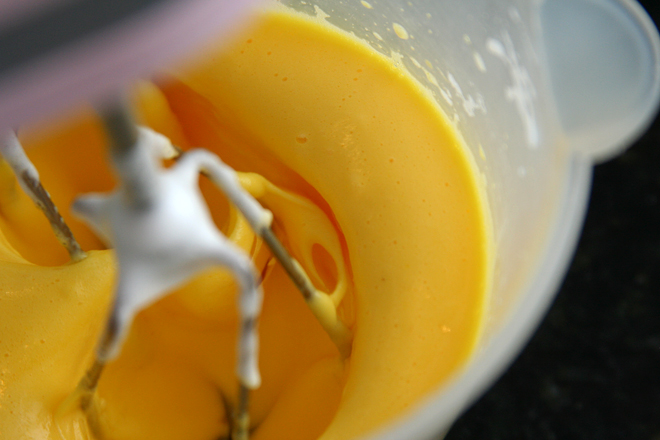
3. In a stand mixer fitted with the paddle attachment (or in a large bowl if using a hand mixer), beat the cream cheese on medium-low speed until smooth. Add the salt and sugar, and continue beating until blended, about 2 minutes. Add the eggs, one at a time, beating until blended. Beat in the vanilla extract.
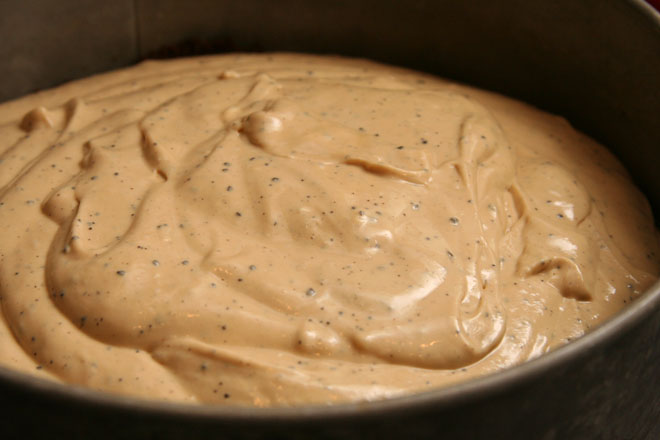
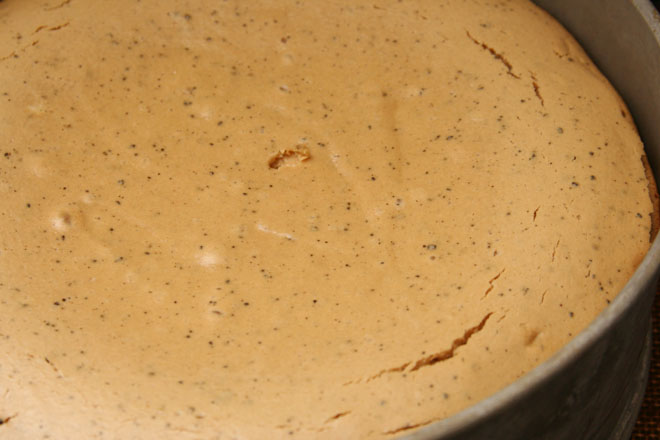
4. Pour the filling mixture over the crust, spreading it evenly. Transfer to the oven and bake until the cake is just slightly jiggly, 45-55 minutes. Transfer to a cooling rack to cool completely before topping.