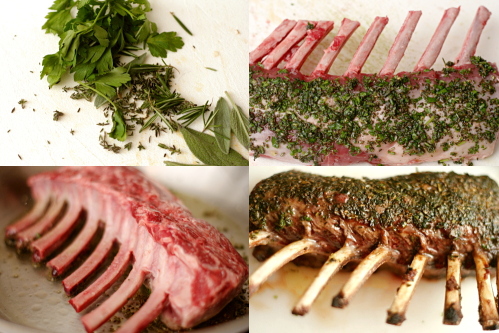
herbed lamb chops with pinot noir sauce

Copy of IMG_0741

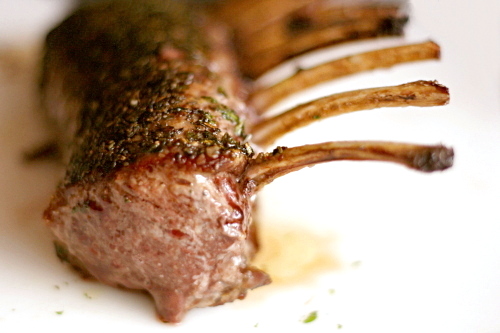
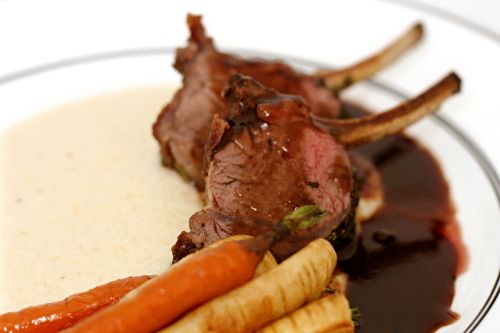
I don’t even know how to describe to you how awesome this lamb was. I think Dave and I spent the whole meal exclaiming over it. We’d sat down to eat, thinking, sure, dinner, yum, should be good. We each poured ourselves a glass of the wine that was leftover from making the sauce, we were actually going to eat at the table, we had some music playing. It was nice.

Copy of Copy of IMG_0675

And then we started eating and realized that this meal wasn’t “nice.” This meal was amazing. We decided that the wine wasn’t rich enough to compliment the food and opened a different bottle. We ate seconds. We drank more wine. We started dancing in the living room. It wasn’t just the meal that went from nice to amazing when we started eating; it was the entire night.

Copy of Copy of IMG_0709

In retrospect, duh. If you’re making lamb broth from scratch for the base of the wine sauce that you’re serving over rack of lamb, it better knock some socks off. It did.

Copy of IMG_0724

One year ago: Caramel Cake

Printer Friendly Recipe
Herbed Lamb Chops with Pinot Noir Sauce (from Bon Appétit through epicurious.com)

Serves 8

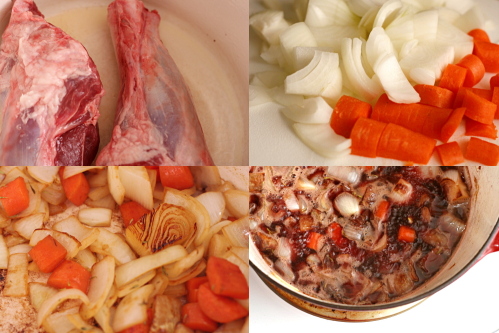
I couldn’t find any of the lamb parts suggested for the sauce and used shank instead, which isn’t the same thing at all, but worked nonetheless.

Sauce:
1 tablespoon vegetable oil
3 pounds lamb neck stew meat or lamb riblets
1 pound onions, coarsely chopped
1 large carrot, chopped
4 large garlic cloves, chopped
1 tablespoon herbes de Provence
4⅓ cups Pinot Noir or other dry red wine
3 cups low-salt chicken broth
1 tablespoon butter, room temperature
2 teaspoons all-purpose flour

Lamb:
1 cup finely chopped fresh Italian parsley
¼ cup finely chopped fresh thyme
¼ cup finely chopped fresh rosemary
¼ cup finely chopped fresh sage
1 tablespoon ground black pepper
5 tablespoons olive oil, divided
3 1½-pound well-trimmed 8-rib racks of lamb, preferably frenched

1. For the sauce: Heat the oil in a heavy large pot over medium-high heat. Add the lamb and sauté until deep brown, turning occasionally, about 18 minutes. Using tongs, transfer the lamb to a bowl. Add the onions, carrot, garlic, and herbes de Provence to the pot. Sauté until the vegetables are deep brown, about 8 minutes. Add the wine and broth to the pot; return the lamb and any accumulated juices to the pot. Bring to a boil, reduce the heat to medium-low, and simmer uncovered 1½ hours. Strain into a large bowl, pressing on the solids in the strainer to release all of the stock. Spoon off any fat from the surface of the stock; return the stock to the same large pot. Simmer until reduced to 1⅓ cups, about 15 minutes.

3. Mix the butter and flour in a small bowl to a smooth paste. Whisk the paste into the stock. Simmer the sauce until it’s slightly thickened and smooth, whisking constantly, about 1 minute longer. Season with salt and pepper. (Can be prepared 1 day ahead. Transfer to a small saucepan, cover, and chill. Rewarm before using.)

4. For the lamb: Stir the fresh herbs and pepper in a medium bowl to blend. Add 2 tablespoons oil and mix until the herbs stick together. Sprinkle the lamb racks with salt. Firmly press ⅓ of herb mixture over the rounded side of each rack to cover. (Can be prepared 1 day ahead. Place on large rimmed baking sheet. Cover; chill.)

5. Preheat the oven to 350°F. Heat 3 tablespoons oil in a large nonstick skillet over medium-high heat. Add 1 lamb rack to the skillet, herbed side down. Sauté until browned, about 4 minutes. Turn the rack over and sauté until browned, about 3 minutes more. Place the rack, herbed side up, on a rimmed baking sheet. Repeat, fitting the remaining racks on the same sheet.

6. Roast the lamb until a thermometer inserted into the center registers 135°F for medium-rare, about 25 minutes. Let the lamb rest on the sheet for 15 to 20 minutes. Cut the lamb between the bones into individual chops. Arrange 3 chops on each plate. Drizzle with sauce and serve.

Copy of IMG_0687

This would make a great main dish for a nice dinner party, not only because it’s so good, but because so much of the recipe can be completed in advance. I suggest serving the lamb over Soft and Sexy Grits with roasted root vegetables on the side. A rich red wine like cabernet sauvignon is a great accompaniment to the lamb; we found that the pinot noir used in the sauce simply couldn’t stand up to the powerful flavors.
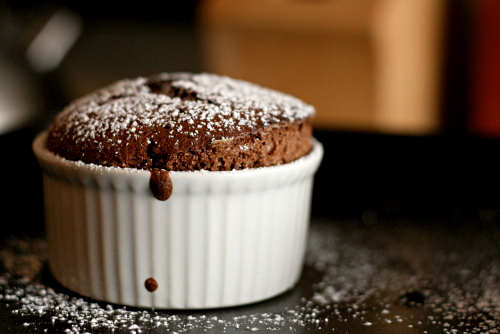
chocolate souffle

Copy of IMG_8302

I’ve noticed lately that some of the fanciest desserts are actually the easiest to make. Crème brulée? Mousse? Molten chocolate cake? There’s nothing difficult about any of them, and the same can be said of chocolate soufflé.

Copy of IMG_8292

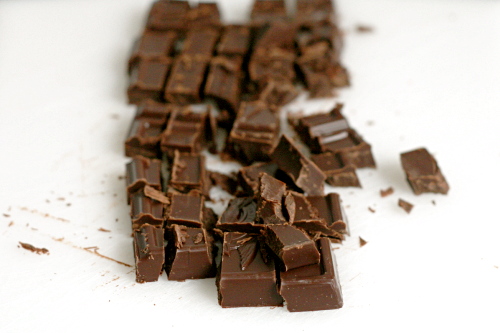
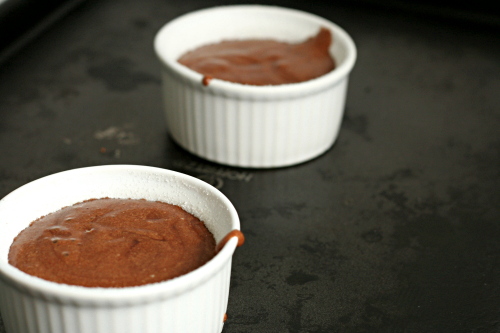
You really just melt chocolate with sugar, then stir in milk and egg yolks. Whip some egg whites and fold them into the chocolate mixture. Bake. That’s all there is to it.

Copy of IMG_8297

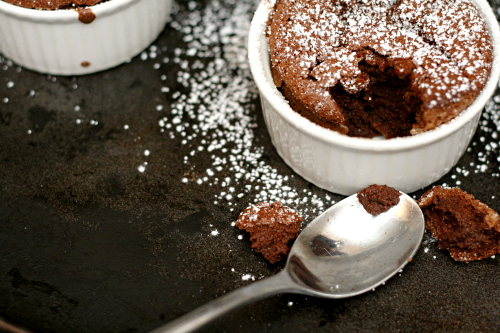
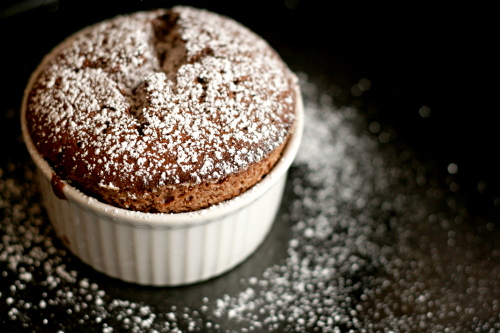
Maybe the trickiest part is knowing when they’re done. I’ve underbaked, overbaked and perfectly baked soufflés, and I recommend erring on the side of less baked. I think I overbaked these, because they seemed too dry.

Copy of IMG_8298

They were also really really sweet, and I’m not sure if that was related to overbaking them, or the type of chocolate I used (Ghirardelli bittersweet), or something else. But even too sweet and too dry, it’s still chocolate soufflé, so no complaints. Especially considering how easy it was to make!

Copy of IMG_8309

Susan chose this for Tuesdays with Dorie, and she has the recipe posted.

One year ago: Chocolate Whopper Malted Drops

Copy of IMG_8303

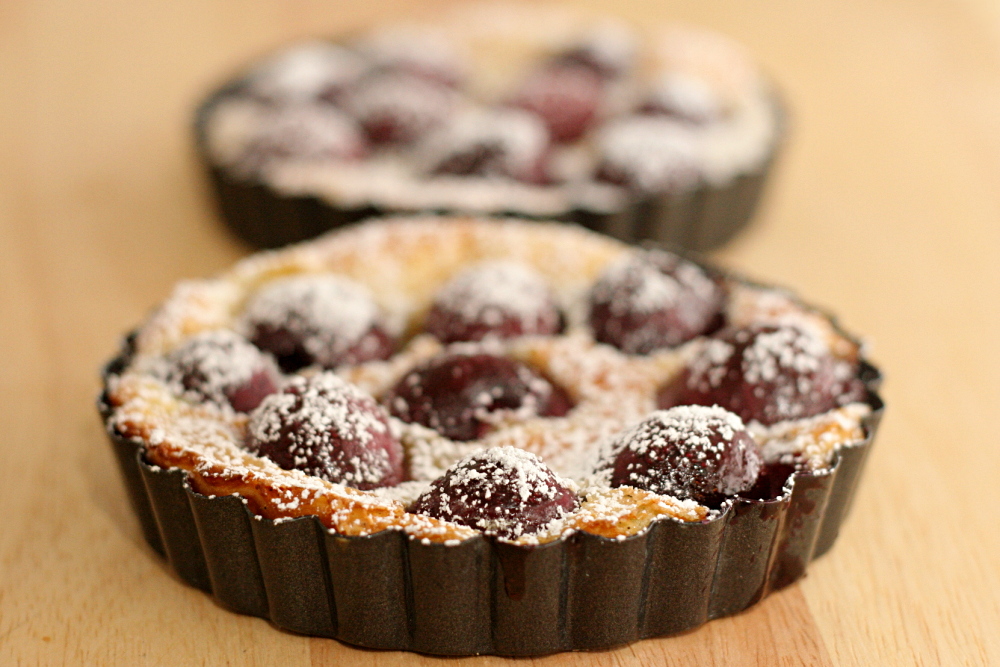
clafoutis

Copy of IMG_7738

Cooking, to me, isn’t a competition. It’s about sharing and exchanging ideas. Cooking for someone is like offering them a bit of a gift, and competition adds intimidation where there should be none. Plus, whether someone is more or less experienced than me when it comes to cooking, I’m sure I have something to learn from them. So I’ve never participated in a cooking contest.

Copy of IMG_7713

Um, until now. This one isn’t just about cooking, it’s also blogging, and it seemed too fun to pass up. The event is associated with the movie Julie and Julia, based on a book of the same name. I read this book years ago, and after the book, I went back and read Julie’s entire blog. In it, Julie Powell cooks her way through Julia Child’s thoroughly intimidating Mastering the Art of French Cooking in one year. Not only is the book fun and easy to read, the whole concept of cooking entirely through a book appeals to me.

Copy of IMG_7721

To enter, I had to cook and blog about a Julia Child recipe. I’ve owned MtAoFC for years. I’ve just never bothered to use it, at all. I figured the time would come when I was excited to pick it up, and I was right. After scanning through the book, I chose to make clafoutis.
Copy of IMG_7724

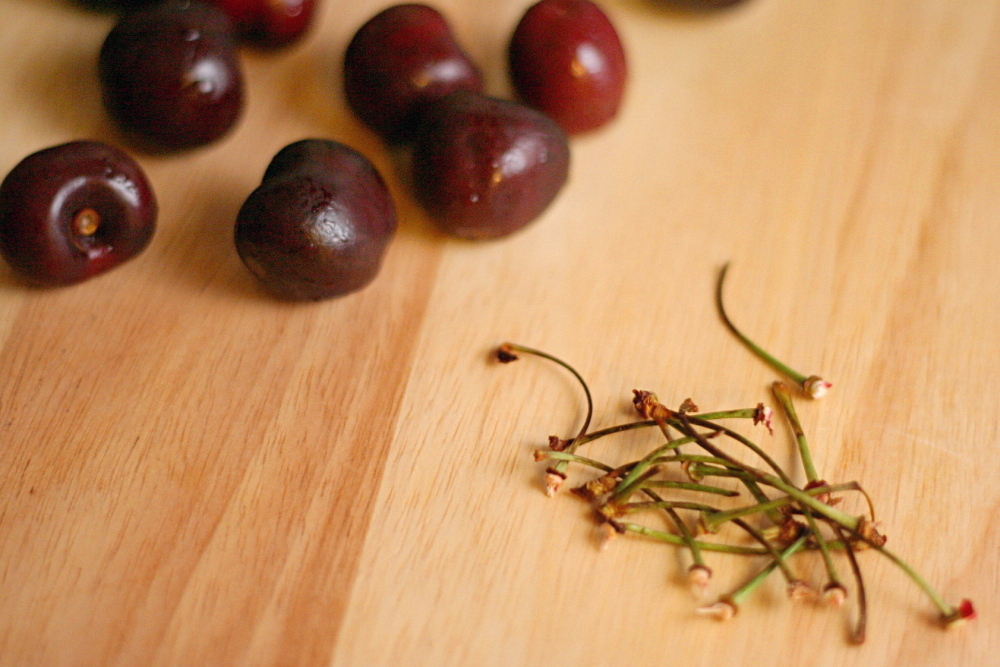
Clafoutis, it turns out, is really easy. The batter, which is similar to crepe batter or thin pancake batter, is mixed in the blender. Then it’s poured into a baking pan with cherries, topped with more sugar, and baked. To make it even easier, the cherries are traditionally left unpitted (although Julia does call for pitted cherries). Cherry pits release a bit of almond flavor as they’re heated, which is lost if the cherries are pitted before baking.
Copy of IMG_7729

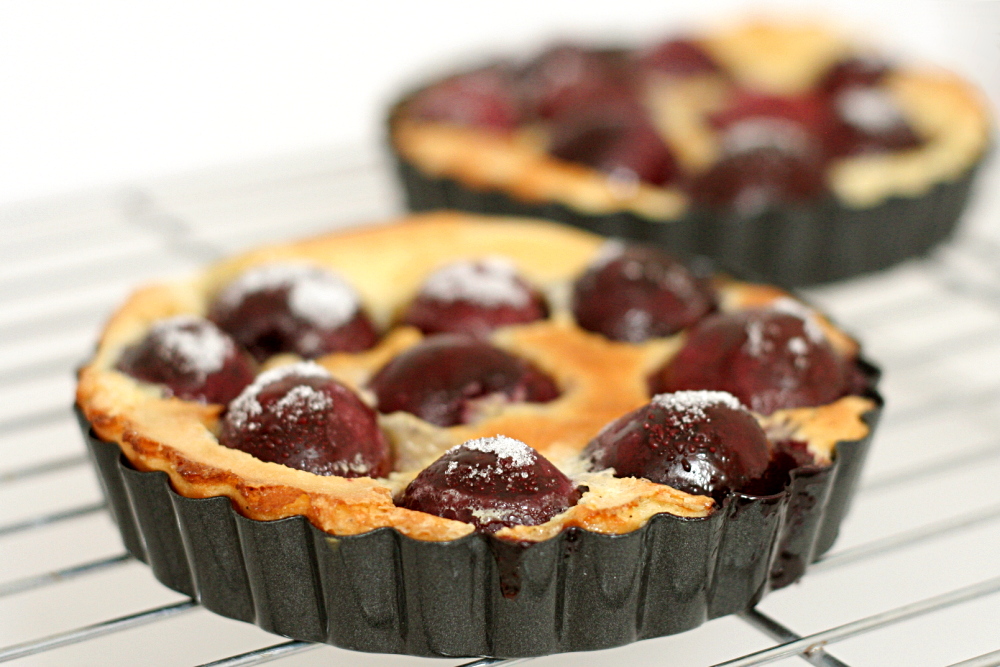
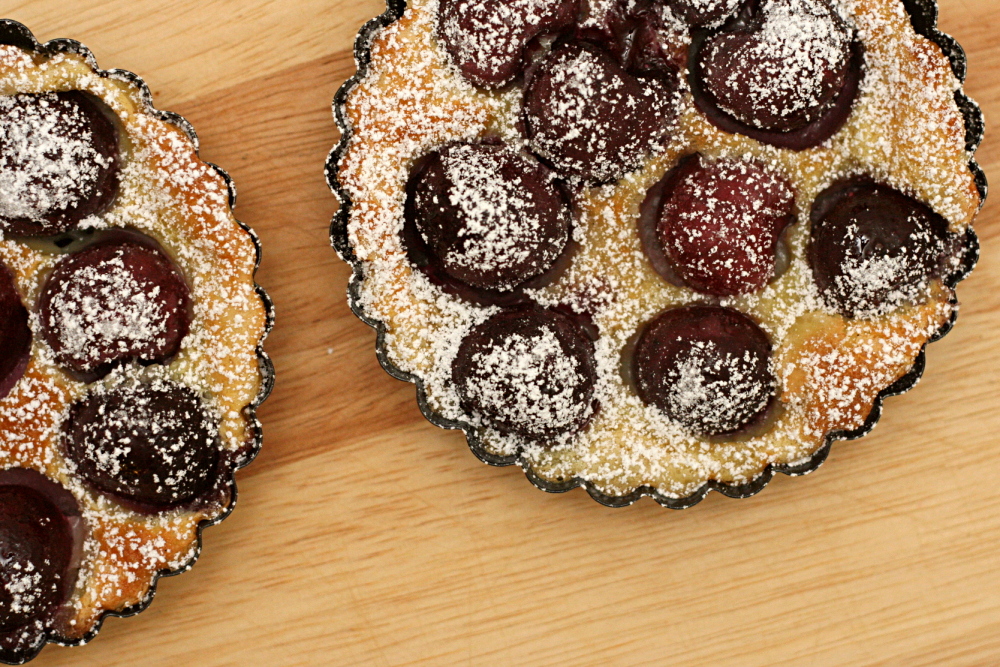
That being said, next time, I’ll pit the cherries, because the seeds were a little distracting. Other than that detail, this was a treat. You can’t go wrong with cherries in July, and these were just slightly tart and complimented the sweet batter. The batter cooks up moist and soft. What’s more, there’s no butter or oil in this dessert. So it’s fancy, easy, and relatively light – definitely a winner.

The contest winners are chosen through voting.  It’s an easy process with no sign-in required.  If you’d like to vote, click here.  I’m last on the list.  Thanks!

Copy of IMG_7734

One year ago: Comparison of 4 white cake recipes

Clafouti (slightly reworded from Mastering the Art of French Cooking, by Julia Child, Louisette Bertholle, and Simone Beck)

MtAoFC note: Use fresh, black, sweet cherries in season. Otherwise, use drained, canned, pitted Bing cherries, or frozen sweet cherries, thawed and drained.

My note: The only bit of funny business is that Julia calls for a Pyrex pan, then says to “set it over moderate heat.” Pyrex is not fit for stove use. I put the pan in the oven for a few minutes to let the batter set before continuing. I think you could also preheat the pan as the oven heats, and then the batter would set immediately after it’s poured in. (The batter isn’t especially cold, so it won’t shock the hot pan and cause it to shatter.)

For 6 to 8 people

3 cups pitted black cherries
1¼ cups milk
⅔ cup sugar, separated
3 eggs
1 tablespoon vanilla extract
⅛ teaspoon salt
½ cup flour (scooped and leveled)
powdered sugar

1. Preheat oven to 350F. Butter (or spray with nonstick spray) a 9-inch Pyrex pie pan.

2. Place the milk, ⅓ cup sugar, eggs, vanilla, salt, and flour in your blender jar in the order in which they are listed. Cover and blend at top speed for 1 minute.

3. Pour a ¼-inch layer of batter in the baking dish or pie plate. Set over moderate heat for a minute or two until a film of batter has set in the bottom of the dish. Remove from heat. Spread the cherries over the batter and sprinkle on the remaining ⅓ cup sugar. Pour on the rest of the batter and smooth the surface with the back of a spoon.

4. Place in middle position of preheated oven and bake for about an hour. The clafouti is done when it has puffed and browned, and a needle or knife plunged into its center comes out clean. Sprinkle top of clafouti with powdered sugar just before bringing it to the table. (The clafouti need not be served hot, but should still be warm. It will sink down slightly as it cools.)

Copy of IMG_7746

brioche

Copy of IMG_6324

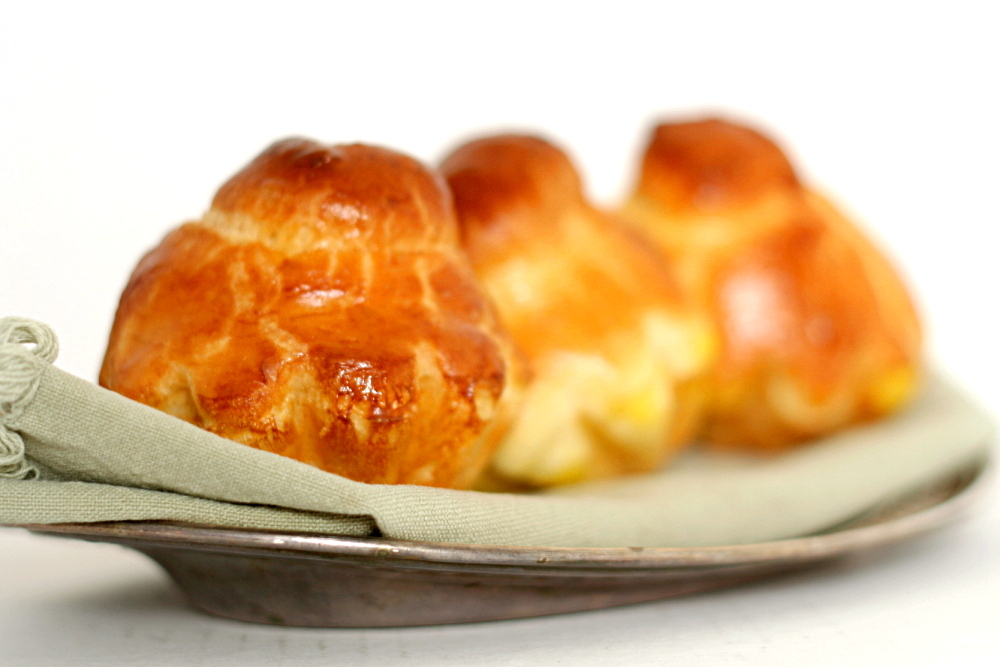
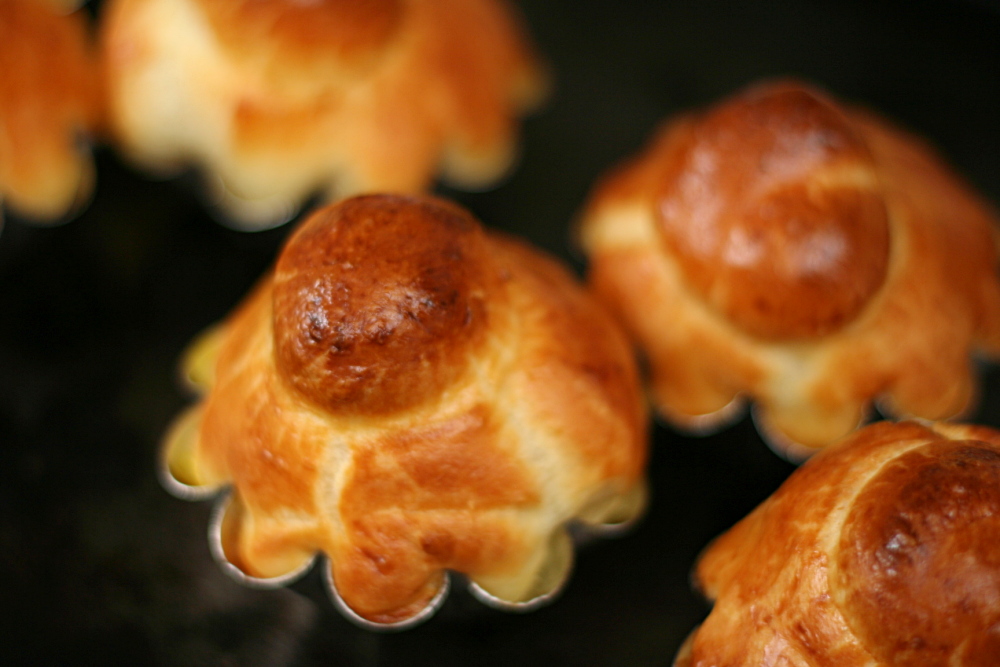
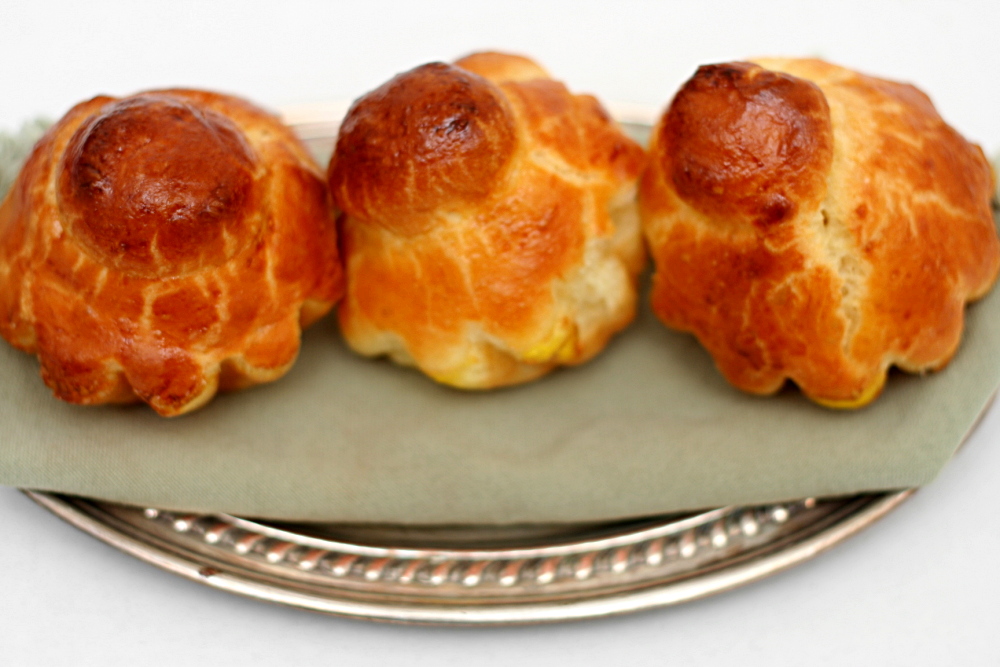
You know how you hear people talk about getting ready for bathing suit season? Um, yeah, I’m no good at that sort of thing. A month before I went on a vacation to the beach, I decided I should undertake a croissant project. A week before the trip, I made brioche. On the drive to the beach, we ate casatiello (a less rich brioche full of sausage and cheese bits). Maybe it’s maturity, or maybe it’s laziness, but I just don’t find myself as worked up about looking perfect as I used to. I’m healthy and that’ll do for now.

Copy of IMG_6275

I certainly could have made the brioche less rich, if I was worried about that. Peter Reinhart gives three brioche recipes – his rich man’s brioche has the most butter, and poor man’s has the least, with middle-class brioche in between. I was having trouble choosing and eventually went with “upper middle-class brioche”, by averaging the rich man’s (buttery and delicious) and the middle class (easier to work with) recipes.

Copy of IMG_6317

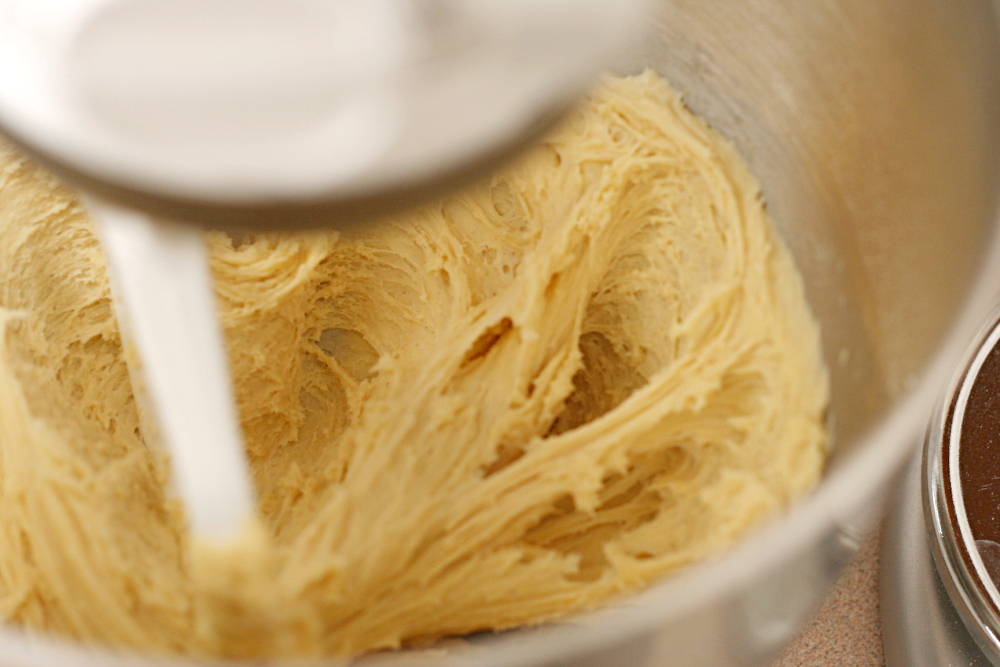
Brioche, with all of its extra butter and eggs, isn’t made too differently than any other type of bread. It starts with a sponge, because Reinhart loves his long fermentations. Then a lot of eggs are added – five eggs for the amount of flour that usually makes one loaf of sandwich bread. After the dry ingredients are mixed in and the dough starts to form, softened butter is slowly worked in. I used, I kid you not, almost one stick of butter per cup of flour.

Copy of IMG_6319

The rising process is different from the traditional bread method though, as the dough is immediately refrigerated, and needs to remain cold while it’s being shaped. It’s proofed at room temperature, then baked and slightly cooled. (For all my talk about not caring how I look in a bikini, I did go for a run while the rolls rose.)

Copy of IMG_6321

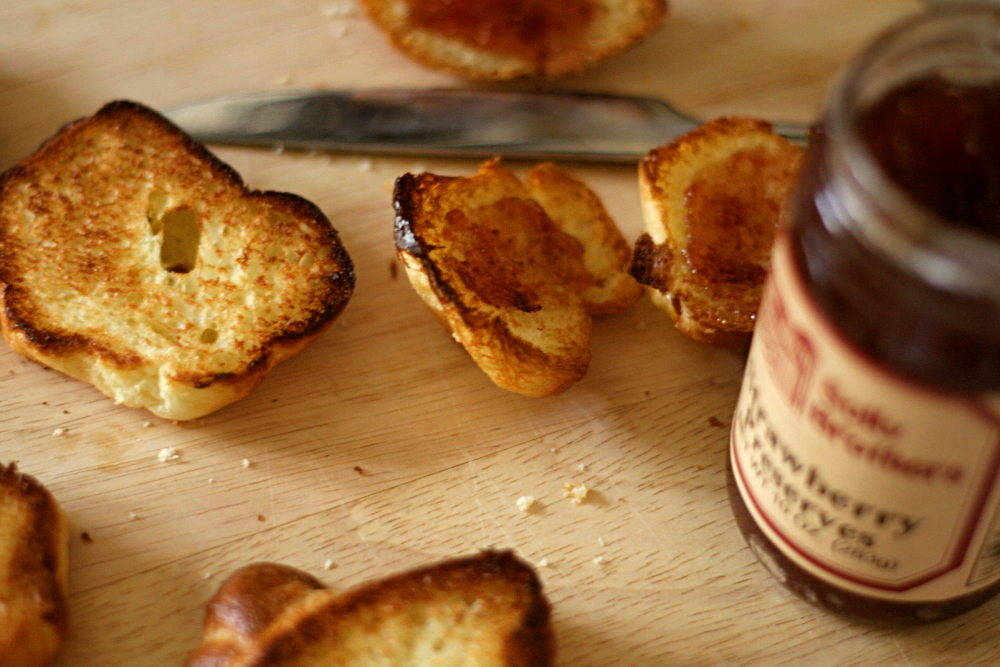
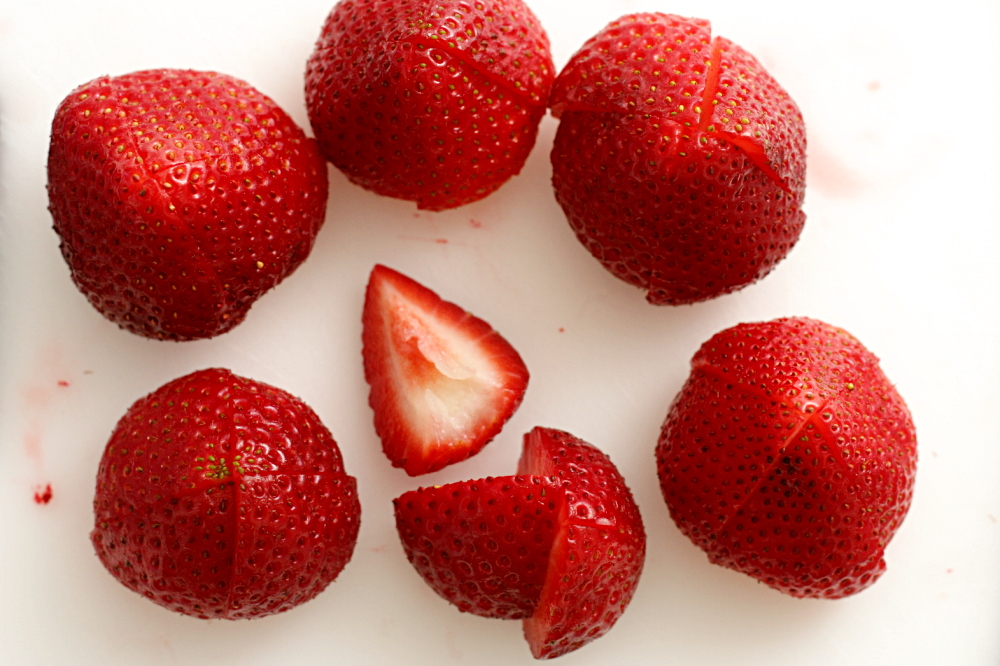
Oddly, I’m not sure I’d ever eaten brioche plain before. If I had, it wasn’t memorable. But this? Is memorable. I couldn’t get over how light they felt. All that butter is all-too-easily hidden. We ate the tender, delicious rolls plain for breakfast, and when we came home from strawberry picking in the afternoon, we toasted slices and smeared them with farmer’s market strawberry jam. I would definitely rather eat brioche than be a size smaller.

Copy of IMG_6353

One year ago: Blueberry Pie

Upper Middle-Class Brioche (very slightly adapted from Peter Reinhart’s Bread Baker’s Apprentice)

Makes 12-16 petite brioches à tête, 2-4 large  brioches à tête, or two 1-pound loaves

Sponge:
½ cup (2.25 ounces) unbleached bread flour
2 teaspoons instant yeast
½ cup (4 ounces) whole milk, lukewarm

Dough:
5 large eggs, slightly beaten
3 cups (13.75 ounces) unbleached bread flour
2 tablespoons (1 ounce) granulated sugar
1¼ teaspoons salt
24 tablespoons (3 sticks) unsalted butter, at room temperature
1 egg, whisked until frothy, for egg wash

1. To make the sponge, stir together the flour and yeast in a large mixing bowl (or in the bowl of an electric mixer). Stir in the milk until all of the flour is hydrated. Cover with plastic wrap and ferment for 30 minutes, or until the sponge rises and then falls when you tap the bowl.

2. To make the dough, add the eggs to the sponge and whisk (or beat on medium speed with the paddle attachment) until smooth. In a separate bowl, stir together the flour, sugar, and salt. Add this mixture to the sponge and eggs and stir (or continue to mix with the paddle attachment on low speed for about 2 minutes) until all the ingredients are hydrated and evenly distributed. Let this mixture rest for about 5 minutes so that the gluten can begin to develop. Then, while mixing with a large spoon (or on medium speed with the paddle), gradually work in the butter, about one-quarter at a time, waiting until each addition of butter assimilates before adding more. This will take a few minutes. Continue mixing for about 6 more minutes, or until the dough is very well mixed. You will have to scrape down the bowl from time to time as the dough will cling to it. The dough will be very smooth.

3. Line a sheet pan with baking parchment and mist lightly with spray oil. Transfer the dough to the sheet pan, spreading it to form a large, thick rectangle measuring about 6 inches by 8 inches. Mist the top of the dough with spray oil and cover the pan with plastic wrap or place it in a large food-grade plastic bag.

4. Immediately put the dough into the refrigerator and chill overnight, or for at least 4 hours.

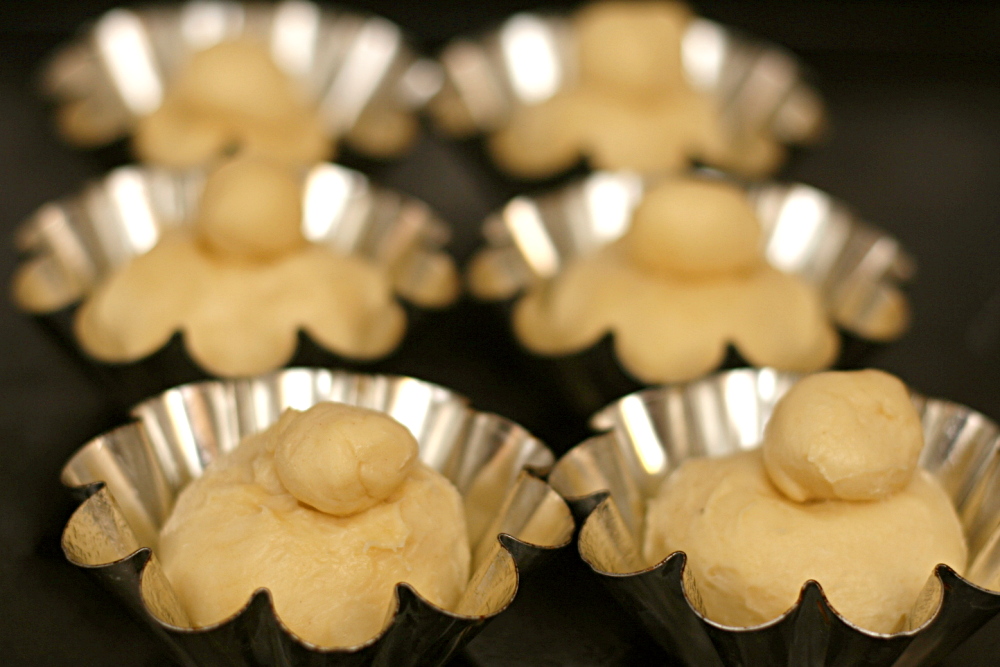
5. Remove the dough from the refrigerator and shape it while it is very cold. If it warms up or softens, return it to the refrigerator. If you are making brioches à tête, lightly oil or use spray oil to grease the fluted molds. Divide the dough into 12 to 16 portions for petites brioches à tête and 2 to 4 portions for larger shapes. (The size of each portion should correspond to the size of the molds; petites brioches à tête are typically 1.5 to 2 ounces each, while larger versions can range from 1 to 2 pounds. Whatever size you are making, the molds should only be half full with dough to allow for expansion during proofing.) Shape the petites brioches à tête into small balls and the larger ones into round loafs. Dust your hands with flour, and, using the edge of your hand, divide a ball of dough into a large and small ball by rolling down, but not quite all the way through, the dough. Place the large ball into the oiled brioche mold and use the tips of your fingers to indent the top and to round and center the smaller ball. Place the molds on a sheet pan after final shaping. If you are making loaves, grease two 8.5 by 4.5-inch loaf pans. Divide the dough into 3 pieces and shape the dough into loaves.

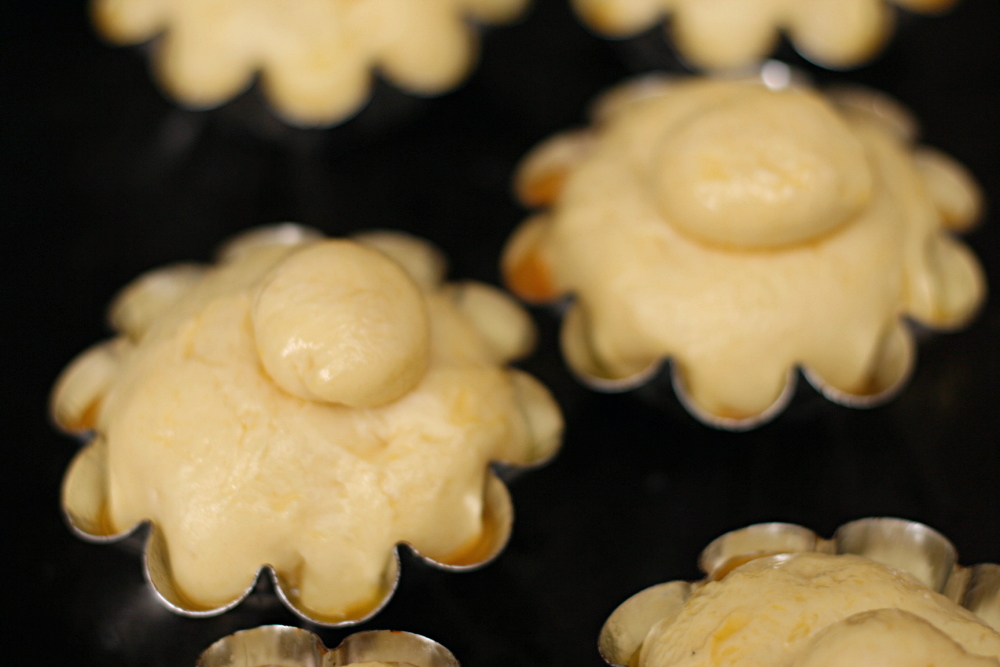
6. Mist the top of the dough with spray oil and loosely cover with plastic wrap, or slip the pan(s) into a food-grade plastic bag. Proof the dough until it nearly fills the molds or loaf pans, 1.5 to 2 hours for petites brioches à tête and longer for larger shapes. Gently brush the tops with egg wash. Cover the dough with plastic wrap that has been lightly misted with spray oil. Continue proofing for another 15 to 30 minutes, or until the dough fills the molds or pans.

7. Preheat the oven to 400F with the oven rack on the middle shelf for petites brioches à tête, or 350F for larger shapes.

8. Bake for about 15 to 20 minutes for petites brioches à tête and 35 to 50 minutes for larger shapes. The internal temperature should register above 180F for the small ones and about 190F for the larger shapes. The bread should sound hollow when thumped on the bottom and be golden brown.

9. Remove the brioches or loaves from the pans as soon as they come out of the oven and cool on a rack for at least 20 minutes for small brioches and 1 hour for larger shapes before serving.

Copy of IMG_6325

parisian strawberry tartlets

copy-of-img_6106

Once I started making an effort to eat seasonally, I realized that apples were my best bet for a large part of the year. By the end of winter, I’m impatient for strawberries to kick off the farmer’s market season. I try to avoid apples in the spring and summer, because it’s nice to take a break when I can, and then I get to look forward to them in the fall.

copy-of-img_6090

So I didn’t want to make the apple version of this dessert. Most of the other fruits that Dorie recommends are stone fruits that won’t be in season for a month or so. I thought that strawberry mini-tarts would work though.

copy-of-img_6092

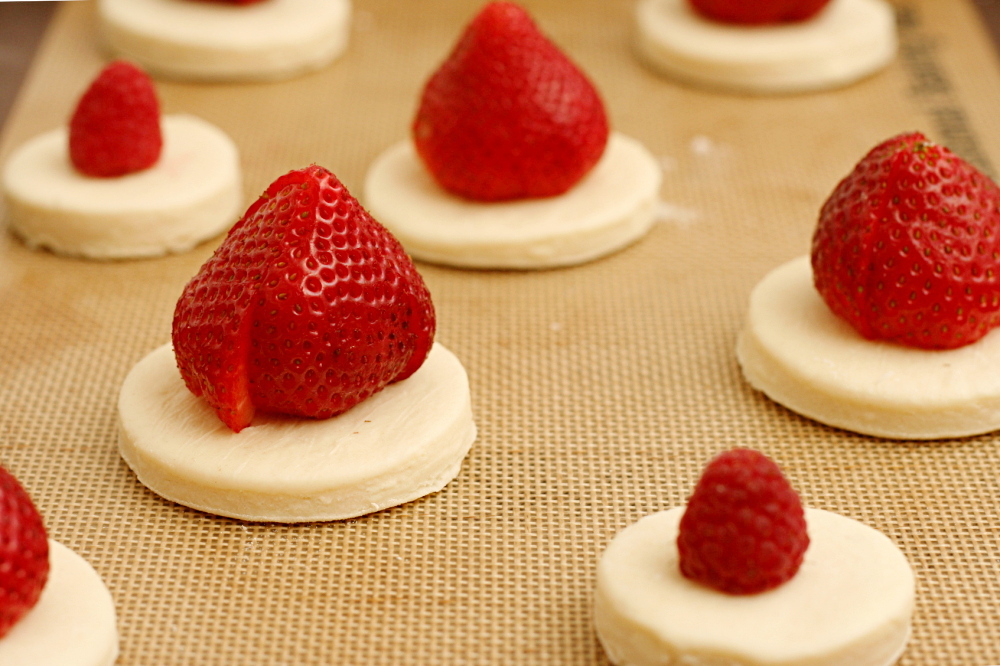
This recipe is very easy. Quartered fruit is positioned in the middle of a round of puff pastry, sprinkled with sugar, dotted with butter, and baked. I skipped the butter and added a pinch of salt.

copy-of-img_6095

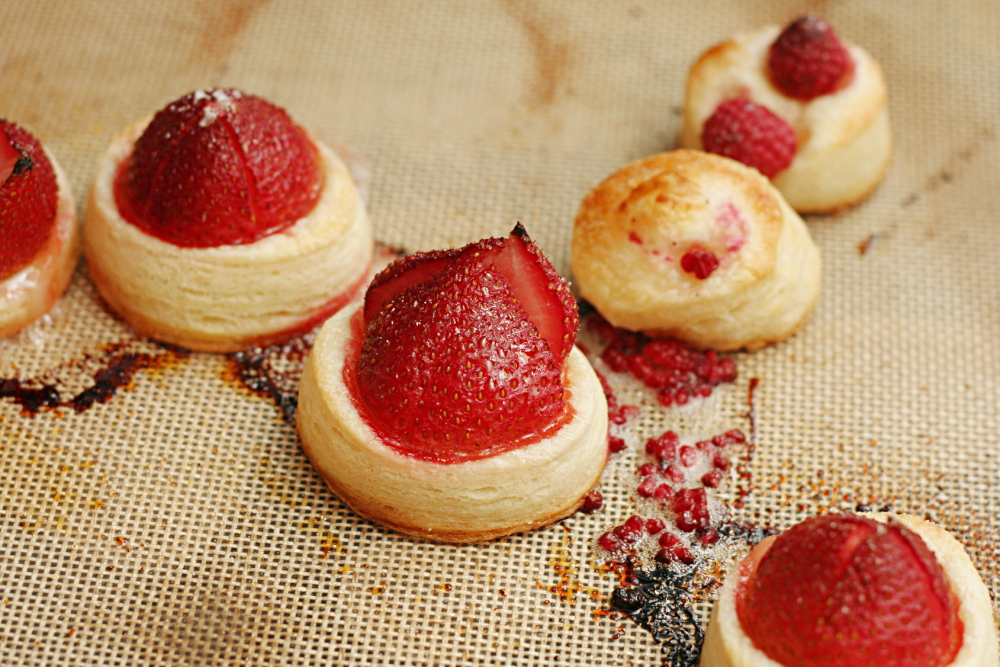
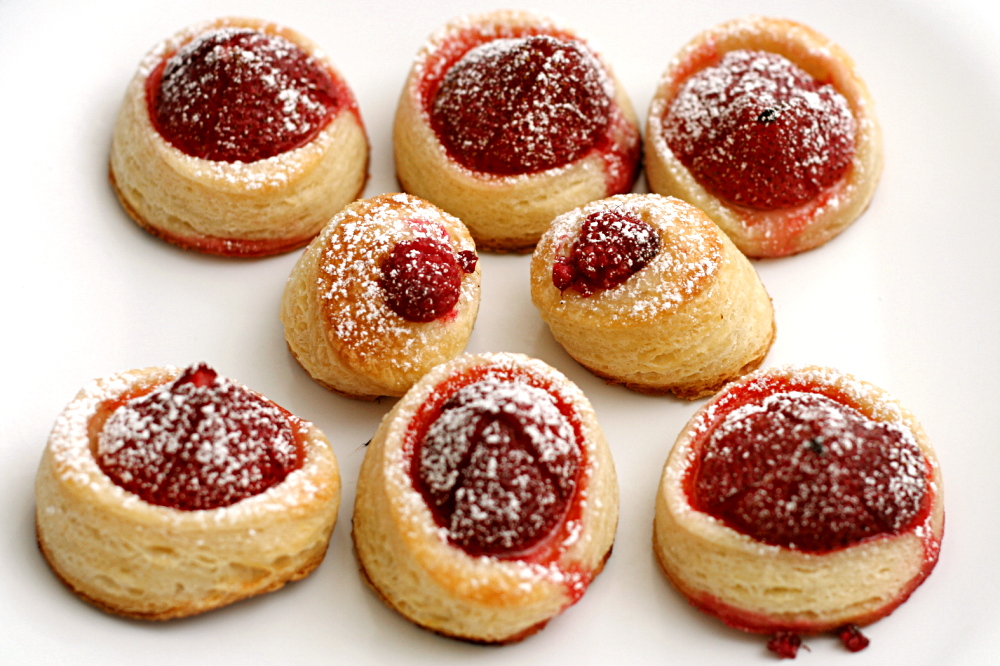
I made even miniaturer tarts too, each topped with a single raspberry, but those didn’t work quite as well. The pastry puffed the berries right off. I sort of balanced the berries back on the pastry after baking, and all was good.

The tarts were great. The flaky, buttery pastry was a great base for the sweet berries.

copy-of-img_6101

Jessica has posted the recipe for this easy, tasty, impressive dessert that she chose for Tuesdays with Dorie.

One year ago: Pita Bread

copy-of-img_6107

aligot (french mashed potatoes)

copy-of-img_3910

When I saw this recipe is a recent issue of Cooks Illustrated, it was immediately registered as “for special occasions only.” Seriously, I consider regular mashed potatoes fairly decadent, much less the cheese-laden variety. But then I managed to create a special occasion: Dave and I found a cheap, good bottle of Pinot Noir! In Pennsylvania even! (Don’t get me started on PA’s inane liquor laws.  Drives me. Up the. Wall.)

copy-of-img_3866

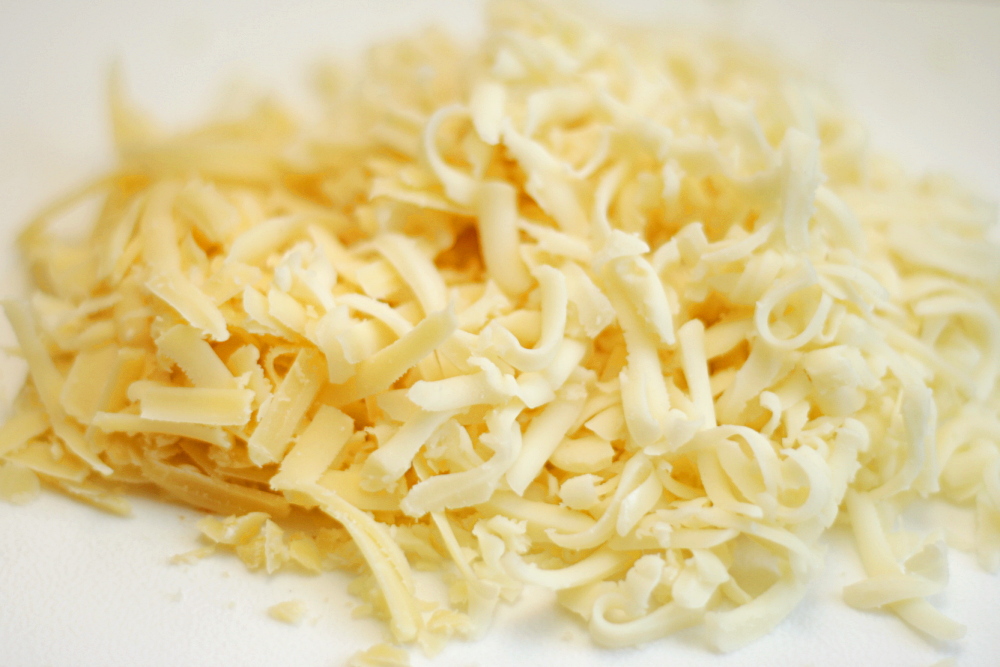
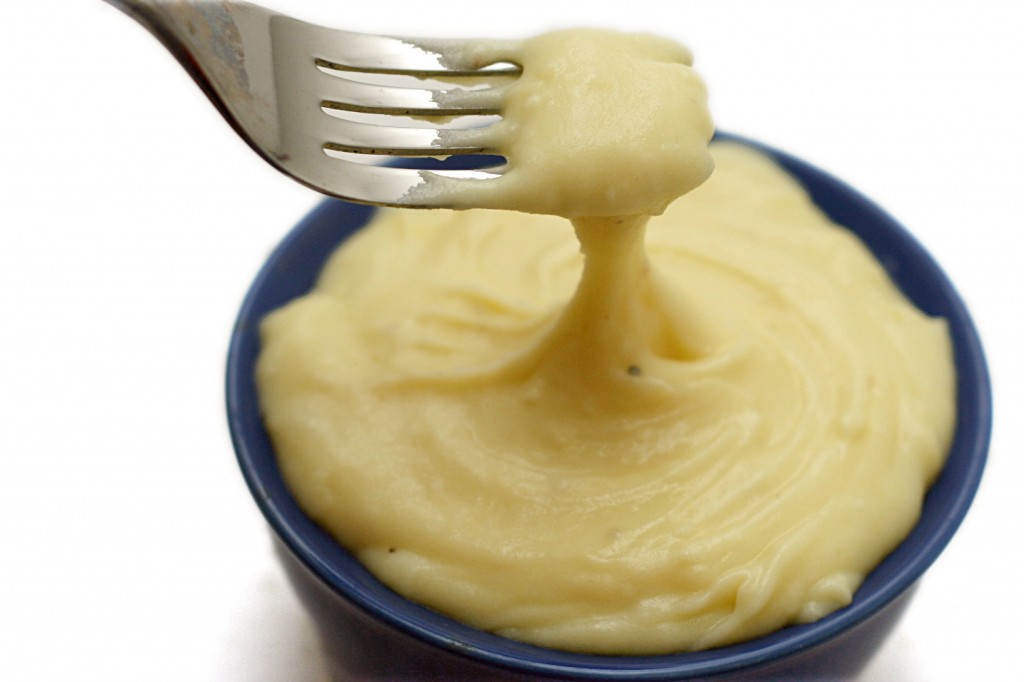
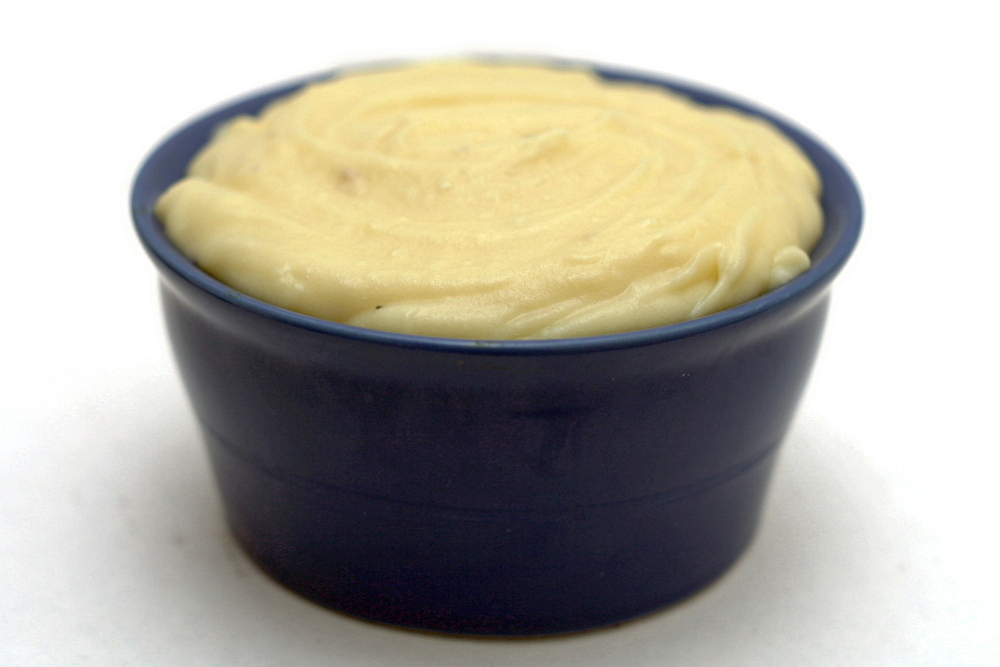
This is a great recipe for learning about the chemistry of potatoes. Have you ever heard that “mashing” boiled potatoes with a mixer will result in gluey mashed potatoes? This recipe goes one step further and processes them in the food processor. The resulting texture is fascinating – very stretchy, even before any cheese is added. Then the potatoes are mixed with garlic and milk, and shredded Gruyere (for flavor) and mozzarella (for texture) are vigorously stirred in.

copy-of-img_3880

I love how little changes in technique can make such a big difference in the outcome. I’m not giving up on regular mashed potatoes, but I also enjoyed the smooth texture and rich flavor of these. It’s hard to go wrong with potatoes and garlic and cheese.

copy-of-img_3912

One year ago: French Chocolate Brownies

Aligot (French Mashed Potatoes) (from Cooks Illustrated)

CI note: The finished potatoes should have a smooth and slightly elastic texture. White cheddar can be substituted for the Gruyere. For richer, stretchier aligot, double the mozzarella.

My potatoes did end up too salty, so that’s something to watch out for.

2 pounds Yukon Gold potatoes (4 to 6 medium), peeled, cut into ½-inch-thick slices, rinsed well, and drained
table salt
3 tablespoon unsalted butter
2 medium garlic cloves, minced or pressed through a garlic press (about 2 teaspoons)
1-1½ cups whole milk
4 ounces mozzarella cheese, shredded (about 1 cup)
4 ounces Gruyere cheese, shredded (about 1 cup)
Ground black pepper

1. Place the potatoes in a large saucepan, add water to cover by 1 inch and add 1 tablespoon salt. Partially cover the saucepan and bring the potatoes to a boil over high heat. Reduce the heat to medium-low and simmer until the potatoes are tender and just break apart when poked with a fork, 12 to 17 minutes. Drain the potatoes and dry the saucepan.

2. Transfer the potatoes to a food processor; add the butter, garlic, and 1½ teaspoon salt. Pulse until the butter is melted and incorporated into the potatoes, about ten 1-second pulses. Add 1 cup milk and continue to process until the potatoes are smooth and creamy, about 20 seconds, scraping down the sides halfway through.

3. Return the potato mixture to the saucepan and set it over medium heat. Stir in the cheeses, 1 cup at a time, until incorporated. Continue to cook the potatoes, stirring vigorously, until the cheese is fully melted and the mixture is smooth and elastic, 3 to 5 minutes. If the mixture is difficult to stir and seems thick, stir in 2 tablespoons of milk at a time (up to ½ cup) until the potatoes are loose and creamy. Season with salt and pepper. Serve immediately.

copy-of-img_3909

croissants 1 (tartine)

copy-of-img_4769

Someone must have told me “if at first you don’t succeed, try, try again” at a particularly impressionable age. Either that, or I’ve struggled through learning enough new subjects that I recognize the value of practice. Or maybe I’m just obsessive.

copy-of-img_4717

This was my first time making croissants, and it wasn’t perfect, which immediately sparked my desire to try a bunch of other croissant recipes. (Not side-by-side, mind you. My head spins just thinking about it.) The thing is that I can’t figure out exactly where I went wrong. I’m hoping that by gaining experience with different recipes, I’ll become more familiar with the process and pick up some nice tips along the way.

copy-of-img_4746

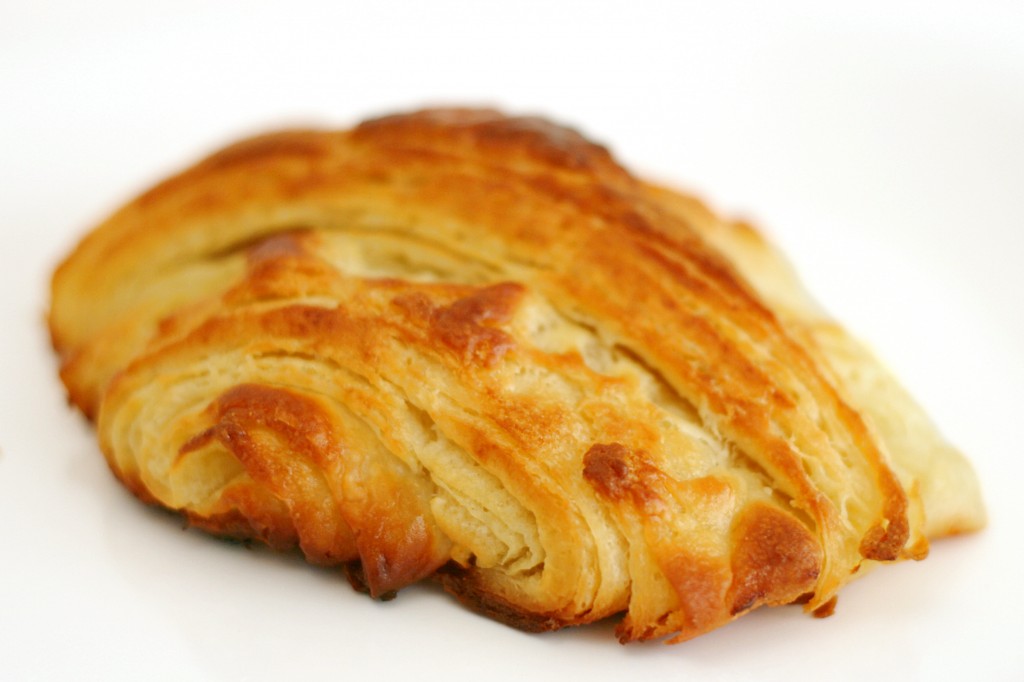
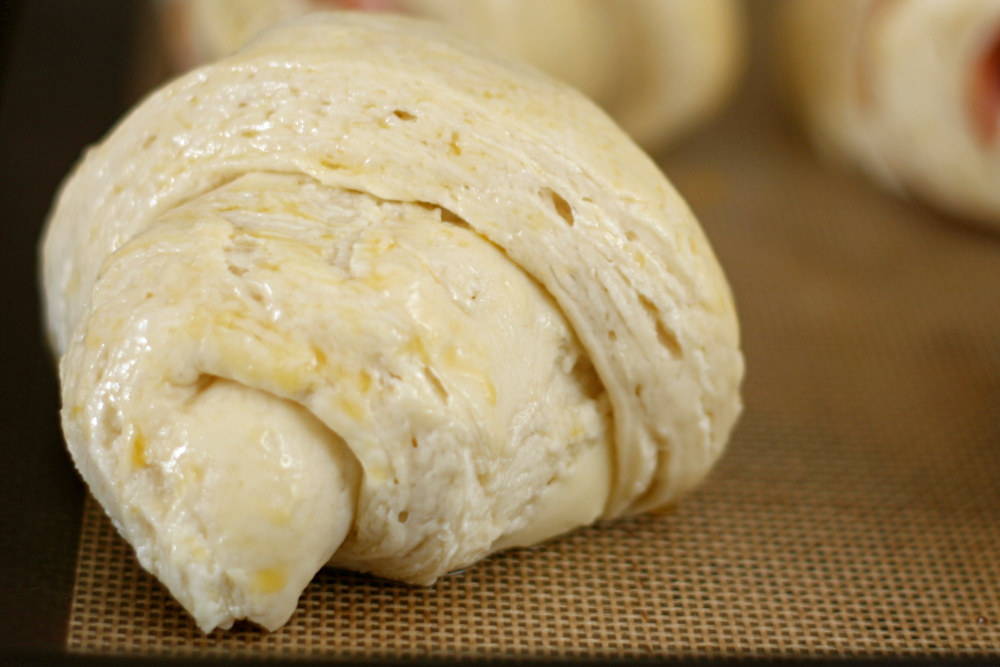
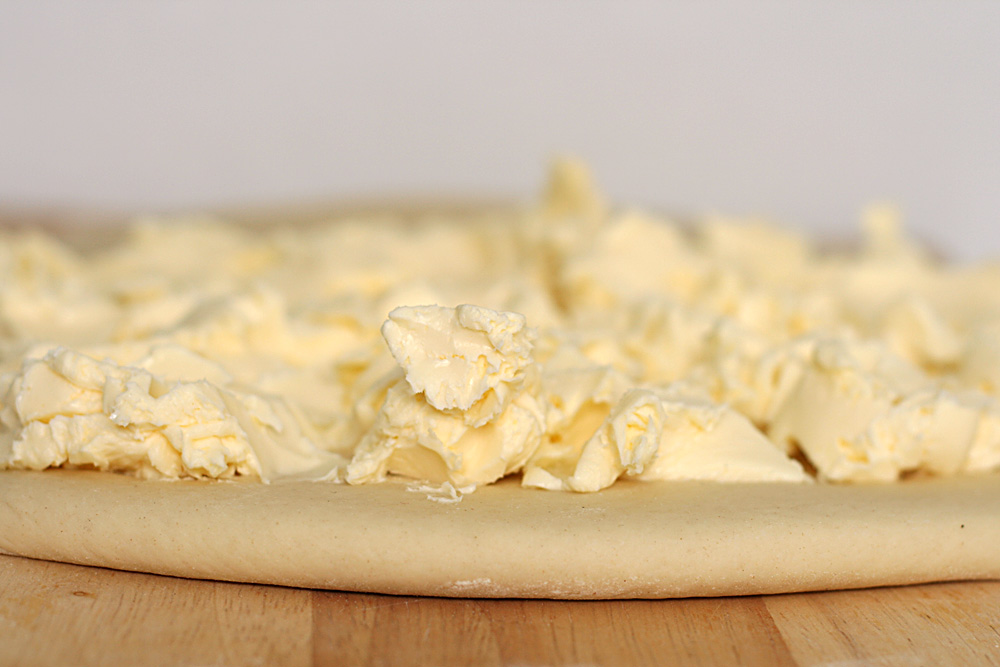
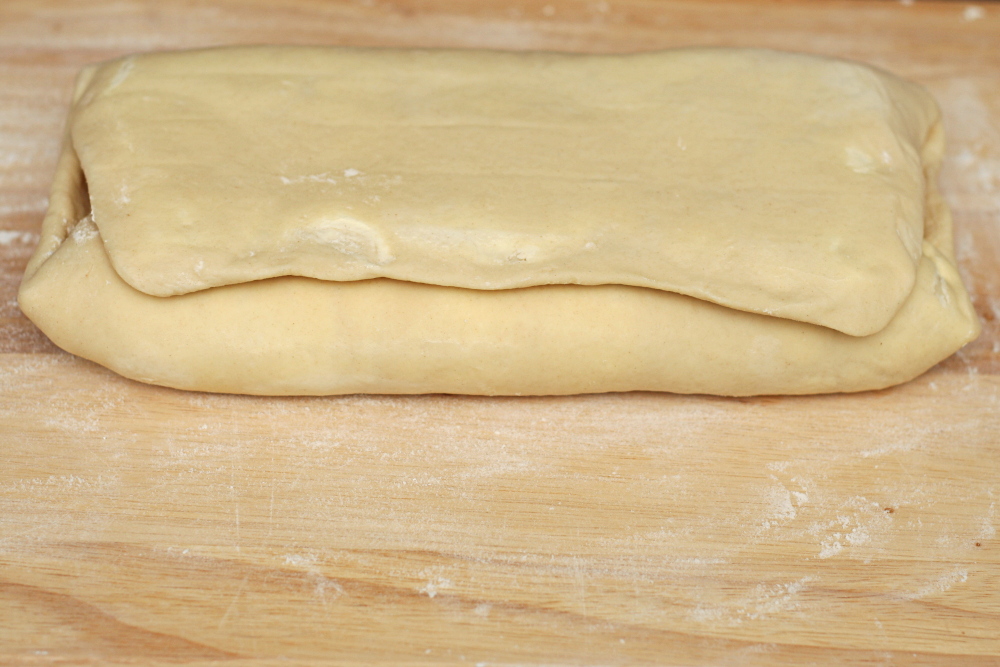
Of the recipes I’ve considered trying, this one is the most complex. First, a pre-ferment is made, two days before you want to bake the croissants. That gets turned into croissant dough the next day, and from there, most recipes are the same. Knead a little, then roll it out with a bunch of butter and fold it like a letter. Chill, then repeat the folding twice. Chill overnight. Roll out, cut, shape, rise, bake.

copy-of-img_4752

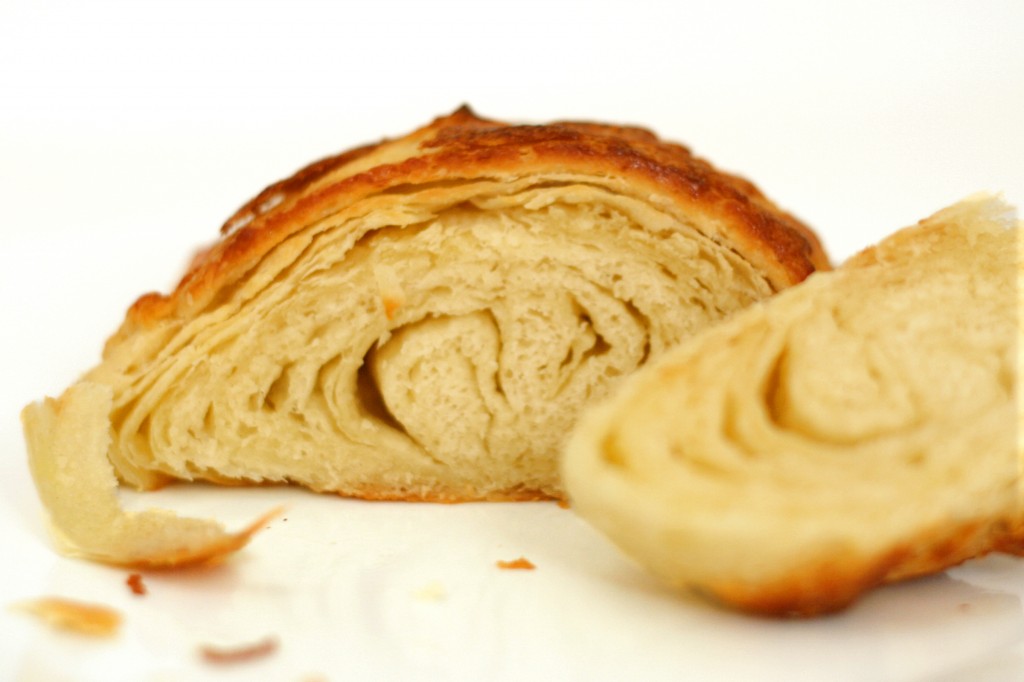
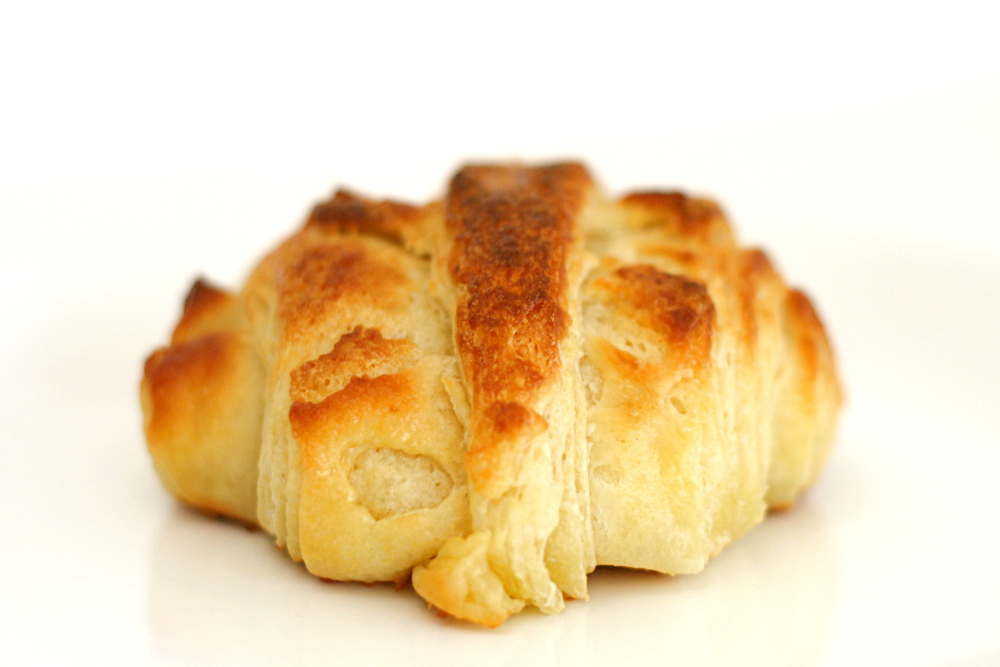
The author of the recipe, Elisabeth Prueitt, gives a lot of detail, turning my 60-word summary of the recipe into 5 pages of instructions, tips, and advice. She does not mention that the dough will be so elastic that it will fight you every time you have to roll it out, which makes me think I did something wrong. (Overkneading is my guess.) She also does not say anything about a huge pool of butter left behind in the baking pan after the croissants are removed from the oven. And I’m guessing the yeasty flavor of the croissants isn’t right either. And clearly they’re not supposed to look like this:

copy-of-img_4772

The croissants were still way better than edible – flaky, light, buttery delicious – but clearly my technique needs some refining. After I made this recipe, I was chomping at the bit to try another, and in fact, I have a handful of recipes I want to try. (Although one of them was the recipe that the Daring Bakers made a few years ago – which I just realized is this one. So never mind that one.) Expect to see reviews of one croissant recipe after another as I attempt to master this pastry.

copy-of-img_4764

One year ago: Snickery Squares

Croissants (from Tartine by Elisabeth M. Prueitt and Chad Robertson)

Preferment:
¾ cup non-fat milk (6 ounces/150 ml)
1 tablespoon active dry yeast (15ml)
1⅓ cup all-purpose flour (6¼ ounces/175g)

Dough:
1 tablespoon + 1 teaspoon active dry yeast (20ml)
1¾ cup whole milk (14 ounces/425 ml)
6 cups all-purpose flour (28 ounces/800g)
⅓ cup sugar (2½ ounces/70g)
1 tablespoon + 1 teaspoon salt (20 ml)
1 tablespoons unsalted butter (15ml)

Roll-in butter:
2¾ cup unsalted butter (22 ounces/625 g)

Egg wash:
4 large egg yolks (2 ounces/60 ml)
¼ cup heavy cream
pinch salt

To Make the Preferment:

In a small saucepan, warm the milk to take the chill off (between 80° to 90 °F). Pour the milk into a mixing bowl, sprinkle the yeast over the milk, stir to dissolve the yeast with a wooden spoon, and then add the flour, mixing with a wooden spoon until a smooth batter forms. Cover the bowl with cheesecloth and let the mixture rise until almost double in volume, 2 to 3 hours at moderate temperature or overnight in the refrigerator.

To Make the Dough:

First measure out all your ingredients and keep them near at hand. Transfer the preferment and then the yeast to the large bowl of a stand mixer fitted with the dough hook. Mix on low speed until the yeast is incorporated into the preferment batter, which will take a minute or two. Stop the mixer as needed and use a spatula to clean the bottom and sides of the bowl, folding the loosened portion into the mixture to incorporate all the elements fully. When the mixture has come together into an even, well-mixed mass, increase the speed to medium, and mix for a couple of minutes. Slowly add half of the milk and continue to mix until the milk is fully incorporated.

Reduce the speed to low, add the flour, sugar, salt, melted butter, and the rest of the milk, and mix until the mass comes together in a loose dough, about 3 minutes. Turn off the mixer and let the dough rest for 15 to 20 minutes. This resting period helps to shorten the final mixing phase, which comes next.

Engage the mixer again on low speed and mix until the dough is smooth and elastic, a maximum of 4 minutes. If the dough is very firm, add a little milk, 1 tablespoon at a time. Take care not to overmix the dough, which will result in a tough croissant that also turns stale more quickly. Remember, too, you will be rolling out the dough several times, which will further develop the gluten structure, so though you want a smooth dough, the less mixing you do to achieve that goal, the better. Cover the bowl with cheesecloth and let the dough rise in a cool place until the volume increases by half, about 1½ hours.

Lightly flour a work surface. Transfer the dough to the floured surface and press into a rectangle 2 inches thick. Wrap the rectangle in plastic wrap, or slip it into a plastic bag and seal closed. Place the dough in the refrigerator to chill for 4 to 6 hours.

To Make the Roll-in butter:

About 1 hour before you are ready to start laminating the dough, put the butter that you will be rolling into the dough in the bowl of the mixer fitted with the paddle attachment. Mix on medium speed until malleable but not warm or soft, about 3 minutes. Remove the butter from the bowl, wrap in plastic wrap, and place in the refrigerator to chill but not resolidify.

Laminating the dough:

Lightly dust a cool work surface, and then remove the chilled dough and the butter from the refrigerator. Unwrap the dough and place it on the floured surface. Roll out the dough into a rectangle 28 by 12 inches. With the long side of the rectangle facing you, and starting from the left side, spread and spot the butter over two-thirds of the length of the rectangle. Fold the uncovered third over the butter and then fold the left-hand third over the center, as if folding a business letter. The resulting rectangle is known as a plaque. With your fingers, push down along the seams on the top and the bottom to seal in the plaque.

Second turn:

Give the plaque a quarter turn so the seams are to your right and left, rather than at the top and bottom. Again, roll out the dough into a rectangle 28 by 12 inches, and fold again in the same manner. Wrap in plastic wrap or slip into a plastic bag and place in the refrigerator for 1½ to 2 hours to relax the gluten in the dough before you make the third fold, or “turn”.

Third turn:

Clean the work surface, dust again with flour, and remove the dough from the refrigerator. Unwrap, place on the floured surface, and again roll out into a rectangle 28 by 12 inches. Fold into thirds in the same manner. You should have a plaque of dough measuring about 9 by 12 inches, about the size of a quarter sheet pan, and 1½ to 2 inches thick. Wrap in plastic wrap or slip into the plastic bag, place on a quarter sheet pan, and immediately place in the freezer to chill for at least 1 hour. If you intend to make the croissants the next morning, leave the dough in the freezer until the evening and then transfer it to the refrigerator before retiring. The next morning, the dough will be ready to roll out and form into croissants, proof, and bake. Or, you can leave the dough in the freezer for up to 1 week; just remember to transfer it to the refrigerator to thaw overnight before using.

Making the croissant:

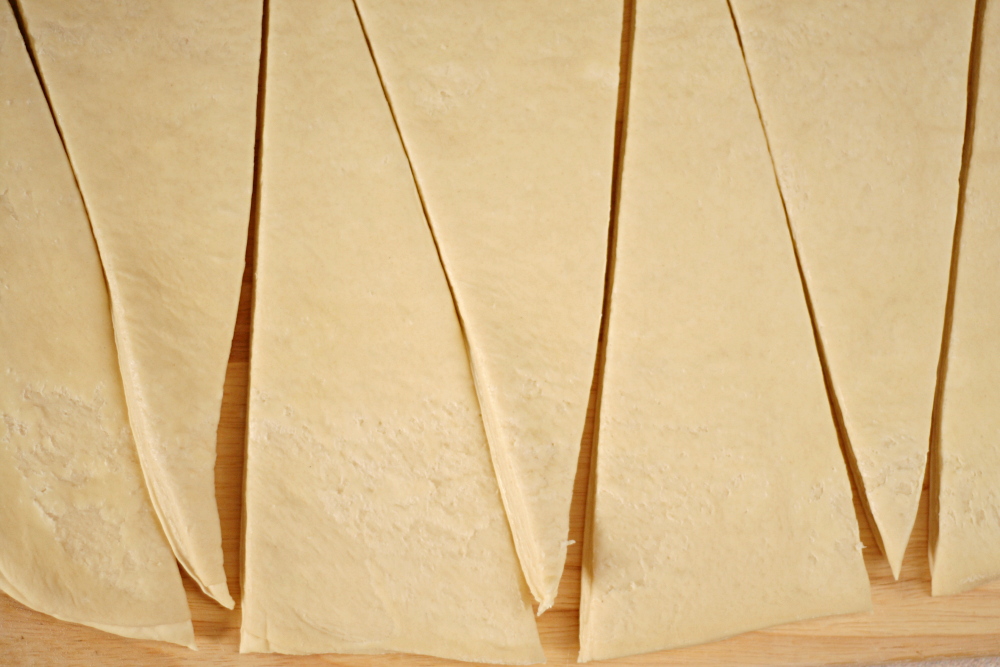
When you are ready to roll out the dough, dust the work surface again. Roll out the dough into a rectangle 32 by 12 inches and 3/8 inches thick. Using a pizza wheel or chef’s knife, cut the dough into long triangles that measure 10 to 12 inches on each side and about 4 inches along the base.

Line a half sheet pan (about 13 by 18 inches) with parchment paper. To shape each croissant, position a triangle with the base facing you. Positioning your palms on the two outer points of the base, carefully rolling the base toward the point. To finish, grab the point with one hand, stretching it slightly, and continue to roll, tucking the point underneath the rolled dough so that the croissant will stand tall when you place it on the sheet pan. If you have properly shaped the croissant, it will have 6 or 7 ridges.
As you form the croissants, place them, well-spaced, on the prepared half-sheet pan. When all the croissants are on the pan, set the pan in a draft-free area with relatively high humidity, and let the pastries rise for 2 to 3 hours. The ideal temperature is 75 °F. A bit cooler or warmer is all right, as long as the temperature is not warm enough to melt the layers of butter in the dough, which would yield greasy pastries. Cooler is preferable and will increase the rising time and with it the flavor development. For example, the home oven (turned off) with a pan of steaming water placed in the bottom is a good place for proofing leavened baked items. To make sure that no skin forms on the pastries during this final rising, refresh the pan of water halfway through the rising.

During this final rising, the croissants should at least double in size and look noticeably puffy. If when you press a croissant lightly with a fingertip, the indentation fills in slowly, the croissants are almost ready to bake. At this point, the croissants should still be slightly “firm” and holding their shape and neither spongy nor starting to slouch. If you have put the croissants into the oven to proof, remove them now and set the oven to 425 °F to preheat for 20 to 30 minutes.

About 10 minutes before you are ready to bake the croissants, make the egg wash. In a small bowl, whisk together the egg yolks, cream, and salt until you have a pale yellow mixture. Using a pastry brush, lightly and carefully brush the yolk mixture on the pastries, being careful not to allow the egg wash to drip onto the pan. Let the wash dry slightly, about 10 minutes, before baking.

Place the croissants into the oven, immediately turn down the oven temperature to 400 °F, and leave the door shut for the first 10 minutes. Then working quickly, open the oven door, rotate the pan 180 degrees, and close the door. This rotation will help the pastries to bake evenly. Bake for 6 to 10 minutes longer, rotating the pan again during this time if the croissants do not appear to be baking evenly. The croissants should be done in 15 to 20 minutes total. They are ready when they are a deep golden brown on the top and bottom, crisp on the outside and light when they are picked up, indicating that the interior is cooked through.

Remove the croissants from the oven and place them on a wire rack to cool. As they cool, their moist interiors will set up. They are best if eaten while they are still slightly warm. If they have just cooled to room temperature, they are fine as well, or you can rewarm them in a 375°F oven for 6 to 8 minutes to recrisp them before serving. You can also store leftover croissants in an airtight container at room temperature for 1 day, and then afterward in the refrigerator for up to 3 days. If you have stored them, recrisp them in the oven before serving.

copy-of-img_4779

brandied berry crepes

copy-of-img_3826

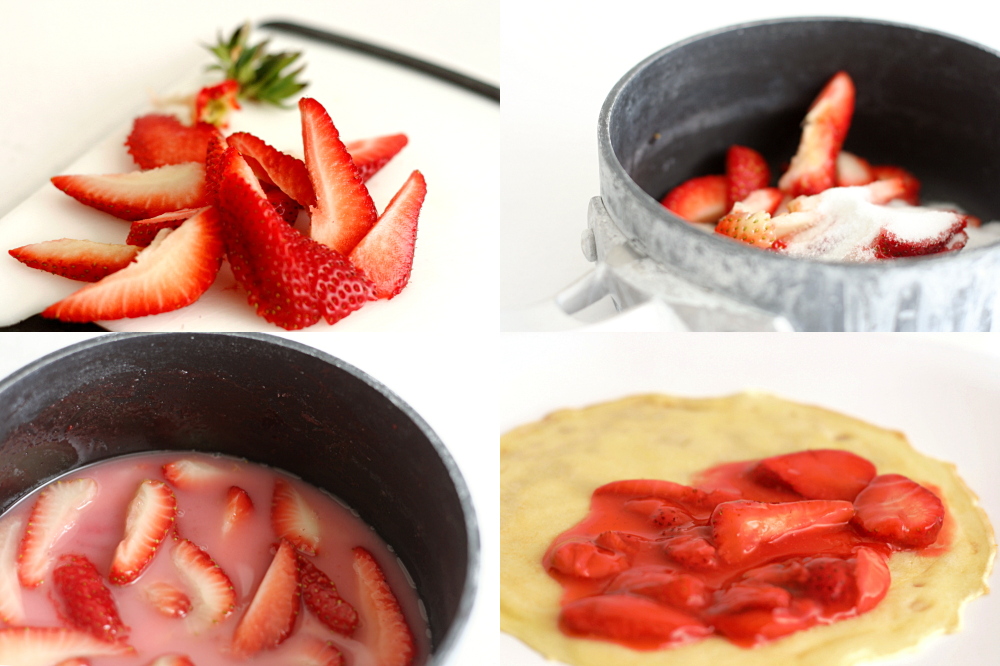
When I scoped out the fresh blueberry selection while shopping for the blueberry crumb cake a few weeks ago, I caught a strong scent of strawberries. Yay! I hadn’t seen them there, hadn’t even though to look for them yet, but I definitely wasn’t passing them up. After months of apples and pumpkin, I am so ready for some different fruit. Since then, I’ve been using strawberries in everything possible.

copy-of-copy-of-img_3818

I made crepes a few months ago, and while I was perfectly happy with the recipe I used, I decided to try a new one anyway. I didn’t use any whole wheat flour this time, but this recipe uses a quarter of the butter as the other one, which is even better. I just mixed everything in a blender and let it set while I waited a few hours for Dave to wake up.

copy-of-img_3831

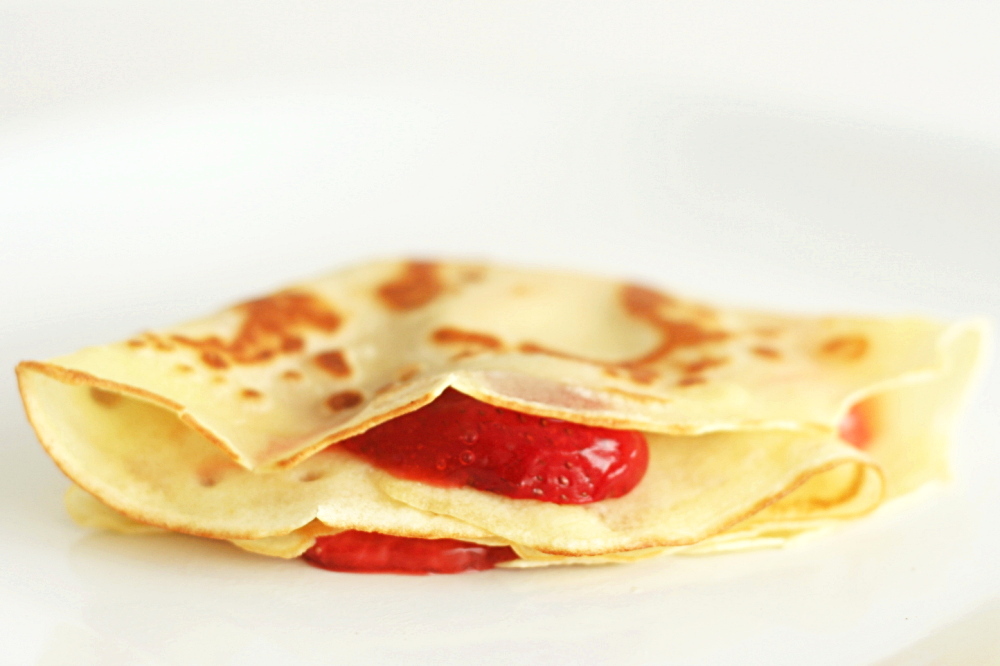
The filling was more of an adventure. Berries and sugar are heated to dissolve the sugar, then a mixture of cornstarch and kirsch is added. The filling is finished off with lemon juice and more fresh berries. For one pound of berries, the filling has ¼ cup kirsch, which seemed on the high side, especially considering the very low quality of my kirsch (and that this is breakfast). Then I accidentally added twice as much alcohol as I was supposed to. Blech, it was disgusting – it tasted like a college party. Fortunately, I had more of everything else, so I just doubled the rest of the ingredients. It still has a pretty strong alcohol flavor, but in a good way.

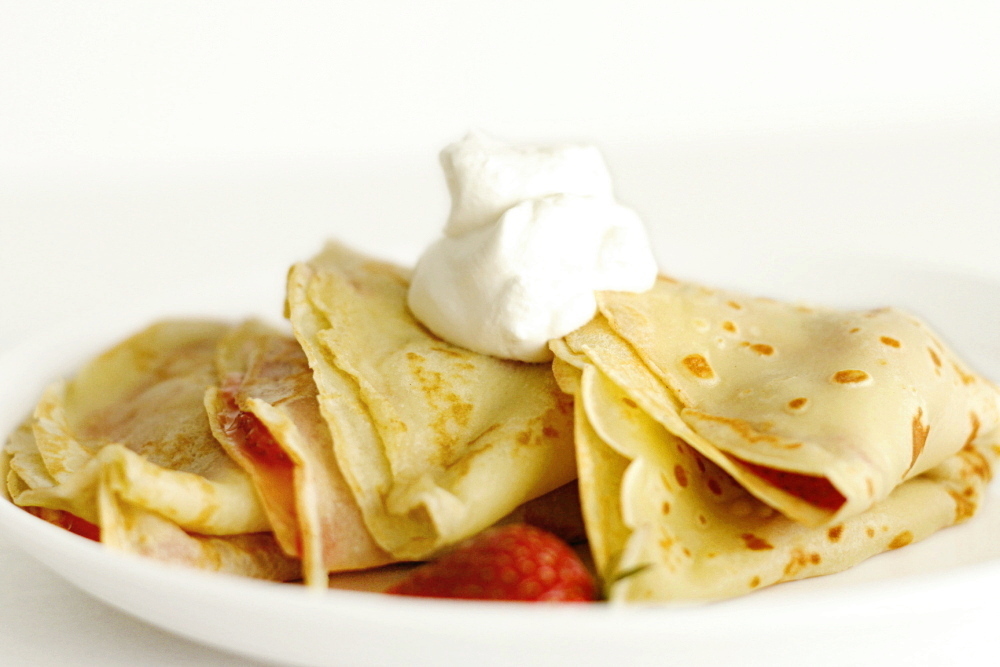
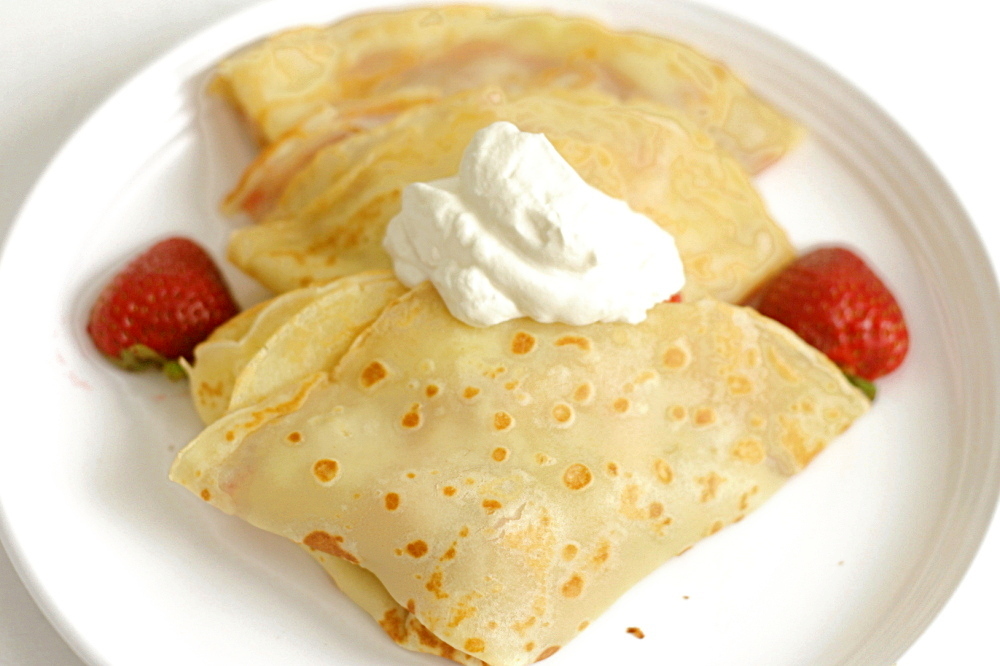
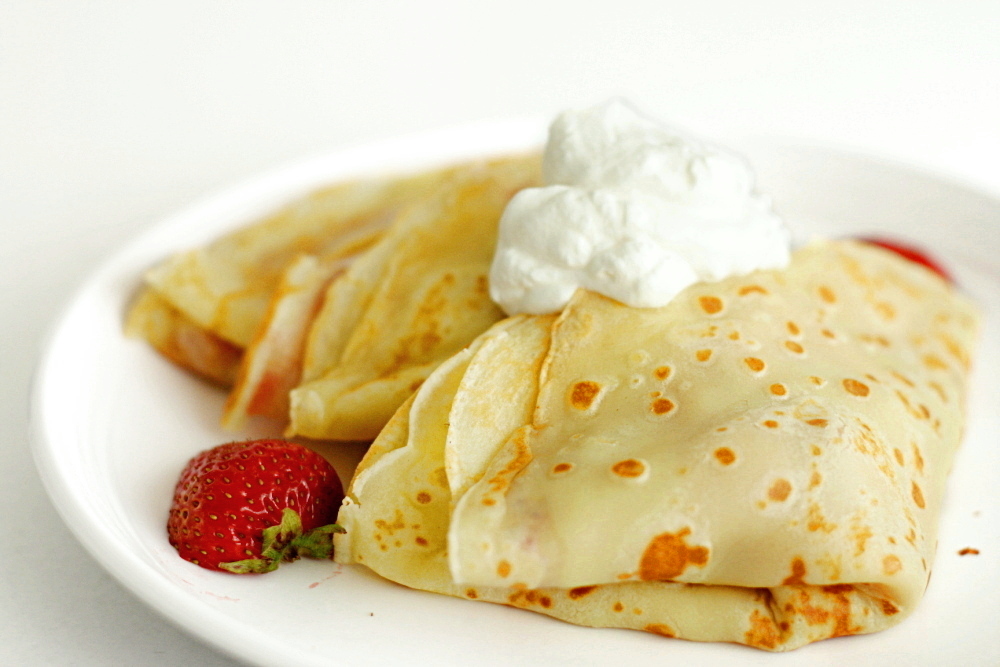
Topping with whipped cream, it’s a pretty decadent breakfast, one that could easily pass as dessert. But who wants to wait all day for something this good?

copy-of-img_3827

One year ago: Almond Biscotti – still the best biscotti I’ve made

Brandied Berry Crepes (adapted from Williams-Sonoma Desserts via Evan’s Kitchen Ramblings)

For the crepe batter:
1¾ cup + 2 tablespoons (8.8 ounces) all-purpose flour
1 tablespoon sugar
¼ teaspoon salt
1 cup + 1 tablespoon milk
1 egg
1 egg yolk
2 tablespoons butter, melted, plus more for cooking the crepes
1 teaspoon vanilla extract

For the filling:
8 ounces mixed berries or berry puree
¼ cup (1.75 ounces) sugar
pinch salt
1½ tablespoon cornstarch
¼ cup brandy, preferably kirsch
1 tablespoon lemon juice
8 ounces mixed berries

1. For the crepe batter: Add all of the ingredients to the blender and blend until smooth. Let stand for at least 15 minutes or refrigerate for up to 8 hours.

2. For filling: Combine cornstarch and brandy in a small bowl. Combine the mixed berries or berry puree, the sugar, and the salt in a medium saucepan, then cook over medium heat, stirring, until the sugar is dissolved. Reduce the heat to maintain a simmer, then stir in the brandy mixture and cook until slightly thickened. Remove from heat. Stir in the lemon juice and add the remaining berries. Set aside.

3. Preheat a crepe pan or medium nonstick skillet of medium heat. When hot, grease with a dollop of butter (using a stick of butter to smear some directly on the skillet works nicely), and add enough batter to coat the skillet in a thin, even layer when you swivel the skillet around in your hand. Cook just until batter is set and golden on bottom, then flip and cook on second side for another minute or two. Repeat with the remaining batter, stacking the cooked crepes on a plate.

4. Spoon filling onto crepes, fold into quarters and serve.

copy-of-img_3829

french yogurt cake

copy-of-img_2446

While shopping for baking ingredients recently, I was inwardly complaining about recipes that call for a volume amount of ground nuts. I’ve never been able to find ground nuts in my well-stocked grocery store. That means that I have to grind my own, which is annoying because my food processor takes up basically my whole dishwasher, plus, if we’re going to have to grind our own nuts, shouldn’t the recipe indicate how much whole nuts we’ll need to grind to get the right amount of ground nuts? Blah blah blah, whine whine whine, and then I stumbled upon this:

copy-of-img_2258

Never mind! Let me tell you some things that don’t matter to me about buying these: 1) It’s probably far more expensive than grinding my own. 2) It’s going to take me months to use up a pound of ground almonds. Oh, and 3) these were the wrong type of nut for the recipe I bought them for. Whatever! Yay for not using the food processor!

copy-of-img_2436

With pre-ground nuts, this cake was really easy. I had a bit of a time crunch due to traveling, so I made it at my place Thursday night, then packed it in my suitcase the next day when I flew across the country. My sister and brother-in-law and I snacked on it the next night after putting my nephews to bed.

copy-of-img_2439

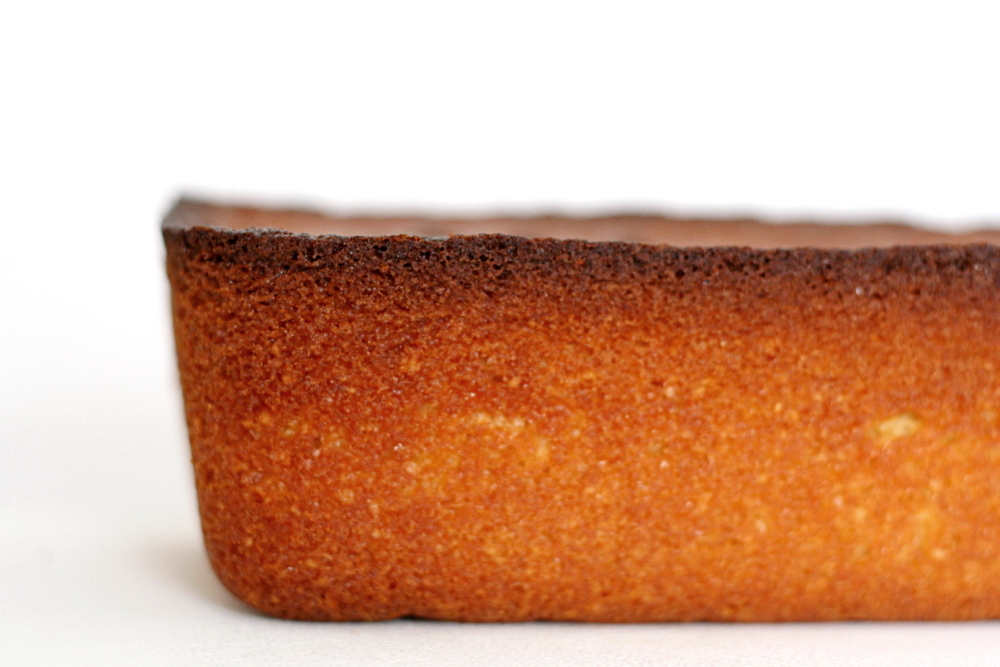
Dorie says twice in her introduction that the recipe is foolproof, so of course I had problems. Clearly the top of the cake is too dark, bordering on burned. I’m blaming my pyrex, instead of metal, loaf pan. I suppose I should lower the oven temperature 25 degrees when baking in pyrex. I didn’t want to serve the burned portion, so I trimmed it off before planning to add the glaze. Then I ate the trimmings and found them so tasty (and not burned-tasting at all) that I decided to skip the glaze altogether.

copy-of-img_2445

The cake was easy and delicious, sturdy enough to travel across the country with me, and was appropriate after dinner one night and for breakfast a few days later. Plus, I’ve now fairly well established that there’s a difference between baking in pyrex and metal that I’ll need to make adjustments for in the future. Altogether, a good Tuesdays with Dorie week for me. The recipe is posted on Liliana’s site.

One year ago: My first attempt at sushi rolls

copy-of-img_2493

french pear tart

copy-of-img_1195

This tart had everything going against it. For one thing, I wasn’t in the mood to make a three-part dessert. For another, Dorie says that it’s supposed to be eaten the day it’s assembled, and I had my doubts that Dave and I would be eating the whole thing in one day. But that worked out – I made a third of the recipe, which I divided between two mini-tart pans. I prepared the ingredients, but didn’t layer them or bake each tart until the day I planned to eat it.

copy-of-copy-of-img_1189

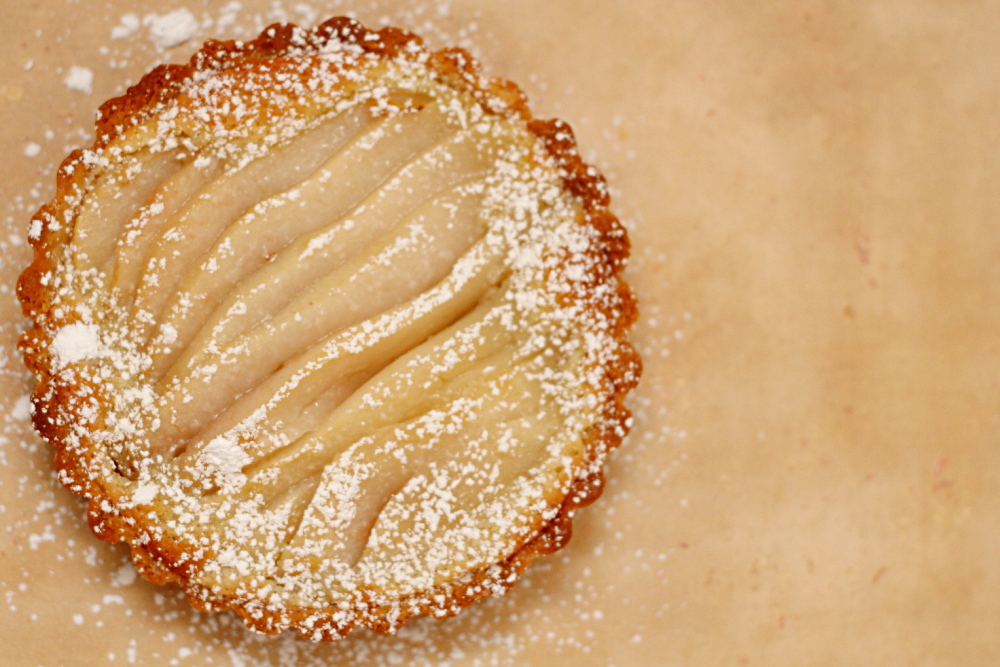
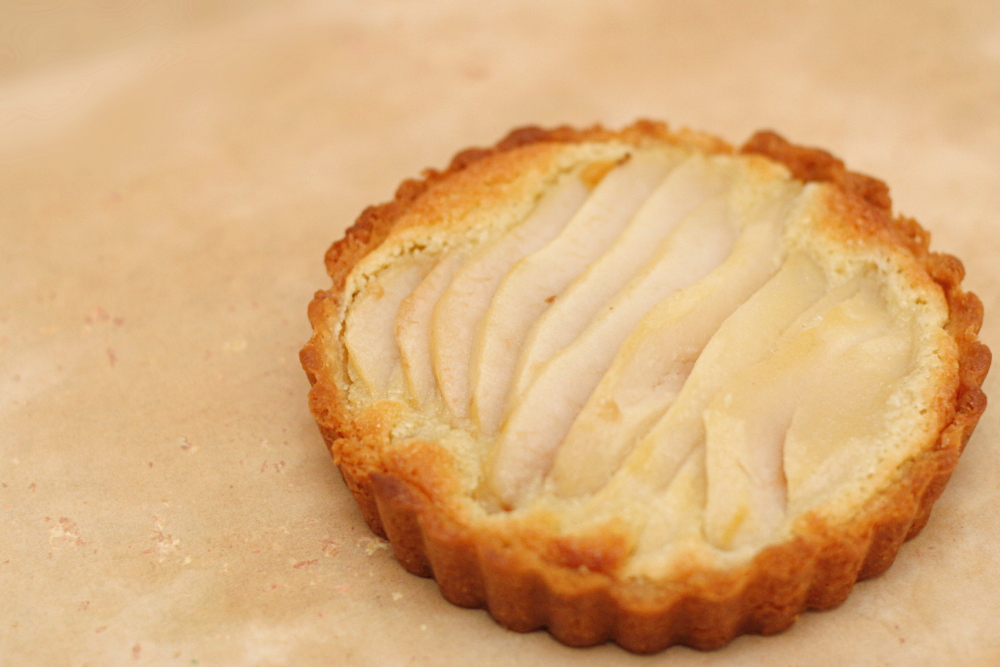
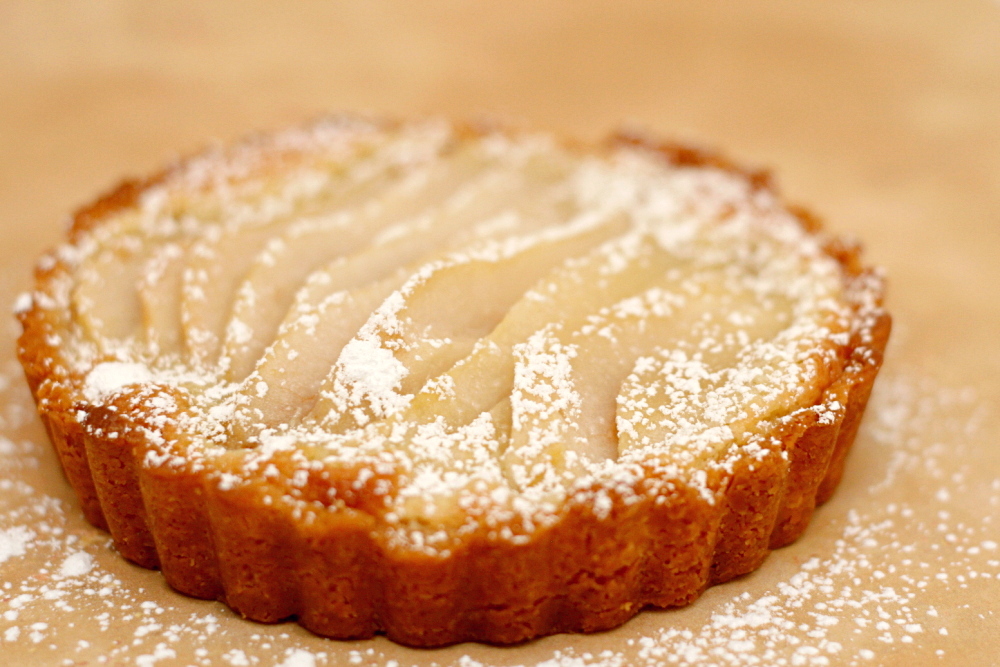
I was too tired to take photos of the finished tart the first night we ate it. But the second night was even worse – Dave had very attentively refilled my wineglass throughout the evening, and I was hard-pressed to find the motivation to take photos of food. Plus the second tart (the drunk one) wasn’t as pretty as the first tart (the tired one). Imagine that.

copy-of-img_1180

But all’s well that ends well, because the tart was delicious. The crust was crisp but not tough, and the almond cream complimented the pears nicely. The dessert was pretty sweet and I could have used some more salt somewhere, but I say that every week. I had never eaten anything like this, so I’m really glad I tried it.

copy-of-img_1192

Dorie actually chose the recipe for us this week, and the recipe is posted on her blog.  Dorie has been fantastically supportive of Tuesdays with Dorie from the beginning of the group. She regularly answers questions, she’s posted about the group multiple times on her own blog, and this week she took the time to answer a number of interview-type questions that TWD members have wondered about for the past few months. I love baking along with a group and I enjoy the recipes from the book, and having Dorie interact with TWD so closely is the icing on the cake.

One year ago: Oatmeal.  We just had this last weekend – I love it during the winter.

copy-of-img_1196