I have been loyal to the first homemade tomato soup recipe I ever made. It was ten years ago, when I was just starting to up my cooking game. I’ve seen so many tomato soup recipes since then, but I’ve never felt any temptation to stray. My favorite recipe was comfortingly familiar, and I always knew that I’d be disappointed about any other recipe.
Apparently, adding meatballs to tomato soup puts it in a different category, so I’m willing to try it, even though there are more similarities than differences between the two recipes. The flavor base of my old favorite is shallots, which are cooked in butter with tomato paste until the mixture is dark and caramelized. Canned tomatoes are roasted until they’re dry and lightly browned before being stirred into aromatics along with the canning juice and chicken broth.

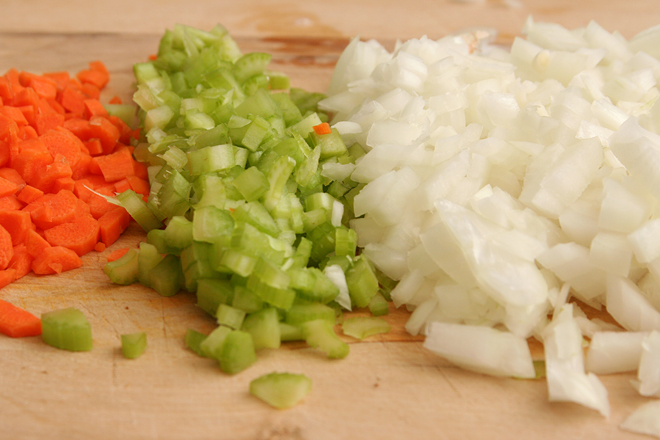
Replace the butter with olive oil and the shallots with a combination of onions, carrots, and celery, cook them a bit less, skip the tomato paste and add the tomatoes without roasting them, and you’ve got this new soup. The flavor is lighter, but I enjoyed it nearly as much and might actually prefer it once in a while.
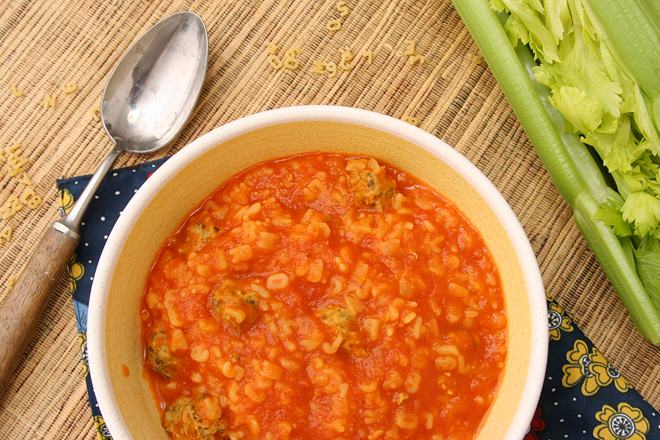
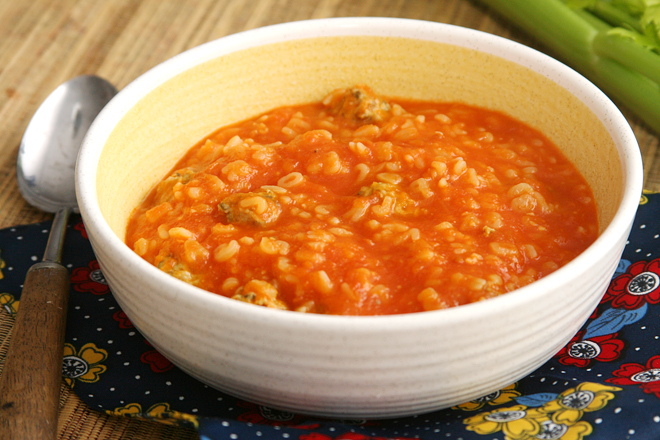
The meatballs, of course, are a fun addition, and together with the pasta, put this almost in the spaghettio’s category. I’d say it’s different enough not to compare to my standard recipe, but I just compared them. And that’s okay, because they’re both so great.
Printer Friendly Recipe
Tomato Soup with Pasta and Meatballs (adapted from America’s Test Kitchen Light and Healthy 2011)
4 servings
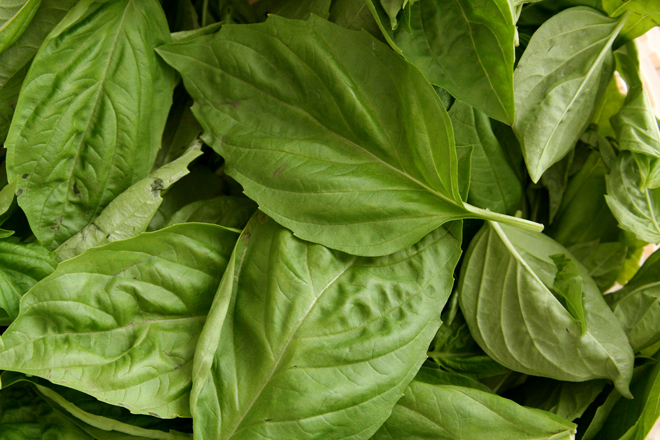
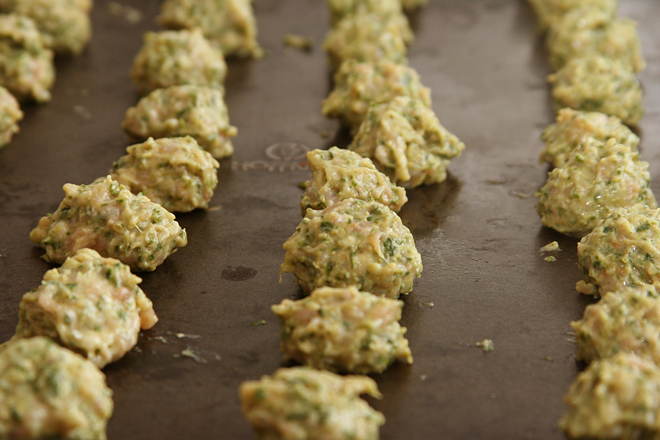
My meatballs ended up looking more like chicken-flavored pesto than pesto-flavored chicken, which might be because my homemade pesto has less oil (and therefore more basil per volume) than store-bought versions. Still, I’ve increased the chicken slightly. The soup could use more meatballs anyway.
I’ve probably made this slightly less healthy by increasing the pasta, but the original amount (4 ounces) was just a tease.
I usually cook with canned whole tomatoes instead of diced, because they break down more. I just chop them by sticking a pair of kitchen shears in the can and snipping away.
Meatballs:
8 ounces ground dark chicken (or a mix of dark and light meat)
3 tablespoons pesto
3 tablespoons fresh bread crumbs
⅛ teaspoon salt
Soup:
1 tablespoon olive oil
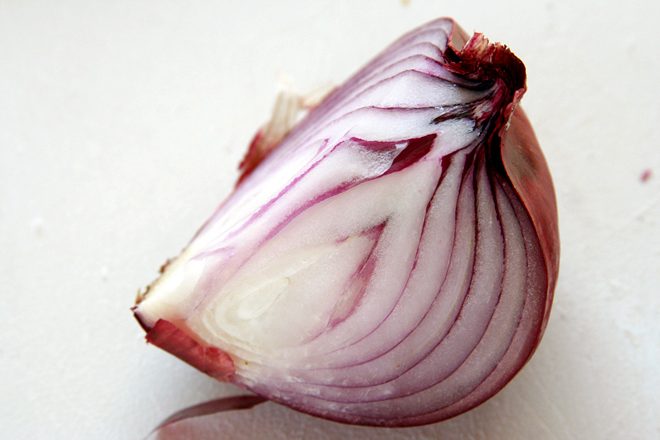
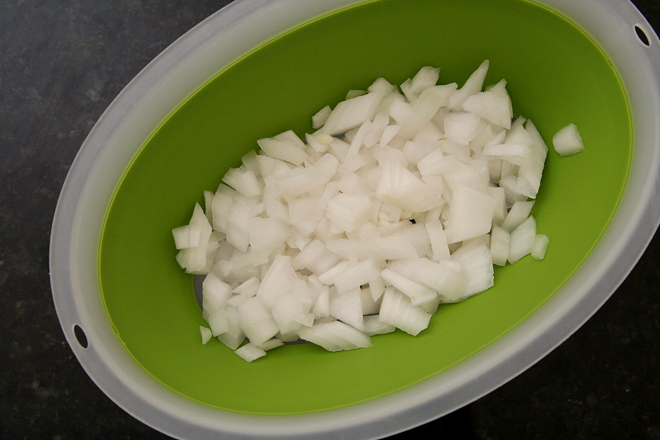
1 onion, diced
1 large carrot, peeled and diced
1 large celery rib, diced
Salt
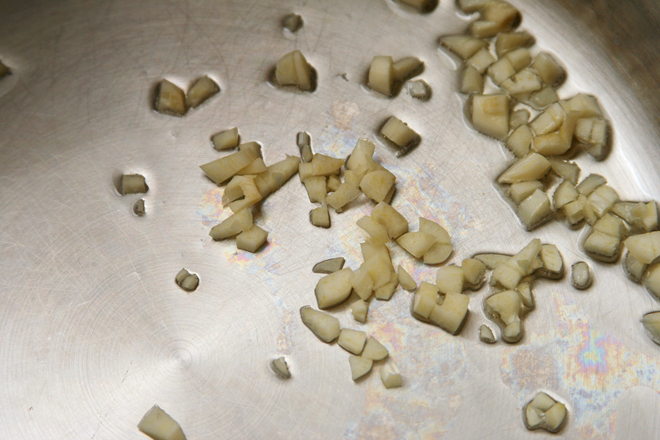
3 cloves garlic, minced
2½ cups reduced-sodium chicken broth
1 (28-ounce) can diced tomatoes or whole tomatoes, chopped
6 ounces uncooked small pasta, such as ditalini or alphabet noodles
1. In a medium mixing bowl, combine the chicken, pesto, bread crumbs, and salt. Mix thoroughly, then form into approximately forty ½-inch balls. Chill until needed.
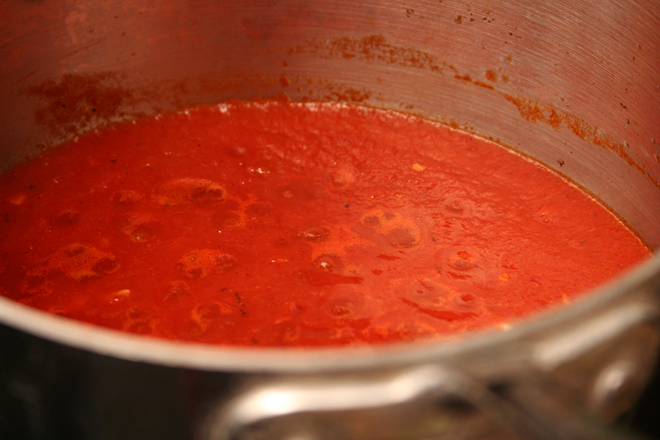
2. In a 3- or 4-quart saucepan, heat the oil over medium heat. Add the onion, carrot, celery, and ¼ teaspoon salt. Cover and cook, stirring occasionally, for 10 minutes, then uncover and cook until the mixture is dry, about 5 minutes. Add the garlic and cook, stirring constantly, until fragrant, about 1 minute. Add the chicken broth and tomatoes; bring to a simmer over medium-high heat, then reduce the heat to medium-low, cover, and simmer for 20 minutes to blend the flavors. Taste for seasoning and add salt if necessary.
3. Use an immersion blender to puree the soup, or transfer it in batches to a stand-up blender to puree, then return the soup to the pot. Bring to a boil over medium-high heat and add the meatballs and pasta. Cook, stirring frequently, until the noodles are tender and the meatballs are cooked through, about 10 minutes. Serve.