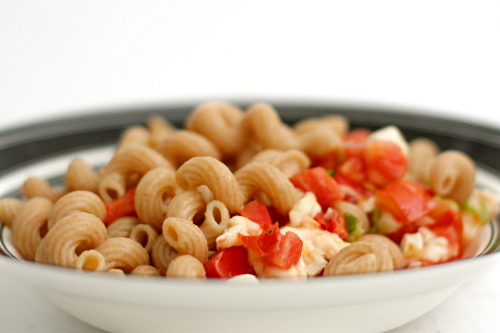
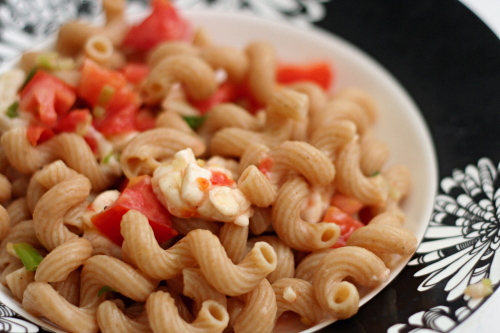
pasta with no-cook tomato sauce and fresh mozzarella

Copy of IMG_8005

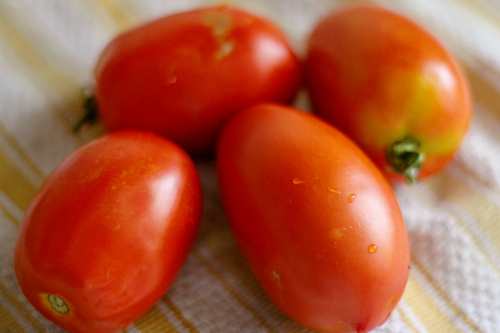
I know I’ve been harping on my love of summer lately, and I did the same thing last year. Honestly, while summer is undoubtedly my favorite season, fall is a not-too-distant second, and really, there are aspects I like about every season. But summer doesn’t just have sunlight and warmth and lightning bugs and beach trips and fireworks and…well, all of those other things I love, but very importantly, it has tomatoes.
Copy of IMG_7989

I love fresh summer tomatoes so much that, other than the very occasional container of cherry tomatoes, I don’t bother buying fresh tomatoes any other time of the year. Why set myself up for disappointment? Why bother with those dry, mealy, flavorless winter tomatoes? I’d rather just wait for the real thing.
Copy of IMG_7995

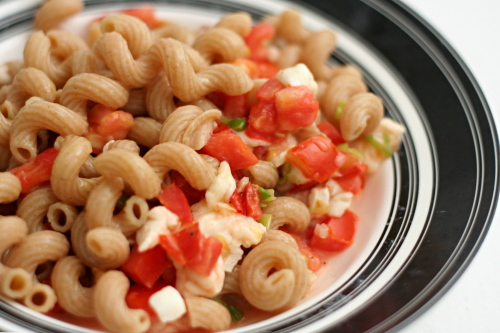
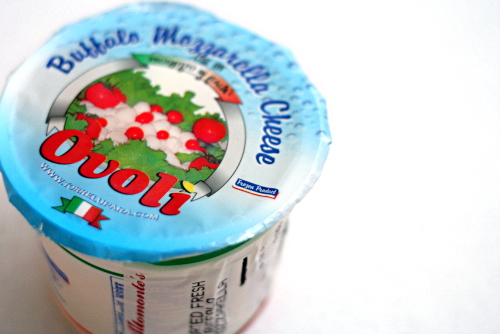
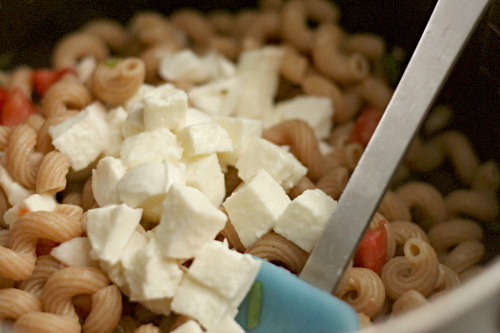
And then – then I go crazy. Gazpacho, BLTs, maybe a potato tomato tart, and this pasta. Oh this pasta. It’s a perfect meal. Super simple, it can be made in the time it takes to boil the noodles. The sauce, uncooked, retains the brightness of tomatoes at their peak, accented with smooth fresh mozzarella, tangy green onions, and fruity extra virgin olive oil.
Copy of IMG_7999

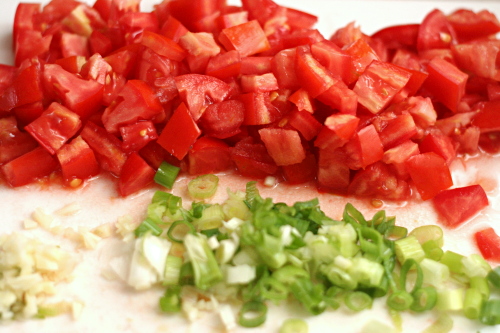
With almost no cooking and so few ingredients, you need to make sure you’re using the best ingredients you can get. Summer tomatoes, of course. Use whatever your favorite mozzarella is – this time I used buffalo mozzarella, but I’ve also tried the little balls my grocery sells in its olive bar, as well as the shrink-wrapped balls that I’m guessing are more widely available. Also, be careful of your garlic – I once made this (for a large group, no less) with some incredibly strong garlic, and it really ruined the whole dish. I recommend toasting the unpeeled cloves, either in a dry skillet or in the oven if it’s already on.
Copy of IMG_8001

Fall is closing in fast (pumpkin and cider and football and colorful trees and crisp air!) but there’s still time! We still have at least a month of wonderful tomatoes left! What are your favorite ways to use them?
Copy of IMG_8006

One year ago: Blueberry Sour Cream Ice Cream

Pasta with No-Cook Tomato Sauce and Fresh Mozzarella (from Cooks Illustrated)

This is the recipe directly from Cooks Illustrated. I do make a few small changes. First, I don’t seed the tomatoes, which does make the pasta a little wetter, but I just can’t throw away so much precious summer tomato flavor. I also use less oil, because, you know, fat and all that. And sometimes I reduce the amount of pasta.

Also, you’ll probably want to warm your serving bowl for this recipe.  I usually put the bowl in the oven, turn the oven on to warm for a few minutes, then turn the oven off, leaving the bowl in there until I’m ready for it.

salt
1 pound pasta (a short, curly type is best)
1½ pounds ripe tomatoes, cored, seeded, and cut into ½-inch dice
¼ cup extra virgin olive oil
1 medium garlic clove, minced or pressed through a garlic press
3 medium scallions, sliced thin
ground black pepper
8 ounces fresh mozzarella cheese, cut into ½-inch cubes

1. Bring 4 quarts water to a rolling boil in a large pot. Add 1 tablespoon salt and the pasta to the boiling water, stir to separate the noodles, and cook until al dente. Drain and return the pasta to the pot.

2. While the pasta is cooking, prepare the sauce. Combine the tomatoes, oil, garlic, scallions, ½ teaspoon salt, and ¼ teaspoon pepper in a medium bowl. Add the tomato mixture and mozzarella to the pasta in the pot and toss to combine. Adjust the seasonings with salt and pepper to taste and serve immediately.
Copy of IMG_8002

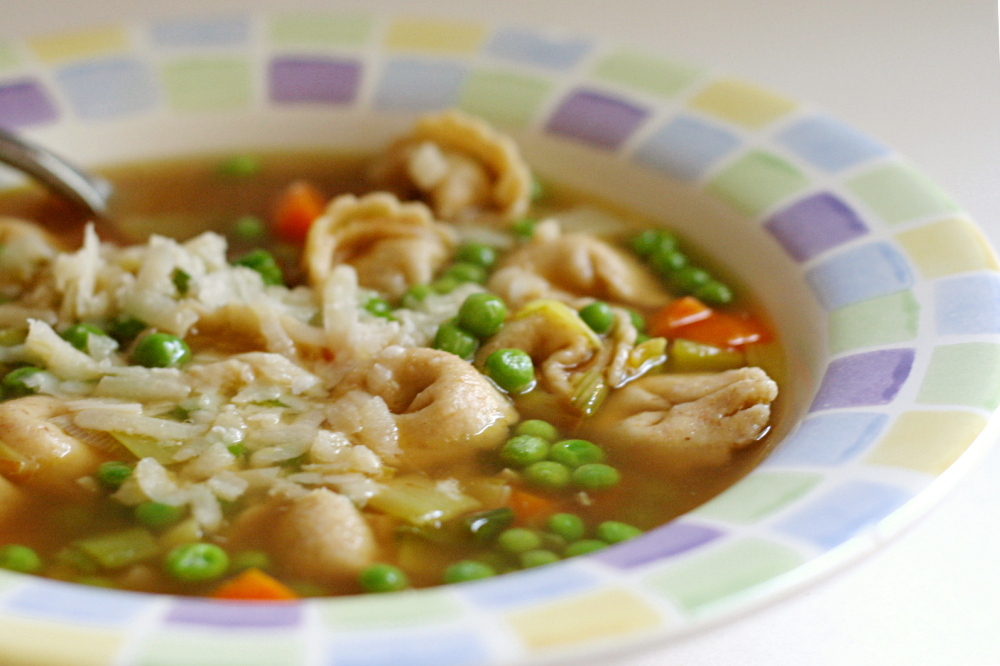
tortellini soup with carrots, peas and leeks

Copy of IMG_7222

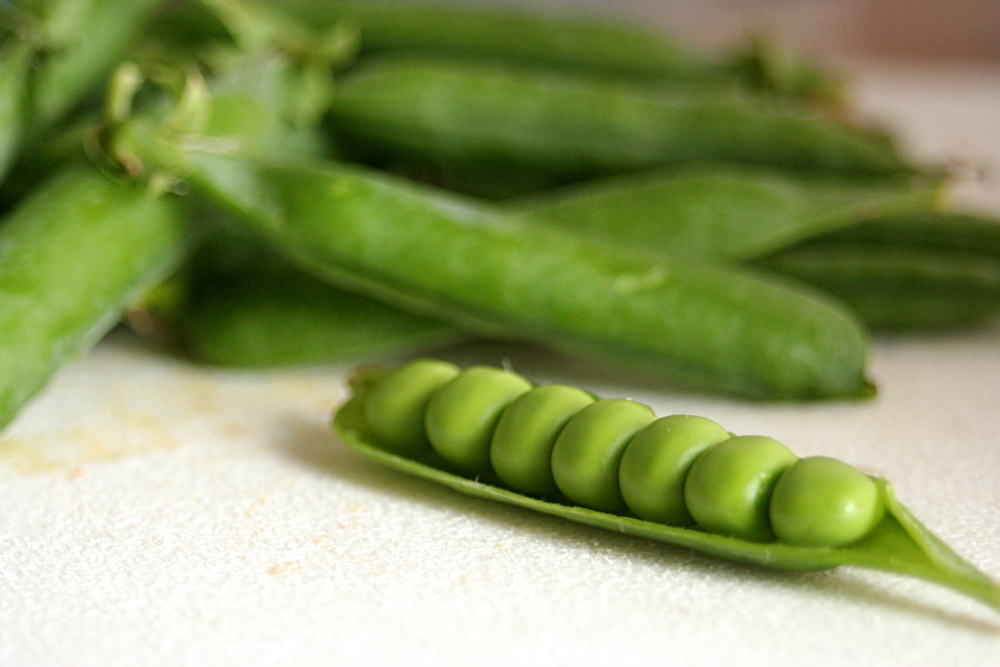
It turns out that pea-picking is way more fun than strawberry picking. For one thing, it isn’t nearly as crowded. Shocking, I know, that strawberries are more popular than peas. There’s also nothing squishy lurking under the foliage, and the peas are plentiful and just demanding to be picked. And pick we did, far more than we needed for this soup.

Copy of IMG_7448

I know, it’s July, and you’re not interested in soup. Rest assured that I tried it both ways, and it’s just as good with frozen peas, so you’re free to wait until the weather cools down a bit. Either way, it takes all of 15 minutes to make. Even better, it covers all of your nutritional bases, making side dishes unnecessary, although we found that a chunk of crusty bread is a welcome addition.

Copy of Copy of IMG_7433

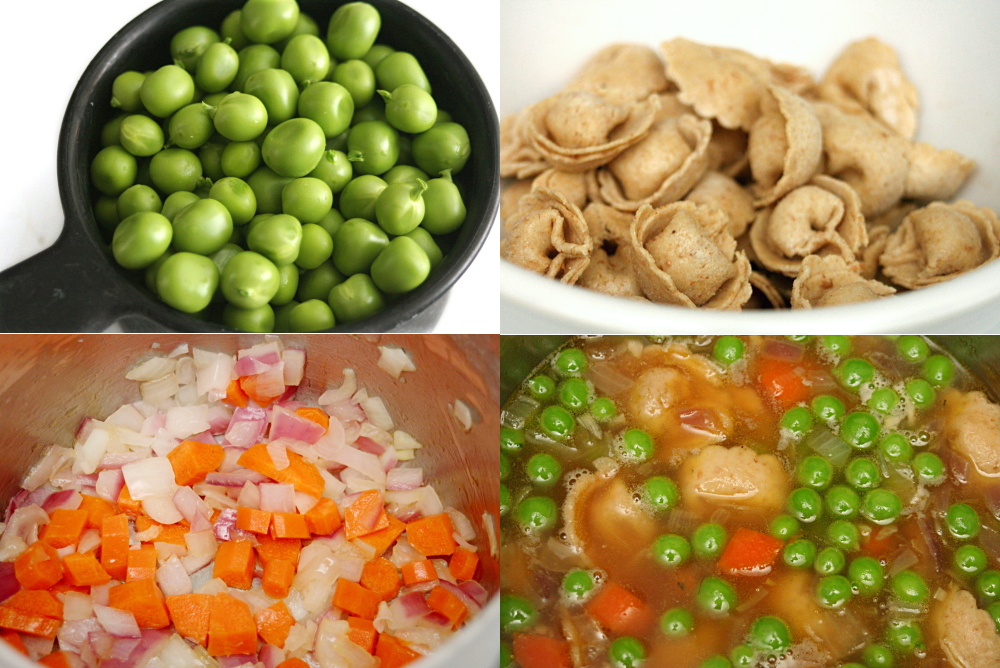
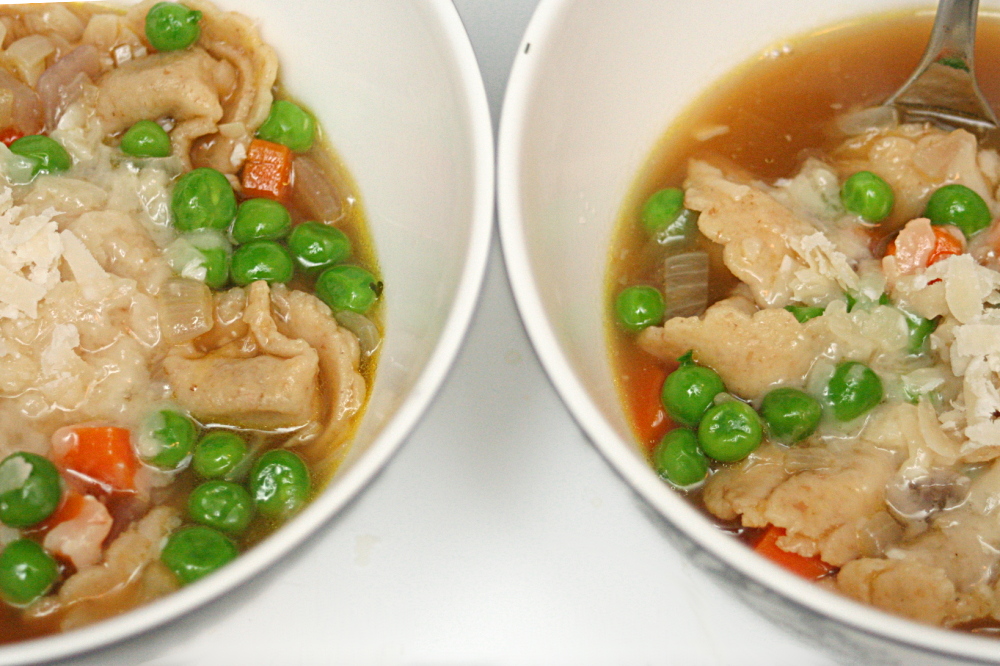
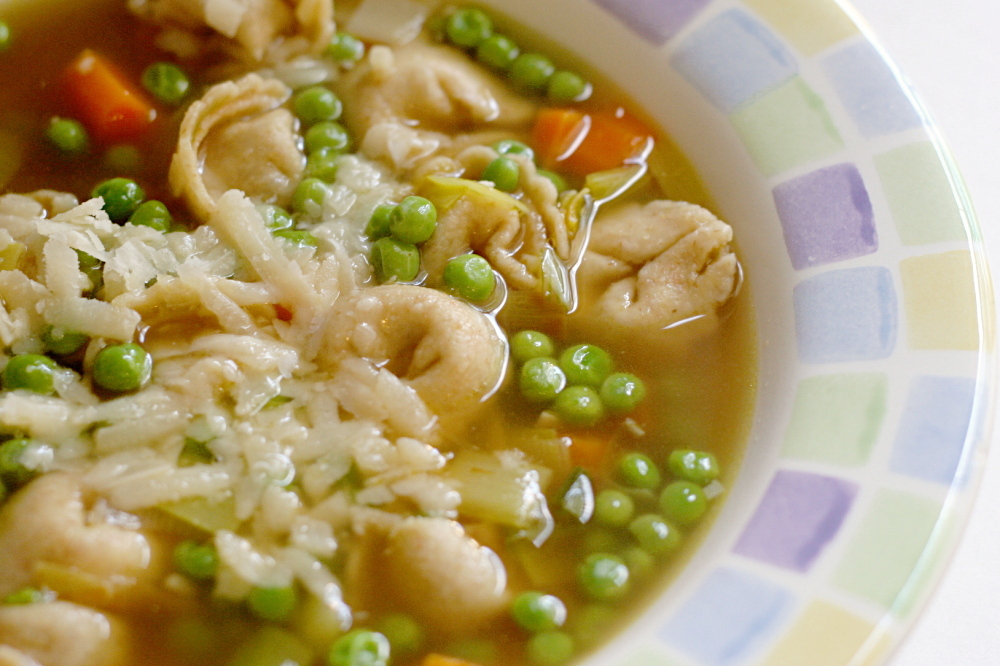
It comes together like any soup, starting with sautéing aromatics, adding broth, then tortellini, and finally the peas near the end. Pour it into bowls, top with some parmesan, and enjoy an assortment of light, spring flavors.

Copy of IMG_7457

One year ago: Cherry Rhubarb Cobbler

Tortellini Soup with Carrots, Peas and Leeks (from Fine Cooking, November 2006)

I doubled, or maybe even quadrupled the carrot. Also, the second time I made it (when I took photos), I didn’t have leeks, so I had to use red onion instead.

2 medium leeks (12 ounces untrimmed)
1 tablespoons unsalted butter
3 cloves garlic, finely chopped (about 1 tablespoon)
½ medium carrot, peeled and finely diced (2 tablespoons)
kosher salt
freshly ground black pepper
5 cups low-salt canned chicken broth
8 ounces frozen cheese tortellini
1 cup frozen peas
¼ cup (½ ounce) freshly grated Parmigiano-Reggiano or Grana Padano

1. Trim the roots and dark green leaves from the leeks. Slice the white and light green part in half lengthwise and then slice the halves thinly crosswise. Rinse well and drain.

2. Melt the butter in a 4-quart saucepan over medium heat. Add the garlic, leeks, and carrot. Season with a couple pinches of salt and cook, stirring occasionally, until tender, 5 to 7 minutes. (It’s fine if the vegetables brown lightly.) Stir in ¼ teaspoon pepper and cook for about 20 seconds, then add the chicken broth and bring to a boil. Add the tortellini and cook for 3 minutes. Reduce the heat to a simmer and add the peas. Continue to simmer until the tortellini are cooked, 3 to 5 minutes.

3. Season to taste with salt and pepper. Portion the soup into warm bowls, top each with some of the cheese, and serve.

Copy of IMG_7223

seafood lasagna

Copy of IMG_5691

My sister reads my blog, more because she likes me than because she likes cooking.  She doesn’t hate to cook; but she has a full-time job, two toddlers, and the normal allotment of hobbies, friends, and family to balance.

Copy of IMG_5638

I try to keep her in mind when I need perspective, so I don’t say things like “this extra step is worth the effort.”  It’s all relative.  It’s worth it to me, sure, but I like cooking enough to have a blog about it.  What’s worth the effort for her is very different than it is for me.

Copy of IMG_5642

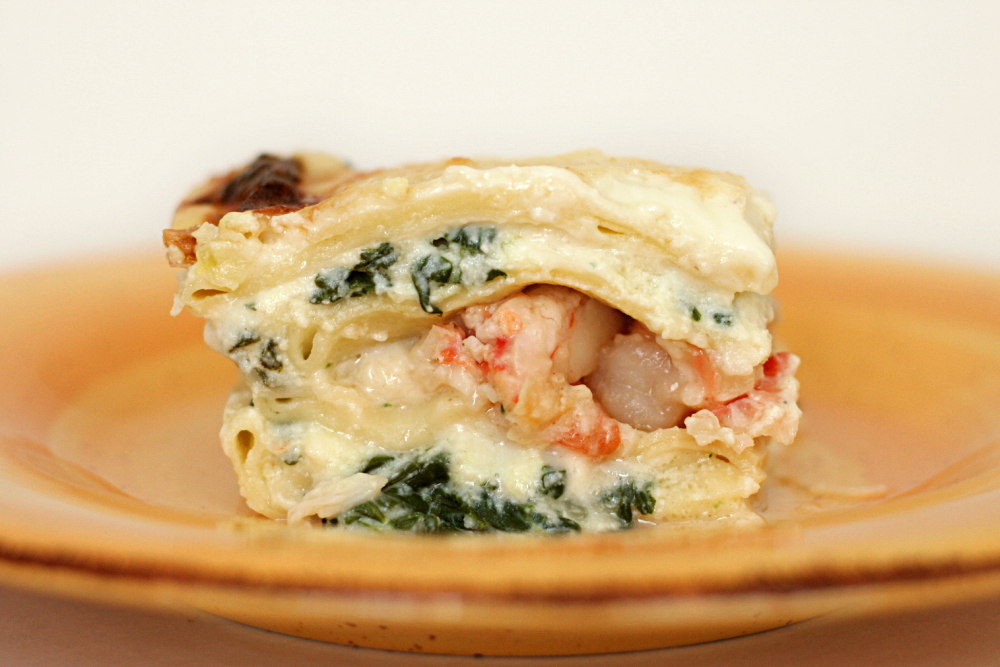
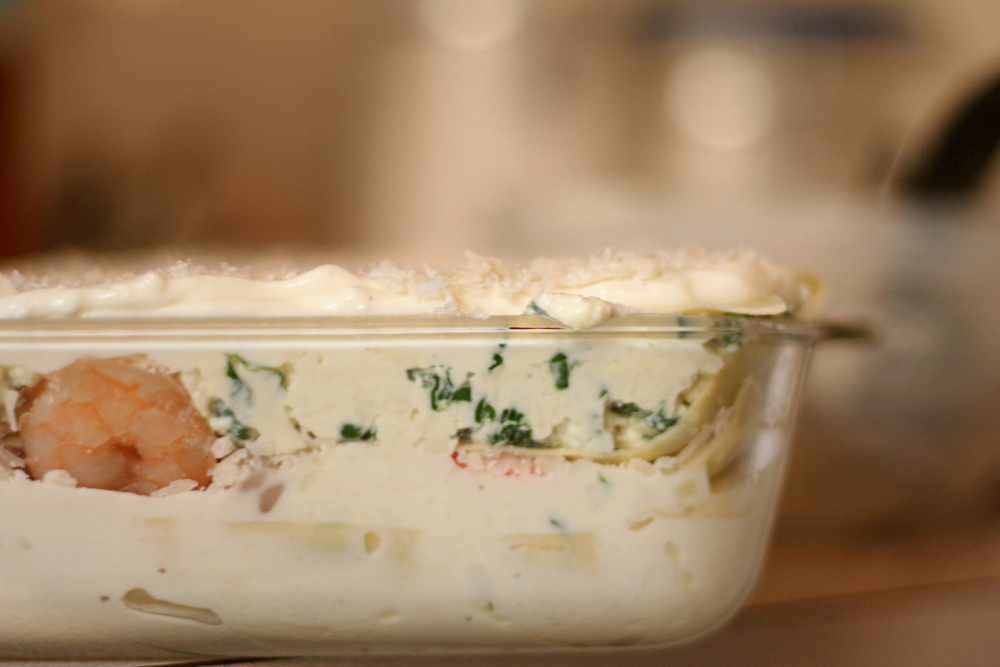
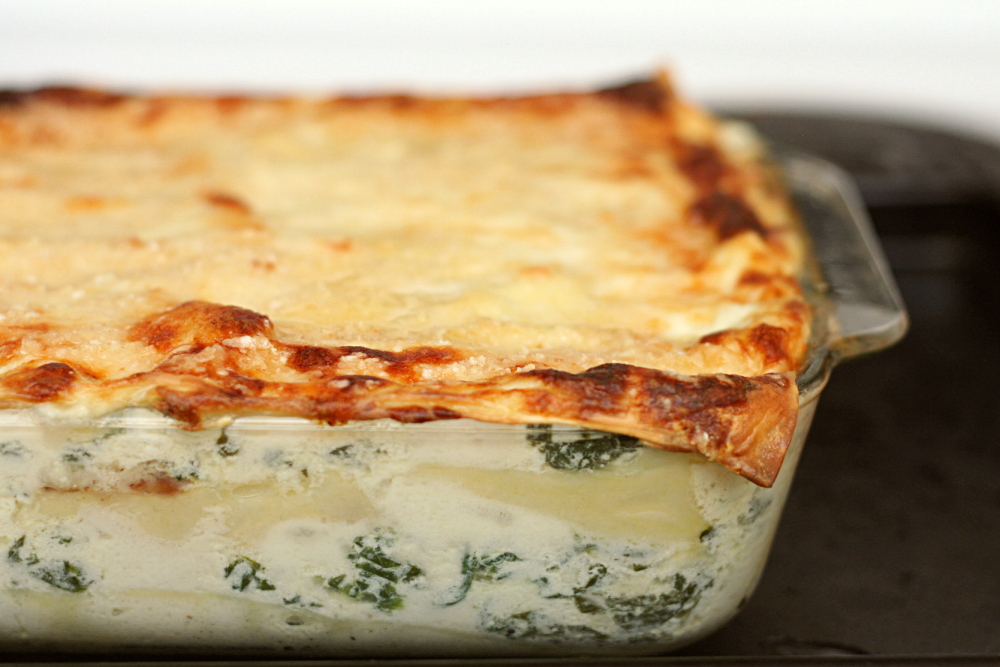
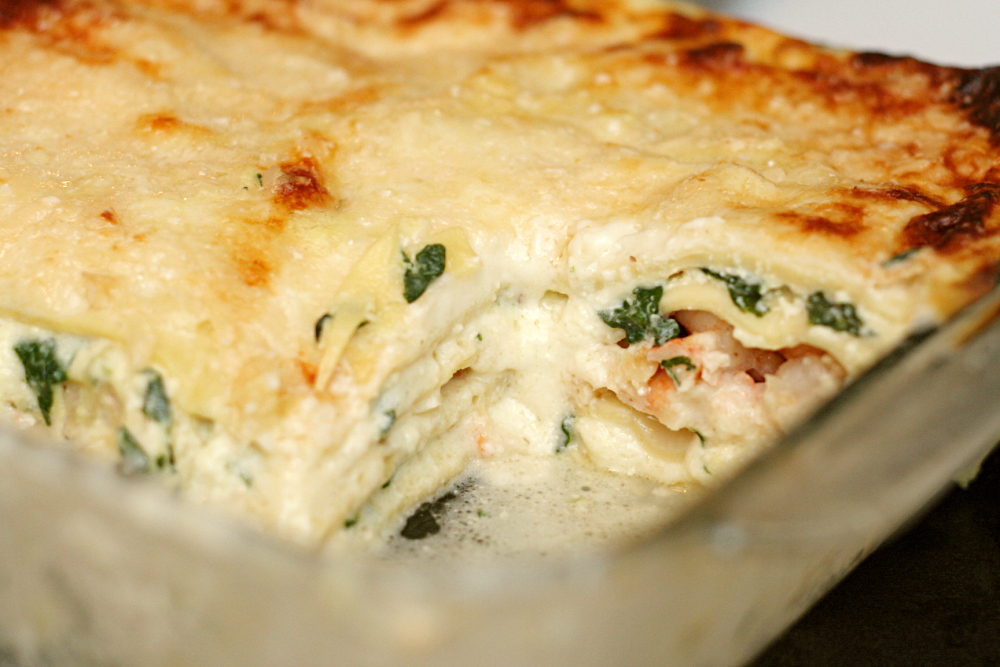
For example, my sister would not make this lasagna. This lasagna is a lot, a lot, of effort. It was worth it to me, sure, not just because the lasagna turned out amazing and it made enough food for a week, but because I had all kinds of fun making it.

Copy of IMG_5676

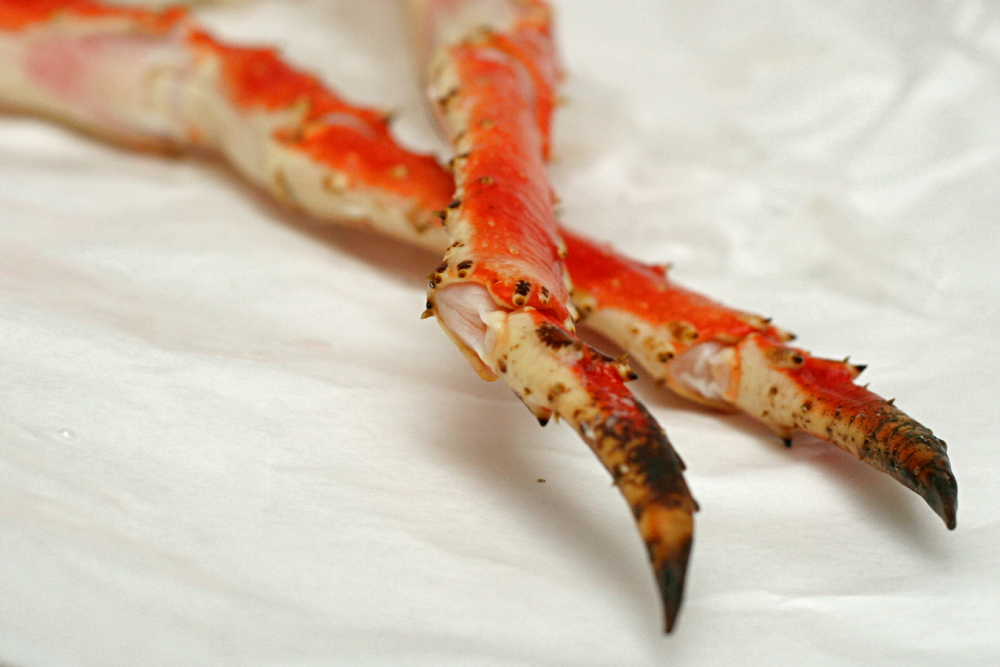
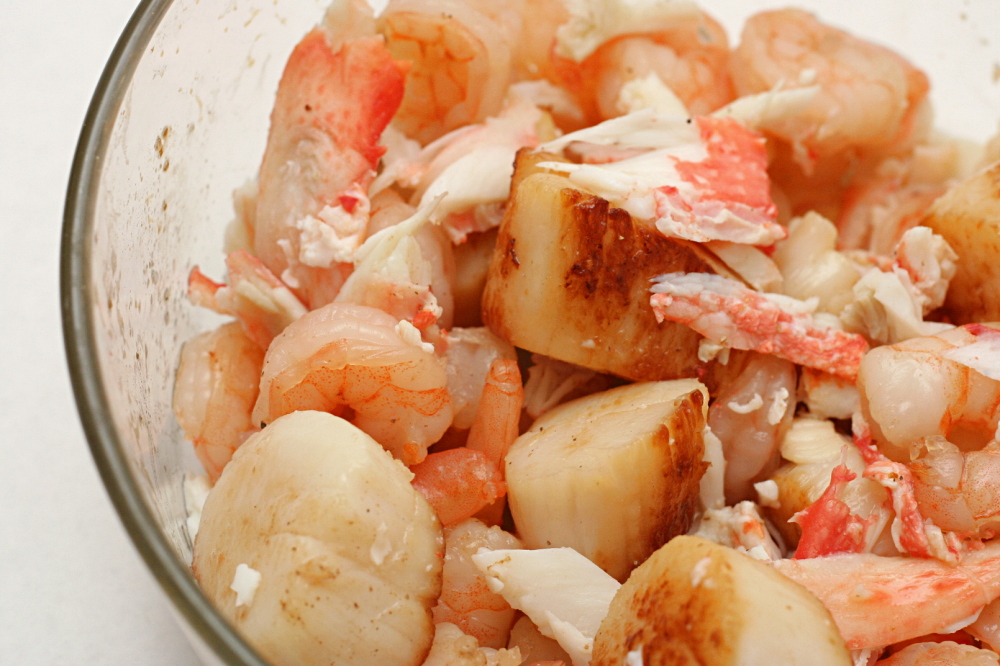
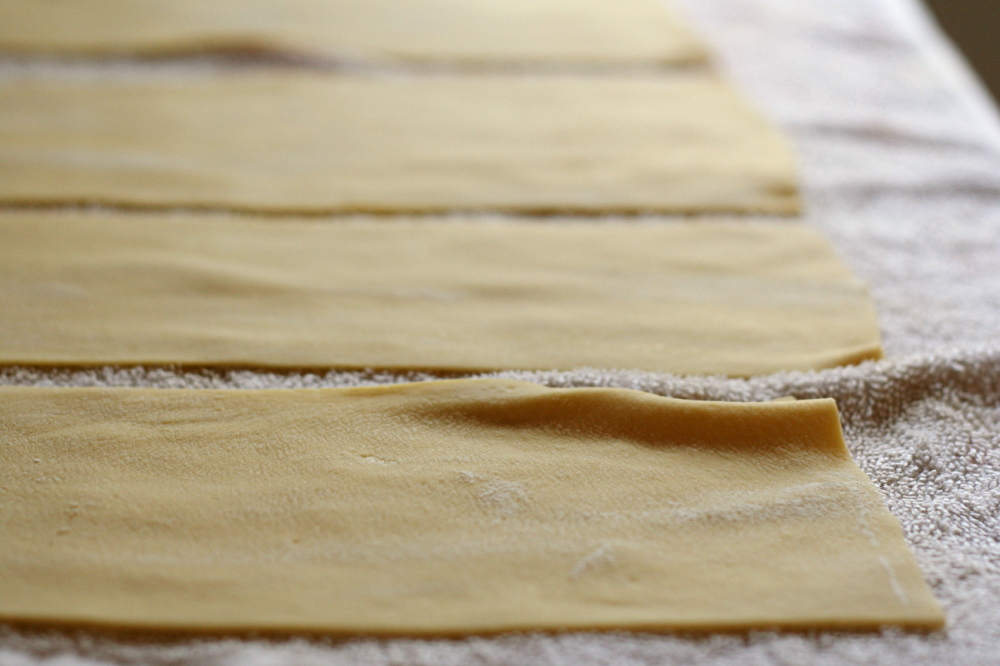
There are a whole lot of components. A béchamel sauce, which is no problem. The seafood mixture – crab legs steamed in the oven, scallops sautéed on the stove, shrimp that was supposed to be poached, but instead I sautéed them quickly on the stove after the scallops. Cheese needs to be grated and shredded, spinach needs to be cooked, dried, and chopped (I never like the frozen blocks). Fresh pasta needs to be made (or purchased, I suppose, but man, that’s a lot of money for what are actually very cheap ingredients). Only once all of that is finally prepared can the ingredients be layered and baked.

Copy of IMG_5677

The end product was so, so good. There are so many flavors all supporting and enhancing each other. The seafood wasn’t overshadowed by the other rich ingredients. The sweetness of the scallops stood out, as well as the salty ocean flavor of the crab. What’s more, we ate two dinners worth of leftovers, plus several lunches. (I was surprised by how well it reheated, but by slightly undercooking the lasagna the first time and then heating individual portions in the oven on low heat just until hot, the seafood didn’t overcook and the top didn’t burn.) All in all, it was a lot of effort, but I had fun and I made delicious meals for almost a week. One might even say that it was worth all the effort. You know, if you’re into that sort of thing.

Copy of IMG_5688

One year ago: Salmon Clubs with Avocado Butter

Seafood Lasagna (adapted from Foodie Bride, who adapted it from the Food Network)

Serves 10-12

If you’re as stubborn as I am about frozen spinach (too stemmy!) and purchased fresh pasta (too expensive!), you can find preparation instructions for both of those ingredients here. (You’ll want to make half the dough recipe and all of the spinach.) The only change I’d consider making to this recipe for next time is cutting the scallops into smaller pieces. As it was, there were occasional bites of pure scallop, which isn’t as fun as scallops + other lasagna goodness.

Seafood mixture:
3 king crab legs
1 tablespoon butter
12 ounces scallops
12 ounces shrimp, peeled, deveined, tails removed
salt
freshly ground white pepper

Béchamel:
6 tablespoons butter
2 teaspoons chopped garlic
6 tablespoons flour
4 cups milk
1 ounce (½ cup) grated parmesan cheese
salt
freshly ground white pepper

Cheese mixture:
10 oz frozen spinach, thawed and squeezed of excess water
15 ounces part-skim ricotta cheese
1 egg
1 ounce (½ cup) grated parmesan cheese
salt
freshly ground white pepper
8 ounces grated Mozzarella cheese

8 ounces lasagna noodles, cooked and drained

1. Cook the seafood: Preheat the oven to 350F. Form a large foil pouch around the king crab legs. Before sealing tightly, add ¼ cup water. Heat in the oven for 8-10 minutes. Remove the pouch from the oven and carefully open it to vent the steam. Let it cool for a few minutes, then crack the shells and place the meat in a medium bowl. Lightly shred any large pieces but don’t overshred.

2. Heat the butter in a sauté pan over medium-high heat. Pat the scallops dry with a paper towel. Place them in the pan and cook, without stirring, for 3-4 minutes, until golden brown. Flip the scallops and cook on the second side until browned, another 3-4 minutes. Drain the scallops and place them in the bowl with the crab meat.

3. Add the shrimp to the same pan (no need to wash or even rinse) used for sautéing the scallops. Cook, stirring occasionally, just until the shrimp are opaque, 5-6 minutes. Place them in the bowl with the crab meat and scallops. Add a pinch of salt and some white pepper, them toss to mix.

4. Make the béchamel: Melt the butter in a medium saucepan over medium heat. Add the garlic, and cook until very fragrant, but don’t let the garlic brown (about 3 minutes). Whisk in the flour and cook 2-3 minutes, stirring constantly. Gradually add the milk, whisking continuously. Cook an additional 4-6 minutes, stirring frequently and taking care that the bottom does not scorch. Remove from heat and whisk in salt and pepper to taste and ½ cup (1 ounce) of Parmesan cheese.

5. Make the ricotta filling: Mix the spinach, ½ cup (1 ounce) Parmesan, ricotta, egg, all of the mozzarella, salt, white pepper, and 1 cup béchamel in a bowl until thoroughly combined.

6. Assemble: Spread 1 cup of the béchamel sauce in the bottom of a 9×13 pan. Arrange 3 lasagna noodles in the pan and spread half of the ricotta-spinach mixture over the noodles, covering completely. Top with ½ cup béchamel. Arrange 3 lasagna noodles in the pan and add all of the crab-shrimp-scallops, spreading to distribute evenly. Sprinkle half of the remaining parmesan cheese over the seafood layer and top with ½ cup béchamel. Arrange 3 lasagna noodles in the pan and spread the remaining ricotta-spinach mixture over the noodles. Top with ½ cup béchamel. Add the remaining 3 lasagna noodles, remaining béchamel, and sprinkle the remaining Parmesan cheese over the top.

(A simple breakdown of the lasagna structure: sauce, noodles, ½ of the cheese mixture, sauce, noodles, all of the seafood, ½ the remaining parmesan, sauce, noodles, the rest of the cheese mixture, sauce, noodles, the rest of the sauce, the rest of the parmesan.)

7. Place in the oven and bake until bubbly and golden, about 55 minutes. Remove from the oven and let sit for 15 minutes before serving.

Copy of IMG_5696

pasta with cauliflower, walnuts, and ricotta salata

copy-of-img_3235

I was recently reminded me of why I unabashedly (okay, maybe a little abashedly) stole Smitten Kitchen’s “one year ago” idea (although all the cool kids are doing it these days it seems). I’ve had this pasta recipe bookmarked since she posted it, and every week when I plan my meals, I consider it, and then pass over it. I didn’t realize I’d been doing this for an entire year until I saw this recipe featured from one year ago.

copy-of-img_3220

Seriously, I love pasta, and we eat it one or twice a week. Also, cauliflower? My favorite vegetable, ever since I was a kid. And quick vegetarian meals are our standard weeknight fare. And, I’ve been meaning to try ricotta salata for ages. I was outrageously overdue for making this recipe.

copy-of-img_3217

But, when I finally made it, I thought it had a lot more potential than it did flavor. The problem is that the recipe’s original author, Alice Waters, took a very easygoing, flexible route with the recipe, providing only approximate ingredient quantities and no recommended cooking times.

copy-of-img_3223

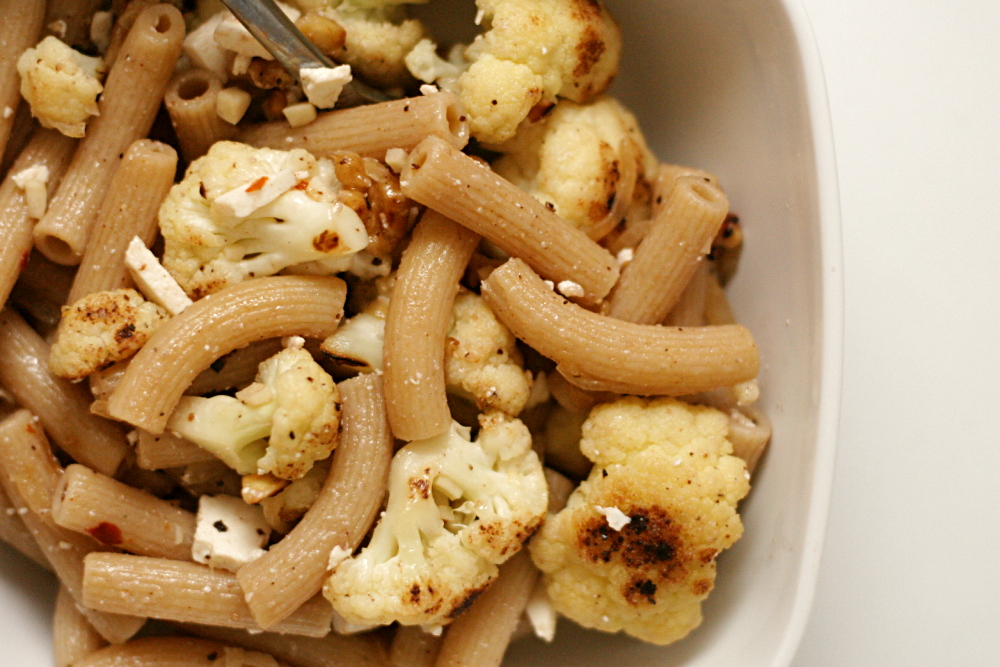
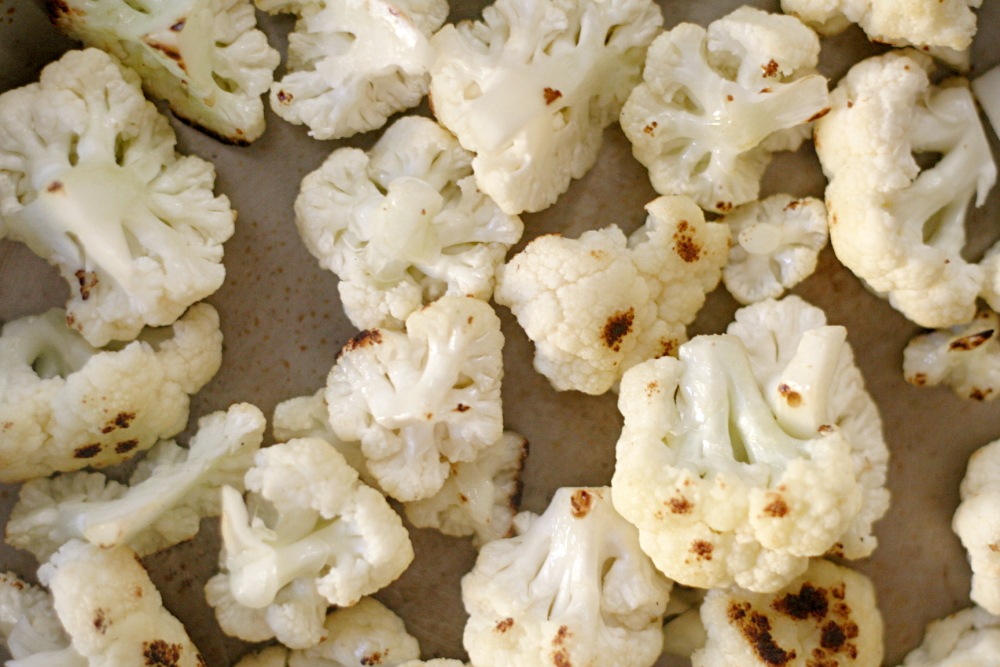
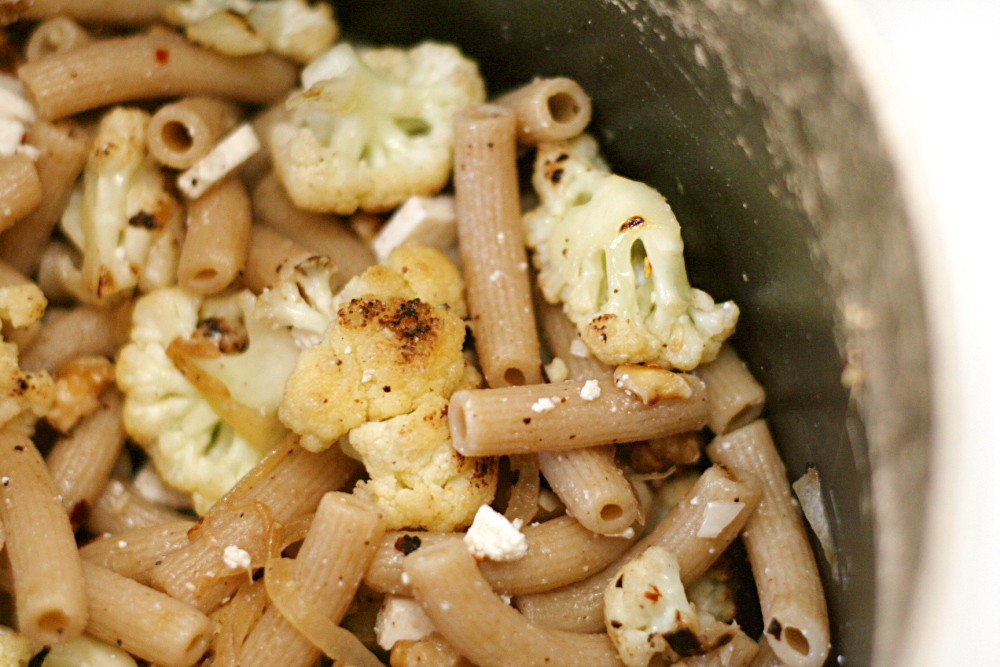
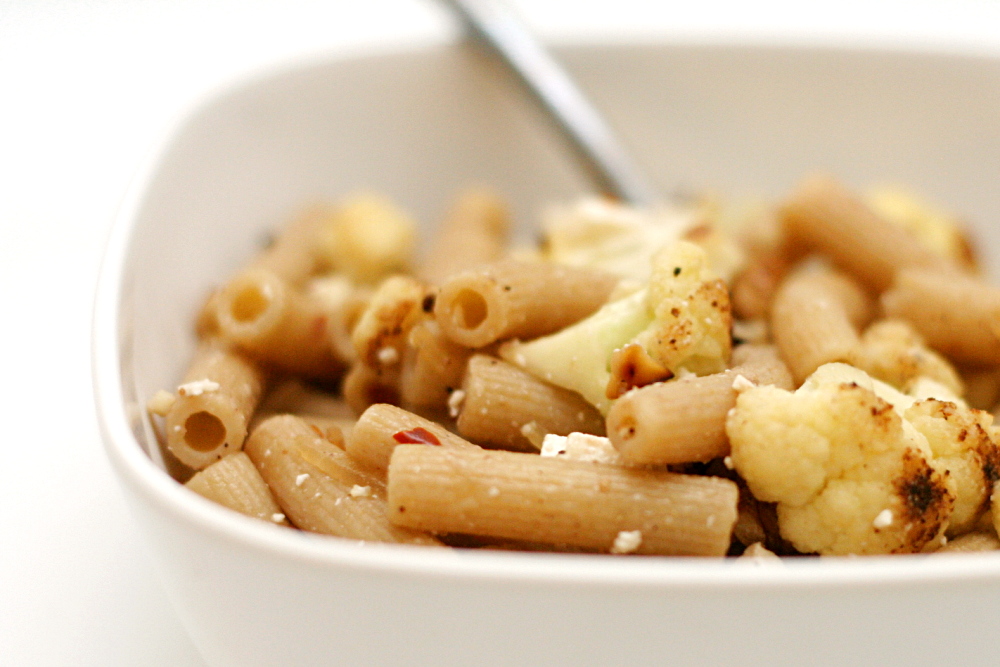
In a nutshell, the cauliflower is pan-roasted, then onions and crushed red pepper are added, then garlic, then lemon juice, white wine vinegar, and toasted walnuts. All of that is mixed with pasta and soft cheese. It’s a nice combination of ingredients and you’d be hard-pressed to make it bad, but ‘not bad’ is generally not my goal for food.

copy-of-img_3225

The next time I made it, in an effort to bump up the flavor, I decreased the pasta significantly. (You could also think of it as increasing the cauliflower, onion, garlic, red pepper flakes, and walnuts.) I’ve also quantified things. Willy-nilly, splash of this, pinch of that recipes drive me crazy and usually end up underseasoned.

Other than the ratio of pasta to everything else, the recipe really isn’t so different from the original. And hopefully it’s reproducible now, so you can have the exact same spicy, fresh flavor from this dish that I enjoyed.

copy-of-img_3228

One year ago: Breakfast Strata with Mushrooms, Sausage, and Monterey Jack

Whole Wheat Pasta with Cauliflower, Walnuts and Ricotta Salata (from Chez Panisse Vegetables via Smitten Kitchen)

Serves 4

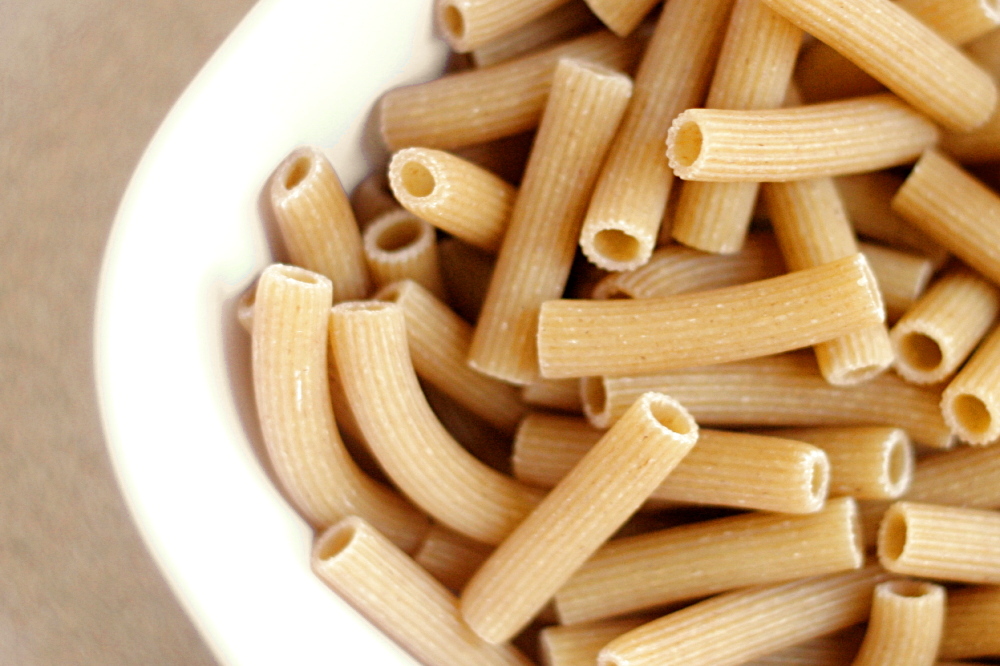
10 ounces whole-wheat pasta
½ cup walnuts
1 tablespoon olive oil (not extra virgin)
2 small heads cauliflower, cut into 1.5-inch florets
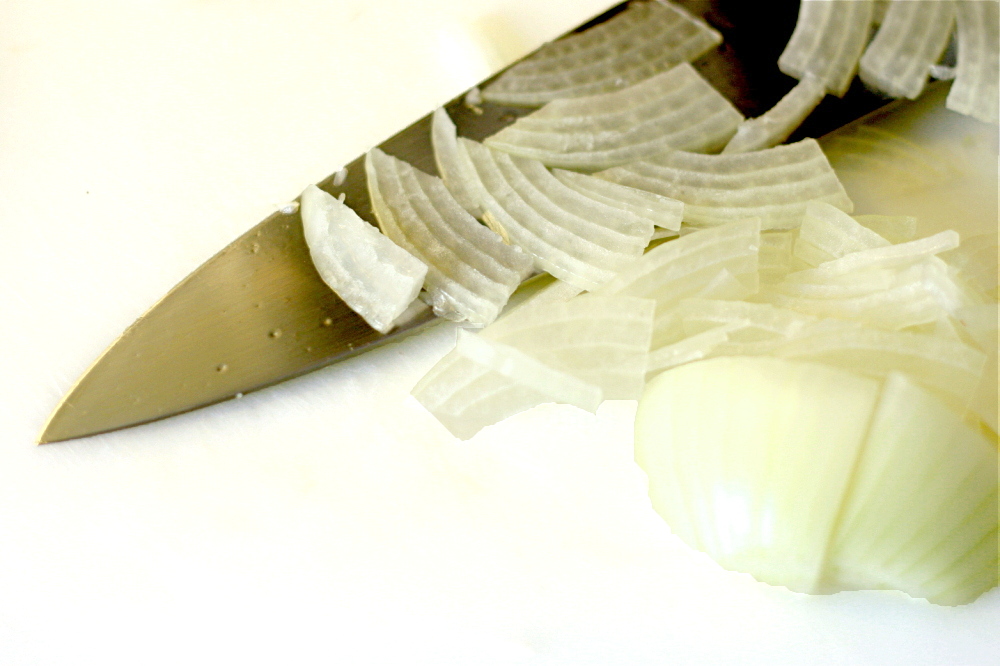
1 large or 2 small onions, sliced very thin
4 cloves garlic, minced
½ teaspoon salt, plus more for the pasta cooking water
¼ teaspoon black pepper
½ teaspoon crushed red pepper
1 tablespoon lemon juice
4 ounces ricotta salata, chopped
extra virgin olive oil, for serving (optional)

1. Bring 3 to 4 quarts water to a rapid boil over high heat. Add 1 tablespoon salt and the pasta. Cook according to package instructions. Before draining the cooked pasta, put about 1 cup pasta cooking water in a separate bowl and set aside. After draining the pasta, return it to the cooking pot.

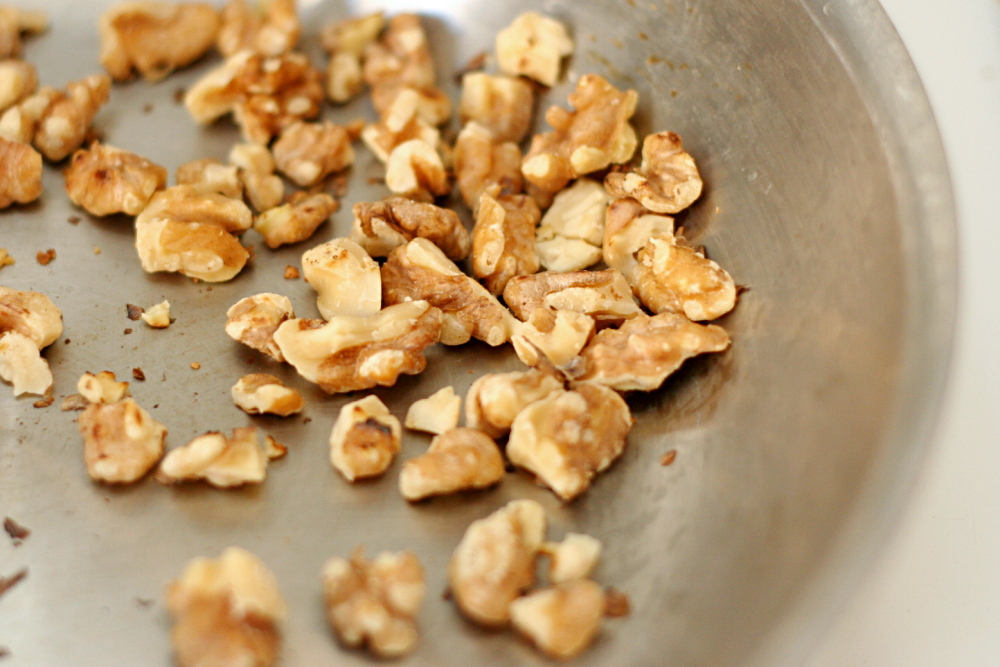
2. Meanwhile, toast the walnuts in a large, not nonstick pan over medium heat until fragrant. Put the walnuts in a small bowl and set aside.

3. Heat 1 tablespoon olive oil in the same pan over medium heat. When hot, add cauliflower and cook, stirring occasionally, until softened, 4-5 minutes. Add onions, red pepper, salt, and black pepper. Continue cooking and stirring until the onions are softened and the cauliflower is crisp-tender. Stir in the garlic, then immediately remove the pan from the heat. Add the lemon juice, walnuts, and cheese.

4. Stir the cauliflower mixture into the pasta. Add enough of the reserved pasta cooking water to moisten the mixture. Adjust the seasonings to taste and serve, garnishing each plate with a drizzle of extra virgin olive oil, if desired.

copy-of-img_3233

pasta with roasted red pepper sauce

copy-of-img_3718

I read the Pioneer Woman’s cooking blog, even though I don’t find too many recipes there that are my style.  Ree tends to add more butter, more oil, and more cream to her dishes. And yes, all of those things make food very good. But it’s a safe bet that I live a more sedentary life than Ree does on her ranch, so I can’t be adding extra butter to everything I cook.

copy-of-img_3672

Occasionally, though, Ree makes a dish that does click with me, like this one. It’s an easy, fairly healthy, vegetarian, one-dish pasta meal. That is exactly how we normally eat.

copy-of-img_3700

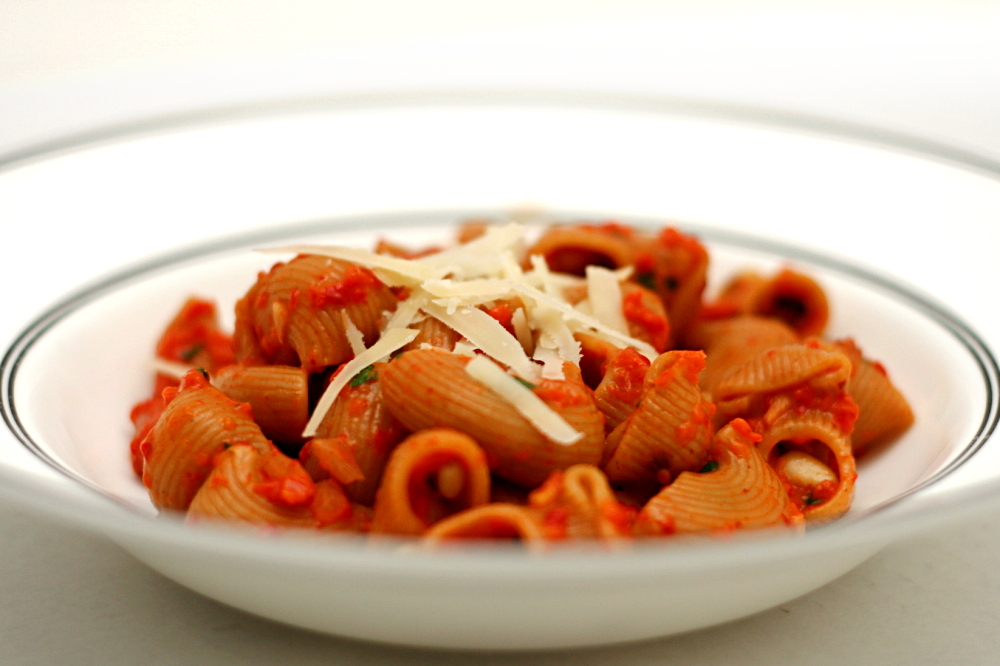
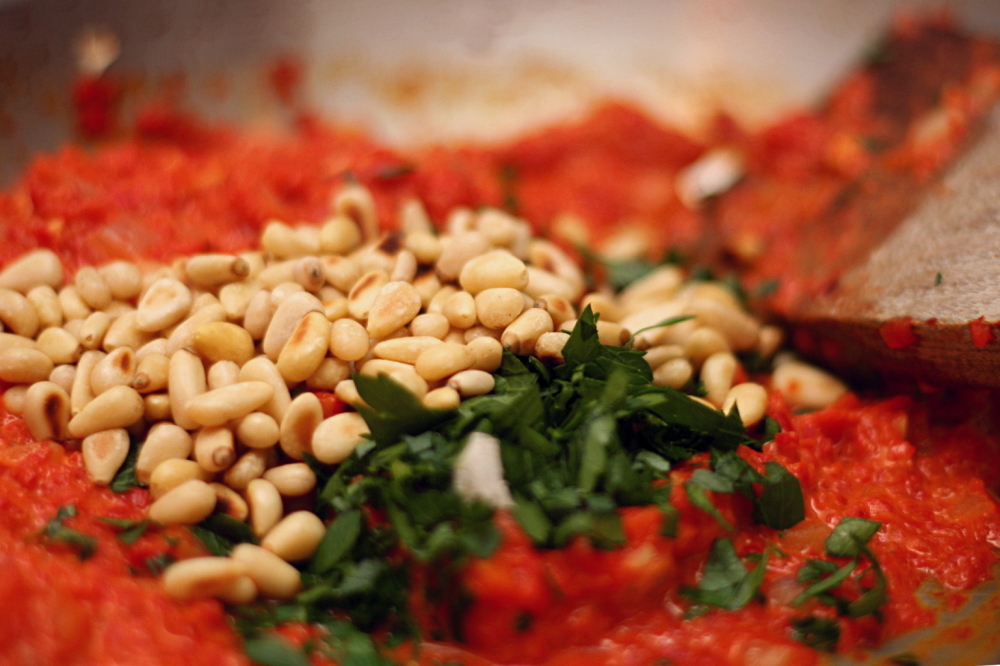
The sauce is simply sautéed onions and garlic with pureed roasted red peppers, pine nuts, and heavy cream stirred in. I used less cream than Ree, of course, and I decided to keep the pine nuts whole instead of grinding them with the roasted peppers. I’m sure either way is fine; recipes as straightforward as this are easy to adapt to your preferences.

copy-of-img_3707

I also burnt the pine nuts and under-roasted the peppers, but these aren’t changes that I recommend that you make. Fortunately, this pasta is so good that even that couldn’t ruin it.

copy-of-img_3712

One year ago: Blueberry Poppy Seed Brunch Cake

Pasta with Roasted Red Pepper Sauce (adapted from The Pioneer Woman Cooks)

Note from Bridget: This is fairly similar to the original recipe, in that it uses the same ingredients in almost the same proportions, but I’ve changed the directions slightly, mostly to give them some more detail. You can roast the peppers a few days advance, and keep them refrigerated (or frozen) either peeled or unpeeled. Also, Ree warns that this dish needs quite a bit of salt, and I found this to be the case. Please don’t be afraid to add salt at the end until the sauce has some flavor!

Serves 2

2 red bell peppers
6 ounces dry pasta
salt
2 tablespoons pine nuts
2 teaspoons olive oil
½ medium onion, finely diced
2 cloves garlic, minced
2 tablespoons heavy cream
1 tablespoon minced flat leaf parsley
fresh Parmesan, shaved, grated or shredded

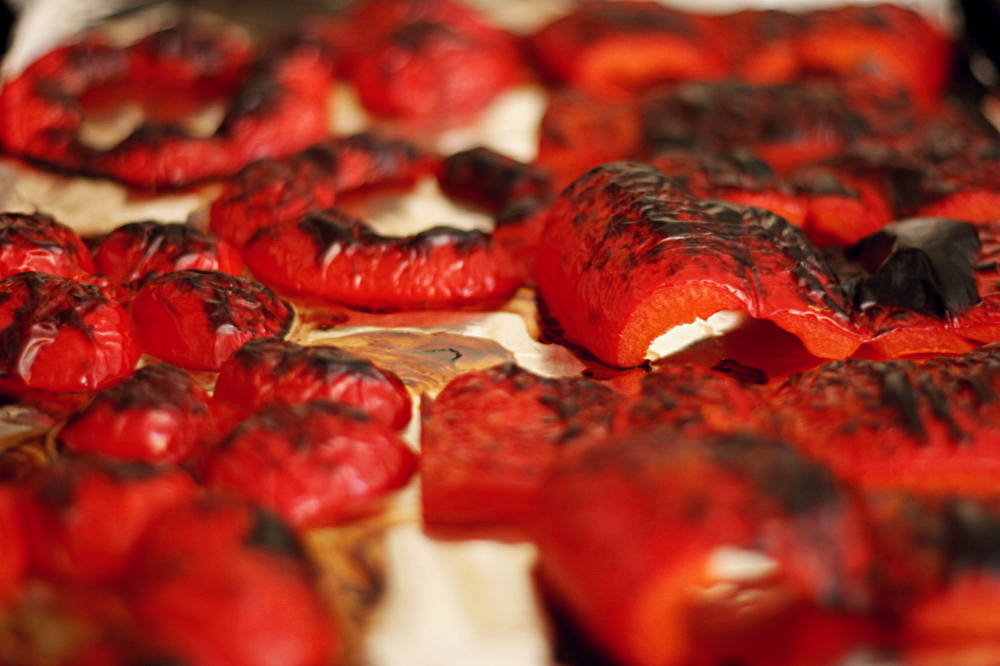
1. Adjust an oven rack to the top position and heat the broiler. Line a baking sheet with foil. Cut a ½-inch ring off the tops and bottoms of the peppers. Remove the seeds and stems, then cut the remaining cylinders of pepper in half lengthwise, into two wide strips. Lay the strips of pepper and the rings skin-side up on the foil-lined pan, pushing the strips down. Broil until thoroughly blackened, 6-8 minutes. Put the broiled peppers in a bowl; cover the bowl and set aside for at least 10 minutes.

2. Bring a large pot of water to a boil. Once boiling, add 1 tablespoon salt and the pasta. Cook the pasta according to the package instructions, until al dente. Drain and return to the cooking pot.

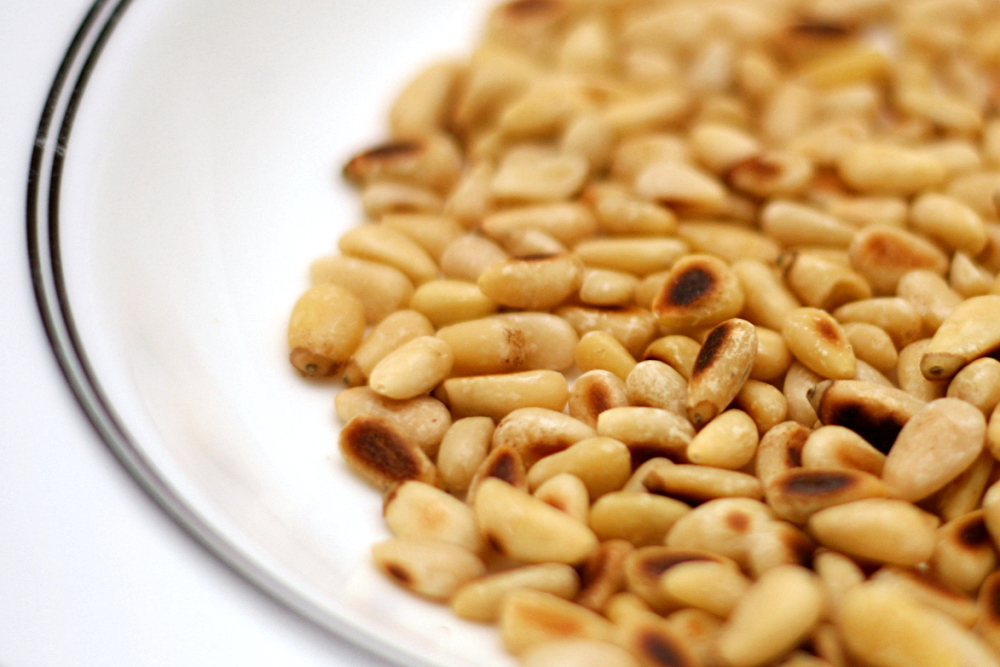
3. Meanwhile, heat a medium skillet, preferably not nonstick, over medium heat. Add the pine nuts and toast, shaking the pan occasionally, until golden brown and fragrant, 3-6 minutes. Remove the pine nuts from the pan and set aside.

4. Peel the skins off of the peppers. Add them to a blender or food processor and purée.

5. Add the olive oil to the now-empty skillet over medium heat. Once heated, add the onion. Sauté, stirring occasionally, until softened and just browned around the edges, about 5 minutes. Add the garlic and cook until fragrant, about 1 minute, then stir in the red pepper puree and ½ teaspoon salt. Pour in the cream and toasted pine nuts, and stir until the sauce is evenly heated. Check for seasoning, adding additional salt if necessary.

6. Add the sauce to the cooked pasta, and stir over medium-high heat until everything is heated and the pasta absorbs some of the sauce. Serve, topping each portion with parsley and Parmesan.

copy-of-img_3714

pasta with broccoli, sausage, and roasted red peppers

copy-of-img_0657

Wow, New Years Resolutions are seriously unpopular this year. While I understand that January 1st isn’t a magical date where you get to start over with a clean slate, and it isn’t the only day of the year where you’re allowed to resolve to better yourself, I do think that it’s a good date to start thinking about new goals. For one thing, there is something to having a fresh new year to focus on. For another, it’s the official end of the holiday season, during which it can be difficult to focus on new goals because of travel and parties and other things that disrupt normal routines.

copy-of-img_0652

This isn’t to say that I’ve always been a hard-core New Year’s resolver. I don’t usually bother, and last year I kept it very simple with the intention to start flossing regularly. This year, however, I have a categorized list of goals. 2008 wasn’t my best year, and I’m eager to make up for it in 2009.

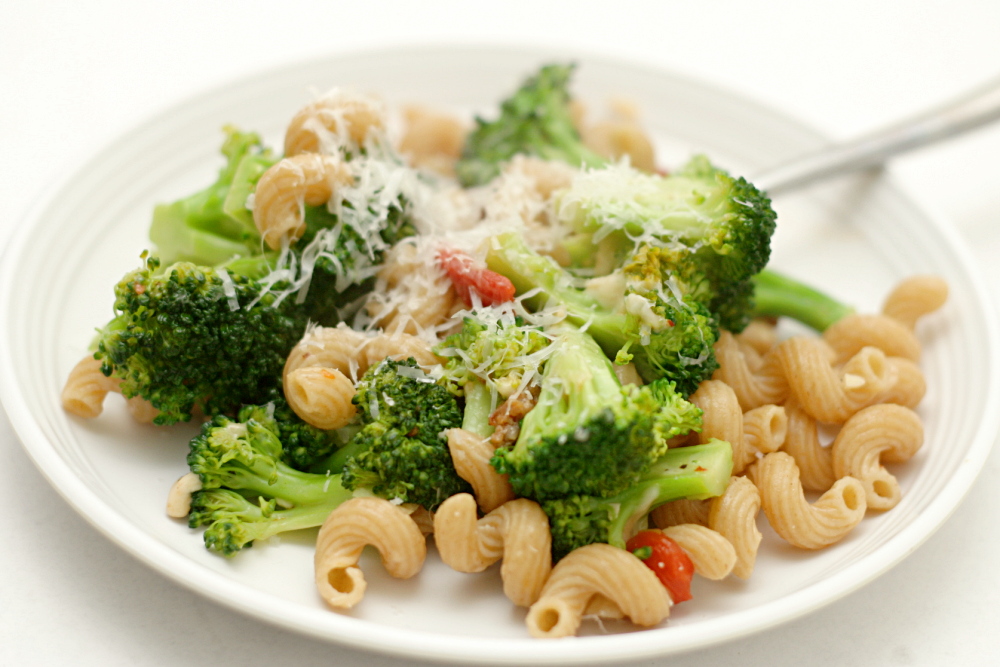
One of my resolutions is actually to cook less, or at least to be more reasonable about cooking, by focusing on quick weeknight meals and making enough for leftovers. This pasta fits in perfectly with that mindset, because it can be made in the time it takes to boil water and cook pasta and uses only a few ingredients.

copy-of-img_0654

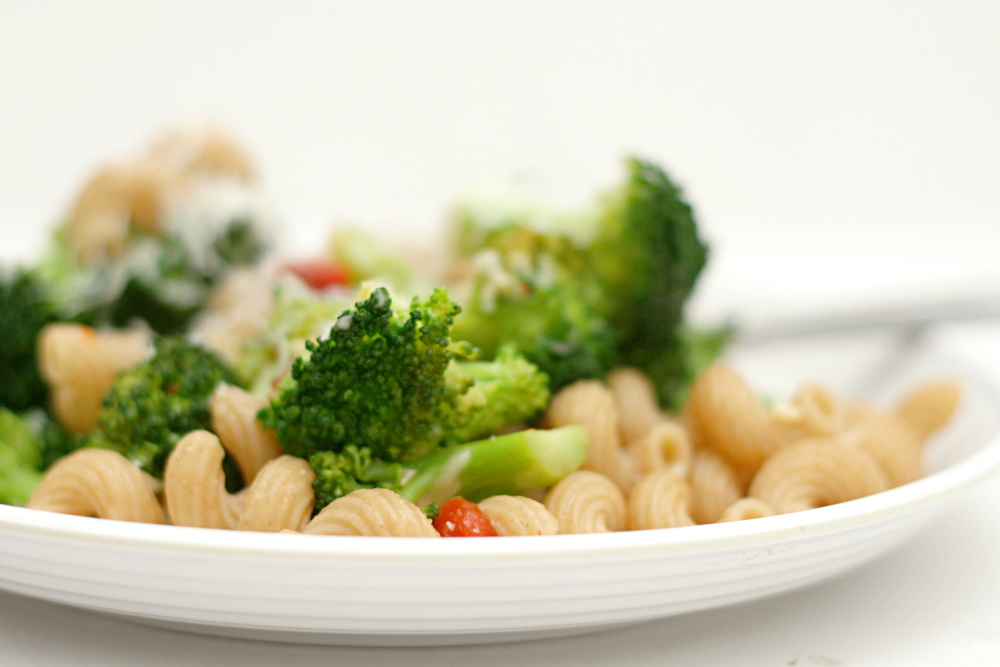
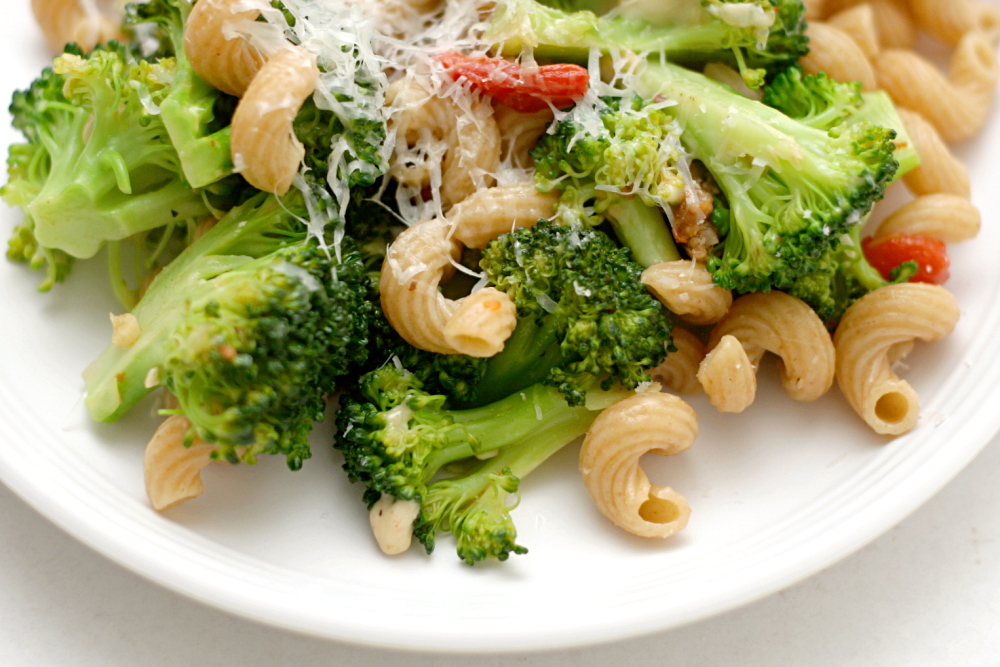
There’s nothing complicated about this recipe. Brown some sausage, stir in garlic and roasted red pepper, and then add broccoli with some water to help it cook. Mix all that with pasta, add some cheese, and there’s dinner – you have starch, protein, and vegetables, all in one very easy recipe. And there’s the added bonus that both broccoli and garlic are even more nutritious than your average vegetable.

copy-of-copy-of-img_0655

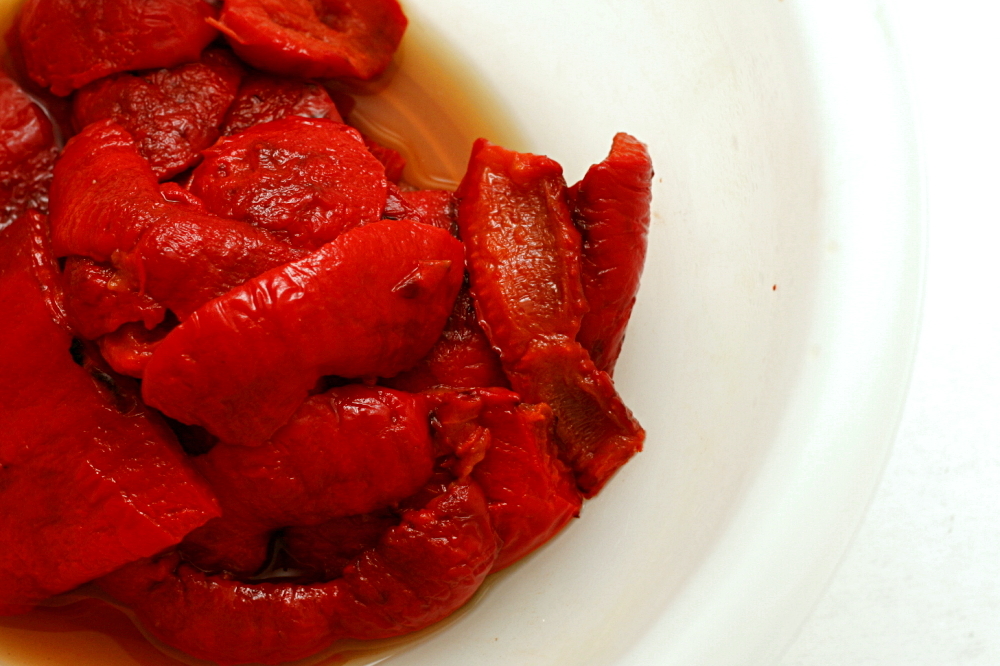
The recipe recommends orechiette (an ear-shaped pasta), but I don’t generally get hung up on pasta shapes. My favorite brand of pasta doesn’t come in orechiette, so I tend to use whatever short tubularish pasta I happen to have. Also, this time I used Cento jarred roasted red peppers, and I hated them. They were so soft and slimy. Cooks Illustrated recommends them, so I don’t know if I got a bag batch or I’m a bad judge of roasted red peppers or what. Since roasting my own peppers complicates this simple meal, I might just sauté some fresh red peppers with the sausage in the future.

I find that I often like recipes with quite a bit less pasta than the original version calls for, and this recipe is no exception. I reduced the pasta to 12 ounces, plus I wouldn’t have minded more sausage and red peppers. Either way you prefer it, this meal is quick, tasty, and healthy.

copy-of-img_0656

One year ago: Pad Thai – one of my favorite meals

Orecchiette with Broccoli, Sausage, and Roasted Peppers (from Cooks Illustrated)

Serves 4 to 6 as a main dish

CI note: In this recipe, begin cooking the broccoli immediately after putting the pasta into boiling water. When cut into small pieces, the broccoli takes only a few minutes to cook through.

Bridget note: I reduce the pasta to 12 ounces (¾ pound), and I’ll probably add more peppers in the future. More sausage couldn’t hurt either.

table salt
1 pound orecchiette
4 ounces sweet Italian sausage, casing removed
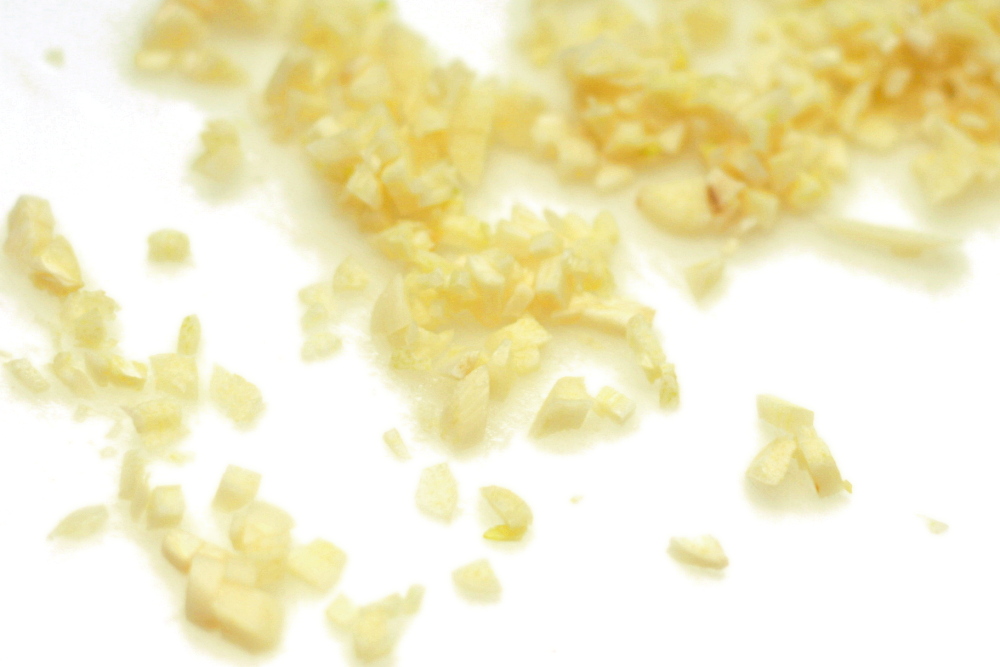
9 medium cloves garlic, pressed through garlic press or minced (3 tablespoons)
1 cup roasted red peppers (8 ounces), cut into ½-inch squares
½ teaspoon ground black pepper
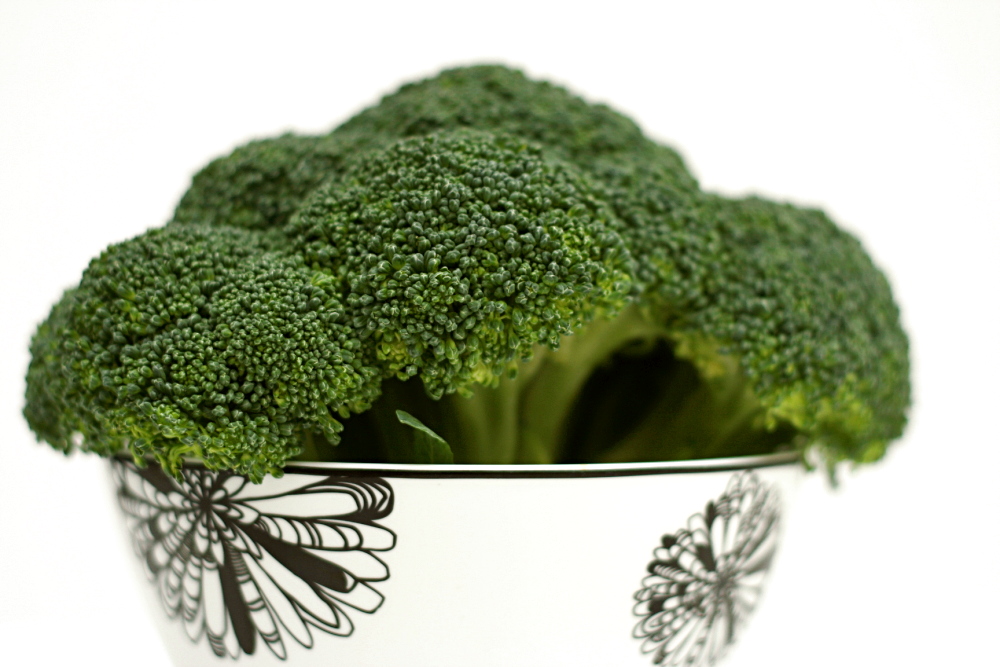
2 pounds broccoli, florets cut into bite-sized 1-inch pieces, stalks peeled, halved lengthwise, and cut into ¼-inch thick pieces
1 tablespoon extra-virgin olive oil
1 cup grated Pecorino Romano cheese (2 ounces)

1. Bring 4 quarts water to rolling boil, covered, in stockpot. Add 1 tablespoon salt and pasta, stir to separate, and cook until al dente. Drain and return to stockpot.

2. While pasta is cooking, cook sausage in 12-inch nonstick skillet over medium-high heat, breaking it into small pieces with spoon, until browned, about 5 minutes. Stir in garlic, roasted peppers, ½ teaspoon salt, and pepper; cook, stirring constantly, until fragrant, about 2 minutes. Increase heat to high; add broccoli and ½ cup water, then cover and cook until broccoli begins to turn bright green, 1 to 2 minutes. Uncover and cook, stirring frequently, until water has evaporated and broccoli is tender, 3 to 5 minutes longer. Add broccoli mixture, oil, and cheese to pasta in stockpot; toss to combine. Serve immediately.
copy-of-img_0658

pumpkin ravioli

copy-of-img_8867

I didn’t start making fall foods, including anything with pumpkin, until October, but now I can’t seem to get enough. I’m pumpkin crazy. In the last few weeks, I’ve made pumpkin pancakes (several times), pumpkin cheesecake, pumpkin whoopee pies, pumpkin black bean soup, and pumpkin ravioli, plus a bunch of stuff with other types of squash. And I want more cheesecake, and I wouldn’t mind more pumpkin ravioli. Or pancakes. Oh, and I haven’t had pie yet… And doesn’t this and this and this look good?  (Ack, and another one, updated while I was writing this!)

copy-of-img_8854

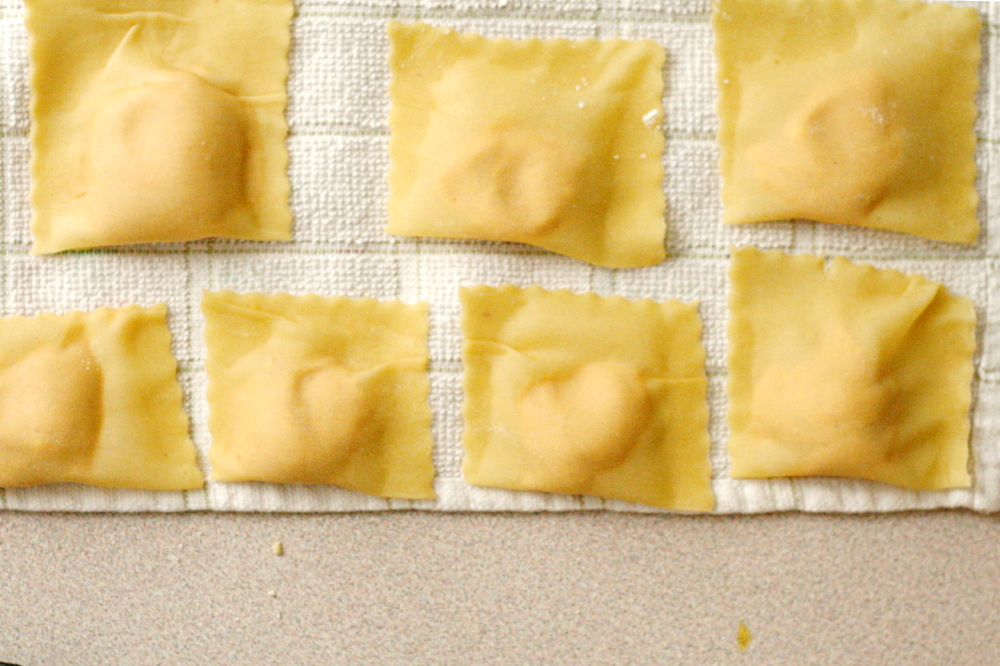
Making ravioli is one of the most fun (and work-intensive) aspects of having a pasta roller. The first couple ravioli recipes I made had fairly standard cheese fillings, but what’s the point of going through all the effort for homemade ravioli when I could buy almost the same thing at the grocery store? Pumpkin filling makes far more sense.

The recipe was one of the first I ever saved from a food blog, about a year ago. (Of course I didn’t record the source and had to scramble to find it later.) Before I made the ravioli, I did some searching to look at other pumpkin ravioli recipes, but none used the goat cheese that this one does, and I love goat cheese. It doesn’t hurt that this filling is really easy to put together, which at least in part makes up for all the work involved with the pasta.

copy-of-img_8859

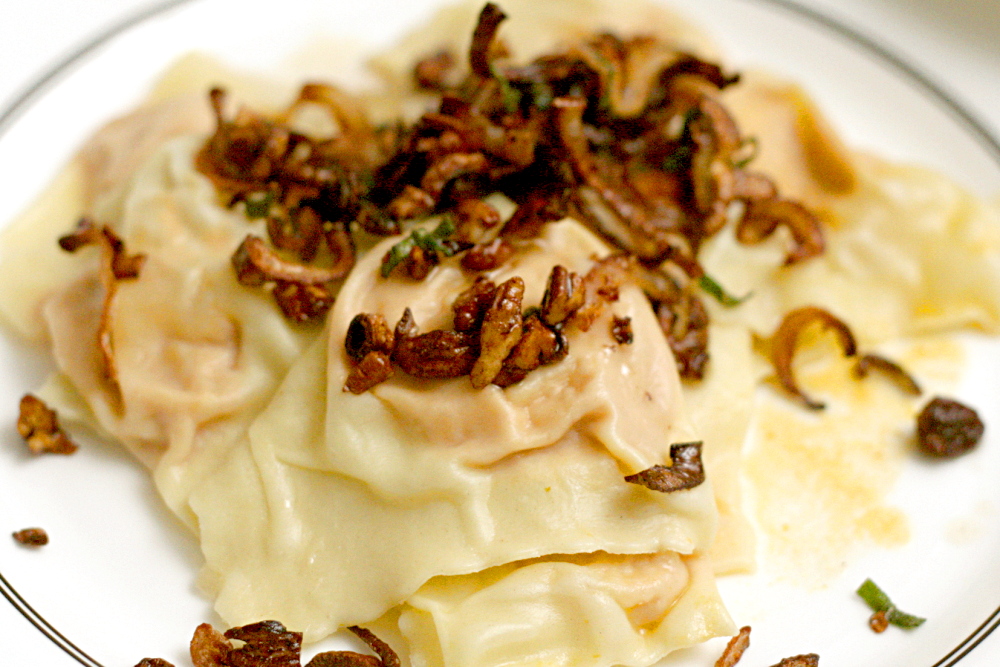
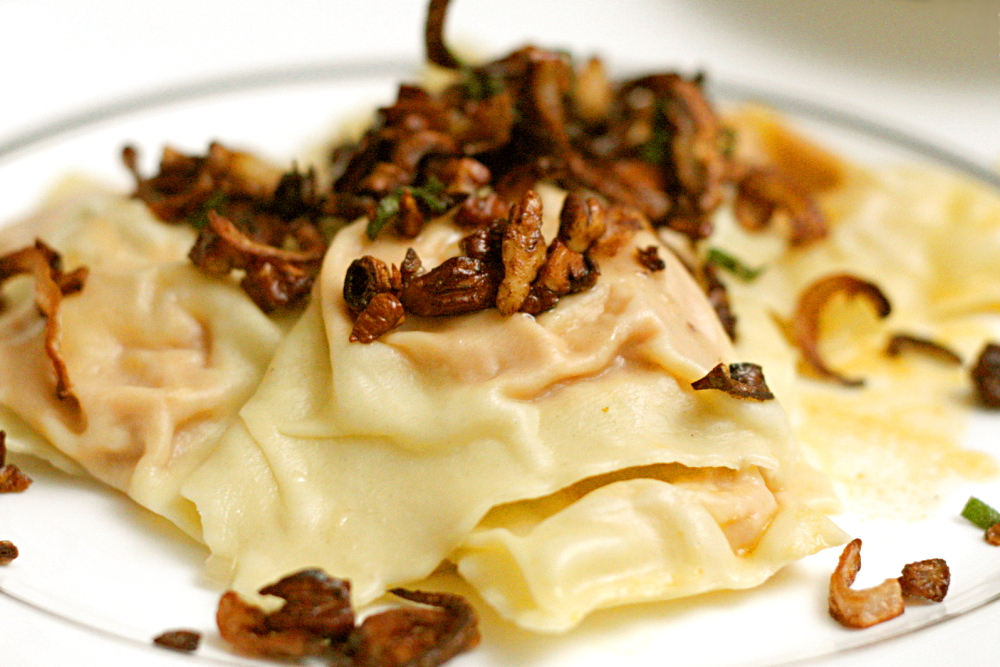
Cara gave some instructions for a sauce to go with the ravioli, but I really wanted to serve it with sage browned butter. I found a recipe that looked pretty good, but then I got lazy and half-assed it, and it didn’t come out great. So I’m not going to provide a sauce recipe to go with the ravioli, instead leaving it to you to find something that looks good. I still recommend sage browned butter, either following that recipe correctly, or just browning some butter and adding minced sage, salt and pepper.

copy-of-img_8865

The ravioli were great. I love the pumpkin and goat cheese combination, and the maple syrup gave it just a bit of complimentary sweetness. Cara recommended a pinch of cinnamon, but I used nutmeg instead, because I love it in savory recipes, and it’s one of Dave’s favorite spices. I’m getting much better and faster at making ravioli, so I’m looking forward to trying more recipes.

copy-of-img_8866

Pumpkin Ravioli (dough ingredients and ravioli forming instructions from Cooks Illustrated; dough mixing and rolling method from Marcella Hazan; filling recipe adapted from Cara’s Cravings)

Please keep in mind that the recipe looks so long only because Marcella Hazan, whose pasta recipe I use, gives incredibly detailed instructions.

Filling:
1 (15-ounce) can pumpkin puree
4 ounces goat cheese, softened
1 tablespoon maple syrup
pinch nutmeg
salt and pepper to taste

Dough:
2 cups (10 ounces) unbleached flour
3 large eggs
For the filling:
Stir together all ingredients until smooth (or at least very close to smooth).

For the pasta:
Pour the flour onto a work surface, shape it into a mound, and scoop out a deep hollow in its center. Break the eggs into the hollow.

Beat the eggs lightly with a fork for about 2 minutes as though you were making an omelet. Draw some of the flour over the eggs, mixing it in with the fork a little at a time, until the eggs are no longer runny. Draw the sides of the mound together with your hands, but push some of the flour to one side, keeping it out of the way until you find you absolutely need it. Work the eggs and flour together, using your fingers and the palms of your hands, until you have a smoothly integrated mixture. If it is still moist, work in more flour.
When the mass feels good to you and you think it does not require any more flour, wash your hands, dry them, and run a simple test: Press you thumb deep into center of the mass; if it comes out clean, without any sticky matter on it, no more flour is needed. Put the egg and flour mass to one side, scrape the work surface absolutely clear of any loose or caked bits of flour and of any crumbs, and get ready to knead.

Return to the mass of flour and eggs. Push forward against it using the heel of your palm, keeping your fingers bent. Fold the mass in half, give it a half turn, press hard against it with the heel of your palm again, and repeat the operation. Make sure that you keep turning the ball of dough always in the same direction, either clockwise or counterclockwise, as you prefer. When you have kneaded it thus for 8 full minutes and the dough is as smooth as baby skin, it is ready for the machine.

Cut the ball of dough into 6 equal parts.

Spread clean, dry, cloth dish towels over a work counter near where you’ll be using the machine.
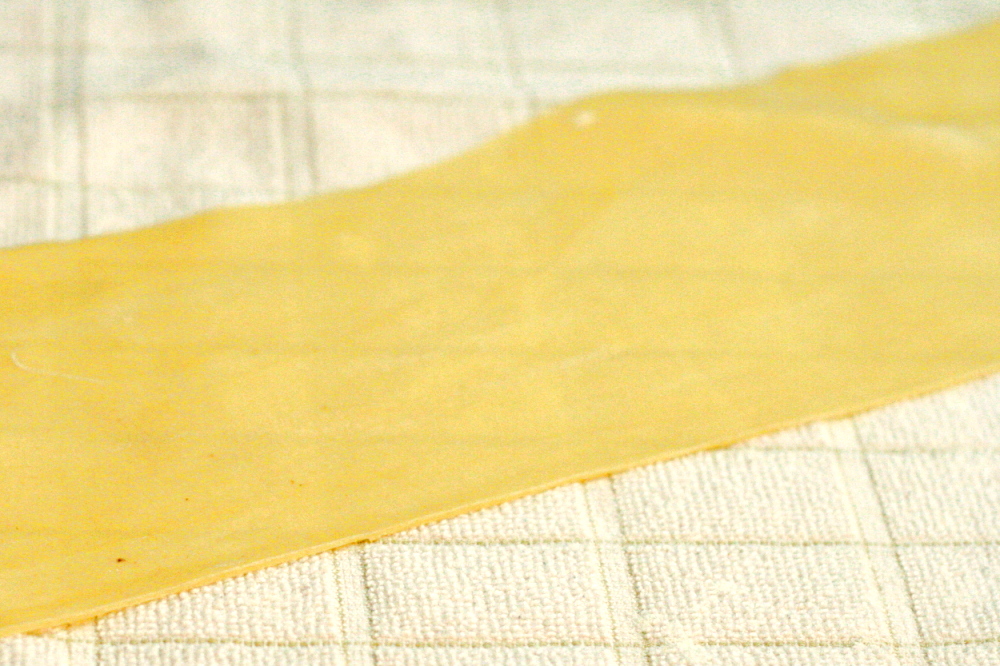
Set the pair of smooth cylinders, the thinning rollers, at the widest opening. Flatten one of the pieces of dough by pummeling it with your palm, and run it through the machine. Fold the dough twice into a third of its length, and feed it by its narrow end through the machine once again. Repeat the operation 2 or 3 times, then lay the flattened strip of pasta over a towel on the counter. Since you are going to have a lot of strips, start at one end of the counter, leaving room for the others.

Take another piece of dough, flatten it with your hand, and turn it through the machine exactly as described above. Lay the strip next to the previously thinned one on the towel, but do not allow them to touch or overlap, because they are still moist enough to stick to each other. Proceed to flatten all the remaining pieces in the same manner.

Close down the opening between the machine’s rollers by one notch. Take the first pasta strip you had flattened and run it once through the rollers, feeding it by its wider end. Do not fold it, but spread it flat on the cloth towel, and move on to the next pasta strip in the sequence.

When all the pasta strips have gone through the narrower opening once, bring the rollers closer together by another notch, and run the strips of pasta through them once again, following the procedure described above. You will find the strips becoming longer, as they get thinner, and if there is not enough room to spread them out on the counter, you can let them hand over the edge. Continue thinning the strips in sequence, progressively closing down the opening between the rollers one notch at a time. This step-by-step thinning procedure, which commercial makers of fresh pasta greatly abbreviate or skip altogether, is responsible, along with proper kneading, for giving good pasta its body and structure.

Continue thinning the pasta until the second-to-last setting.

Your sheets should be approximately 4 inches across. Place small balls of filling (about one rounded teaspoon each) in a line one inch from the bottom of the pasta sheet. Leave one and one-quarter inches between each ball of filling. Fold over the top of the pasta and line it up with the bottom edge. Seal bottom and the two open sides with your finger. Use fluted pastry wheel to cut along the two sides and bottom of the sealed pasta sheet. Run pastry wheel between balls of filling to cut out the ravioli.

To cook ravioli:
Bring 4 quarts water to boil in a large stockpot. Add salt and half the pasta. Cook until doubled edges are al dente, 4-5 minutes. With a slotted spoon, transfer ravioli to warmed bowls or plates; add sauce of choice. Meanwhile, put remaining ravioli in boiling water and repeat cooking process. (Or bring two pots of water to boil and cook both batches simultaneously.) Serve immediately.
tuscan-style couscous salad


Food generally tastes better outside. Even more so after you’ve hiked eight miles while carrying a 25-pound pack. Since Dave and I almost always eat this couscous salad while we’re backpacking, it’s no wonder we like it so much. But last time we went camping, we got driven home early by, um, we’ll just say fear of Lyme disease and spare you the creepy details. We ate this salad when we got home that night, and it tasted just as good while sitting on the couch watching a movie as it does when we’re eating it out of zip-top bags in the woods.

What’s so great about this salad is that it’s a perfectly balanced complete meal – a couscous base, both beans and nuts, and plenty of tomatoes, onions, and basil. There’s no real cooking involved and not much chopping.

I have tweaked the original recipe slightly – while it’s basically the same list of ingredients, I’ve doubled the amount of pine nuts, tomatoes, basil, and onion. I’ve also reduced to the olive oil in the dressing, which I do with most vinaigrettes recipes.

One final change I make to the original recipe is to toast the unpeeled garlic cloves before adding them to the dressing. Lately I’ve been unhappy with the sharpness of raw garlic, and toasting it mellows its flavor a bit. It’s still garlicky and good, but it won’t burn your tongue. And since the pine nuts are already being toasted, it’s no problem to add the garlic cloves to the skillet as well.

Between the vivid colors of this dish, its healthfulness, the ease with which it comes together, and of course, its flavorful mix of ingredients, this salad is well worth eating at home and in the woods.

Tuscan-Style Couscous Salad (adapted from Vegetarian Classics, by Jeanne Lemlin)

Serves 4 as a main course

1½ cups couscous
½ teaspoon turmeric
2 cups boiling water
½ cup pine nuts
1 (15-ounce) can small white beans such as navy or Great Northern, rinsed well and drained
1 pint cherry tomatoes, halved
¾ cup shredded fresh basil
1 small red onion, slivered

The dressing:
3 garlic cloves, unpeeled
⅓ cup lemon juice
½ teaspoon salt
Generous seasoning freshly ground pepper
3 tablespoon extra virgin olive oil

1. Place the couscous and turmeric in a large bowl and mix. Pour on the boiling water, stir, and immediately cover the bowl with a large plate. Let sit for 10 minutes. Remove the cover and fluff the couscous with a fork. Let cool.

2. Place the pine nuts and unpeeled garlic cloves in a small skillet and toast over medium heat, tossing often, until golden, about 5 minutes. Watch them carefully because they can easily burn. Let the pine nuts cool, then mix them into the couscous along with the beans, tomatoes, basil, and red onion.

3. Mince the garlic. Place the dressing ingredients in a jar with a tight-fitting lid and shake vigorously. Pour over the couscous mixture and toss well. Let marinate at least 30 minutes before serving. Cover and chill if longer than 30 minutes. Serve at room temperature.

soba salad with feta and peas

Apparently I can’t always predict when a dish is going to be good. The only reason I made this was to use up some soba noodles and scallions. Then I found two opened bags of peas in the freezer and half a lemon in the refrigerator, so the meal seemed worth making even if it ended up being no better than edible.

There are some unusual ingredient combinations in this recipe. Soba noodles and feta? Soy sauce and lemon juice? This is why I had my doubts.

I was really surprised when the meal wasn’t just edible, but I loved it. Between the lemon juice and the feta, I was expecting it to be too sour, but the tartness was nicely balanced by the soy sauce and sugar.

Not only was this delicious, it’s one of the easiest meals I’ve made recently. Only one ingredient needs to be chopped, which is a such a welcome change from the meals I normally cook. It’s nutritionally balanced on its own, requiring no side dishes to be a full meal. It can be served warm or cold. I had it ready as soon as Dave got home from work, but when he decided to work out and shower before eating, it was no problem to set the salad aside until we were ready.

Really, this might be the perfect dish – tasty, healthy and easy. I’m already looking for the next opportunity to make it.

Soba Salad with Feta and Peas (adapted from Gourmet July 2006)

Makes 4 servings

1 (10- to 12-ounce) package soba noodles*
1 (10-ounce) package frozen baby peas
3 tablespoons olive oil
2 tablespoons fresh lemon juice
2 teaspoons soy sauce
1 teaspoon sugar
¾ teaspoon salt
¾ teaspoon black pepper
6 oz feta, crumbled (¾ cup)
4 scallions, finely chopped

1. Cook noodles and peas together in a 6- to 8-quart pot of lightly salted boiling water until noodles are tender, 4 to 6 minutes.

2. While noodles cook, whisk together olive oil, lemon juice, soy sauce, sugar, salt, and pepper in a large bowl.

3. Drain noodles and peas well in a colander, then rinse under cold running water to stop cooking. Drain well again, then add to dressing along with feta and scallions. Grind more black pepper to taste over salad.

ricotta spinach (and tofu) ravioli

A while ago, I wrote a comment on someone else’s blog about how tofu’s bad reputation comes from people trying to substitute tofu for tastier but fattier ingredients, like cheese and meat. And it’s true – I love tofu in recipes where it belongs – hot and sour soup, moo shu, peanut sesame noodles, stir fry. But, it turns out that I’m a hypocrite, because just a few days before I wrote that comment, I had made ravioli filling with ricotta, spinach, parmesan, and, yes, tofu.

This filling is a holdover from my brief stint as a brown rice-eating, refined sugar-avoiding health nut. The lifestyle wasn’t a keeper, but this recipe is. The trick is to process the tofu in a food processor before adding the other ingredients to ensure that the tofu is absolutely smooth. I also like the spinach processed, or at least very finely chopped, because the texture of cooked spinach is potentially stringy unless chopped finely.

This is my most successful attempt at making homemade ravioli. (And it was all done between 9pm and midnight on a Friday, because I’m a nut.) I made the dough by hand instead of using the food processor, since I’ve been more successful with hand-kneaded dough in the past. The picture is all out of whack – I was supposed to use 3 eggs and 2 cups of flour, this is 3 cups of flour and 2 eggs. I figured out the screw-up just in time.

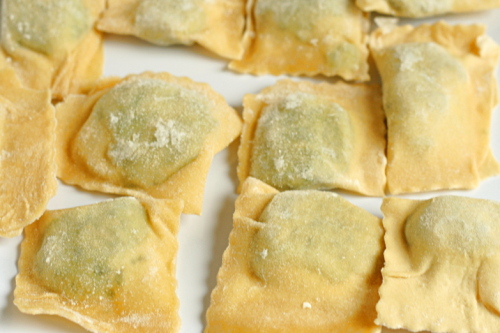
In the past, I’ve always rolled out pasta dough for ravioli to the thinnest setting, but then they’re impossibly delicate. I kept the pasta just a bit thicker this time. I was also careful to form wider sheets of pasta, which meant I could form square raviolis instead of rectangles. It’s a small issue, but I was excited about the squares. For nice square ravioli, make sure you start rolling the dough by feeding the widest edge through first. Not only does this make for prettier ravioli, but the pasta sheets don’t become as long and difficult to handle.

The thicker dough made far better ravioli than I’ve made before! This is the first time I’ve been able to boil ravioli without it immediately tasting watery. The dough remained firm, and the ravioli, both the filling and the pasta, were delicious. The tofu doesn’t detract from the filling at all, and while I can’t say that it’s adding any flavor of its own, it sure is a healthy filler ingredient.

Spinach Ricotta Tofu Ravioli (dough ingredients and ravioli forming instructions from Cooks Illustrated; dough mixing and rolling method from Marcella Hazan; filling recipe is my own creation)

The instructions look long, but that’s only because I copied and pasted Marcella Hazan’s very detailed pasta instructions from her lasagna recipe. It’s not nearly as complicated as it looks.

I’m not providing you with a sauce recipe. I’ve been using a simple tomato sauce with these.

Ravioli take well to freezing. I didn’t eat any of these the day I formed them. I immediately flash froze them, and they’ve made for some handy easy meals in the weeks since.

For the dough:
2 cups (10 ounces) unbleached flour
3 large eggs

For the filling:
10 ounces fresh spinach
12 ounces firm tofu
15 ounces ricotta cheese
¾ cup (1.5 ounces) grated parmesan cheese
1 teaspoon salt
ground black pepper

For the pasta:

Pour the flour onto a work surface, shape it into a mound, and scoop out a deep hollow in its center. Break the eggs into the hollow.

Beat the eggs lightly with a fork for about 2 minutes as though you were making an omelet. Draw some of the flour over the eggs, mixing it in with the fork a little at a time, until the eggs are no longer runny. Draw the sides of the mound together with your hands, but push some of the flour to one side, keeping it out of the way until you find you absolutely need it. Work the eggs and flour together, using your fingers and the palms of your hands, until you have a smoothly integrated mixture. If it is still moist, work in more flour.

When the mass feels good to you and you think it does not require any more flour, wash your hands, dry them, and run a simple test: Press you thumb deep into center of the mass; if it comes out clean, without any sticky matter on it, no more flour is needed. Put the egg and flour mass to one side, scrape the work surface absolutely clear of any loose or caked bits of flour and of any crumbs, and get ready to knead.

Return to the mass of flour and eggs. Push forward against it using the heel of your palm, keeping your fingers bent. Fold the mass in half, give it a half turn, press hard against it with the heel of your palm again, and repeat the operation. Make sure that you keep turning the ball of dough always in the same direction, either clockwise or counterclockwise, as you prefer. When you have kneaded it thus for 8 full minutes and the dough is as smooth as baby skin, it is ready for the machine.

Cut the ball of dough into 6 equal parts.

Spread clean, dry, cloth dish towels over a work counter near where you’ll be using the machine.

Set the pair of smooth cylinders, the thinning rollers, at the widest opening. Flatten one of the pieces of dough by pummeling it with your palm, and run it through the machine. Fold the dough twice into a third of its length, and feed it by its narrow end through the machine once again. Repeat the operation 2 or 3 times, then lay the flattened strip of pasta over a towel on the counter. Since you are going to have a lot of strips, start at one end of the counter, leaving room for the others.

Take another piece of dough, flatten it with your hand, and turn it through the machine exactly as described above. Lay the strip next to the previously thinned one on the towel, but do not allow them to touch or overlap, because they are still moist enough to stick to each other. Proceed to flatten all the remaining pieces in the same manner.

Close down the opening between the machine’s rollers by one notch. Take the first pasta strip you had flattened and run it once through the rollers, feeding it by its wider end. Do not fold it, but spread it flat on the cloth towel, and move on to the next pasta strip in the sequence.

When all the pasta strips have gone through the narrower opening once, bring the rollers closer together by another notch, and run the strips of pasta through them once again, following the procedure described above. You will find the strips becoming longer, as they get thinner, and if there is not enough room to spread them out on the counter, you can let them hand over the edge. Continue thinning the strips in sequence, progressively closing down the opening between the rollers one notch at a time. This step-by-step thinning procedure, which commercial makers of fresh pasta greatly abbreviate or skip altogether, is responsible, along with proper kneading, for giving good pasta its body and structure. Continue thinning the pasta until the second-to-last setting.

For the filling:

Place cleaned spinach leaves and any water that clings to them in a nonreactive soup kettle. (If you’re using pre-washed bagged spinach, add 2 tablespoons water to the pot). Cover and cook over medium heat until spinach wilts, about 5 minutes. Cool spinach slightly and squeeze out the excess liquid; set aside.

Process the tofu in a food processor until smooth. Add the spinach and pulse to combine and finely chop. Add the remaining filling ingredients and pulse to combine.

To form ravioli:

Your sheets should be approximately 4 inches across. Place small balls of filling (about one rounded teaspoon each) in a line one inch from the bottom of the pasta sheet. Leave one and one-quarter inches between each ball of filling. Fold over the top of the pasta and line it up with the bottom edge. Seal bottom and the two open sides with your finger. Use fluted pastry wheel to cut along the two sides and bottom of the sealed pasta sheet. Run pastry wheel between balls of filling to cut out the ravioli.

To cook ravioli:

Bring 4 quarts water to boil in a large stockpot. Add salt and half the pasta. Cook until doubled edges are al dente, 4-5 minutes. With a slotted spoon, transfer ravioli to warmed bowls or plates; add sauce of choice. Meanwhile, put remaining ravioli in boiling water and repeat cooking process. (Or bring two pots of water to boil and cook both batches simultaneously.) Serve immediately. (Alternatively, after draining the boiled ravioli, layer them in a baking dish with sauce and put them in a warmed oven until ready to serve.)