cherry tomato salad

Here are two common pairings that seem impractical to me – bread served with pasta and fries served with burgers. Of course they’re tasty combinations – who doesn’t love more carbs? – but do they make nutritional sense?

Granted, a leafy green salad would be too refined, and roasted or steamed vegetables don’t go with the casual feel of a burger. That’s why I love a non-lettuce based salad to go along with burgers, instead starring something like mushrooms or peppers or tomatoes.

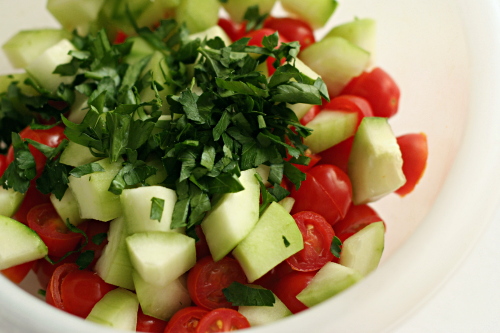
Even though my little desert town has perfect grilling weather nearly year-round, it does not have perfect tomatoes. That’s a nice thing about this salad – you can make it with grape tomatoes, the only decent tomato option at the grocery store for most of the year.

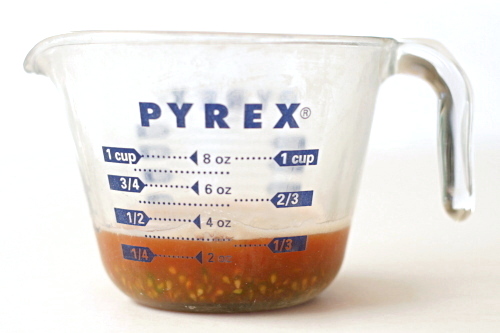
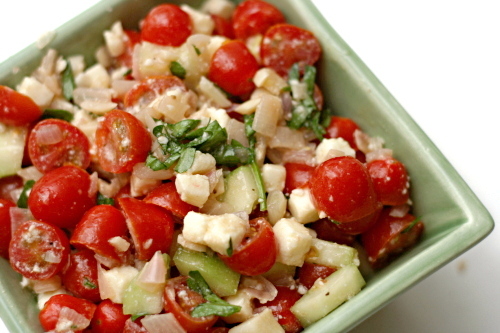
What’s more, the tomato flavor is enhanced by draining the watery juice from the tomatoes and reducing it to use with the dressing. The dressing ends up somewhat sweet, which is nicely balanced by tart red wine vinegar, fresh cucumber (I can’t believe I used to not like cucumber), and salty feta. I’d take this salad over fries any day.

One year ago: Lemon Poppy Seed Waffles
Two years ago: Whole Wheat Pasta with Greens, Beans, Tomatoes, and Garlic Chips

Printer Friendly Recipe
Greek Cherry Tomato Salad (from Cooks Illustrated)

If in-season cherry tomatoes are unavailable, substitute vine-ripened cherry tomatoes or grape tomatoes from the supermarket. Cut grape tomatoes in half along the equator rather than quartering them.

If you don’t have a salad spinner, after the salted tomatoes have stood for 30 minutes, wrap the bowl tightly with plastic wrap and gently shake to remove seeds and excess liquid. Strain the liquid and proceed with the recipe as directed.

The amount of liquid given off by the tomatoes will depend on their ripeness. If you have less than ½ cup of juice after spinning, proceed with the recipe using the entire amount of juice and reduce it to 3 tablespoons as directed.

2 pints ripe cherry tomatoes, quartered (about 4 cups) (see note)
table salt
½ teaspoon sugar
2 medium garlic cloves, minced or pressed through a garlic press (about 2 teaspoons)
½ teaspoon dried oregano
1 medium shallot, minced (about 3 tablespoons)
1 tablespoon red wine vinegar
2 tablespoons extra virgin olive oil
ground black pepper
1 small cucumber, peeled, seeded, cut into ½-inch dice
½ cup chopped pitted kalamata olives
4 ounces feta cheese, crumbled (about 1 cup)
3 tablespoons chopped fresh parsley

1. Toss tomatoes, ¼ teaspoon salt, and sugar in a medium bowl; let stand for 30 minutes. Transfer the tomatoes to a salad spinner and spin until the seeds and excess liquid have been removed, 45 to 60 seconds, stirring to redistribute the tomatoes several times during spinning. Return the tomatoes to the bowl and set aside. Strain the tomato liquid through a fine-mesh strainer into a liquid measuring cup, pressing on the solids to extract as much liquid as possible.

2. Bring ½ cup tomato liquid (discard any extra), the garlic, oregano, shallot, and vinegar to a simmer in a small saucepan over medium heat. Simmer until the mixture is reduced to 3 tablespoons, 6 to 8 minutes. Transfer the mixture to a small bowl and cool to room temperature, about 5 minutes. Whisk in the oil and pepper to taste until combined. Taste and season with up to ⅛ teaspoon table salt.

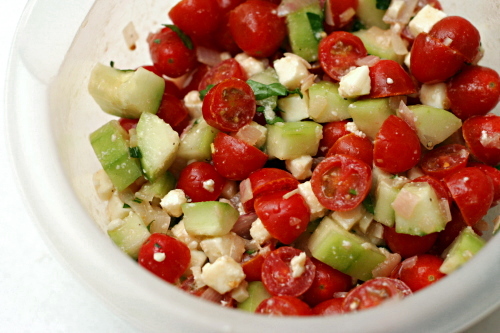
3. Add the cucumber, olives, feta, dressing, and parsley to the bowl with the tomatoes; toss gently and serve.

twice-baked potatoes

Copy of IMG_1022

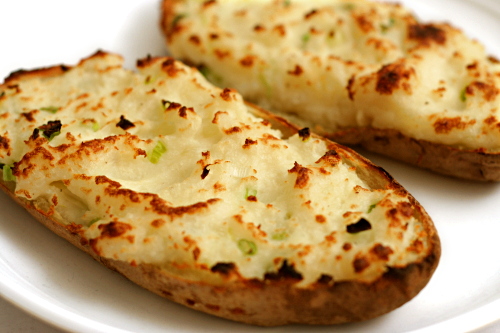
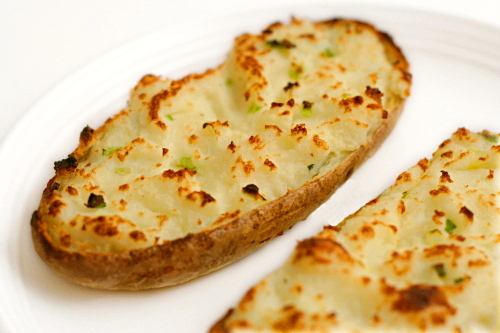
Trust me, you don’t need a recipe for twice-baked potatoes. You know what makes twice-baked potatoes so good? Fat. The more butter and sour cream you add, the better your potatoes will be. The less you add, the better you’ll feel about eating those potatoes.

Copy of IMG_0990

Decide what your goals are – if you want indulgence, you can add all sorts of sour cream, butter, cheese if you want it! If you want to keep it very light, replace the sour cream with buttermilk and reduce the butter to just enough to moisten the potato filling.

Copy of IMG_0999

Because I often serve twice-baked potatoes as part of nice meals, my goal tends to be flavor and not nutrition. In this case, I was making them just for myself and Dave, so I tried not to get carried away with the butter and sour cream. If I was serving them for a bigger occasion, I might add a bit more of each.

Copy of IMG_1005

Hey, don’t look at me like I’m some sort of fat-adding heathen. My mom pushes a small cube of butter into each potato before its second bake, which melts into an inviting pool of decadence; at least I resisted that!

Copy of IMG_1037

One year ago: Candied Orange Peels
Two years ago: Yule Log (Daring Bakers)

Printer Friendly Recipe
Twice-Baked Potatoes

Serves 4

You can certainly add cheese to these if you like that sort of thing; a couple of ounces (½ cup) of something like cheddar would compliment the other flavors nicely. If you want to make the potatoes lighter, replace all or a portion of the sour cream with buttermilk. If you want to make them even more delicious, increase the sour cream by a couple of tablespoons. The flavor of the filling won’t change significantly after its second bake, so feel free to taste and adjust as you go.

24 ounces (approximately) russet potatoes (4 small or 2 large)
4 tablespoons (½ stick) butter, room temperature
¼ cup sour cream
½ teaspoon salt
⅛ teaspoon black pepper
2 scallions, finely chopped

1. Adjust an oven rack to the middle position and heat the oven to 400ºF. Scrub the potatoes and stab each one several times with a fork. Place the potatoes right on the oven rack and bake them until a fork inserted into one meets no resistance, 60-75 minutes. Remove the potatoes from the oven and let them cool slightly. Heat the broiler.

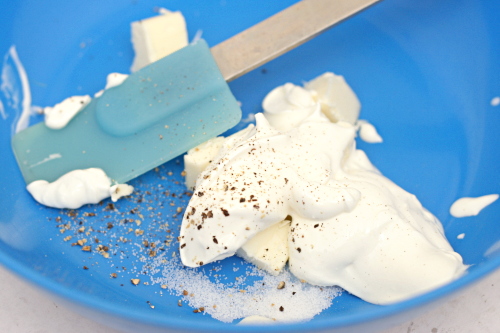
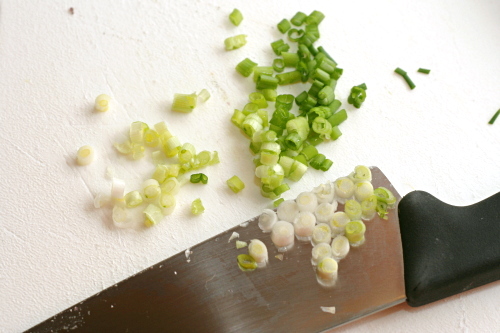
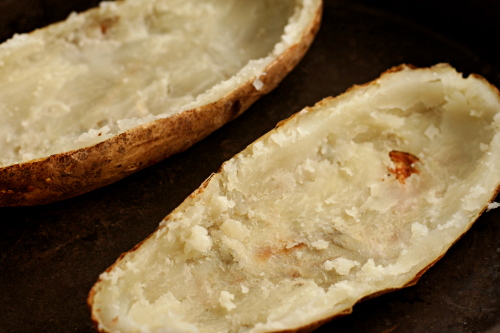
2. In a large bowl, mix the butter, sour cream, salt and pepper. Cut the potatoes in half and use a spoon to scoop out the flesh, leaving behind a thin layer of potato on the skin. Add the potato flesh to the bowl with the sour cream mixture. Using a potato masher, mash the potatoes into the sour cream mixture until it’s combined and there are no large chunks of potato. Fold in the scallions (reserving a few for a garnish, if you’d like).

3. Spoon the filling into the potato shells. Place the potatoes on a baking sheet and broil until the tops are crisp and lightly browned. Serve immediately.

Copy of IMG_1023

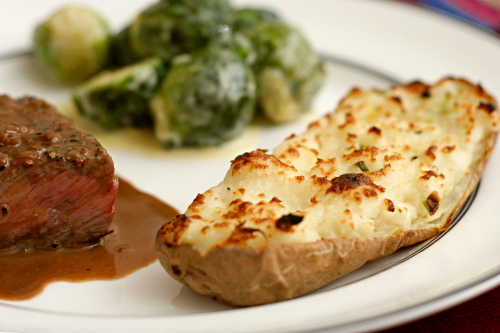
Suggested menu: Steak au Poivre, Brussels Sprouts Braised in Cream, Twice-Baked Potatoes

brussels sprouts braised in cream

Copy of IMG_1026

You know what I hate? Those “hide the vegetables in brownies” cookbooks. I admit that I don’t have kids, so maybe I just have no clue and that really is the only way to get them to eat something healthy. But, for now, my theory is that if you prepare vegetables well, there will be no need to hide them.

Copy of IMG_0970

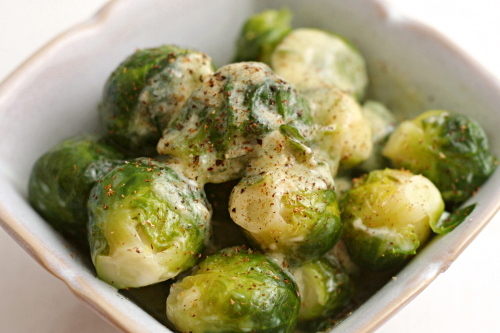
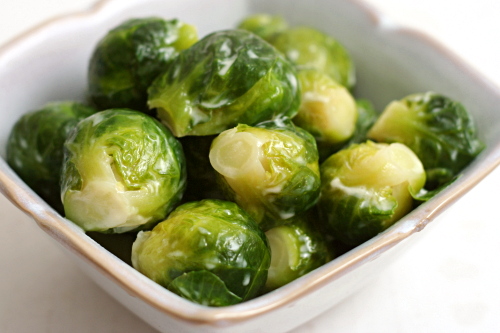
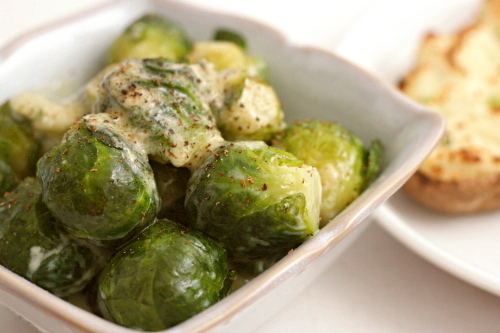
By “preparing them well,” I don’t necessarily mean braising them in cream, of course, but if you can afford the caloric expense, these are certainly worth showcasing instead of hiding. Because these are absolutely just so freaking ridiculously good. Is that enough adverbs? Probably not. They’re worth more.

Copy of IMG_0988

They’re easy too, and you can clean and trim the sprouts early in the day and put them right in the saucepan with the cream and seasonings. About 15 minutes before dinner, put the pot on a hot burner and give it a quick shake every so often. If you have a few extra minutes to make these even more rich and delicious, remove the cooked sprouts from the pot and continue simmering the cream until it’s luscious and thick, then pour it over the sprouts. It’s just…I don’t even…you just can’t describe something that good.

Copy of IMG_1017

Because they’re so easy, so good, and most of the work can be done in advance, these are perfect for guests. And just a piece of advice: your guests will probably enjoy them even more if you don’t mention the whole “braised in cream” part.

Copy of IMG_1036

One year ago: Sausage Apple Hash
Two years ago: Risotto with Peas

Printer Friendly Recipe
Brussels Sprouts Braised in Cream (adapted from Cooks Illustrated)

Serves 4

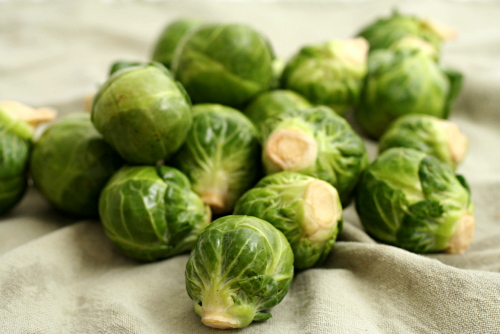
1 pound small Brussels sprouts, stem ends trimmed with a knife and discolored leaves removed
1 cup heavy cream
½ teaspoon salt
pinch freshly grated nutmeg
ground black pepper

1. Bring the sprouts, cream, and salt to a boil in a 2-quart saucepan over medium-high heat. Cover and simmer, shaking the pan once of twice to redistribute the sprouts, until a knife tip inserted into the center of a sprout meets no resistance, 10-12 minutes. Season with nutmeg and pepper to taste.

2. (Optional) Heat the oven to 200ºF. With a slotted spoon, remove the sprouts from the saucepan and transfer them in a heatproof serving dish. Place the sprouts in the oven to keep warm. Meanwhile, simmer the remaining cream in the saucepan over medium-high heat until thick, about 5 minutes. Pour the cream sauce over the sprouts and serve immediately.

Copy of IMG_1024

Suggested menu: Steak au Poivre, Brussels Sprouts Braised in Cream, Twice-Baked Potatoes

soft and sexy grits

Copy of IMG_0732

The hardest part of blogging for me is the writing. The cooking I do naturally and the photography, even if it frustrates me sometimes, I’m always confident that I can do at least passably. But sitting down and trying to come up with something creative to say is a challenge for me more often than not.

Copy of IMG_0719

And that’s why posting every day for a month, although difficult, is a valuable exercise for me. It’s like drilling. Anything I want to master, I have to repeat over and over again. It’s that way for dancing, music, even math. NaBloPoMo is just drilling for bloggers.

Copy of IMG_0721

There is an entry or two in the last month that I’m not perfectly happy with, that I would have spent more time on if I hadn’t had to publish something that day. I’m not proud of that entry, but I am proud of the entire month of entries – for finishing it without what I thought was a significant loss of quality. I’m a better blogger for it, and hopefully a better writer.

Copy of IMG_0728

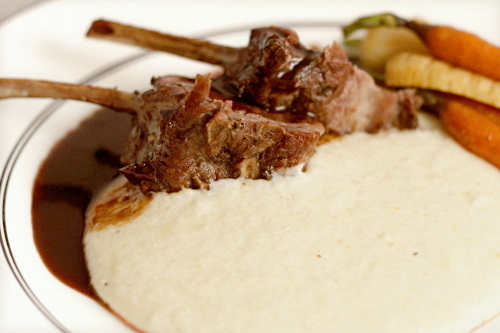
Something else I like about blogging every day is that it’s easier to complete little series of posts – the three scone recipes in a row, some New Mexican food, and now this fantastic accompaniment to yesterday’s equally fantastic lamb.

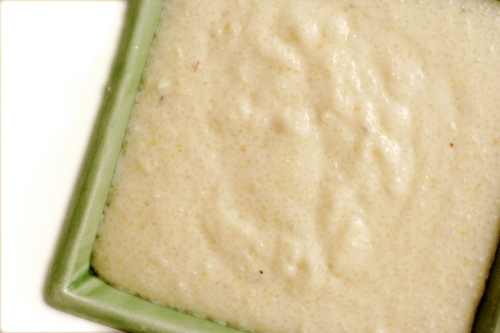
These grits themselves are lovely and rich. But that soft texture and basic flavor means they lend themselves perfectly to soaking up a heady sauce like the lamb’s red wine sauce. The lamb was the star of the show, but it needed these grits singing backup to really shine.

Copy of IMG_0738

One year ago: Chocolate Truffles
Two years ago: Crockpot Rice and Beans

Printer Friendly Recipe
Soft and Sexy Grits (from Cooks Illustrated’s Restaurant Favorites at Home)

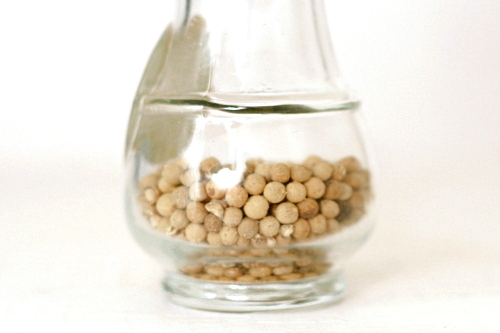
Because ground pepper loses its flavor so fast and I don’t use white pepper enough to have a dedicated pepper mill for it, I buy it in a container that has its own built-in grinder.

2 tablespoons butter
2 garlic cloves, minced or pressed through a garlic press
4 cups low-sodium chicken broth
2 cups whole milk
2 cups heavy cream
2 cups quick grits
hot pepper sauce, such as Tabasco
Salt and ground white pepper

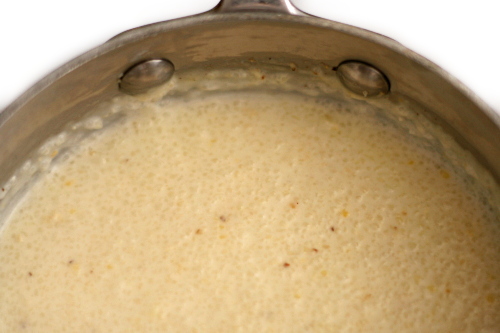
1. Melt the butter in a large saucepan over medium heat. Add the garlic and cook until softened and fragrant, about 30 seconds. Increase the heat to medium-high, add the broth, milk, and cream, and bring just to a boil.

2. Reduce the heat to low and, stirring constantly with a wooden spoon, slowly add the grits. Simmer, stirring occasionally, until the grits are smooth and creamy, 8 to 10 minutes. Season with Tabasco and salt and pepper to taste. Serve immediately, or cover the pan to keep the grits warm and serve within 15 minutes. (You should not need to add any more liquid.)

Copy of IMG_0737

mashed potatoes with root vegetables

Copy of IMG_8247

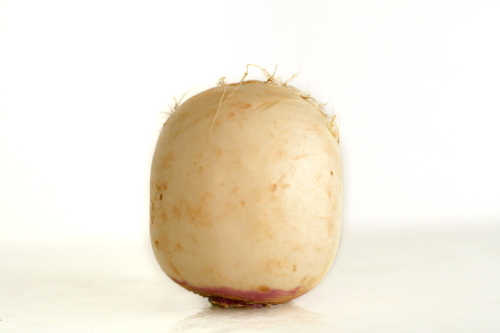
Isn’t that turnip the cutest little thing? Like an old crazed bald man, with just a few errant hairs.

Copy of IMG_8259

In truth, when I was planning this dish, I had to call a friend to give me some root vegetable knowledge. Which is the one that looks like a white carrot? (A parsnip, it turns out.) Which one should I try first? She recommended turnips, and thus dictated my first ever turnip purchase.

Copy of IMG_8262

Of course I took the wussy way out and mixed them with potatoes. Still, I enjoyed the extra dimension of flavor they provided – kind of licoricey and fennel-like. Now I’m looking forward to introducing myself to other root vegetables with this recipe – celery root in particular sounds interesting.

Copy of IMG_8280

One year ago: Chanterelle Salad with Speck and Poached Eggs

Printer Friendly Recipe
Mashed Potatoes and Root Vegetables (from Cooks Illustrated)

4 tablespoons unsalted butter
8 ounces carrots, parsnips, turnips, or celery root; carrots or parsnips cut into ¼-inch-thick half-moons; turnips or celery root cut into ½-inch dice (about 1½ inch cups)
1½ pounds Yukon Gold potatoes, peeled, quartered lengthwise, and cut crosswise into ¼-inch-thick slices; rinsed well in 3 to 4 changes of cold water and drained well
⅓ cup low-sodium chicken broth
table salt
¾ cup half-and-half, warmed
3 tablespoons minced fresh chives
ground black pepper

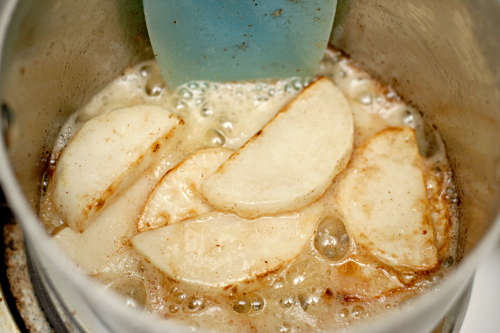
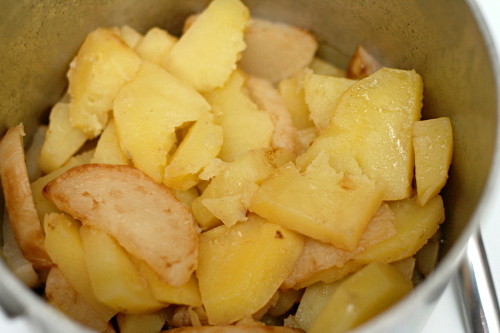
1. Melt butter in large saucepan over medium heat. When foaming subsides, add root vegetables and cook, stirring occasionally, until butter is browned and vegetables are dark brown and caramelized, 10 to 12 minutes. (If after 4 minutes, vegetables have not started to brown, increase heat to medium-high.)

2. Add potatoes, broth, and ¾ teaspoon salt and stir to combine. Cook, covered, over low heat (broth should simmer gently; do not boil), stirring occasionally, until potatoes fall apart easily when poked with a fork and liquid has been absorbed, 25 to 30 minutes. (If liquid does not gently simmer after a few minutes, increase heat to medium-low.) Remove pan from heat; remove lid and allow steam to escape for 2 minutes.

3. Gently mash potatoes and root vegetables in saucepan with potato masher (do not mash vigorously). Gently fold in warm half-and-half and chives. Season with salt and pepper to taste; serve immediately.

Copy of IMG_8289

pumpkin risotto

Copy of IMG_0156

Everyone’s goal for their food blog is different. Are you keeping a log of recipes you make for your own sake – to store them somewhere, or to track your progress as a cook? Do you only publish recipes that you recommend others make? Do you have a blog just to cook along with various groups? All are perfectly fine reasons to maintain a food blog.

Copy of IMG_0100

Periodically I have to ask myself what my stance is. The question only comes up when I make something that I’d like to share, even though it wasn’t necessarily my favorite dish ever. And I think I’ve decided that, for me, my food blog is somewhere I get to talk about cooking to people who are also interested in food. Basically it’s to offload my food thoughts to people who actually care, saving my friends and family from hearing about cooking nonstop. Not that the topic doesn’t still come up…let’s just say, periodically.

Copy of IMG_0102

So, let us discuss, then, this risotto. I’ve made risotto plenty of times before, but usually following the same basic recipe and just adding in whatever extra ingredient I wanted (peppers, peas, greens, etc). This time I decided to follow a different recipe.

Copy of IMG_0114

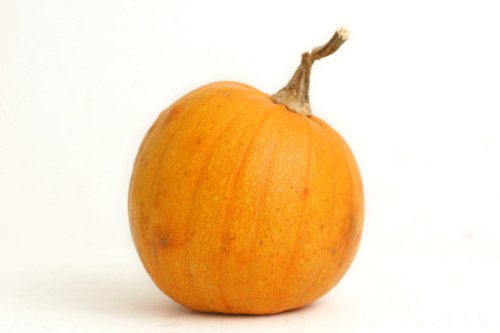
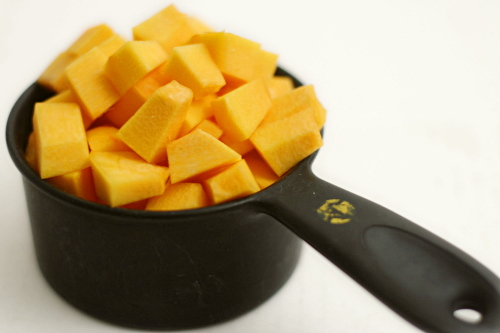
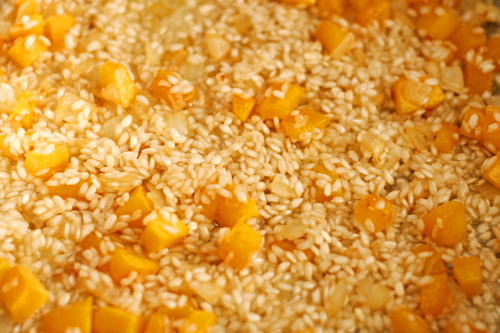
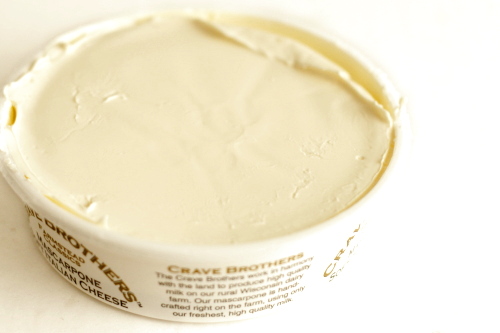
You probably know the basic risotto process – sauté onions and garlic, add the rice, then the wine, then the chicken broth, gradually, and ending with parmesan cheese. This recipe is a bit different. It starts with substantially more butter than I would normally use, in which the onion (supposed to be leeks, but I always forget to buy them) and pumpkin are sautéed. Then the rice is stirred in, like normal, but next is the chicken broth instead of the wine. The broth and wine are added alternately as the rice cooks. Mascarpone is stirred in at the end along with the parmesan.

Copy of IMG_0133

It was quite a bit winier than I’m used to risotto tasting, which isn’t necessarily a bad thing. It was also quite a bit cheesier, which I suppose should have been a no-brainer with all the mascarpone, but somehow I was expecting it to add richness without the cheesy flavor.

Copy of IMG_0147

Overall, it was…fine. Good? Not necessarily great. I just like my regular risotto better. Some foods are already rich enough that you don’t really need to add twice the butter and a dollop of the creamiest cheese ever. So maybe I don’t strongly recommend this recipe, but I thought it was interesting, and when it comes to choosing recipes to blog about, I guess interesting (to me, and if I’m lucky, to you) is what I’m most concerned with.

Copy of IMG_0163

One year ago: Mulled Cider

Printer Friendly Recipe
Pumpkin Risotto
(copied with no changes from Cucina Italiana April 2001)

3.5 cups chicken broth
1 small pumpkin (about ½ pound)
6 tablespoons unsalted butter
1 large leek, white part only, halved lengthwise, rinsed, and diced
1 cup Arborio rice
1 cup dry white wine
¼ cup Mascarpone
⅓ cup (.67 ounce) grated Parmigiano Reggiano

1. Heat broth in a small pan and keep it hot. Cut off the pumpkin stem. With a vegetable peeler, remove the skin. Cut the pumpkin in half, and remove and discard the seeds and stringy flesh. Dice enough of the pumpkin to make 1 cup. (Save any remaining pumpkin for another use; soup is a particularly good possibility.)

2. In a large saucepan, melt the butter. Add the pumpkin and leek, and cook over medium heat, stirring often, until softened, about 10 minutes. Add the rice and stir well to coat it with the butter. Cook, stirring, until the rice begins to crackle, about 5 minutes; do not let the rice brown.

3. Slowly add ½ cup of the broth and stir constantly until the rice absorbs all the liquid; add 2 tablespoons of the wine and continue stirring until it is absorbed by the rice. Continue adding broth and wine alternately to the rice, stirring all the while, until the rice is al dente and has a creamy consistency, about 15 minutes.

4. Stir in the Mascarpone and Parmigiano, blending well and stirring until the Mascarpone melts. Serve immediately.

herb-roasted onions

Copy of IMG_8470

I’m pretty sure I’m the worst yoga-er ever. I think it provides a pretty good workout, but, honestly, it kind of bores me. I know I’m supposed to get all meditative and stuff, but I don’t, and I end up bored, and I end up not doing yoga at all, and that’s no good.

Copy of IMG_8402

So my new trick is to watch the Food Network while I do yoga. See? Worst yoga-er ever.

Copy of IMG_8414

But if I think of yoga as “ooh, I get to watch Barefoot Contessa!” instead of “bleah, exercise”, I actually look forward to it. I recently saw her make chicken piccata, buttermilk mashed potatoes, and roasted onions, and I decided right there, in the middle of the warrior series, that I was making the whole meal that weekend.

Copy of IMG_8417

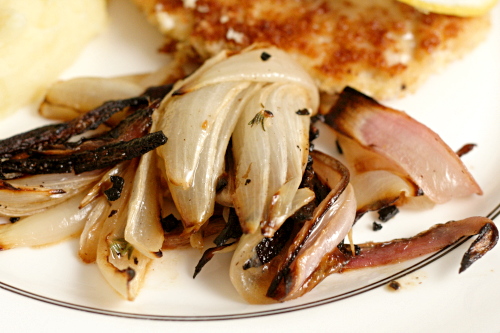
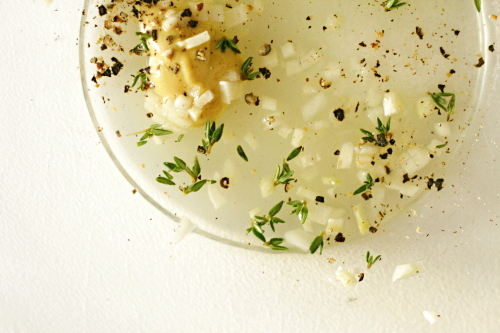
The buttermilk mashed potatoes were just as good as you’d expect (in other words, very, although I didn’t follow her recipe to a tee), and the chicken was actually a big failure, but the onions were what really stole the show. They get two major hits of flavor, a quick soak in lemony herb mustard vinaigrette before baking, and then another dip in the same dressing after they’re cooked.

Copy of IMG_8425

This was my first experience serving onions on their own instead of as a support to a dish’s main flavor, and, damn! I’ve been missing out. I really do love onions when they’re soft and caramelized, and the dressing brightened and enhanced the onions’ own sweetness. All that and stretchier muscles. Not bad for half an hour of watching television.

Copy of IMG_8439

Printer Friendly Recipe
Herb-Roasted Onions
(from Barefoot Contessa)

2 red onions
1 yellow onion
2 tablespoons freshly squeezed lemon juice
1 teaspoon Dijon mustard
1 teaspoon minced garlic
½ tablespoon minced fresh thyme leaves
¾ teaspoon kosher salt
¼ teaspoon freshly ground black pepper
¼ cup good olive oil
½ tablespoon minced fresh parsley leaves

1. Preheat the oven to 400F.

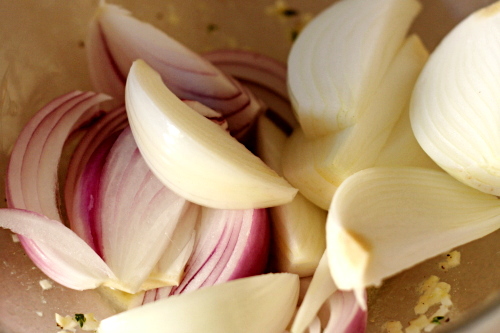
2. Remove the stem end of each onion and carefully slice off the brown part of the root end, leaving the root intact. Peel the onion. Stand each onion root end up on a cutting board and cut the onion in wedges through the root. Place the wedges in a bowl.

3. For the dressing, combine the lemon juice, mustard, garlic, thyme, salt, and pepper in a large bowl. Slowly whisk in the olive oil. Pour the dressing over the onions and toss well.

4. With a slotted spoon, transfer the onions to a sheet pan, reserving the vinaigrette that remains in the bowl. Bake the onions for 30 to 45 minutes, until tender and browned. Toss the onions once during cooking. Remove from the oven, and drizzle with the reserved dressing. Sprinkle with parsley, season to taste and serve warm or at room temperature.

Copy of IMG_8472

twice-baked potato cups

Copy of IMG_4842

Bad habit: I cook new recipes at a much faster rate than I get around to writing about them here.  By the time I’m ready to put them in the blog, I can’t remember what motivated me to make them in the first place.  So instead of including some sort of personalized story that hopefully makes blog a little interesting, I end up writing about something lame like how I have nothing to say.  Um.

Copy of Copy of IMG_4788

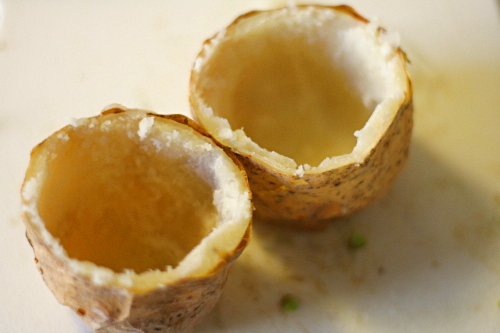
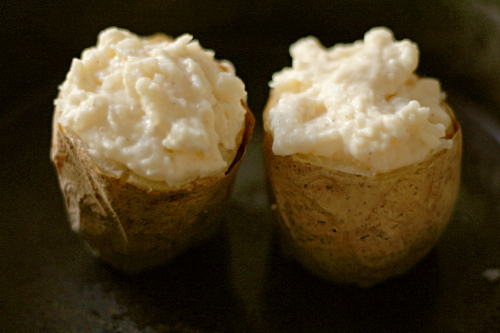
Anyway, twice baked potatoes!  You can’t go wrong, you know?  But these are way cuter than regular ones, because they stand up on their small sides and form little cups.  Love!

Copy of IMG_4815

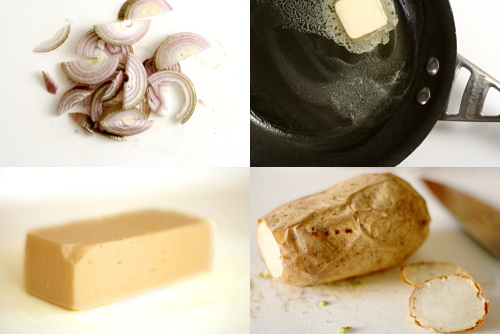
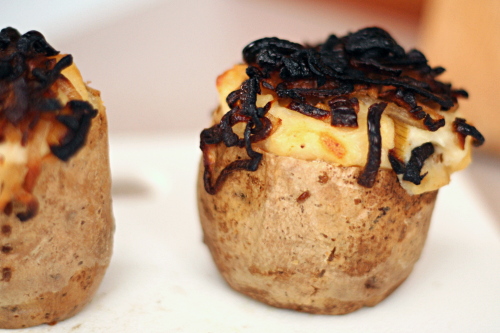
Also, shallots – so good.  So sweet and flavorful.  And charred, in this case, so watch out for that.

Harvati isn’t a cheese I’m too familiar with, but mmm, it was good.  Tasted a bit like a good cheddar, but it was softer and smoother.

Copy of IMG_4822

These were exactly as good as you’d expect based on the ingredients.  They’re also as good as any other twice baked potatoes, but they’re more interesting, not just in their shape, but with a nontraditional cheese choice and wonderful caramelized shallots.  Maybe something as good as this doesn’t need a personalized story.

Copy of IMG_4839

One year ago: Banana and Peanut Butter Stuffed French Toast

Printer Friendly Recipe
Twice-Baked Potato Cups with Caramelized Shallots
(from epicurious.com)

Serves 4 generously

I skipped the vegetable oil.  Also, I think you could substitute buttermilk for some or all of the sour cream.

4 12-ounce russet potatoes, scrubbed
Vegetable oil
1 cup coarsely grated Havarti cheese (about 4 ounces)
½ cup sour cream
¼ cup whole milk
¼ teaspoon cayenne pepper
3 tablespoons butter
1½ cups thinly sliced shallots (about 8 ounces)
1 tablespoon chopped fresh Italian parsley

1. Preheat oven to 400°F. Pierce potatoes in several places with fork, then brush lightly with oil. Place potatoes directly on oven rack and bake until tender when pierced with fork, about 55 minutes. Cool potatoes slightly.

2. Cut off thin slice from both short ends of each potato and discard. Cut each potato crosswise in half; stand each half on its small flat end. Using teaspoon, scoop out cooked potato pulp from each half, leaving ⅓-inch-thick shell and forming potato cup. Place potato cups in 13x9x2-inch glass baking dish. Place potato pulp in medium bowl; add cheese, sour cream, milk, and cayenne. Using potato masher or fork, mash until well blended and almost smooth. Season to taste with salt and pepper. Mound mashed potato mixture in potato cups.

3. Melt butter in heavy medium skillet over medium heat. Add shallots and sauté until tender and deep brown, about 12 minutes. Top potato cups with shallots. (Can be made 1 day ahead. Cover and chill.)

4. Preheat oven to 350°F. Bake potato cups until heated through, about 20 minutes. Sprinkle with parsley and serve.

Copy of IMG_4845

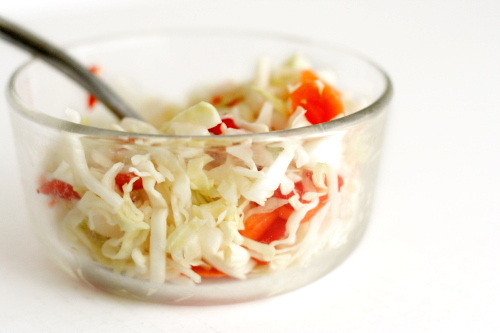
pickled coleslaw

Copy of IMG_6584

Salads can be tricky, because if I’m eating a big bowl of vegetables, it better be healthy, you know? But there’s the whole salad dressing issue. Vinaigrette is the standard lighter option, but even it’s usually based on olive oil.

Coleslaw is no exception to the salad dressing problem. Many coleslaws are simply cabbage, mayonnaise and seasoning. Not only is this a little plain for my taste, but it turns coleslaw into a full-on indulgence. Even my favorite buttermilk coleslaw recipe includes a bit of mayonnaise and sour cream (which could probably be replaced by plain yogurt), although the base of the dressing is lowfat buttermilk.

Copy of IMG_6553

A lot of people don’t even like creamy coleslaws, preferring vinegar-based slaws instead. I like both types, and at first I thought these vinegar dressings were the no-fat answer for coleslaw, until I found out that most involve oil, like a typical vinaigrette does.

Copy of IMG_6547

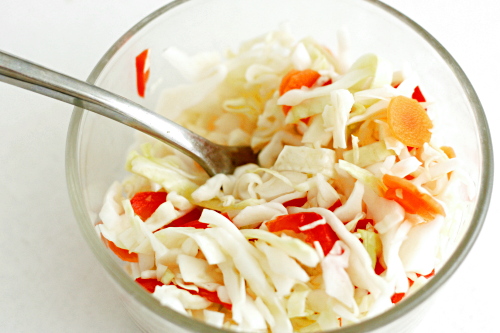
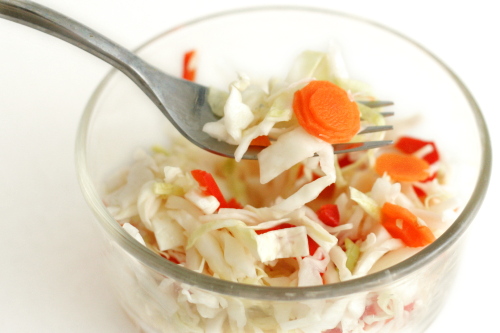
The solution, it turns out, is pickled coleslaw. The cabbage here is mixed with nothing but vinegar, water, sugar and salt. Those ingredients have to be heated to dissolve the sugar, then cooled so they don’t wilt the cabbage. Then they’re mixed with the shredded cabbage and a few other vegetables (sadly, I didn’t have a cucumber around when I made this, so I had to skip it), and refrigerated overnight – or for longer, if need be.

Copy of IMG_6556

What a great way to eat a big bowl of vegetables. Since I’m not worried by a wee bit of sugar, there’s nothing for me to feel guilty about here. And it isn’t just about being healthy – it tastes great too. It’s tart without being too sour and has a wonderful crunch. Even Dave, pickle-hater that he is, enjoyed it. Gotta love a salad without compromise.

Copy of IMG_6583

One year ago: Mashed Potatoes with Kale

Pickled Coleslaw (from Deb Perelman for NPR)

Makes 8 to 10 servings

Brine:
1½ cups distilled white vinegar
1½ cups water
⅓ (2.33 ounces) cup sugar
2½ tablespoons kosher salt

Slaw:
1 small head green cabbage
1 red bell pepper, cored, seeded and thinly sliced into 1- to 2-inch pieces
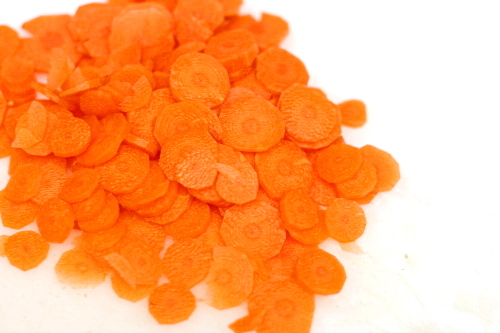
1 carrot, peeled and very thinly sliced
1 kirby cucumber, thinly sliced

Bring brine ingredients to a boil in a 2-quart nonreactive saucepan over moderate heat, stirring until sugar is dissolved. (Use a pan of stainless steel, glass and enameled cast iron; avoid pure aluminum and uncoated iron, which can impart an unpleasant taste to recipes with acidic ingredients) Transfer to a 3- to 4-quart nonreactive bowl and cool completely. To speed this process up, you can set the bowl over a second bowl of ice water, and stir, which will quickly chill the brine.

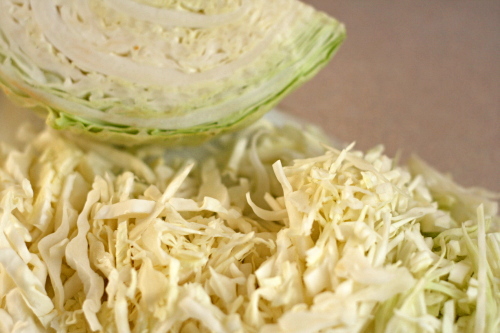
Halve, core and halve again the head of cabbage, then finely slice it with a knife, or run the quarters through a food processor fitted with a slicing blade.

Toss sliced cabbage, bell pepper, carrot and cucumber in bowl with brine. Cover with lid or plastic wrap, and refrigerate, tossing the ingredients once or twice in a 24-hour period. After one day in the brine, the coleslaw is ready to serve. It keeps for up to 1 week, chilled.
Copy of IMG_6586

mushroom salad

copy-of-img_5931

I used to read cookbooks like novels. I don’t require pictures, and I don’t like to skip around – I’ll be annoyed making the chocolate cake from Chapter 10 if I’m still reading through Chapter 2’s salads. It feels like a spoiler; like when I was sad to see Gandalf die in The Fellowship of the Ring, and Dave tried to make me feel better by telling me that he comes back in the next book/movie. I hate spoilers.

copy-of-img_5920

These days, though, I can’t seem get through an entire cookbook. I think I need a new method – like accepting that it’s okay not to read every step in every recipe. I’m only on Chapter 3 (Eggs, Dairy and Cheese, yum) in Bittman’s How to Cook Everything Vegetarian, which I got for Christmas. I’m still very happy with the cookbook – everything I’ve made from it has been great, and the recipes get me excited to cook. But right now, it’s just sitting on my shelf while I focus on other things. Since I haven’t read much more than the soups and salads chapters, that’s all I ever make from the book.

copy-of-img_5925

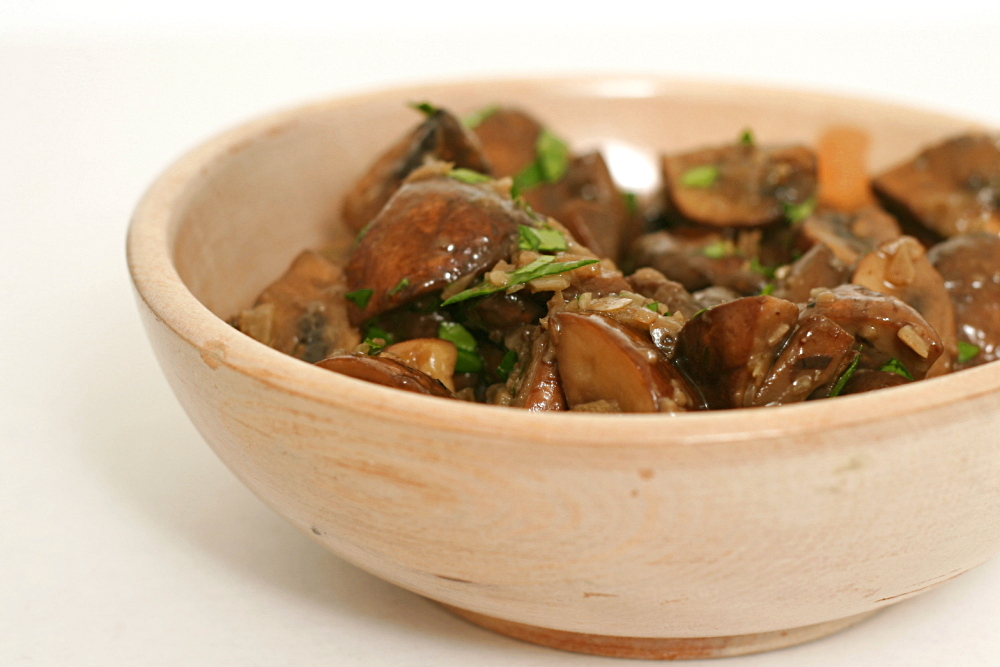
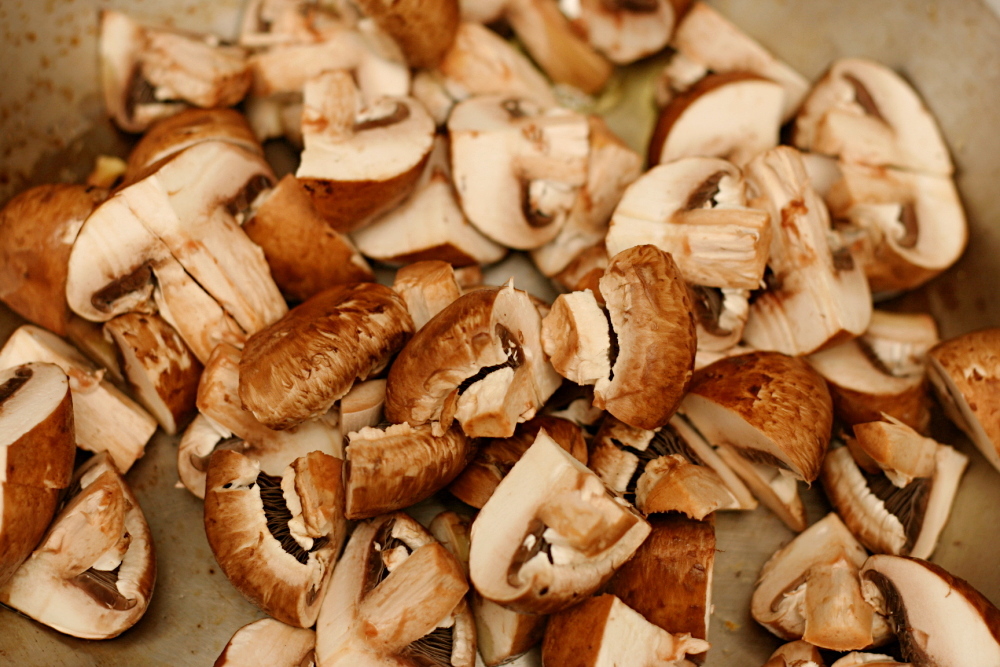
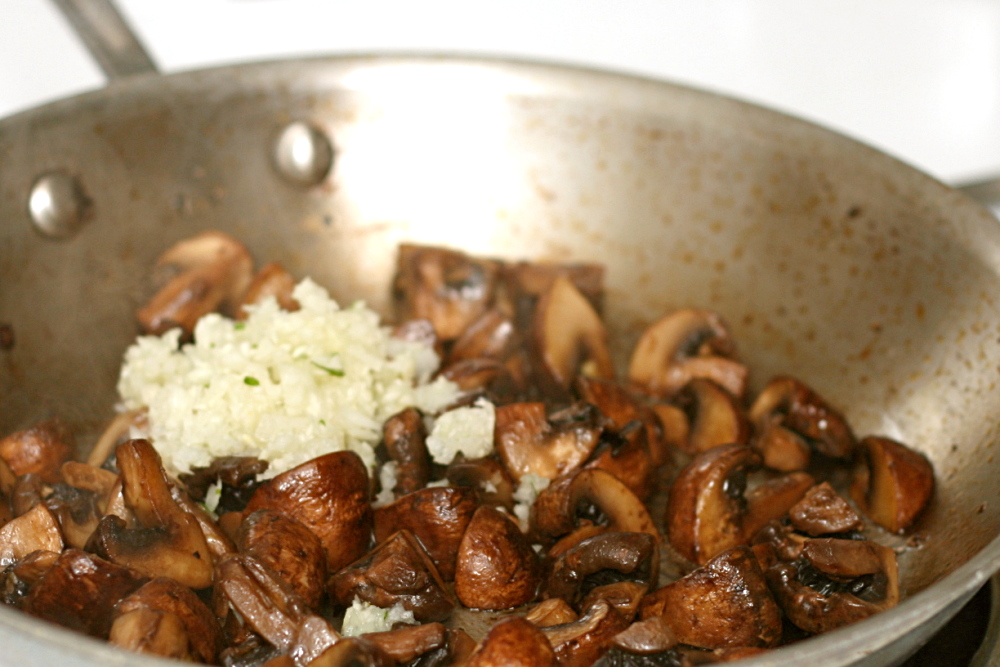
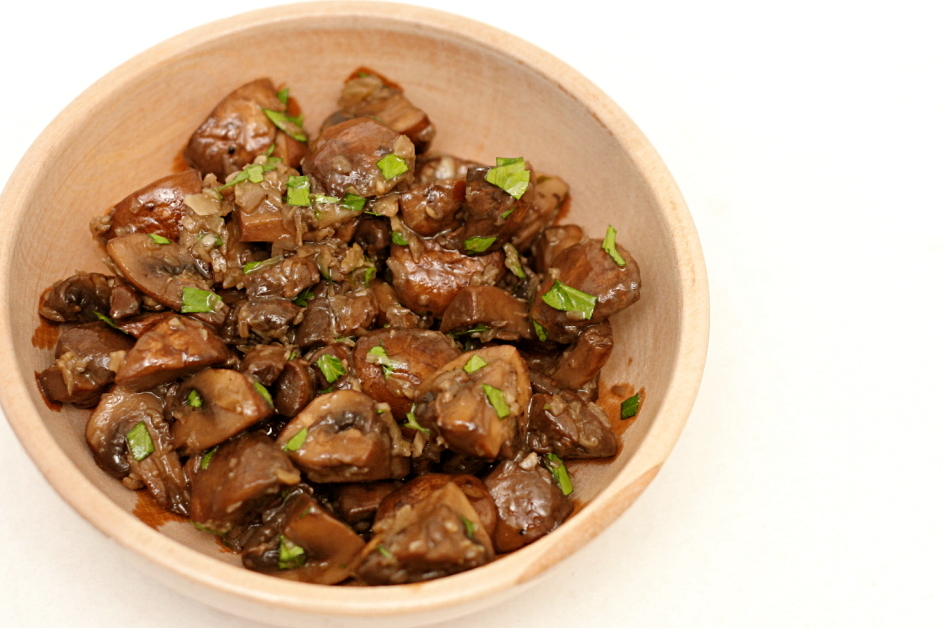
These mushrooms, from the salad chapter, made a handy side dish for meatball sliders. They’re nice and easy – after sautéing the quartered mushrooms with some aromatics, you mix them with vinegar and olive oil. Then just set them aside to marinate.

The simple mixture was surprisingly good. I was worried that Dave wouldn’t like them, because he doesn’t like pickled anything, but they weren’t sour, just a little tangy. It makes the big green cookbook on my shelf that much more enticing.

copy-of-img_5935

One year ago: Cappuccino Cream Puff Rings

Mushroom Salad, Italian-American Style (from Mark Bittman’s How to Cook Everything Vegetarian)

I didn’t actually measure anything, which is normal for me for a Bittman recipe. He presents his recipes more as ideas to get you started than rules to follow. I’m guessing I used less oil, and I just added vinegar to taste.

¼ cup extra virgin olive oil
1 pound butter or other mushrooms, trimmed and quartered
salt and freshly ground black pepper
¼ cup minced onion
1 tablespoon slivered garlic
½ cup red wine vinegar
½ cup chopped parsley leaves for garnish

1. Put 3 tablespoons oil in a wide skillet over medium heat. When hot, add the mushrooms, and cook, stirring occasionally and sprinkling with salt and pepper, until they give up their liquid and begin to brown, about 10 minutes. Lower the heat a bit and add the onion, then cook until the onion softens, another 5 minutes or so. Add the garlic and cool, stirring occasionally, about 2 minutes more. Turn off the heat.

2. Transfer the mushrooms to a bowl and stir in the vinegar and remaining tablespoon of oil. Let cool to room temperature for at least 30 minutes. Garnish and serve or let sit at room temperature for another hour or two before serving.