I didn’t start making fall foods, including anything with pumpkin, until October, but now I can’t seem to get enough. I’m pumpkin crazy. In the last few weeks, I’ve made pumpkin pancakes (several times), pumpkin cheesecake, pumpkin whoopee pies, pumpkin black bean soup, and pumpkin ravioli, plus a bunch of stuff with other types of squash. And I want more cheesecake, and I wouldn’t mind more pumpkin ravioli. Or pancakes. Oh, and I haven’t had pie yet… And doesn’t this and this and this look good? (Ack, and another one, updated while I was writing this!)
Making ravioli is one of the most fun (and work-intensive) aspects of having a pasta roller. The first couple ravioli recipes I made had fairly standard cheese fillings, but what’s the point of going through all the effort for homemade ravioli when I could buy almost the same thing at the grocery store? Pumpkin filling makes far more sense.
The recipe was one of the first I ever saved from a food blog, about a year ago. (Of course I didn’t record the source and had to scramble to find it later.) Before I made the ravioli, I did some searching to look at other pumpkin ravioli recipes, but none used the goat cheese that this one does, and I love goat cheese. It doesn’t hurt that this filling is really easy to put together, which at least in part makes up for all the work involved with the pasta.
Cara gave some instructions for a sauce to go with the ravioli, but I really wanted to serve it with sage browned butter. I found a recipe that looked pretty good, but then I got lazy and half-assed it, and it didn’t come out great. So I’m not going to provide a sauce recipe to go with the ravioli, instead leaving it to you to find something that looks good. I still recommend sage browned butter, either following that recipe correctly, or just browning some butter and adding minced sage, salt and pepper.
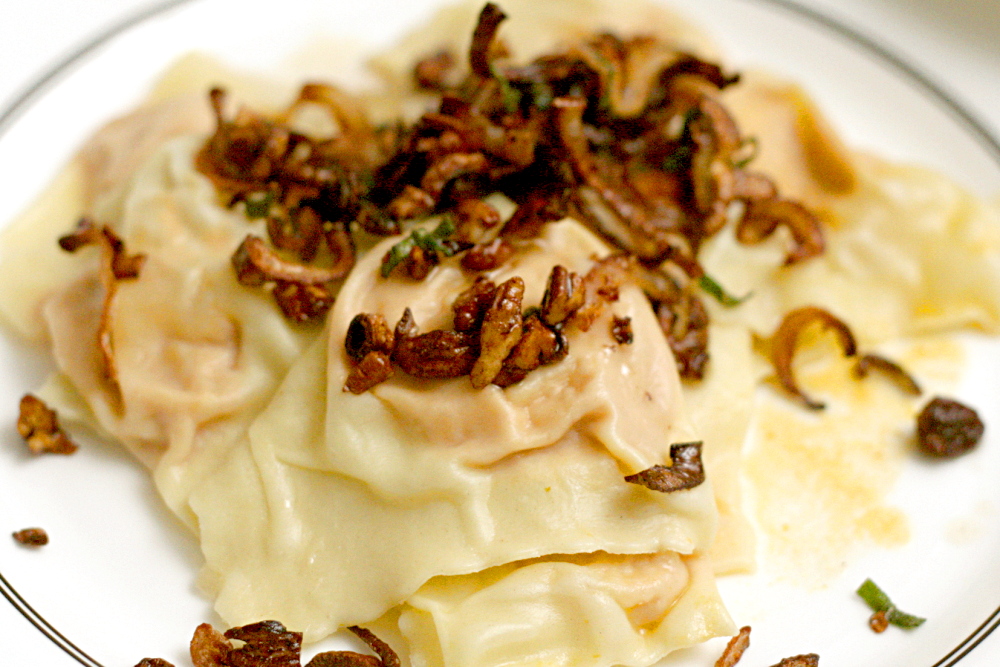
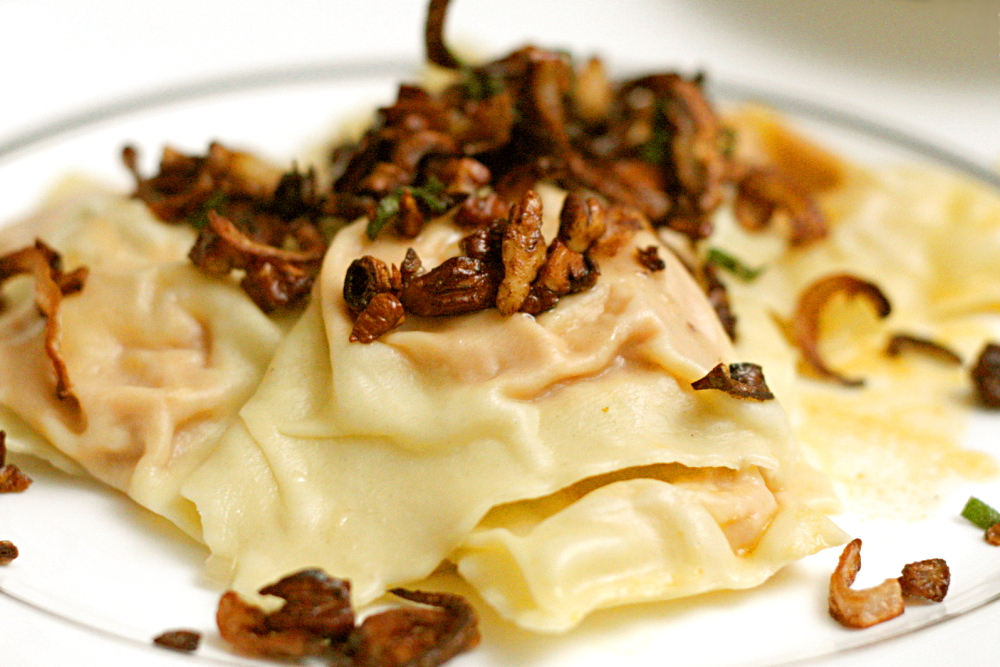
The ravioli were great. I love the pumpkin and goat cheese combination, and the maple syrup gave it just a bit of complimentary sweetness. Cara recommended a pinch of cinnamon, but I used nutmeg instead, because I love it in savory recipes, and it’s one of Dave’s favorite spices. I’m getting much better and faster at making ravioli, so I’m looking forward to trying more recipes.
Pumpkin Ravioli (dough ingredients and ravioli forming instructions from Cooks Illustrated; dough mixing and rolling method from Marcella Hazan; filling recipe adapted from Cara’s Cravings)
Please keep in mind that the recipe looks so long only because Marcella Hazan, whose pasta recipe I use, gives incredibly detailed instructions.
Filling:
1 (15-ounce) can pumpkin puree
4 ounces goat cheese, softened
1 tablespoon maple syrup
pinch nutmeg
salt and pepper to taste
Dough:
2 cups (10 ounces) unbleached flour
3 large eggs
For the filling:
Stir together all ingredients until smooth (or at least very close to smooth).
For the pasta:
Pour the flour onto a work surface, shape it into a mound, and scoop out a deep hollow in its center. Break the eggs into the hollow.
Beat the eggs lightly with a fork for about 2 minutes as though you were making an omelet. Draw some of the flour over the eggs, mixing it in with the fork a little at a time, until the eggs are no longer runny. Draw the sides of the mound together with your hands, but push some of the flour to one side, keeping it out of the way until you find you absolutely need it. Work the eggs and flour together, using your fingers and the palms of your hands, until you have a smoothly integrated mixture. If it is still moist, work in more flour.
When the mass feels good to you and you think it does not require any more flour, wash your hands, dry them, and run a simple test: Press you thumb deep into center of the mass; if it comes out clean, without any sticky matter on it, no more flour is needed. Put the egg and flour mass to one side, scrape the work surface absolutely clear of any loose or caked bits of flour and of any crumbs, and get ready to knead.
Return to the mass of flour and eggs. Push forward against it using the heel of your palm, keeping your fingers bent. Fold the mass in half, give it a half turn, press hard against it with the heel of your palm again, and repeat the operation. Make sure that you keep turning the ball of dough always in the same direction, either clockwise or counterclockwise, as you prefer. When you have kneaded it thus for 8 full minutes and the dough is as smooth as baby skin, it is ready for the machine.
Cut the ball of dough into 6 equal parts.
Spread clean, dry, cloth dish towels over a work counter near where you’ll be using the machine.
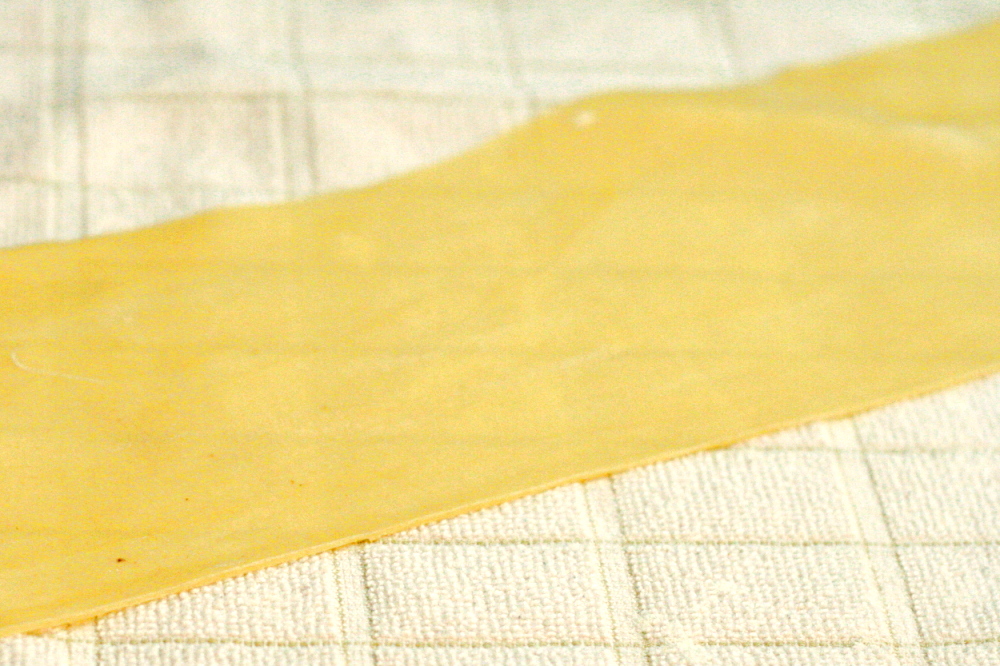
Set the pair of smooth cylinders, the thinning rollers, at the widest opening. Flatten one of the pieces of dough by pummeling it with your palm, and run it through the machine. Fold the dough twice into a third of its length, and feed it by its narrow end through the machine once again. Repeat the operation 2 or 3 times, then lay the flattened strip of pasta over a towel on the counter. Since you are going to have a lot of strips, start at one end of the counter, leaving room for the others.
Take another piece of dough, flatten it with your hand, and turn it through the machine exactly as described above. Lay the strip next to the previously thinned one on the towel, but do not allow them to touch or overlap, because they are still moist enough to stick to each other. Proceed to flatten all the remaining pieces in the same manner.
Close down the opening between the machine’s rollers by one notch. Take the first pasta strip you had flattened and run it once through the rollers, feeding it by its wider end. Do not fold it, but spread it flat on the cloth towel, and move on to the next pasta strip in the sequence.
When all the pasta strips have gone through the narrower opening once, bring the rollers closer together by another notch, and run the strips of pasta through them once again, following the procedure described above. You will find the strips becoming longer, as they get thinner, and if there is not enough room to spread them out on the counter, you can let them hand over the edge. Continue thinning the strips in sequence, progressively closing down the opening between the rollers one notch at a time. This step-by-step thinning procedure, which commercial makers of fresh pasta greatly abbreviate or skip altogether, is responsible, along with proper kneading, for giving good pasta its body and structure.
Continue thinning the pasta until the second-to-last setting.
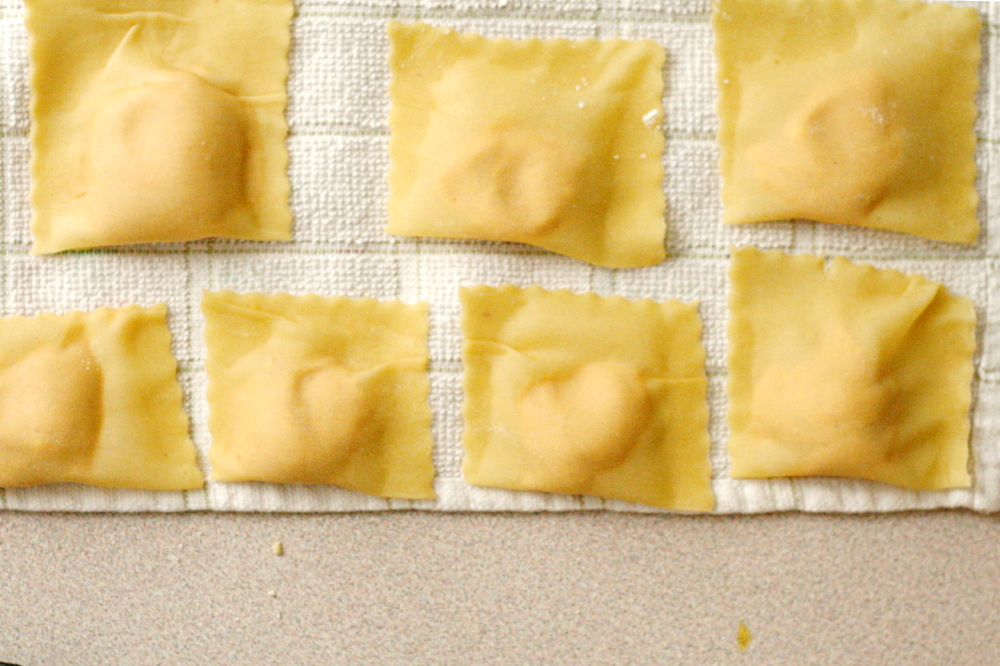
Your sheets should be approximately 4 inches across. Place small balls of filling (about one rounded teaspoon each) in a line one inch from the bottom of the pasta sheet. Leave one and one-quarter inches between each ball of filling. Fold over the top of the pasta and line it up with the bottom edge. Seal bottom and the two open sides with your finger. Use fluted pastry wheel to cut along the two sides and bottom of the sealed pasta sheet. Run pastry wheel between balls of filling to cut out the ravioli.
To cook ravioli:
Bring 4 quarts water to boil in a large stockpot. Add salt and half the pasta. Cook until doubled edges are al dente, 4-5 minutes. With a slotted spoon, transfer ravioli to warmed bowls or plates; add sauce of choice. Meanwhile, put remaining ravioli in boiling water and repeat cooking process. (Or bring two pots of water to boil and cook both batches simultaneously.) Serve immediately.


This looks delicious! I need to get a pasta roller so I can make ravioli.
Wow, check out the thinness of those pasta sheets! I can see through them! I’m so jealous. The machine here totally breaks down the pasta at the thinnest setting. I love the idea of a touch of maple syrup– it makes the flavor far more interesting!
These look delicious! I so need to try to make my own raviolis!!
pumpkin and goat cheese… drool… this sounds (and looks) absolutely amazing 🙂
I am so impressed! Raviolis are something that on one hand I would love to make, but deep down, I’m just not confident enough to pour so much work into them knowing they may just bust apart in the cooking. You are one brave cook!
This looks delicious. Unfortunately, I have no way (or time) to make homemade ravioli!
On a side note, I wanted to comment on your photos. They are amazing!!! You do such a great job not only making wonderful dishes, but taking photos that make you drool!
I’m excited by this recipe, especially since you recommend Marcella Hazan’s rolling technique. I love her! Thanks for the great ideas.