warm brussels sprouts salad with bacon and hazelnuts

brussels sprouts salad 12

The first time I made this was years ago, at a very different time in my life. It was a time in which I would consider individually pulling leaves off of Brussels sprouts, as the original recipe recommends. It was a time in which I expected my opinion of individually pulling leaves off of Brussels sprouts to be: tedious, but not too terribly bad, and ultimately worth it. It was a time before I had kids.

brussels sprouts salad 13

And you know what? Even then, it was too tedious. Even then, I didn’t actually think it was worth it.

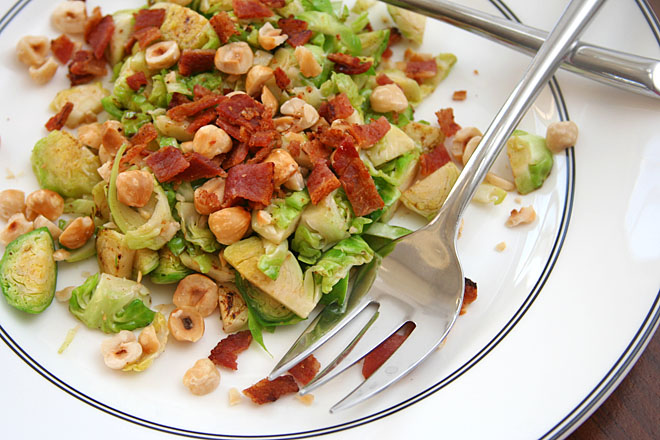
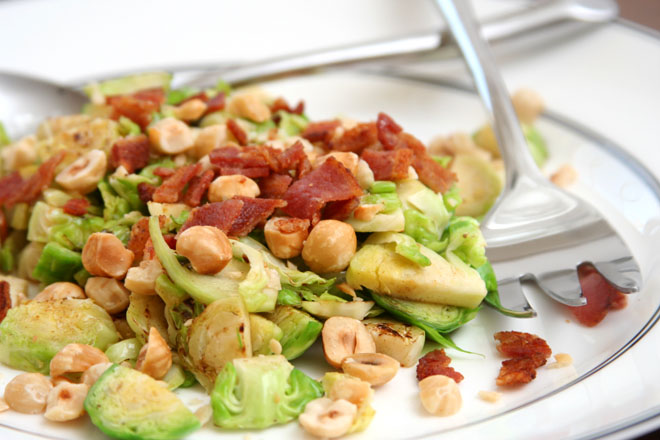
I will admit that it makes a nice presentation, but you know what else makes a nice presentation? Bacon crumbles. Let’s stick with that and just give our sprouts a quick slice. Heck, push them through the slicing blade of your food processor if you want. That salad will taste just as good.

brussels sprouts salad 8

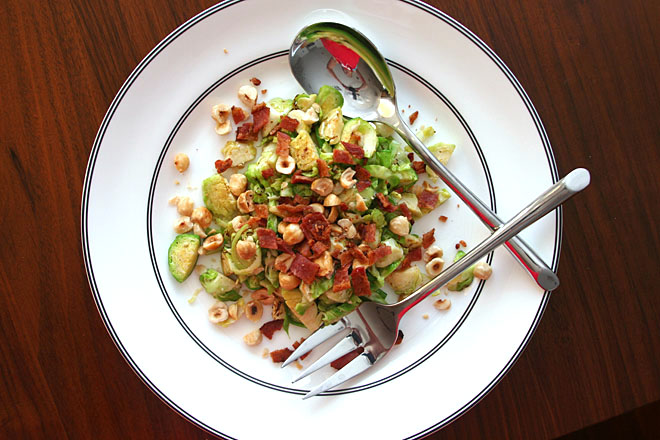
Bacon and Brussels sprouts are a common combination, and for good reason; the rich and flavorful bacon is a nice foil to the green vegetables. The hazelnuts add some crunch, and the dressing is just a bit tart, just a bit sweet from the honey. It might not be worth pulling each leaf off of a bunch of little sprouts, but it’s certainly worth making at any stage in life.

brussels sprouts salad 10

Printer Friendly Recipe
Warm Brussels Sprouts Salad with Bacon and Hazelnuts
(rewritten from Serious Eats)

The original recipe calls for crushing the nuts under a skillet, which I thought was an odd method to call for until I tried using a knife and ended up chasing hazelnuts rolling all over the cutting board and counter. Crushing doesn’t turn them into powder or paste, it just breaks them into smaller pieces.

I prefer using a nonstick skillet for this. A regular skillet works, but you’ll end up leaving lots of flavorful brown bits behind in the pan.

Serves 2

3 ounces bacon (2-3 slices, depending on thickness)
1 small shallot, minced (about 2 tablespoons)
1 tablespoon honey
1 tablespoon sherry (or red wine) vinegar
1 tablespoon extra-virgin olive oil
Kosher salt and freshly ground black pepper
12 ounces Brussels sprouts, halved through the stem and then sliced crosswise
½ cup hazelnuts, toasted, roughly chopped or crushed with a skillet

1. Place the bacon in a medium nonstick skillet over medium heat; cover and cook until it’s browned and crisp, turning occasionally, about 8 minutes. While the bacon cooks, add the shallot, honey, sherry vinegar, oil, ¼ teaspoon salt, and pinch of black pepper to a large bowl. Transfer the cooked bacon to a paper towel-lined plate. Pour 1 tablespoon of bacon fat into the bowl with the dressing ingredients. Leave approximately ½ tablespoon of bacon fat in the skillet; discard the remaining fat. Crumble or coarsely chop the bacon.

2. Heat the skillet with the bacon fat over high heat. Add the Brussels sprouts and cook, stirring constantly, until bright green and slightly wilted, about 2 minutes. Transfer to the bowl with the dressing. Toss the Brussels sprouts with the dressing; top with bacon and hazelnuts. Serve immediately.
brussels sprouts salad 9

summer fresh tomato sauce

tomato sauce 5

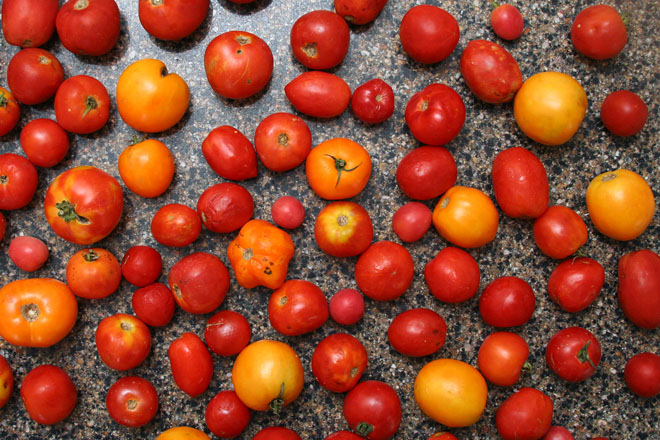
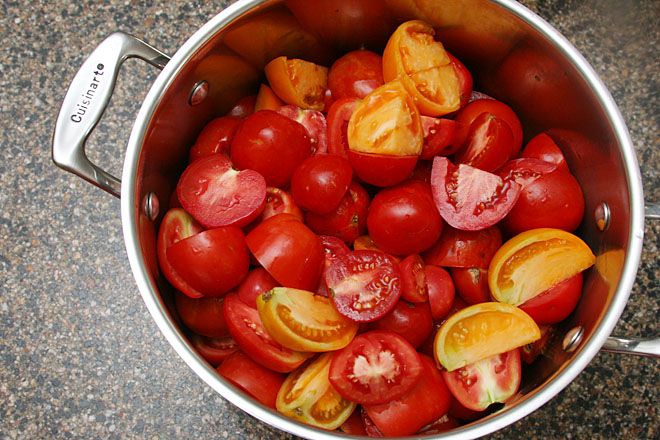
My requirements for the perfect tomato sauce made from fresh tomatoes were very specific – the same issues that everyone has with removing enough liquid from the tomatoes without cooking away all the fresh flavor that makes them so special, plus one more – I did not want to peel the tomatoes. I hate peeling tomatoes. I hate using a vegetable peeler to peel them, and I hate cutting an X into the bottom of each one, then boiling them, then dipping them in cold water, and then pulling the peels off. I cooked sixteen pounds of tomatoes into this batch of sauce, which was well over fifty tomatoes. I do not want to individually peel fifty tomatoes.

tomato sauce 1

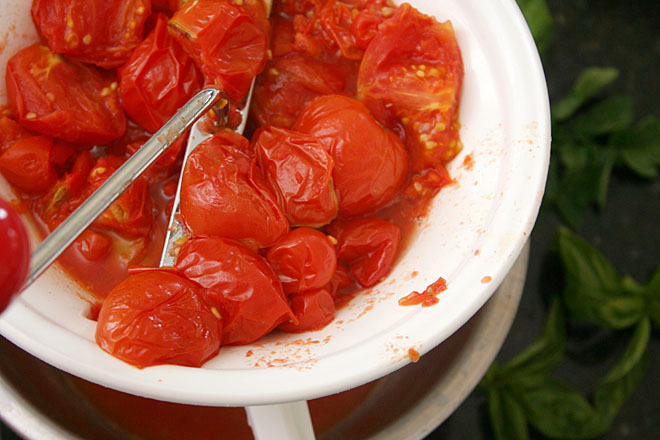
This recipe satisfies all of those requirements, with an added bonus – you don’t even have to core the tomatoes. The tomatoes, very roughly chopped, are cooked down slightly to soften them, then pressed through a food mill – the mill strains out the seeds, cores, and peels. For a batch this large, it’s still a somewhat tedious process, but nothing compared to the prospect of coring and peeling each tomato individually.

tomato sauce 2

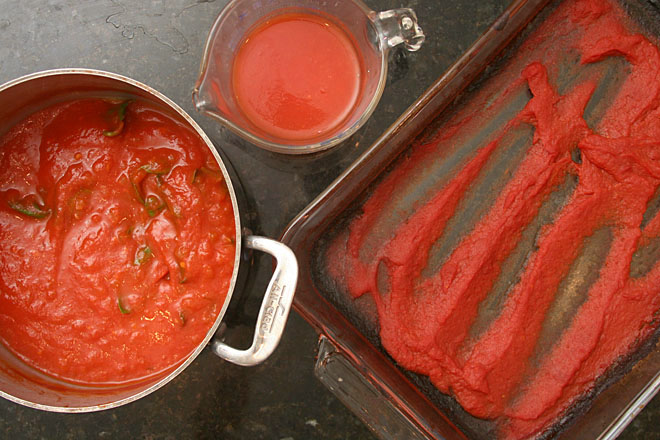
From there, the fresh tomato puree is divided into three portions – one portion is simmered on the stovetop with aromatics until it reaches a sauce consistency. Another is kept fresh, with no cooking at all. If just these two portions were combined, the resulting sauce would be too liquidy, so the final portion is transferred to a baking pan and roasted until it’s thick and slightly caramelized.

tomato sauce 8

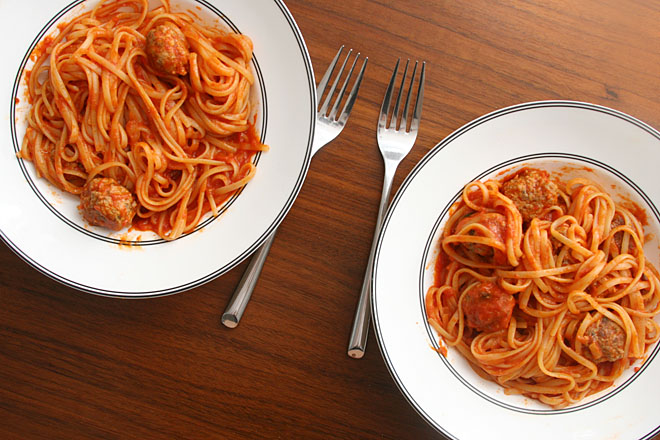
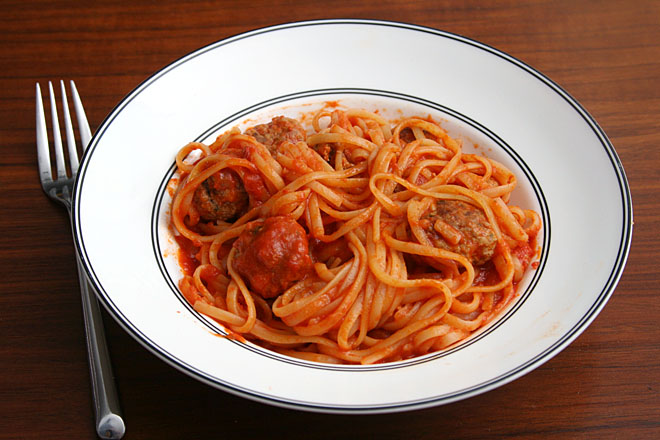
These three mixtures each have something different to offer to the final sauce, and the combination of them makes a sauce with the best that tomatoes have to offer in any form – the bright summeriness of uncooked tomatoes, the deep savoriness of roasted tomatoes. It’s thick enough for anything you’d normally use tomato sauce for – meatballs and spaghetti like we did here, pizza, lasagna. All that, and the only real work you have to do is quarter the tomatoes and push them through a food mill. This has become my summer staple, with extra in the freezer to hoard as long as I can stand.

tomato sauce 9

Printer Friendly Recipe
Summer Fresh Tomato Sauce
(slightly adapted from Serious Eats)

The original recipe starts with 25 pounds of tomatoes. The largest batch I’ve made was 16 pounds, but I’ve also made much smaller batches with just a handful of tomatoes. I’ve based my recipe on ten pounds because it’s a nice round number.

While the recipe recommends any variety of tomato, I’d be hesitant to use all cherry tomatoes, which could make the sauce too sweet. Also, wetter variety of tomatoes will take longer to reduce to a sauce or paste consistency.

If you’re scaling this recipe up or down, put about 40% of the puree in the oven, leave 10% uncooked, and cook the remaining 50% on the stove.

Makes about 1 quart of sauce, although it will depend on the type(s) of tomatoes used

10 pounds tomatoes, any variety, quartered, or halved if small
1 tablespoon olive oil
1 small yellow onion, chopped fine
salt
1 clove garlic, minced
2 sprigs fresh basil
1 small tomato plant cutting with about 5 leaves attached (optional)

1. Heat the oven to 300 degrees. In a large (7- or 8-quart) stockpot over medium heat, cook the tomatoes, covered, until they begin to soften and release their liquid. (You may need to do this in multiple batches, depending on the size of your largest pot and the size of the batch you’re making.) Transfer the tomatoes to a food mill on the finest setting set over a large bowl and press the tomatoes through. Discard the skins and seeds that accumulate in the food mill.

2. Spray two 9-by-13-inch (or similarly sized) baking pans with cooking spray (or grease lightly with olive oil). Pour 3½ cups of tomato puree into each of the pans. Transfer the pans to the oven and roast, stirring occasionally, until the puree has reduced to a paste and leaves a clean trail when a spatula is dragged through it, 2 to 4 hours.

3. Pour another 1½ cups of tomato puree into a small container. Set aside.

4. In a large saucepan over medium heat, cook the onion and a pinch of salt, stirring occasionally, until translucent, 4 to 5 minutes. Add the garlic and cook, stirring constantly, until fragrant, about 1 minute. Add the remaining tomato puree and cook, stirring very occasionally, until thick enough to coat the back of a spoon, 1 to 2 hours. Remove from the heat, add the basil and tomato leaves (if using) and set aside for about 5 minutes. Remove the basil and tomato leaves and discard them.

5. Combine the three mixtures, and add salt to taste. Serve, refrigerate for up to 5 days, or freeze.

tomato sauce 4

roasted cherry ice cream

cherry ice cream 7

In addition to all the other excitement around here, we found out the day that we closed on our new house that I’m pregnant. I’m so relieved that, at over four months along now, I’m past the stage of being tired all the time. One thing that hasn’t changed throughout this pregnancy? My desire for cold, creamy desserts.

cherry ice cream 1

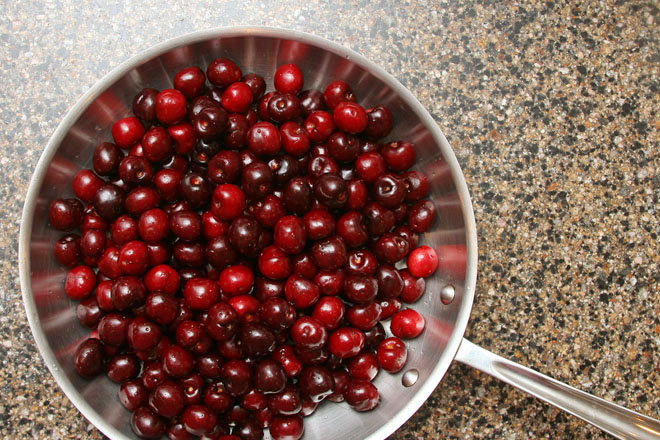
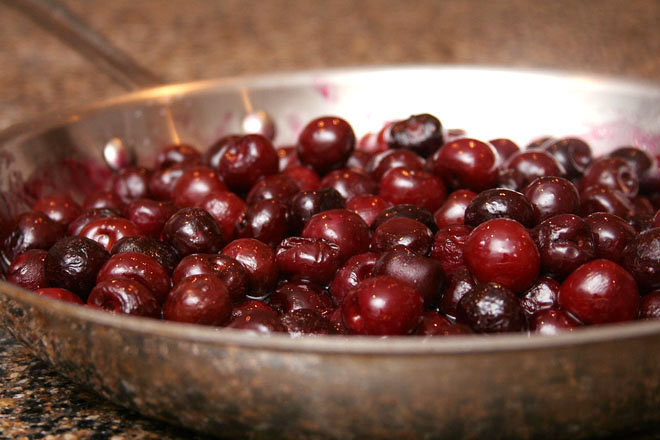
Ice cream isn’t usually a craving of mine, so it’s been fun to take this opportunity to play with recipes that wouldn’t normally catch my eye. This one seemed worth the extra effort even back when dragging myself off the couch took all of my limited energy. But it certainly has some tedious steps. Even pulling all the stems out of 3½ pounds of cherries takes a while. Then you just throw the chreries in the oven with some sugar, and once they’re soft and squishy, you squeeze the pits out – which is faster than pitting fresh cherries even with a pitter, but still slow.

cherry ice cream 2

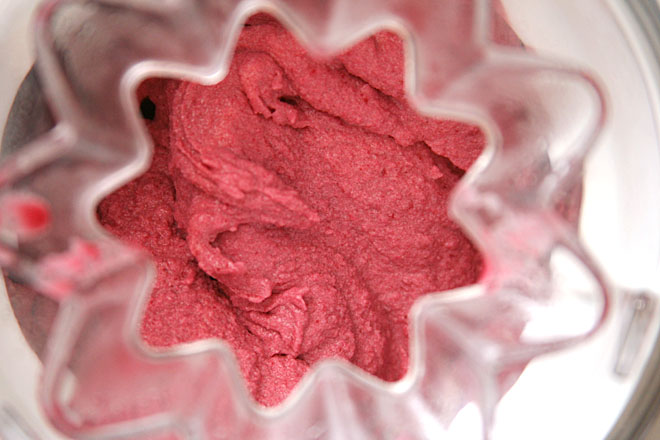
But the worst is pushing the mixture through a fine-mesh strainer. Based on the flecks of solid fruit in the picture on Serious Eats, compared to my smooth un-flecked custard, I believe my strainer is finer-mesh than Stella’s, which could be why straining was such an arduous, frustrating task. Next time I’ll just use my food mill on its finest setting – it’s not nearly as fine as my strainer, but it’ll be good enough, I expect.

cherry ice cream 4

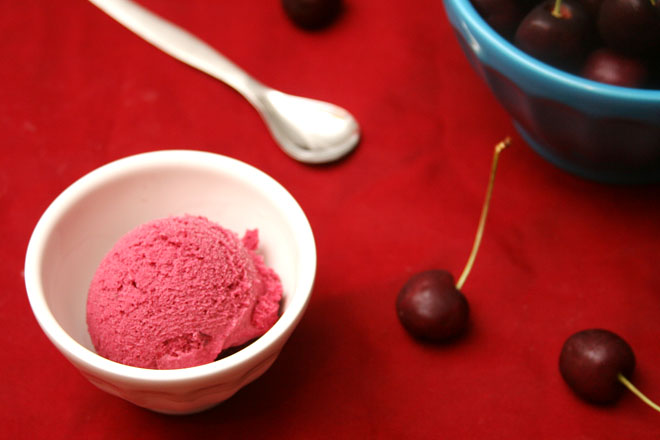
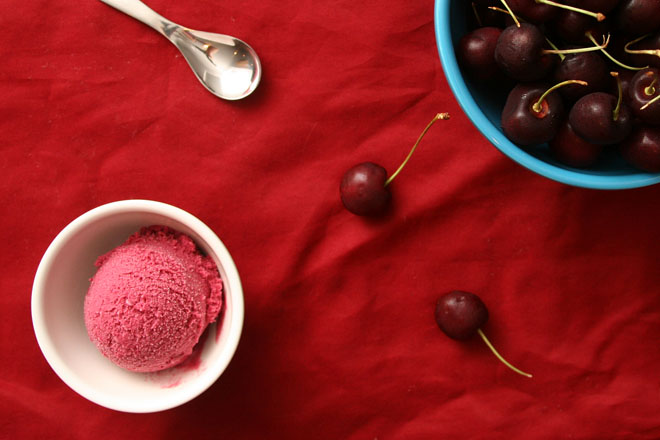
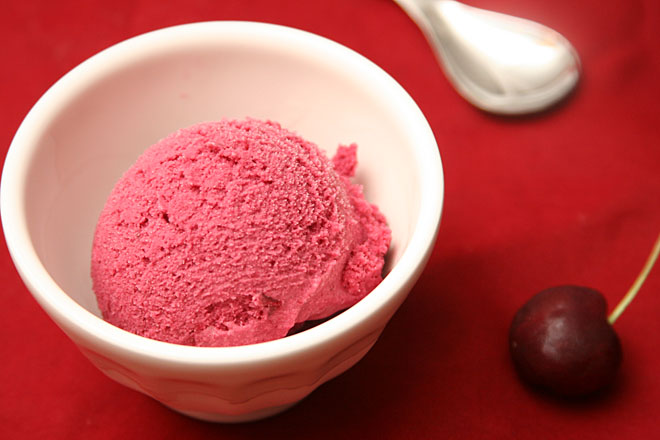
I would say it was worth the effort in the end, because this ice cream is intensely cherry-y. It’s so fruity that it almost tastes more like sherbet than cream-filled ice cream. It was the perfect treat at the end of a work- and toddler-filled day, when I could sit down with a book, a mug of tea, and a scoop of ice cream and then not move for at least an hour.

cherry ice cream 9

Printer Friendly Recipe
Roasted Cherry Ice Cream (rewritten but not adapted from Stella Parks at Serious Eats)

I used the leftover cherry solids in sweet rolls, substituting it for the cinnamon-sugar mixture in this recipe.

To get the amount of strained cherry juice required by the recipe, I had to return the cherry pulp to the saucepan, add water, heat it up, then strain again. And again. And again. Don’t use your finest-mesh strainer for this. I’ll try a food mill on its finest setting next time.

3½ pounds (56 ounces; about 10 cups) whole cherries, washed and stemmed but not pitted
¾ cup (5¼ ounces) granulated sugar
⅛ teaspoon kosher salt
1¾ cups (14 ounces) heavy cream
1 tablespoon lemon juice

1. Heat the oven to 450 degrees. Mix the cherries and sugar in a 12-inch stainless-steel skillet. Roast, stirring occasionally, until the cherries are wilted and soft, about 40 minutes. Let cool slightly, then use your fingers to pull the cherries apart and remove the pits. Transfer the cherry pits to a medium saucepan. Transfer the pitted cherries to a food processor bowl. Leave the cherry juice in the skillet.

2. Add the heavy cream to the saucepan with the cherry pits. Bring to a simmer over medium heat. Remove from the heat, cover, and set aside to steep.

3. Pulse the cherries in the food processor until minced but not pureed. Transfer them back to the skillet with the juice. Heat the cherries and juice over medium heat; reduce the heat to retain a simmer and cook until jammy, about 5 minutes. Strain the mixture through a fine-mesh strainer (see note). You should have 20 ounces of cherry juice. Discard the cherry solids or reserve for another use (stored in the refrigerator, they can be kept for up to three weeks and used like jam).

4. Strain the cream into the same container as the cherry juice; discard the pits. Stir in the salt and the lemon juice. Chill the mixture until it is 40 degrees, either for several hours in the refrigerator or more quickly by setting the bowl of custard inside a larger bowl filled with ice water.

5. Churn the custard in a prepared ice cream maker until it’s the consistency of soft-serve ice cream, about 25 minutes. Immediately transfer to a chilled container. Freeze until firm, about 4 hours.

cherry ice cream 8

garlic-roasted mushrooms

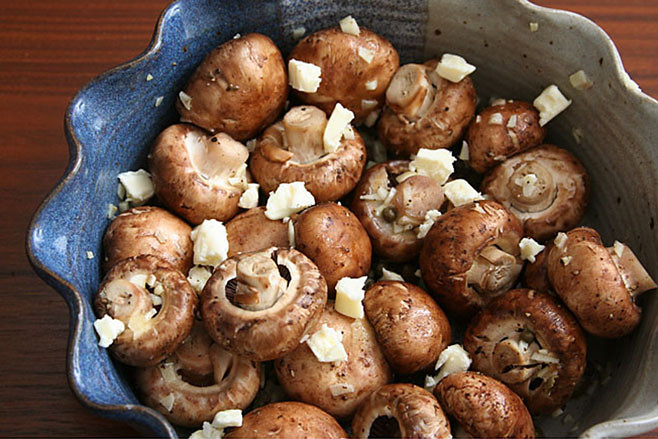
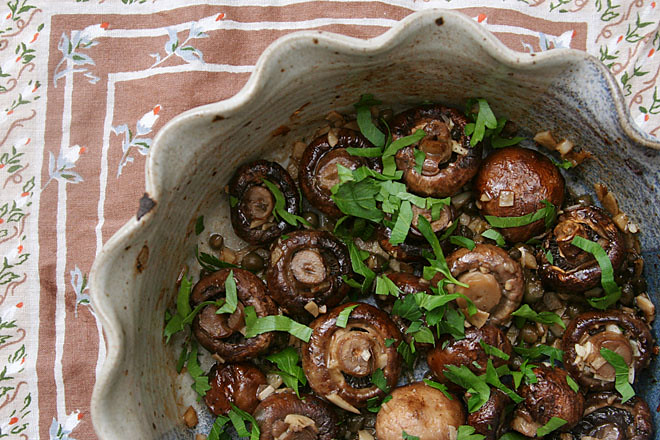
garlic mushrooms 5

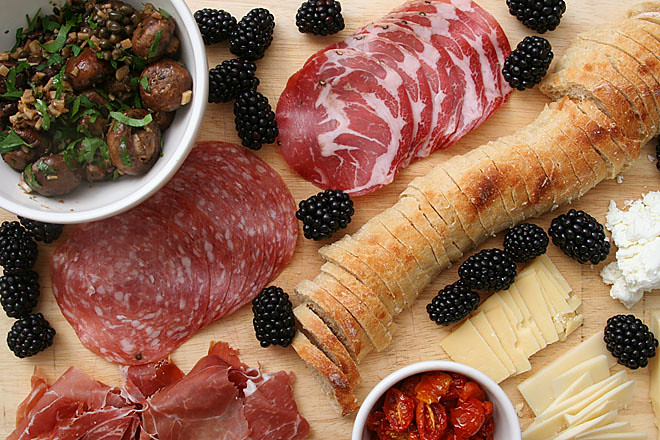
I’ve learned that when I make an antipasto tray for myself, it should be a meal and not an appetizer – it’s so delicious that I want plenty. And a meal, even one that I don’t claim to be healthy, requires a vegetable. And a meal as good as this one needs something that can hold its own with so many of my favorite foods.

garlic mushrooms 2

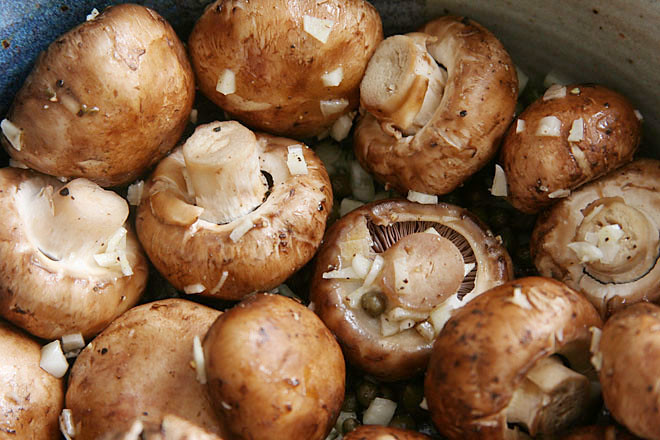
Usually I default to tomatoes, either simply roasted or made into sun-dried tomato jam. But I’ve made that jam so many times, I needed a new staple. These mushrooms fit in just right – the garlicky strong flavors stand up to the cured meats, the mushrooms make a nice bite with a toothpick, and the liquid on the bottom of the dish doesn’t go to waste when there’s bread nearby.

garlic mushrooms 3

It also helps that it’s an easy dish. If my dinner plan is to put cheese, salami, and bread on a tray, it’s probably because I don’t want to cook. Throwing mushrooms into a pretty baking dish with garlic, salt, oil, and butter is about all I’m willing to do. And fortunately, that’s all that’s necessary to turn a tray of snacks into a meal.

garlic mushrooms 4

Printer Friendly Recipe
Garlic-Roasted Mushrooms (barely adapted from Gourmet via Smitten Kitchen)

1 pound cremini or button mushrooms, halved lengthwise if large
2 tablespoons capers, drained
3 large garlic cloves, minced
1 tablespoon olive oil
salt and black pepper
2 tablespoons unsalted butter, cut into pieces
2 teaspoons fresh lemon juice
¼ cup chopped flat-leaf parsley

Adjust an oven rack to the middle position and heat the oven to 450 degrees. In a medium baking dish, combine the mushrooms, capers, garlic, oil, ⅛ teaspoon salt, and a pinch of pepper; stir to evenly coat the mushrooms. Dot the butter on top of the mushrooms. Transfer to the oven and roast, stirring occasionally, until the mushrooms are tender and golden, 15 to 20 minutes. Stir in lemon juice and parsley; serve.

garlic mushrooms 1

green bean salad with anchovies and peperoncini

green bean anchovy salad 4

I’m seeing anchovies in recipes more and more often, almost always with the disclaimer that they don’t make things taste fishy; instead, they increase the umami background in a dish. Used with discretion, they make food taste fuller and more balanced without standing out themselves. I became convinced of this years ago, but it seemed like people were still reluctant to recommend their use for fear of scaring off the fish-adverse.

green bean anchovy salad 1

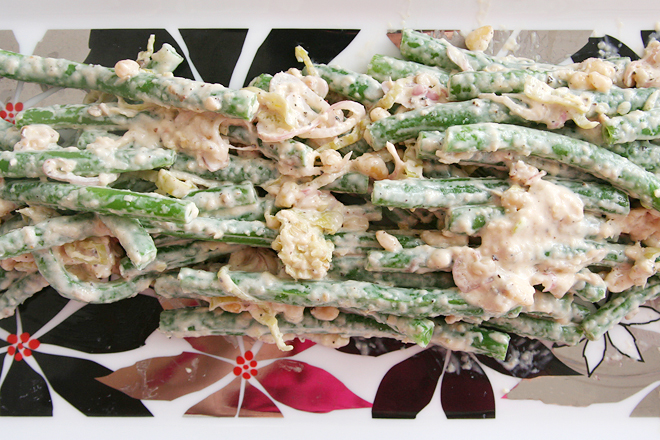
Even here, with anchovies in the title, they’re not overbearing. Dave, who used to hate anchovies, had no problems with this salad. I love anchovies, so I loved this. Plus, it’s almost like a green bean-based caesar salad, and what’s not to enjoy there?

green bean anchovy salad 2

That being said, if you’re nervous about too much fishy flavor, just use two or three anchovies instead of six. (You’ll want to taste the dressing to make sure it’s salty enough though.) But I hope you’ll try it with some anchovies, because they really have a lot to offer to a dish. If you let it, this recipe can be a great introduction to a new ingredient.

green bean anchovy salad 3

Green Bean Salad with Anchovies and Peperoncini (rewritten but not really adapted from J. Kenji Lopez-Alt’s The Food Lab)

I replace half of the mayonnaise with Greek yogurt. I was also too lazy to properly blanch the green beans, so I just boiled them for two minutes instead of four and then drained them and let them cool at room temperature.

Kosher salt
2¼ pounds green beans, trimmed
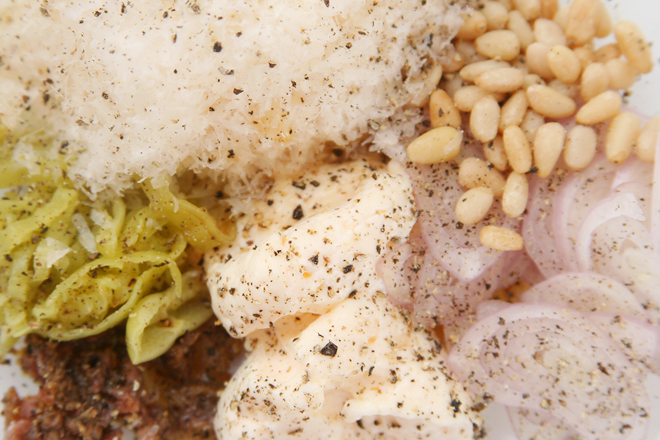
½ cup mayonnaise
6 whole anchovy filets, chopped into a paste
2 ounces (about 1 cup) grated parmesan cheese
2 tablespoons fresh juice from 1 lemon
2 teaspoons Worcestershire sauce
Freshly ground black pepper
½ cup sliced pepperoncini, drained
2 medium shallots, finely sliced
¼ cup toasted pinenuts

1. In a large pot, bring 4 quarts of water and 1 tablespoon salt to a boil. Add the green beans and cook until they’re bright green and mostly tender with a slight crisp bite in the center, about 4 minutes. Drain the green beans and transfer them to a bowl of ice water. Let chill for about 5 minutes, until cold, then dry on paper or dish towels.

2. In a small bowl, combine the mayonnaise, parmesan, lemon juice, worcestershire sauce, and a generous grinding of black pepper. Coat the green beans with the dressing. Add the pepperoncini and shallots and stir to combine. Top with the pine nuts; serve.

Save

roasted chicken with caramelized shallots

shallot chicken 4

I’ve always liked Saturday dinners to be special – more meat-oriented and complex than our usual weeknight vegetarian one-bowl dinners. On Saturday, it’s not uncommon that I’ll choose our wine first, and then decide what we’ll eat to go with it. However, my days of spending hours preparing seven tiny courses are definitely on hold.

shallot chicken 1

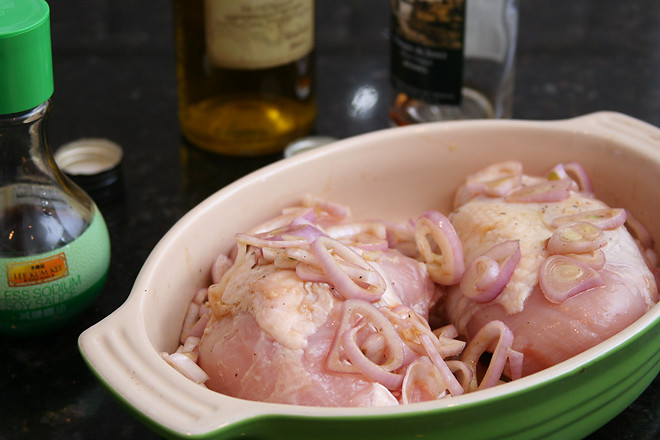
Now I try to choose dishes that can be almost completely prepped in advance, in hopes that Dave and I get to eat at the same time and without listening to a tired baby whine. This worked out perfectly with this dish, because I got the chicken ready to bake in the afternoon, then when the baby woke up from her evening catnap, I put it in the oven to roast while I fed her.

shallot chicken 2

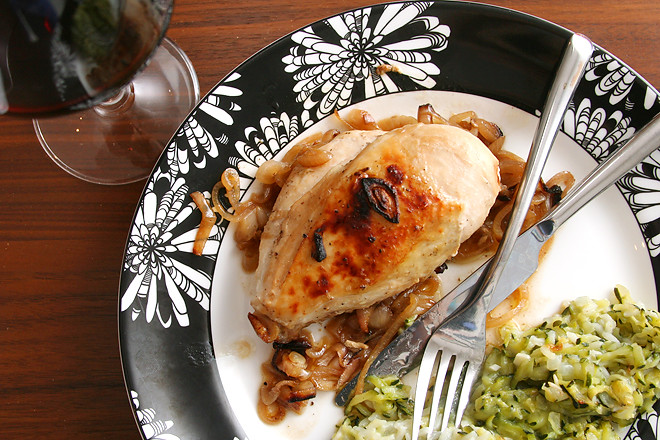
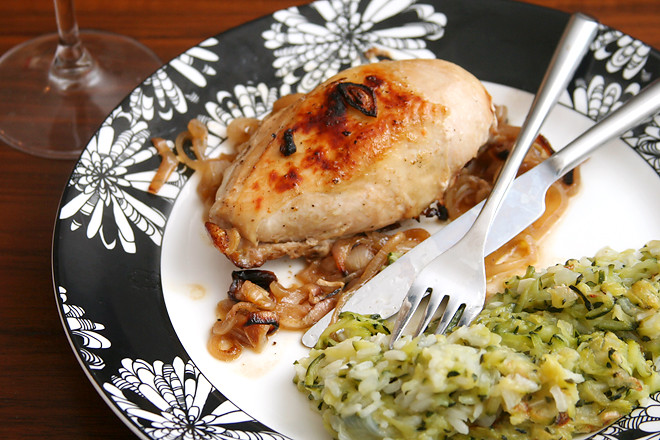
It also helps that “prepped in advance” took less than ten minutes. Such a small amount of effort resulted in a dish with plenty of flavor. It was definitely worthy of a special Saturday night dinner – and the wine didn’t hurt either.

shallot chicken 5

Roasted Chicken with Caramelized Shallots (from Susan Herrmann Loomis’s French Farmhouse Cookbook via Elly Says Opa)

3 tablespoons olive oil
3 tablespoons red wine vinegar
1 tablespoon soy sauce
4 shallots, peeled & sliced
½ teaspoon salt
¼ teaspoon black pepper
4 bone-in, skin-on chicken breasts
minced parsley for garnish

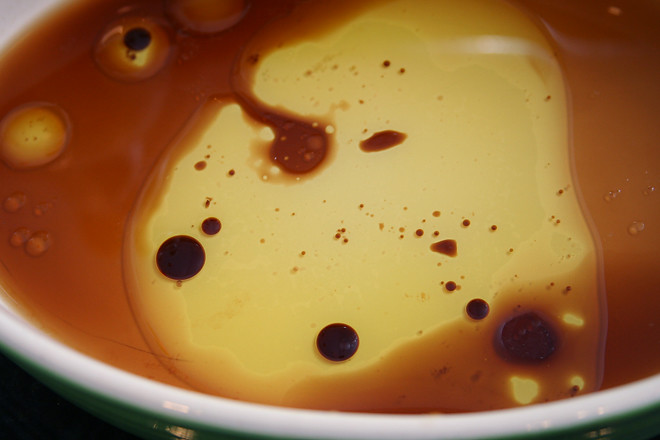
1. Heat the oven to 425 degrees. In a baking dish big enough to fit the chicken in a single layer, combine the oil, vinegar, soy sauce, shallots, salt, and pepper. Add the chicken and turn to coat with the shallot mixture. Arrange the chicken skin-side up.

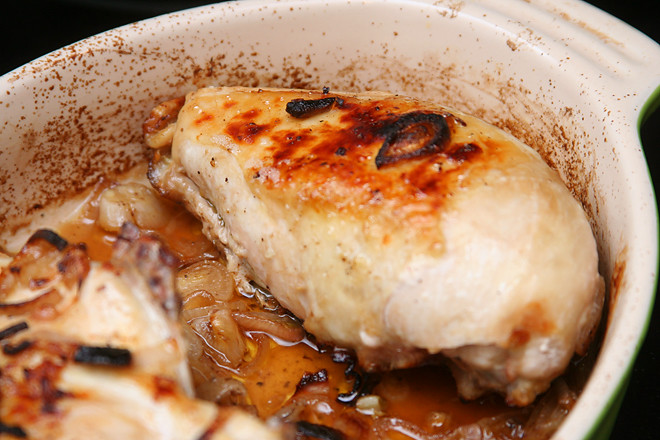
2. Transfer to the oven and roast for 20 minutes. Turn the chicken pieces over, coating them again with the shallot mixture. Continue to roast until the shallots are caramelized and an instant-read thermometer inserted into the thickest part of a chicken breast reads 165 degrees, about 20 minutes more. Remove from the oven and let rest about 5 minutes. Sprinkle with parsley before serving.

shallot chicken 3

Save

broiled salmon with marmalade-mustard glaze

marmalade mustard salmon 6

While I nursed the four-day-old baby, my mother-in-law asked when we wanted to eat dinner. She said it would take fifteen minutes to cook, and I told her that I should be ready by then, not having yet figured that the baby likes to savor her meals and takes far longer than fifteen minutes to eat.

marmalade mustard salmon 1

But I also didn’t believe my mother-in-law that she could make a full meal in someone else’s kitchen in fifteen minutes. However, it turns out that not everyone makes things as complicated as I do, and this easy dish served with instant rice and steamed broccoli was ready long before the baby was finished eating. It was the not the last time I’d eat my dinner lukewarm after the baby ate hers fresh.

marmalade mustard salmon 4

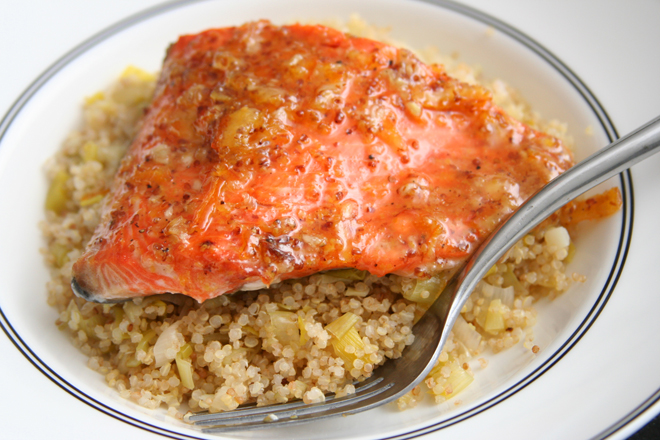
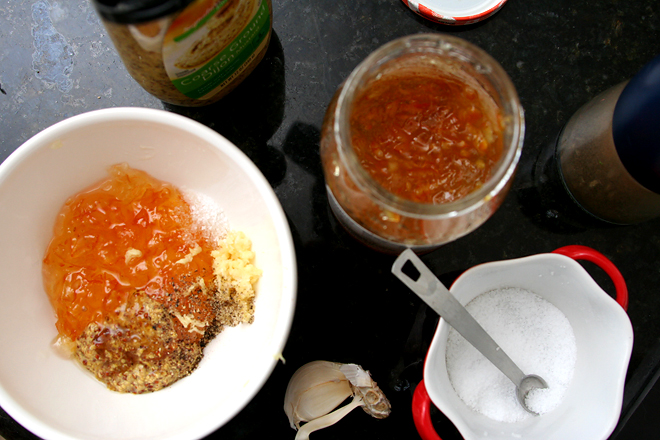
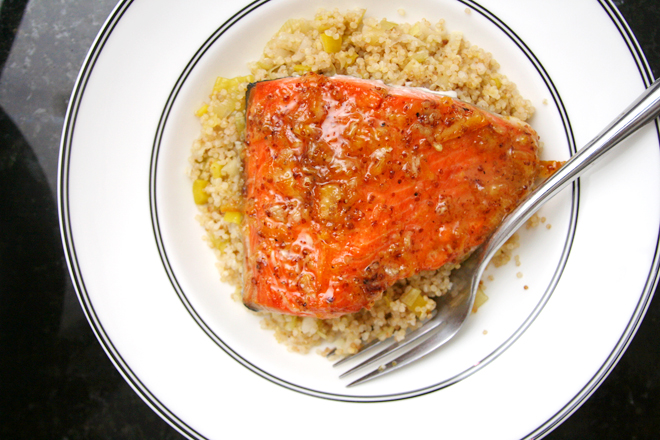
It was also not the last time we’d eat this dish. A recipe that can be made in an unfamiliar kitchen in fifteen minutes is a good one to have around. The glaze has plenty of flavor to spread around the whole meal, so I often serve it over a simple quinoa pilaf with vegetables mixed in. As a bonus, it tastes almost as good lukewarm as it does hot from the oven.

marmalade mustard salmon 5

Broiled Salmon with Marmalade-Mustard Glaze (slightly adapted from Cooking Light)

Serves 4

½ cup orange marmalade
2 tablespoons Dijon mustard
1 garlic clove, minced or pressed through a press, or ½ teaspoon garlic powder
½ teaspoon salt
¼ teaspoon black pepper
4 (6-ounce) salmon fillets

1. Adjust an oven rack to 6 inches below the broiler. In a medium bowl, combine the marmalade, mustard, garlic, salt, and pepper.

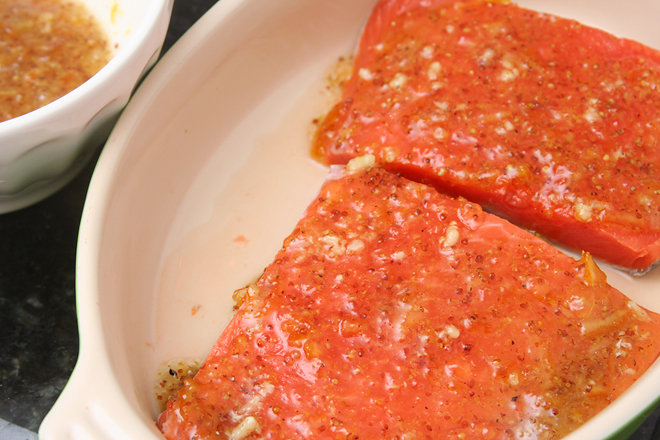
2. Arrange the salmon in a broiler-safe dish, skin-side down. Spread half of the marmalade mixture over the salmon.

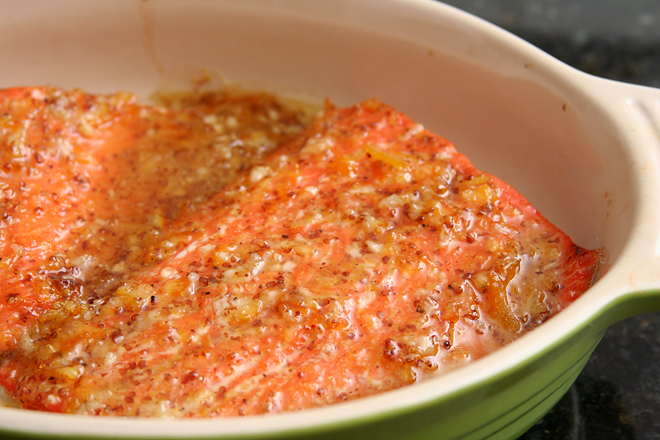
3. Broil until the glaze is bubbling, about 6 minutes. Spread the remaining marmalade mixture over the salmon, and continue to broil until the salmon breaks into flakes or reads 125 degrees on an instant-read thermometer, about 2 additional minutes. Serve.

marmalade mustard salmon 7

salted chocolate caramels

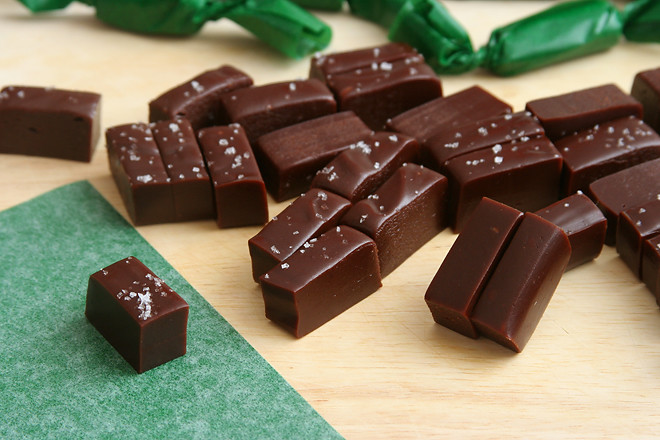
chocolate salted caramels 5

It might be silly, but one of the things I was the most upset about when my house got flooded was that I wouldn’t be able to do all of the Christmas baking I’d planned. I didn’t enjoy sharing a hotel room with two cats who take out their anxiety by playing in the litter box in the middle of the night, I don’t like the concrete floors in my house, and I wish my favorite black boots hadn’t been among the many casualties, but it was the baking that I kept coming back to. I started planning my holiday baking in October; I remember trying to order packaging and not being able to find anything but Halloween themes. (I did order packaging in early November, but it unfortunately was another casualty and had to be reordered.)

chocolate salted caramels 1

But a little flood damage can’t hold me back. The weekend we were stuck in a hotel while contractors tore out our carpet and cut the bottom two feet from all the walls, a friend of ours was going out of town and was generous enough to give us the keys to his house. His kitchen didn’t give me much to work with – I was able to carve out just a few square feet of workspace – but when there’s a will, there’s a way. In that tiny kitchen, I baked cranberry-orange bread, mocha biscotti, and lemon spritz wreaths, which actually put me ahead of the schedule I’d originally planned for the month.

chocolate salted caramels 2

We’ve now spent two weeks at home in our torn up house before construction starts, and I was able to make almost everything else I’d planned, including a tiered Christmas tree cake for the office holiday party, which I got the idea for all the way back in the summer. (Fortunately, the cakes were already baked and in the freezer, but decorating it was not trivial.) These caramels were the last treat I needed to make, and I had the recipe picked before I read the very mixed reviews – about half of the reviewers raved, but the other half had massive failures. I had neither the time nor the mental fortitude for a failure.

chocolate salted caramels 3

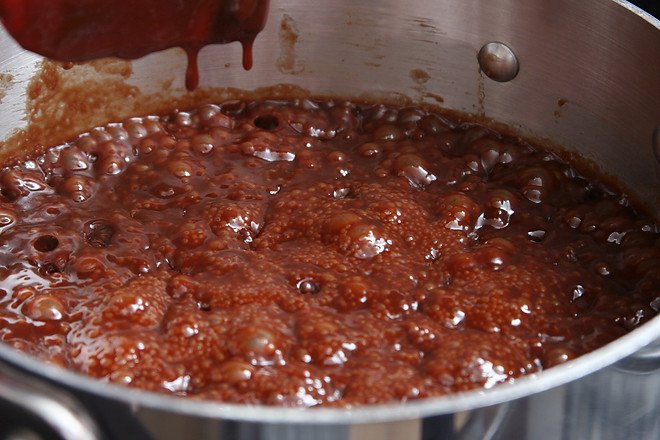
Fortunately, the recipe came together perfectly. I wasn’t expecting it to take quite so long for the chocolate-caramel mixture to reach the right temperature, but I knew how important that was, since most of the problems people had were with the consistency of the final caramels, which is based on that temperature. Another problem I read about was butter separating from the caramel mixture after it had hardened. I remembered all of the pan sauce recipes that specifically call for cold butter because it emulsifies better and was sure to keep my butter, cut into tiny cubes, in the fridge until I was ready for it. I don’t know if it was that, or if the universe is just cutting me a break after a rough month, but I’m grateful for a recipe that came together easily and flawlessly, so I was able to finish my holiday baking and enjoy the part of the season I was looking forward to the most.

chocolate salted caramels 4

Printer Friendly Recipe
Chocolate Salted Caramels (adapted from Gourmet via Smitten Kitchen)

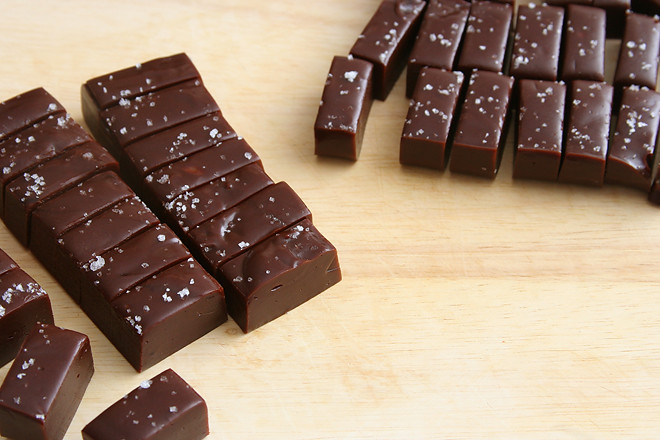
64-96 candies, depending on how you cut them

Here’s what I’ve changed: reducing the final temperature to 246 degrees, based on many reviews that said their candies were too hard at 255 degrees; keeping the butter cold before adding it; and putting more salt into the mixture and less salt on top.

2 cups heavy cream
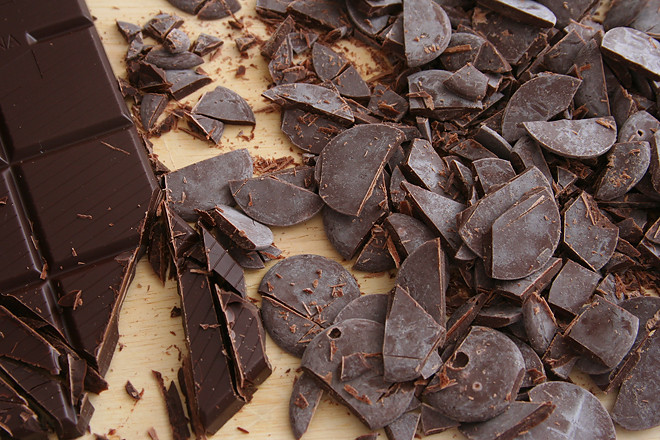
10½ ounces bittersweet chocolate, chopped
1¾ cups (12.25 ounces) granulated sugar
½ cup light corn syrup
¼ cup water
1 teaspoon flaky salt, plus more for garnish
2 tablespoons unsalted butter, cut into ¼-inch diced, cold

1. Line the bottom and sides of an 8-by-8-inch square pan with two sheets of crisscrossed parchment paper.

2. In a 1- or 2-quart saucepan over medium-high heat, bring the heavy cream to a simmer. Remove from the heat and add the chocolate. Let set for 1 minute, then stir the cream and chocolate together until evenly mixed.

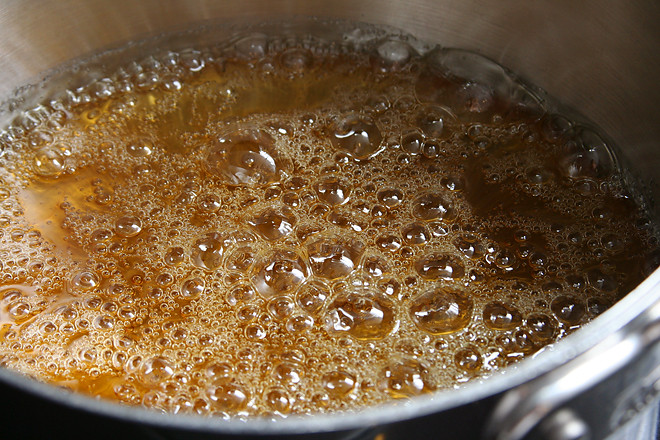
3. In a 3-quart saucepan over medium-high heat, combine the sugar, corn syrup, water, and 1 teaspoon salt. Bring to a simmer, then reduce the heat the medium. Simmer, occasionally swirling the pan or stirring with a metal spoon, until the mixture is reddish-amber in color. Immediately add the chocolate mixture; the caramel with bubble vigorously. Continue to cook over medium heat, stirring very frequently, until the mixture reads 146-148 degrees on an instant-read thermometer, 10 to 15 minutes. Remove from the heat and stir in the butter.

4. Immediately pour the mixture into the prepared pan. Let set for 10 minutes, then sprinkle with flaky salt. Let cool on a wire rack for at least 2 hours before cutting and serving. Wrapped tightly, the caramels with keep for about 2 weeks.

chocolate salted caramels 6

quinoa with roasted brussels sprouts, pine nuts, and parmesan

quinoa brussels sprouts pine nuts 4

We had a great visit with family over Thanksgiving, but not nearly so nice a homecoming. Instead of the hour or two of relaxing we were picturing after a long day of travel home, we had half an inch of water covering the entire house, caused by a leak in the hose that feeds the refrigerator’s icemaker. This also put a kink in my plans to eat healthier after a week of pie, cookies, and cheesecake.

quinoa brussels sprouts pine nuts 1

Fortunately, I hoard freezer meals. If I make a recipe that freezes well and makes enough for multiple meals, I freeze some, but then I have trouble convincing myself to ever eat them. What if I need those one day?

quinoa brussels sprouts pine nuts 2

Well, I need them now. We ate hastily defrosted chili in between stunned shop-vaccing the first night, squash-black bean burritos the next night while we watched contractors cut into the walls and set out fans, and four cheese lasagna over the weekend when we were staying in a hotel but had an out-of-town friend’s housekey.

quinoa brussels sprouts pine nuts 3

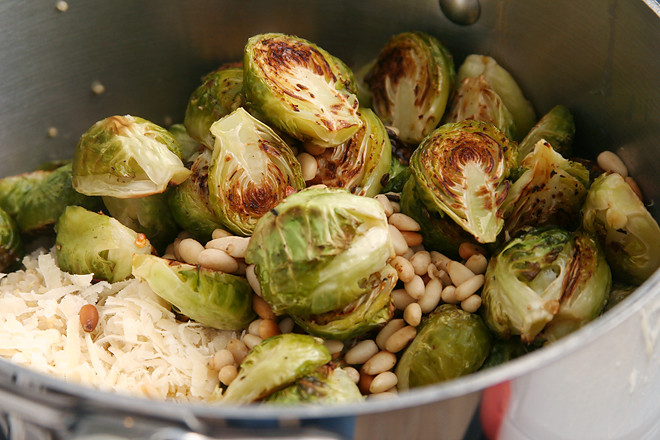
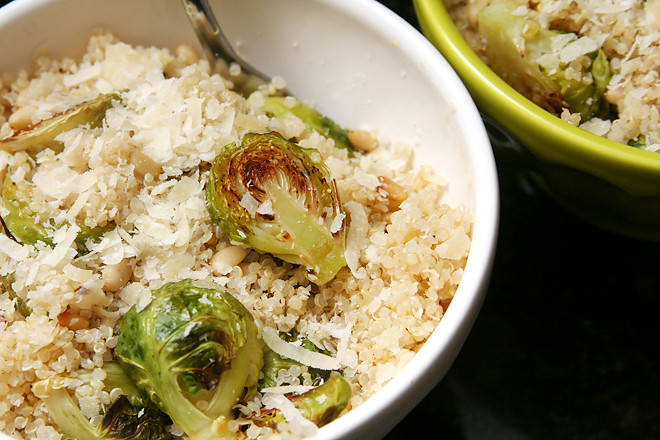
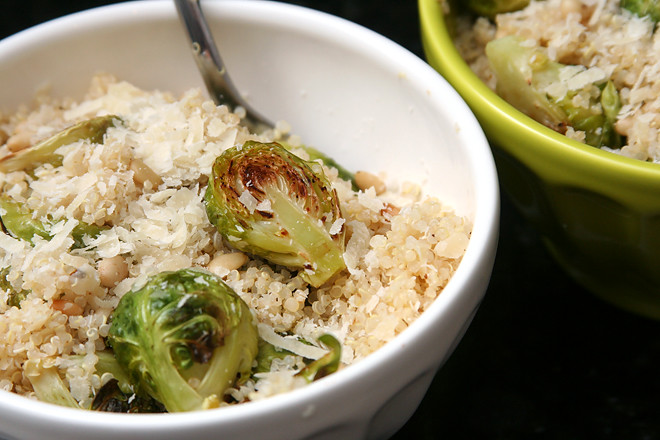
I’m quickly depleting my freezer stash, so while things are somewhat stabilized and we’re living at home in our torn up house before reconstruction begins, I’m still keeping things very simple. This has become a staple. It’s not quite as easy as dumping a ziploc bag of stew into a pot and heating it up, but it’s straightforward enough to make in a kitchen full of boxes in between doing load after load of laundry. Best of all, it tastes like comfort food to us – maybe not tomato soup and grilled cheese level of comfort, but close enough for something so healthy. But now it’s time to start thinking about building my freezer stash back up to help get us through reconstruction.

quinoa brussels sprouts pine nuts 6

Printer Friendly Recipe
Quinoa with Roasted Brussels Sprouts, Pine Nuts, and Parmesan (adapted from a recipe I adapted from Gourmet)

Serves 4

1½ cups water
salt
1 cup quinoa, rinsed and drained
2 pounds brussels sprouts, trimmed and halved lengthwise
black pepper
2 tablespoons olive oil, divided
½ cup (6 ounces) pine nuts
2 cloves garlic, minced
¼ teaspoon red pepper flakes
3 tablespoons lemon juice
1 cup (2 ounces) parmesan, shredded

1. Place a rimmed baking sheet in the middle of the oven and heat the oven to 450 degrees. In a large saucepan over high heat, bring the water and ½ teaspoon salt to a boil. Add the quinoa, reduce the heat to low, cover, and cook for 15 minutes. Without removing the lid, remove the pot from the heat and set aside for another 15 minutes.

2. While the quinoa cooks, remove the heated baking sheet from the oven and spread 1 tablespoon of oil over its surface. Place the brussels sprouts on the sheet, generously season with salt and pepper, and stir to coat with the oil. Arrange the sprouts cut-side down. Transfer to the oven and cook for 12 minutes.

3. Meanwhile, in a small bowl, combine the remaining 1 tablespoon olive oil, the pine nuts, garlic, and red pepper flakes. After the brussels sprouts have roasted for 12 minutes, add the pine nut mixture to the baking sheet and roast for an additional 2-3 minutes, until the brussels sprouts are browned and tender and the nuts are just toasted. (Keep an eye on the nuts; they burn easily.)

4. Stir the lemon juice into the quinoa, then add the roasted sprouts and pine nuts and the parmesan. Stir to combine; serve immediately.
quinoa brussels sprouts pine nuts 5

lox and goat cheese omelets

lox goat cheese omelets 4

I stopped at the grocery store today and bought salmon, green beans, scallions, cream cheese, chocolate chips, and oreos. This pretty much sums up my overall diet – very healthy, except for when it isn’t.
lox goat cheese omelets 1

Weekend breakfasts used to sit more in the “isn’t” category, but I’ve been moving them more often than not over into the healthy side (especially, I have to admit, in the month or two before our annual trip to the beach). Of course healthy means different things to different people, but one thing I try to do when I step it up a notch is increase my protein and reduce my starches. This means less scones and more omelets.

lox goat cheese omelets 2

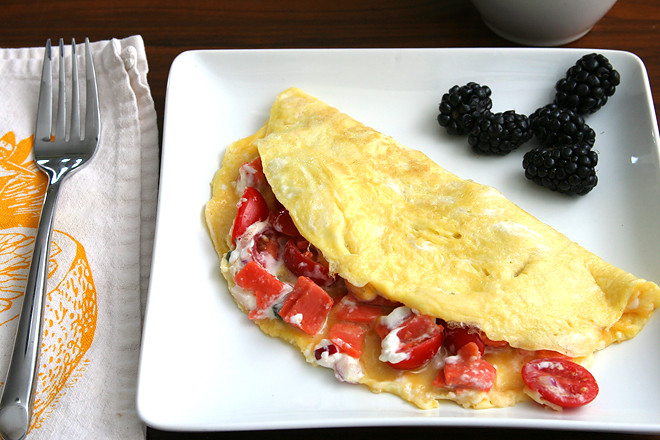
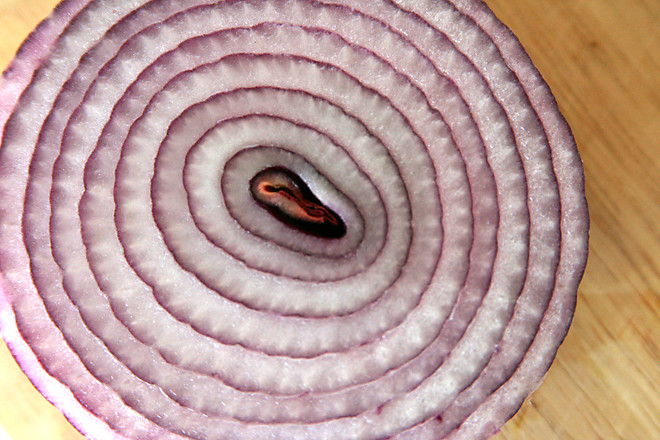
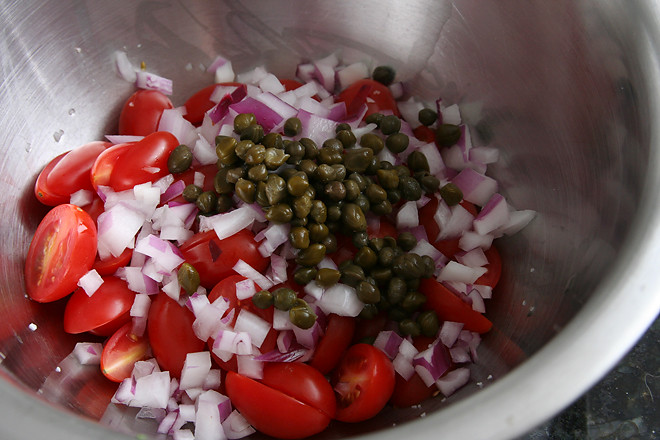
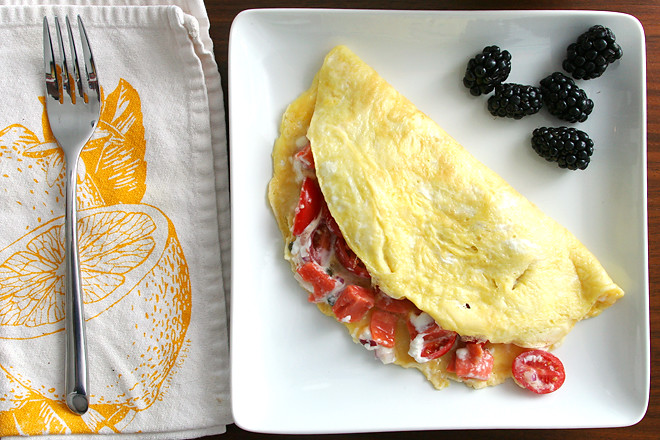
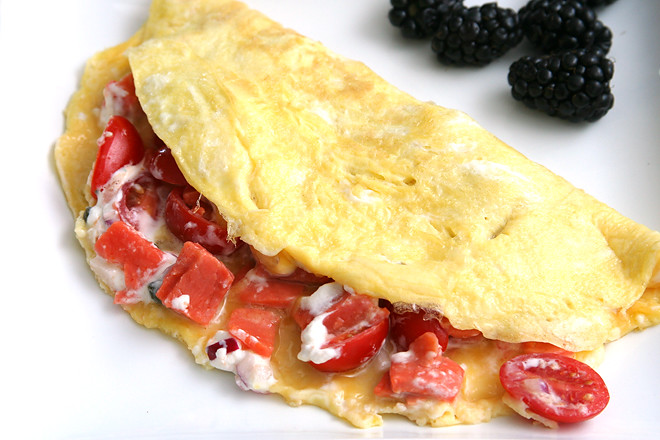
This recipe takes my favorite bagel toppings and mixes them with eggs instead of bread. I replace the traditional cream cheese with goat cheese not just because goat cheese isn’t quite as rich as cream cheese, but because the stronger flavor of goat cheese holds its own better with the salty salmon and capers and sharp bites of onion. Eggs instead of bread might sound like a sad substitution, especially for a bagel lover like me, but I never feel like I’m missing out when I’m eating these omelets.

lox goat cheese omelets 3

Printer Friendly Recipe
Lox and Goat Cheese Omelets

4 servings

I like a little raw onion on my lox bagels, but if you don’t, you probably won’t like it here either.

10 large eggs
¼ teaspoon salt
5 ounces goat cheese, crumbled
1 pint grape tomatoes, halved
¼ red onion, minced (optional)
2 tablespoons capers
6 ounces lox, diced
2 tablespoons olive oil

1. In a medium bowl, whisk the eggs, salt, and 2 ounces of goat cheese. In a second bowl, combine the remaining goat cheese, tomatoes, onion, capers, and lox.

2. Heat 1½ teaspoons olive oil in a medium skillet over medium heat. Add one-quarter of the egg mixture. Use a rubber spatula or wooden spoon to gently stir the eggs in a circular motion for about fifteen seconds. Reduce the heat to medium-low and let the eggs cook, without moving, for about a minute. Use the spatula to lift up a small section of cooked egg along the edge of the pan; tilt the pan so raw egg can flow underneath the lifted portion. Repeat this motion around the edge of the skillet. Add one-quarter of the lox mixture, spreading evenly over half of the eggs in the pan. Cover the pan and let cook for 2-4 minutes, until the eggs are just set. Fold the bare half of the eggs over the filling, then slide the omelet onto a plate. Repeat with the remaining eggs and filling.

lox goat cheese omelets 5