focaccia

focaccia 7

I’ve made focaccia before, years ago, but since Peter Reinhart claims so assertively that his recipe is superior to most focaccia found in America, I thought I’d better give it a try. It has a lot of good things going for it, like herb-scented oil poured on top and a cold overnight fermentation – always a sign of good flavor to come in yeast breads.

focaccia 3

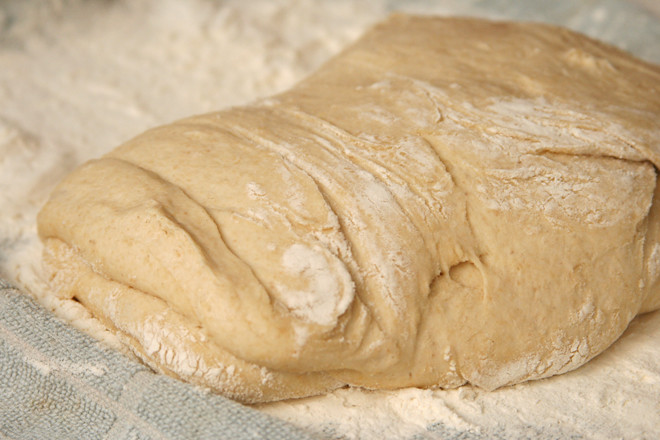
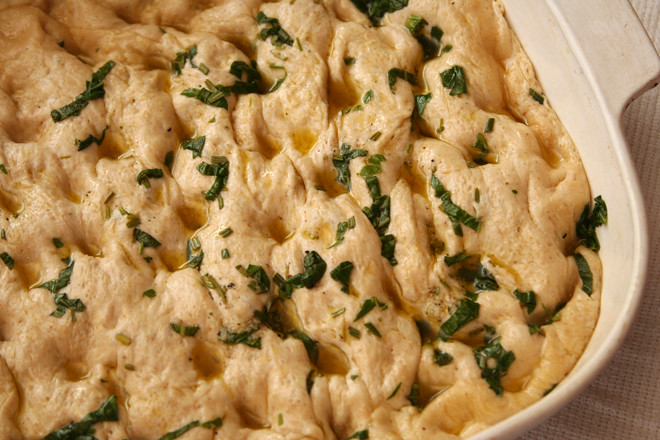
It’s fun to make too. The mixer (if you have one) does most of the messy work, but you still get to play with the soft and stretchy dough to shape it. Then you stick your fingers in the oiled dough to create dimples and spread it into the pan. After that, you throw it in the fridge until you’re ready for it, which is always a good trick for convenience.

focaccia 4

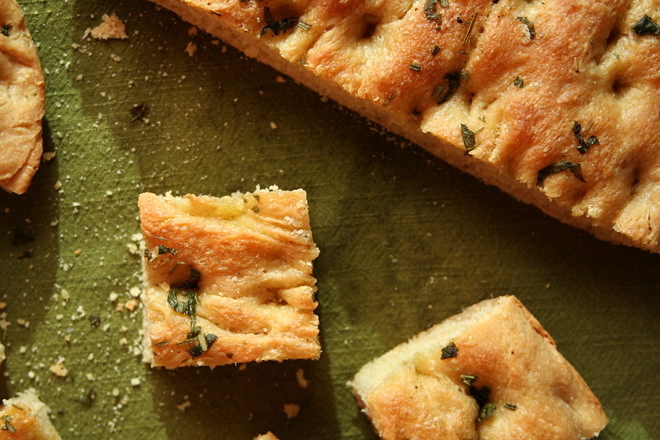
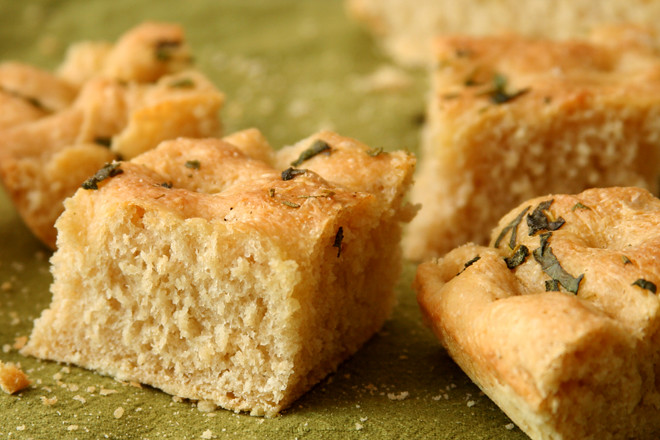
It was definitely good bread, soft in the middle, just a little crisp and almost flaky on top, scented with herbs and olive oil. But – I’m not sure it was the height of focaccia perfection, despite Reinhart’s usually well-deserved swagger. For me, adding a touch more salt or a spoonful of sugar would have given the bread a welcome flavor boost. On the plus side, this gives me the perfect excuse to make more focaccia.

focaccia 5

One year ago: Tartine Country Bread
Two years ago: Spinach Artichoke Pizza
Three years ago: Tofu Mu Shu
Four years ago: Crockpot Pulled Pork

Printer Friendly Recipe
Focaccia (slightly reworded from Peter Reinhart’s Bread Baker’s Apprentice)

For the herb oil:
½ cup olive oil
4 tablespoons chopped fresh herbs (any combination of basil, parsley, rosemary, sage)
¾ teaspoon coarse salt
¼ teaspoon ground black pepper
1 garlic clove, minced

For the bread:
5 cups (22.5 ounces) high-gluten or bread flour
2 teaspoons salt
2 teaspoons instant yeast
2 cups water, at room temperature
6 tablespoons olive oil
½ cup herb oil
Extra olive oil for the pan

1. For the herb oil: Warm the olive oil to about 100 degrees. Add the remaining ingredients; let steep while you prepare the dough.

2. For the bread: In the bowl of a stand mixer, stir together the flour, salt, and yeast. Add the water and oil; mix on low speed with the paddle attachment until all the ingredients form a wet, sticky ball. Switch to the dough hook and mix on medium speed for 5 to 7 minutes, or as long as it takes to create a smooth, sticky dough. The dough should clear the sides of the bowl but stick to the bottom of the bowl. You may need to add additional flour to firm up the dough enough to clear the sides of the bowl, but the dough should still be quite soft and sticky.

3. Sprinkle enough flour on the counter to make a bed about 6 inches square. Using a scraper or spatula dipped in water, transfer the sticky dough to the bed of flour and dust liberally with flour, patting the dough into a rectangle. Let the dough relax for 5 minutes.

4. Coat your hands with flour and stretch the dough from each end to twice its size. Fold it, letter style, over itself to return it to a rectangular shape. Loosely cover with plastic wrap and let it rest for 30 minutes. Repeat the stretching, folding, and resting twice more. After the last (third) fold, cover the dough and let it ferment at room temperature for 1 hour. It should swell but not necessarily double in size.

5. Oil an 18-by-13-inch pan and line with parchment paper. Use a pastry scraper and lightly oiled hands to lift the dough off the counter and transfer it to the prepared pan, maintaining the rectangular shape as much as possible.

6. Spoon half of the herb oil over the dough. Use your fingertips to dimple the dough and spread it to fill the pan simultaneously. Try to keep the thickness as uniform as possible across the surface. If the dough becomes too springy, let it rest for about 15 minutes and then continue dimpling. Don’t worry if you are unable to fill the pan perfectly, especially the corners. As the dough relaxes and proofs, it will spread out naturally. Use more herb oil as needed to ensure that the entire surface is coated with oil.

7. Loosely cover the pan with plastic wrap. Refrigerate the dough overnight (or for up to 3 days).

8. 3 hours before baking, remove the dough from the refrigerator and drizzle the remaining herb oil over the surface; dimple it in. This should allow you to fill the pan completely with the dough to a thickness of about ½-inch. Cover the pan with plastic and proof the dough at room temperature for 3 hours, or until the dough doubles in size, rising to a thickness of nearly 1 inch.

9. Preheat the oven to 500 degrees.

10. Place the pan in the oven. Lower the oven temperature to 450 degrees and bake for 10 minutes. Rotate the pan 180 degrees and continue baking the focaccia for another 5 to 10 minutes, or until it begins to turn a light golden brown. The internal temperature of the dough should register above 200 degrees (measured in the center).

11. Remove the pan from the oven and immediately transfer the focaccia out of the pan onto a cooling rack. Allow the focaccia to cool for at least 20 minutes before slicing or serving.
focaccia 8

semolina bread

Supposedly, my freezer is organized to have a shelf for meat, one for bread, one for prepared foods, and one for ingredients (mostly green chile and egg whites). In reality, bread tends to find its way onto each of the other shelves and eventually takes over. During my last freezer overhaul, I gave baked bread its own shelf and bread dough got moved to the ingredient shelf, which has plenty of open space now because we are, sadly, almost out of last year’s crop of green chile.

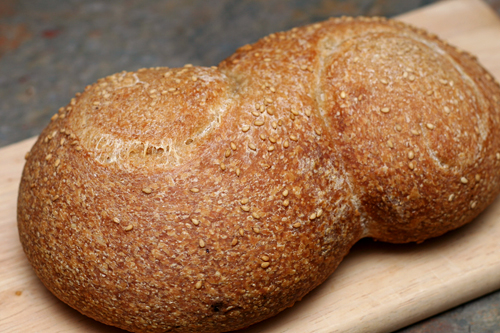
Besides our weekday snack supply of muffins (for Dave) and whole wheat bagels (for me), there’s usually homemade hamburger buns, hot dog buns, and sandwich thins, several bags of pizza dough, odds and ends of loaves whose genesis I don’t remember, and both baked and unbaked versions of whatever rustic bread I’m playing with at the time. The lovely s-curve of this semolina bread recipe caught my eye as soon as I got Peter Reinhart’s Bread Baker’s Apprentice, years ago. I know I could have used that shape for any free-form loaf, but I saved it until I made the recipe it accompanies.

The three loaves of this semolina bread, one baked immediately and two frozen after shaping, didn’t last long in the freezer. I found every opportunity to bake up another loaf of this chewy golden bread. I’d start a new batch if there was any room in the freezer for what we don’t eat in one night.

One year ago: Brown Sugar Cookies
Two years ago: Brandied Berry Crepes
Three years ago: Breakfast Strata with Mushrooms, Sausage and Monterey Jack

Printer Friendly Recipe
Semolina Bread (adapted from Pane Siciliano from Peter Reinhart’s Bread Baker’s Apprentice)

1 recipe pate fermentée (recipe follows)
1¾ cups (8 ounces) bread flour
1¾ cups (8 ounces) semolina flour
1¼ teaspoon salt
1¼ teaspoon instant yeast
2 tablespoons olive oil
1 tablespoon honey
1¼ cups water, room temperature
sesame seeds

1. Remove the pate fermentée from the refrigerator 1 hour before mixing the final dough.

2. Stand mixer: Mix the pate fermentée, flours, salt, yeast, oil, honey, and water in the bowl of a stand mixer fitted with the dough hook. Mix on medium-low speed until the dough is elastic and supple, about 8 minutes. You may need to add a little more flour or water to get the correct consistency – smooth and tacky, but not sticky. Transfer the dough to an oiled bowl and cover with plastic wrap or a damp dishtowel.

By hand: Cut the pate fermentée into 8-12 pieces. Mix the flours, salt, and yeast in a large bowl. Make a well in the middle of the dry ingredients and add the pate fermentée, olive oil, honey, and water. Stir the mixture until the dough comes together. Transfer it to a floured board or countertop and knead, incorporating as little flour as possible, for about 10 minutes, until the dough is elastic and supple. You may need to add a little more flour or water to get the correct consistency – smooth and tacky, but not sticky. Transfer the dough to an oiled bowl and cover with plastic wrap or a damp dishtowel.

3. Ferment at room temperature for about 2 hours, until the dough doubles in size.

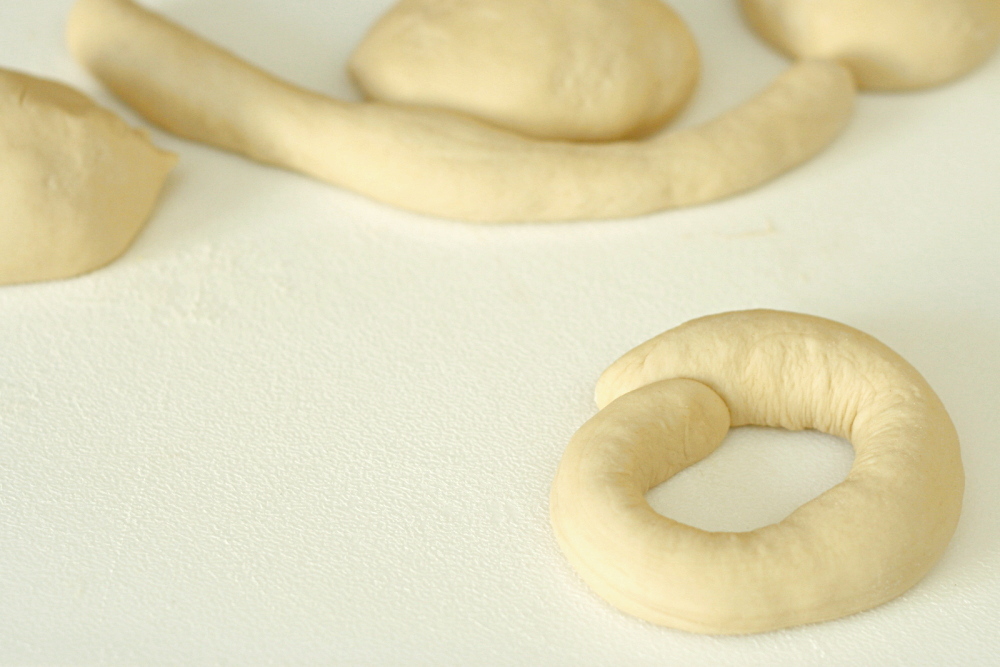
4. Divide the dough into three equal portions. Very gently pull the edges of each portion around to one side and pinch them together to form a ball. Roll the dough between the palm of your hand and a lightly floured board or a damp kitchen towel (my preferred method). With the seam side up, push the sides of your thumbs into the dough, pulling the dough into an oblong. Pinch the seam together; repeat the process once more on the same dough ball to form a rope. Roll the rope, pushing it out into a longer rope, until it’s about 24 inches long. If it resists you at any point, let it rest for a few minutes before trying again. Then, working with each end simultaneously, coil the dough toward the center, forming an S-shape. Arrange the shaped loaves on parchment paper and sprinkle them with sesame seeds. Cover loosely with plastic wrap and refrigerate overnight.

5. The next day, remove the dough from the refrigerator. Let it warm up and, if necessary, finish rising, which will take a couple hours. The dough is ready to bake when it has doubled in size and remains dimpled when poked.

6. While the dough is rising, place a baking stone on the bottom rack of the oven and a heavy metal baking pan on the top rack. Heat the oven to 500 degrees.

7. Transfer the risen loaves with the parchment paper to the hot baking stone. Pour 1 cup hot water into the metal pan on the top rack and close the door. After 30 seconds, open the door and spritz the sides of the oven with water. Repeat twice more at 30 second intervals. After the final spray, lower the oven temperature to 450 degrees and bake for 25 to 30 minutes longer, until the crust is golden brown and the internal temperature is between 200 and 205 degrees.

8. Transfer the bread to a wire rack; cool 45 minutes before serving.

Pate fermentée

1⅛ cups (5 ounces) unbleached all-purpose flour
1⅛ cups (5 ounces) unbleached bread flour
¾ teaspoon salt
½ teaspoon instant yeast
¾ cup to ¾ cup plus 2 tablespoons (6 to 7 ounces) water

1. Stir together the flours, salt, and yeast in a 4-quart bowl (or in the bowl of a standing mixer). Add ¾ cup of the water, stirring until everything comes together and makes a coarse ball (or mix on low speed for 1 minute with the paddle attachment). Adjust the flour or water, according to need, so that the dough is neither too sticky nor too stiff. (It is better to err on the sticky side, as you can adjust easier during kneading. It is harder to add water once the dough firms up.)

2. Sprinkle some flour on the counter and transfer the dough to the counter. Knead for 4 to 6 minutes (or mix on medium speed with the dough hook for 4 minutes), or until the dough is soft and pliable, tacky but not sticky. The internal temperature should be 77 to 81 degrees.

3. Lightly oil a bowl and transfer the dough to the bowl, rolling it around to coat it with oil. Cover the bowl with plastic wrap and ferment at room temperature for 1 hour, or until it swells to about 1½ times its original size.

4. Remove the dough from the bowl, knead it slightly to degas, and return it to the bowl, covering the bowl with plastic wrap. Place the bowl in the refrigerator overnight. You can keep this in the refrigerator for up to 3 days, or freeze it in an airtight plastic bag for up to 3 months.

I’m donating my Bourbon Pound Cake to Bloggers Bake for Hope.  This and over fifty other treats are available to be shipped directly to you. You can bid on your favorites starting May 4th; all proceeds go to Massachusetts Komen for the Cure.


english muffins

Copy of IMG_1847

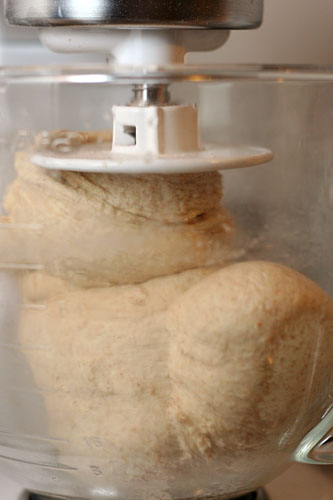
I always struggle with how to describe yeast bread dough precisely enough so that someone can reproduce the results I got. Almost every dough is elastic and smooth after kneading, so that doesn’t really help. Sticky and not-sticky are good, but each describes a wide spectrum.

Copy of IMG_1828

My first inclination is to compare it to a standard sandwich bread. Is it on the more-liquid looser side (like ciabatta), or the more flour-firmer side (like bagels)? That works great for experienced bread bakers, but what about everyone else?

Copy of IMG_1831

Apparently I’m not the only one with this problem, because Reinhart’s “soft and pliable, not stiff” description didn’t keep me from keeping this dough a little firmer that I think it was supposed to be. He later says that the rounds of dough should “swell both up and out”, which…well, no, that didn’t happen, although they did swell up nicely.

Copy of IMG_1838

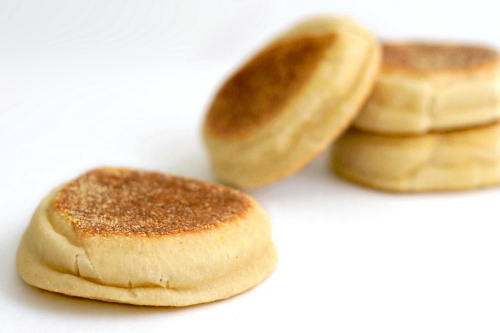
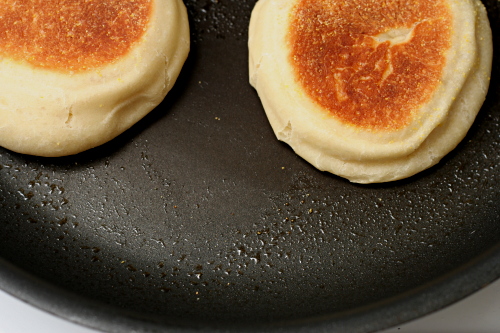
Fortunately, bread is a lot more forgiving than people often think, so just because I had to smoosh my muffins down in the skillet to flatten them doesn’t mean any real harm was done. They weren’t cratered with nooks and crannies as dramatically as I had hoped they’d be, but they will be next time. Because now I know: the dough should be just a bit softer than sandwich dough, but not wet enough to be sticky. Which is very helpful, but only if you know what sandwich bread  dough feels like.

Copy of IMG_1901

One year ago: Cranberry Orange Muffins
Two years ago: Braised White Beans with Potatoes, Zucchini and Tomatoes

Update 3/16/10: I’ve successfully used this method to make these English muffins whole wheat.  I made the pre-dough out of 5 ounces whole wheat flour, ¼ teaspoon salt, and ½ cup milk or buttermilk.  After letting that sit overnight, I mixed it with the rest of the ingredients – 5 ounces white bread flour, ½ teaspoon salt, 1¼ teaspoons instant yeast, ½ tablespoon granulated sugar, 1 tablespoon shortening or unsalted butter, and ¼ – ½ cup milk or buttermilk.

Printer Friendly Recipe
English Muffins (completely rewritten from Peter Reinhart’s The Bread Baker’s Apprentice, because his recipes are so darn long)

Makes 6

My dough was elastic, supple, and a little soft, but the rolls didn’t expand out so much as just up, so I pressed them down in the pan while they were cooking. This seems to work just fine, although my nooks and crannies were on the small side.

2¼ cups (10 ounces) unbleached bread flour
¾ teaspoon salt
1¼ teaspoons instant yeast
½ tablespoon granulated sugar
1 tablespoon shortening or unsalted butter
¾ to 1 cup milk or buttermilk, at room temperature
cornmeal for dusting

1. Stand mixer: Mix the flour, yeast, salt, and sugar in the bowl of a stand mixer fitted with the dough hook. With the mixer on low speed, add the butter and gradually pour in the milk. Continue mixing on medium-low until the dough is elastic and supple, 8-10 minutes. The dough should be soft, but not sticky.

By hand: Mix the flour, yeast, sugar, and salt in a large bowl.  Make a well in the middle of the dry ingredients and pour in the liquid ingredients. Stir the mixture until the dough comes together. Transfer it to a floured board or countertop and knead, incorporating as little flour as possible, for about 10 minutes, until the dough is elastic and supple. The dough should be soft, but not sticky.

2. Transfer the dough to a lightly oiled bowl and cover with plastic wrap or a damp dishtowel. Set the dough aside to rise until it has doubled in volume, about 1 to 1½ hours.

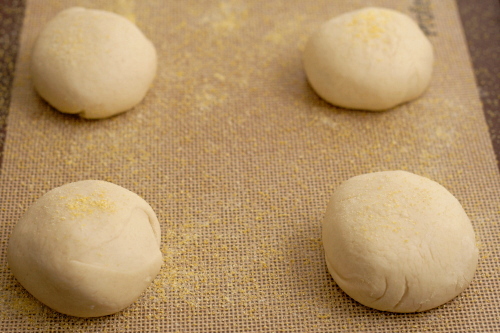
3. Turn the dough out onto a very lightly floured surface. Cut it into six equally-sized pieces and shape each into a ball. Transfer the balls of dough to a baking pan that’s been dusted with cornmeal; sprinkle more cornmeal over the top of the balls and cover with plastic wrap or a damp dishtowel. Set the dough aside to rise for 1 to 1½ hours; the balls will nearly double in size and should swell both up and out.

4. Adjust a rack to the middle position and heat the oven to 350°F. Line a baking sheet with parchment paper or a silicone mat.

5. Spray a large nonstick skillet (or a griddle) with spray oil and heat over medium heat (or 350°F). Place the balls of dough in the skillet with a least 1 inch between them. Cook until the bottoms are very dark brown, just short of burning, 5-8 minutes. Flip the rolls and cook the second side another 5-8 minutes, until it is also dark brown. If, after 5 minutes, the rolls are only golden brown, increase the heat slightly.

6. Transfer the rolls to the prepared pan and immediately bake them for 6 minutes to make sure the center is baked through. Repeat the pan-frying and baking with the remaining rolls.

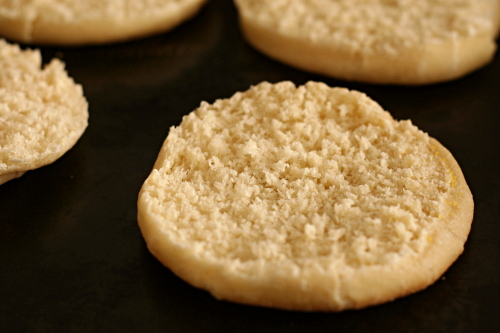
7. Transfer the English muffins to a wire rack and allow them to cool for at least 30 minutes. For maximum nook-and-cranniness, use a fork to split the rolls instead of slicing them.

Copy of IMG_1844

casatiello

Copy of IMG_6617

This is the third time I’ve made this bread, and the first two times just didn’t do it for me. It seems like a given, right? Bits of sausage and cheese dispersed in a tender buttery bread? What isn’t to like?

Copy of IMG_6589

The first time, it was the type of cheese I used that ruined it. I generally like provolone, but I’d accidentally grabbed an exceptionally sharp specimen, and it was way too intense. The next time…I don’t know. Maybe it just didn’t fit the occasion. I just remember it seeming a little too rich, maybe even greasy.

Copy of IMG_6593

Reinhart does compare this bread to brioche, and while not all brioche is as rich as the one I made a few weeks ago, you’ll never hear one described as lean. But once you add sausage and cheese to the bread, I don’t know that much butter in the dough is necessary.

Copy of IMG_6603

In fact, I didn’t add butter at all. I added bacon fat instead. Yeah, bacon fat doesn’t sound like much of a health improvement over butter, but I did use half the amount of fat called for in the recipe. I really prefer this slightly leaner version.

Copy of IMG_6611

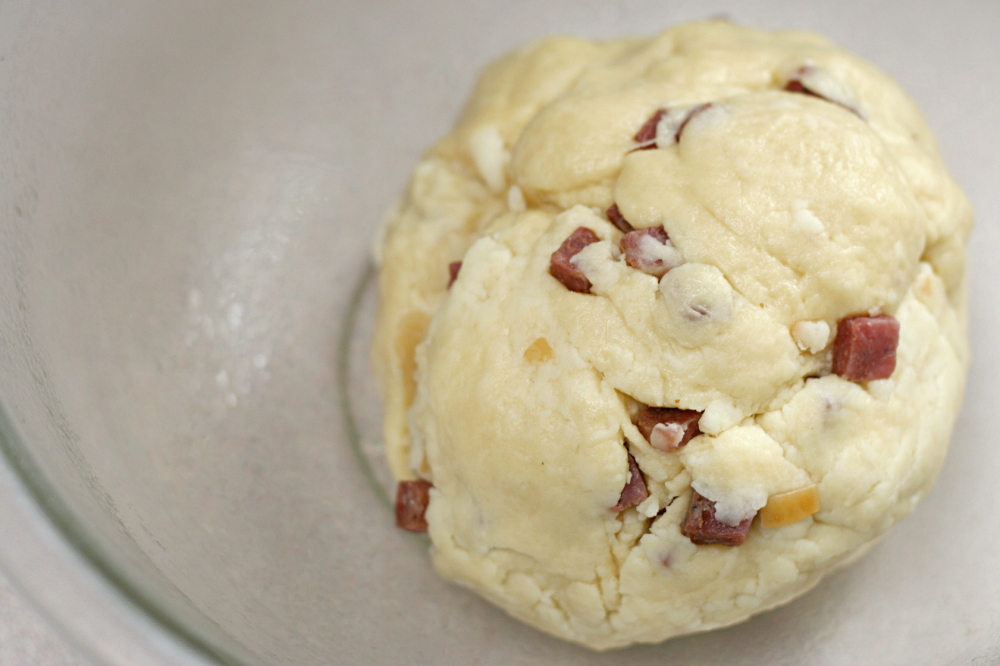
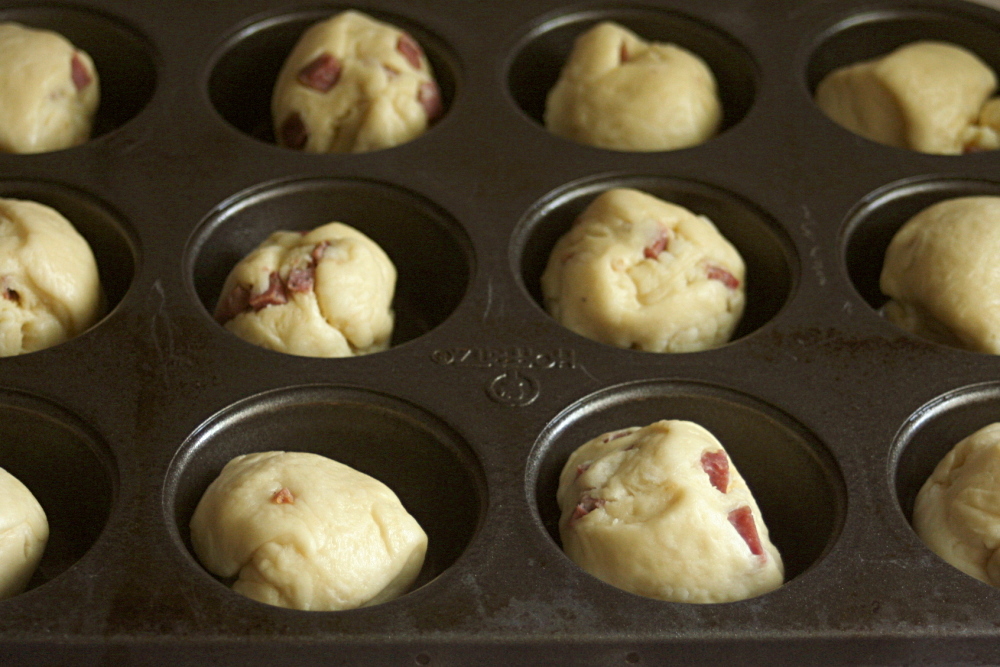
Especially because I probably doubled the salami. I wasn’t so much measuring at this point, and I just figured that the more add-ins there were, the more the bread would resemble a built-in sandwich. Which – yum. I admit that I had trouble keeping all of the tasty bits from falling out of the dough, but I’m not complaining about the excess.

Copy of IMG_6613

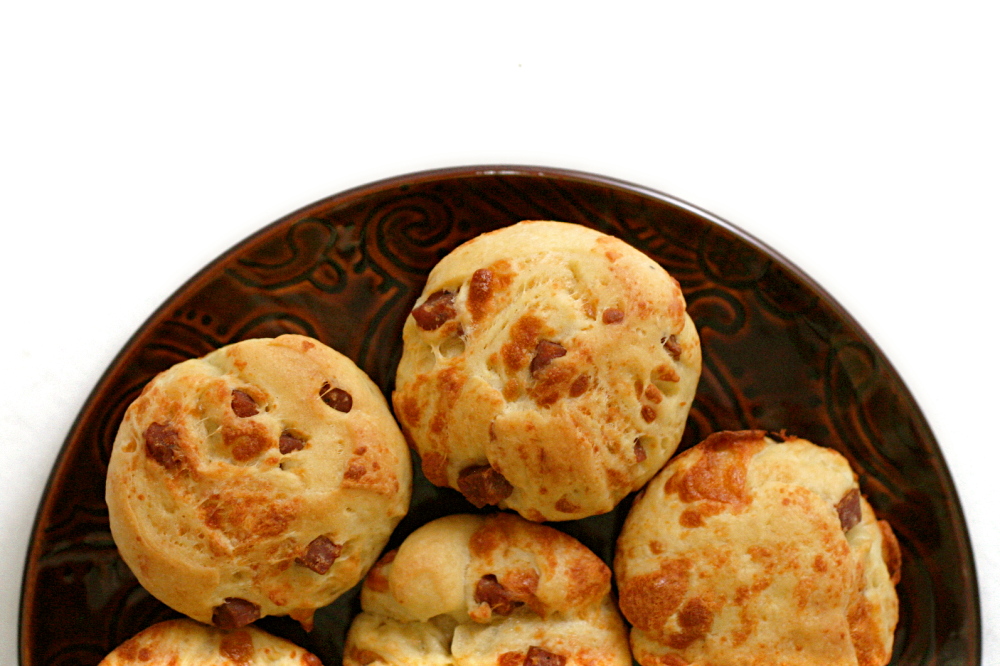
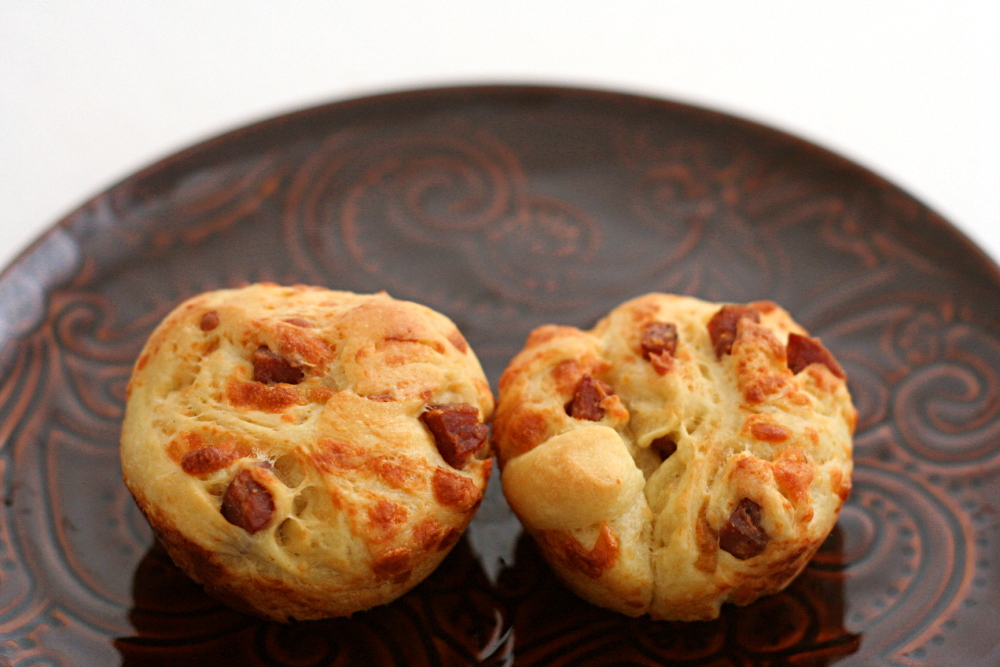
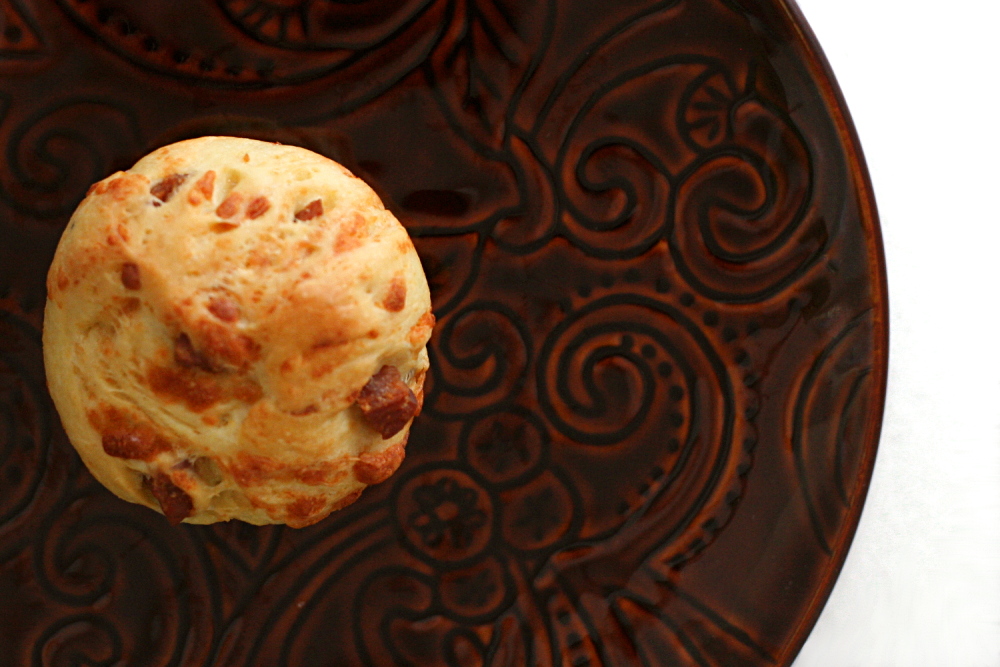
This was by far the best casatiello I’ve made. The bread was tender and light, but not greasy like I remembered from when I’ve made this before. We ate it on a roadtrip, and the muffin-size was perfect for a quick and easy on-the-road lunch. I have a few more casatiello rolls waiting in the freezer, and I think they’ll be great for a plane ride next week. These are my new favorite travel food.

Copy of IMG_6623

One year ago: Pain a l’Ancienne – another Reinhart recipe, and probably the one I make the most

Casatiello (from Peter Reinhart’s Bread Baker’s Apprentice)

I prefer this dough to be a little leaner, so I like to cut the fat in half. I also like both the sausage and the cheese chopped into about ¼-inch cubes.

Sponge:
½ cup (2.25 ounces) bread flour
1 tablespoon instant yeast
1 cup whole milk or buttermilk, lukewarm

Dough:
4 ounces Italian salami (or other similar meat)
3½ cups (16 ounces) bread flour
1 teaspoon salt
1 tablespoon sugar
2 eggs, slightly beaten
¾ cup (6 ounces) unsalted butter, room temperature
¾ cup coarsely shredded or grated provolone or other cheese

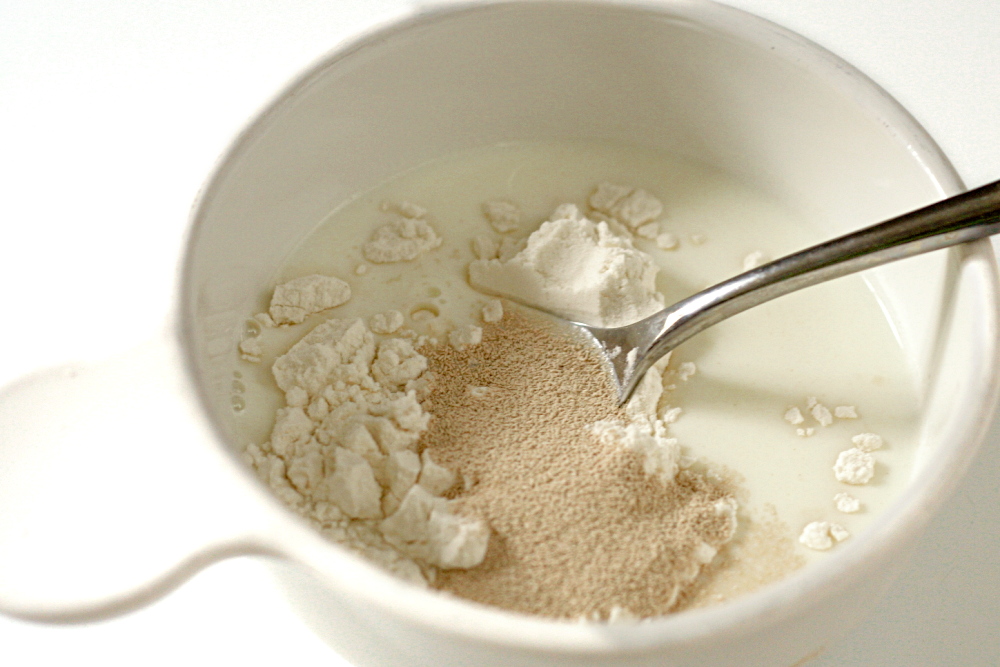
1. To make the sponge, stir together the flour and yeast in a bowl. Whisk in the milk to make a pancake-like batter. Cover with plastic wrap and ferment at room temperature for 1 hour.

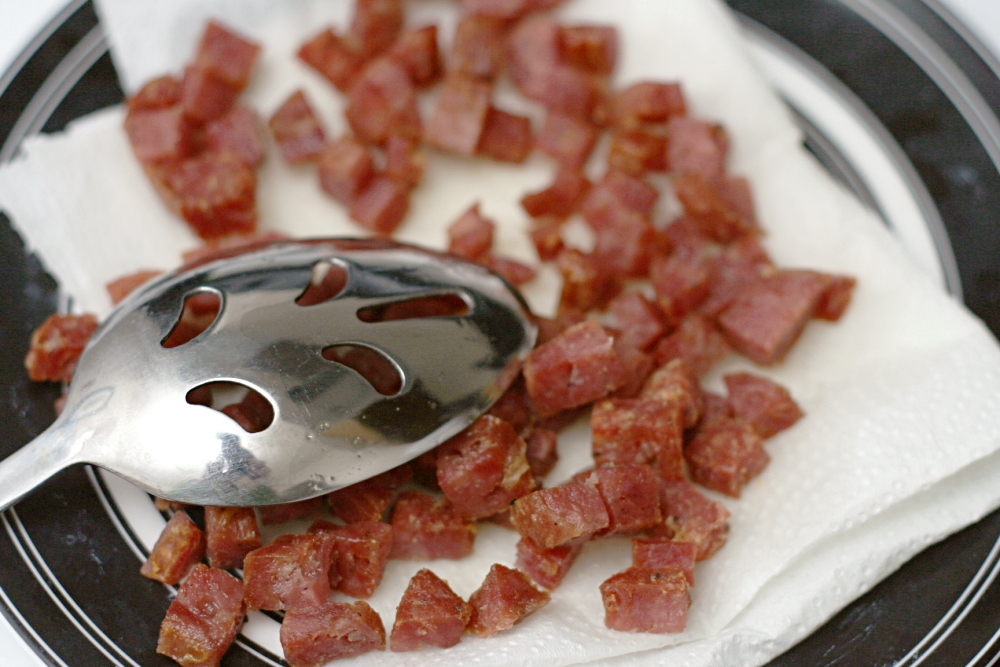
2. While the sponge is fermenting, dice the salami into small cubes and sauté it lightly in a frying pan to crisp it slightly.

3. Stir together the flour, salt, and sugar with a spoon. Add the eggs and the sponge until the ingredients form a coarse ball. If there is any loose flour, dribble in a small amount of water or milk to gather it into the dough. Mix for about 1 minute, then let rest for 10 minutes. Divide the butter in 4 pieces and work into dough, one piece at a time while mixing. After mixing about 4 minutes, the dough will change from sticky to tacky and eventually come off the sides of the bowl. If not, sprinkle in more flour to make it do so.

4. When the dough is smooth, add the meat pieces and mix until they are evenly distributed. Then gently mix in the cheese until it too is evenly distributed. Lightly oil a large bowl and transfer the dough to the bowl, rolling it around to coat it with oil. Cover the bowl with plastic wrap.

5. Ferment at room temperature for about 90 minutes, or until the dough increases in size by at least 1½ times.

6. Remove the dough from the bowl and leave as 1 piece for 1 large loaf or divide into 2 pieces for smaller loaves. Bake in 1 large or 2 small loaf pans by misting the pans with spray oil, shaping the dough, and placing it in the pans. Mist the top of the dough with spray oil and cover.

7. Proof for 60-90 minutes, or until the dough just reaches the top of the pans.

8. Place pans in a 350F oven and bake for 40-50 minutes until the center of the loaves registers 185-190F. The dough will be golden brown on top and on the sides, and the cheese will ooze out into crisp little brown pockets.

9. When the bread is done, remove the bread from the oven and from the pans and cool for at least 1 hour before slicing or serving.
Copy of IMG_6625

brioche

Copy of IMG_6324

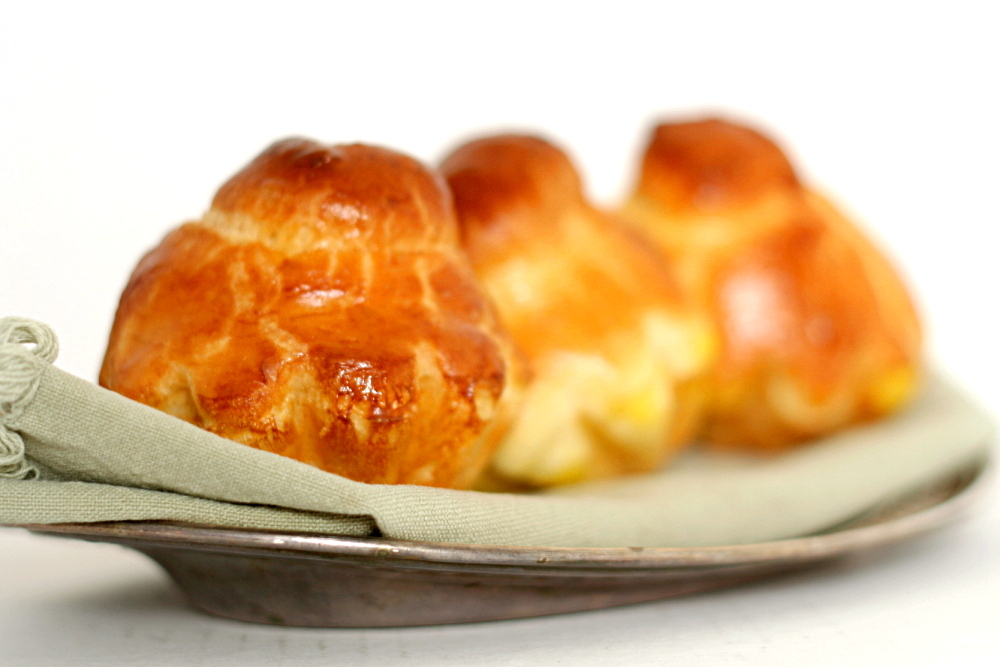
You know how you hear people talk about getting ready for bathing suit season? Um, yeah, I’m no good at that sort of thing. A month before I went on a vacation to the beach, I decided I should undertake a croissant project. A week before the trip, I made brioche. On the drive to the beach, we ate casatiello (a less rich brioche full of sausage and cheese bits). Maybe it’s maturity, or maybe it’s laziness, but I just don’t find myself as worked up about looking perfect as I used to. I’m healthy and that’ll do for now.

Copy of IMG_6275

I certainly could have made the brioche less rich, if I was worried about that. Peter Reinhart gives three brioche recipes – his rich man’s brioche has the most butter, and poor man’s has the least, with middle-class brioche in between. I was having trouble choosing and eventually went with “upper middle-class brioche”, by averaging the rich man’s (buttery and delicious) and the middle class (easier to work with) recipes.

Copy of IMG_6317

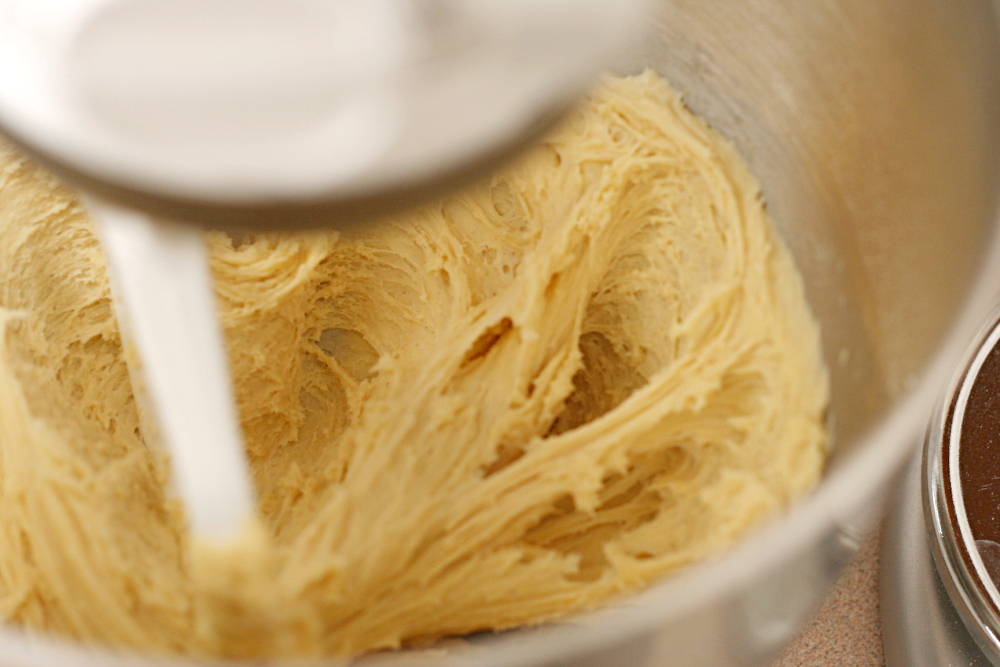
Brioche, with all of its extra butter and eggs, isn’t made too differently than any other type of bread. It starts with a sponge, because Reinhart loves his long fermentations. Then a lot of eggs are added – five eggs for the amount of flour that usually makes one loaf of sandwich bread. After the dry ingredients are mixed in and the dough starts to form, softened butter is slowly worked in. I used, I kid you not, almost one stick of butter per cup of flour.

Copy of IMG_6319

The rising process is different from the traditional bread method though, as the dough is immediately refrigerated, and needs to remain cold while it’s being shaped. It’s proofed at room temperature, then baked and slightly cooled. (For all my talk about not caring how I look in a bikini, I did go for a run while the rolls rose.)

Copy of IMG_6321

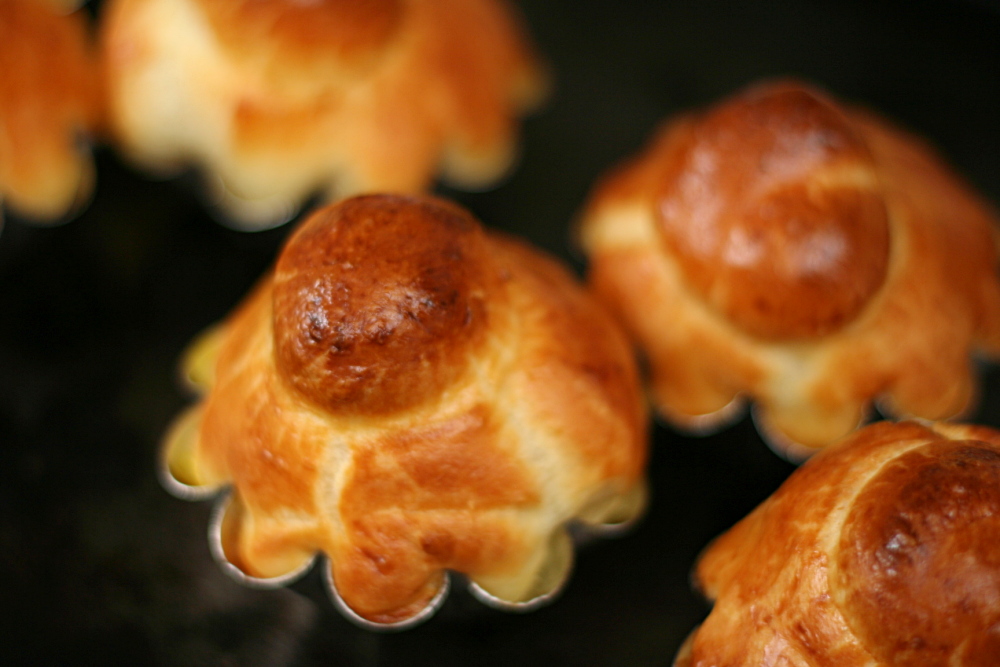
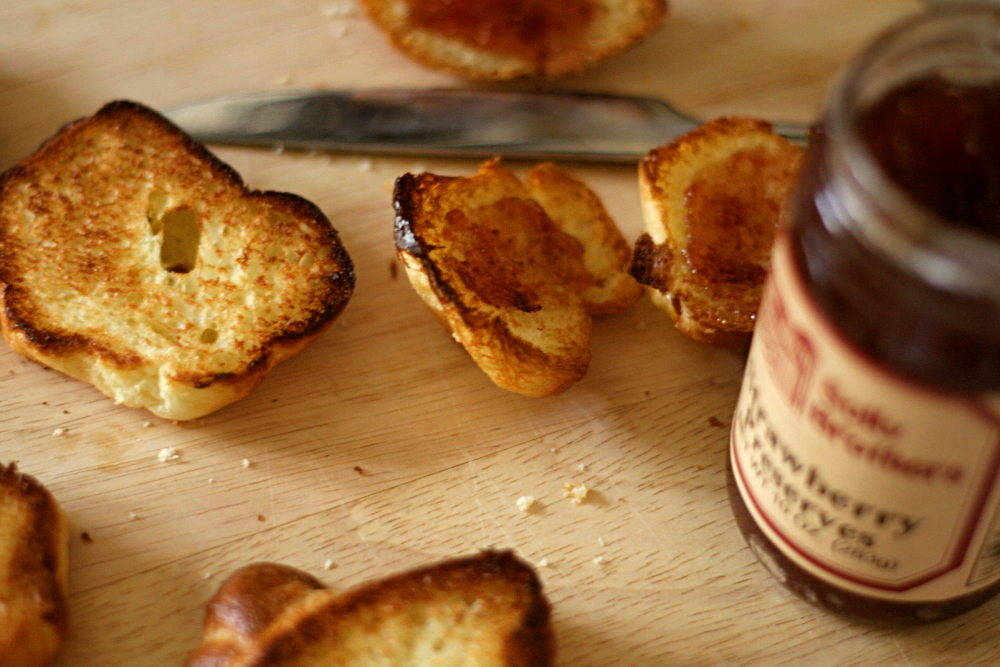
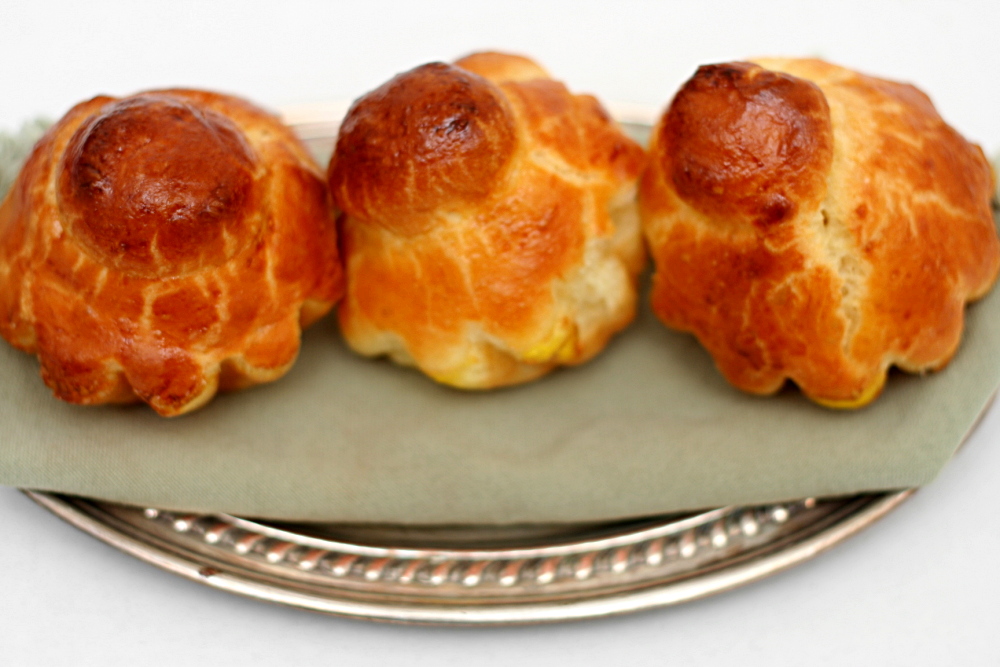
Oddly, I’m not sure I’d ever eaten brioche plain before. If I had, it wasn’t memorable. But this? Is memorable. I couldn’t get over how light they felt. All that butter is all-too-easily hidden. We ate the tender, delicious rolls plain for breakfast, and when we came home from strawberry picking in the afternoon, we toasted slices and smeared them with farmer’s market strawberry jam. I would definitely rather eat brioche than be a size smaller.

Copy of IMG_6353

One year ago: Blueberry Pie

Upper Middle-Class Brioche (very slightly adapted from Peter Reinhart’s Bread Baker’s Apprentice)

Makes 12-16 petite brioches à tête, 2-4 large  brioches à tête, or two 1-pound loaves

Sponge:
½ cup (2.25 ounces) unbleached bread flour
2 teaspoons instant yeast
½ cup (4 ounces) whole milk, lukewarm

Dough:
5 large eggs, slightly beaten
3 cups (13.75 ounces) unbleached bread flour
2 tablespoons (1 ounce) granulated sugar
1¼ teaspoons salt
24 tablespoons (3 sticks) unsalted butter, at room temperature
1 egg, whisked until frothy, for egg wash

1. To make the sponge, stir together the flour and yeast in a large mixing bowl (or in the bowl of an electric mixer). Stir in the milk until all of the flour is hydrated. Cover with plastic wrap and ferment for 30 minutes, or until the sponge rises and then falls when you tap the bowl.

2. To make the dough, add the eggs to the sponge and whisk (or beat on medium speed with the paddle attachment) until smooth. In a separate bowl, stir together the flour, sugar, and salt. Add this mixture to the sponge and eggs and stir (or continue to mix with the paddle attachment on low speed for about 2 minutes) until all the ingredients are hydrated and evenly distributed. Let this mixture rest for about 5 minutes so that the gluten can begin to develop. Then, while mixing with a large spoon (or on medium speed with the paddle), gradually work in the butter, about one-quarter at a time, waiting until each addition of butter assimilates before adding more. This will take a few minutes. Continue mixing for about 6 more minutes, or until the dough is very well mixed. You will have to scrape down the bowl from time to time as the dough will cling to it. The dough will be very smooth.

3. Line a sheet pan with baking parchment and mist lightly with spray oil. Transfer the dough to the sheet pan, spreading it to form a large, thick rectangle measuring about 6 inches by 8 inches. Mist the top of the dough with spray oil and cover the pan with plastic wrap or place it in a large food-grade plastic bag.

4. Immediately put the dough into the refrigerator and chill overnight, or for at least 4 hours.

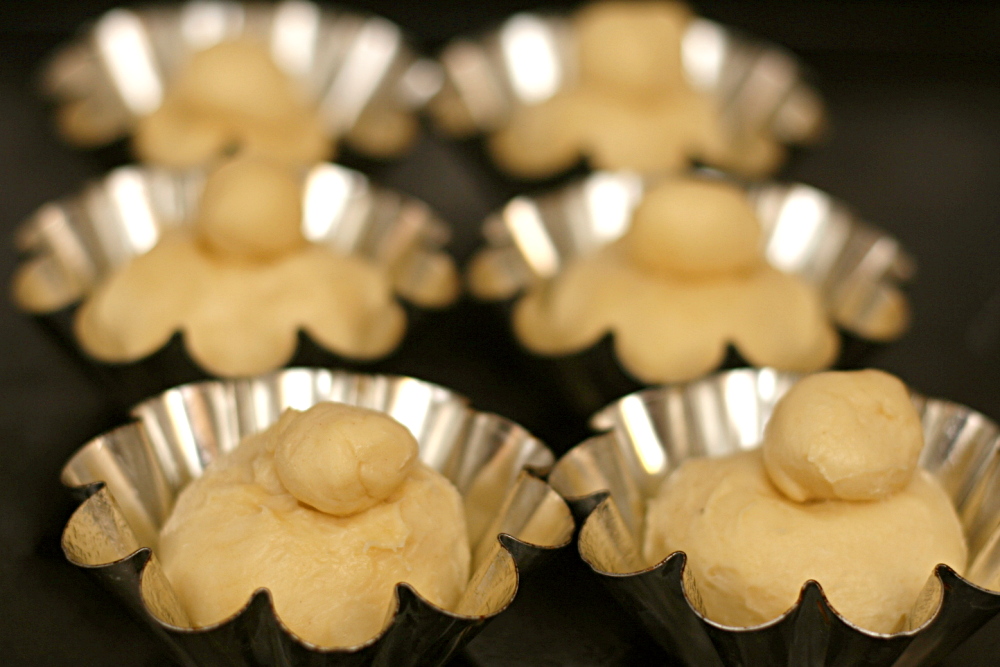
5. Remove the dough from the refrigerator and shape it while it is very cold. If it warms up or softens, return it to the refrigerator. If you are making brioches à tête, lightly oil or use spray oil to grease the fluted molds. Divide the dough into 12 to 16 portions for petites brioches à tête and 2 to 4 portions for larger shapes. (The size of each portion should correspond to the size of the molds; petites brioches à tête are typically 1.5 to 2 ounces each, while larger versions can range from 1 to 2 pounds. Whatever size you are making, the molds should only be half full with dough to allow for expansion during proofing.) Shape the petites brioches à tête into small balls and the larger ones into round loafs. Dust your hands with flour, and, using the edge of your hand, divide a ball of dough into a large and small ball by rolling down, but not quite all the way through, the dough. Place the large ball into the oiled brioche mold and use the tips of your fingers to indent the top and to round and center the smaller ball. Place the molds on a sheet pan after final shaping. If you are making loaves, grease two 8.5 by 4.5-inch loaf pans. Divide the dough into 3 pieces and shape the dough into loaves.

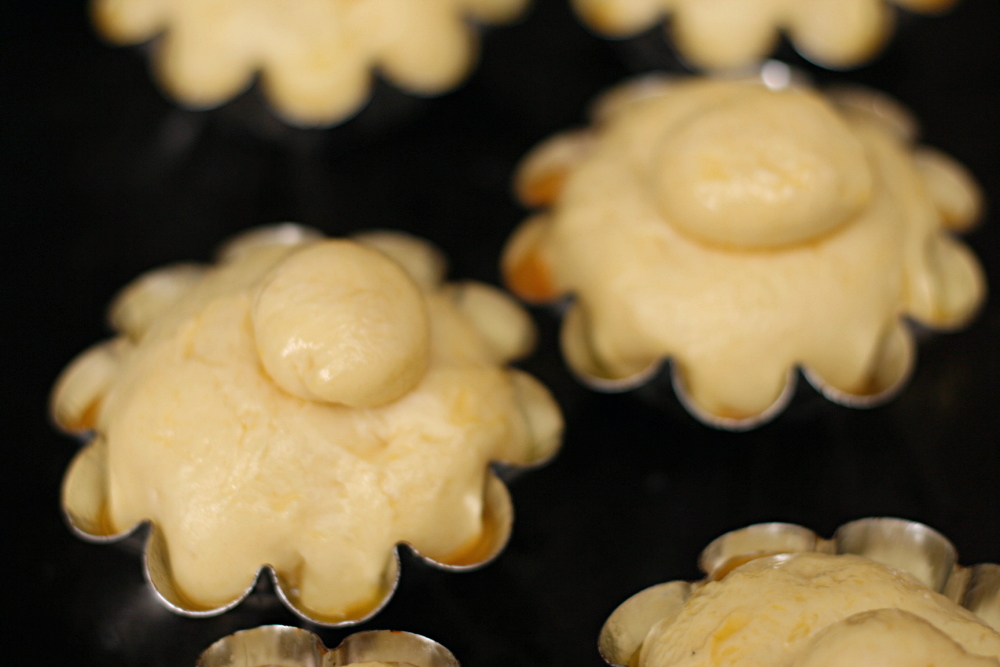
6. Mist the top of the dough with spray oil and loosely cover with plastic wrap, or slip the pan(s) into a food-grade plastic bag. Proof the dough until it nearly fills the molds or loaf pans, 1.5 to 2 hours for petites brioches à tête and longer for larger shapes. Gently brush the tops with egg wash. Cover the dough with plastic wrap that has been lightly misted with spray oil. Continue proofing for another 15 to 30 minutes, or until the dough fills the molds or pans.

7. Preheat the oven to 400F with the oven rack on the middle shelf for petites brioches à tête, or 350F for larger shapes.

8. Bake for about 15 to 20 minutes for petites brioches à tête and 35 to 50 minutes for larger shapes. The internal temperature should register above 180F for the small ones and about 190F for the larger shapes. The bread should sound hollow when thumped on the bottom and be golden brown.

9. Remove the brioches or loaves from the pans as soon as they come out of the oven and cool on a rack for at least 20 minutes for small brioches and 1 hour for larger shapes before serving.
Copy of IMG_6325

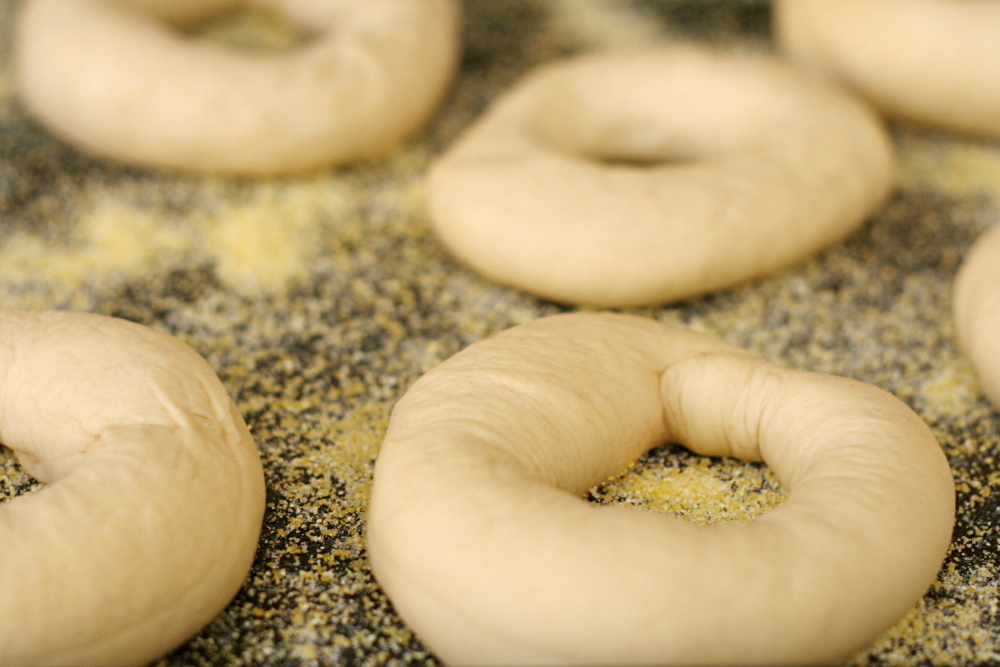
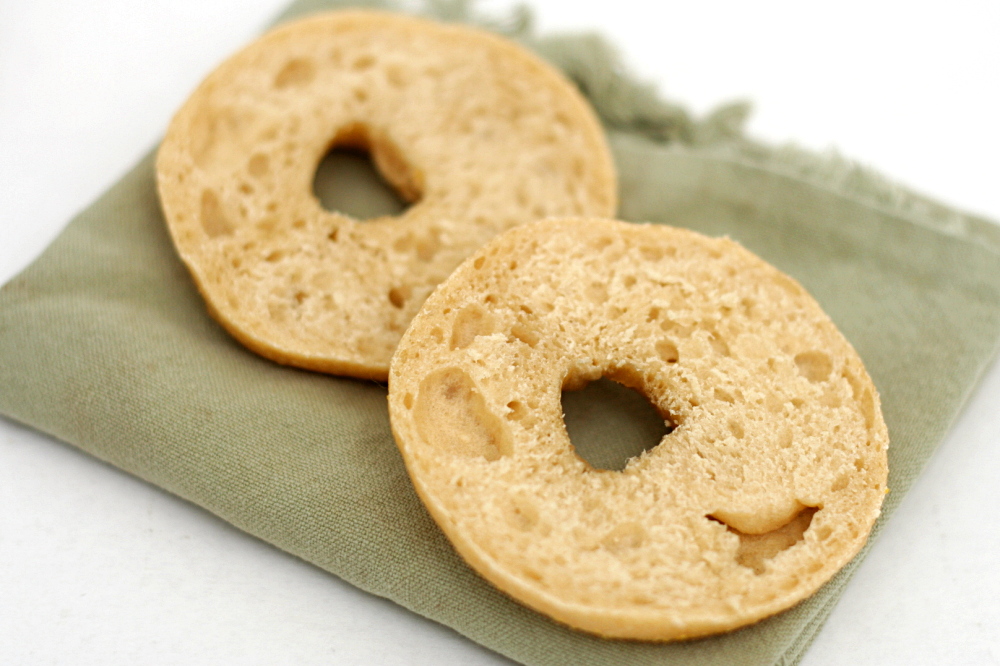
sourdough bagels

Copy of IMG_6204

After my initial trials with sourdough last year, in which I mixed up an easy starter and made a couple loaves of not-at-all sourdoughy bread, I gave up for a while. I ignored the starter I’d made until it eventually dried up and I had to throw it away. When I visited my parents last winter, I tried making bread with my mom’s sourdough starter, which is much older than mine was, to see if it would taste sour. It did, at least a little, so my mom sent me home with some of her starter.

Copy of IMG_6138

Which I, again, basically ignored, for six months, until I had a friend visit who is experienced in the ways of sourdough. She gave me some tips on how to bring my old neglected starter back to life, and, more importantly, helped me realize that sourdough starter can be used in all sorts of breads, not just rustic loaves that I want to taste sour.

Copy of IMG_6145

This was important because I don’t make rustic breads all that often, certainly not enough to keep my sourdough starter healthy. But there are some breads that I do make every week or so – pizza and bagels. The transition to sourdough was especially easy for bagels.

Copy of IMG_6151

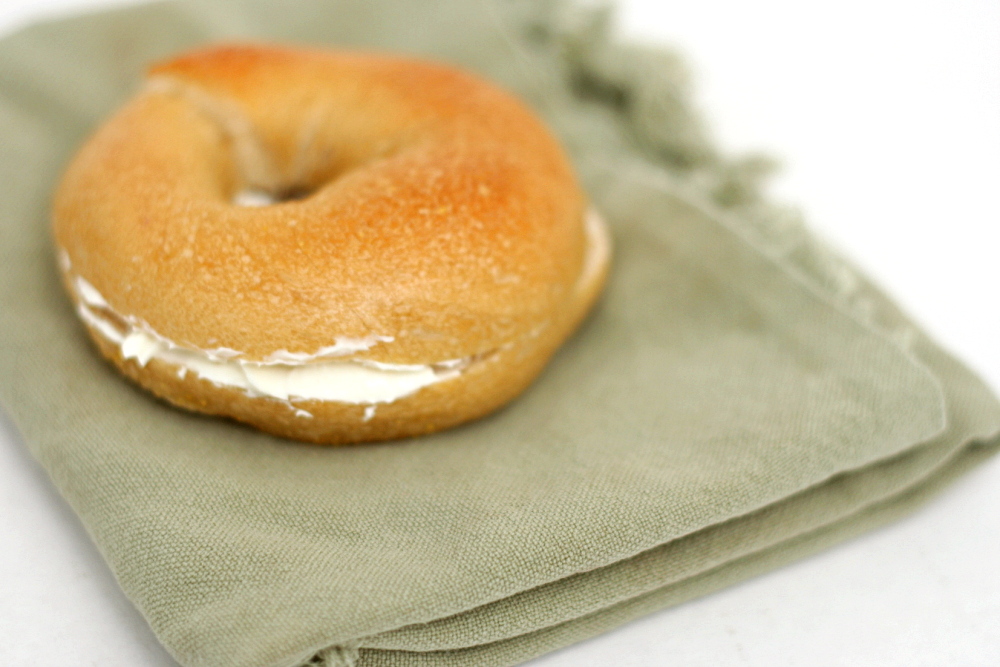
I’ve been making bagels for years, usually using a slight adaptation of Peter Reinhart’s recipe. His recipe utilizes a sponge, a mixture of flour, yeast, and water that has to sit for a few hours before the recipe can be completed. I simply replaced that sponge with sourdough starter, so I saved myself a step and could more quickly move on to mixing and kneading the dough.

Copy of IMG_6176

The only problem with this method is that I don’t always keep enough starter around to make even half of Reinhart’s recipe. I was only able to make six small bagels. So I tried again, this time using half the amount of starter and mixing it with more flour and water. Once that was frothy, I continued with the recipe.

Copy of IMG_6179

Both batches of bagels were very good. Neither had a strong sourdough flavor, although it was slightly more intense in the first batch, where the starter completely replaced the sponge. In the future, I’ll make whichever recipe I have the right amount of starter for. Because the version that completely replaces the sponge with starter is quicker, plus sourdough starter is so easy to make, I’ll probably just make some extra starter the day before I want to make bagels. Altogether, it’s a great way to use my starter often enough to keep it active.

Copy of IMG_6202

One year ago: Mixed Berry Cobbler

Sourdough Bagels (adapted from Peter Reinhart’s Bread Baker’s Apprentice)

12 small bagels or 8 large bagels

My sourdough starter is half flour and half water, by weight.

16 ounces sourdough starter
¼ teaspoon instant yeast
1¾ cup (8 ounces) bread flour (approximately)
1½ teaspoons salt
1 tablespoon barley malt syrup
1 tablespoon cornmeal

1. Place the sourdough starter in the bowl of a standing mixer and leave it at room temperature until it loses its chill and becomes frothy, 1-2 hours, depending on how active your starter is.

2. Add the additional yeast to the starter and stir. Then add most of the remaining flour and all of the salt and malt. Mix on low speed with the dough hook until the ingredients form a ball, slowly working in the remaining flour to stiffen the dough.

3. Knead at low speed for 6 minutes. The dough should be firm and stiff, but still pliable and smooth. There should be no raw flour – all the ingredients should be hydrated. If the dough seems too dry and rips, add a few drops of water and continue kneading. If the dough seems tacky or sticky, add more flour to achieve the stiffness required. The kneaded dough should feel satiny and pliable but not be tacky.

4. Immediately divide the dough into 8-12 equal pieces. Form the pieces into smooth balls.

5. Cover the balls with plastic wrap and allow them to rest for 20 minutes. Dust a baking sheet with the cornmeal.

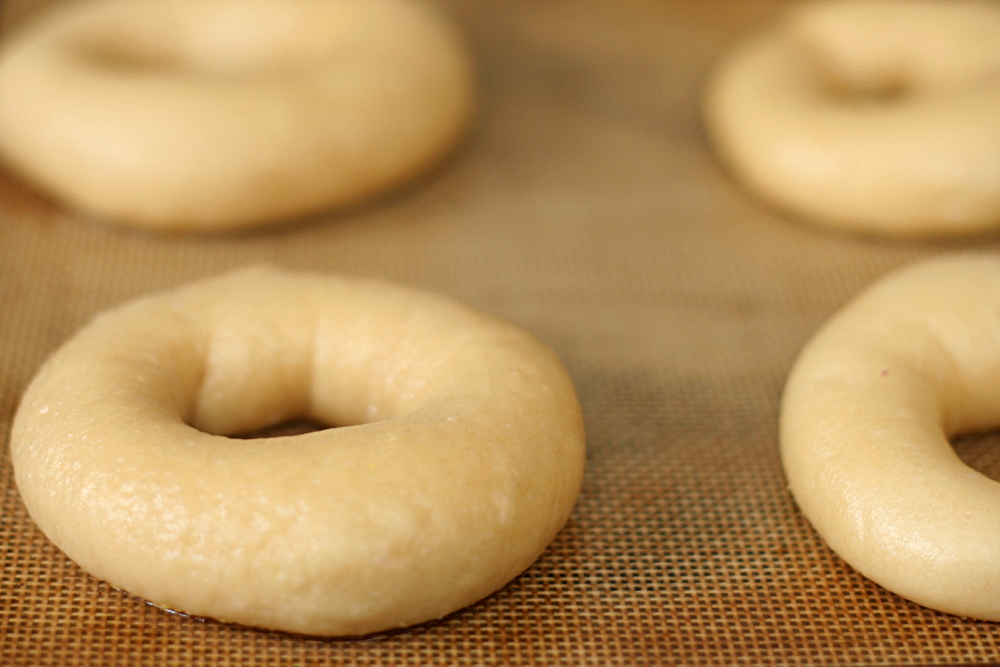
6. Form each dough ball into a rope 9 inches long by rolling it under your outstretched palms. Do not taper the ends of the rope. Overlap the ends of the rope about 1 inch and pinch the entire overlapped area firmly together. If the ends of the rope do not want to stick together, you can dampen them slightly. Place the loop of dough around the base of your fingers and, with the overlap under your palm, roll the rope several times, applying firm pressure to seal the seam. The bagel should be roughly the same thickness all the way around.

7. Place each of the shaped pieces about an inch apart on the prepared pan. Cover loosely with plastic wrap. Let the pan sit at room temperature for about 20 minutes.

8. Check to see if the bagels are ready to be retarded in the refrigerator by using the ‘float test.” Fill a small bowl with cool or room-temperature water. The bagels are ready to be retarded when they float within 10 seconds of being dropped into the water. Take one bagel and test it. If it floats immediately return the tester bagel to the pan, pat it dry, cover the pan, and place it in the refrigerator overnight (it can stay in the refrigerator for up to 2 days). If the bagel does not float, return it to the pan and continue to proof the dough at room temperature, checking back every 10 to 20 minutes or so until a tester floats. The time needed to accomplish the float will vary, depending on the ambient temperature and the stiffness of the dough.

9. The following day (or when you are ready to bake the bagels), adjust the rack to the middle position and preheat the oven to 450 degrees. Bring a large pot of water to a boil (the wider the pot the better). Have a slotted spoon or skimmer nearby. Line a baking sheet with parchment paper.

10. Remove the bagels from the refrigerator and gently drop them into the water, boiling only as many as comfortably fit (they should float within 10 seconds). Stir and submerge bagels with Chinese skimmer or slotted spoon until very slightly puffed, 30 to 35 seconds. Remove rings from water; transfer to wire rack, bottom side down, to drain.

11. Transfer boiled rings, rough side down, to parchment paper-lined baking sheet. Bake until deep golden brown and crisp, about 12 minutes.

12. Remove the pans from the oven and let the bagels cool on a rack for 10-15 minutes before serving.
Copy of IMG_6182

artos (greek celebration bread)

copy-of-img_5976

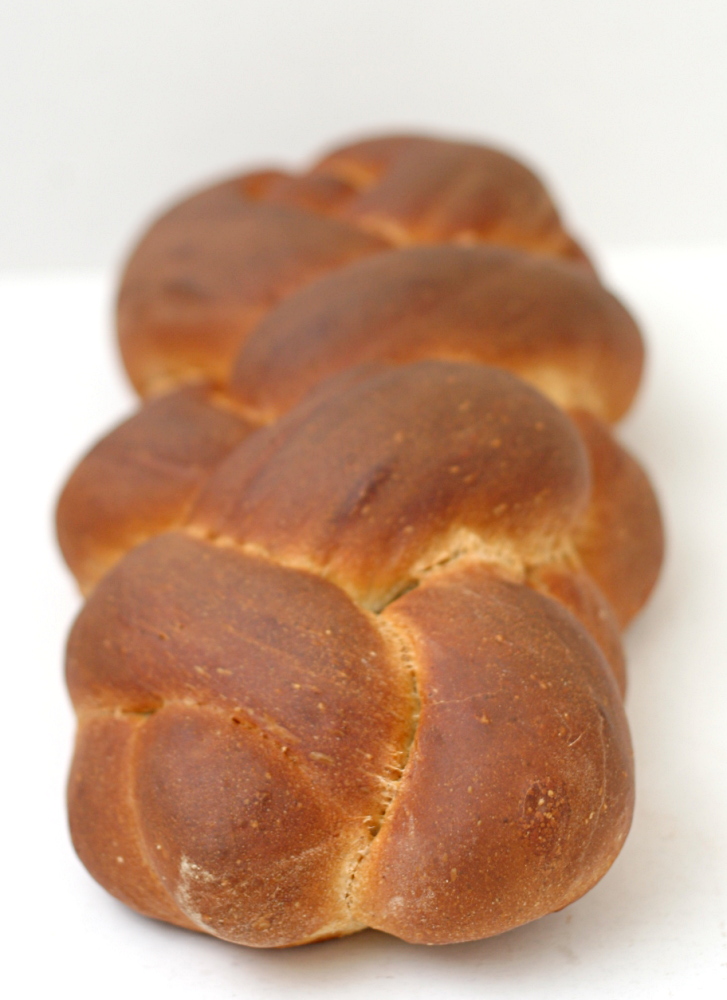
I’ve always wanted to make this bread just because the shape of one of the variations is so cool. It’s a round loaf with strips of dough crossed over the top, the ends split and curled around.

I ended up not using that shape though. The bread is flavored with all sorts of things – almond extract, lemon zest, fall spices, olive oil, honey – so I thought it would make a particularly good French toast, and a round loaf didn’t seem practical for that. Instead, I tried a 4-strand braid, which looks pretty much like a 3-strand braid after baking. That’s okay, it was easy to do.
When Dave tried the bread, he said “This smells like Christmas. Did you put Christmas in this? The bread did, indeed, make for some pretty amazing French toast. Except I think it needs more salt. I’m a broken record.

For the recipe for this bread, check Michelle’s blog.  She also shows the shape I described above.  However, I skipped the dried fruit, nuts, and glaze, plus I used sourdough starter instead of the poolish.

anadama bread

copy-of-img_5945

It’s a good thing I had well-behaved friends for the most part in high school, because I am apparently highly susceptible to peer pressure. A new baking group has recently been formed, somewhat similar to Tuesday with Dorie, but baking their way through Peter Reinhart’s Bread Baker’s Apprentice. I resisted joining the group for a few weeks, because I really don’t need another baking obligation. But I’ve had this book for years and love it, plus if this group can improve my bread-baking skills as much as TWD has improved my dessert-baking skills, it’ll be worth it. And when I heard that Reinhart supported the group, I made the decision to join. I’m a sucker for cookbook authors who support blogs.

I had some trouble figuring out how to fit a new baking group into my blog. I can only produce 3-4 blog entries per week, and I’d like the majority to be unaffiliated with a group. I think I’ve decided on short, simple (I’m doing something simply?!) entries with one photo and a brief analysis of the recipe. Since I joined the group a few weeks after it started, I’m doing a bit of catch up.

Anadama bread is a sandwich bread made with cornmeal and molasses. Reinhart’s MO is to soak grains and/or ferment dough slowly to release as much flavor from them as possible. In this recipe, that means soaking the cornmeal overnight before kneading in the remaining ingredients and continuing with rising and shaping. Reinhart recommends coarser-grained polenta over cornmeal, and it smelled particularly corny after soaking, which was nice.
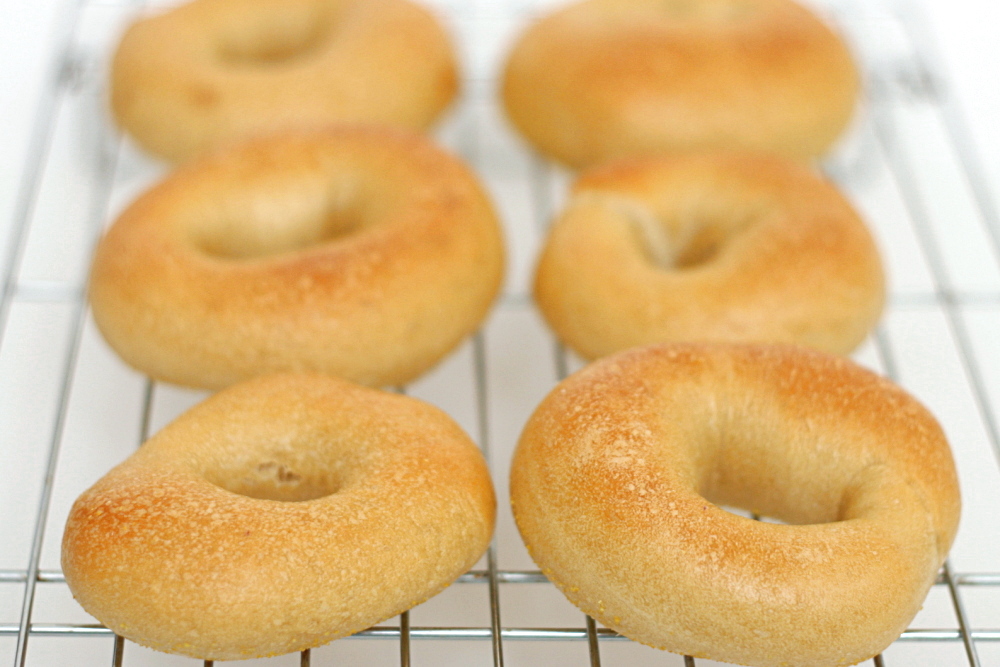
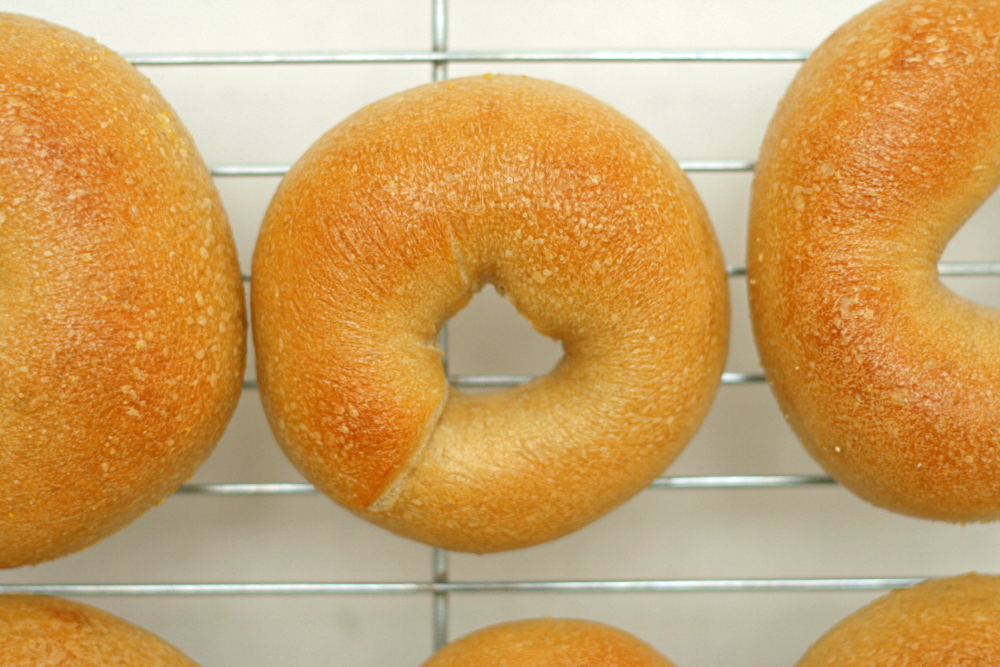
Overall, this was a nice bread. The texture was very light. I definitely think it needs more salt (the recipe calls for 1.5 teaspoons for 20 ounces of flour; I’ll add at least 2 teaspoons next time). Also, the polenta grains didn’t soften in the bread as much as I would like, adding a crunchiness, but not a good crunchiness. I’ll use regular cornmeal next time. Or I might just stick to the last anadama bread recipe I tried, but adjust the method to soak the cornmeal overnight.

True to most groups who cook their way through a cookbook, we won’t all be posting the recipes. However, Michelle plans to post the recipes on her blog.