Sometimes I’ll be reading a recipe, and it’ll say “we simplified this horribly long complicated process with very little effect on the outcome!” and I always think, “nooo! I want to know the horribly long complicated process!” That’s why I made traditional lasagne Bolognese and barbecued a pork shoulder on the grill. And that is why I have now made bread without any commercial yeast – just the wild stuff.
That means that this bread takes at least a week from start to finish, probably a few days longer. Is it worth it? Oh, who knows. I’ve made some pretty fantastic bread using Peter Reinhart’s recipes too. But this isn’t about one loaf of bread. It’s about having a mixture of old fermented flour and wild fungus in your refrigerator, available to add just a little extra oomph to any bread you make.
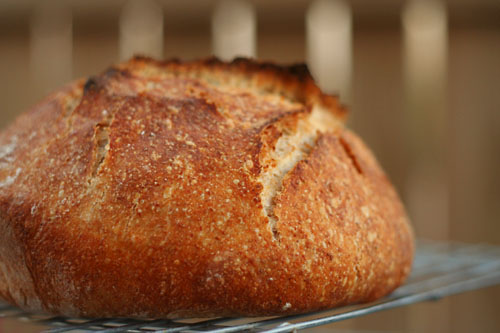
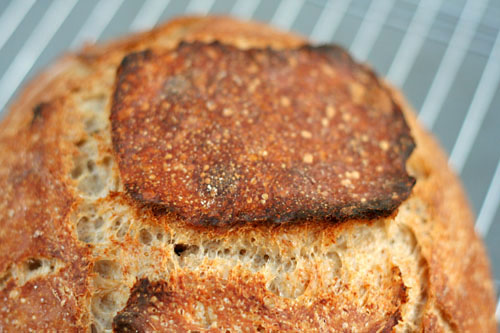
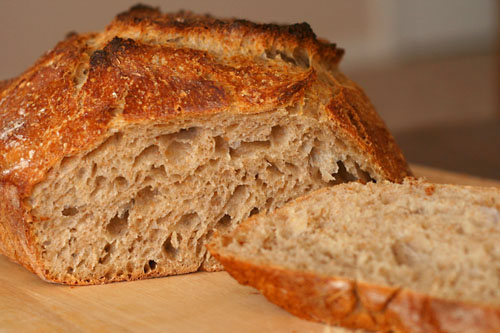
I’ve jotted down the outline of Tartine’s Country Bread recipe below, but the beauty of this method goes far beyond this one loaf of bread, extraordinary though it may be. Because this isn’t about making sourdough bread. Tartine’s country bread isn’t sour, but it has a layer of complexity to it, a sweet savory-ness that makes it really special, not to mention the beautiful burnt red crust.
Chad Robertson has pages and pages of information in his book (and Martha Stewart has a tutorial on her site); my version here is merely the cliff notes. But the key here isn’t the nitpicky mixing, turning, rising, shaping directions. The key is that magical stinky starter you created. And with the starter mixture in your fridge, you have the power to add some of that complexity to every bread recipe you make. When I mix up a whole wheat pre-dough that uses yeast, I mix in some of this starter instead of instant yeast, which has resulted in some exceptional bagels recently. I’ve also started using the country bread dough for pizza, which makes for a bubbly crust with the bottom so crisp it’s almost crackly. This is why I like to know the whole horribly long complicated process – not only is the outcome often truly special, but it gives me the confidence to take the method and adapt it for my own needs.
One year ago: Turkey Burgers
Two years ago: Potato Galette
Three years ago: Orange Vanilla Opera Cake
Printer Friendly Recipe
Tartine’s Basic Country Bread (rewritten from Tartine Bread)
Makes 2 large loaves
The only ingredients in this bread are flour, water and some salt at the end. However, they’re mixed at so many different stages in the process that I’ve chosen not to include an ingredient list. Instead, the ingredients are bolded in the directions.
For pizza, I like to add a squeeze of honey (or a spoonful of sugar) to the dough to help it brown in the oven. The bread doesn’t get the same beautiful burnished color as the loaf because it isn’t covered while it bakes.
Make the starter:
I’ve provided precise measurements here, but it isn’t necessary to follow them exactly as long as your starter always has the consistency of a thick batter.
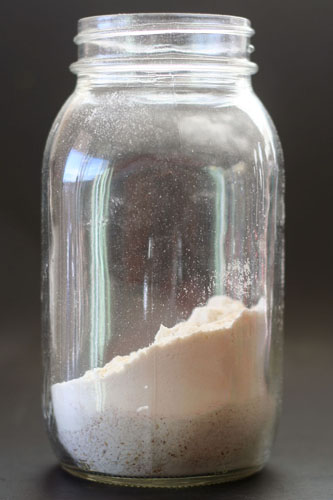
1. Mix ½ cup room temperature filtered water with ½ cup white bread flour and ½ cup whole wheat flour. Cover the bowl with a kitchen towel and set aside in a cool, shaded spot for two days.
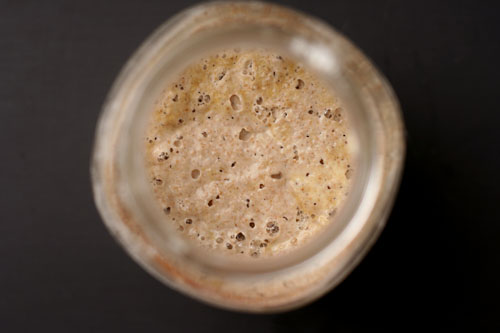
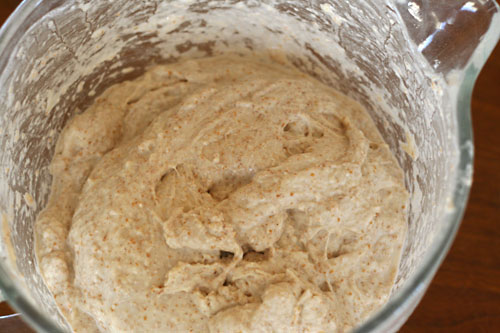
2. Check the culture to see if any bubbles have formed around the sides and on the surface. If not, let it sit for another day. The culture is ready when it smells like stinky cheese and tastes very acidic. It’s okay if a dark crust has formed on top.
3. Discard three-quarters of the culture. To the remaining culture, add ¾ cup water, 6 tablespoons white bread flour and 6 tablespoons whole wheat flour. Stir vigorously until there are no lumps. Repeat this step once a day until…
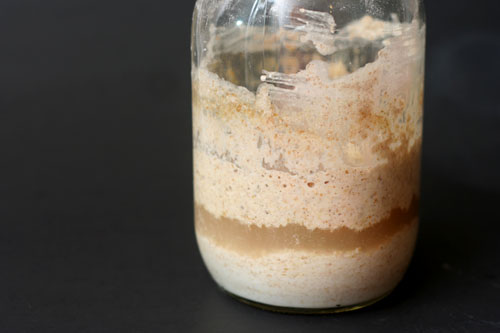
4. Your starter is finished when it behaves in a predictable pattern after each feeding, from stinky and sharply acidic before feeding and sweet and milky just after feeding. The volume should increase for several hours after feeding, then begin to collapse.
To store and keep your starter: Lightly covered, the starter can be kept indefinitely in the refrigerator. (My mom keeps hers in a covered pitcher; I keep mine in a canning jar with a paper towel screwed on instead of the lid. A bowl with a cover would work fine.) To keep it active and healthy, feed it every week or two by following the directions below to make leaven for bread (step 1 of the bread part of the recipe).
Make the bread:
1. To make the leaven: Discard all but 1 tablespoon of the starter. Feed the remaining starter with 200 grams of warm water, 100 grams of whole wheat flour, and 100 grams of bread flour. Let the mixture rise overnight at room temperature. When it’s ready, the leaven should have risen slightly, float in room temperature water (test a small piece; you can still use this piece in the final dough), and smell like overripe fruit.
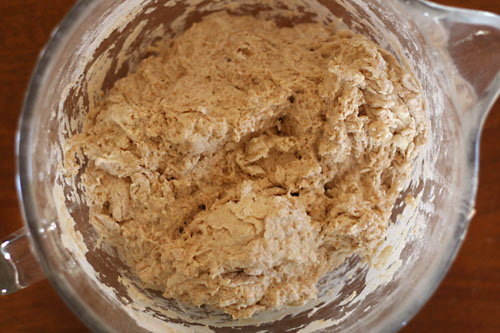
2. In a large (huge, actually) bowl, mix 700 grams of water and 200 grams of the leaven. (The remainder of the leaven is the starter that you’ll store and feed regularly.) Add 800 grams of bread flour and 200 grams of whole wheat flour; stir until the flour is evenly moistened. The dough won’t be smooth. Let it rest for 25 to 40 minutes while the gluten starts forming, the flour starts hydrating, and the flavor starts developing.
3. Add 20 grams of salt and 50 grams of water to the dough, and squeeze the dough to mix them in. This dough isn’t kneaded; instead, fold it a few times by using a dough scraper to scoop up one side of the dough and drape it over the rest of the dough.
4. Allow the dough to ferment for 3 to 4 hours and give it another few turns every 30 minutes. This takes the place of kneading. Be more gentle with the turning toward the end of the rising time. The dough is ready when it’s slightly increased in volume and is full of air bubbles (which will be visible on the sides if you’ve used a clear container).
5. Turn the dough out onto floured surface or a damp kitchen towel. Divide it into two portions. To shape each one into a round, cup your hands over the top of the dough and rotate the dough around on the counter. Cover the rounds with a damp towel and set them aside to rest for 20 to 30 minutes.
6. To increase the surface tension of the dough, ensuring that the bread rises up and not out in the oven, perform a series of folds. Working with one ball of dough at a time, stretch it out and fold it over several times, eventually ending up with a neat square. Cup your hands around the dough and rotate it on the counter to smooth the surface again.
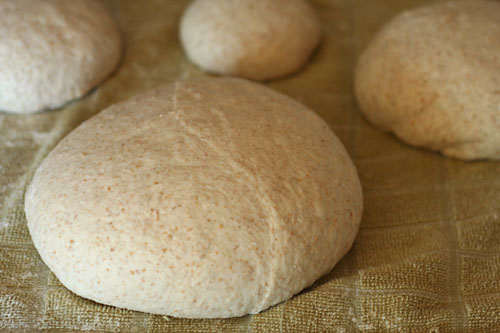
one large loaf and several smaller portions instead of two equal portions
7. Transfer each round to a floured towel-lined bowl or basket with the seam facing up. (Actually, I prefer to use an oiled bowl, covered with a damp towel. If you want to freeze the dough, transfer it to a ziptop bag sprayed with nonstick spray and store in the freezer. Let it defrost overnight in the refrigerator before continuing with the recipe.) Let rise for 2-4 hours at room temperature or, for maximum flavor, overnight in refrigerator.
8. Half an hour before you’re ready to bake the bread, remove the dough from the refrigerator. Place a Dutch oven and its lid on the middle rack in the oven and heat the oven to 500 degrees. When the oven is hot, turn the dough out of its bowl onto a floured work surface or a damp kitchen towel so that the seam is down. Use a very sharp or serrated knife to cut four intersecting ½-inch deep slashes in the dough, forming a square of cuts. Carefully place the dough into the heated Dutch oven; cover the pot with its lid and transfer it to the oven. Immediately reduce the oven temperature to 450 degrees. Bake 20 minutes, then remove the lid and bake 20-25 minutes longer, until the bread is deep golden brown and an instant read thermometer inserted into the center of the loaf reads about 205 degrees. Remove the bread from the pan and cool on a wire rack for an hour before serving.




Wow, the bread looks wonderful. Thanks for these great detailed instruction.
what a coincidence- I’ve been wanting to make sourdough lately, and this looks perfect! Thank you so much for posting this!!!
That looks fantastic! I love bread recipes like this. Honestly, I think the ones that take the longest taste the best 🙂 They’re usually always well worth the work.
The bread and pizza dough look amazing. I agree that sometimes half the fun is making something that you can use in other recipes.
I’m a little behind on my reading here. Oops.
My dear, darling, wonderful husband threw away my sourdough because he didn’t know what it was in the fridge. Sigh. I hadn’t the heart to start a new one, but now I am inspired. That loaf is gorgeous!
Just wanted to drop a line–I follow your blog, and your post inspired me to try the Tartine Bread. I wrote a bit about it on my blog, and posted a link to this post.
http://ourfamilycooking.com/2011/07/the-sourdough-experience/
I just found this while searching for recipes. I’ve enjoyed looking through your blog, and am trying to make my own starter. Do you know about how many days it takes for the starter to be “ready”? Mine is still pretty soupy and high in volume, around 1 1/2 cups before I take out the three-quarters. I’d appreciate any advice or more specific instructions if you have time. Thanks!
Hi Bridget, your bread looks stunning and i wanted to give it a swirl the minute I saw it!
I followed your recipe. However the starter was too watery and even after 10 days waiting time there was no real change.
Then I found a recipe at Cafe Fernando suggesting around 1/2 cup (instead of 1 cup) water for 1 cup of flour and finally it turned out right. Sure, that the measurements are right? Best regards, Su
http://cafefernando.com/how-to-make-a-sourdough-starter/
Su – Tartine’s book doesn’t have any measurements for mixing up the starter, but it does specify that it should be thick. I just tested a small bowl of flour and water, and you’re right – twice the volume of flour as water is the right consistency, and equal volumes of flour and water is too thin. I’m so sorry you had to wait 10 days to find that out! I really appreciate you letting me know, so I can fix the recipe.
No problem. I am thankful for this wonderful post that encouraged me to finally start on this matter!
I have been building up my understanding of the tartine bread and will be making it soon. Your blog has helped so much.. thanks.. I do not have the book but have been to the bakery many times in san francisco.