Archives for March 2009

roasted kale

copy-of-img_2179

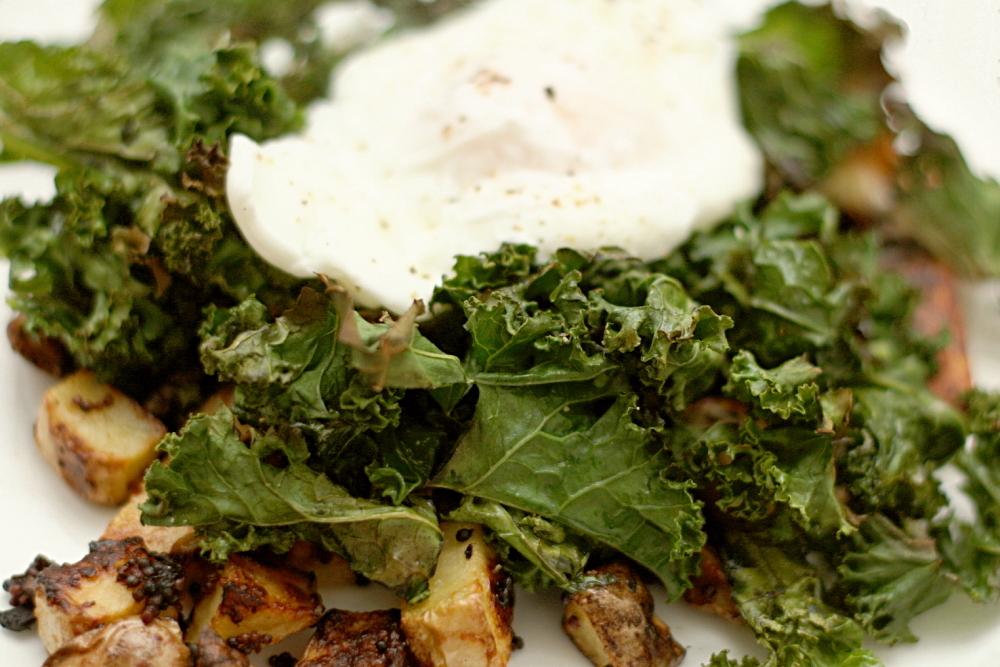
I would not have predicted a couple years ago that kale would become one of my favorite vegetables. Or that one of my favorite ways to eat it would be topped with an egg.
copy-of-img_2164

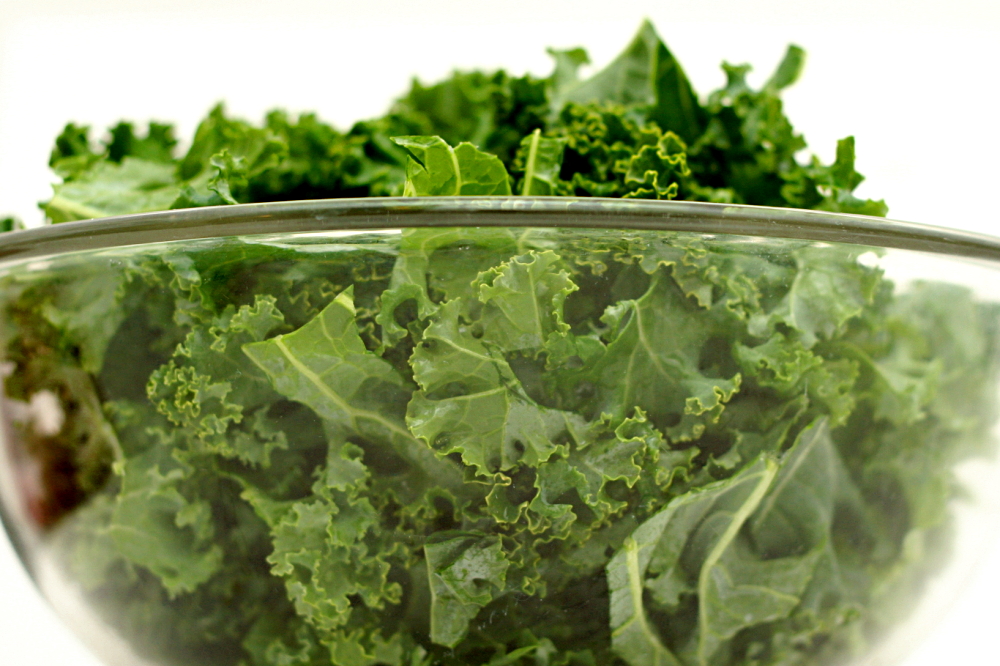
I recognize that the dark olive green color of cooked kale may appear unappetizing. Furthermore, it’s a leafy green vegetable, which we’re trained from childhood to distrust. To be honest, I still don’t even like cooked spinach – too mushy, if not in reality, then certainly in my mind.
copy-of-img_2171

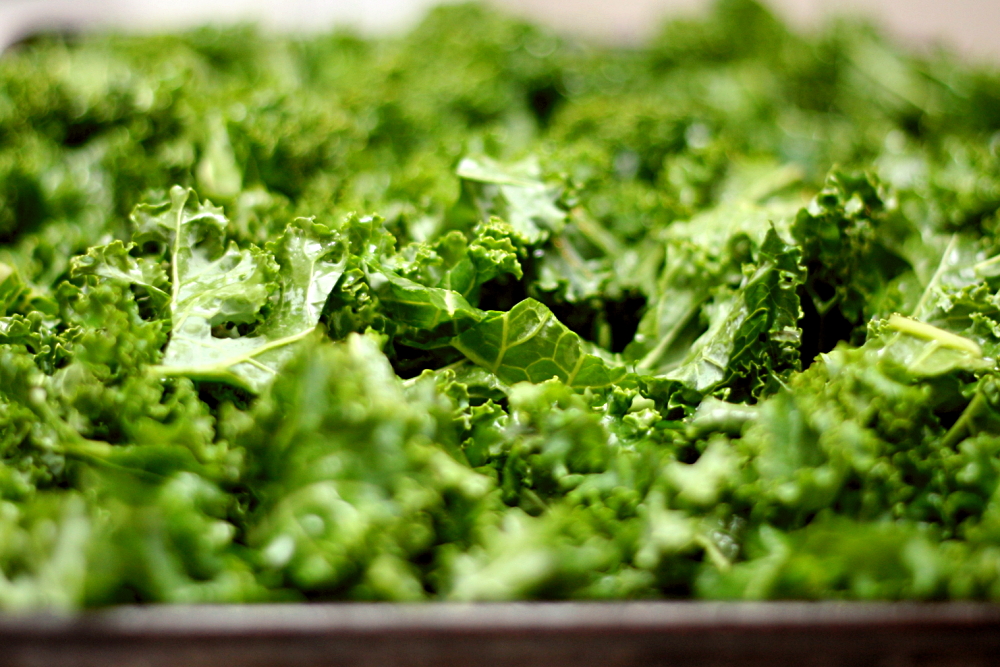
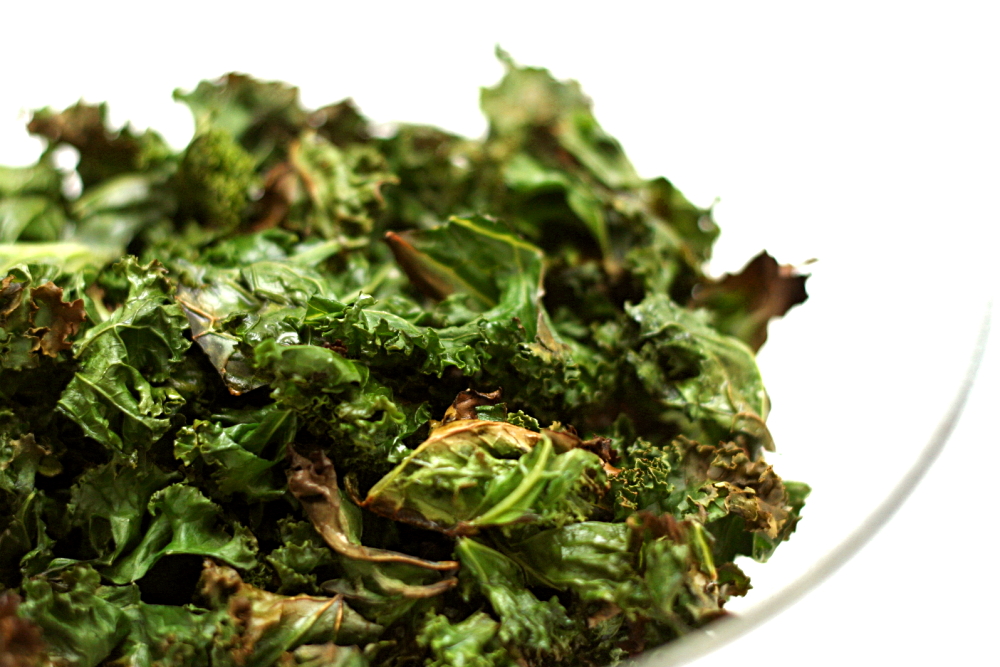
Kale, though, retains a nice crunch after it’s cooked, because it’s much heartier than spinach. It has an earthy flavor, which I know makes it sound like it tastes like dirt, but to me, it’s more of an umami-type meaty flavor.

The problem is that the only way I had prepared kale before this was by braising it, which, although delicious, takes at least half an hour. This roasted method takes, I kid you not, only ten minutes in the oven, and the kale is just as tasty.

copy-of-img_2171

The texture of roasted kale is a little different from braised. Some of the leaves, those on the edges of the baking pan I suppose, were a little crispy, while some of the kale was more moist. Both textures were fine by me.

With a lovely poached egg on top, and some mustardy roasted potatoes, kale makes a delicious, hearty, easy, and healthy meal.
copy-of-img_2174

One year ago: Banana Walnut Pancakes

Roasted Kale (slightly reworded from Tuesday Recipe)

Serves 2, generously

1 bunch kale (about ½ pound)
extra-virgin olive oil
sea salt or kosher salt
sherry vinegar or red wine vinegar

1. Preheat the oven to 425F. Cut the stems off the kale and discard; rinse and shake the leaves dry. Stack the leaves and cut them crosswise into strips about 1 inch wide. Put the kale in a big bowl and drizzle with enough olive oil to coat well (about 2 tablespoons). Sprinkle with a generous pinch of salt, then gently toss the leaves. Spread the kale on a large rimmed baking sheet and pop it in the oven. Set the bowl aside without washing it.

2. Roast the kale until some of the leaves are tinged with brown, about 7 minutes. Remove baking sheet and stir the kale around, then put it back in the oven for another 3 minutes or so until all the leaves are starting to crisp. Immediately put the leaves back in the bowl you first tossed them in, then drizzle with another tablespoon of oil and a few splashes of vinegar. Toss kale with the tongs, taste, and add more oil, vinegar, or salt as needed. Toss again and serve right away.
copy-of-img_2176

chocolate whiskey cake

copy-of-img_2303

Dave was watching a Cleveland Cavelier’s basketball game while I made this cake. When LeBron James, doing what LeBron James does, executed some crazy maneuver that only he could have pulled off, the announcers praised his creativity. Dave noted that for anyone else, the move would have been called stupid, but then for anyone else, the move wouldn’t have worked.

copy-of-copy-of-img_2260

Putting prunes in chocolate cake is basically the same thing. If it works, you’re creative. If not, you’re…something else.

copy-of-img_2265

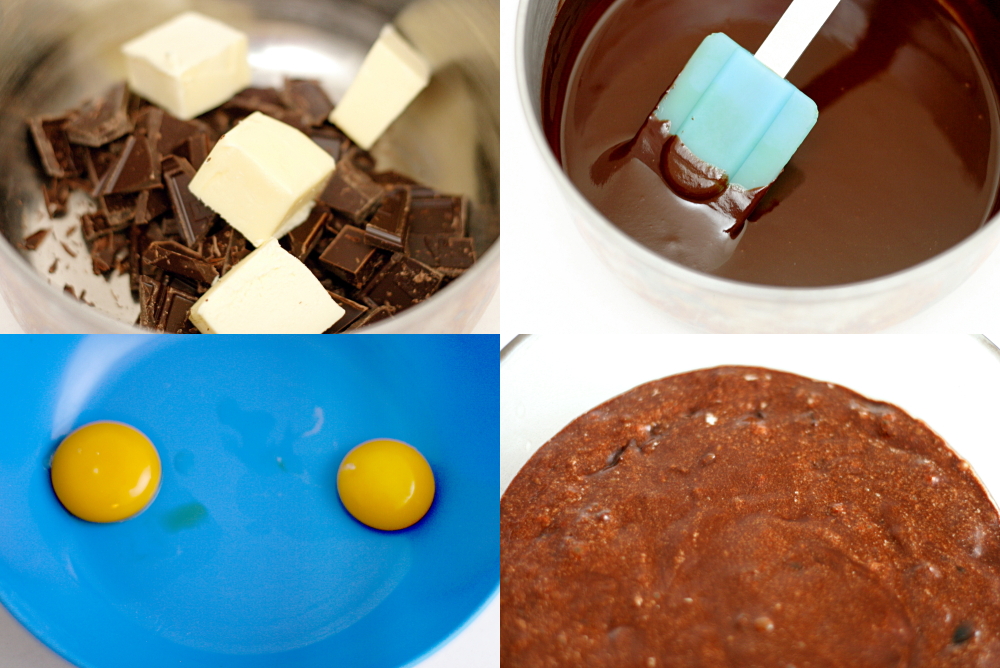
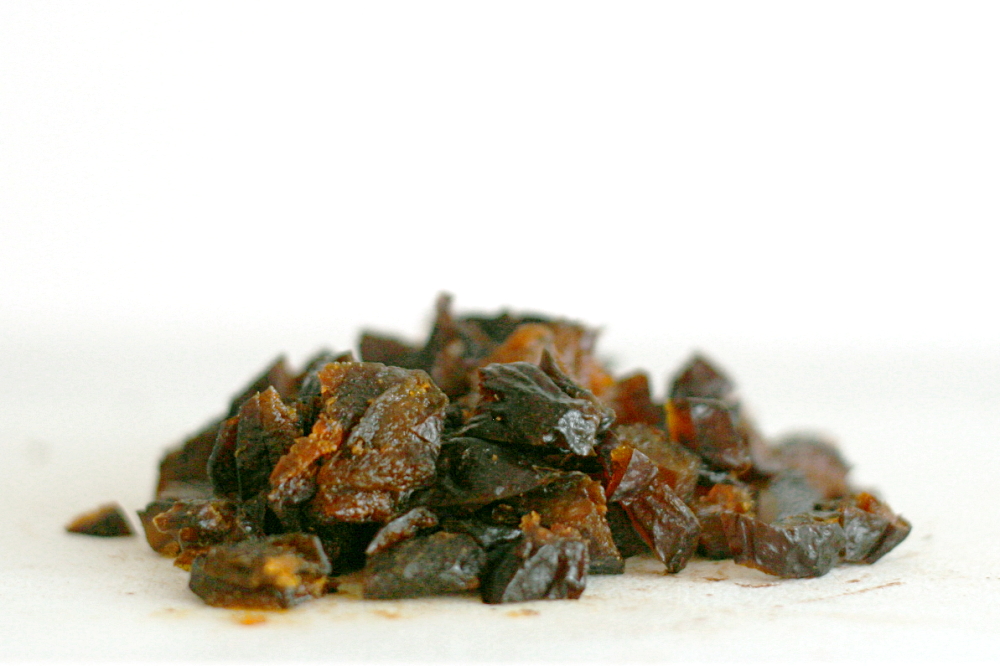
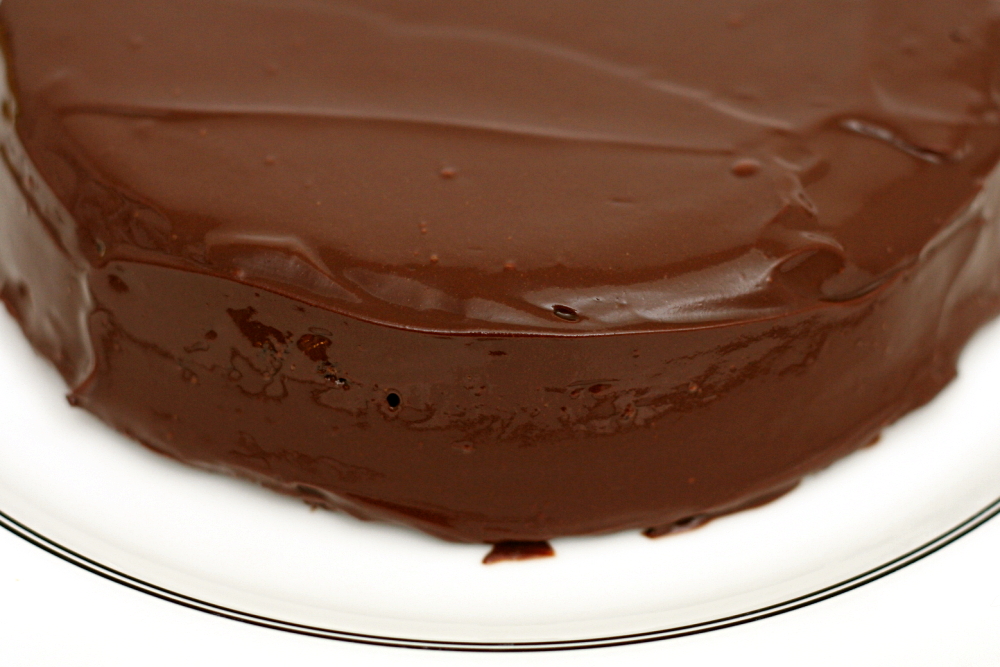
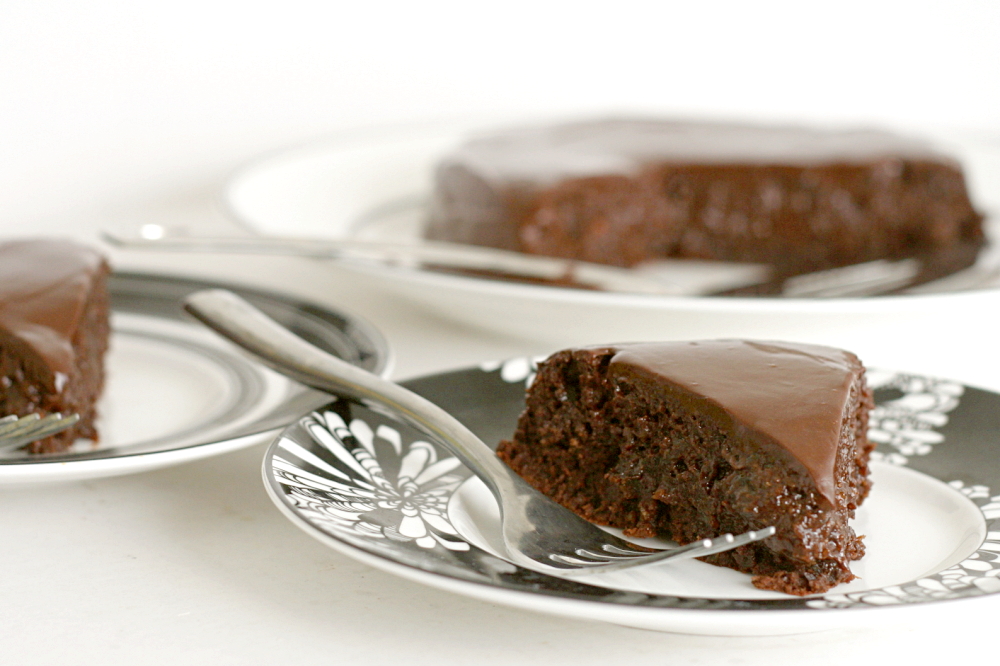
For this cake, prunes are chopped, softened in hot water, and flambéed.  The prunes are mixed with egg yolks, sugar, melted chocolate and butter, flour and ground nuts, and beaten egg whites. The cooled cake is topped with a rich chocolate glaze. Put this way, it sounds a lot simpler than over an hour of baking and at least six dirty bowls proved it to be.

copy-of-img_2290

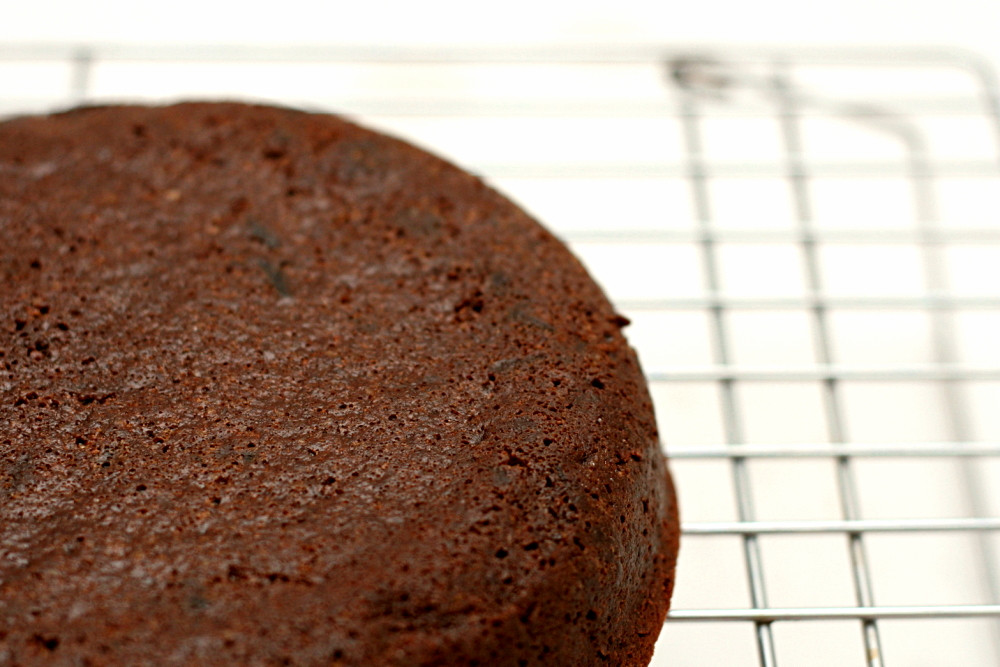
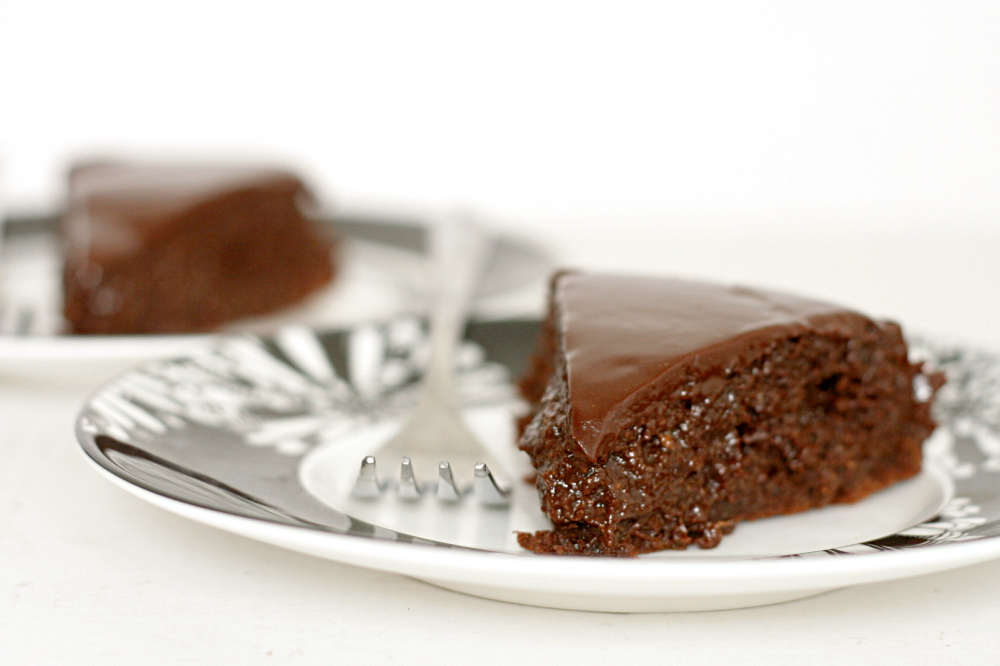
Baking the cake is where I, and it seems a number of other people, ran into problems. Dorie instructs that the cake is done when the sides are pulling away from the pan, the top is crisp, and a knife inserted into the center is “streaky.” Hm…”streaky” isn’t very definitive. My cake seemed to pass all three of those conditions and even unmolded cleanly, but when I cut into it, I realized it was gooey in the center. A better indicator of doneness would be a final temperature to be reached, to be read with an instant-read thermometer.

copy-of-img_2293

Regardless, I hereby decree Dorie creative, and not crazy, because a gooey center could not detract from just how delicious this cake is. If I hadn’t known, I would not have been able to identify the prunes in the cake, and certainly not the whiskey. However, there was definitely something more to this cake than a regular chocolate cake. I have two-thirds of it left, and it’ll be a miracle if I get through the day without stealing tiny slices here and there. It’ll be a miracle if I get through the next hour, honestly. (I did not make it. It’s half an hour later and I’m eating cake. And I agree with Dorie that it’s better at room temperature, but it isn’t half-bad cold either.)

copy-of-img_2298

Lyb has the recipe posted. I used whiskey instead of Armagnac, prunes instead of raisins, and ground almonds instead of walnuts. I wouldn’t change anything about the ingredients, but if you make this, err on the side of less streaky on a knife inserted into the middle at the end of baking. This cake is so moist that I think it would be a challenge to dry it out.

One year ago: Raspberry Bars

copy-of-img_2309

lemon cream cheese bars

copy-of-img_1746

I’m not known for my self-control around desserts (or any food, for that matter) in general, but there are a few extreme cases. One is lemon. I almost never make lemon desserts, because I will eat them, all, until they’re gone, within a very short period of time. The other, which I only realized recently, is cheesecake. When I made cheesecake in a mini muffin pan, I had no resistance to grabbing just one more tiny cheesecake.

copy-of-img_1701

And then I saw this recipe, which is a combination of those two things. I was in trouble. I made them for the SuperBowl, thinking that was as good an excuse as any to overeat.

Except I didn’t overeat them. Because surprisingly, these did not knock my socks off.

copy-of-img_1710b

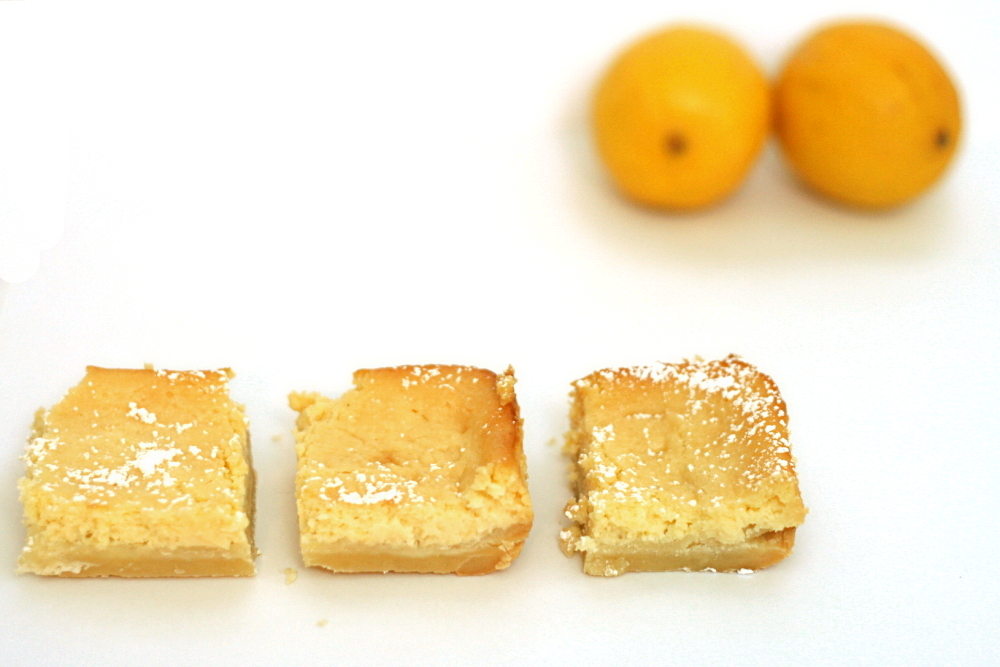
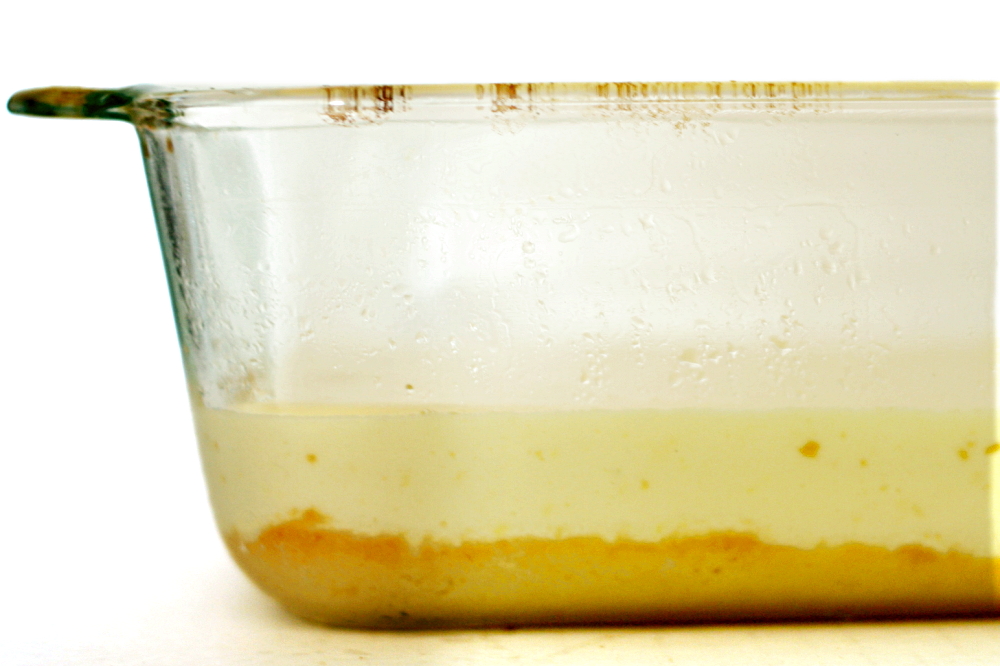
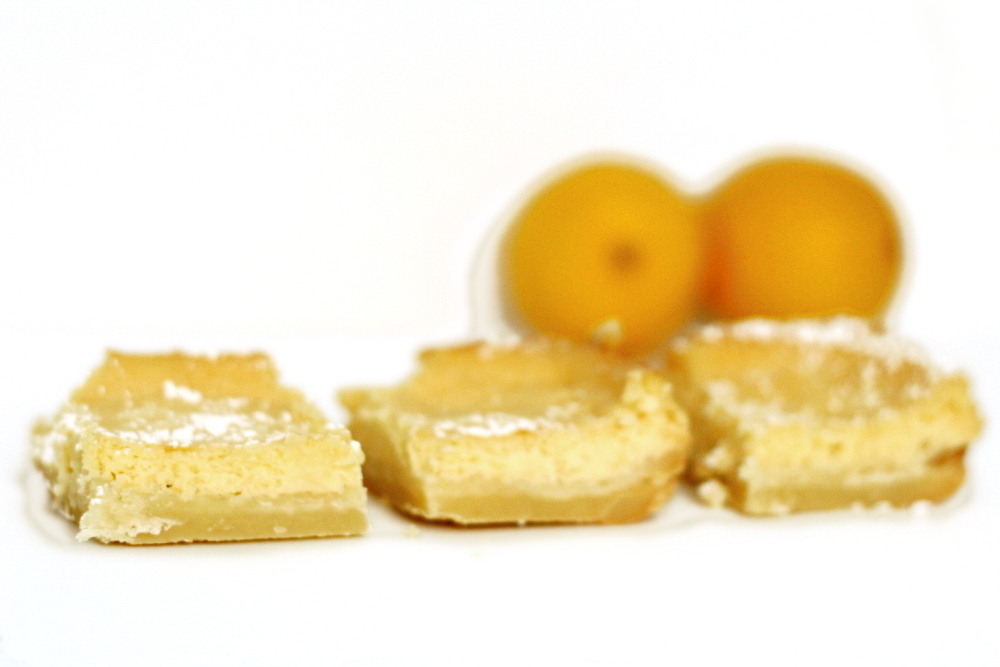
The base is a standard shortbread lemon bar base. The filling is similar to a regular lemon bar, including lemon juice, zest, eggs, and sugar, but includes cream cheese and sour cream, and leaves out the baking powder included in most lemon bar recipes.

copy-of-img_1711

Of course they were good – there’s no way to go wrong with this combination of ingredients. But other than a texture that was a little creamier, I didn’t notice a significant difference between this and a regular lemon bar. The difference in fat content, however, is significant. It looks like I’ll be keeping my lemon bars and my cheesecake separate.

copy-of-img_1747

One year ago: Julia Child’s French Bread

Lemon Cream Cheese Bars (adapted from recipezaar)

Crust:
8 tablespoons (1 stick) unsalted butter, softened
pinch salt
¼ cup powdered sugar
¾ cup (3.6 ounces) unbleached flour
1 tablespoon cornstarch

Filling:
10 ounces cream cheese, room temperature
½ cup (3.5 ounces) sugar
2 teaspoons grated lemon zest
5 tablespoons sour cream, room temperature
6 tablespoons fresh lemon juice
2 large eggs, room temperature
1 teaspoon vanilla
powdered sugar for dusting

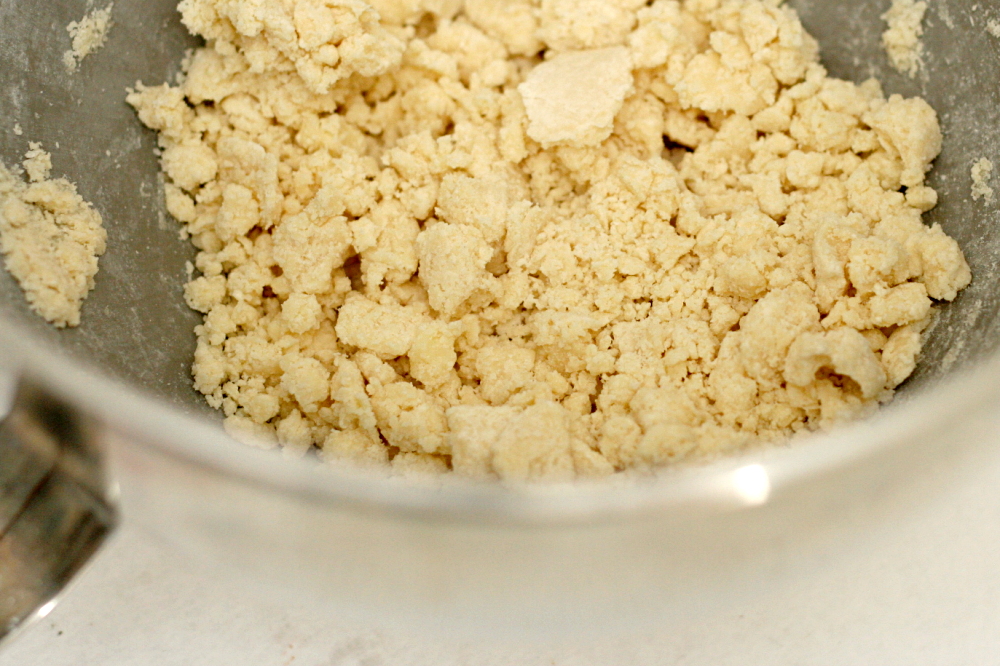
1. Adjust oven rack to middle position and heat oven to 350 degrees. Beat butter with an electric mixer on medium-low speed until creamy. Add sugar and salt and mix until it’s thoroughly combined. Add the flour and cornstarch and mix on low until the mixture forms large curds. Press the dough evenly over the bottom of an ungreased 8 by 8-inch baking dish. Bake at 350 degrees until golden brown, about 20 minutes. Remove the crust from the oven and set it on a cooling rack while you finish the filling.

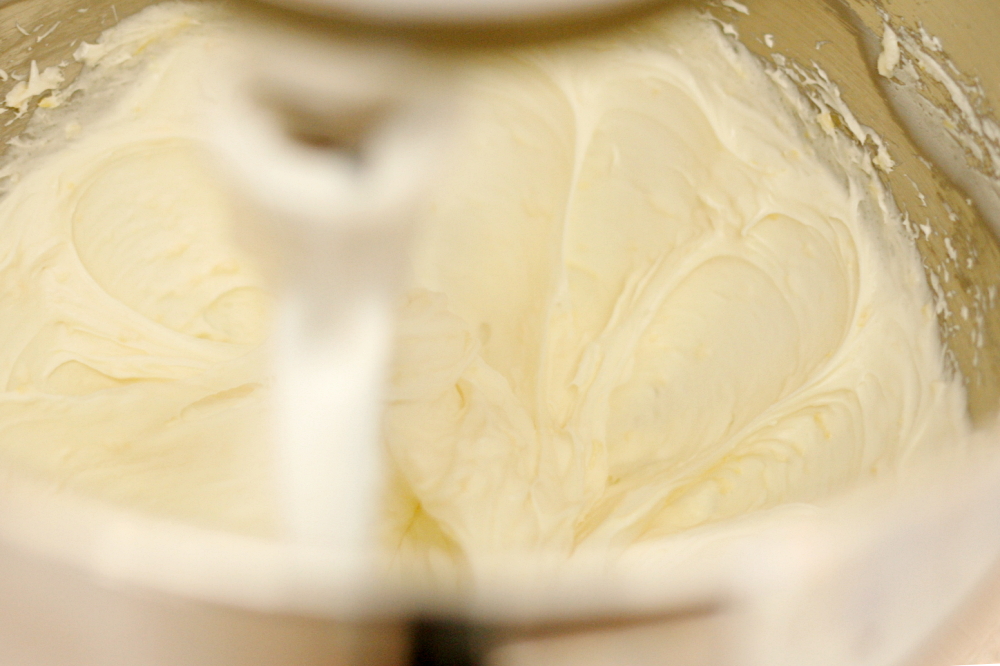
2. Using an electric mixer on medium speed, cream the cream cheese for 2 minutes, until it’s completely smooth and creamy. Add the sugar, and lemon zest and beat until light and fluffy, 2 to 3 minutes. Stop the mixer once or twice to scrape the bowl with a rubber spatula. Add the sour cream and lemon juice and beat the mixture on medium speed until smooth, about 1 minute. Scrape the bowl. Add the eggs and vanilla and continue mixing until the filling is smooth and creamy, about 30 seconds. Spread the topping evenly over the cooked crust. It’s okay if the crust is still hot.

3. Bake the bars until the top is slightly golden and a toothpick inserted in the center comes out dry, about 1 hour. If the topping bubbles up during baking, prick the bubbles with a toothpick or a thin knife.

4. Allow the bars to cool completely on a rack. Dust them with powdered sugar. Cut them with the point of a thin sharp knife that is dipped in hot water and wiped dry before each cut.