It’s not like me to be still tweaking my menu just a few days before Thanksgiving. I even had to rework my timeline as a result! But the change made my timeline simpler with more reasonable expectations of what I can fit in my oven at once (i.e., not four casseroles, rolls, and a tray of roasting vegetables).
If you, too, are still looking for recipes, this is one worth adding. It’s a nice variation from a strictly traditional apple pie, while still within the Thanksgiving theme of fall ingredients and, of course, pie. Plus, both of the fillings and the dough for the crust can be made a couple days before the holiday, which is always an advantage when you’re trying to serve a huge meal to a crowd.
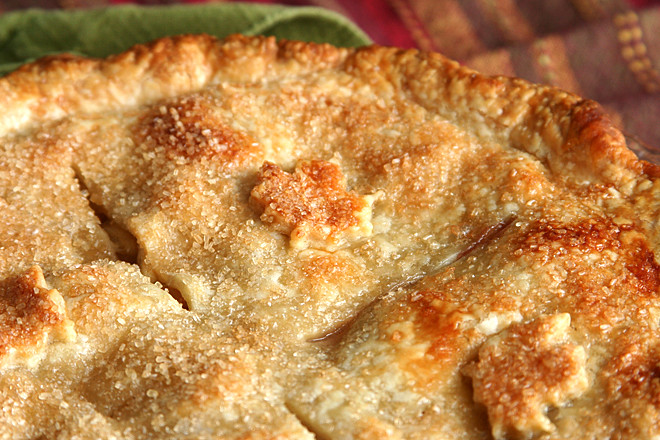
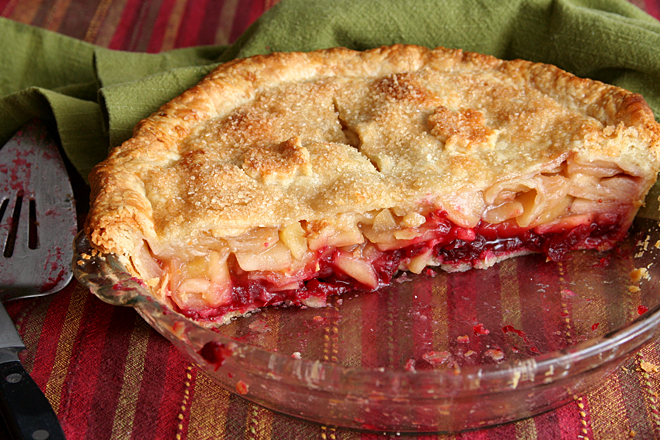
Cranberries and apples, both sweet and tart, accented by flaky pastry, are a great combination. Hopefully you’re a step ahead and already have your turkey salting, your cranberry sauce in the refrigerator, and your pies chosen. If not, this one is a great addition to your holiday.
Apple-Cranberry Pie (from Cook’s Illustrated)
Makes one 9-inch pie
2 cups fresh or frozen cranberries
¼ cup orange juice
1 cup granulated sugar (7 ounces) plus 1 tablespoon for top of pie
½ teaspoon ground cinnamon
½ teaspoon table salt
¼ cup water
1 tablespoon cornstarch
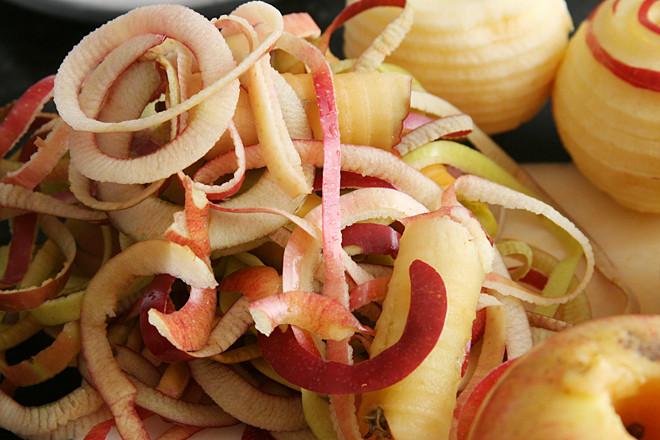
3½ pounds sweet apples (6 to 7 medium), such as Golden Delicious or Braeburn, peeled, cored, and cut into ¼-inch-thick slices
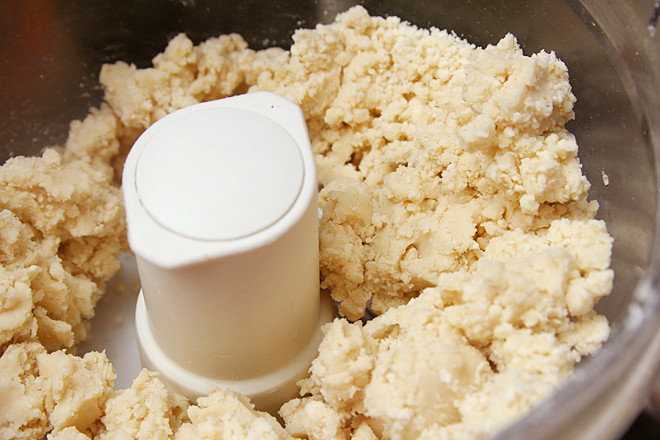
pie dough for double-crust pie
1 egg white, beaten lightly
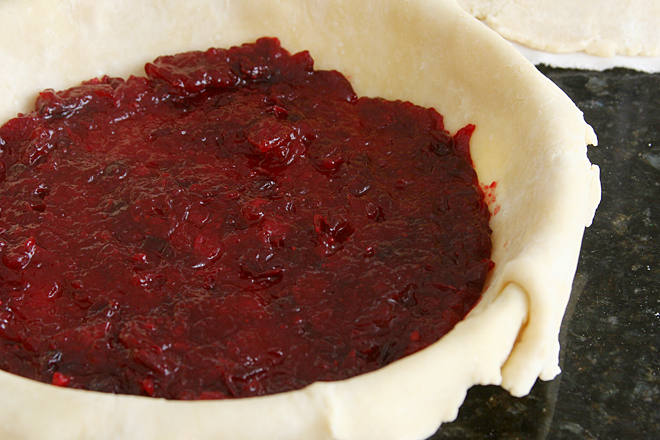
1. Bring the cranberries, juice, ½ cup sugar, ¼ teaspoon cinnamon, and ¼ teaspoon salt to a boil in a medium saucepan over medium-high heat. Cook, stirring occasionally and pressing the berries against the side of the pot, until the berries have completely broken down and the juices have thickened to a jamlike consistency (a wooden spoon scraped across the bottom should leave a clear trail that doesn’t fill in), 10 to 12 minutes. Remove from the heat, stir in water, and cool to room temperature, about 30 minutes. (Can be covered and refrigerated for up to 2 days.)
2. Meanwhile, mix ½ cup sugar, the remaining ¼ teaspoon cinnamon, the remaining ¼ teaspoon salt, and the cornstarch in a large microwave-safe bowl; add the apples and toss to combine. Microwave on high power, stirring with a rubber spatula every 3 minutes, until the apples are just starting to turn translucent around the edges and the liquid is thick and glossy, 10 to 14 minutes. Cool to room temperature, about 30 minutes. (Can be covered and refrigerated for up to 2 days.)
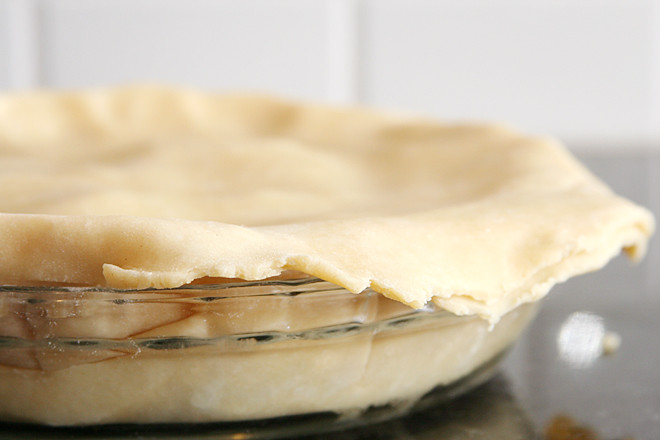
3. While the fillings cool, adjust an oven rack to the lowest position, place a rimmed baking sheet on the oven rack, and heat the oven to 425 degrees. Remove one disk of dough from the refrigerator and roll it out on a floured work surface to a 12-inch circle about ⅛- inch thick. Roll the dough loosely around the rolling pin and unroll it into a pie plate, leaving at least 1-inch overhang. Ease the dough into the plate by gently lifting the edge of the dough with one hand while pressing into the plate bottom with the other hand. Leave the dough that overhangs the plate in place; refrigerate until the dough is firm, about 30 minutes.
4. Transfer the cooled cranberry mixture to the dough-lined pie plate and spread into an even layer. Place the apple mixture on top of the cranberries, mounding slightly in the center; push down any sharp apple edges.
5. Roll the second disk of dough on a floured work surface to a 12-inch circle about ⅛-inch thick. Roll the dough loosely around the rolling pin and unroll over the pie, leaving at least 1-inch overhang on each side.
6. Using kitchen shears, cut evenly through both layers of overhanging dough, leaving a ½-inch overhang. Fold the dough under itself so that the edge of the fold is flush with the outer rim of the pie plate. Flute the edges using a thumb and forefinger or press with the tines of a fork to seal. Brush the top and edges of the pie with egg white and sprinkle with the remaining tablespoon sugar. Using a sharp paring knife, cut four 1½-inch slits in the top of the dough in a cross pattern.
7. Place the pie on the preheated baking sheet and bake until the top is light golden brown, 20 to 25 minutes. Reduce the oven temperature to 375 degrees, rotate the baking sheet, and continue to bake until the crust is deep golden brown, 25 to 30 minutes longer. Transfer the pie to a wire rack to cool at least 2 hours. Cut into wedges and serve.