
I subscribed to Real Simple for years, but only one issue had any recipes I was interested in. It was an article on sandwiches, and I’ve made and enjoyed almost every recipe from that particular article. Some have become seasonal staples for me, but this is only the second time I’ve made this recipe, because the first time was a flop.

It was about 5 years ago, and I didn’t have the cooking experience then that I have now. The recipe calls for kosher salt, and I’m pretty sure I didn’t know that kosher salt is coarser grained than regular table salt, and a direct substitute can’t be made. I remember the sandwiches being almost inedibly salty, which makes sense because the 1¼ teaspoons kosher salt that the original recipe calls for is equivalent to only about ¾ teaspoon of table salt. I used 1¼ teaspoons table salt.
With that straightened out, these sandwiches were delicious. I had no idea that I liked pumpernickel bread so much. I reduced the butter in the avocado butter to one tablespoon, which seemed to work fine. I skipped the oregano because I didn’t have it, and I don’t really think it would match the other flavors in this anyway. With those changes, this makes for an easy, tasty, and pretty healthy meal.

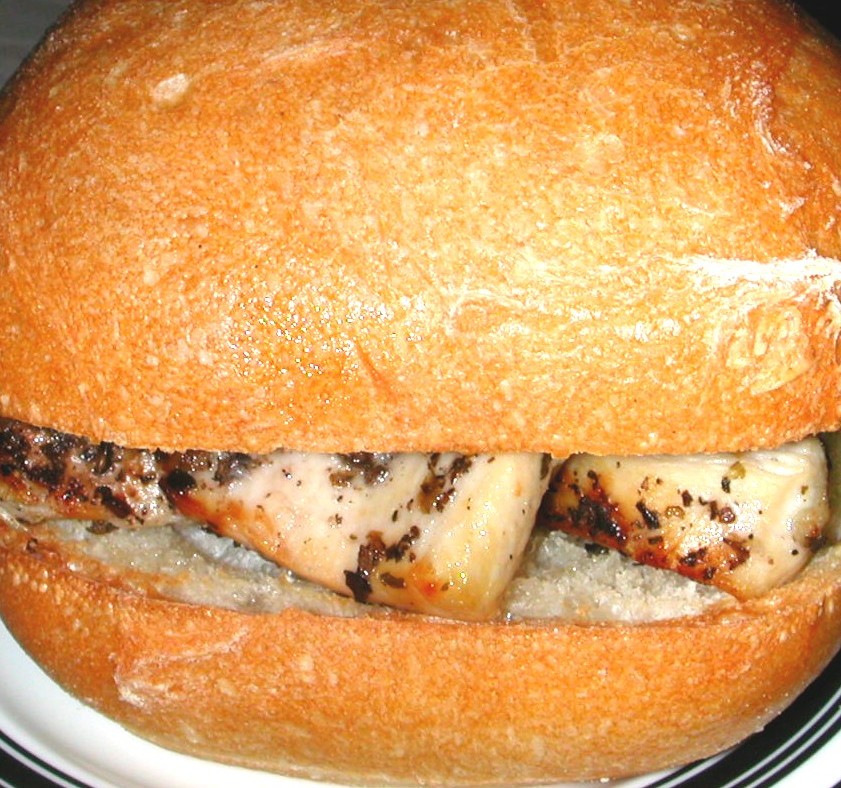
Salmon Club with Avocado Butter (adapted from Real Simple magazine, August 2004)
Update 3/20/09: The salmon really needs to be sliced into 1/4 or 1/2-inch pieces. Also, I’ve decided that double-decker sandwiches, while visually impressive, are impractical (and messy!). I’ll have to stick to single-deckers from now on.
Makes 2 sandwiches
1 ripe avocado, pitted and peeled
Juice from half a lemon
1 tablespoon unsalted butter, at room temperature
salt
1 8-ounce salmon fillet, sliced into ¾-inch pieces
6 slices pumpernickel bread, toasted
1½ cups arugula leaves, loosely packed
Place the avocado, lemon juice, butter, and ½ teaspoon kosher salt (⅓ teaspoon table salt) in a food processor. Pulse until nearly smooth, about 30 seconds. Set aside. (Or just mash with a fork, if getting out your food processor is a pain in the butt, like it is for me.)
Place a medium nonstick skillet over medium heat. Coat with vegetable cooking spray. Sprinkle the salmon liberally with salt. Place in heated skillet. Cook until just cooked through, about 3 minutes per side. Transfer to a plate.
Assemble 2 sandwiches, alternating pumpernickel, avocado butter, salmon, and arugula. Secure with toothpicks before serving.


