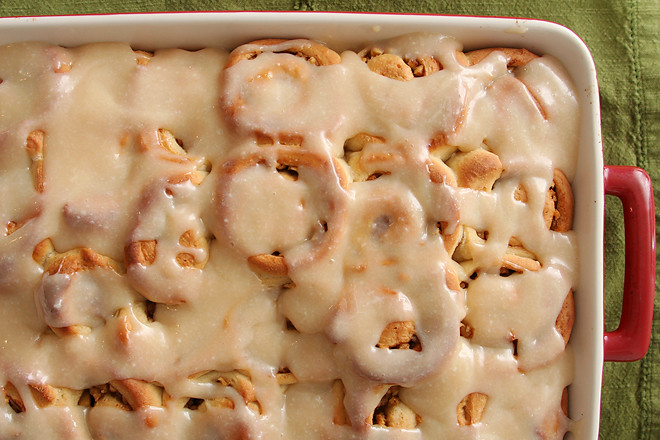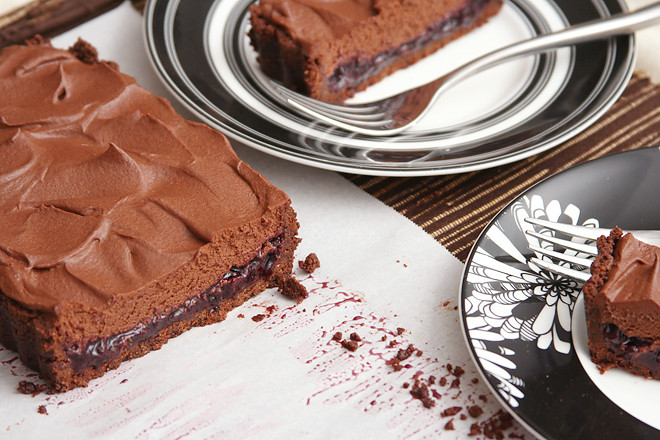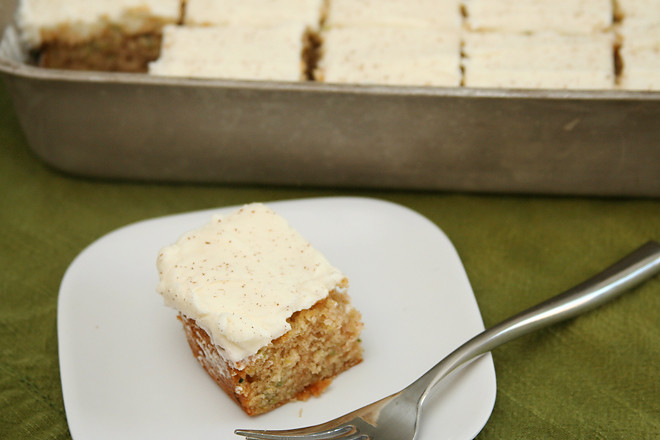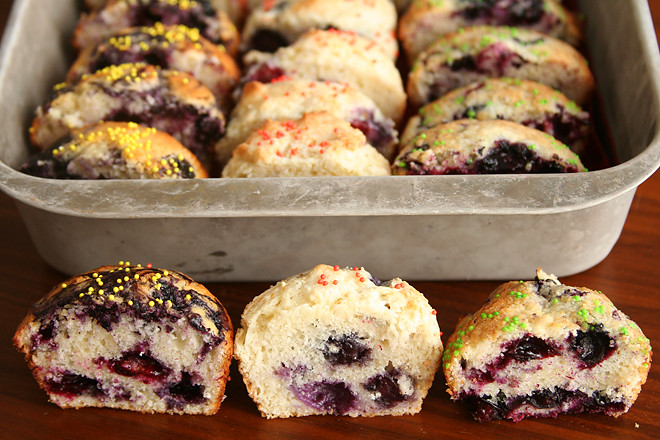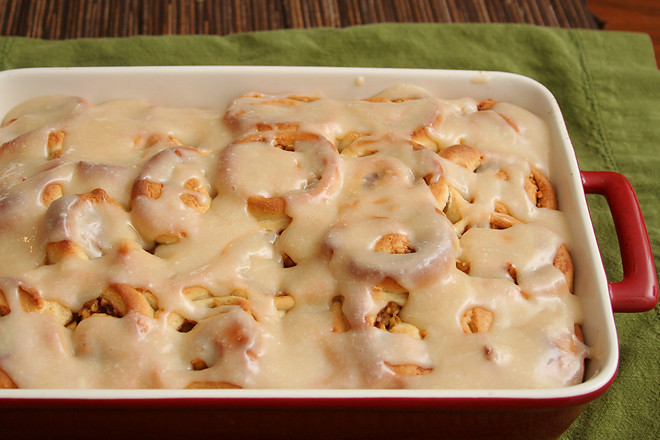
Okay, my coworkers are officially spoiled. Usually I pass off the treats I share with them as more for me to play in the kitchen than for them to indulge, but when your coworker brings you a pan of homemade cinnamon rolls still warm from the oven, covered in caramelly cream cheese frosting, you’re spoiled. And I’m spoiled too, because I got to eat a nice warm sweet roll (or two) at work too.
It did take me all week, but that’s how yeast breads go on workdays. I could have skipped a whole wheat pre-dough on something so obviously not health food, but since it’s so easy and I knew it wouldn’t make anything worse, I figured a little extra fiber couldn’t hurt. After that rested overnight, I mixed the rest of the dough and let it rise most of the way before stashing it in the fridge. The third night, I rolled, filled, and cut the dough, then again let it partially rise before putting it in the fridge overnight. Finally, three days after starting the rolls, I woke up in the morning and preheated the oven to bake them.
Well, the rolls took a little longer than I expected to bake and I was late to work that day, but no one minded. (My diabetic boss couldn’t care less about cinnamon rolls; he’s just a nice guy.) And I got a few “this is the best thing you’ve ever made” comments from my spoiled but appreciative coworkers, which, combined with indulging myself, makes it all worth it.
Printer Friendly Recipe
Caramel Apple Cinnamon Rolls (adapted from Annie’s Eats)
Makes 12 full-size cinnamon rolls or 24 smaller cinnamon rolls
I made these partially whole wheat by making a pre-dough by stirring together 5 ounces whole wheat flour, ¼ teaspoon salt, and ½ cup water and letting it sit, covered, at room temperature overnight. The next day, I mixed this pre-dough with the butter, milk, yeast, sugar, and eggs before adding the remaining 1¼ teaspoons salt and 15-16 ounces flour.
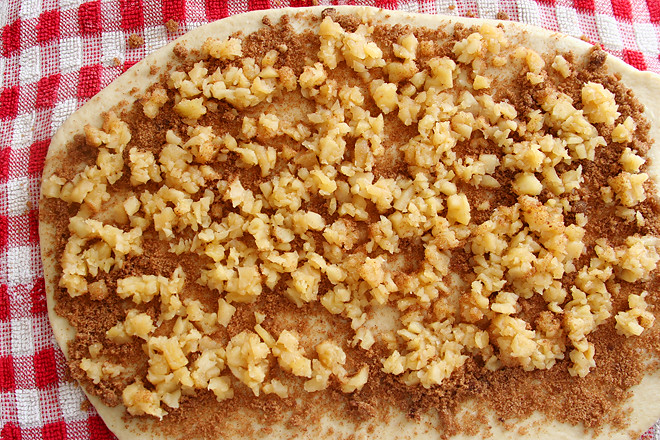
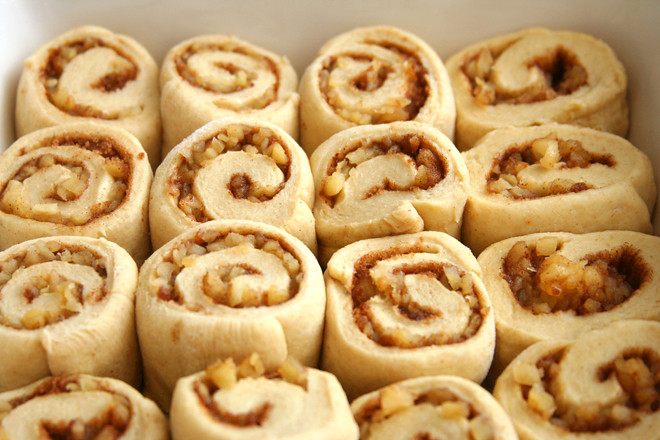
Because I made small cinnamon rolls to share at work, even ¼-inch diced apples seemed too big. I gave them a few pulses in the food processor to chop them finer. The larger dice would work fine for full-size rolls though.
Dough:
6 tablespoons unsalted butter
½ cup milk
½ cup water
1 envelope (2¼ teaspoons) yeast
¼ cup (1.75 ounces) granulated sugar
2 large eggs
1½ teaspoons salt
4-4¼ cups (20 to 21¼ ounces) unbleached all-purpose flour, plus more for dusting the work surface
Filling:
2 tablespoons unsalted butter
3 large apples, peeled, cored and cut into ¼-inch cubes
¾ cup (5.25 ounces) brown sugar, divided
⅛ teaspoon salt
1 tablespoon ground cinnamon
Icing:
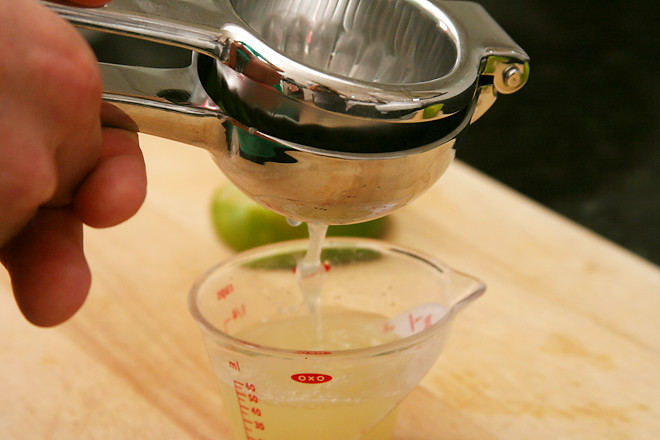
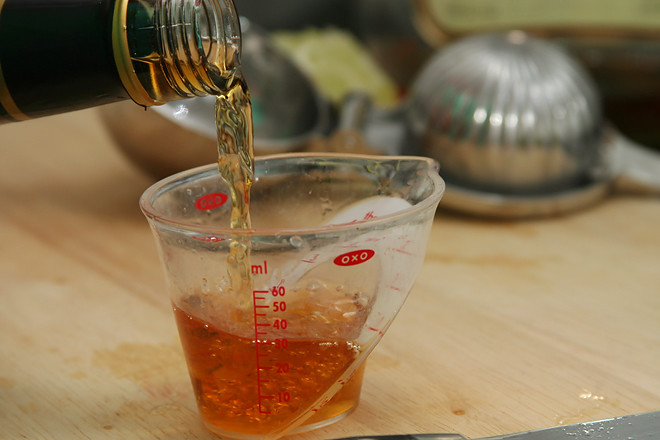
¼ cup caramel sauce
1 cup (4 ounces) powdered sugar
4 ounces cream cheese, softened
1. For the dough: Melt the butter in the microwave or in a small saucepan over medium-low heat. Add the milk and water. Transfer this mixture to the mixer bowl with the yeast, sugar, eggs, and salt. Mix on medium-low speed with the paddle attachment until evenly combined. Attach the dough hook, and, with the mixer running on medium-low speed, gradually add 4 cups (20 ounces) of flour. If the dough sticks to the bottom of the mixer bowl during kneading, add the remaining ¼ cup flour, 1 tablespoon at a time. Knead for 6 to 8 minutes, until the dough is smooth and elastic (or knead for about 10 minutes by hand). It will be soft. Coat the bowl and dough with a thin layer of vegetable oil. Cover and set aside to rise until doubled in size, 1½ to 2 hours.
2. For the filling: Meanwhile, melt the butter in a medium skillet over medium heat. Add the apples, ¼ cup (1.75 ounces) brown sugar, and salt. Cook, stirring occasionally, until the apples are softened, about 12 to 16 minutes. Remove from the heat and let cool. When cool, add the remaining ½ cup (3.5 ounces) brown sugar and the cinnamon.
3. Spray a 9-by-13-inch baking dish with oil. When the dough is sufficiently risen, transfer it to a lightly floured work surface. Roll it out to a 12-inch by 16-inch rectangle. (If you want to make small rolls, divide the dough in two and roll each portion out to 12-inches by 8-inches.) Spread the filling evenly over the dough, leaving a ½-inch border along one longer edge free of filling. Starting at the longer edge with filling (for both full-size and smaller rolls), roll the dough tightly, sealing it with the clean edge. Using either a serrated knife or unflavored dental floss, cut the dough into 12 (or 24, for smaller rolls) evenly-sized rolls. Arrange cut-side up in the prepared pan. Cover and set aside to rise until puffy, about 1 hour.
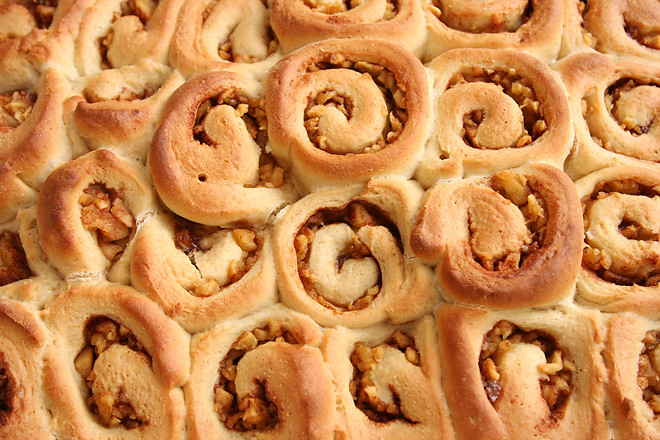
4. Adjust a rack to the middle position and heat the oven to 350 degrees. Uncover the rolls and transfer the dish to the oven. Bake until the tops are browned and an instant-read thermometer inserted near the center of the pan reads about 185 degrees. Transfer the pan to a cooling rack.
5. For the icing: Using a whisk or electric mixer, combine the caramel sauce and powdered sugar. Mix in the cream cheese until the mixture is smooth. Once the rolls have cooled for about 10 minutes, pour the icing over them. Serve warm.