Archives for December 2008

tall and creamy cheesecake

copy-of-img_10641

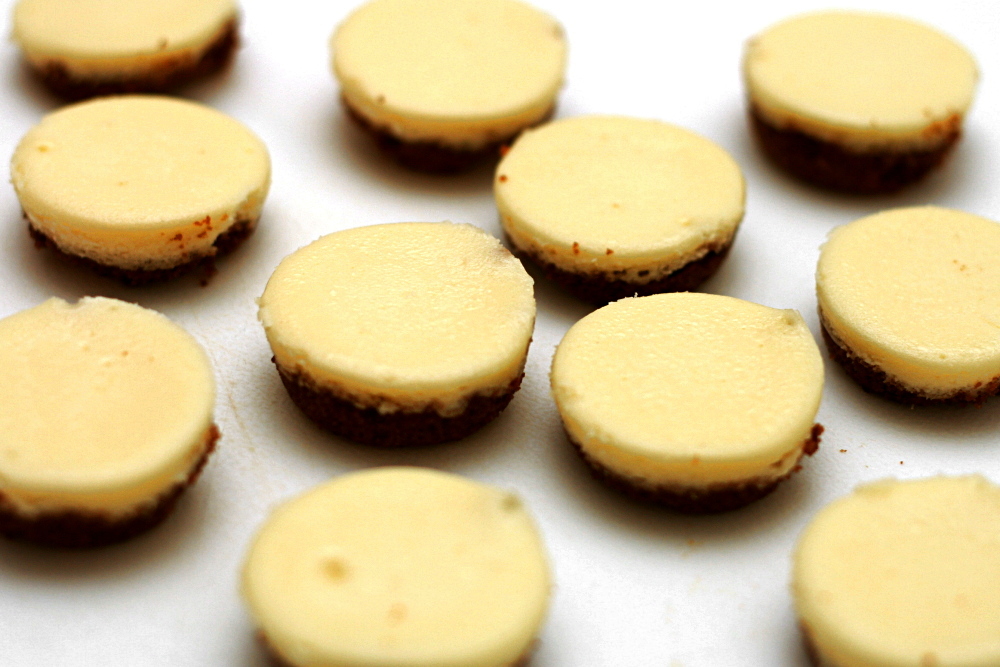
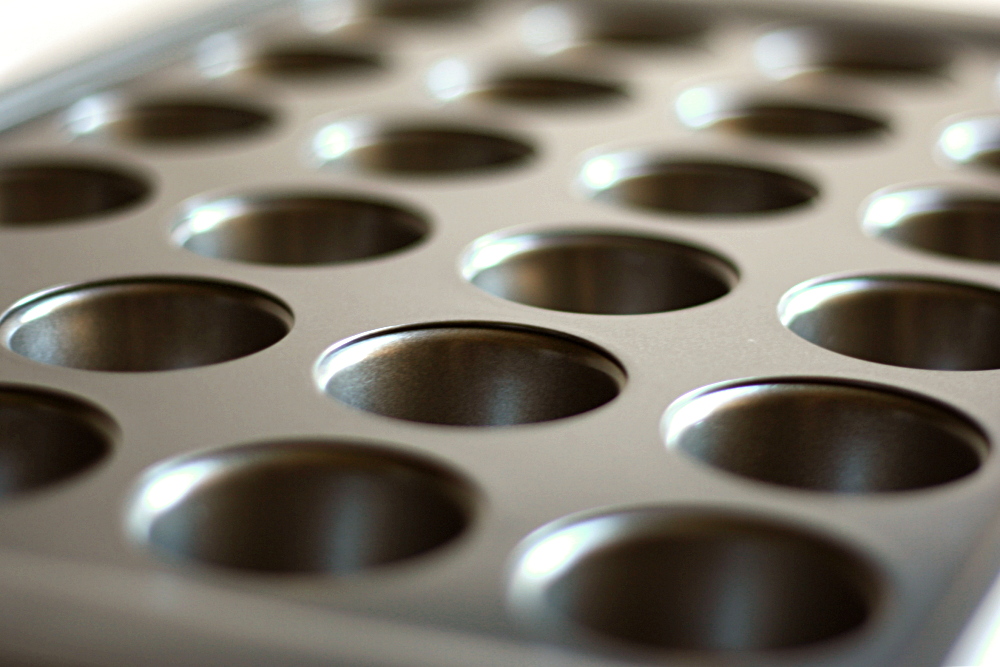
Due to an email mishap, I found out that I was going to get a mini muffin pan for Christmas a few weeks early. It was great; I had lots of time to get excited about it and think about exactly what I wanted its first use to be. Bite-sized cheesecake!
copy-of-img_10461

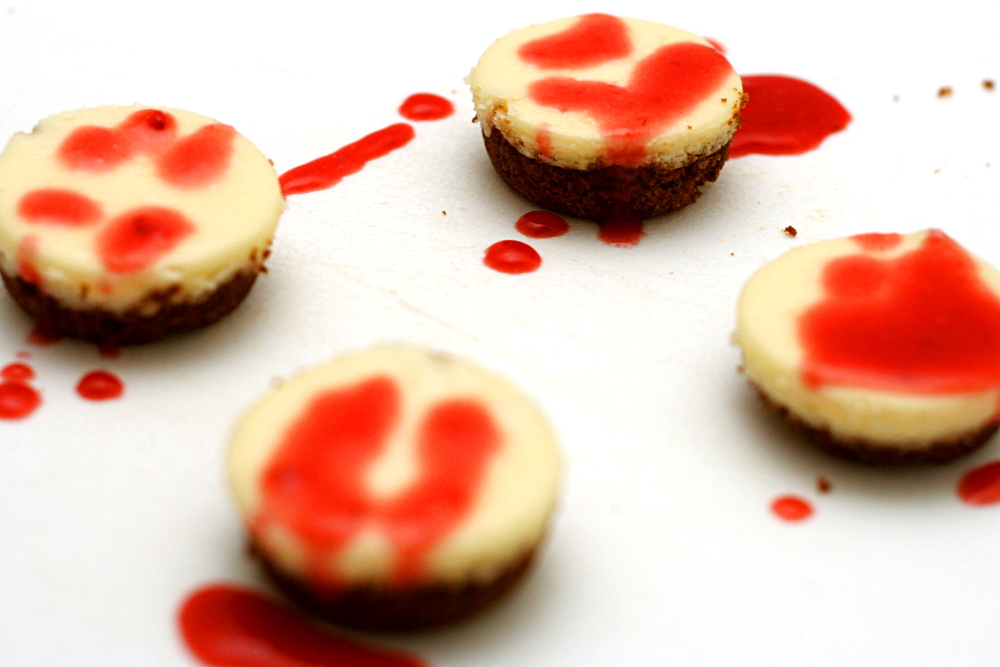
By the way, bite-sized cheesecake is a very bad idea. Even though post-Christmas detox is otherwise on in full force, I was hopeless in the face of these tiny cheesecakes. I ate one to make sure they were cooked through, then one when they had cooled a bit to make sure the consistency was right, then two that broke when I took them out of the pan, then one when I was taking the pictures, and one more after adding the strawberry sauce. Then two for dessert. <burp>
copy-of-img_1058a

One thing I really like about Dorie’s cheesecake recipes is her initial step of beating the cream cheese alone, before even the sugar is added. What a great way to ensure that there are no lumps in the final batter. I’ve started doing this with all cheesecakes.
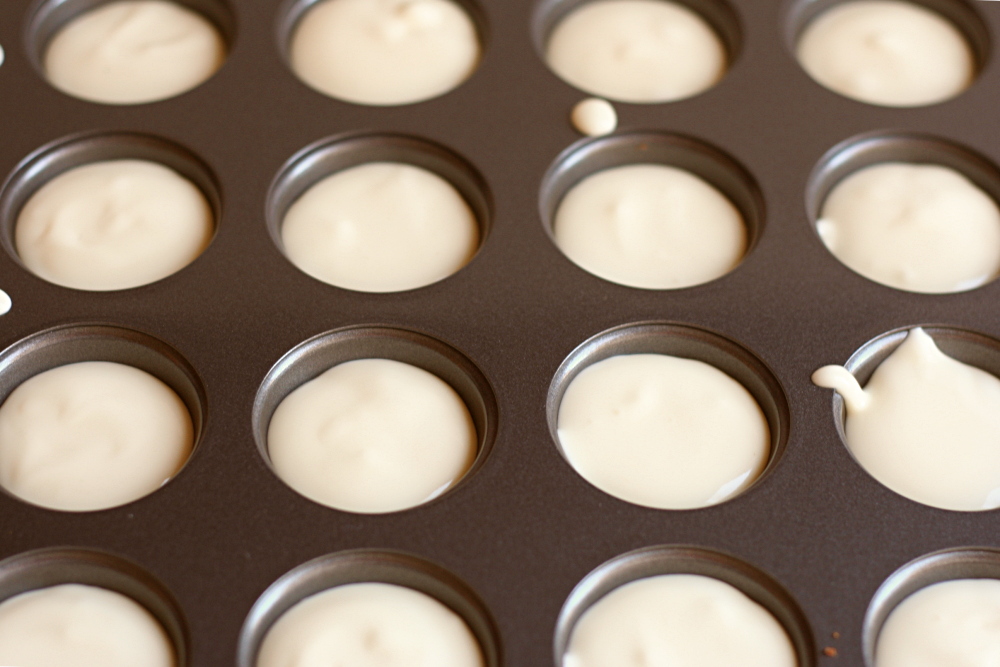
copy-of-img_1062

The recipe calls for either heavy cream or sour cream to be added to the batter. I used sour cream. I’m far from an expert, but in my experience, heavy cream dulls and dilutes the cream cheese flavor, while sour cream enhances it.

The cheesecake was really really good (obviously,  if my uncontrollable snacking is any indicator). It seems like almost everyone in Tuesdays with Dorie loved it. The texture was kind of light and fluffy, which I liked, and the taste was spot on – the cream cheese flavor is balanced nicely between tart and sweet.
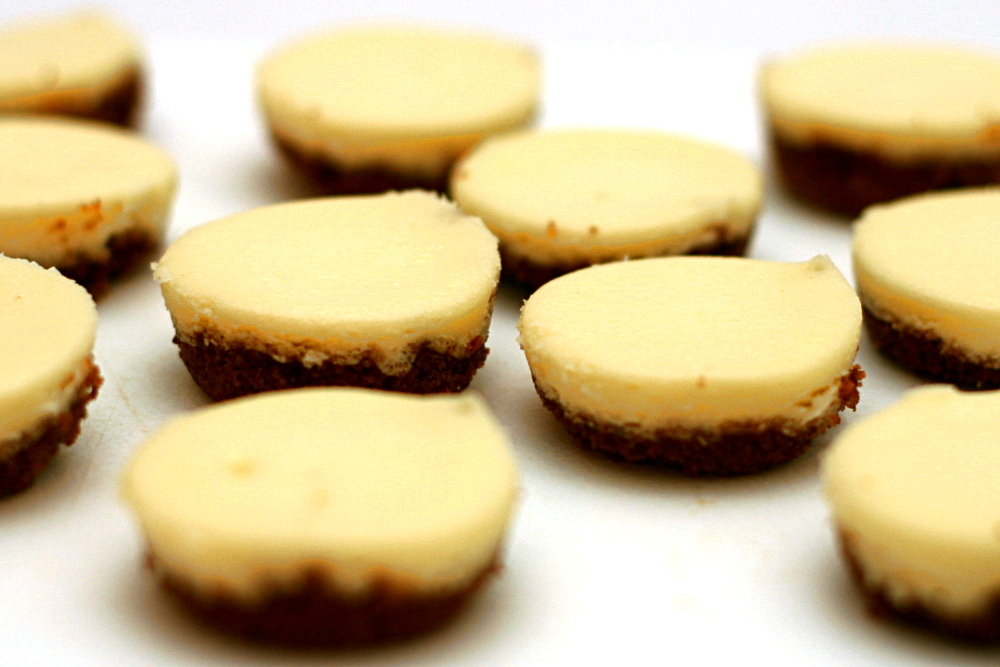
copy-of-img_1065

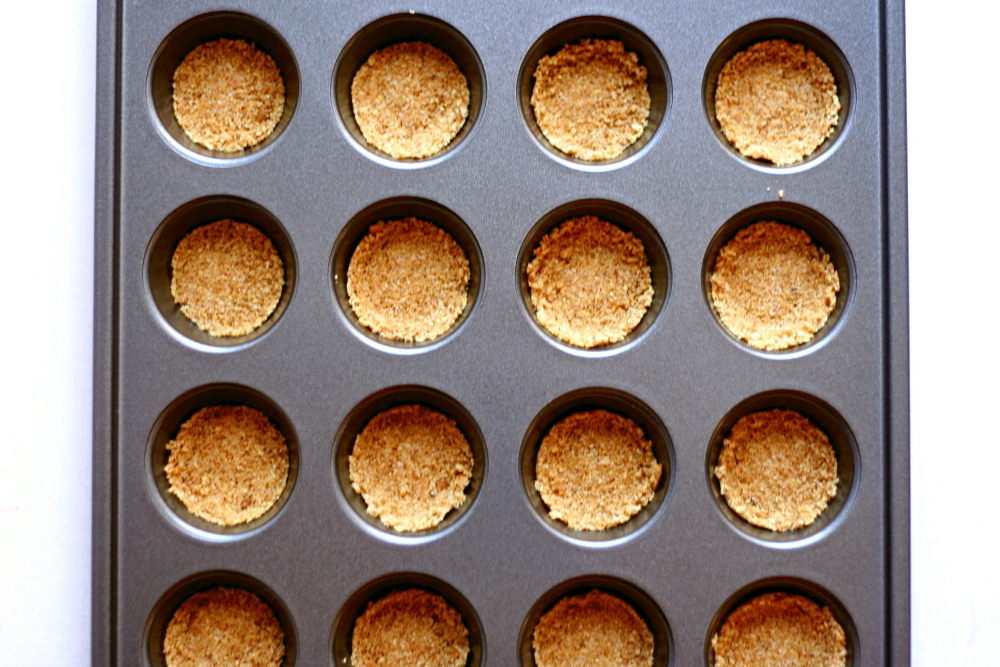
The recipe is posted on Anne’s website. For the minis, I used the same amount of crust ingredients, just pressing them into the muffin cups with the bottom of a small container. I made a fourth of the recipe, and I divided the cheesecake batter among 24 mini muffin cups, but this might be a little underfilled – you could probably fit the same amount of batter into just 18 cups. I baked the cheesecakes at 300 degrees (no water bath) for about 15 minutes, until they seemed fairly set. Then I left them in the oven, turned the oven off, and propped the door open. This seemed to keep them from sinking in the middle. I found it easiest to remove the cheesecakes from the pan when they were at room temperature, although last time I tried something similar, freezing them seemed to work too. When they were chilled from the refrigerator, they clung to the pan and broke apart when I tried to remove them.
copy-of-img_1067

vanilla bean caramels

copy-of-img_0583

This was the caramel recipe that accompanied last month’s Daring Baker cake. I had no intention of making it, especially since I just barely got the cake made by the posting date. But then it seemed like everyone who made the caramels was raving about them, and I had never actually made caramels before, so I added them to my list of candy to make.

copy-of-img_0556

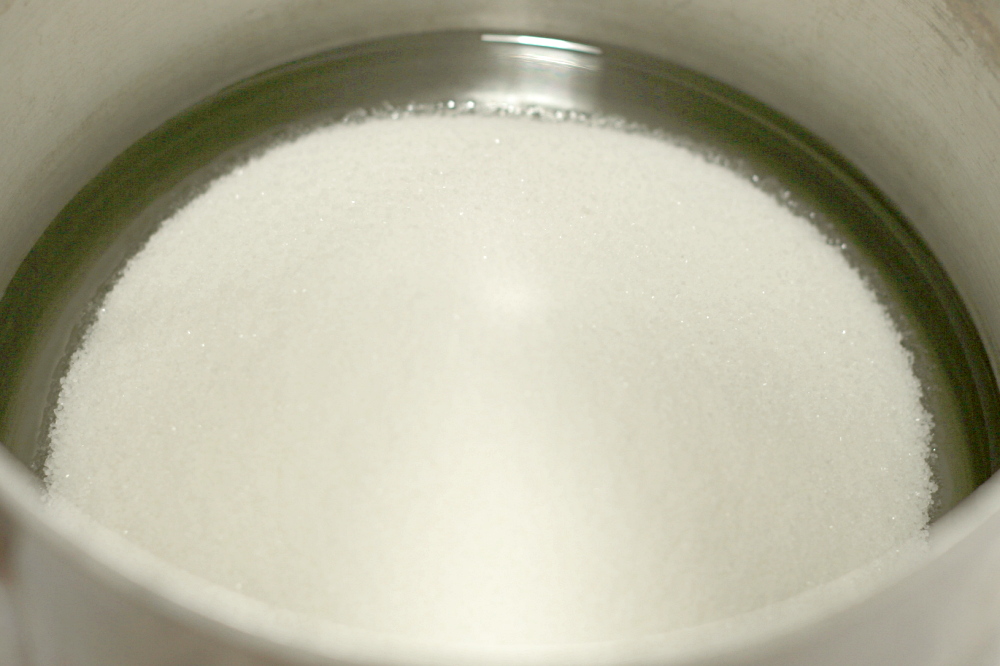
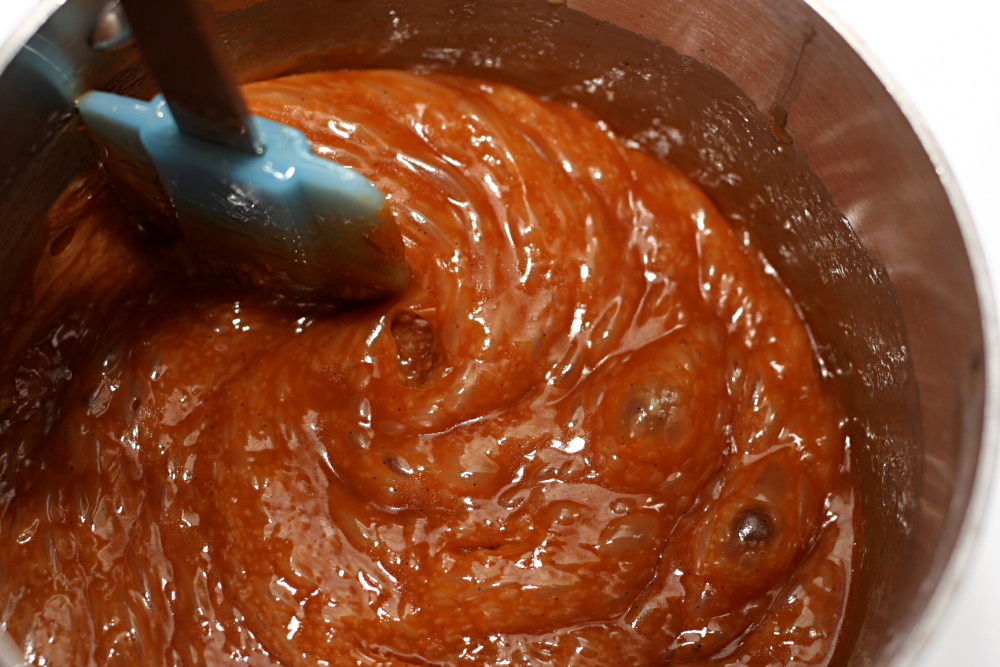
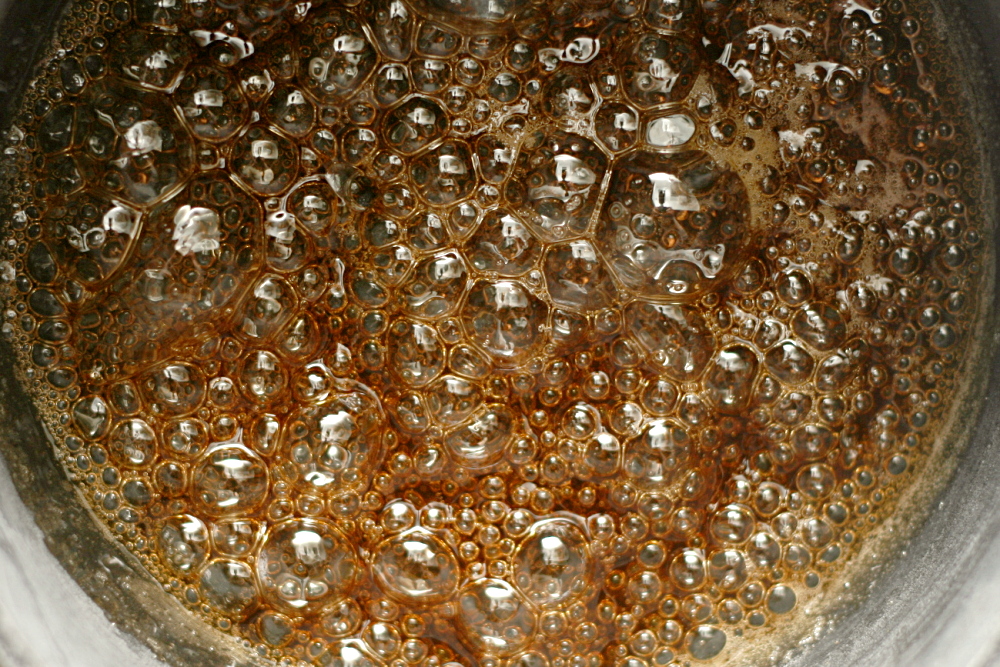
None of the candy recipes I made last week were particularly difficult or time-consuming, including this one, but on the other hand, the brittle is the only one that I would actually call easy. For the caramels, sugar and corn syrup are mixed and heated, then cream is added and the mixture is cooked some more.

copy-of-img_0560

One problem I had is that it took far longer than I expected for the caramel to reach the desired temperature after the cream was added. This wasn’t detrimental to the outcome, but it certainly would have been nice to have some guidelines in the recipe.

copy-of-img_0580

My other issue was that the caramels are chewier than I’d like. I took the mixture off the heat at 263F. The recipe recommends 260F for soft caramels, but I’m not sure even that’s as soft as I want – I’m thinking something between 250-260F might give me the texture I’m looking for, but it’s hard to say since this is my first time making caramels.

copy-of-img_0608

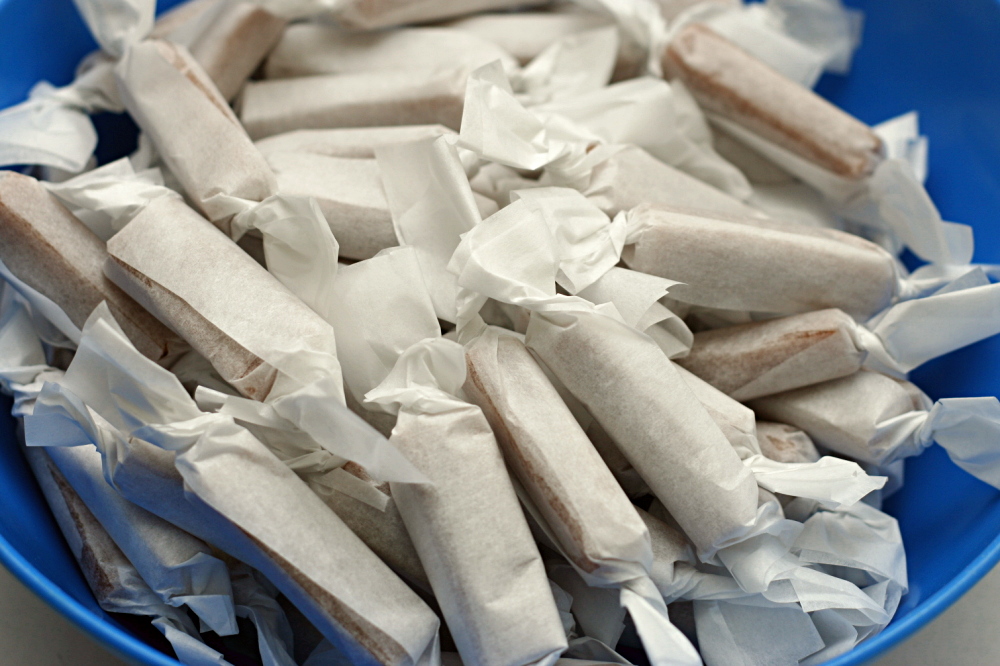
My absolute least favorite part of the recipe was this seemingly innocent step: “Wrap each caramel individually in wax paper or cellophane.” Oh so tedious.

copy-of-img_0615

But worth it in the end. The caramels tasted very good. Rich but not cloyingly sweet. Of all the candy I sent to my family for Christmas, this is the only one I’m confident that everyone will like.

copy-of-img_0637

Golden Vanilla Bean Caramels (adapted from Alice Medrich’s Pure Dessert)

Makes 80 1-inch caramels

Ingredients
1 cup light syrup
2 cups sugar
3/8 teaspoon fine sea salt
2 cups heavy cream
1½ teaspoons pure ground vanilla beans, purchased or ground in a coffee or spice grinders, or 1 tablespoon plus 1 teaspoon pure vanilla extract
3 tablespoons unsalted butter, cut into chunks, softened

1. Line the bottom and sides of a 9-inch square baking pan with aluminum foil and grease the foil. Combine the light corn syrup, sugar, and salt in a heavy 3-quart saucepan and cook over medium heat, stirring with a silicone spatula or wooden spoon, until the mixture begins to simmer around the edges. Wash the sugar and syrup from the sides of the pan with a pastry brush dipped in water. Cover and cook for about 3 minutes. (Meanwhile, rinse the spatula or spoon before using it again later.) Uncover the pan and wash down the sides once more. Attach a candy thermometer to the pan, without letting it touch the bottom of the pan, and cook, uncovered (without stirring) until the mixture reaches 305°F. Meanwhile, combine the cream and ground vanilla beans (not the extract) in a small saucepan and heat until tiny bubbles form around the edges of the pan. Turn off the heat and cover the pan to keep the cream hot.

2. When the sugar mixture reaches 305°F, turn off the heat and stir in the butter chunks. Gradually stir in the hot cream; it will bubble up and steam dramatically, so be careful. Turn the burner back on and adjust it so that the mixture boils energetically but not violently. Stir until any thickened syrup at the bottom of the pan is dissolved and the mixture is smooth. Continue to cook, stirring occasionally, to about 245°F. Then cook, stirring constantly, to 260F for soft, chewy caramels or 265F for firmer chewy caramels.

3. Remove the pan from the heat and stir in the vanilla extract, if using. Pour the caramel into the lined pan. Let set for 4 to 5 hours, or overnight until firm.

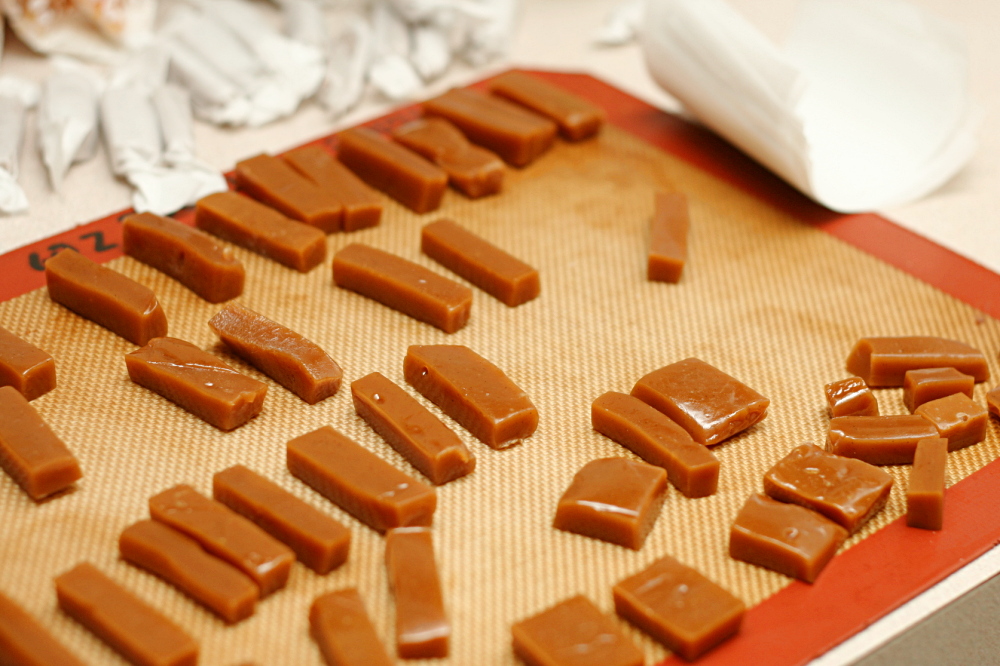
4. Lift the pan liner from the pan and invert the sheet of caramel onto a sheet of parchment paper. Peel off the liner. Cut the caramels with an oiled knife. Wrap each caramel individually in wax paper or cellophane.

copy-of-img_0621

butterscotch pudding

copy-of-img_0784

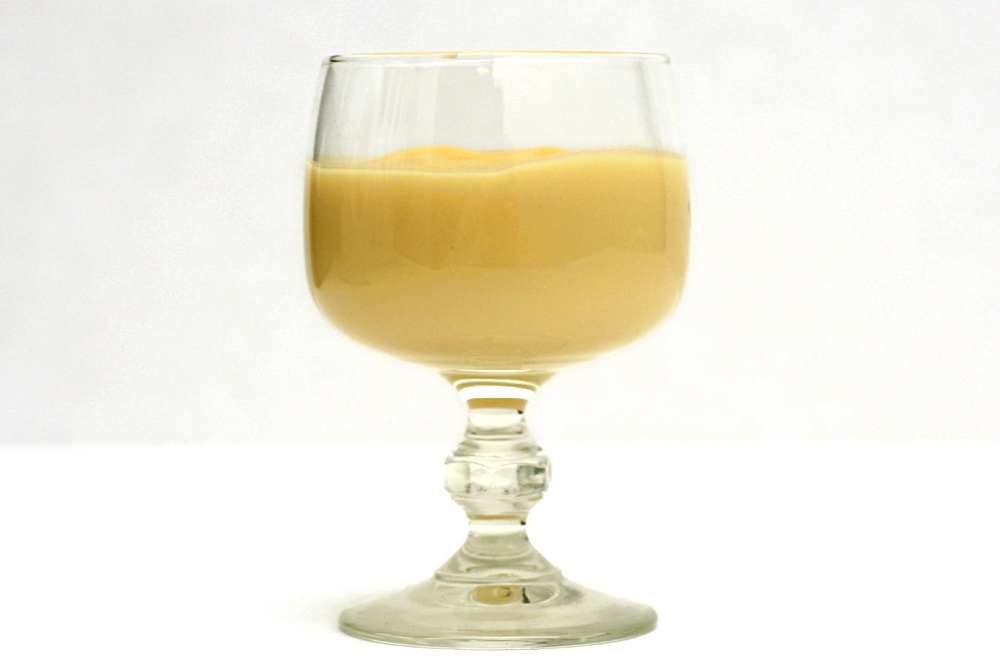
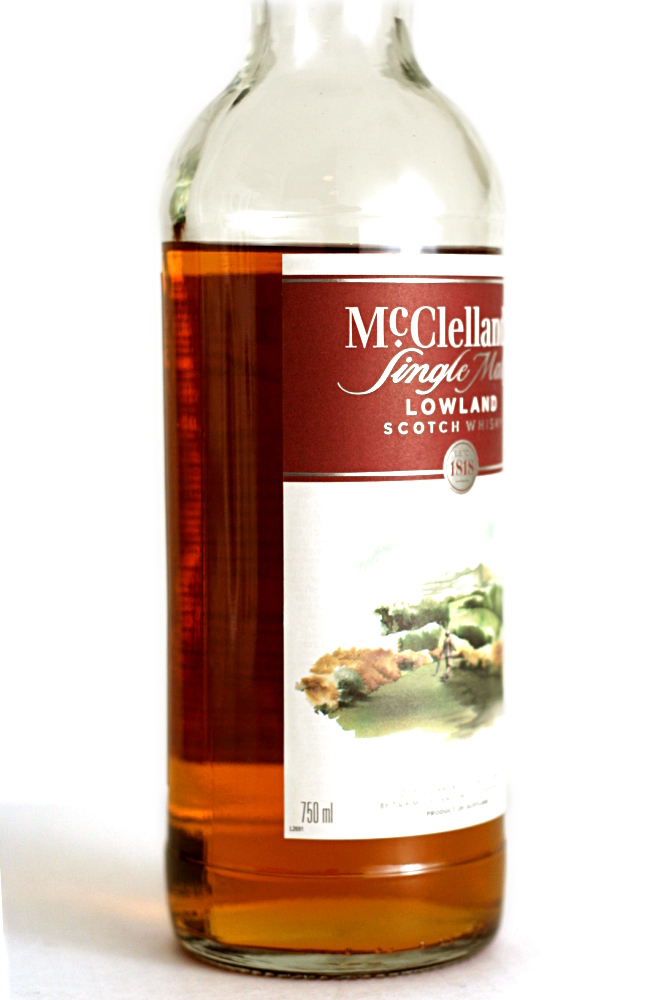
A few years ago, a group of my friends got together and did a whiskey tasting. We compared a few different whiskeys of varying quality. At the time, they all tasted really strong to me, but I think that was the turning point of when I started to actually like whiskey. And butterscotch, which, by the way, is traditionally brown sugar and butter and has nothing to do with whiskey, tends to taste a little too sweet for me, so I was thinking that adding some whiskey would be perfect to cut that.

copy-of-img_0692

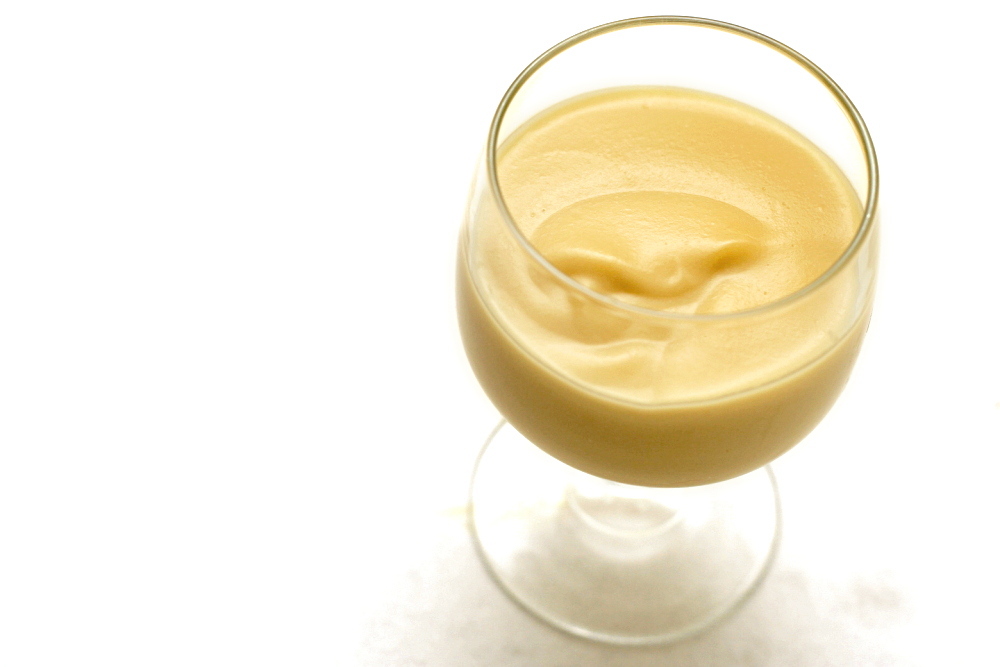
Of course I was glad that this week’s recipe was so simple, since, like everyone else I think, I’m swamped by Christmas right now. It’s a pretty standard pudding recipe – heat the dairy, add it to the egg yolks, heat everything together until it thickens. Dorie likes to use a food processor for pudding to get the smoothest texture, but I was way too lazy for that, so I did my best with a whisk.

copy-of-img_0677

The pudding was very good. It was definitely smooth enough without the food processor. If my fine-mesh strainer hadn’t been dirty, I would have strained the pudding through that, but it worked out nicely even without that step. It was indeed very sweet. The alcohol flavor was pretty strong on the first bite, but it seemed to blend with the other flavors as I kept eating. Overall, this was very good pudding, and I definitely prefer butterscotch when it’s accompanied by whiskey.

The recipe is available on Donna’s site.  I think I’ll cut the amount of scotch in half next time, just to bypass the initial spoonful of overwhelming alcohol flavor.

copy-of-img_0783

pumpkin seed brittle

copy-of-img_0695

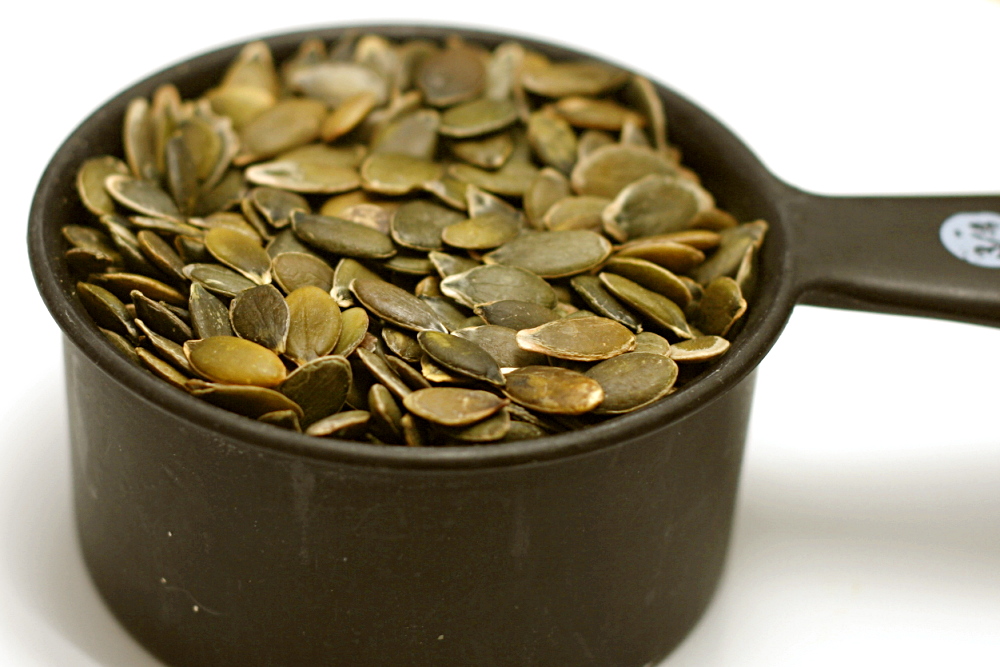
This recipe almost didn’t get made. It was the last one I got to on my day of candy making, and I tried to talk myself out of it. I was tired and there was already plenty of candy around. But I’m not good at changing my plans once they’re set, plus I didn’t know what else to do with all the pumpkin seeds.

copy-of-img_0575

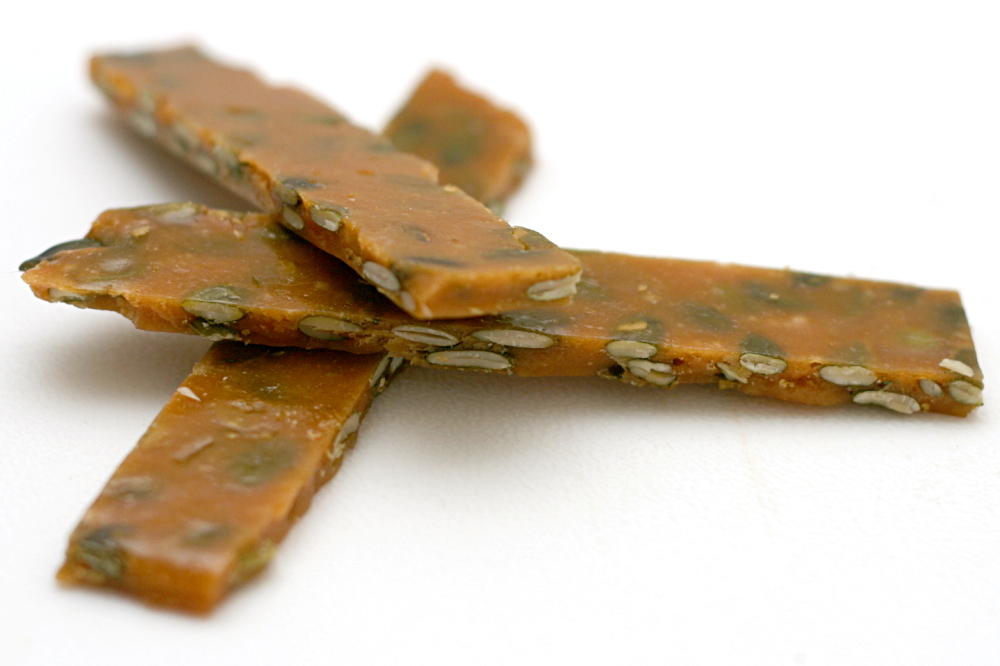
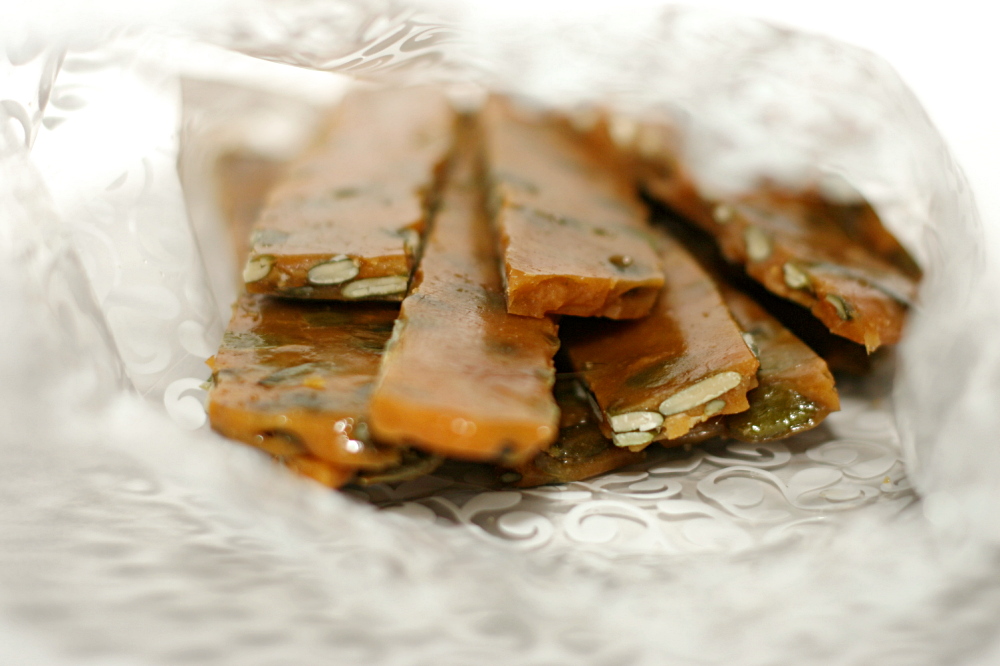
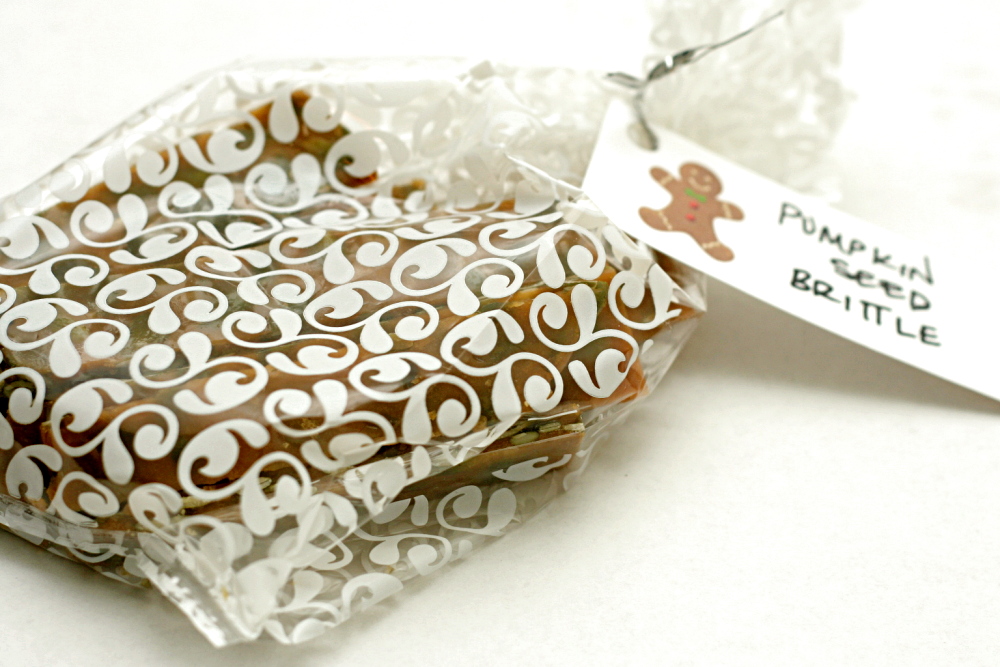
And you know what, I’m glad I made it. This was definitely the easiest of the recipes I made last week. A few ingredients are mixed and then cooked, some other ingredients are added, and then you’re basically done – just pour the mixture out, flatten it, and break off pieces.

copy-of-img_0574

There are a couple of points where my OCDness needed some more instructions. One is the wide range of salt – between 2 and 4.5 teaspoons? And that just depends on whether you use salted or unsalted butter? I have a hard time believing that 1 stick of salted butter has 2.5 teaspoons of salt. I think I used 3 teaspoons (1 tablespoon) salt with unsalted butter, and the brittle is on the salty side, but in a good way. I think it’s perfect.

copy-of-img_0576

The other issue was how long to cook it. Deb blithely claims that no candy thermometer is necessary – just cook it until it’s medium golden! Um. Yeah. I need to know a temperature. Fortunately, one of her commenters mentioned cooking it to 290 degrees or a little above that, and that worked out perfectly for me.

copy-of-img_0674

The brittle was very good – sweet, salty, crackly but easy to bite through. All that for just a few minutes of effort. I wish all the candy I made last week had been so easy.

copy-of-img_0624

Pepita Brittle (from Smitten Kitchen, who has all sorts of other sources for it)

Vegetable-oil spray or 1 teaspoon butter, for lining the tray
2 cups sugar
8 tablespoons (1 stick) salted or unsalted butter
1/3 cup light corn syrup
½ teaspoon baking soda
2 teaspoons to 1½ tablespoons coarse or flaky sea salt (use less if you’re using salted butter)
1½ cups of raw, unroasted pepitas (they toast in the syrup) or 12 ounces (¾ pound) roasted, salted nuts, not chopped

1. Line a 12 x 16 x ½-inch sheet baking pan with parchment paper and lightly coat it with vegetable spray or butter.

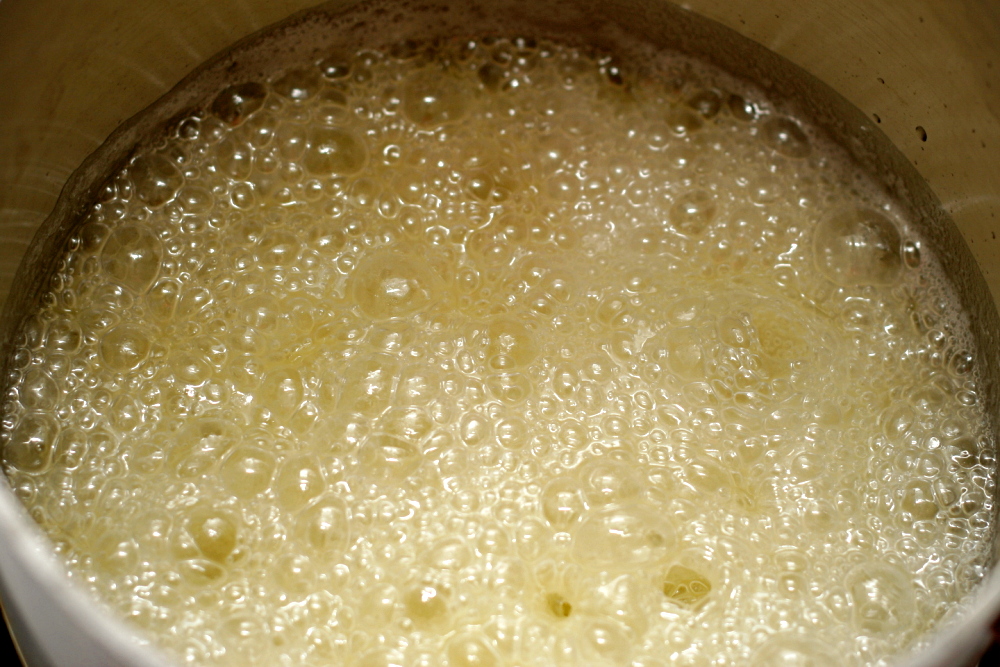
2. Put the sugar, butter, corn syrup, and ½ cup plus 2 tablespoons water to a large saucepan, and stir together until all the sugar is wet. Cook over high medium-high, but watch it carefully as it will foam up quite a bit and you might need to dial back the heat to medium until it begins to thicken.

3. Once the mixture turns a medium golden (takes at least 10 minutes) immediately remove from the heat, and carefully whisk in the baking soda followed by the salt (taking care, as the caramel will rise in the pan and bubble some more). Switch to a wooden or metal spoon, and fold in the pepitas or nuts.

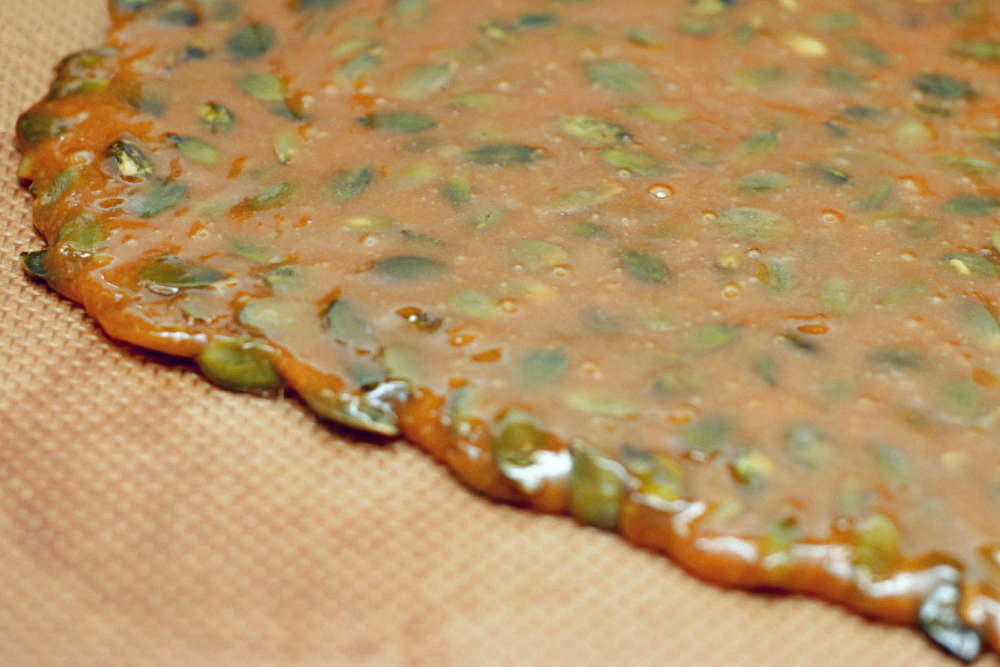
4. Quickly pour the mixture onto the sheet pan, and spread it out over the pan using the back of the spoon before it starts to harden. Alternately, you can slide the parchment paper out of the baking pan and onto a counter, cover it with another sheet, and use a rolling pin, pressing down hard, to roll it out as flat and thin as you would like.

5. At this point you can either let it cool completely (pulling off the top sheet of parchment, if you use the rolling pin technique) and break it into bite-size pieces with the back of a knife or other blunt object or, while it is still fairly hot and pliable, cut it into a shape of your choice and let the pieces cool, separated on parchment paper. The brittle can be stored at room temperature, in an airtight container, for up to two weeks.

copy-of-img_0693

white chocolate lemon truffles

copy-of-img_0672

A few years ago, I spent a couple of weeks working in Davis, California. I loved Davis. I stayed in a bed and breakfast near the university, right near Davis’ cute little downtown. There were all kinds of great restaurants nearby, including Ciocolat, a dessert café. I made a point to stop by there almost every day. And with minimal guilt, because I spent several hours every day walking around UC-Davis’s beautiful arboretum.

copy-of-img_0564

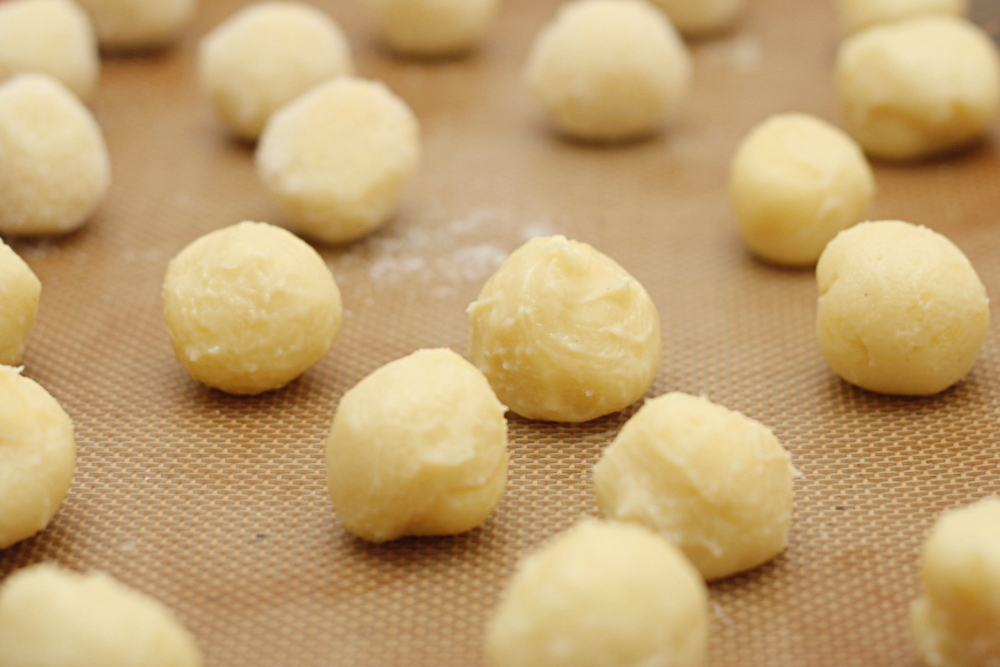
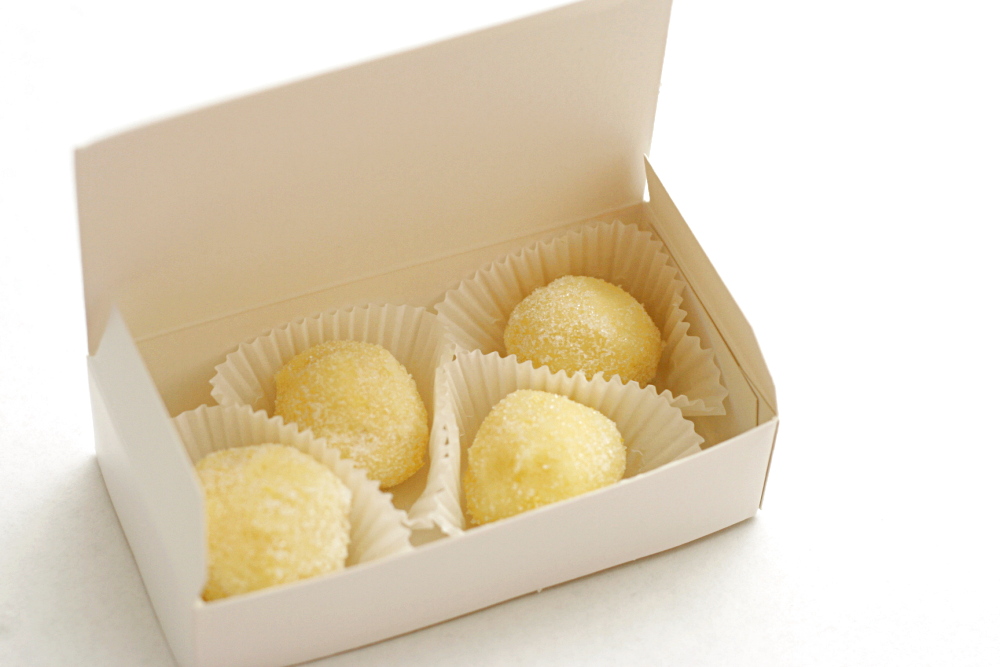
Ciocolat seems to specialize in truffles, which aren’t really my thing. I’d much rather eat chocolate once it’s mixed with eggs and butter and some flour and then baked. But I did love their lemon truffles. Smooth, creamy, not too sweet, and intensely lemony, I’ve been wanting to re-create them since, but I haven’t been able to find a recipe that seemed similar.

copy-of-img_0565

The only recipes I’ve found for lemon truffles include white chocolate, which I don’t remember the Ciocolat’s lemon truffle having. It recently occurred to me to look at their menu online, where I saw that it did include white chocolate. Perhaps a white chocolate lemon truffle recipe was exactly what I needed then.

copy-of-img_0571

The one I tried wasn’t difficult or too time-consuming. The only challenge is working with the white chocolate. I always seem to have problems with it, even when I follow the basic white chocolate rules of using a good brand (Callebaut in this case) and not overheating it. I took the white chocolate off of the heat when it was about half melted and stirred until the rest melted, and it still showed signs of breaking.

copy-of-img_0586

It seemed to work out in the end though. The only problem is that they’re not near as lemony as I’d like. The dominant flavor is definitely white chocolate. I’m not sure how to get more lemon flavor in them. Steep the zest in the cream longer? Use more zest? I considered adding more lemon juice, but I’m worried that would affect the texture too much. Substitute butter for some of the white chocolate? I’m thinking there might be some relevant tricks in Dorie Greenspan’s Lemon Cream Tart recipe, but I don’t have any specific ideas.

copy-of-img_0590

One year ago: Risotto with Peas

White Chocolate Lemon Truffles (adapted from Global Gourmet)

Makes 2-3 dozen

⅓ cup plus 1 tablespoon heavy cream
grated zest of 1 lemon
9 ounces best-quality white chocolate, very finely chopped
pinch salt
4 tablespoons (½ stick) unsalted butter, cut into ¼-inch cubes
2 teaspoons lemon juice
½ cup granulated sugar

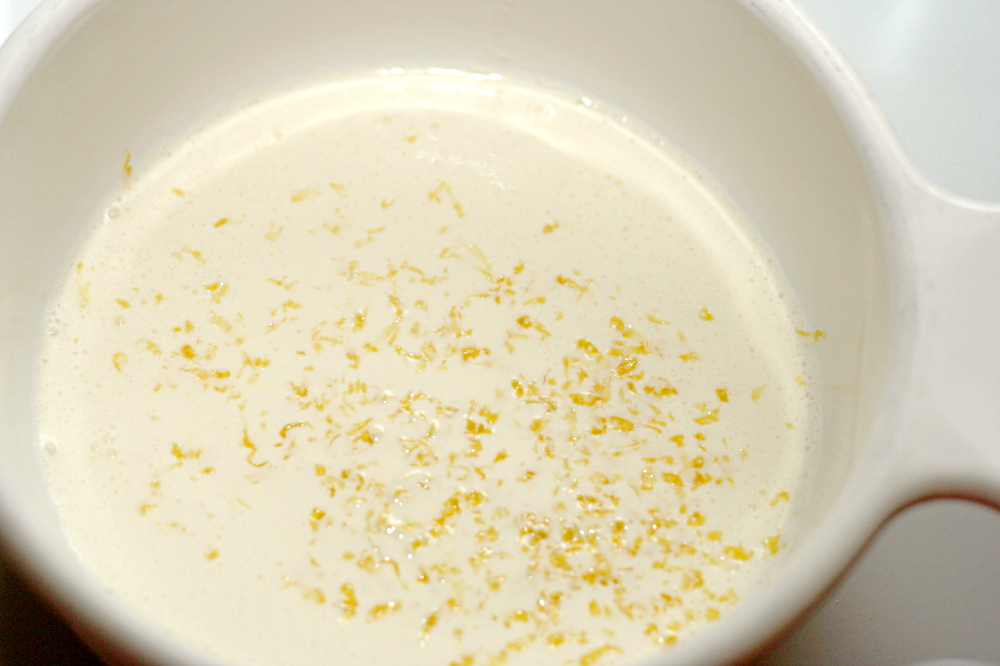
1. In a small, heavy, nonaluminum saucepan, combine heavy cream and lemon zest. Heat on medium heat until cream comes to a simmer, stirring occasionally. Remove from heat. Cover tightly and allow to stand 20 minutes at room temperature.

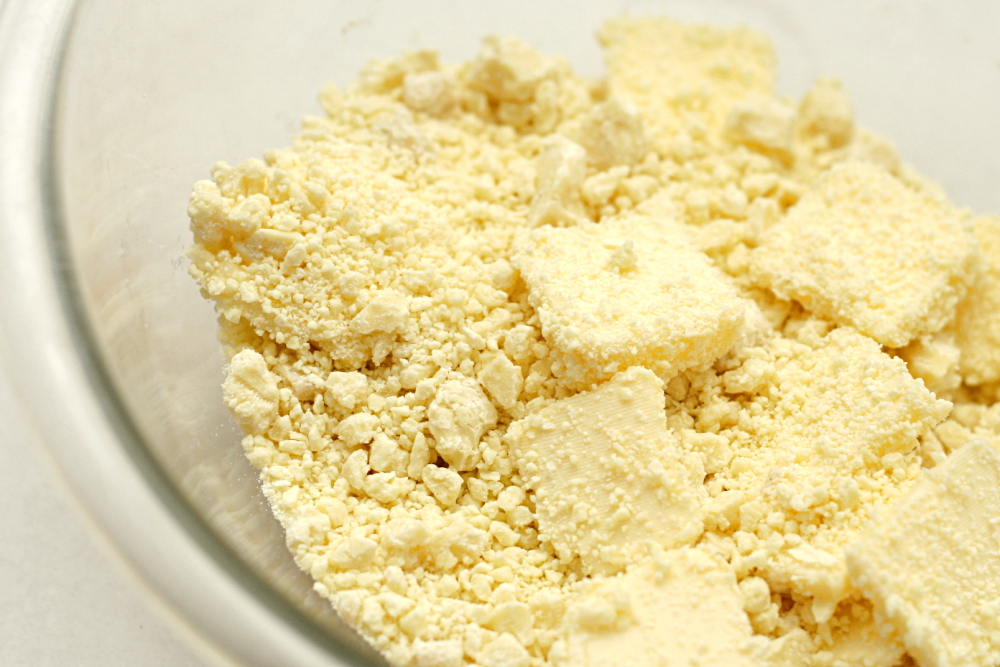
2. Meanwhile, combine white chocolate, salt, and butter in a medium heatproof bowl. When cream has stood 20 minutes, remove cover. Reheat the cream mixture over medium heat, stirring occasionally, until it reaches a simmer again. Strain cream through a fine-meshed strainer into the white chocolate mixture. Press down on the lemon zest left in the strainer to extract all of the liquid from it.

3. Melt the chocolate mixture in a large heatproof bowl set over a saucepan of almost-simmering water, stirring frequently, until just it’s just over half melted. Remove it from the heat and the hot water. Continue stirring until the mixture is completely melted and smooth. (Note: White chocolate, even of excellent quality, can be stubborn about melting. If there are small lumps of white chocolate in your truffle base, transfer the truffle base to a food processor fitted with a steel blade; process at high speed just until smooth.) Stir in lemon juice. Chill at least 4 hours.

4. Using a small cookie scoop or a spoon, form balls of about 1 inch diameter from the cold truffle base. Roll in granulated sugar until well-coated. Continue until all base is used.

5. Store truffles airtight in refrigerator for up to one week; freeze for longer storage. To serve, remove from refrigerator 15 to 20 minutes prior to serving time.

copy-of-img_0661a

buckeyes

copy-of-img_0634

To thank our wedding party, Dave and I gave them gift bags of foods from various places where we’d lived. Among other treats, there was wine from the Finger Lakes region, where we were living at the time and where we got married, salsa from New Mexico, where I grew up, and there was supposed to be buckeyes, representing Ohio, where Dave is from. I made the buckeyes a week or so before the wedding, packaged them into treat boxes, and painstakingly wrapped each box with a ribbon. But I stored them incorrectly, and when Dave and I were getting ready for the rehearsal dinner, where we gave the gifts, we found that they were…unfit to eat. Ugh, that sucked.

copy-of-img_0534a

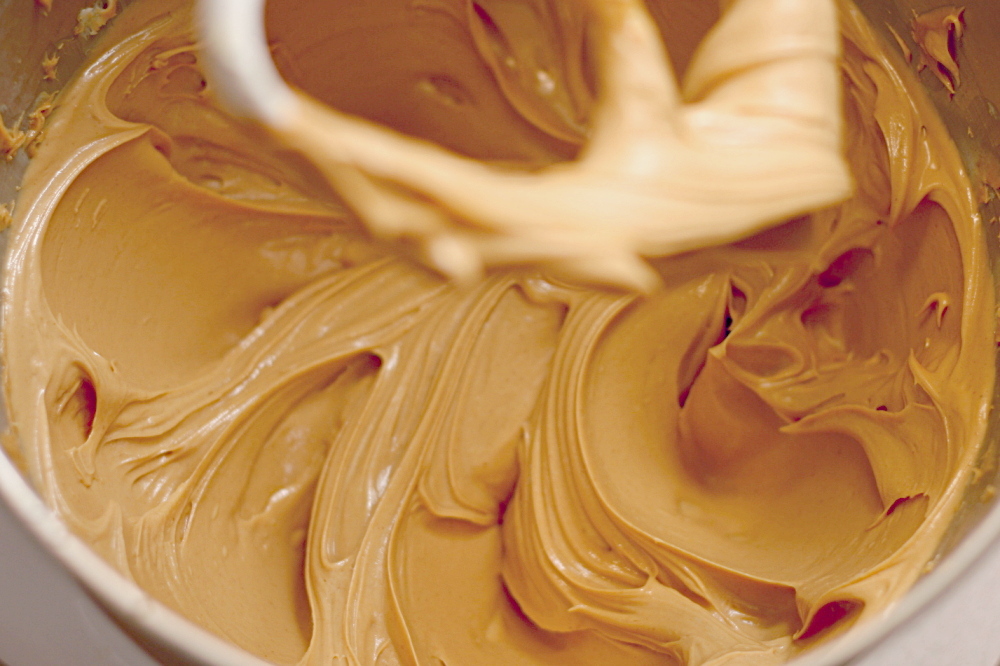
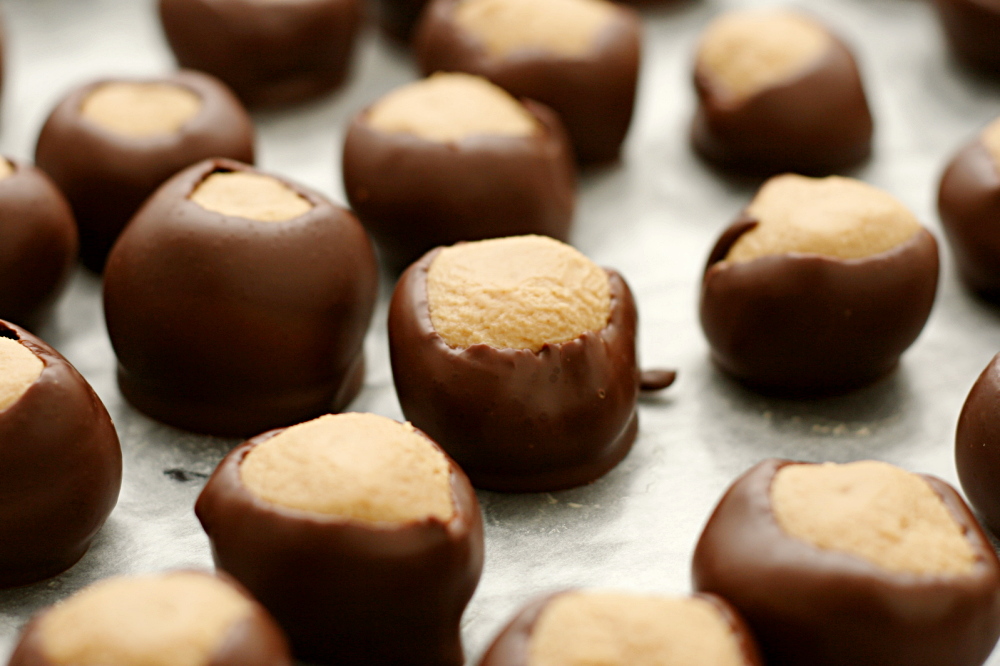
The buckeyes were a pain in the first place, because there was apparently a typo in the recipe I used. Buckeyes are simply peanut butter, butter, powdered sugar, and vanilla, mixed together, rolled into balls, then dipped in chocolate. Unfortunately, the recipe I used calls for twice as much powdered sugar as it should. As a result, I had to scramble and add more peanut butter and butter, and I had twice as many buckeyes as I had intended.

copy-of-img_0535

This time went more smoothly, because I knew how much powdered sugar to add. Actually, it was surprisingly easy and only a little bit tedious. The recipe still makes a good amount of buckeyes, 4 or 5 dozen, depending on how big you roll them.

copy-of-img_0539

These are certainly the most decadent of the candy recipes I made this week. I’ve always been a fan of the peanut butter and chocolate combination, so I find them a little difficult to resist. Hopefully everybody else does too, so I don’t eat them all myself!

copy-of-img_0599

Buckeyes

Makes 4 to 5 dozen

8 tablespoons (1 stick) unsalted butter, softened
1 (16-ounce) jar creamy peanut butter
1 tablespoon vanilla extract
3 cups (12 ounces) powdered sugar
16 ounces seimisweet chocolate, chopped

1. In a standing mixer fitted with paddle attachment, beat butter on medium-low speed until creamy. Add peanut butter and continue mixing until fully blended. Blend in vanilla. With the mixer on low speed, gradually add the powdered sugar. Mix on medium-low speed until fully blended. It should have the texture of very thick cookie dough.

2. Roll the peanut butter mixture into 1-inch balls, and place the balls on a parchment- or wax paper-lined baking sheet. Push a toothpick into each ball. Put the peanut butter balls in the freezer and chill until hard, at least 4 hours.

3. Melt the chocolate in a large heatproof bowl set over a saucepan of almost-simmering water, stirring occasionally, until smooth. Using the toothpick as a handle, dip each peanut butter ball in chocolate, leaving a section of peanut butter uncoated. Place chocolate covered balls on parchment or wax paper and remove the toothpick. Once the peanut butter has softened, you can use a finger to smooth over the hole from the toothpick.  Buckeyes can be stored, loosely covered, at room temperature for at least a week.

copy-of-img_0629

candied orange peel

copy-of-img_0648

I don’t usually do much baking around the holidays. I bake so much anyway, what would I possibly do with more treats? So I’m not sure what possessed me to make five types of candy (in one day!) this year. I’m blaming Jen and all of her flawless confections.

copy-of-img_0544

This candied orange peel is her recipe. I’ve made candied orange peel once before. It didn’t knock my socks off, and I kicked myself for not using Jen’s recipe.

copy-of-img_0552
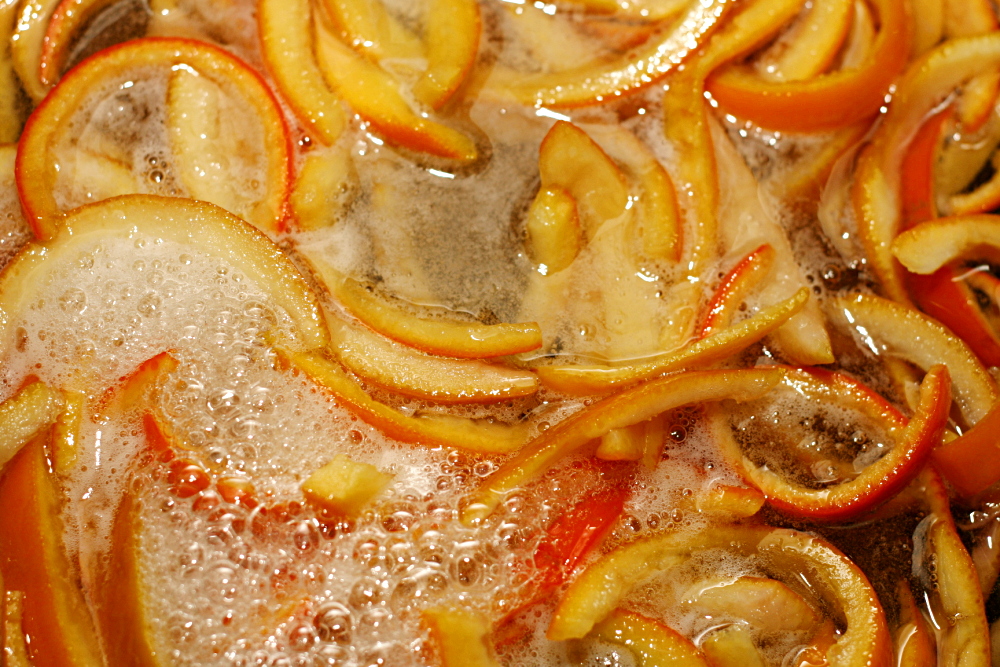
Candied orange peel, like most of the candy recipes I made yesterday, seems easy in theory but ends up involving a significant investment of time. (Or maybe it just seems that way when you wait until the last minute and have to make all of your candy recipes in one day.) Boiling the orange peel three times is no big deal, and simmering them in sugar syrup doesn’t take any effort. But juicing, cleaning, and slicing the oranges took more time and made a bigger mess than I had counted on.

copy-of-img_0553

I dipped about half of my orange peels in chocolate. The others I packaged into gift bags with some granulated sugar to (hopefully) keep them from sticking together.

copy-of-img_0595

I liked the peels far more than I was expecting. In fact, I thought at first that I was making them just for fun. I tried not to let it bother me than no one might actually eat them. But they might be my favorite of the candy recipes I made. I’m especially happy with the chocolate dipped ones. The bittersweet chocolate counters the sweetened peel so nicely. I think I’m going to go grab just one more…

copy-of-img_0600

Candied Orange (Citrus) Peel (slightly reworded from Use Real Butter)

4 oranges, peel of (or any thick skinned orange)
3 cups (21 ounces) sugar
1 cup water

1 cup (7 ounces) sugar for rolling
or
8 ounces chocolate for dipping

1. Cut the oranges in half across their equators and juice them. Cut each half in half again and take a spoon to scrape the pulp out, living a clean pith. You can remove some of the pith if you want, but it isn’t necessary because the candying process with remove (or at least overpower) the bitterness. Cut the peels into ⅛ to ¼ inch strips.

2. Place peels in a large saucepan and cover with cold water. Heat on high until water comes to a boil. Drain. Repeat heating and draining twice more.

3. Combine sugar and water in the saucepan and boil over high heat until temperature reaches 230F. Add the peels and reduce the heat to a simmer, about medium-low. Simmer until peels are translucent (30 minutes or longer).

4. Remove peels from syrup and roll in sugar if desired, and set on rack to dry for several hours. Once the peel is dry, you can dip in dark chocolate – shake off excess, and place on foil, wax paper, or baking sheet to dry. Store in a tupperware, or if not chocolate dipped, store in sugar.

copy-of-img_0623

sausage apple hash

copy-of-img_0473

I’m not the most creative cook ever. You may have noticed that most recipes on my blog are from some other source – very few are my own creations, and even those are pretty much just heavily adapted versions of ideas I got somewhere else. So when I am actually creative, I’m very proud of myself.

copy-of-img_0460

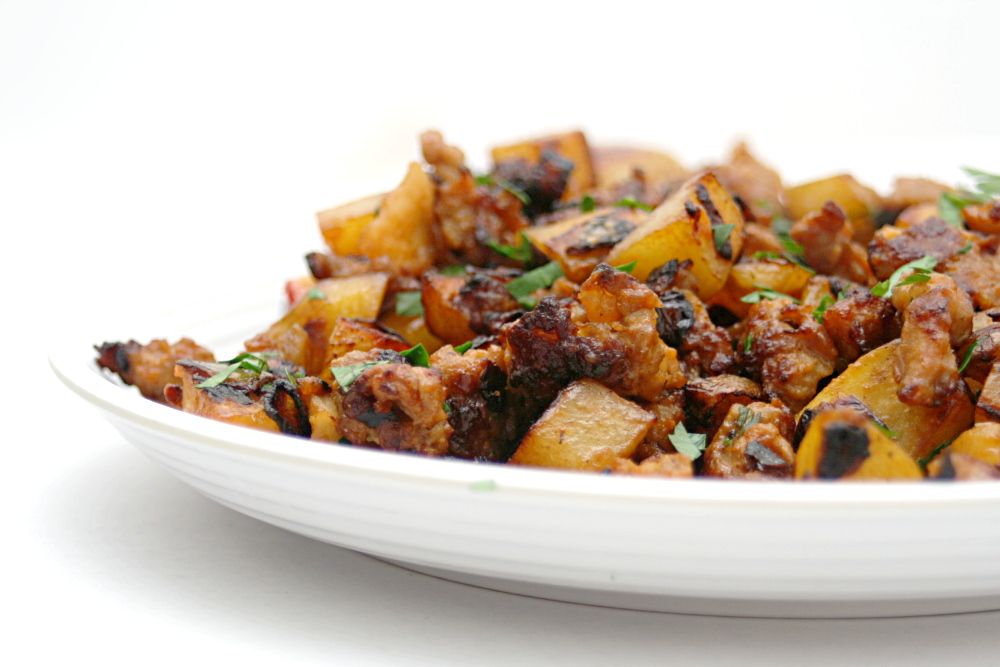
I saw this sausage apple hash on Mark’s blog last summer, and put off making it until apple season. I decided to add potatoes to Mark’s recipe – that would make this a complete meal, and potatoes just seemed to make good sense here. I was pleased with my mild creativity.

Oh, except when I read the recipe closer, I saw that it originally included potatoes, and Mark just left them out for convenience. Phooey. So much for it being my own idea.

copy-of-img_0465

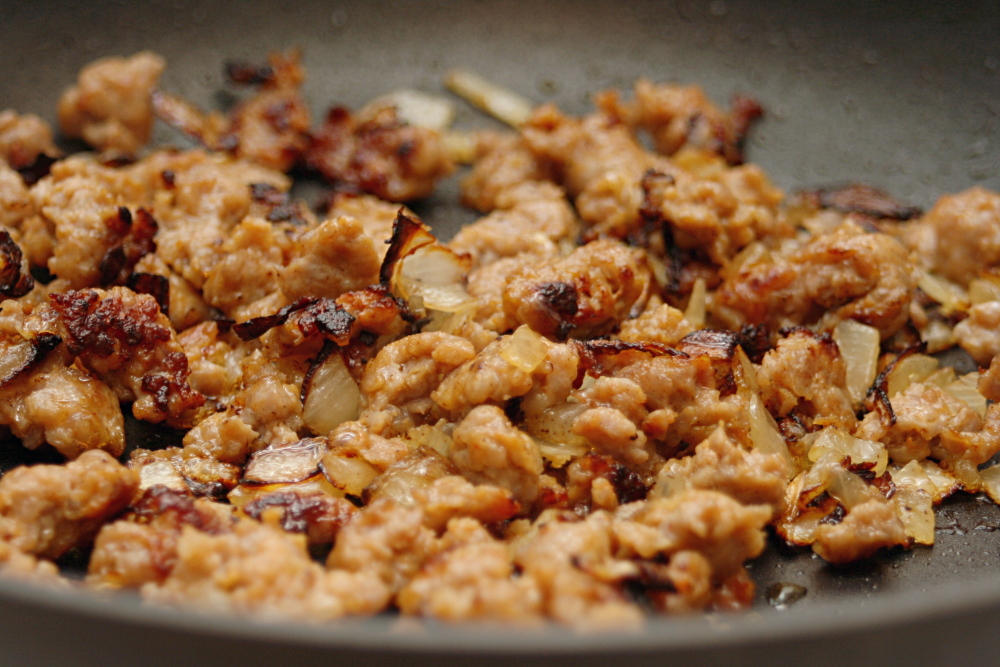
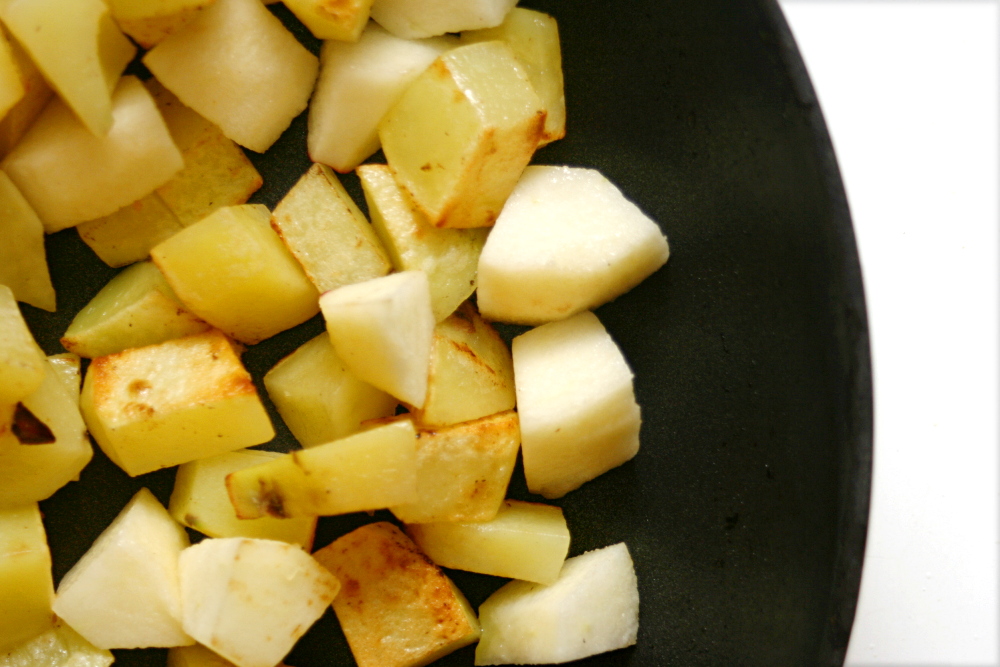
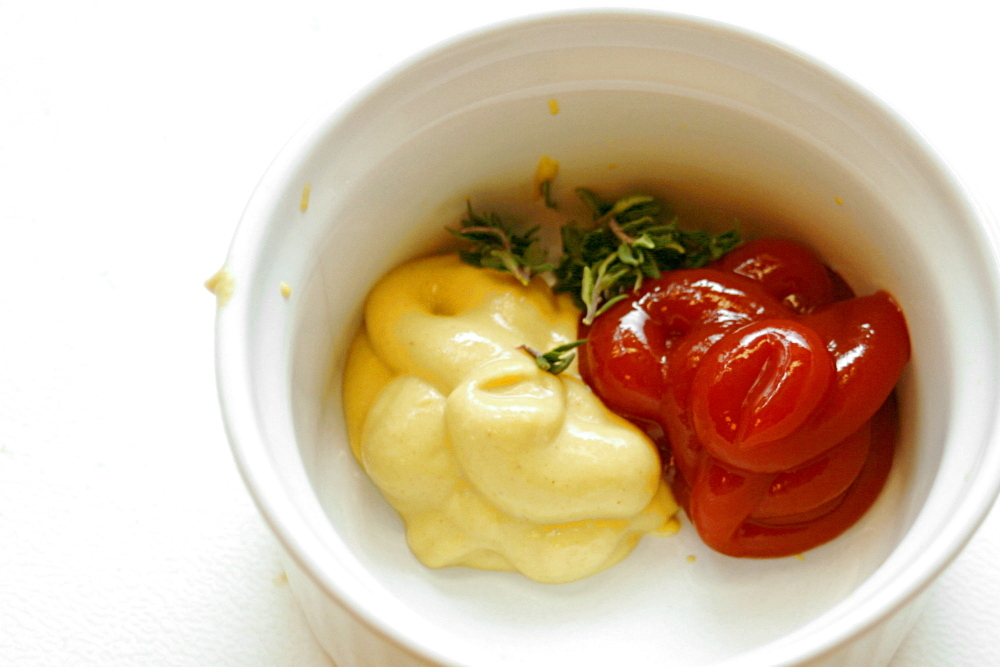
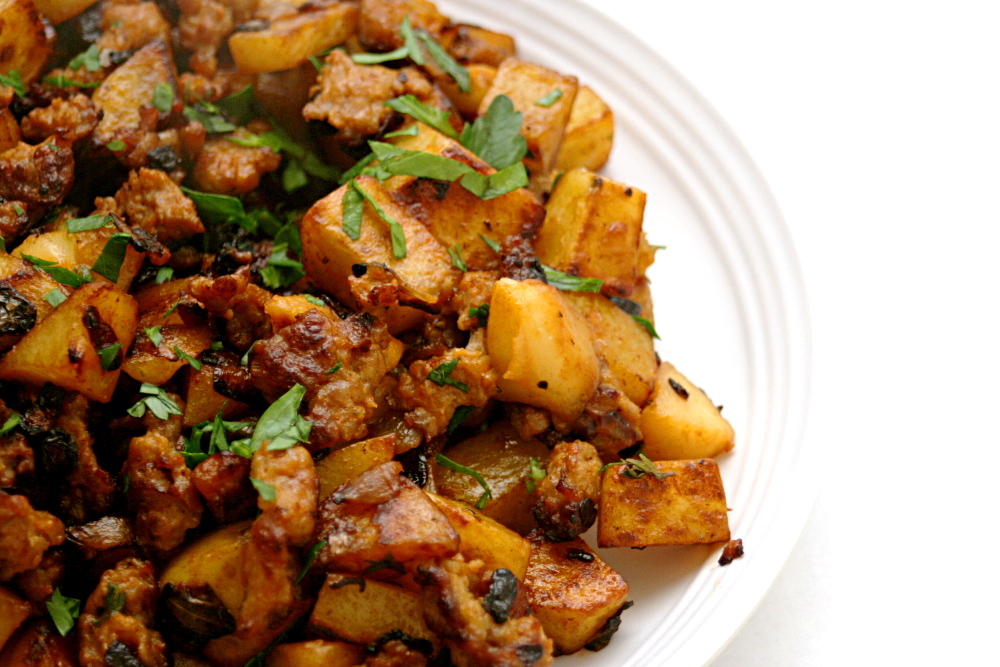
Oh well, at least I was right that potatoes were a good fit for this. The sausage and onion are sautéed together until browned (or until the onions are black if you’re me and Mark), then the potatoes and apples are sautéed until browned and cooked through. Then everything is mixed and a simple sauce of ketchup, mustard, and thyme is stirred in. I raised my eyebrows at the ketchup and mustard, but they gave the hash nice tang and spice.

copy-of-img_0468

The whole thing was very good, and pretty easy. I think there’s a lot of room for adaptations too, if you do happen to be the creative type. I was thinking that squash would be a nice addition, or maybe a poached egg served on top.  Or bacon instead of sausage.  Things to think about for next time.

copy-of-img_0472

One year ago: Lemon Squares

Sausage and Apple Hash (from Mark’s No Special Effects)

2 tablespoons extra-virgin olive oil
1 large yellow onion, chopped
1 pound Italian sausage (bulk, or links with casings removed)
1½ pounds russet potatoes, cubed
1 large apple, such as Rome or Braeburn, peeled and cut into 1/2-inch dice
2 tablespoons tomato ketchup
2 tablespoon Dijon mustard
2 tablespoons water
½ teaspoon dried thyme
2 tablespoons chopped fresh flat-leaf parsley

Heat half the oil in a large skillet over medium-high heat. When the oil is hot, add the sausage and onion and cook, breaking up the sausage, until the sausage is golden brown, about 8-10 minutes. Park the sausage and onions into a separate dish.

Add the remaining oil in the skillet, then add the apples and potatoes. Cook until the apples are golden brown, about 10-12 minutes. (I covered the pan for a bit in the beginning because I was worried about the potatoes cooking through.) Meanwhile, mix the ketchup, mustard, thyme, parsley, and water in a small bowl. Return the sausage and onions to the skillet and stir in the ketchup mixture. Cook until the hash has browned nicely, about another 5 minutes. Season to taste with more salt and pepper before serving.

buttery jam cookies

copy-of-img_0512

I’m a member of Tuesdays with Dorie because it encourages me to bake often and to keep trying new recipes. But I also like how it challenges me to be creative about presentation. When I’m writing a blog entry about the same recipe as hundreds of other people, I want to think of some sort of display that will look impressive or original. This is the real challenge for me.

copy-of-img_0507

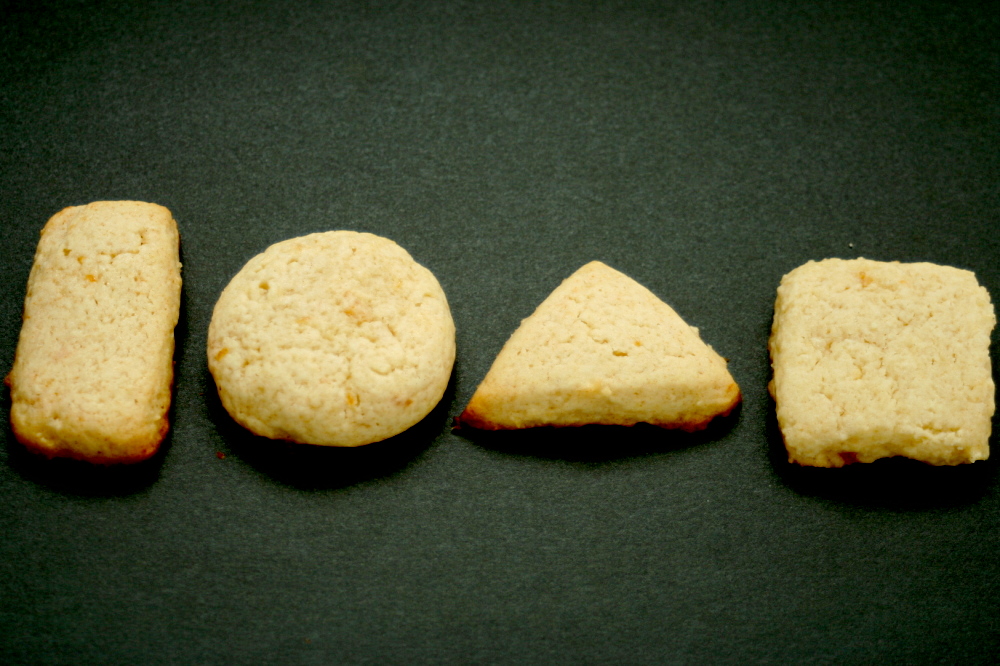
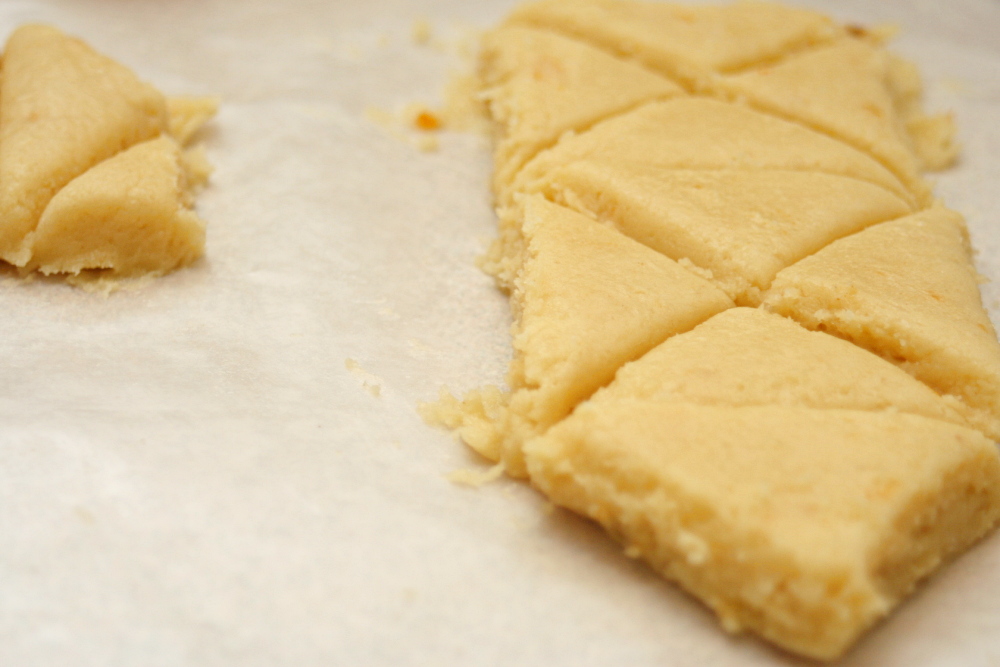
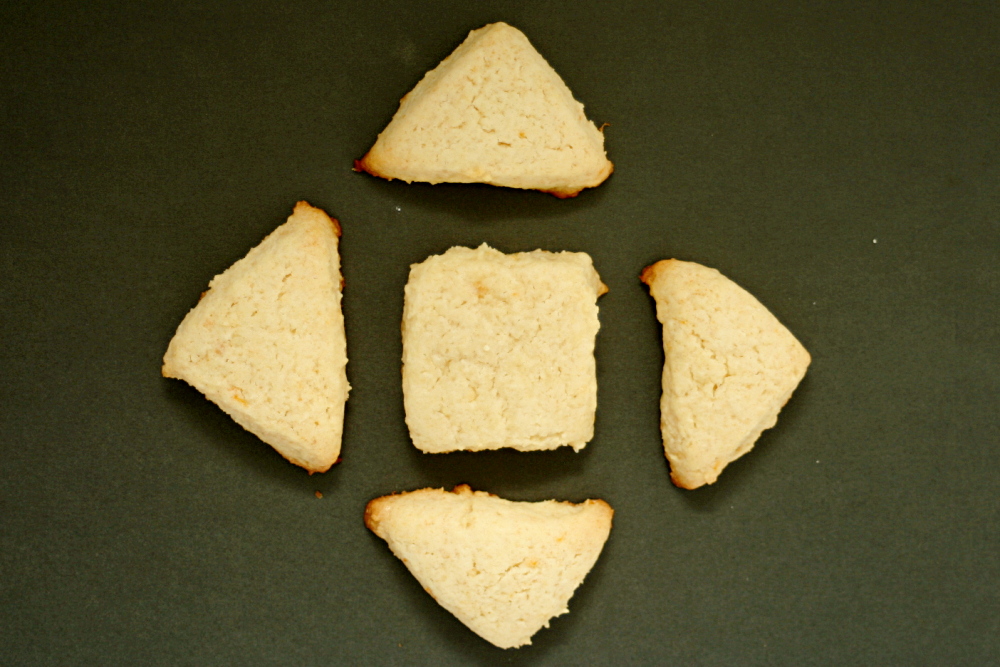
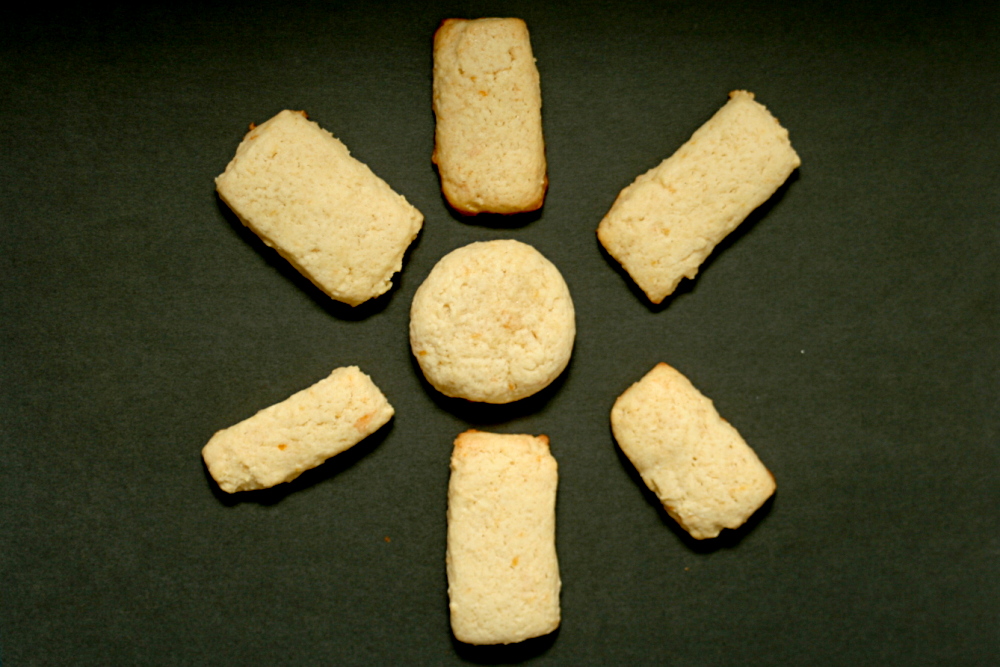
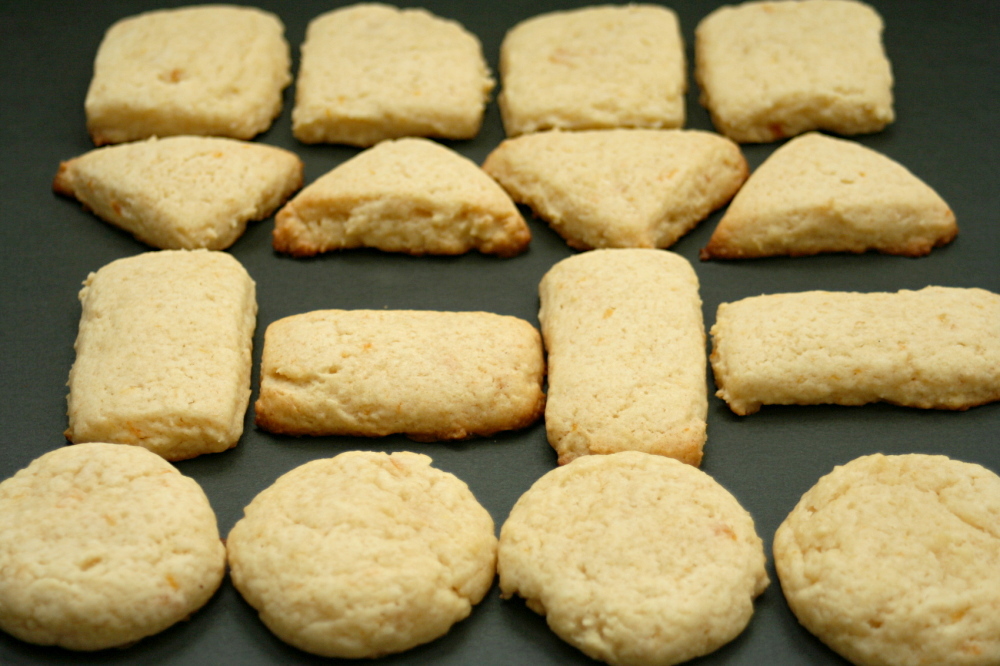
Not that square cookies is the most unique presentation ever. I’d heard that the cookies hold their shape in the oven really well, so I thought this might be a good cookie to use a cookie stamp on. But I don’t have one. My almost-3-year-old nephew is just starting to learn shapes, so this idea came from him. For the circles, I used spoonfuls of dough like the recipe calls for, and for everything else, I rolled the dough into about a ½-inch thickness and then used a knife to cut the shapes.

copy-of-img_0510

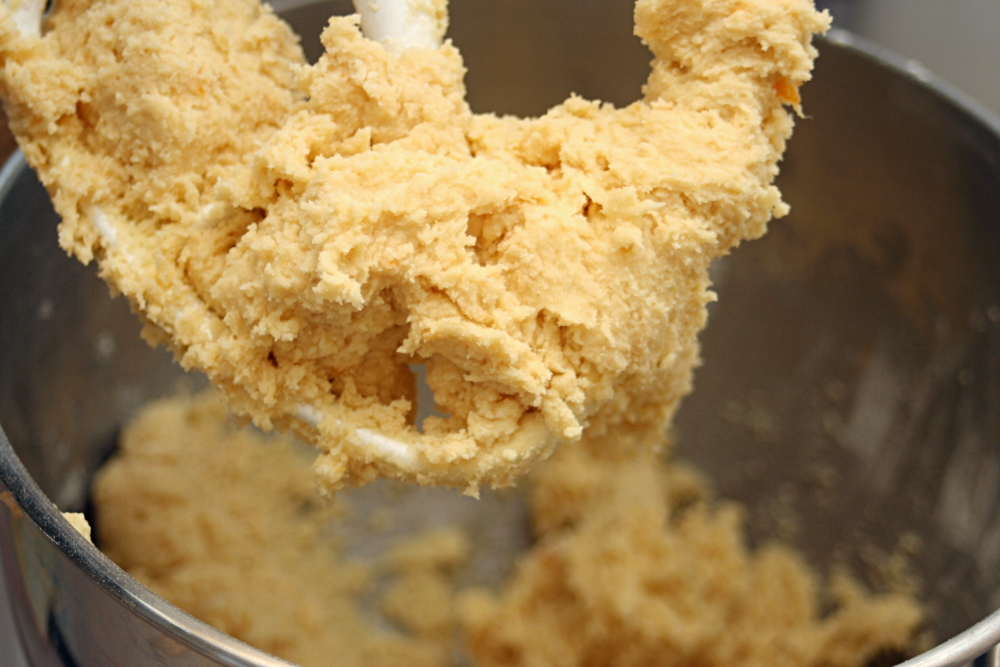
The recipe was very easy. Just like a standard cookie recipe, the butter and sugar are creamed together, the egg and vanilla are added, and then jam is added before the pre-mixed dry ingredients are mixed in just until blended. The dough tasted pretty good, which is always a good sign.

copy-of-img_0517

The cookies were decent. As soon as I saw that the recipe only called for ¼ teaspoon of salt for 2 cups of flour, I was concerned. I’m finding that I like my baked foods on the salty side. I added more, about ⅛ teaspoon, but I still would have liked the cookies to be saltier. They seemed a little bland. It didn’t help that I couldn’t taste the ginger at all. My powdered ginger is very old, so I’m sure that’s why. I suppose I should break down and replace it with fresher stuff.

copy-of-img_0522

So they didn’t knock my socks off, but I’m glad I tried them. Dorie has a lot of fun ideas for cookies that I wouldn’t think of on my own. Heather has the recipe posted.

One year ago: Braised White Beans with Tomatoes, Zucchini and Garlic.   This is still one of my favorite meals.

copy-of-img_0530

red velvet whoopie pies

copy-of-img_0149a

These days, most things I bake turn out well. So whenever I visit my parents in Albuquerque, I’m always disgruntled by the problems I have with recipes. I don’t have enough experience adapting to the high altitude. On my most recent trip, I was frustrated when my snickerdoodles ended up flat and crispy and stuck to the pan. When I made scones the next morning, I remembered to decrease the baking powder, and they came out delicious and tender, but not quite as pretty as when I made them at my nearly sea-level apartment in Pennyslvania.

copy-of-img_0081

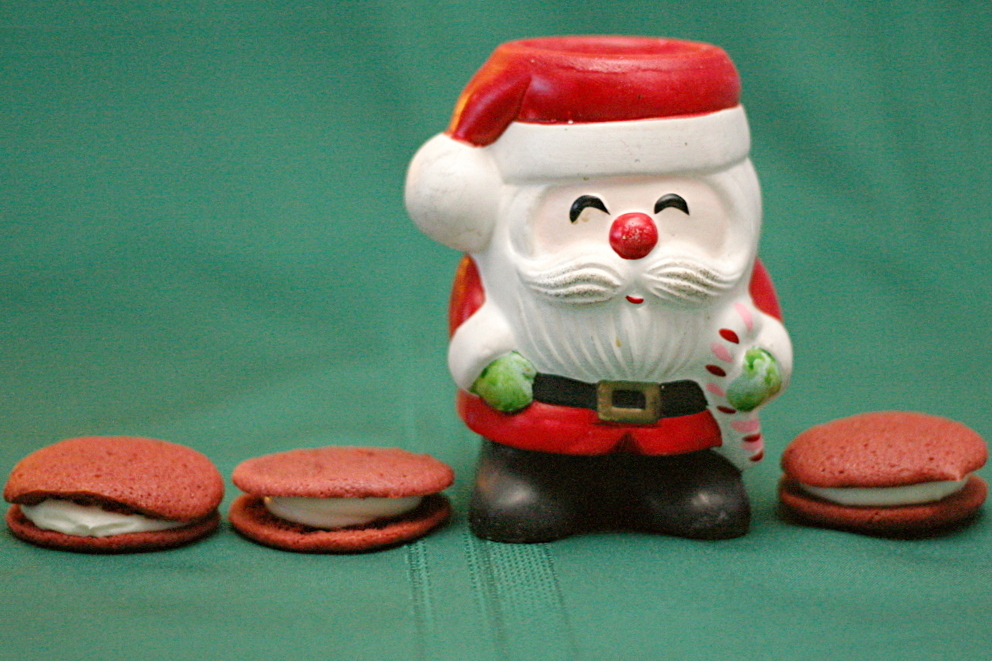
My mom and I saw these red velvet whoopie pies in a magazine and could not resist them. Of course we forgot to adapt the recipe for the altitude at first. Apparently (according to my mom, who has more experience with these things), reducing the butter (sacrilege!) helps, but the butter and sugar were creaming before we thought of it, so we added some extra flour and hoped for the best.

copy-of-img_0134

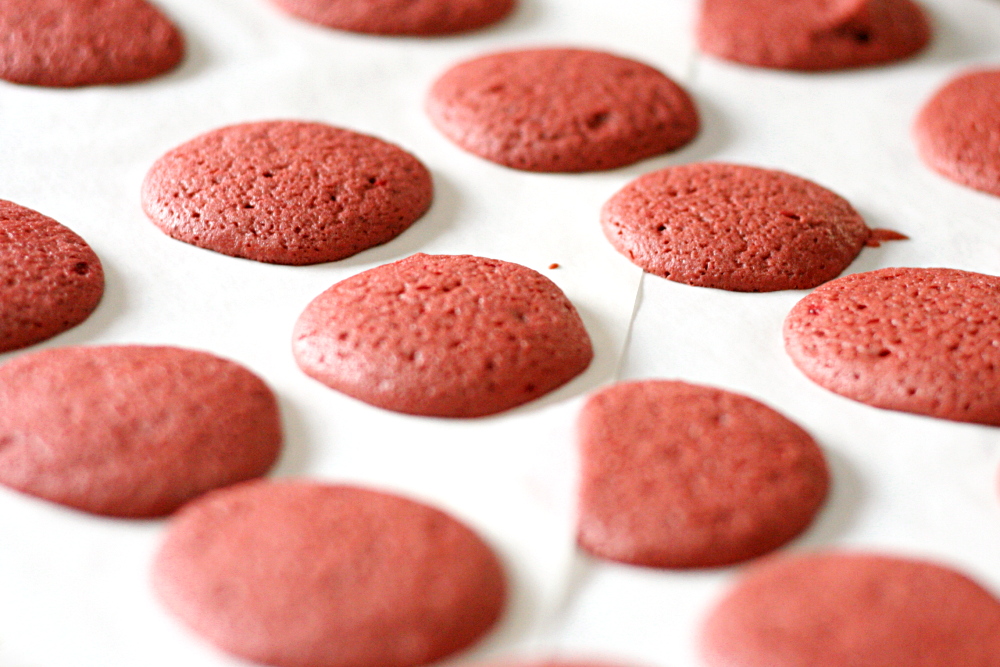
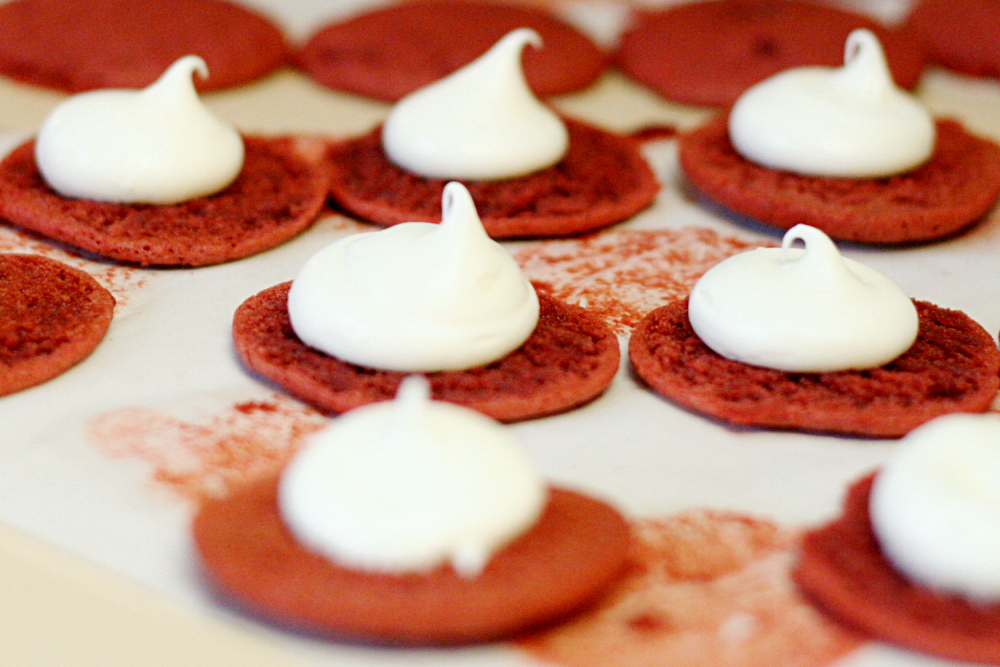
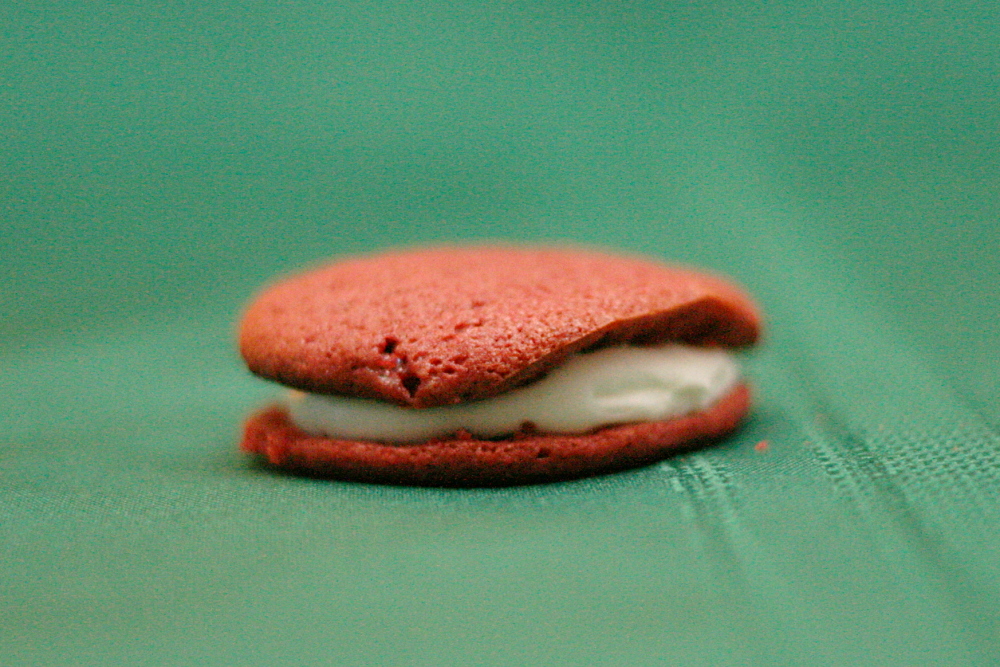
They spread too much and stuck to the parchment a little, so they’re not quite as pretty and tall as many mini whoopie pies. Don’t let that turn you away from this recipe, because they were amazing even so! The cake was tender and moist with just a touch of chocolate flavor. And I’m confident that, made at lower altitudes, the little cakes will be just as delicious, but prettier as well. And they’re sandwiching a dollop of cream cheese frosting – <drool>.

copy-of-img_0145

One year ago: Slice-a-Fancy Cookies –  My mom just made these while I was visiting.  The ingredients are so simple, but the cookies taste good.

Red Velvet Whoopie Pies (cake recipe from Better Homes and Gardens December 2008, with a little more detail; cream cheese frosting from my mom’s carrot cake recipe)

We opted for a traditional cream cheese frosting instead of the one suggested with the recipe, which used marshmallow creme.

Makes 30 sandwiches

Cake:
2 cups (9.5-10 ounces) unbleached flour*
2 tablespoons cocoa powder (not Dutch processed)
½ teaspoon baking powder
¼ teaspoon salt
8 tablespoons (1 stick) butter, softened
1 cup (7 ounces) packed light brown sugar
1 egg, preferably room temperature
1 teaspoon vanilla extract
½ cup buttermilk, preferably room temperature
1 ounce (2 tablespoons) red food coloring

Filling:
4 ounces cream cheese, softened
4 tablespoons (½ stick) butter, softened
2 cups (8 ounces) powdered sugar
½ teaspoon vanilla

1. Adjust oven rack to middle position; preheat oven to 375F. Line baking sheets with parchment paper. In medium bowl, whisk together flour, cocoa, baking soda and salt.

2. In large mixing bowl, beat butter on medium-high speed for 30 seconds, until smooth. Add brown sugar and beat until light and fluffy, about 2 minutes. With mixer at medium speed, add egg and beat until thoroughly combined, then beat in vanilla. Add about one-third of flour mixture followed by half of buttermilk mixture, mixing until incorporated after each addition (about 15 seconds). Repeat using half of remaining flour mixture and all of remaining buttermilk mixture. Scrape down sides of bowl and add remaining flour mixture; mix at medium-low speed until batter is thoroughly combined, about 15 seconds. Remove bowl from mixer and fold batter once or twice with rubber spatula to incorporate any remaining flour.

3. Spoon (or pipe) batter in 1-inch diameter rounds about ½-inch high on prepared baking sheets, allowing 1 inch between each round.

4. Bake 7 to 9 minutes, or until tops are set. Cool cookies on cookie sheets.

5. To make filling: Add cream cheese and butter to mixer bowl and beat until smooth. Gradually add powdered sugar, alternating with vanilla. Beat until smooth.

6. To fill, dollop (or pipe) cream cheese filling on flat sides of half the cookies. Top with remaining cookies, flat sides down.

To store: Refrigerate in airtight container up to 4 days. Let stand at room temperature 15 minutes before serving.

*Cooks Illustrated uses 5 ounces for 1 cup of flour, and for the last couple of years, that’s what I’ve used when making recipes that only provide volume measurements. (I never measure flour by volume for baking – I think it’s a hassle.) However, I’m coming to realize that 5 ounces for 1 cup of regular flour is pretty high. I heard somewhere that Dorie Greenspan uses 4.8 ounces. Until I figure out what I want to use for recipes that call for flour by volume, I’ll have to be wishy-washy.

copy-of-img_0150