Archives for January 2009

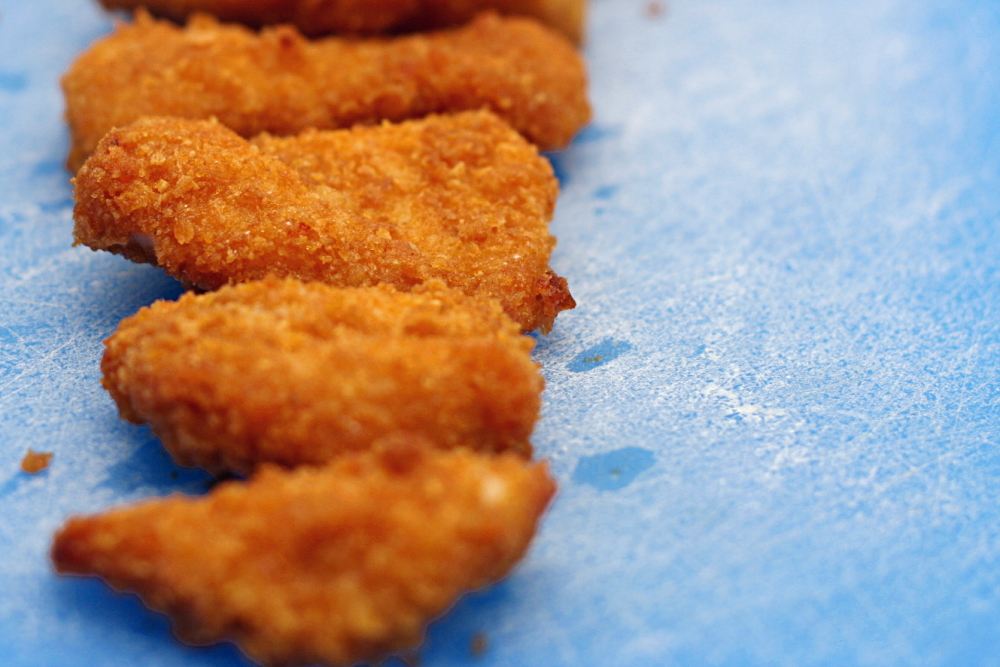
crispy baked chicken strips

copy-of-img_9435

My sister does once-a-month-cooking, so once each month (or a little longer), she and her husband spend a good portion of the weekend stocking their freezer with easily-reheatable food. I don’t think I’m cut out for this. For one thing, when she was planning her last cooking fest, I advised her to split up the cooking over several nights, and then it wouldn’t take up so much of her weekend. Which pretty much defeats the purpose, because if you’re going to cook every night, you might as well just be making dinner.
copy-of-img_7480-a

Also, I have a tendency to hoard food in my freezer. I get it in my head that I can’t possibly use the lasagna or potstickers or chili in my freezer, because then what if I have some sort of dinner emergency one night and need something super easy? Not that this has ever been an issue.  Still, whenever I make a meal that takes well to freezing, I make extra and put some in the freezer. These chicken strips are perfect for storing in the freezer.
copy-of-img_7482

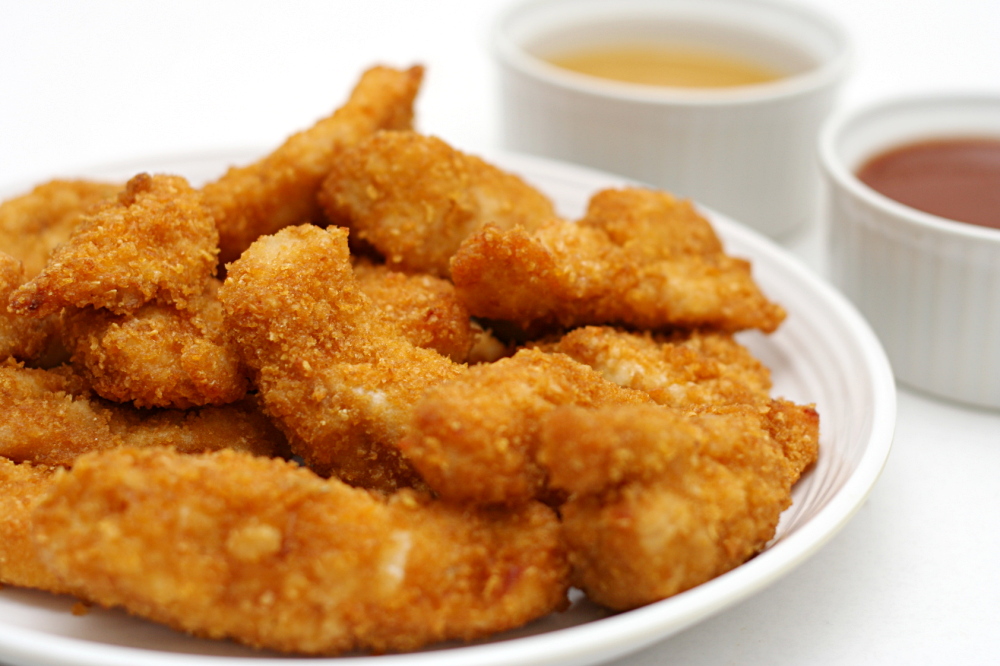
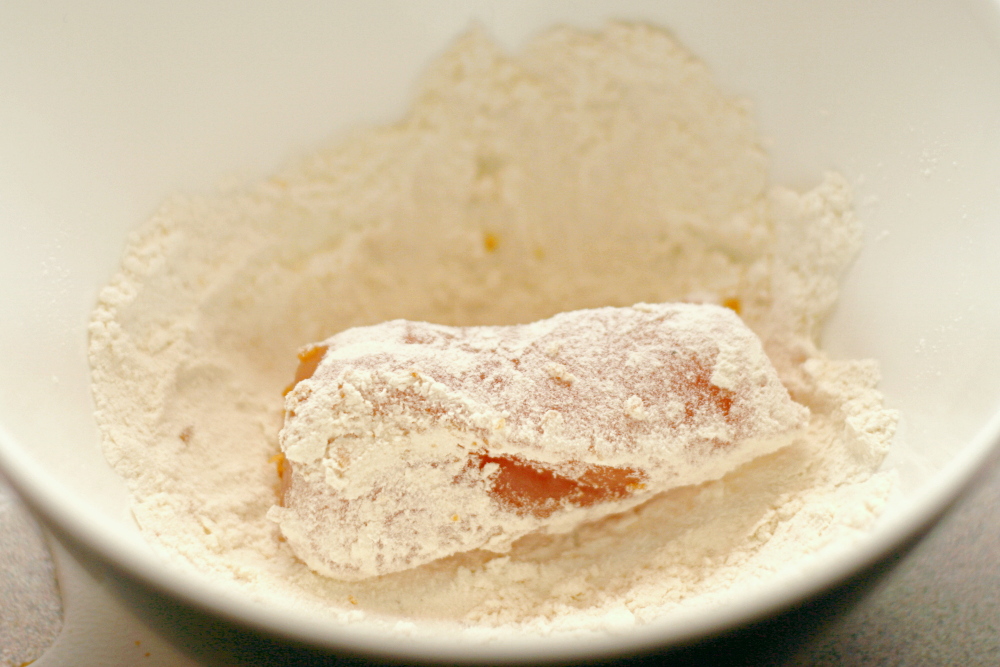
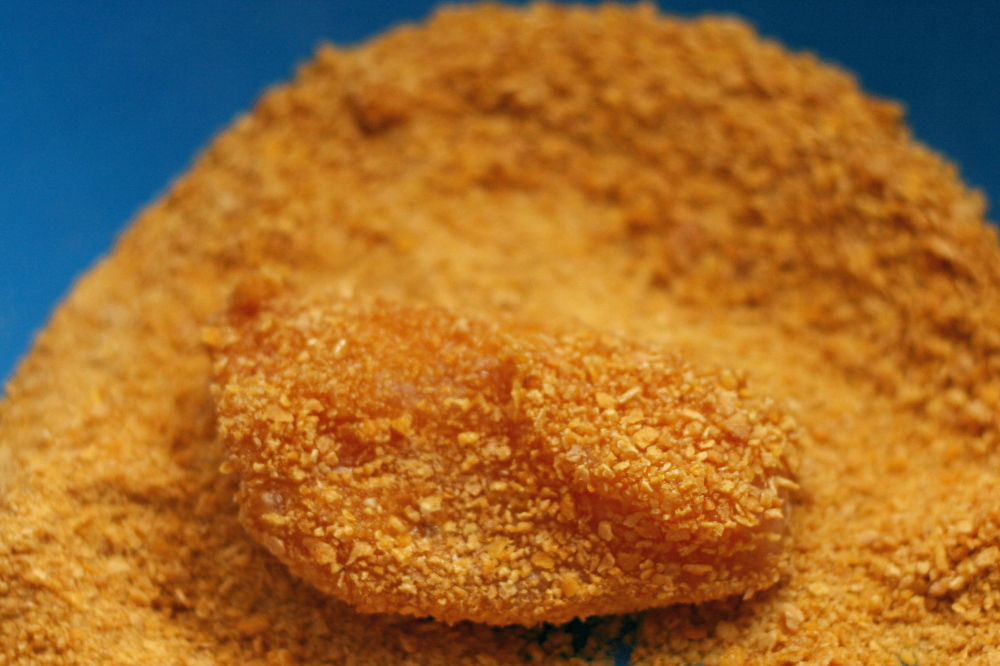
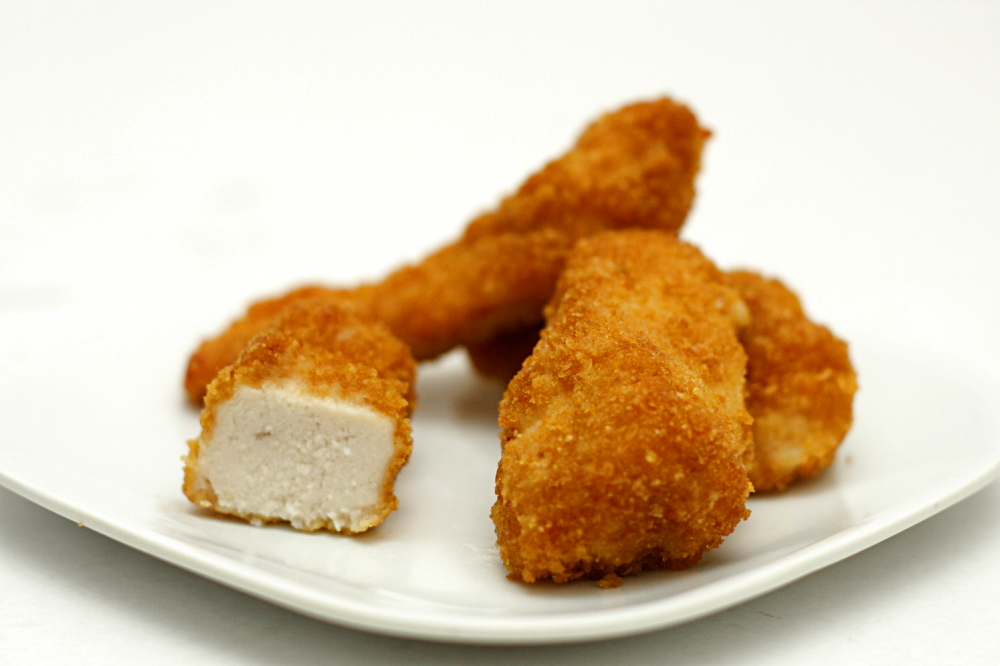
Also, they’re delicious. The coating, made from cornflakes, is crunchy and a little sweet, and the chicken is moist and seasoned from its brine. The strips, after being dipped in flour, butter, and cornflake crumbs, are baked, so there’s no frying mess to deal with and hopefully they’re a little less fattening (except for the whole dipped in butter thing, of course).
copy-of-img_9423

They’re so good, in fact, that even the extras that were stored in the freezer didn’t last too long. They were right in front, so every time I opened the freezer, I was reminded of how good these are. I couldn’t resist them long.
copy-of-img_9434

One year ago: Fish Tacos – we’ve had this for dinner twice in the last two weeks

Crispy Baked Chicken Strips

Serves 4

To freeze these, spread them on a baking sheet (without the rack) after coating and before baking. Place the pan in the freezer and chill for about half an hour, until mostly firm. Transfer the strips to freezer bags. When ready to cook, defrost them and continue with step 4 of the recipe.

¼ cup table salt
4 boneless skinless chicken breasts, cut into 1-inch strips
¼ cup flour
6 tablespoons butter, melted
2 cups finely crushed corn flakes cereal

1. Dissolve the salt in 1 quart cold water. Add the chicken, cover, and refrigerate for 30 minutes. Remove the cutlets from the brine and pat dry.

2. Adjust an oven rack to the middle position and heat the oven to 400F. Place an oven-safe baking rack in a baking sheet.

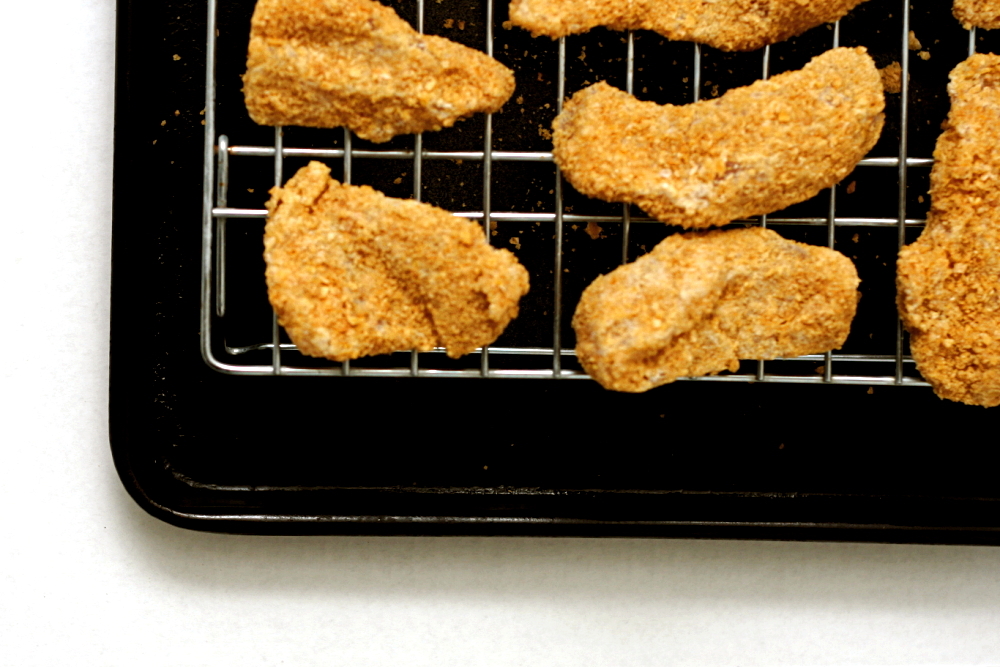
3. Place the flour and butter in separate small bowls. Add the crushed cereal to a medium-sized bowl. Dip the chicken pieces in the flour, then the butter, then the cereal. Place the coated chicken strips on the baking rack in the baking sheet.

4. Bake 15-20 minutes, until chicken is no longer pink. Serve.
copy-of-img_9428

fresh ginger and chocolate gingerbread

copy-of-img_1556

Ah, my sad little gingerbread photos. I had some issues with a tiny step in this recipe that I normally would have just ignored. “Butter the pan.” Pshaw, who butters their pans these days? Nonstick spray, baby!

Since I needed 7⅓ tablespoons of butter for the portion of the recipe that I was making, I figured I would just use the other ⅔ tablespoon to butter the pan. (I used an 8-inch square pan for ⅔ of the recipe.) Then when it came time to remove the cake from the pan, I got stubborn when it stuck. The damn cake would be coming out of the pan!

copy-of-img_1542

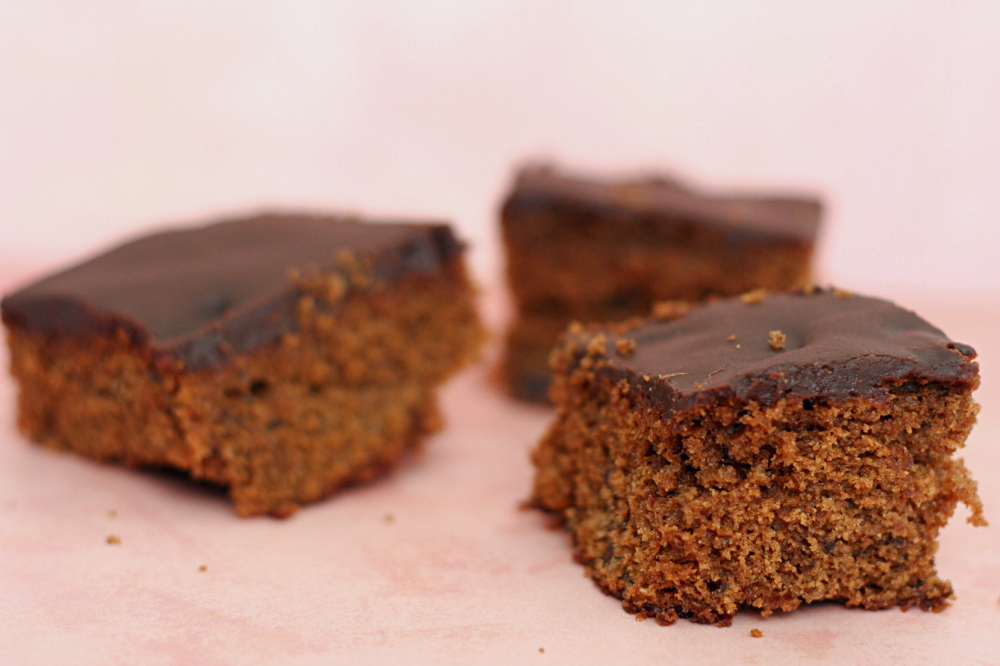
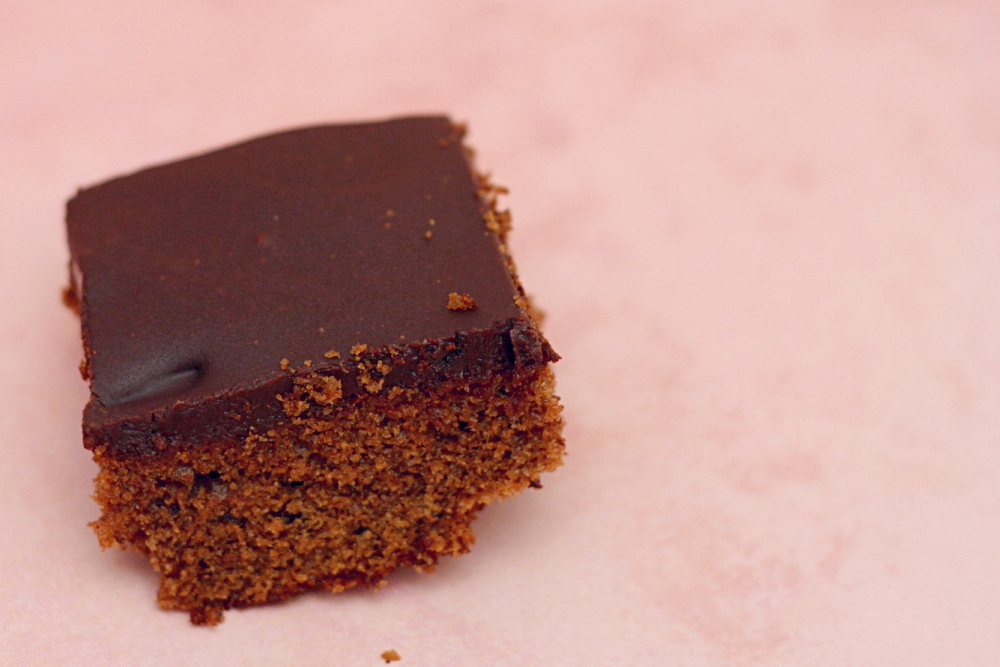
Um, yeah, that was dumb. It came out, all right, or about half of it did. The other half, the bottom half, was holding on tight to the pan. I quickly shoveled the broken cake pieces back into the pan and they melded together nicely. If I had been able to resist tasting the cake (through a forkful dug out of the middle), no one would have been the wiser.

copy-of-img_1544

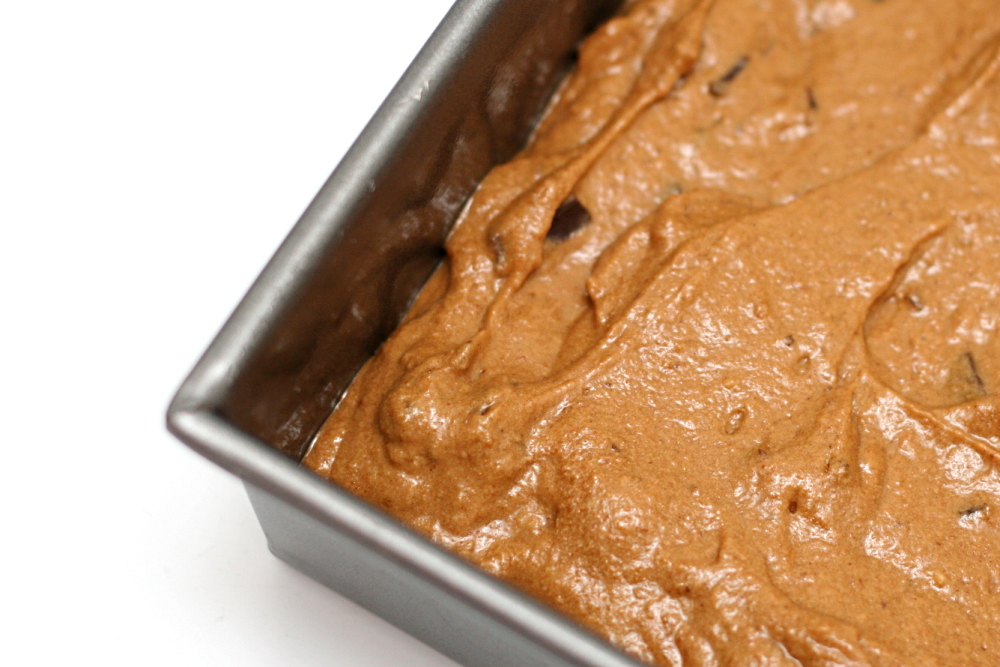
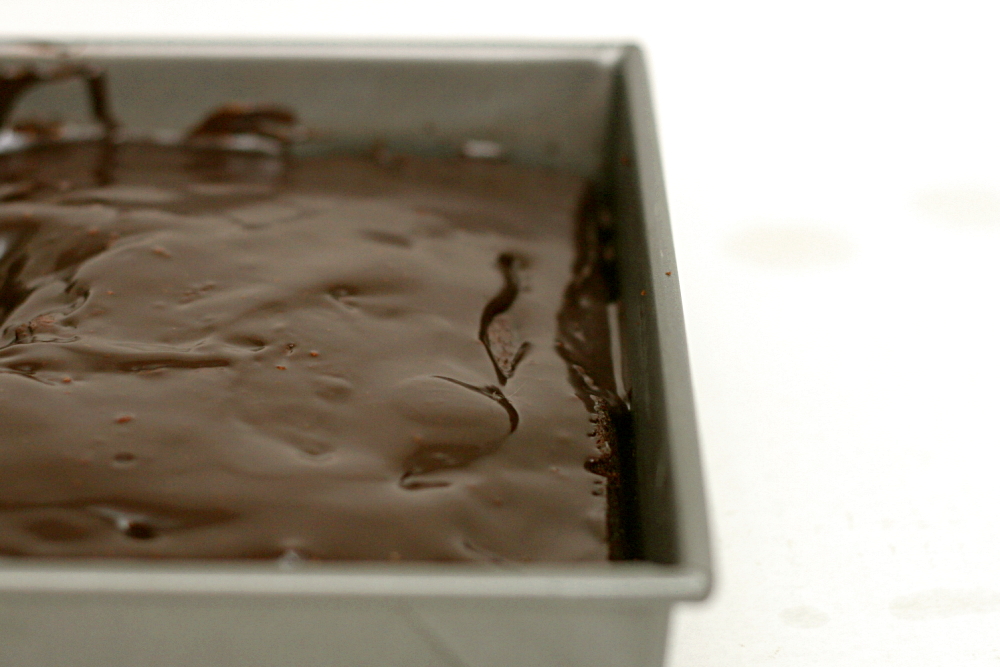
Fortunately, the taste of the cake made up for the troubles. Dave and I both really like gingerbread, and although I had my doubts about combining it with chocolate, in the end I thought it was a good match. I enjoyed the chunks of chocolate in the cake, even though they all sank to the bottom. The bittersweet chocolate glaze was great too. My cake was a little dry, but it’s entirely possible that I overbaked it by a few minutes. Still, next time I’ll use twelve tablespoons of butter instead of eleven (for a full recipe). And I most certainly won’t use butter to grease the pan.

Heather, who chose this recipe for Tuesdays with Dorie, has the recipe posted.

copy-of-img_1553

herbed lima bean hummus

copy-of-img_1461

I don’t blame Tuesdays with Dorie for my pants being too tight to button by the end of 2008.  I blame unemployment.   Instead of grabbing my standard healthy snacks and eating them at work because they were the only food available, I would pass over the bananas and carrots at home and fill up on cookie dough instead.

copy-of-img_1214

So one of my goals for 2009, since I’m still working at home a few days per week, is to make those healthy snacks more enticing. For bananas, it’s as simple as eating them with peanut butter or Nutella. The carrots, or whatever other raw vegetable I end up eating, cry out for some sort of dip. But anything based on mayonnaise and/or sour cream just defeats the purpose.

copy-of-img_1217

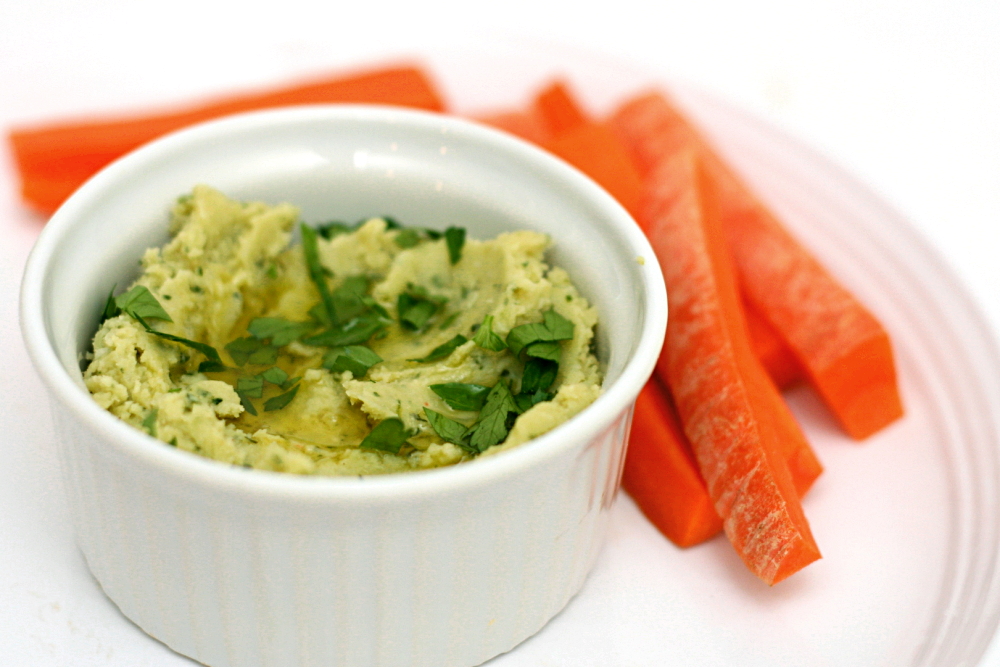
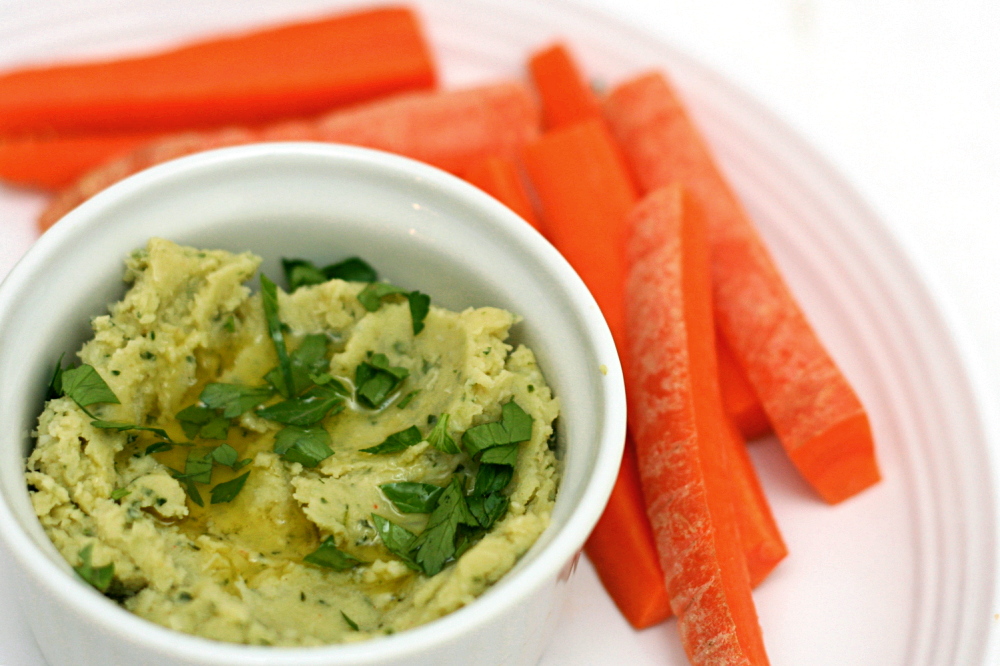
Fortunately, there’s plenty of bean dips out there to explore. This one, which isn’t like traditional hummus at all, is based on lima beans, a bean that I don’t have much experience with. The cooked lima beans are pureed along with aromatics, herbs and seasonings.

copy-of-img_1219

The original recipe called for the onion and garlic to be boiled along with the beans, but who wants boiled onion? Yuck. I took many of the recipe reviewers’ recommendations to sauté the onions and garlic instead. The recipe also calls for mint and dill, but I didn’t have any and didn’t miss it. Finally, I reduced the olive oil just a bit, since the whole point here is to make a healthy snack.

The resulting dip is a pretty green color with a very nice, sort of sweet, flavor. It made my daily carrot, which I guarantee wouldn’t have gotten eaten otherwise, much more enjoyable, but no less healthy.

copy-of-img_1463

One year ago:  Moo shu

Herbed Lima Bean Hummus (adapted substantially from Gourmet, via epicurious)

Makes about 2 cups

1-2 tablespoons extra-virgin olive oil, plus more for serving, if desired
½ large onion, chopped
3 garlic cloves, smashed with side of a large knife
½ teaspoon salt
1 (10-oz) packages frozen baby lima beans
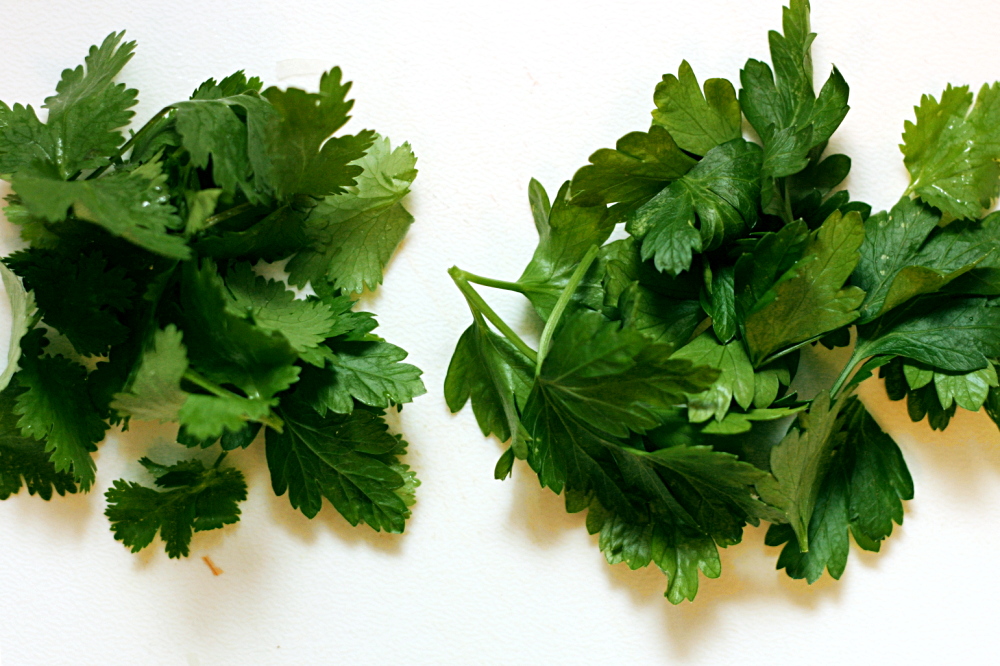
2 tablespoons chopped fresh cilantro
2 tablespoons chopped fresh flat-leaf parsley
½ teaspoon ground cumin
⅛ teaspoon cayenne, or to taste
2 tablespoons fresh lemon juice

1. Over medium heat, heat 1 tablespoon oil in medium skillet. Add onions and cook, stirring occasionally, until they’re just starting to brown around the edges. Add the garlic and salt, stir, then remove from the heat.

2. Meanwhile, in a medium saucepan, bring lima beans and 1 cup water to a boil over high heat. Cover, lower heat, and simmer for 6-8 minutes, until tender. Drain.

3. Add onion mixture, beans, and all remaining ingredients to a food processor and process until smooth. Add more oil if the dip seems too thick.

4. Transfer dip to a serving bowl and drizzle with remaining tablespoon oil, if desired. Serve with crudité or toasted pita wedges. (Dip can be covered and stored in refrigerator for up to 3 days.)

berry surprise cake

copy-of-img_1496

I’ve been a member of Tuesdays with Dorie for ten months, and I haven’t missed even one week. I’ve posted through holidays, vacations, and…I’m trying to come up with a third thing to round out this sentence, but honestly, I have no life. Hence it’s been easy to stay on track with TWD. But this week really tested me – my dishwasher is broken. That’s been rough.

copy-of-img_1486

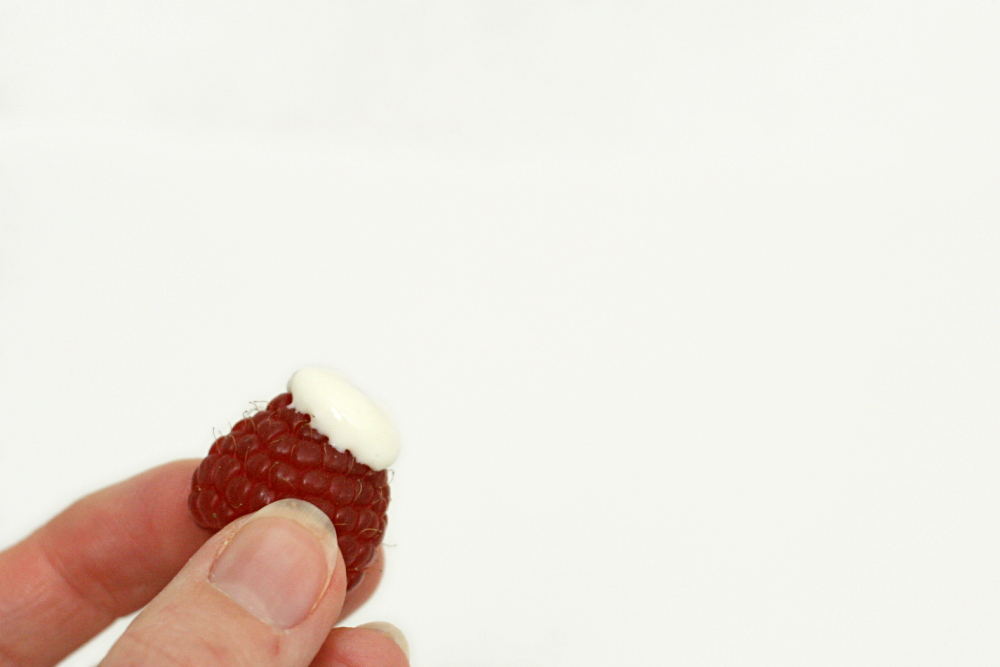
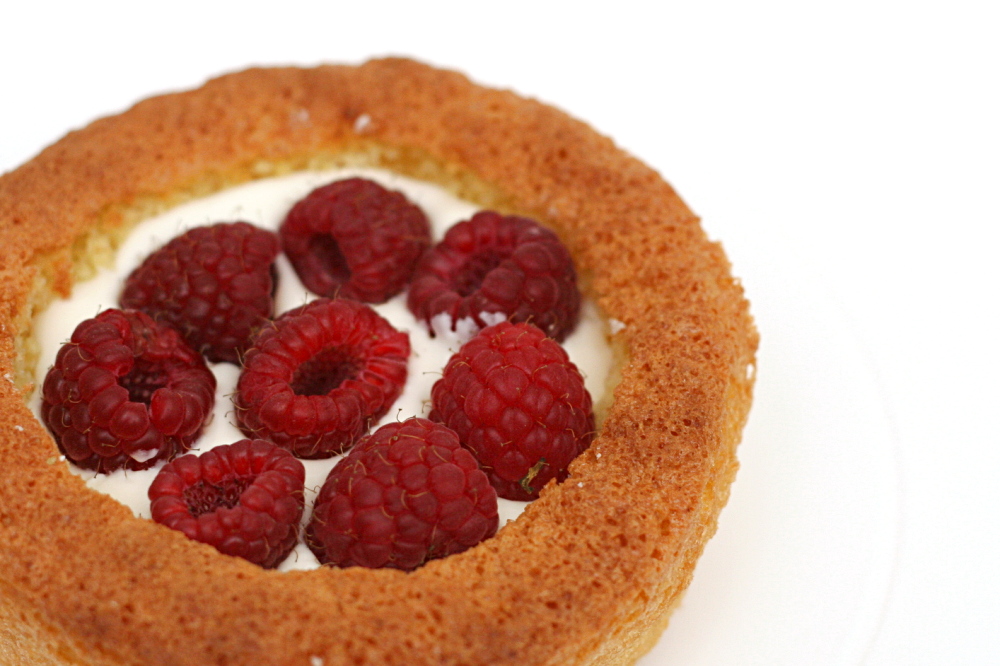
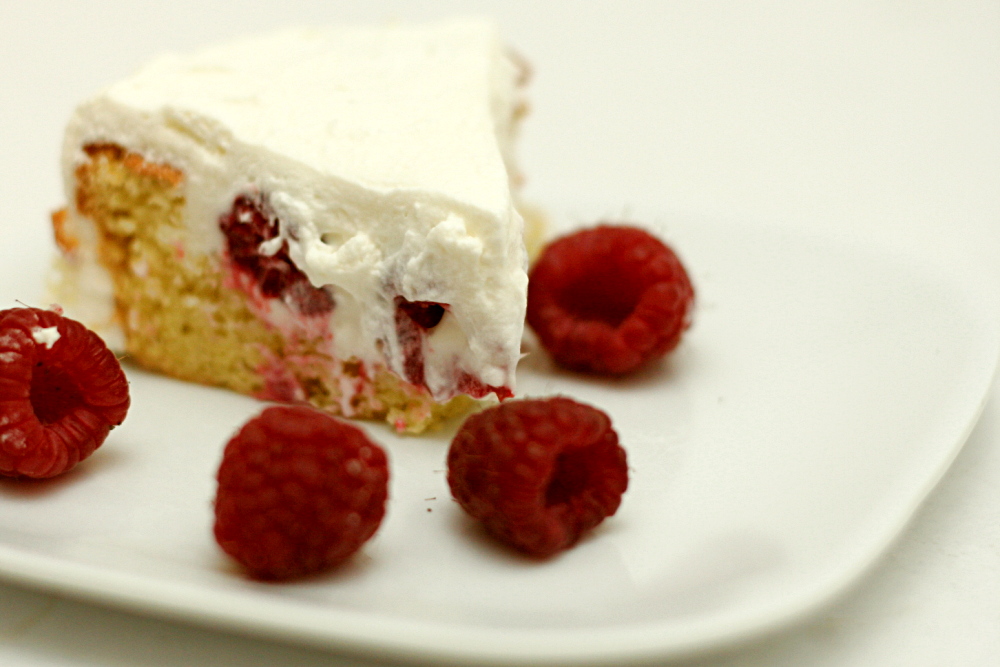
It’s a good thing I persisted though, because I forgot to take into account Dave’s love of fruit + cream desserts. He goes nuts for them. I made a fourth of this recipe, and we ate the whole thing on Saturday night. Dave was talking about it all day Sunday, and it wasn’t until the end of the day that he realized there was none left. He wasn’t happy.

copy-of-img_1471

I guess I’ll have to make it again sometime then! Which is no problem, because there were things I really liked about this as well as things I’d like to experiment with.

copy-of-img_1473

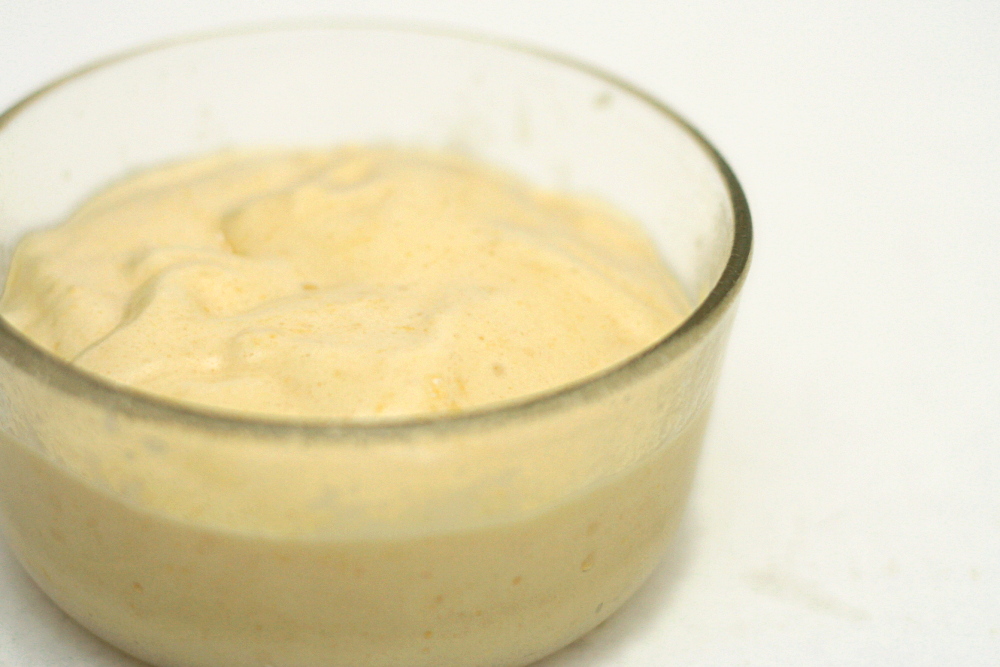
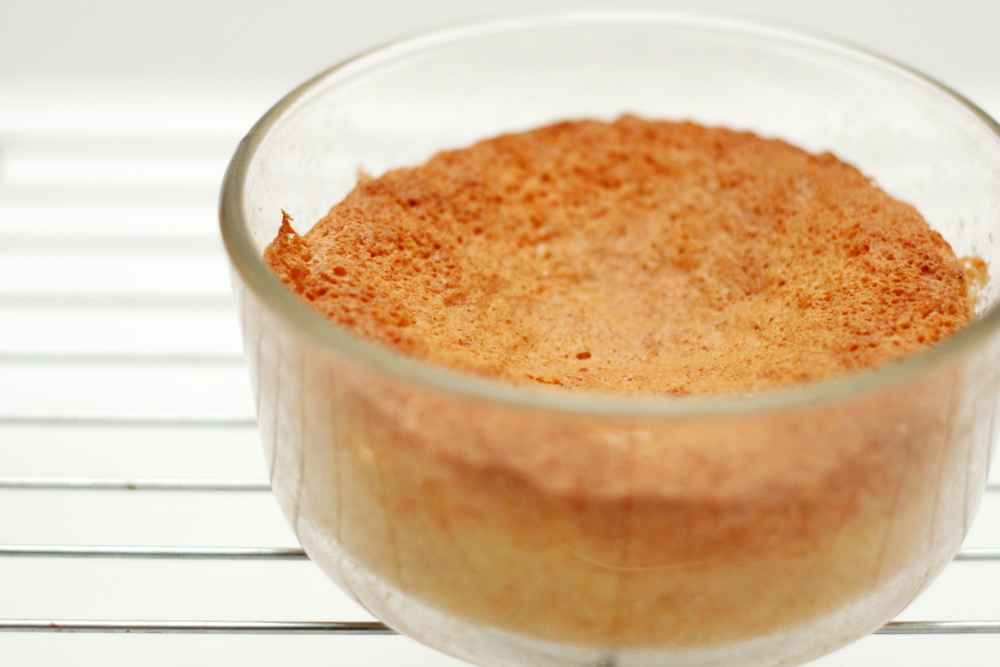
Like most of the group this week, my cake fell in the middle. I’d read through the reviews of people who made it before me and knew this was a possibility, so I was so careful when mixing up the batter. I certainly didn’t overmix, because there were still clumps of hard, dry flour in the baked cake. On the other hand, I could see the structure of the beaten eggs breaking down as I tried to fold in the flour, so I knew I had to stop.

copy-of-img_1479

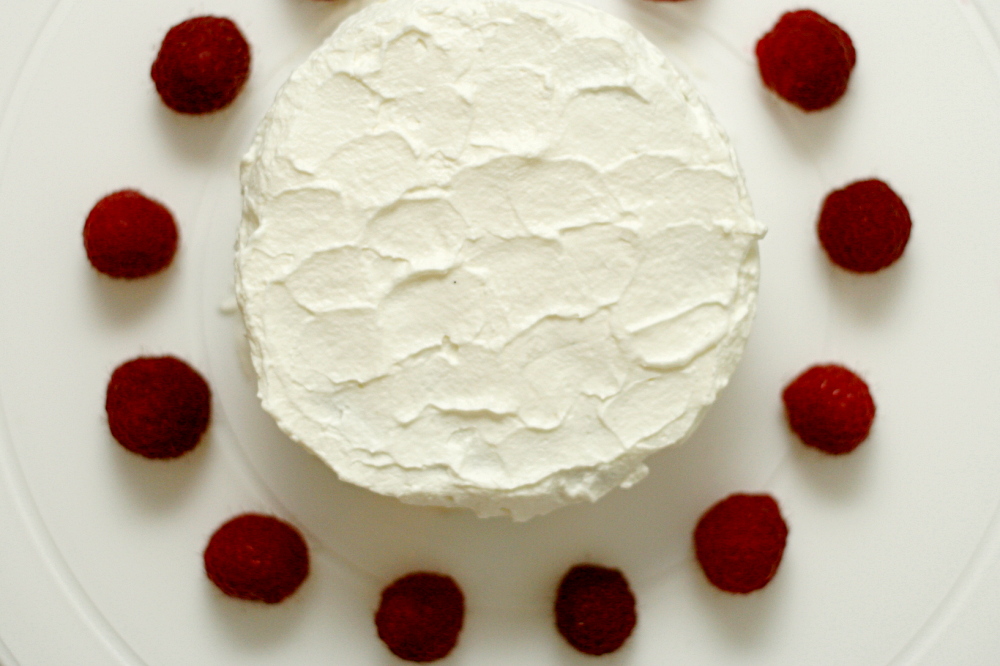
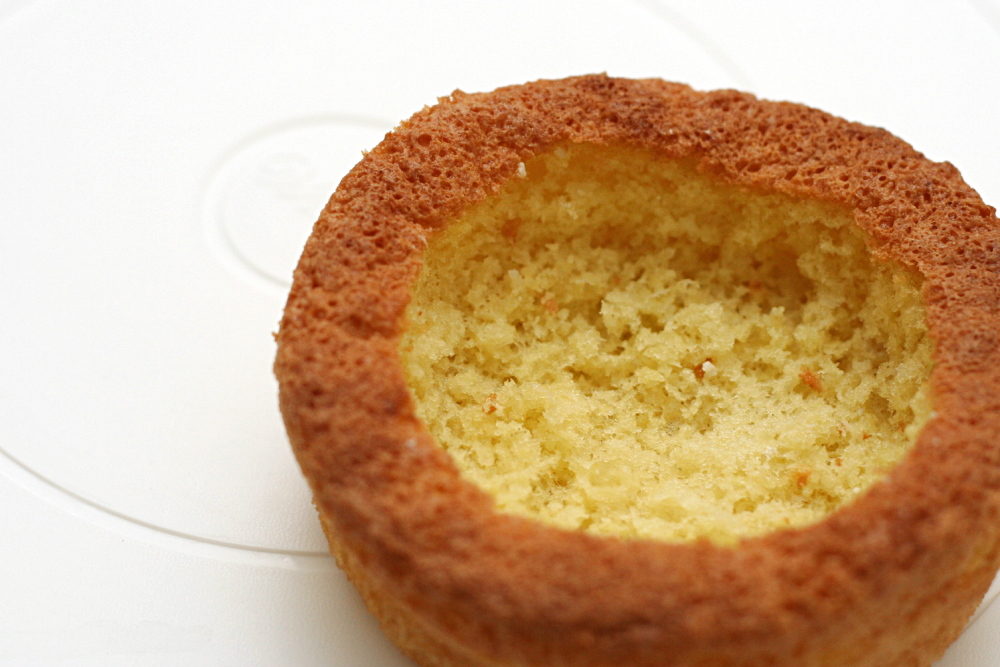
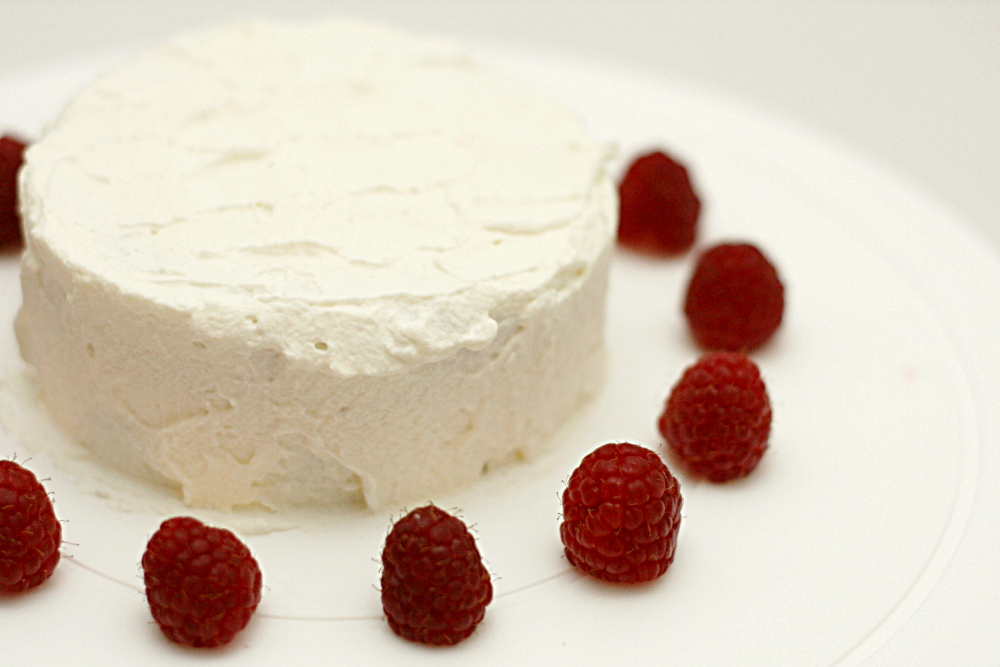
It was no matter though, since we were hollowing out the cake anyway. Dorie’s instructions are to slice off the top of the cake, make a nest in the middle, fill the nest with berries and cream, then put the top of the cake back on. Because the sides of my cake were nice and high, I was able to do all of that except I didn’t have a “lid” to cover the filling with. I just spread the whipped cream topping right over the filling.

copy-of-img_1485

The other issue people had with the recipe was the filling, which is a combination of cream cheese, sugar, vanilla, and cream. So basically cheesecake batter, which I absolutely love. Dorie then whips up more heavy cream and mixes that with the cream cheese ingredients, but a lot of people were saying that the filling ended up bland, so I skipped the extra whipped cream.

copy-of-img_1522

There were things I loved about this recipe – the cream cheese filling, raspberries of course (I lucked out and found good ones for a reasonable price), the whipped cream topping…so basically everything except the sunken cake. To be honest, I’m not sure I’ve ever had a genoise I loved. When I make this again, which will be soon if Dave has any say in the matter, I’ll just use a different vanilla cake recipe.

Mary Ann has posted the recipe.

One year ago: Maple Walnut Cupcakes

copy-of-img_1492

twice-baked potatoes with broccoli, cheddar, and scallions

copy-of-img_1337

I think every food blogger recognizes that there are copyright issues with what we do. Very few of us have only original recipes on our blogs, which means the recipes we publish are from other sources – sources who would prefer that people pay money for their recipes instead of stumbling upon them in a blog.

copy-of-img_1297

Most of us dutifully provide the source of the recipe and then hope for the best. It’s also fairly common knowledge among bloggers that one loophole is to write out the recipe directions in our own words, because ingredient lists can’t be copyrighted. Not that this is foolproof – it’s the creative idea that is copyrighted, not the wording of the directions.

copy-of-img_1303

It’s not unlike birth control – the only method to guarantee that you won’t get into trouble is to abstain from blogging. If you’re not willing to do that, you take whatever precautions you’re willing to and then hope for the best.

copy-of-img_1308

The idea for this particular recipe comes from Cooks Illustrated. I used to make it once a month or so, since it’s easy, balanced, and fairly healthy. I hadn’t made it in over a year, but I decided not to look up the recipe. I still remembered the gist of it, and this way I could make it my own, thus avoiding the whole copyright issue. Besides, I was fairly certain that I wouldn’t be able to combine these ingredients and get anything that wasn’t good.

copy-of-img_1325a

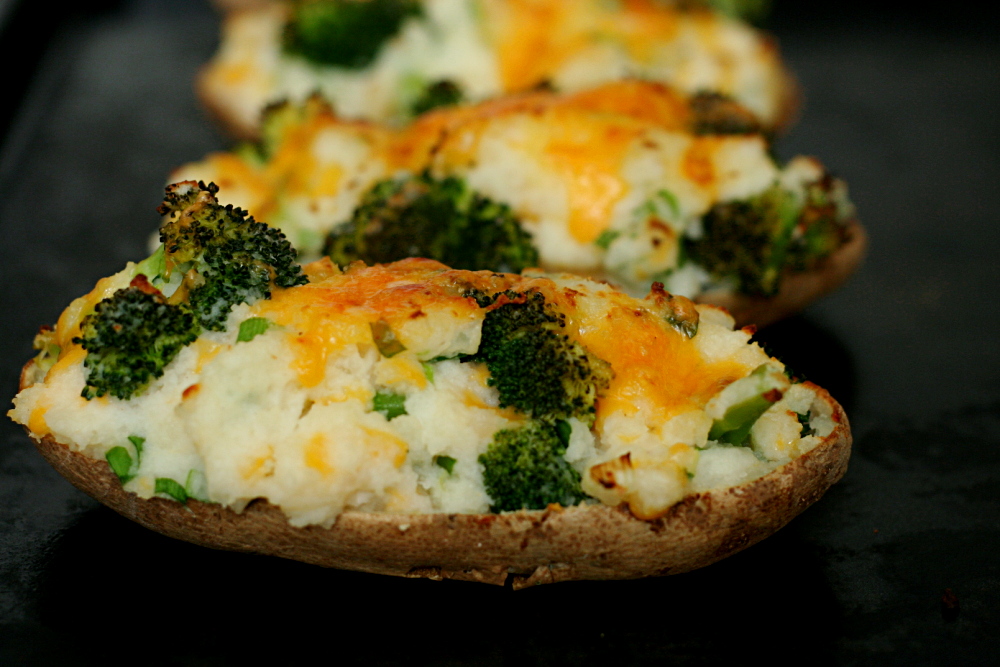
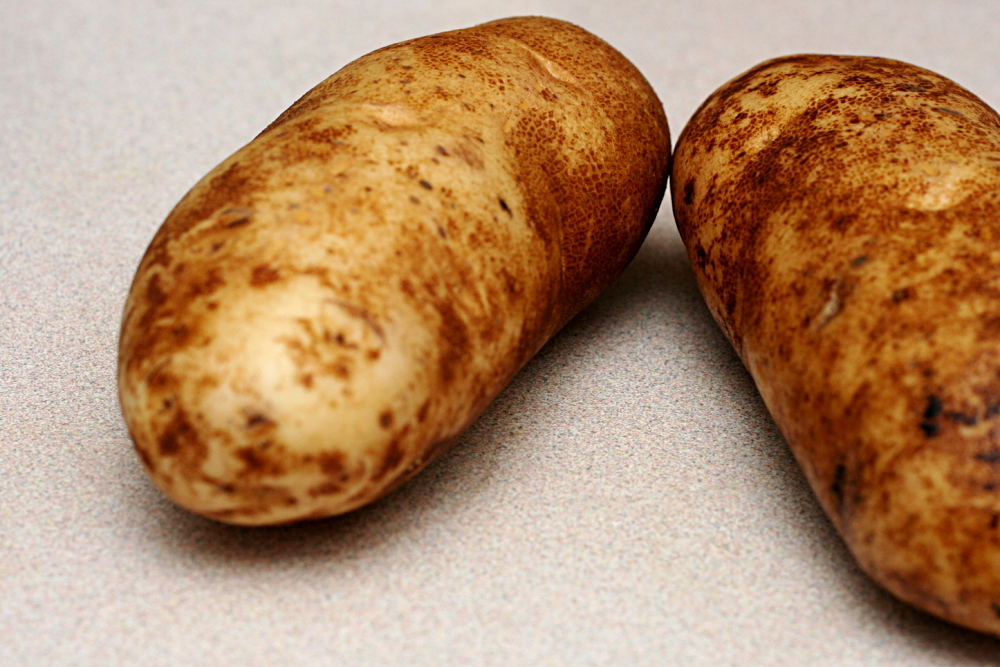
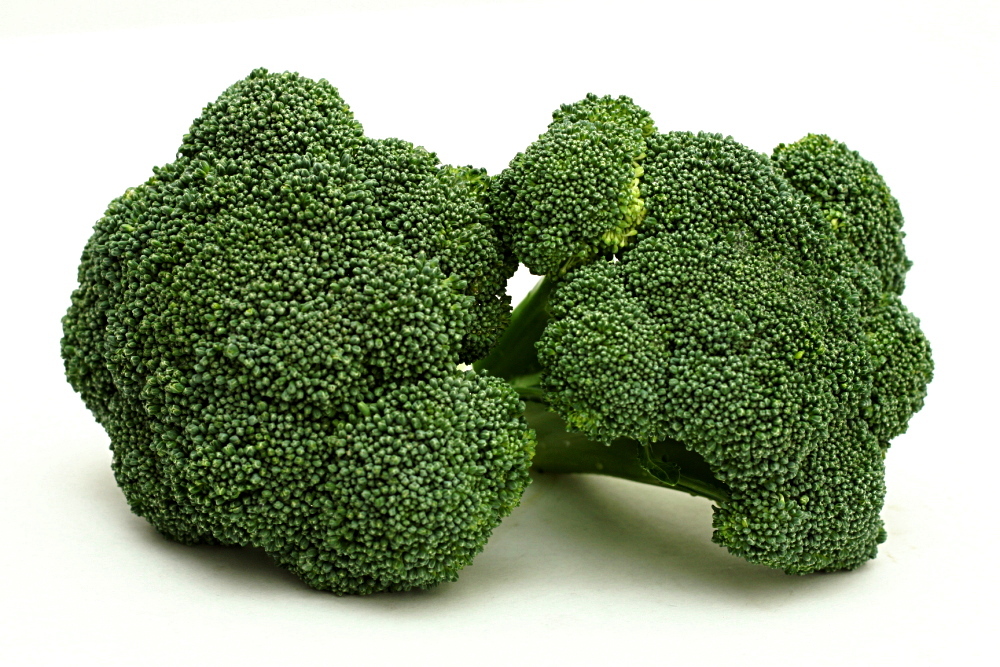
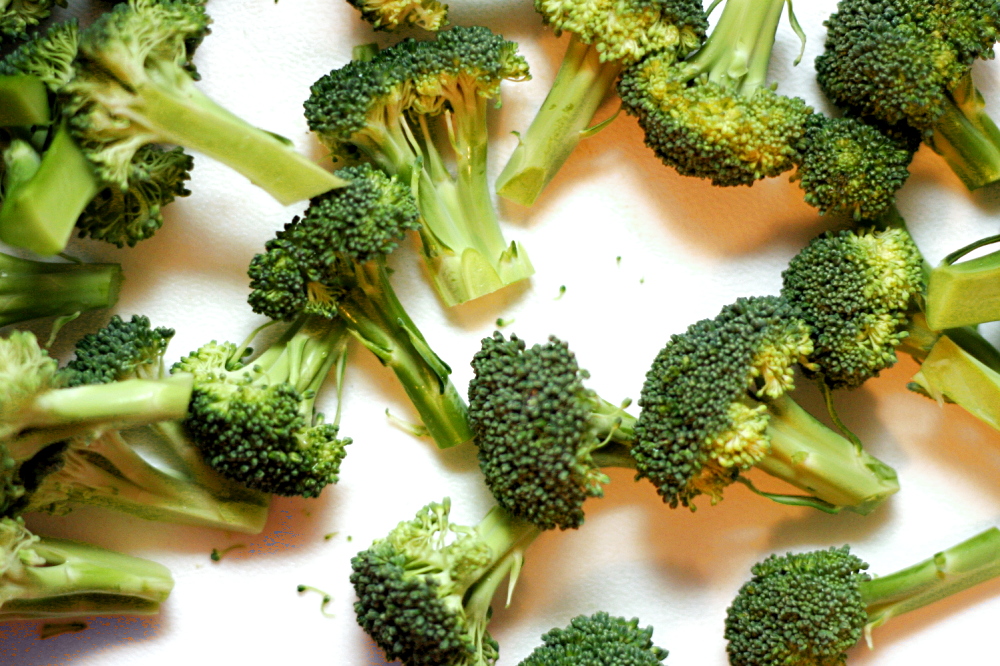
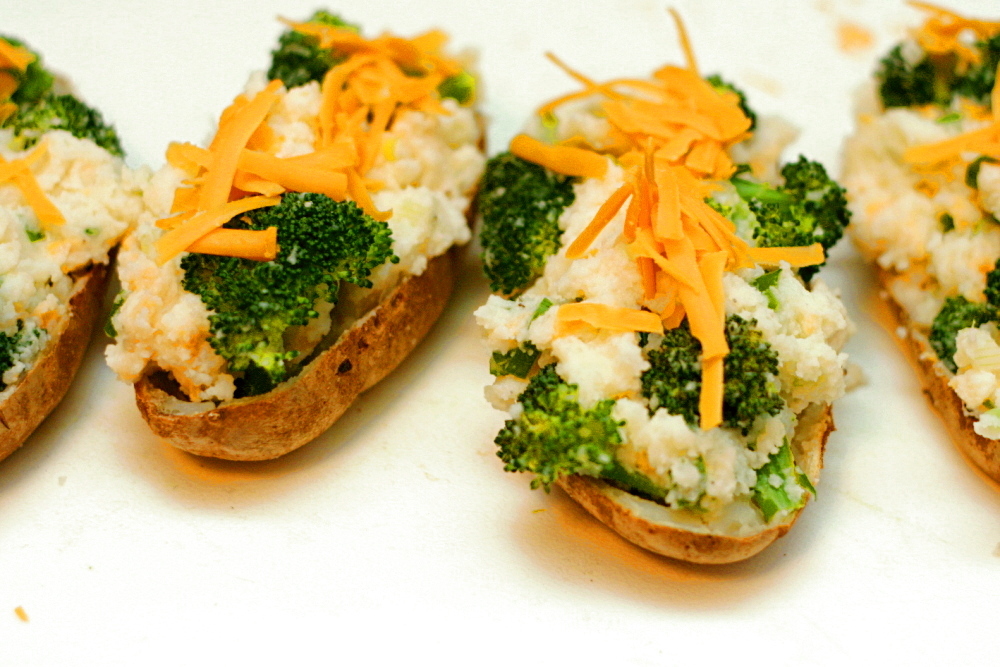
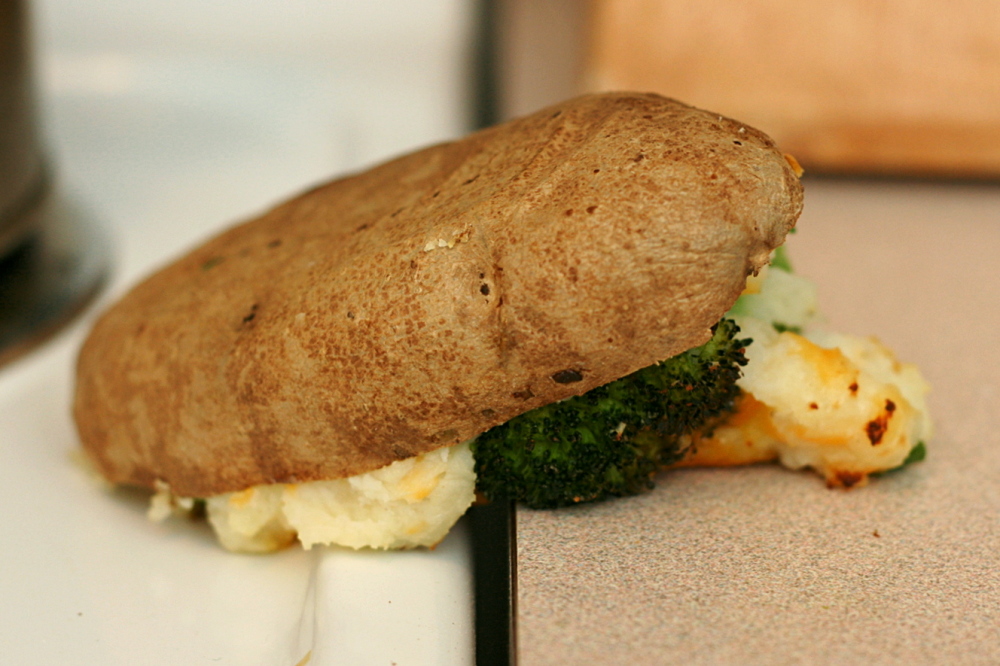
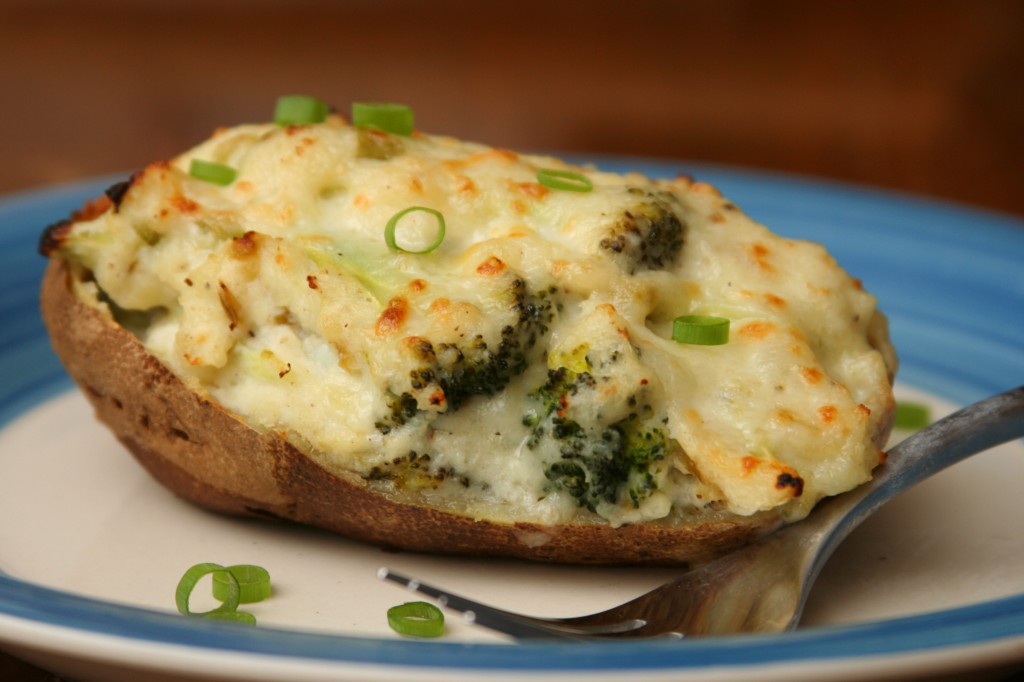
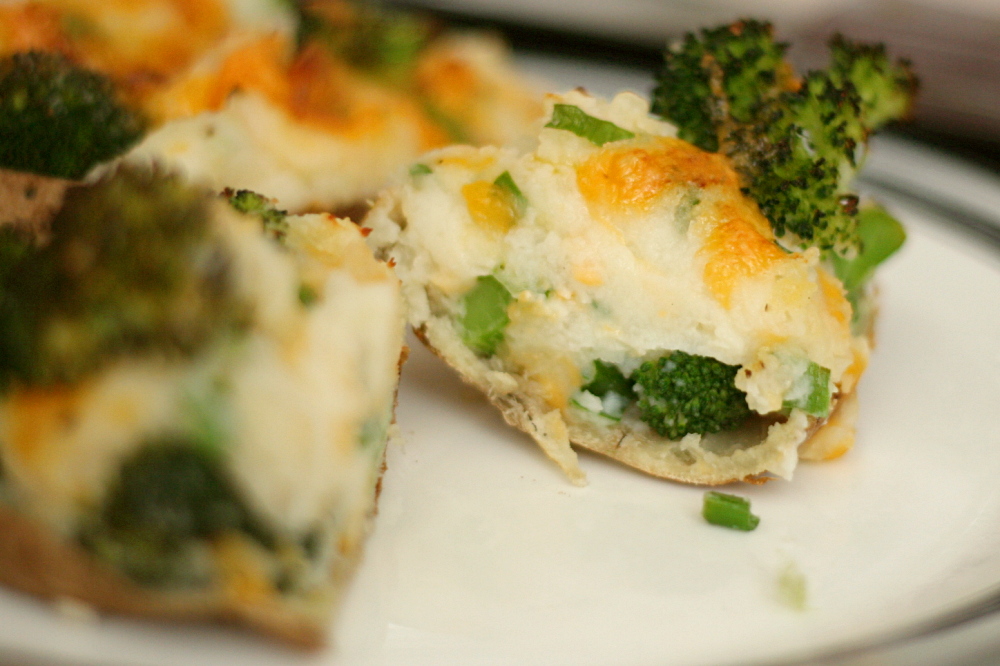
These are simply lightened-up twice-baked potatoes. I cut the broccoli into bite-sized florets, steamed them, and seasoned them with lemon juice and a bit of salt. Then I mashed up the baked potato innards with just enough butter to moisten them, and stirred in enough buttermilk to get the texture I was looking for – moist but not wet. Buttermilk is great with potatoes because it tastes like sour cream but isn’t nearly as fattening. I tried to be judicious with the cheese, and then scallions provided the perfect overtone of onion flavor. I stuffed the shells with the filling and put the whole thing under the broiler for a few minutes to reheat it and melt the cheese. (The final step, of course, is to drop it on the counter while transferring it from the baking sheet to a plate.)

copy-of-img_1339

The result is the ideal healthy-ish one-dish-meal baked potato. The shells are crispy, the broccoli is cooked just right, the potato filling is creamy, and the flavors meld perfectly. Cooks Illustrated couldn’t have done it any better.

One year ago: Country Crust Bread – my favorite sandwich bread

Twice-Baked Potatoes with Broccoli, Cheddar, and Scallions

Serves 2

This is admittedly heavy on the broccoli. You can use less if you prefer, but we like broccoli and it’s so healthy.

2 medium to large baking (russet) potatoes
2 small (or 1 large) broccoli crowns, cut into 1-inch florets with stems no longer than 1 inch
½ teaspoon lemon juice
1 tablespoon butter, softened
½ cup buttermilk
1 scallion, sliced then
1 ounce (¼ cup) cheddar, plus ½ ounce (2 tablespoons)
salt
black pepper

1. Move an oven rack to the middle position and heat the oven to 400 degrees. Scrub the potatoes and stab them several times with a fork. Place them on the oven rack and bake until a fork inserted into the potato meets no resistance, 60-75 minutes.

2. Remove the potatoes from the oven and set them aside until they’re cool enough to handle. Heat the broiler. Meanwhile, bring 1 inch of water to a boil in a large saucepan over high heat. Place the broccoli florets in a steamer basket and put the steamer basket in the saucepan, making sure that the water does not come into contact with the broccoli. Cover the pot and steam for 4 minutes, until the broccoli is just crisp-tender. (You want it more on the crisp side, since they’ll continue to cook as they cool, plus they’ll spend some time under the broiler.) Remove the steamer basket with the broccoli from the saucepan and discard the water in the pot. Dump the broccoli into the pot and season with a pinch of salt and the lemon juice.

3. Cut the potatoes in half lengthwise. Using a spoon, scoop out the flesh of the potatoes, leaving a thin coating on the potato skin. In a medium bowl, use a potato masher to mash the potato flesh with the butter. Stir in ¼ teaspoon salt, a pinch of ground black pepper, the broccoli, plus the remaining ingredients, except ½ ounce cheddar.

4. Spoon the filling into the potato shells and top with the remaining cheddar. Place the potatoes on a baking sheet and broil until the cheese is spotty brown and the tops are crisp. Serve immediately.

copy-of-img_1341

caramel-topped flan

copy-of-img_8591

Like a lot of Tuesdays with Dorie members who joined the group late, I plan on eventually making all of the recipes that I missed. Why not? I make those thirteen recipes (down to nine, now), and I will eventually have baked through the entire book. How cool is that?

There were just two recipes that I had no interest in. I already have tried and true recipes for both pound cake and crème caramel, plus Dorie’s versions didn’t get rave reviews across the board. But, Dave requested flan, and he was insistent that it be flan and not crème caramel, never mind that they’re the same thing, and since Dave rarely gets so specific, I indulged him.

copy-of-img_8553

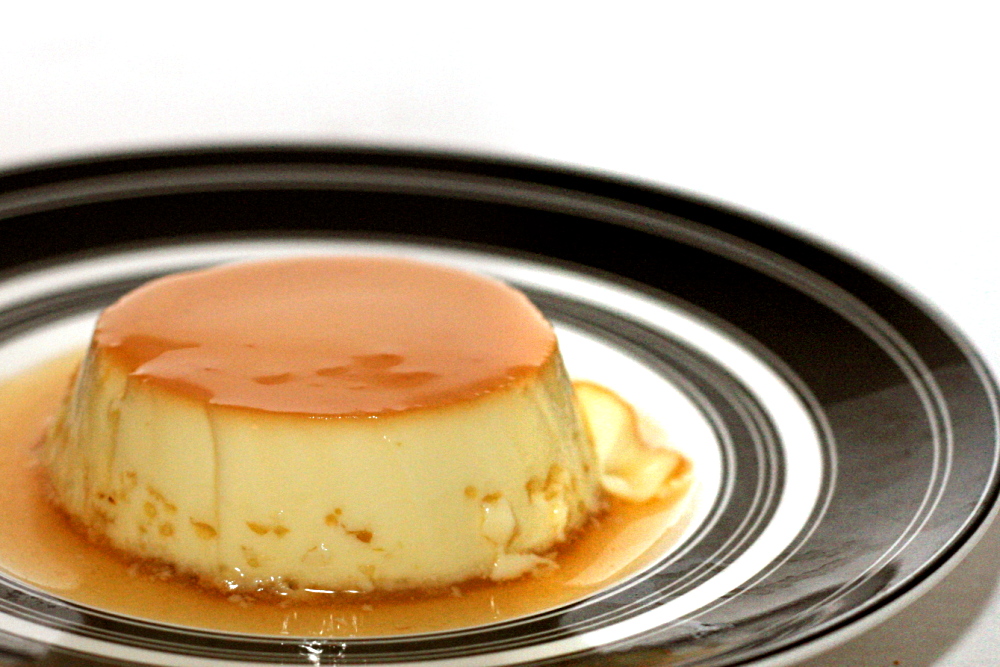
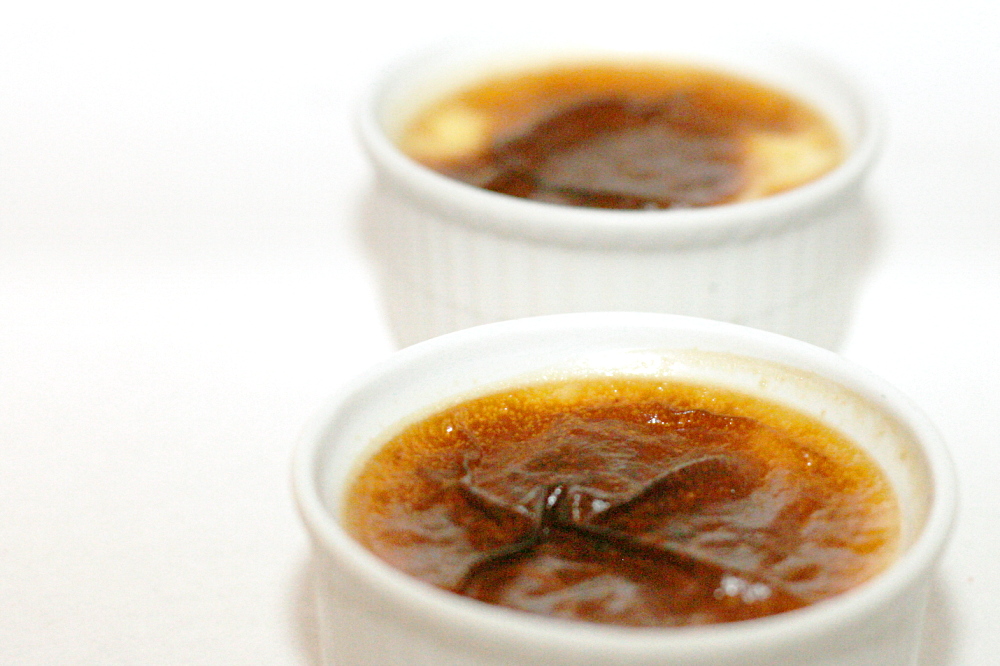
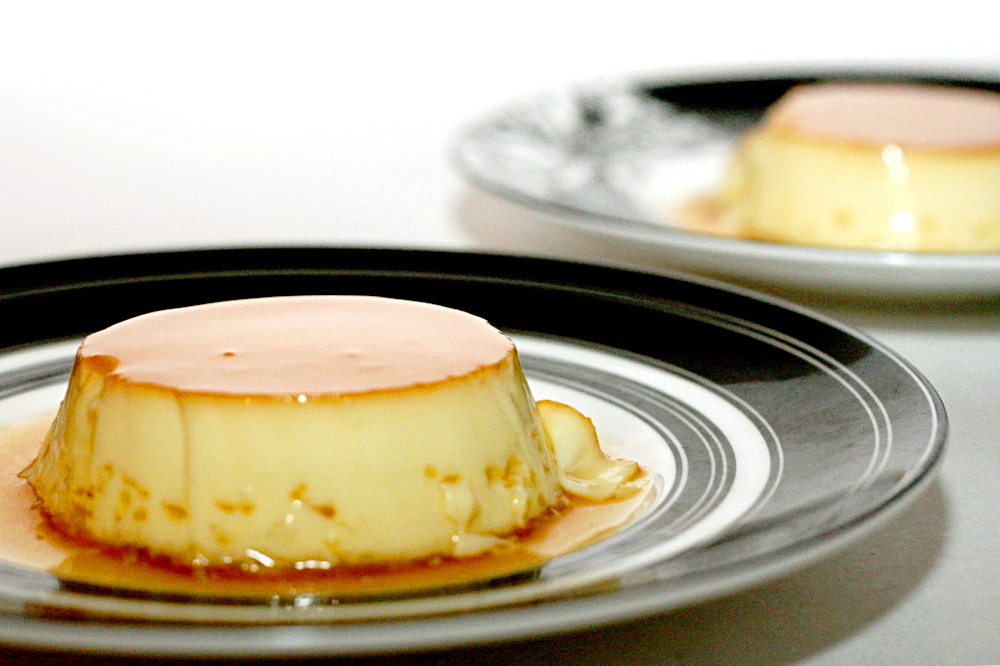
This flan wasn’t drastically different than my other recipe. There wasn’t as much caramel, but it seemed like enough. The custard ingredients and methods are very similar, so I’m not clear on why the tops of these flans turned golden, while the crème caramel that I made last year isn’t browned at all.

copy-of-img_8587

The two recipes are so similar that I’d be hard-pressed to pick a favorite. They’re both smooth and creamy with a good balance of sweet caramel. It was definitely worth making it to get it marked off the list. I think I might try making the pound cake recipe now. It never hurts to try a new recipe.

copy-of-img_8589

One year ago: Marcella Hazan’s Lasagne Bolognese – not my favorite lasagna recipe, but I learned a lot from making it

Caramel-Topped Flan (from Dorie Greenspan’s Baking: From My Home to Yours)

Makes one 8-inch flan, or six 6 servings in 6-ounce ramekins, or 8 servings in 4-ounce ramekins

For the caramel:
⅓ cup sugar
3 tablespoons water
squirt of fresh lemon juice

For the flan:
1½ cups heavy cream
1¼ cups whole milk
3 large eggs
2 large egg yolks
½ cup sugar
1 teaspoon pure vanilla extract

Getting ready:
Center a rack in the oven and preheat the oven to 350F. Line a roasting pan or 9-by-13 inch baking pan with a double thickness of paper towels. Fill a teakettle with water and put it on to boil; when the water boils, turn off heat.

Put a metal 8-inch round cake pan – not a nonstick one – in the oven to heat while you prepare the caramel. (If you are using individual molds or ramekins, then skip this step.)

To Make the Caramel:
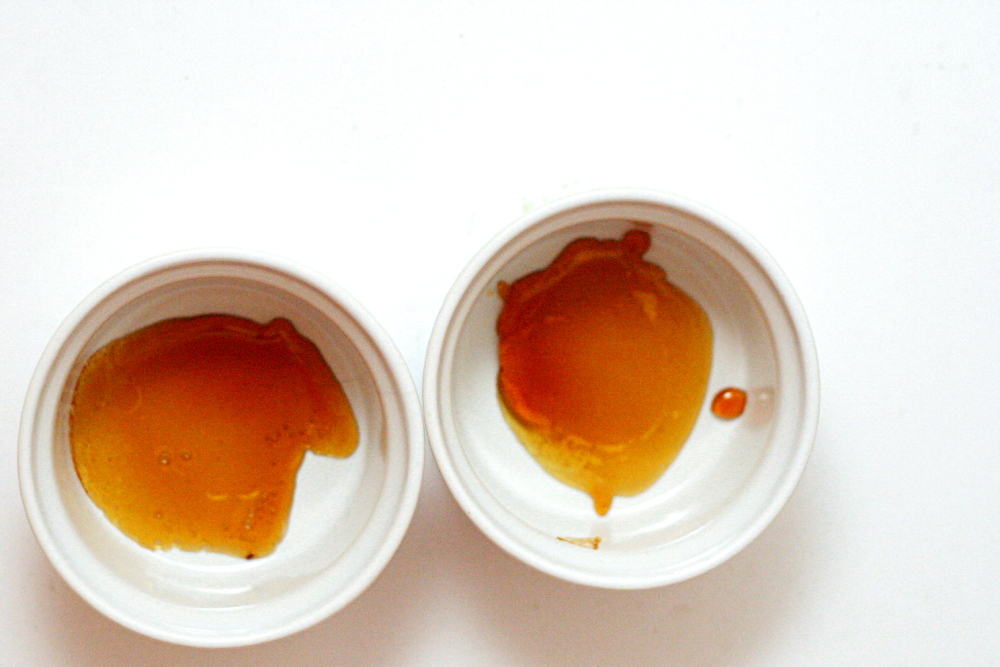
Stir the sugar, water and lemon juice together in a small heavy-bottomed saucepan. Put the pan over medium-high heat and cook until the sugar becomes an amber-colored caramel, about 5 minutes-remove the pan from the heat at the first whiff of smoke.

Remove the cake pan from the oven and, working with oven mitts, pour the caramel into the pan and immediately tilt the pan to spread the caramel evenly over the bottom; set the pan aside.

To Make the Flan:
Bring the milk and heavy cream just to a boil.

Meanwhile, in a 2-quart glass measuring cup or in a bowl, whisk together the eggs, yolks and sugar. Whisk vigorously for a minute or two, and then stir in the vanilla. Still whisking, drizzle in about one quarter of the hot liquid-this will temper, or warm, the eggs so they won’t curdle. Whisking all the while, slowly pour in the remainder of the hot cream and milk. Using a large spoon, skim off the bubbles and foam that you worked up.

Put the caramel-lined cake pan in the roasting pan. Pour the custard into the cake pan and slide the setup into the oven. Very carefully pour enough hot water from the kettle into the roasting pan to come halfway up the sides of the cake pan. (Don’t worry if this sets the cake pan afloat.) Bake the flan for about 35 minutes, or until the top puffs a bit and is golden here and there. A knife inserted into the center of the flan should come out clean. (Small, individual molds will take less time- start checking for doneness around the 25-minute mark).

Remove the roasting pan from the oven, transfer the cake pan to a cooking rack and run a knife between the flan and the sides of the pan to loosen it. Let the flan cool to room temperature on the rack, then loosely cover and refrigerate for at least 4 hours.

When ready to serve, once more, run a knife between the flan and the pan. Choose a rimmed serving platter, place the platter over the cake pan, quickly flip the platter and pan over and remove the cake pan-the flan will shimmy out and the caramel sauce will coat the custard.

Storing: Covered with plastic wrap in its baking pan, the flan will keep in the refrigerator for up to 2 days. However, once unmolded, its best to enjoy it the same day.

Serving: Bring the flan to the table and cut into wedges. Spoon some of the syrup onto each plate.

copy-of-img_8589

savory corn and pepper muffins

copy-of-img_1285
Obviously I like baking desserts along with the Tuesdays with Dorie group every week, but you know what else I like? Every once in a while, it’s fun to choose my own dessert. Revolutionary, I know. I always get excited when I see a savory recipe chosen for TWD, because that leaves one extra dessert recipe that I get to pick out for myself.

copy-of-img_1249

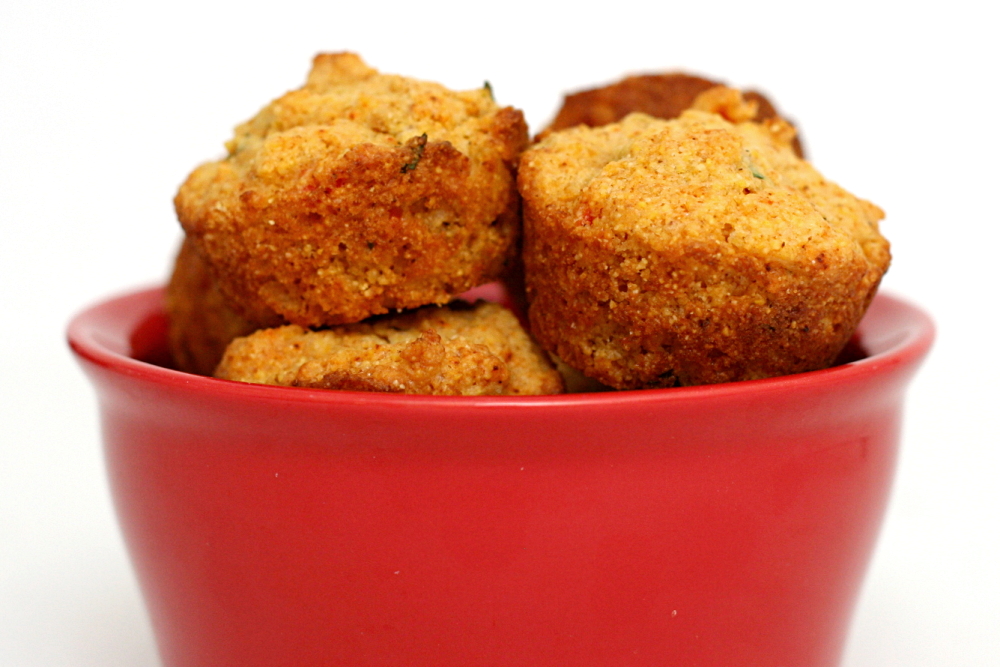
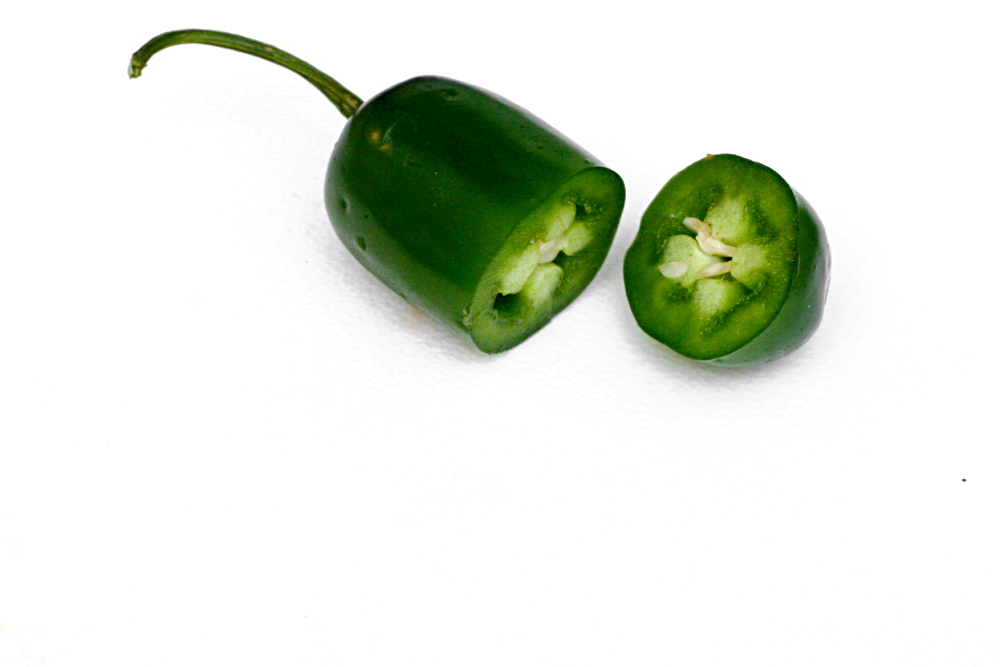
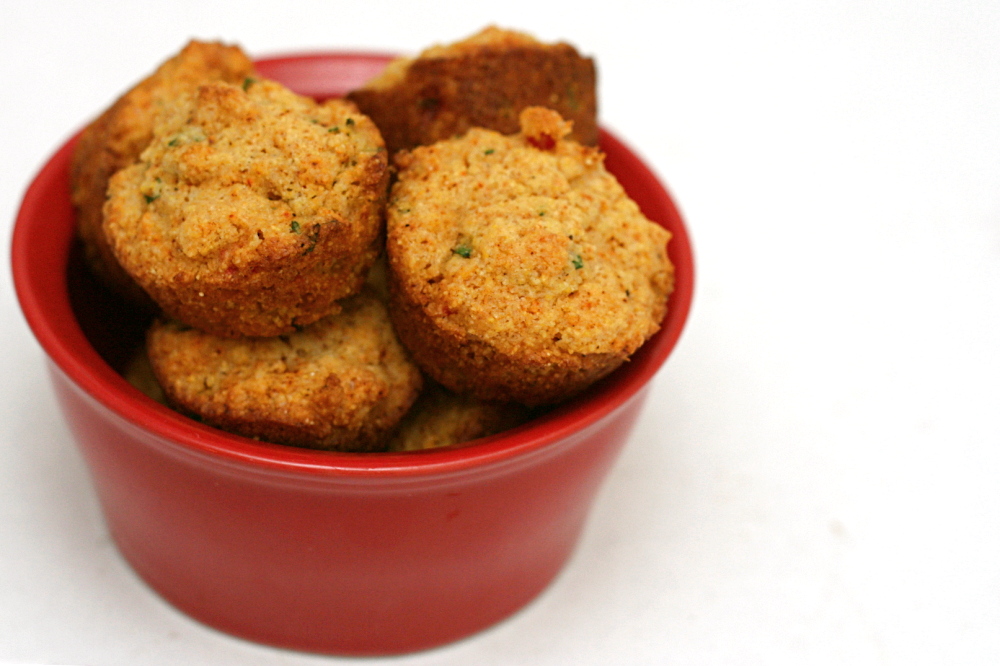
These corn muffins have three types of pepper in them – red pepper, jalapeno, and black pepper. Other than that, it’s a fairly typical cornbread recipe where the liquid and dry ingredients are mixed separately before being folded together. I made the muffins mini, because my mini muffin pan is new and fun.

copy-of-img_1253

I thought the muffins were really good. There were a couple members of the group who didn’t like how sweet they were. I understand there’s a battle between sweet and not-sweet cornbread lovers, but I’m a solid member of the sweet crowd, so I thought the flavor of these was great.

Rebecca will post the recipe.

One year ago: Banana Cream Pie

copy-of-img_1281

chopped salad

copy-of-img_1243

Last month, I was looking at pictures with my 2-year-old nephew, and when we came to a picture of my sister when she was six months pregnant, he pointed to her and said, “That’s Aunt Bridget!” Wow, thanks buddy. I know my pants fit kind of tight lately, but at least they’re size-six pants!

copy-of-img_1228

So I’m thinking I should eat more salads. Okay, that isn’t the reason – mostly, I just like salads. I like salads served either as the main dish or before the rest of the meal. Too often salads are an afterthought pieced together from iceberg lettuce, out-of-season tomatoes, and bottled dressing, and they’re served alongside a meal that they don’t compliment.

copy-of-img_1231

I know chopped salad hardly needs a recipe – just take your favorite vegetables and serve them over lettuce. I’m just excited about this particular combination – in about a week, I had it for dinner twice and lunch once.

copy-of-img_1236

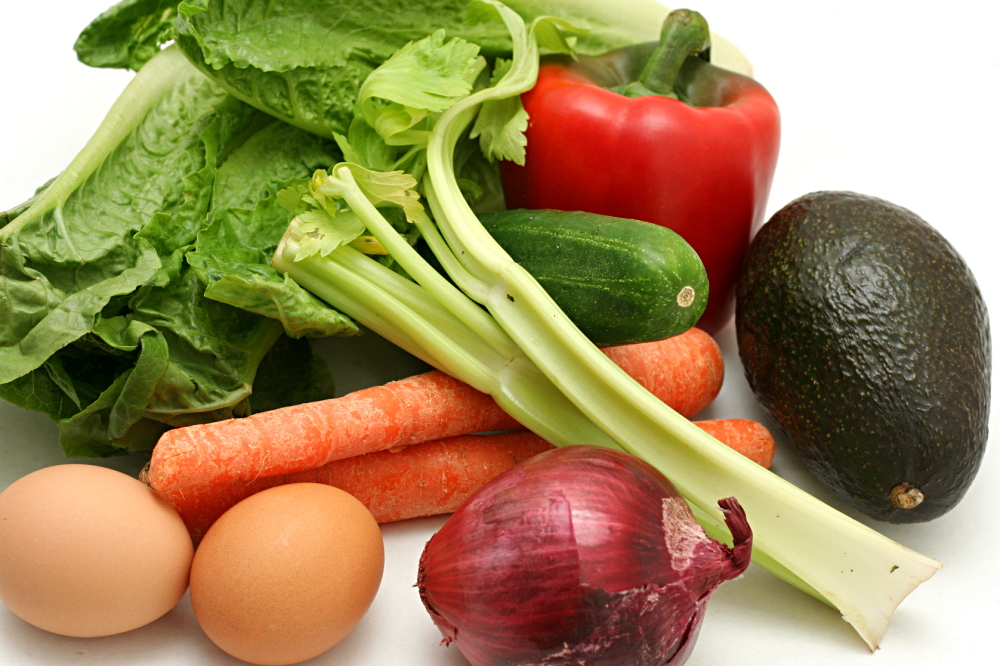
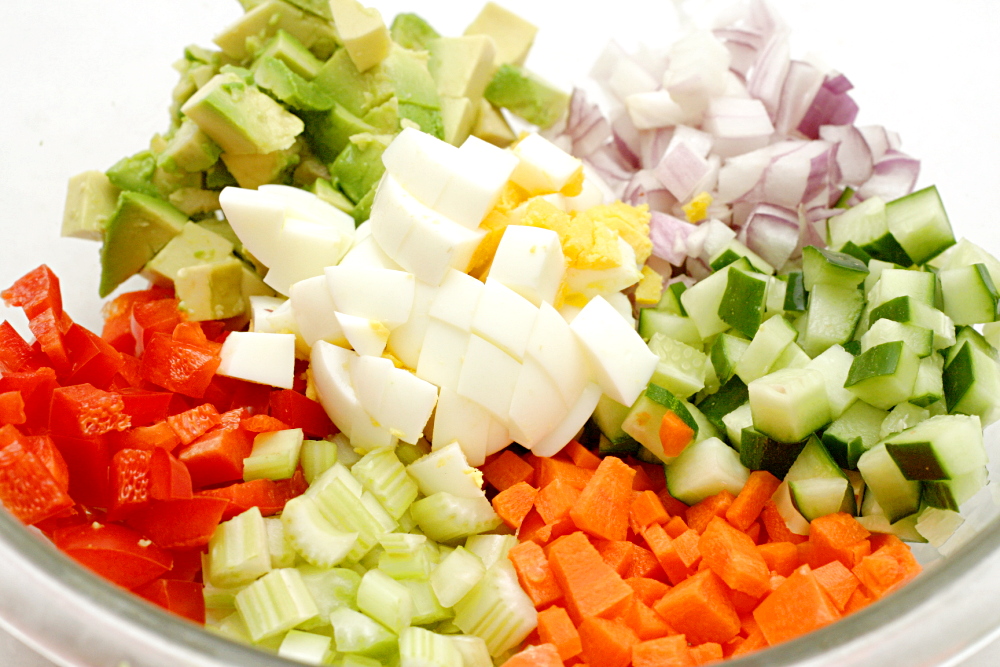
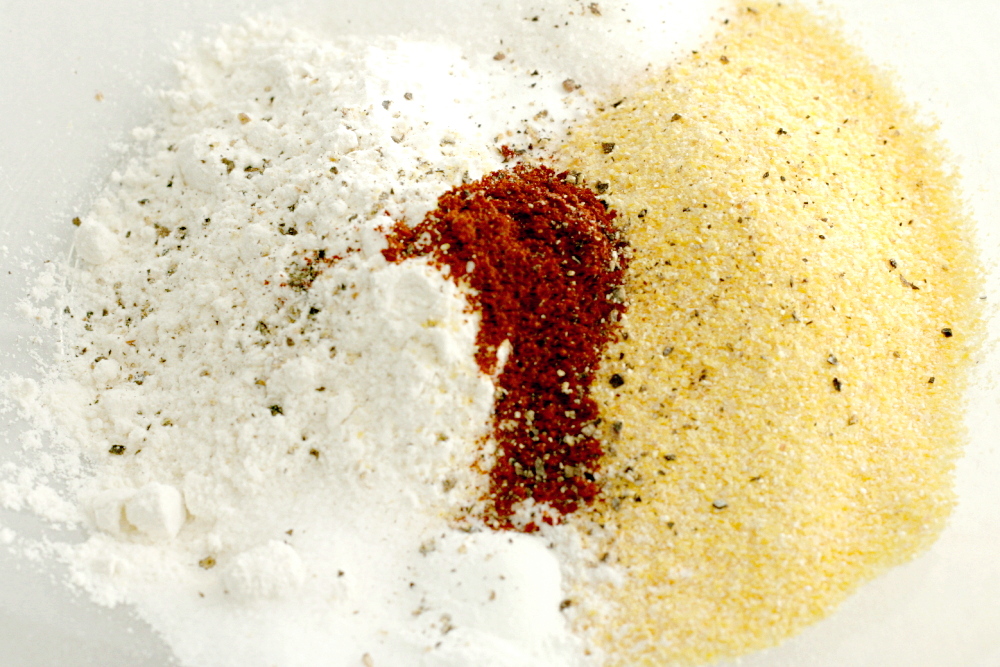
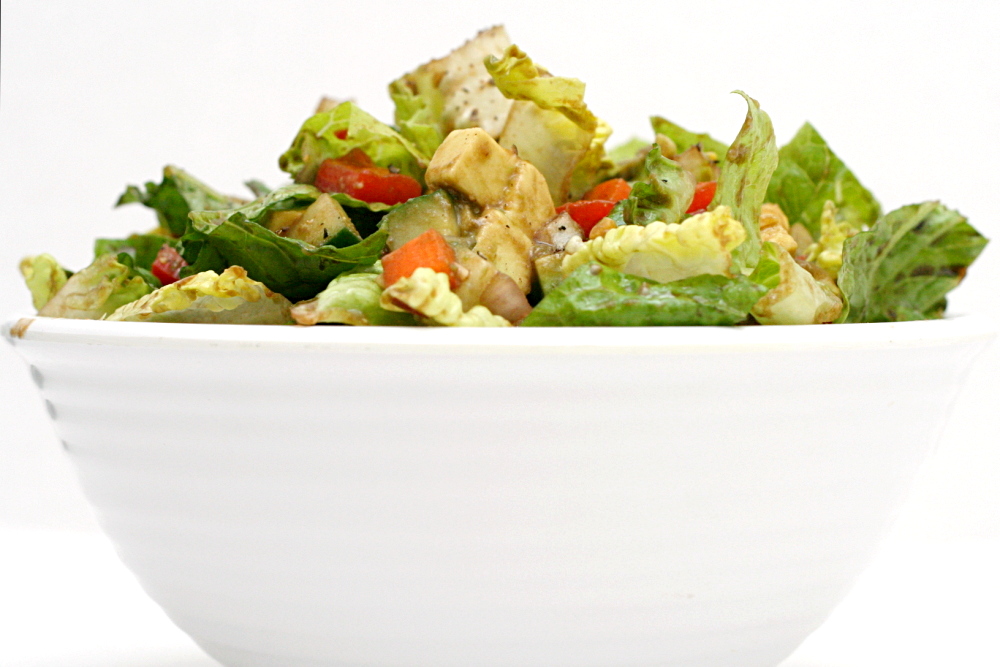
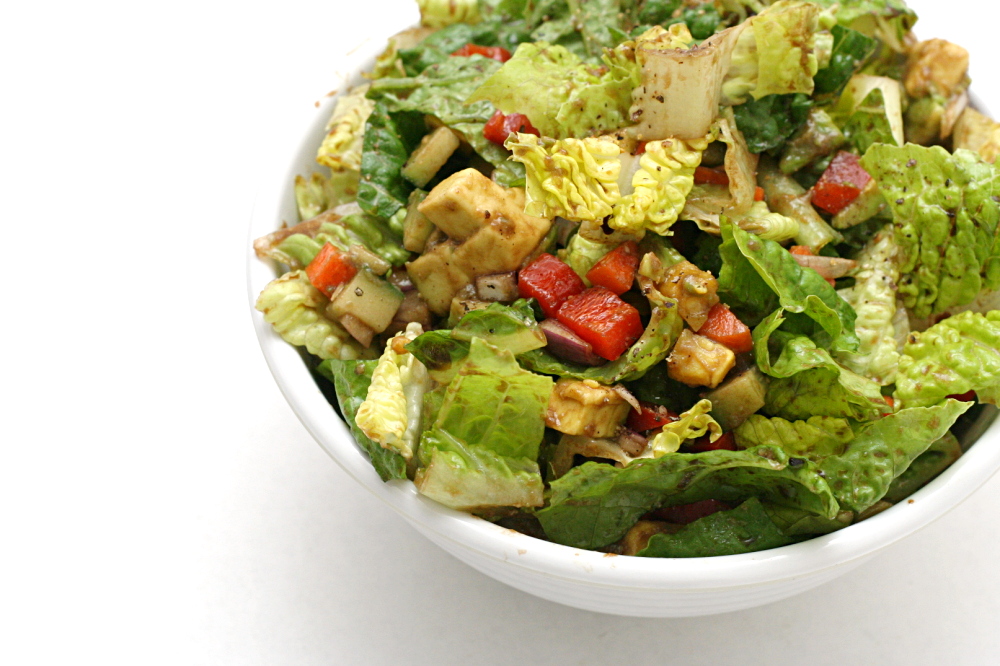
My salad includes romaine lettuce, along with carrots, cucumbers, celery, red pepper and red onion. I added hard-boiled eggs for protein and avocado to mellow the tartness of the vinaigrette. I chopped everything except the lettuce into about ¼-inch cubes, which made them easy to scoop up with a fork. There’s just enough lettuce to get maybe one small piece with each forkful of chopped vegetables.

Nothing makes me feel healthier than eating a big bowl of salad for dinner. And that makes me look forward to dessert that much more.

copy-of-img_1241

Chopped Salad (adapted slightly from Mark Bittman’s How to Cook Everything Vegetarian)

Serves 4

Vinaigrette:
2 tablespoons vinegar – good choices include balsamic, sherry, red wine, white wine
¼ teaspoon salt
pinch black pepper
4 tablespoons extra virgin olive oil

2 medium carrots, peeled
4 stalks celery stalks, preferably from the heart, washed
1 medium red onion
1 medium red bell pepper, washed
1 regular-sized cucumber or 2 english cucumbers, washed
1 avocado, halved, seed removed, flesh scooped from skin
2 hardboiled eggs, peeled
2 romaine hearts, washed and dried

1. For the vinaigrette: Combine all ingredients in a jar with a tightfitting lid and shake until combined.

2. For the salad: Chop all ingredients except romaine into ⅛- to ¼-inch cubes and place in large bowl. Cut romaine into approximately 1-inch pieces and add to bowl.

3. Add vinaigrette to salad ingredients and mix thoroughly. Serve.
german apple pancake

copy-of-img_0498

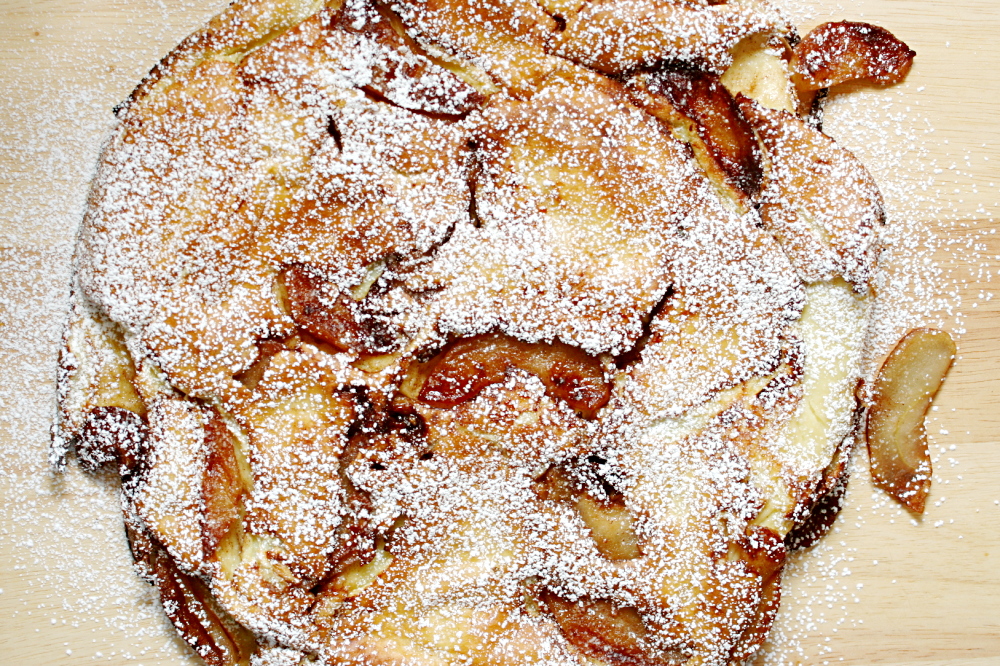
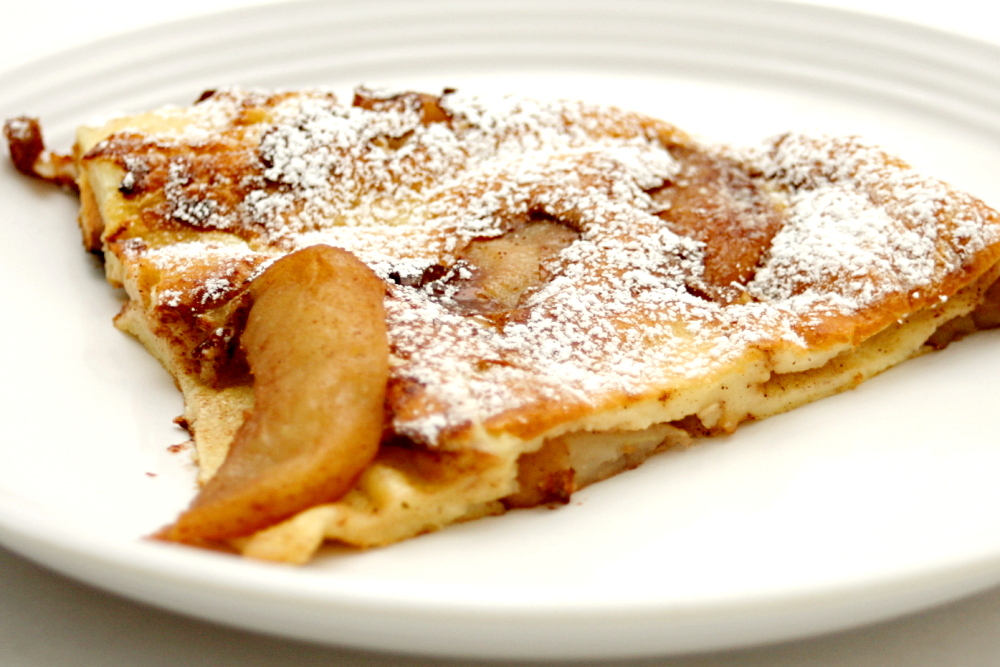
This is the third time I’ve tried to photograph this so I could blog about it. The first time was over a year ago when I didn’t know how to use my hand-me-down point-and-shoot camera. The photos are either yellow or they’re unevenly lit, and there’s a bunch of distracting stuff in the background. The next set has good lighting, but it just looks like powdered sugar dusted over…something. Who knew that a German apple pancake would be so hard to photograph?

copy-of-img_0476

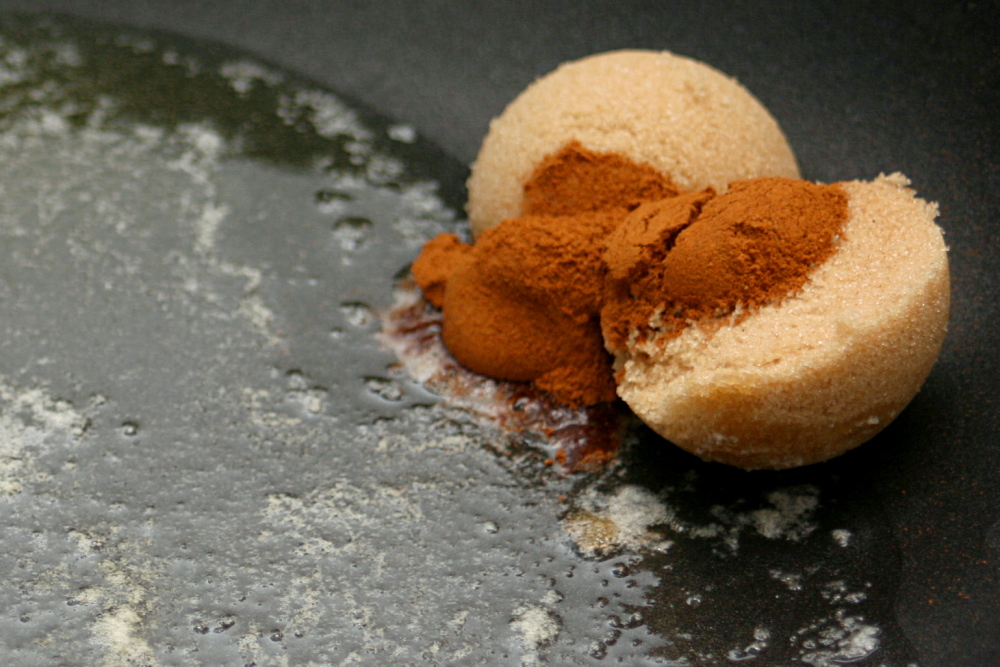
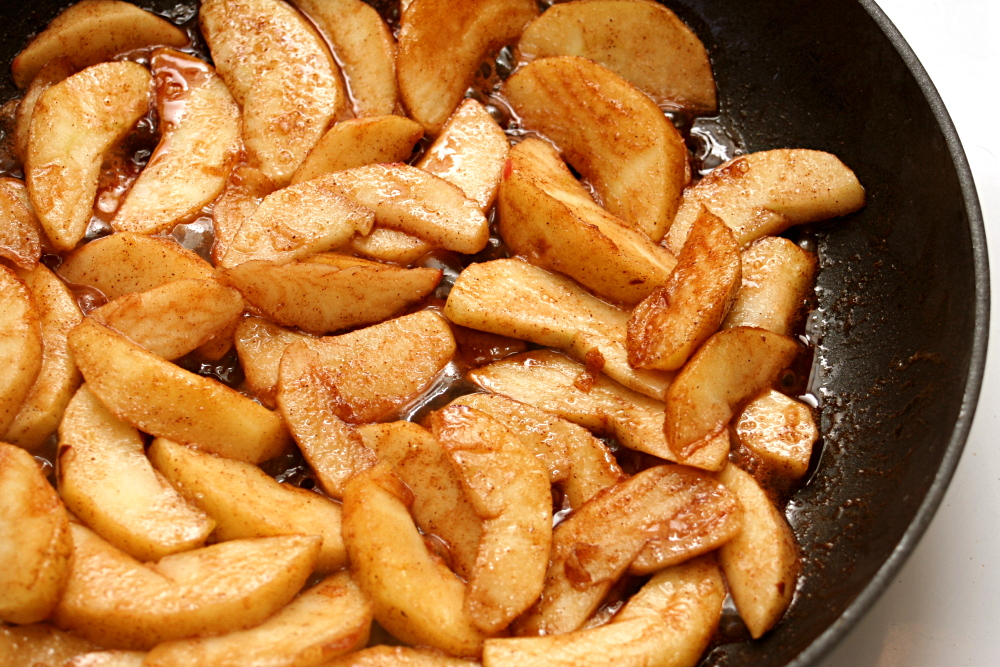
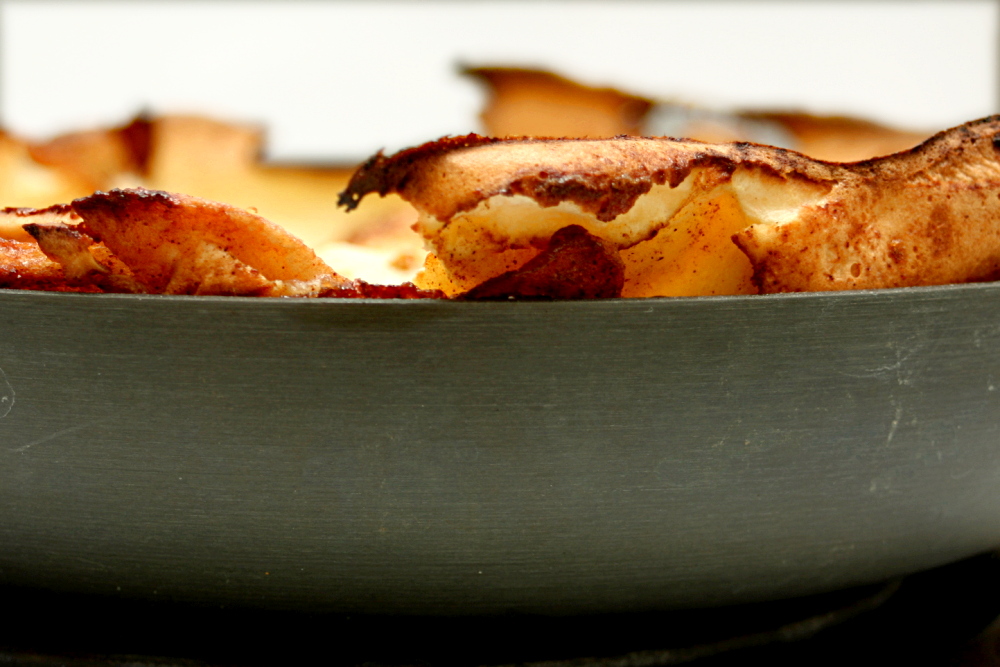
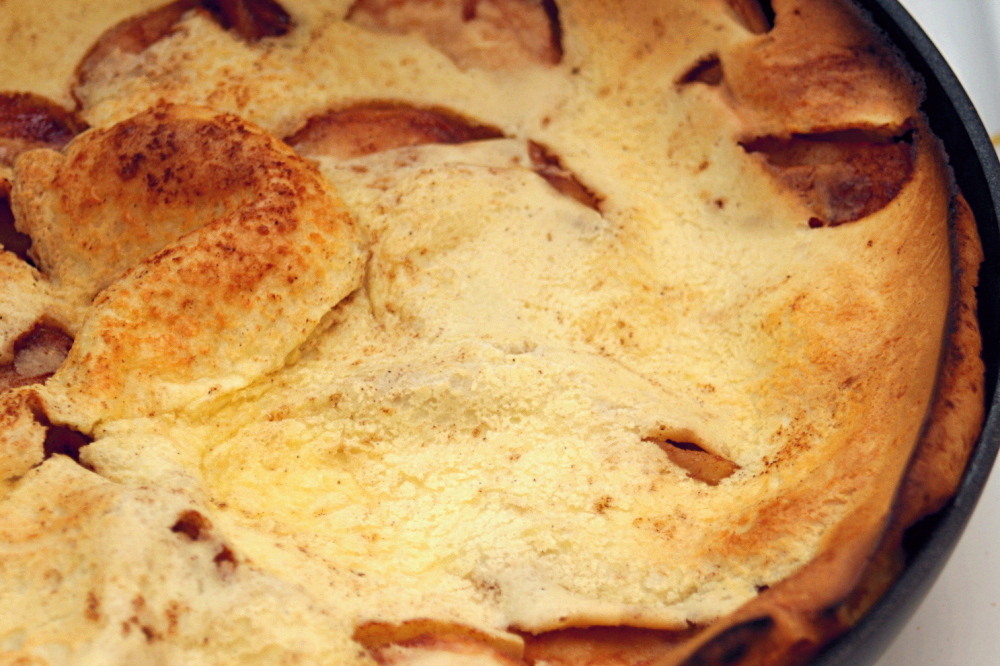
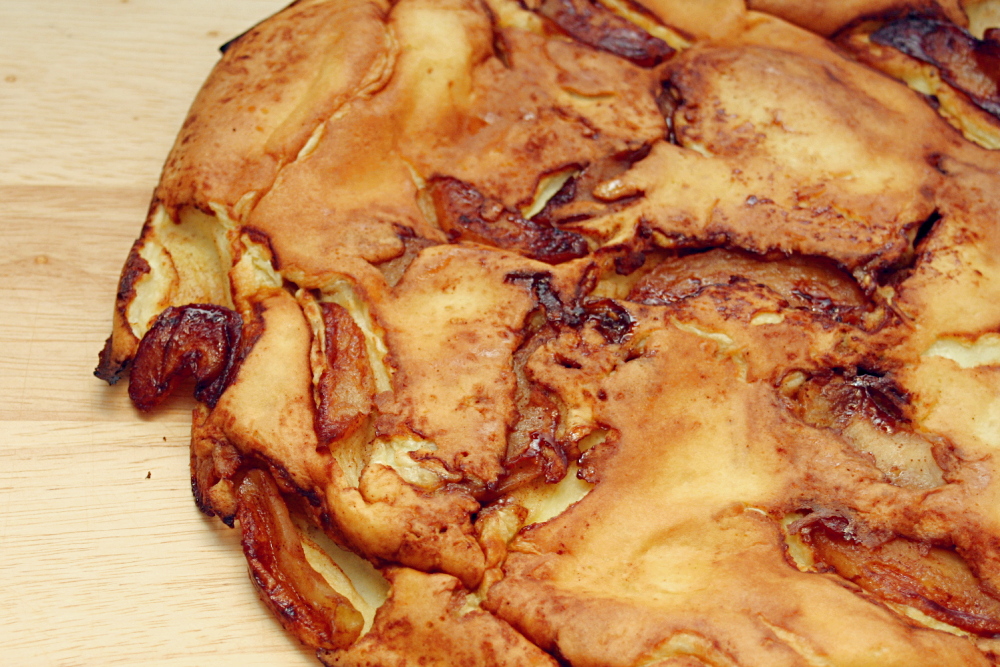
I used to order this in restaurants, back before I knew how easy it was to make at home. There’s nothing more to it than sautéing apples with sugar and cinnamon, pouring batter into the pan, and baking everything. The only challenge is inverting the whole thing onto a platter, but I just aim for “rustic” so I don’t have to worry about it looking perfect.

copy-of-img_0480

I’ve combined my favorite parts of two recipes to get one that was perfect for me. My mom gave me a recipe a few years ago, that, as is typical for recipes I get from my mom, is missing an important ingredient from the ingredient list – apples. Regardless, it is the apple portion that I like best from her recipe. There’s enough butter so that they’re not sticky, but not so much that they’re greasy.

copy-of-img_0484

For the batter, my mom’s recipe calls for the eggs to be separated and the whites to be beaten to stiff peaks, then folded into the remaining ingredients. I don’t really like the resulting spongy texture. Instead, I mix all of the ingredients in the blender. The resulting pancake is dense and even-textured, with enough flavor to support the apples without overpowering them.

copy-of-img_0488

When my mom makes her recipe, she arranges the cooked apple slices in a pretty pattern in the skillet before topping them with the batter. When she inverts the cooked pancake, the pattern is retained. I tried it once, but I couldn’t see the arrangement of apple slices, especially after a dusting of powdered sugar, I guess because of the different batter I use, so I don’t bother arranging them now.

copy-of-img_0491

So maybe this isn’t the most impressive-looking breakfast ever. But believe me that the taste makes up for the looks entirely. It’s sweet but not overbearing, and the batter supports the apple filling perfectly. Plus, there’s an apple per person, so I like to convince myself that it’s sort of healthy.

copy-of-img_0493

One year ago: Macaroni and Cheese – Yum.  Love this stuff.

German Apple Pancake

Serves 2

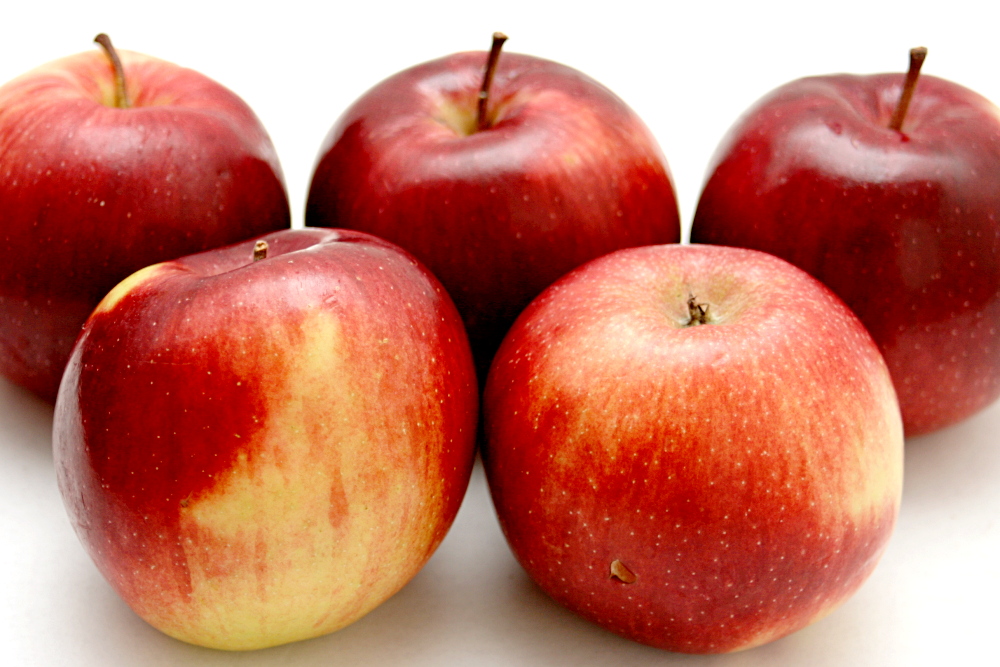
I don’t worry too much about what kind of apple I use for this. McIntosh is probably a bad choice, since they’re so soft, but anything else seems like it would be okay. I usually use Empire.

I was a little uncertain about putting a nonstick skillet in the oven at first. But, I took the plunge and haven’t had any problems. You could try wrapping the handle (that’s the part that is least likely to be heat safe) in foil, or, if you’re very concerned, transfer the apple mixture to a greased pie pan before adding the batter and baking everything.

2 tablespoons unsalted butter
2 tablespoon brown sugar
1 teaspoon cinnamon
2 apples, peeled, cored and sliced (see note)
2 large eggs
¾ cup whole milk
1 teaspoon vanilla extract
½ teaspoon salt, plus a pinch
½ cup (2½ ounces) flour
powdered sugar

1. Heat oven to 400C.

2. Melt butter in a medium nonstick skillet over medium heat. Add brown sugar, cinnamon and a pinch of salt; stir. Once the dry ingredients are incorporated in the butter, add the apples and spread them into a single later. Cook without stirring until the apples begin to brown, about 5 minutes. Cook for another 5 minutes, stirring occasionally, until the apples are completely soft and maybe even a little caramelized.

3. Meanwhile, place all remaining ingredients except flour in blender and process until mixed, about 15 seconds, wiping down sides if necessary. Add flour and continue processing until it’s incorporated and the mixture is smooth.

4. Pour the batter evenly over the apples. Place the skillet in the oven and bake until pancake is firm and puffed, about 10 minutes. Invert onto plate, dust with powdered sugar, and serve.
copy-of-img_0501

french pear tart

copy-of-img_1195

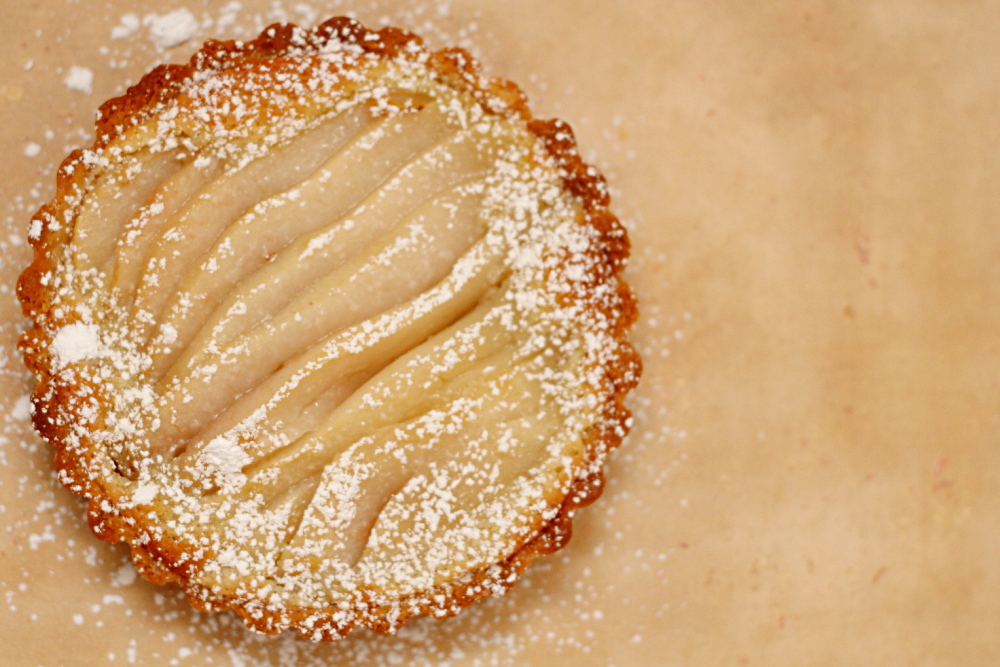
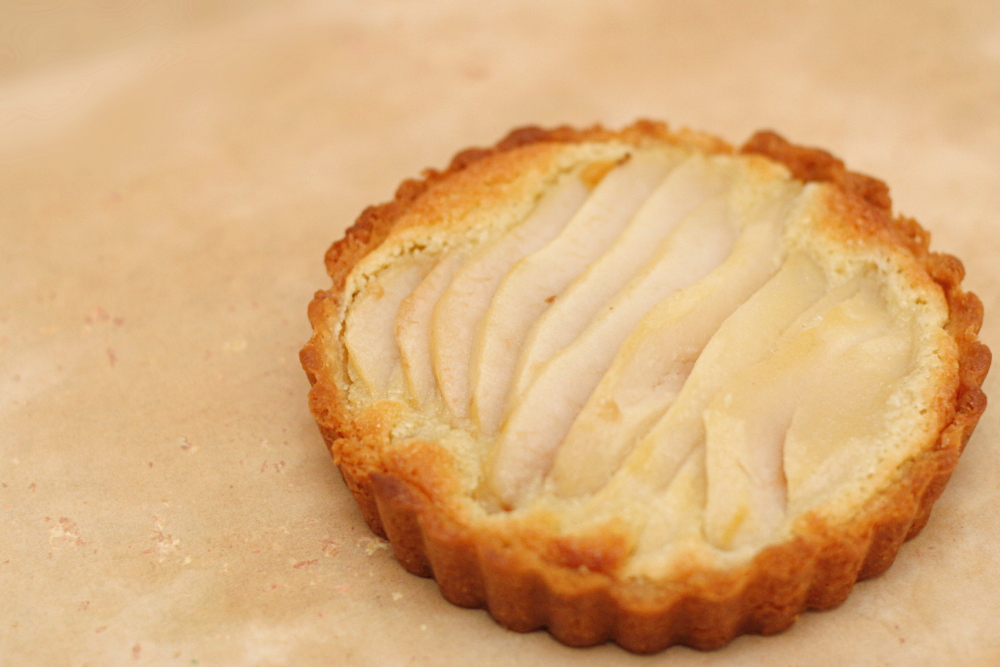
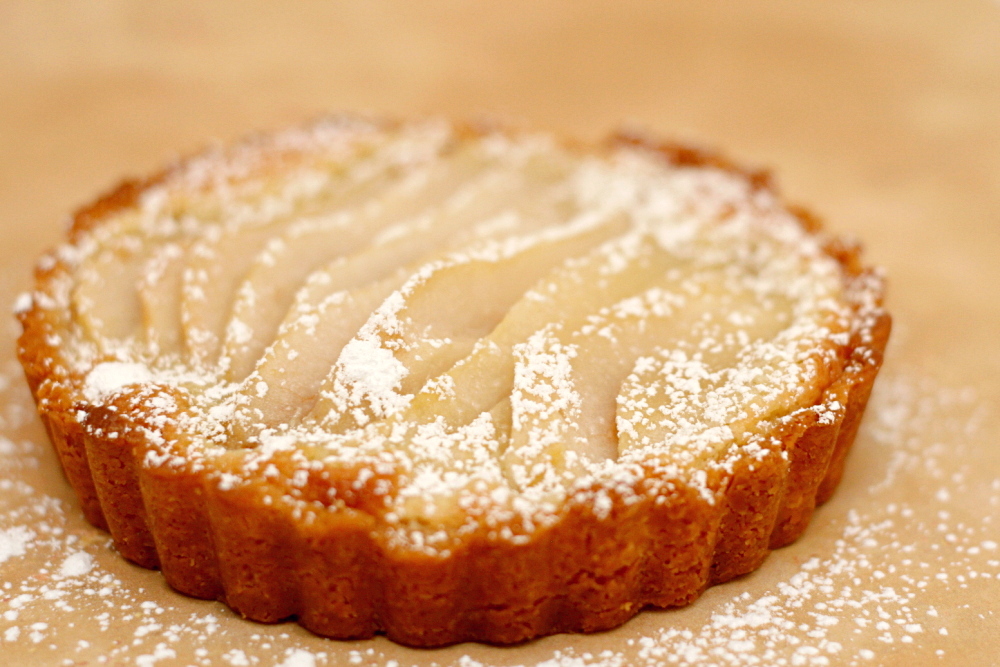
This tart had everything going against it. For one thing, I wasn’t in the mood to make a three-part dessert. For another, Dorie says that it’s supposed to be eaten the day it’s assembled, and I had my doubts that Dave and I would be eating the whole thing in one day. But that worked out – I made a third of the recipe, which I divided between two mini-tart pans. I prepared the ingredients, but didn’t layer them or bake each tart until the day I planned to eat it.

copy-of-copy-of-img_1189

I was too tired to take photos of the finished tart the first night we ate it. But the second night was even worse – Dave had very attentively refilled my wineglass throughout the evening, and I was hard-pressed to find the motivation to take photos of food. Plus the second tart (the drunk one) wasn’t as pretty as the first tart (the tired one). Imagine that.

copy-of-img_1180

But all’s well that ends well, because the tart was delicious. The crust was crisp but not tough, and the almond cream complimented the pears nicely. The dessert was pretty sweet and I could have used some more salt somewhere, but I say that every week. I had never eaten anything like this, so I’m really glad I tried it.

copy-of-img_1192

Dorie actually chose the recipe for us this week, and the recipe is posted on her blog.  Dorie has been fantastically supportive of Tuesdays with Dorie from the beginning of the group. She regularly answers questions, she’s posted about the group multiple times on her own blog, and this week she took the time to answer a number of interview-type questions that TWD members have wondered about for the past few months. I love baking along with a group and I enjoy the recipes from the book, and having Dorie interact with TWD so closely is the icing on the cake.

One year ago: Oatmeal.  We just had this last weekend – I love it during the winter.
copy-of-img_1196