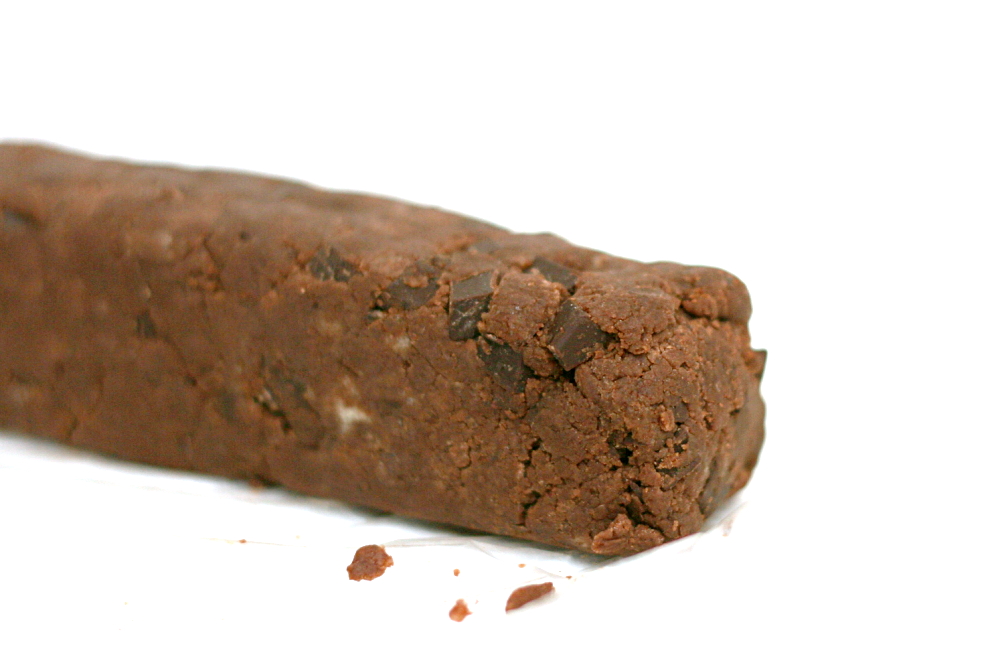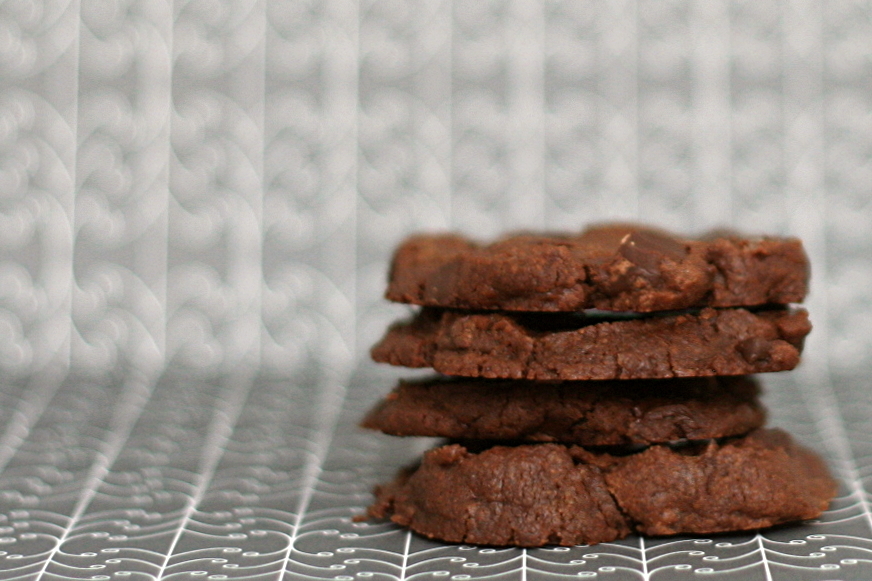
Archives for February 2009

beer-battered fish

copy-of-img_9324

Something I regret about my trip to Scotland a few years ago is that I didn’t eat fish and chips while I was there. I don’t remember many of the meals that I ate there. What really sticks out is the desserts, in particular chocolate lumpy bumpy, a combination of mousse, cake, and cheesecake. Oh, and whipped cream. Every time I ordered dessert in Scotland, I was asked if I wanted cream on it. Heck yeah I do!
copy-of-img_9313

It’s hard for me to stay focused on dinner when I start thinking about chocolate lumpy bumpy. But missing out on awesome Scottish fish and chips is nothing to scoff at. I needed to make up for it by learning to make my own.
copy-of-img_9311

Which isn’t as easy as it might sound. The tricky part seems to be getting the coating to stick to the fish – the first few recipes I tried, one of which was by the usually very dependable Cooks Illustrated, didn’t seem to work. When Cooks Illustrated fails me for classic recipes, I usually go to Alton Brown.
copy-of-img_9316

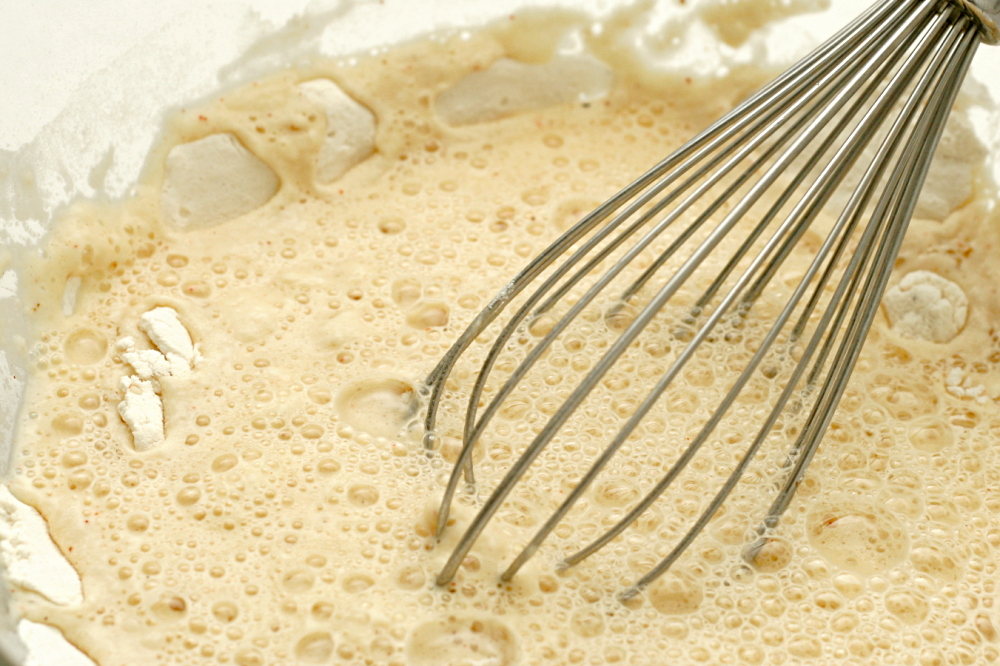
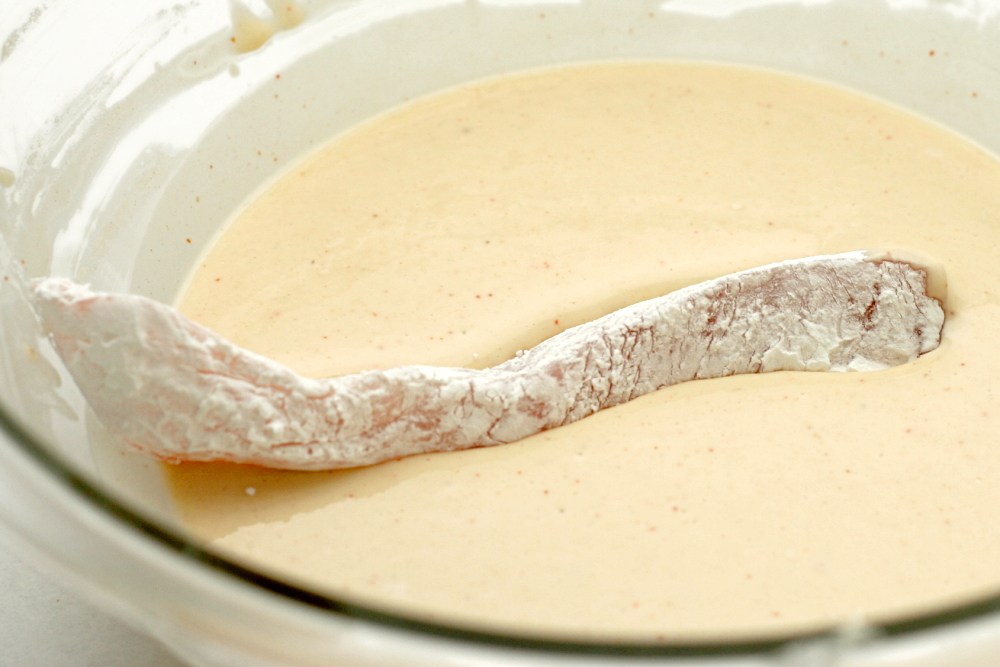
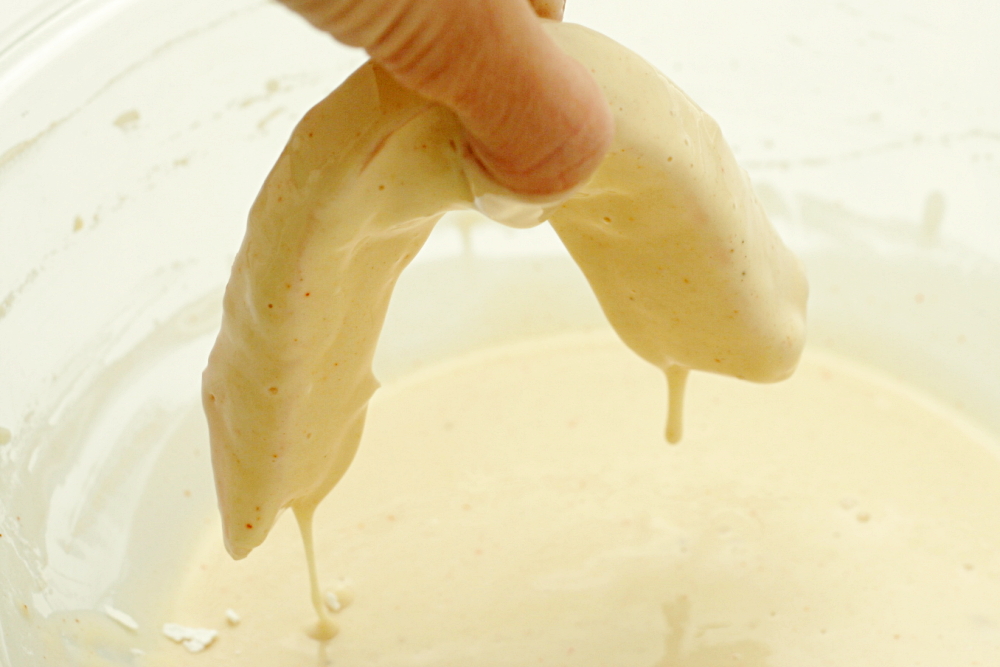
Like most beer-battered fish recipes, Alton’s batter is made with flour, baking powder, seasoning, and beer. The batter is allowed to rest before being used, which isn’t standard in beer-battered fish recipes, but also isn’t unheard of. The fish are dredged in cornstarch before being coated in batter and fried.
copy-of-img_9318

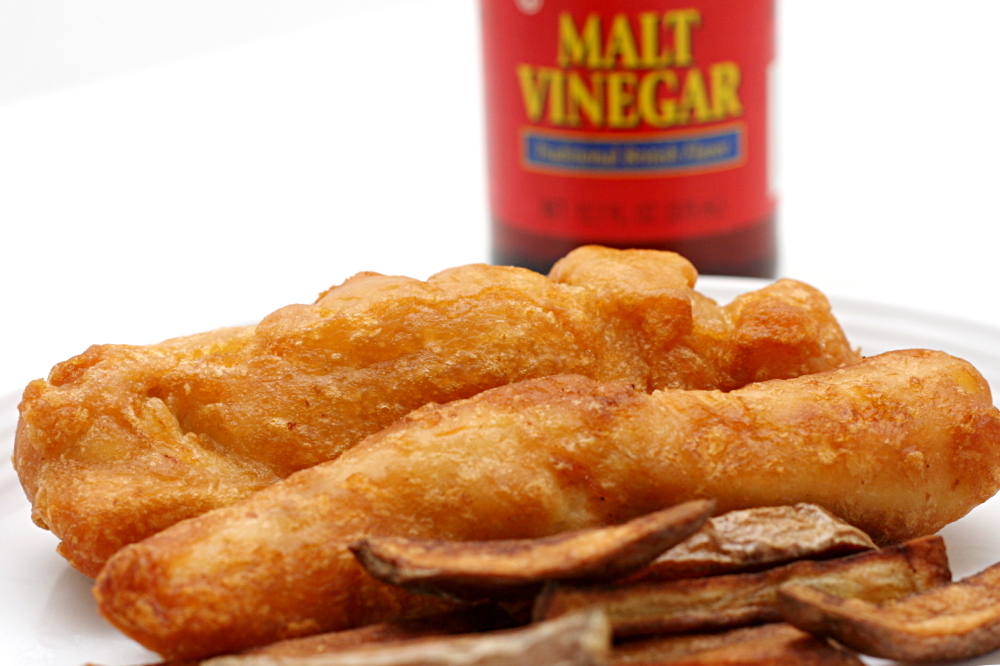
The result was great fried fish! The coating not only clung to the fish like it’s supposed to, it was crispy and flavorful. The fish was cooked through while being tender and flaky. The only problem with this meal was that it wasn’t followed by chocolate lumpy bumpy, but I could say that for most meals.

copy-of-img_9323

One year ago: Cream Cheese Brownies

Beer-Battered Fish (ever-so-slightly adapted from Alton Brown)

Serves 4-6

I did not make and have not tried Alton’s chips recipe, so I’m not including it here. You can find it on the same webpage as his fish recipe.

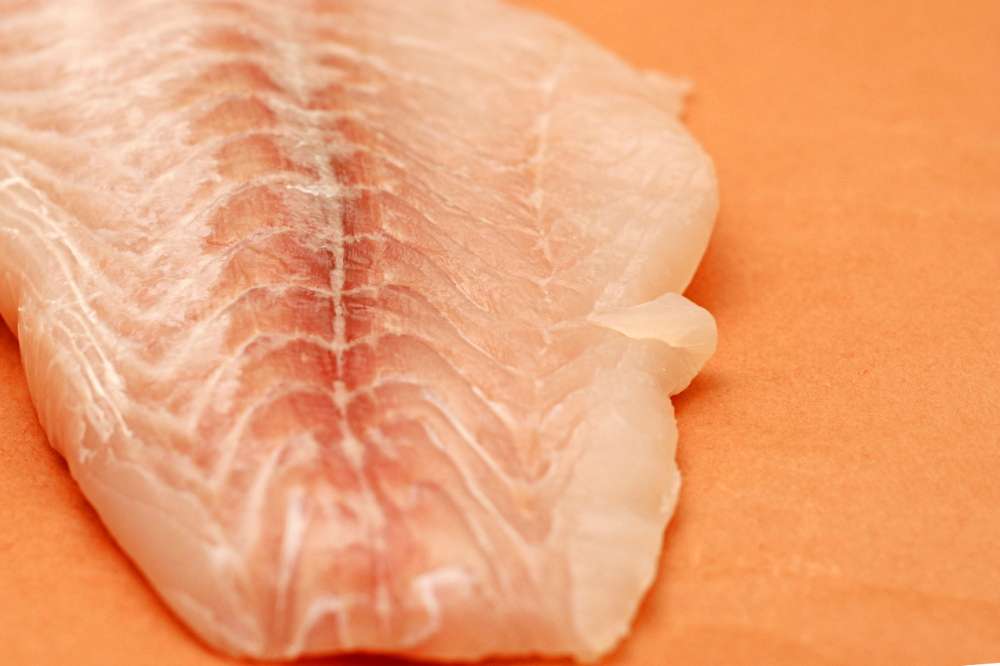
I think I used red snapper, but I actually made this quite a while ago and can’t remember. Does the picture look like red snapper?

1 gallon vegetable, canola, or safflower oil
2 cups flour
1 tablespoon baking powder
1 teaspoon kosher salt
¼ teaspoon cayenne pepper
Dash Old Bay Seasoning
1 bottle brown beer, cold
1½ pounds firm-fleshed whitefish (tilapia, pollock, cod), cut into 1-ounce strips
Cornstarch, for dredging
Malt vinegar, for serving

Heat oven to 200F.

Heat the oil in a 5-quart Dutch oven over high heat until it reaches 350 degrees.

In a bowl, whisk together the flour, baking powder, salt, cayenne pepper, and Old Bay seasoning. Whisk in the beer until the batter is completely smooth and free of any lumps. Refrigerate for 15 minutes. Note: The batter can be made up to 1 hour ahead of time.

Lightly dredge fish strips in cornstarch. Working in small batches, dip the fish into the batter and immerse in the hot oil. When the batter is set, turn the pieces of fish over and cook until golden brown, about 2 minutes. Drain the fish on a wire rack set over a baking sheet. Keep the fried fish in the warmed oven while you cook the remaining batches. Serve with malt vinegar.
copy-of-img_9327

caramel crunch bars

copy-of-img_2148

I haven’t missed a Tuesday with Dorie since I joined the group last April. There were a few times, when I was traveling or something, where it was close, but for the most part, it’s been easy. I never really understood what the big deal was with people who only made half the recipes. It’s not like I wouldn’t be baking every chance I got anyway.

copy-of-img_2124

Oh, did I mention that I was unemployed for most of the last year, and had an easy part-time job for the remainder? Yeah, that makes a difference. Everything seems so easy when you don’t have to actually work.

copy-of-img_2127

Now that I have a much more demanding job, I’m getting each TWD recipe done just by the skin of my teeth. I’ve gotten in the habit of finishing the recipes Monday night, and I’m lucky if I can get the blog entry done by the end of Tuesday.

copy-of-img_2130

As I’m more rushed to finish each recipe, I find myself diving into the baking before I read it through. I was halfway through making these before I realized that they were basically fancied-up chocolate chip cookies. Woohoo!

copy-of-img_2135

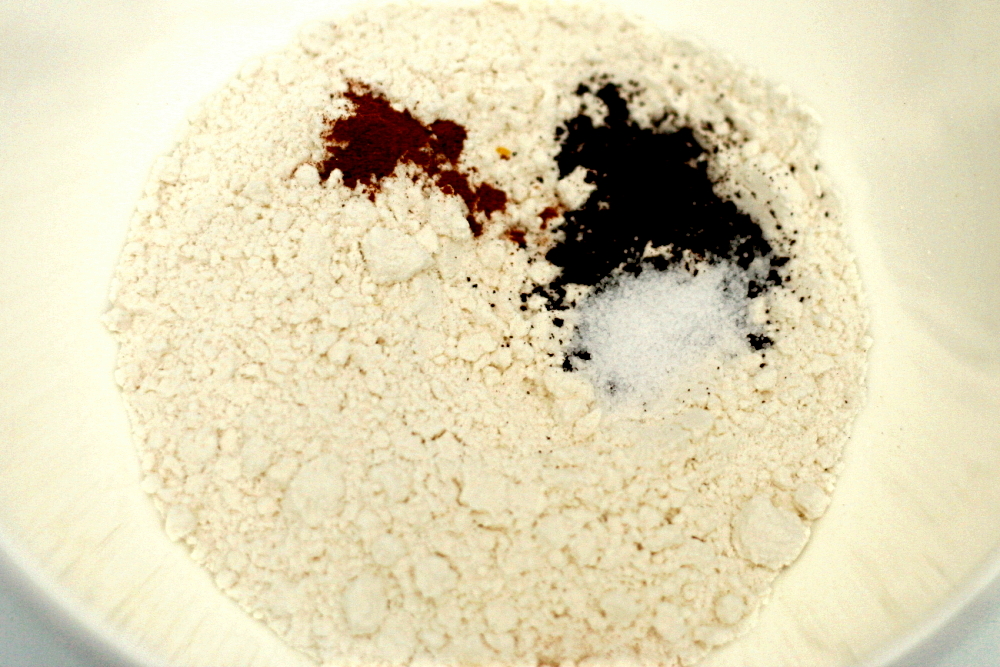
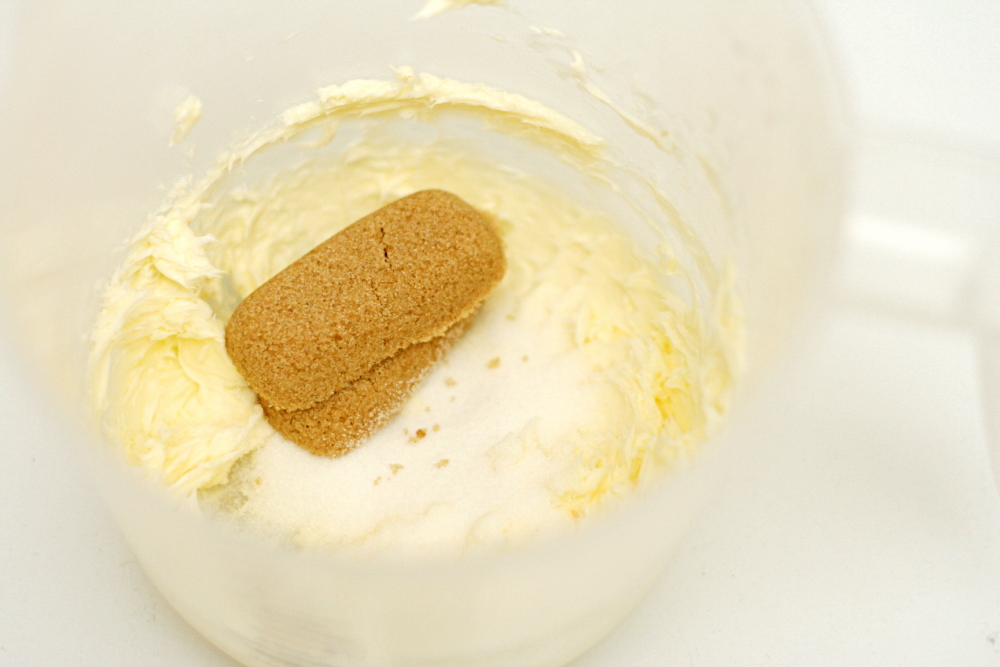
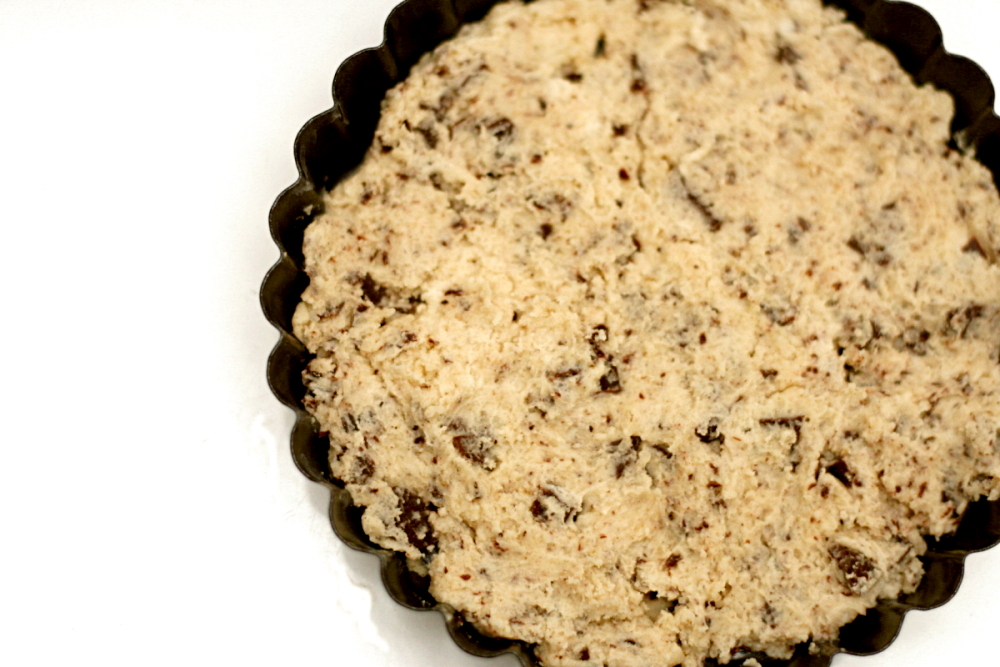
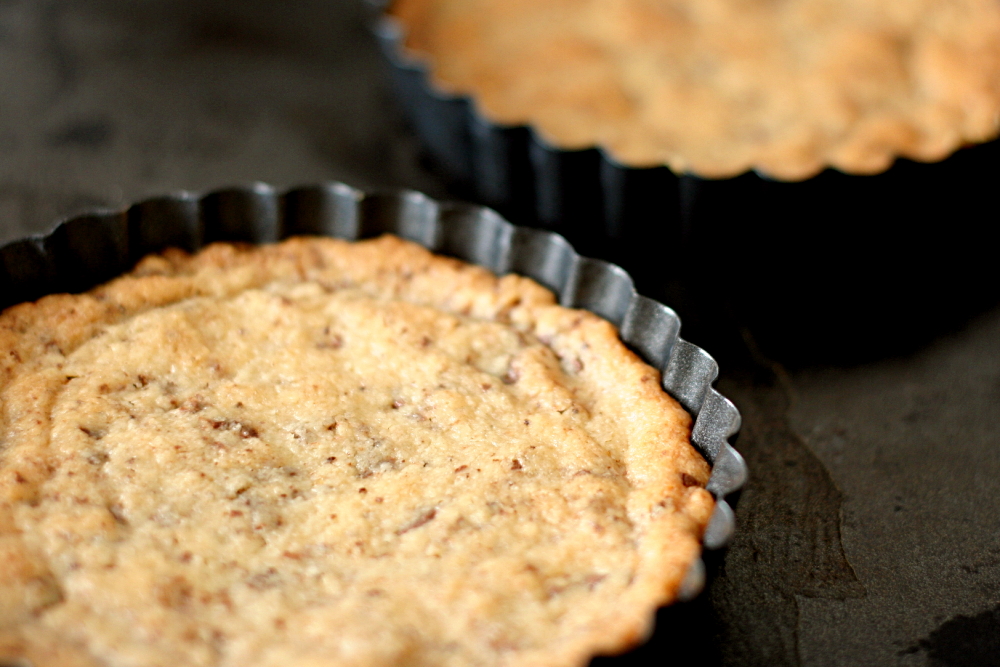
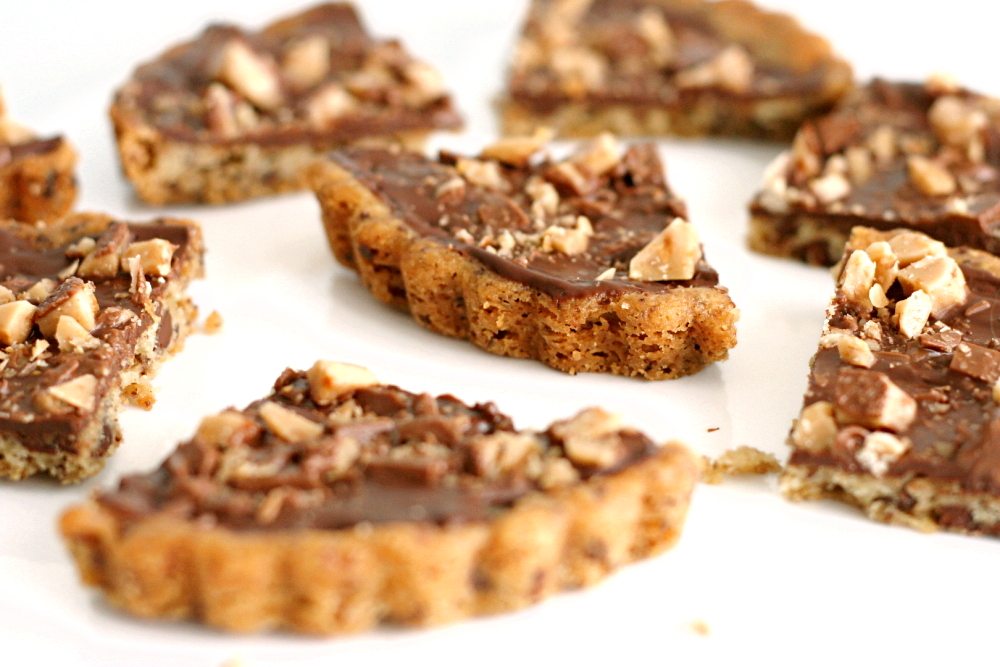
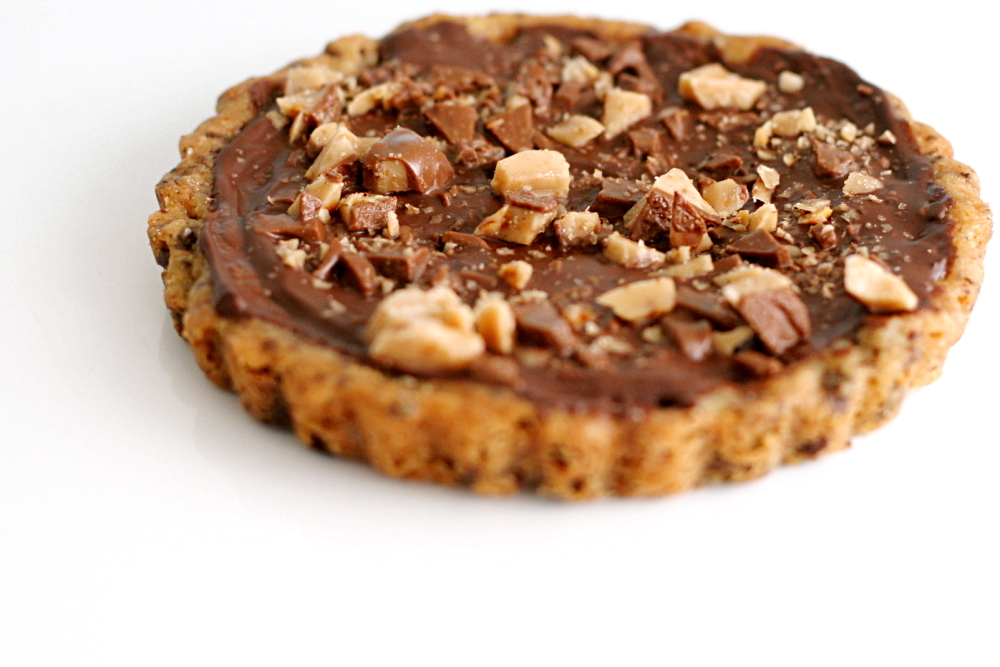
The base is a cinnamon- and espresso-enriched shortbread version of a chocolate chip cookie. Once that’s baked, it’s topped with finely chopped chocolate that quickly melts, then finished off with toffee bits. The cinnamon and espresso were pretty subtle – I couldn’t pick them out, but there was a little spice in the cookie. Overall, I really enjoyed these and wouldn’t change anything next time I make them.

Whitney has the recipe posted.

One year ago: Challah

copy-of-img_2150

honey yogurt dip

copy-of-img_1756

Dave and I, for better or worse, don’t have the types of jobs that we can just forget about when we leave work at the end of the day. As a result, we often have to work on weekends. One particularly stressful weekend, I decided that we should make weekend working an event, where we set aside a few hours to sit down at the table together and get our work done. And what I really mean when I say ‘event’ is that I want snacks.

copy-of-img_1653

Since we were being industrious and working, it made sense to keep the snacks on the healthy side. Plus they were replacing dinner, so they needed to be nutritionally well-rounded. This fruit dip was exactly what I was looking for – easy, healthy(ish), and finger-food friendly.

copy-of-img_1644

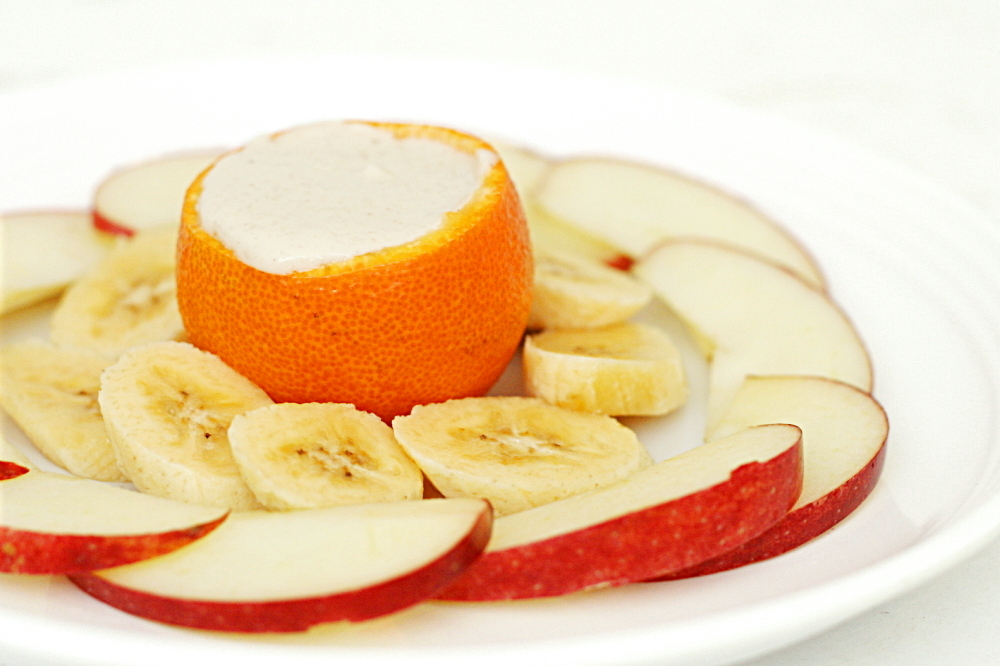
Calling this a recipe may be overstating things a bit – it’s really just yogurt sweetened with honey and enhanced with a pinch of cinnamon. The original recipe recommended vanilla yogurt, but a number of the reviewers indicated that the result was too sweet. Another common complaint was that the dip was too thin. I thought using Greek yogurt would solve both problems at once.

copy-of-img_1651

It was a good change apparently, because the dip was perfect – fresh and light, plus just a little spicy from the cinnamon. It enhanced our fruit without overpowering it. Unfortunately, the dip was a lot more successful than working was for me that weekend – I found myself all too easily distracted. But at least I was eating fruit, right?

copy-of-img_1750

One year ago: Green Chile Chicken Enchiladas

Yogurt Honey Dip (adapted from Bon Apetit July 1998, but really epicurious.com)

Makes about 1 cup, or 4 servings

I have to admit that I didn’t measure anything when I made this. It’s pretty much a to-taste thing anyway, just keep in mind that the flavor of the cinnamon didn’t really come through until the dip had been chilled for a few hours.

1 (7-ounce) container plain Greek yogurt
3-4 tablespoons honey
1/8-¼ teaspoon ground cinnamon

Mix the ingredients together. Cover and chill for at least 2 hours or up to 2 days. Serve with fresh fruit.

copy-of-img_1751

vegetarian chili

copy-of-img_1785

When my sister plans meals for once-a-month freezer cooking, she usually tests a small batch of a recipe before making a larger batch to freeze. This is good practice, I recently learned. A few months ago, I made vegetarian chili to bring on a camping trip, and even though I was experimenting with the recipe, I was confident enough that it would turn out great that I made a huge batch and froze half. Mistake!

copy-of-img_1768

There are a lot of recipes where I think ground meat is just extraneous, and chili is a great example. There are so many other flavorings in chili that it doesn’t usually taste beefy, and the beans provide plenty of protein, so the meat isn’t nutritionally required either. It’s just filler, and expensive, sort of unhealthy filler at that.

When I noticed that my favorite vegetarian chili recipe was very similar to my favorite beef chili recipe, except for the beef, I decided to combine parts of each that I liked. Where I screwed up the first time was in not taking into account that with less filler, I’d need less tomatoes as well. The result was (a huge pot of) chili-flavored spaghetti sauce (that I had to share with friends on the camping trip – sorry guys!).

copy-of-img_1787

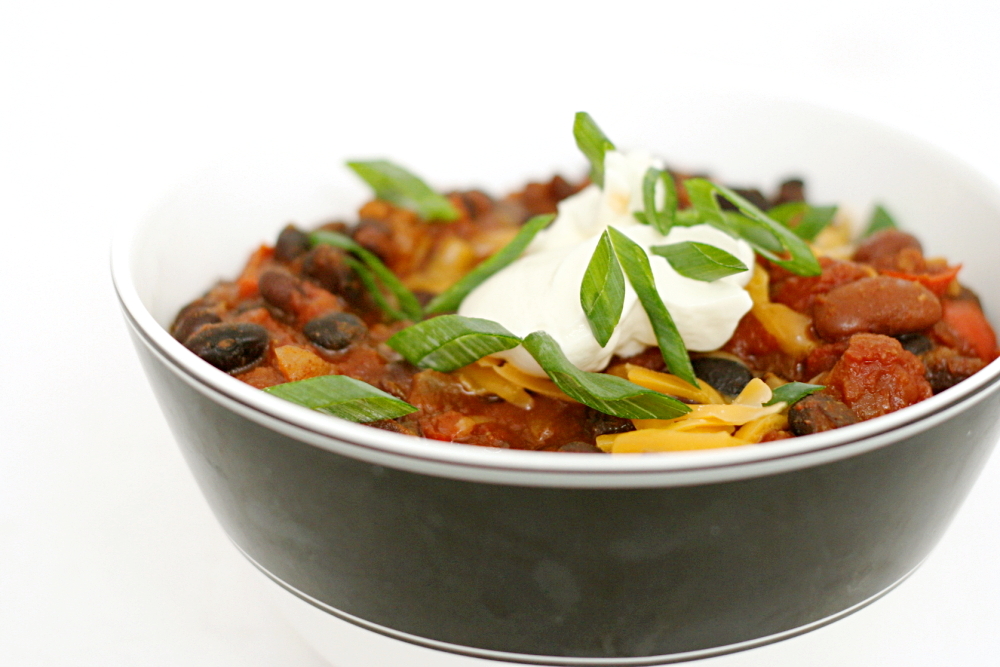
And before I could give it another try, I had to finish all of the frozen way-too-tomatoey stuff in the freezer. When I did finally make vegetarian chili again, I knew exactly what changes I wanted to make. I made a smaller batch this time, just in case, but wouldn’t you know it that I totally nailed it this time with a rich, spicy, meaty-even-without-meat bowl of chili that gets even better when topped with an assortment of garnishes.

copy-of-copy-of-img_1786

One year ago: Salmon Cakes, Flaky Biscuits, Hashed Brussels Sprouts – I made almost this exact same meal again recently (different biscuits though), and it’s just so good.  Restaurant quality food for sure.

Vegetarian Chili (adapted substantially from Jeanne Lemlin’s Vegetarian Classics and Cooks Illustrated’s The New Best Recipe)

I like to chop up the tomatoes a bit before adding them to the chili. I usually just stick a pair of kitchen shears into the can of tomatoes and start snipping.

I’ve never actually added the butter, in an effort to reduce the fat in the recipe. However, I’m guessing it helps mimic the richness that beef would provide.

2 tablespoons olive (or vegetable) oil
2 medium onions, diced
1 medium red bell pepper, cored, seeded, and finely diced
6 garlic cloves, minced or pressed through a garlic press
3 tablespoons chili powder
1 tablespoon ground cumin
1½ teaspoons ground coriander
¾ teaspoon red pepper flakes
1 teaspoon dried oregano
⅛ teaspoon cayenne pepper
1 (28-ounce) can diced tomatoes, undrained
2 (15-ounce) cans kidney beans, drained and rinsed
1 (15-ounce) can black beans, drained and rinsed
½ teaspoon salt
1 tablespoon soy sauce
1 tablespoon butter (optional)
Garnishes: lime wedges, sour cream, cheddar cheese, scallions, red onion, cilantro

1. Heat the oil in a large Dutch oven over medium heat. Stir in the onions, bell pepper, garlic, and spices and sauté, stirring occasionally, until the vegetables are softened and beginning to brown, about 10 minutes.

2. Add the tomatoes, beans, salt, and soy sauce. Increase the heat to medium-high and bring the chili to a boil, then reduce the heat to low. Cook, covered, at a low simmer for one hour, stirring occasionally. If the chili is too thin, cook uncovered until it’s your preferred consistency. Stir in the butter and serve with the garnishes.

devils food white out cake

copy-of-img_2027

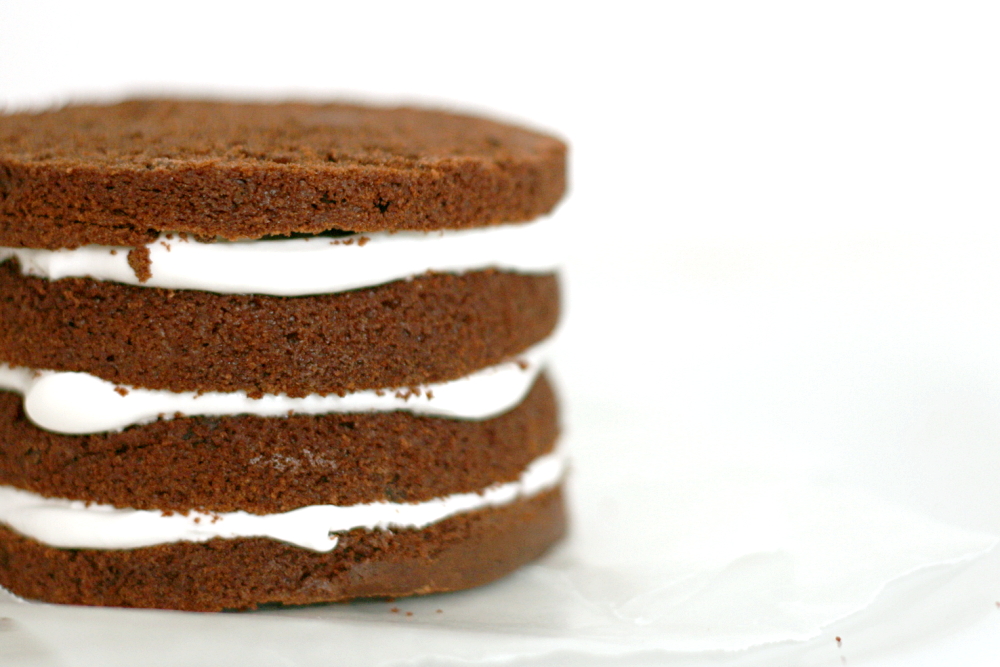
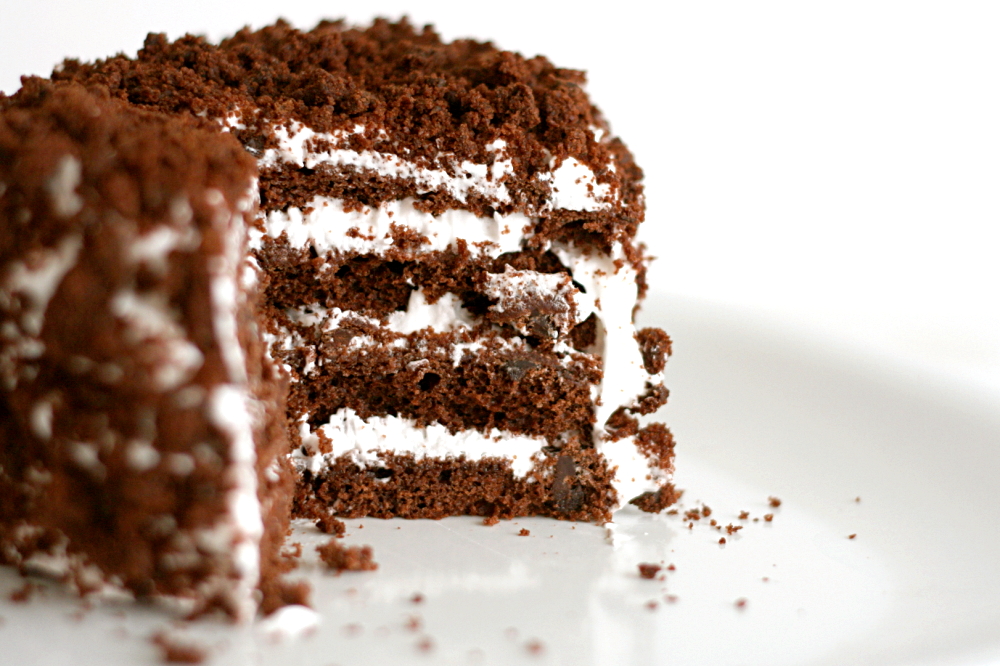
You know what the best thing about this cake was? No worries about getting crumbs in the frosting!

copy-of-img_2016

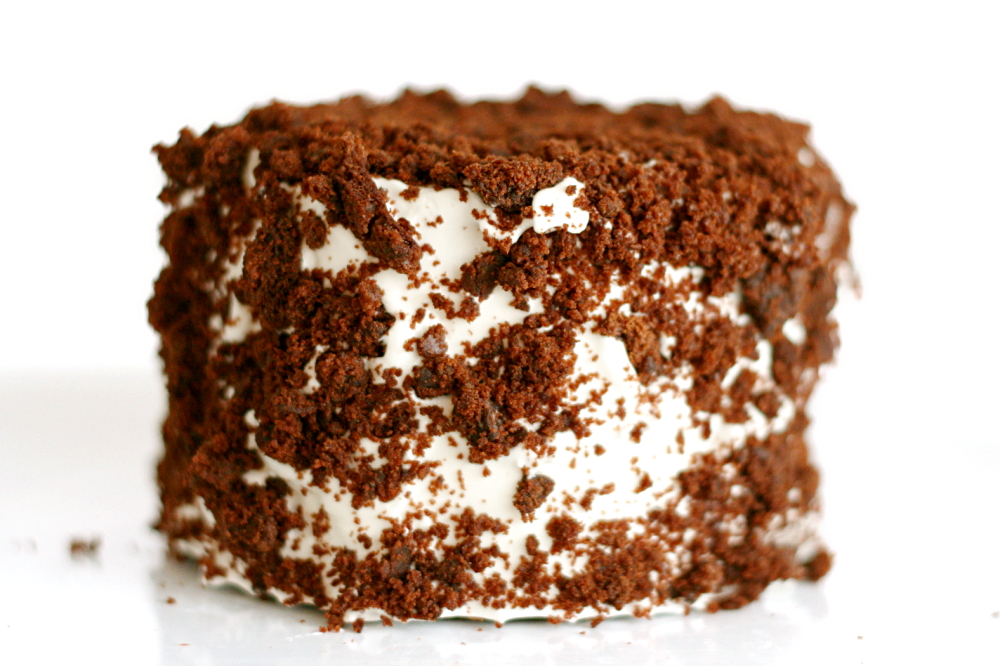
But really the best thing was the rich chocolate cake layered with fluffy vanilla frosting, which pretty much sums up my favorite dessert. I used to get it all the time in college at my favorite dessert café.

copy-of-img_2013

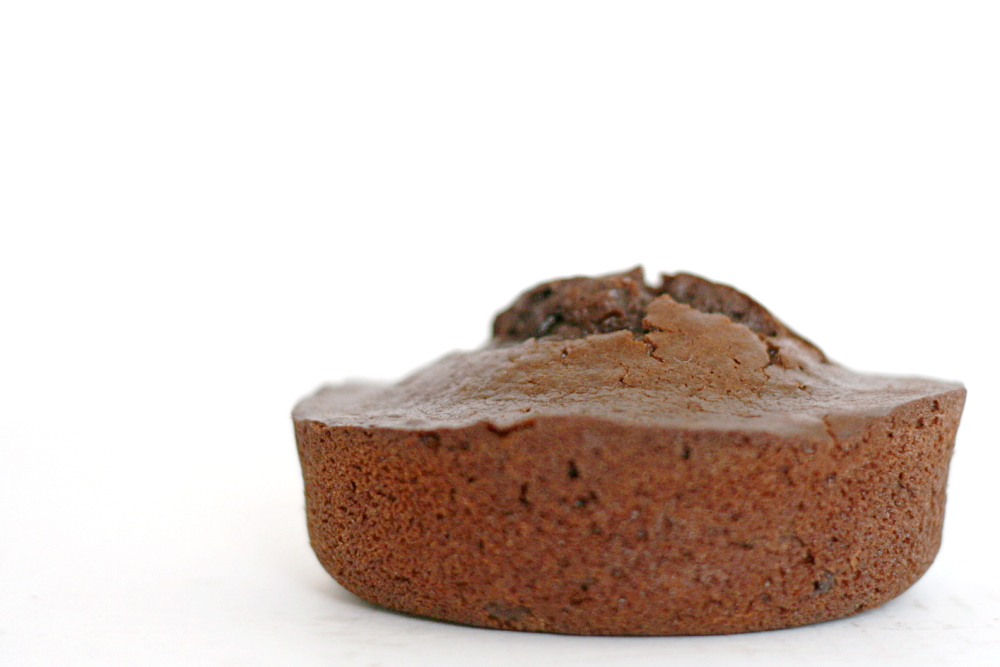
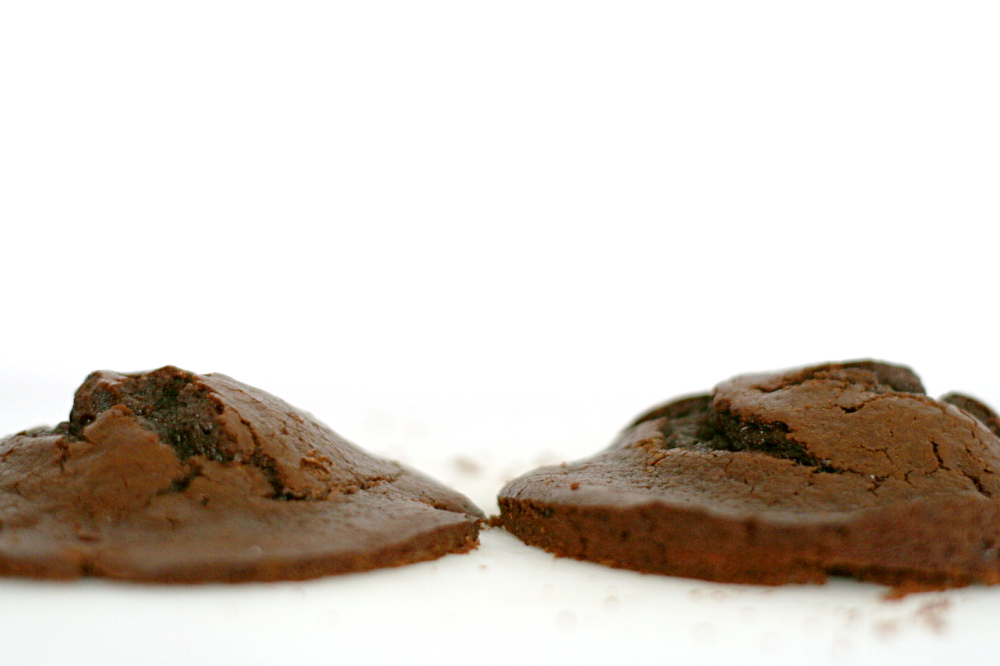
I made one third of the cake recipe in pans large enough to hold one quarter of the recipe, because I heard that there was some problems with the cake not rising. My cakes seemed to rise okay. But clearly I need to wrap a wet towel around the pans or invest in the magic cake strips for these little pyrex pans, because I always end up with the weirdest shaped cakes when I use them.

copy-of-img_2018

I was supposed to cut the cake layers in half and crumble one of the layers, but with such domed tops that I’d have to cut off anyway, it seemed like a shame to crumble a whole layer in addition. Instead, I made my cake four layers instead of three and just used the crumbs from the evened out tops to decorate the outside.

copy-of-img_2019

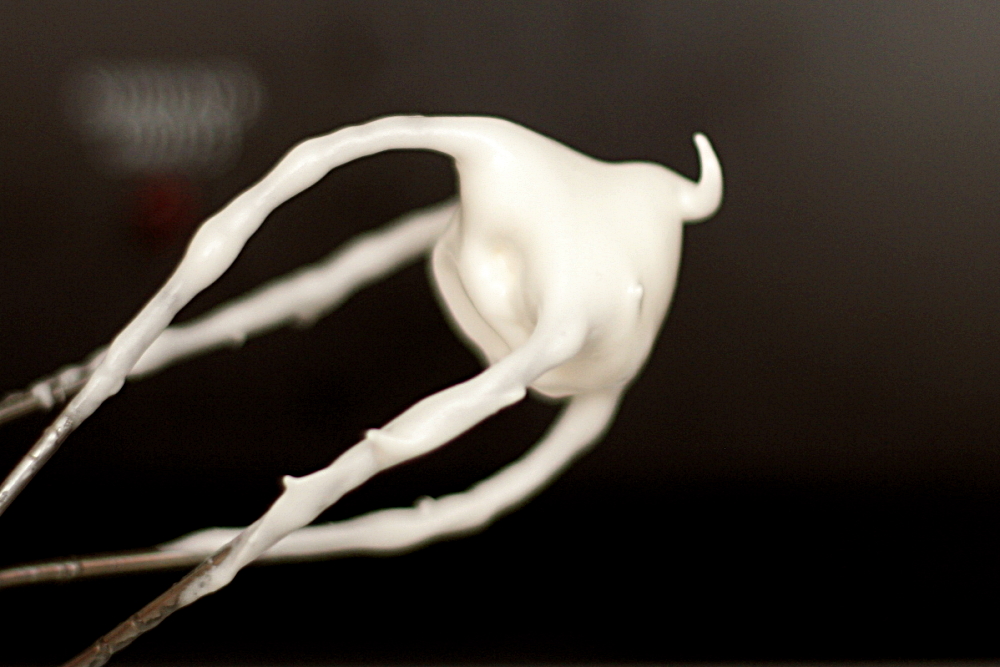
I don’t have much experience with this marshmallowy type of frosting, but I really liked it with this cake. I love meringue anyway – I love the feel of all the little bubbles popping in my mouth. I added a pinch of salt to the frosting to cut the sweetness a little. Also, bonus – fat free frosting!

Altogether, this was a great cake. Stephanie, who chose this recipe for Tuesdays with Dorie, has the recipe posted.

copy-of-img_2030

pot roast

copy-of-img_1993
Dave and I don’t eat a lot of beef; in fact, this is only the fourth beef recipe on my site. To us, there are environmental factors to consider with eating beef, as well as humanitarian, health, and cost issues. Plus we just plain like vegetarian food. So when we had pot roast in some form or another for dinner three out of four days last week, Dave was starting to question me. I blamed Kevin, who not only made a delicious-looking pot roast recently, but then made sandwiches and soup out of the leftovers, both of which I wanted to try.

copy-of-img_1933

I got the pot roast recipe from Cooks Illustrated. I hadn’t made one of their recipes in a while, and I found that I missed pulling out their huge cookbook and turning the pictureless pages full of recipes that promise to teach me something as well as taste wonderful.

copy-of-img_1938

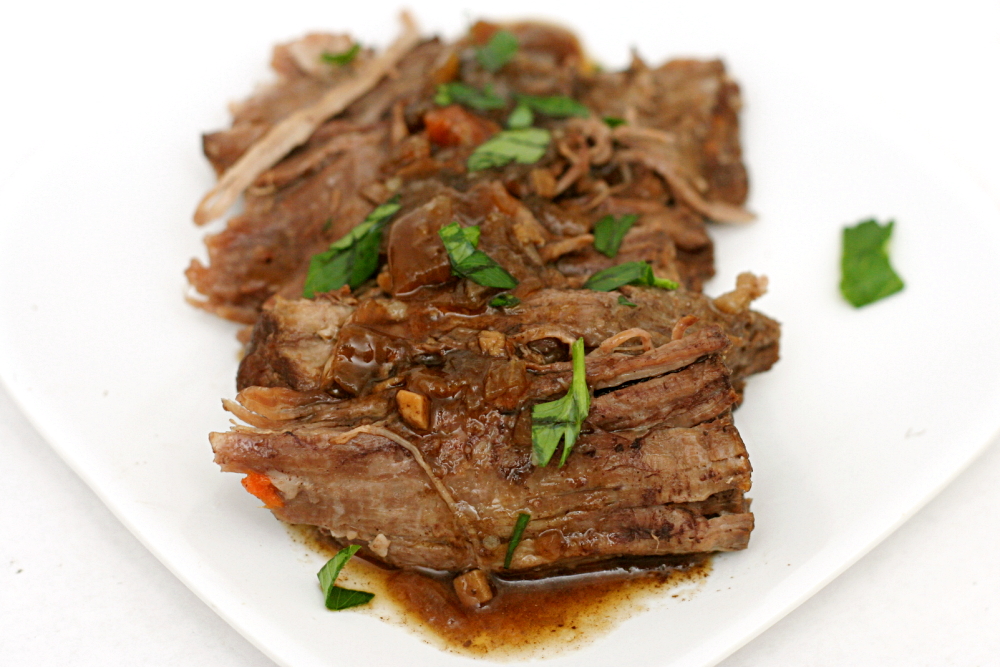
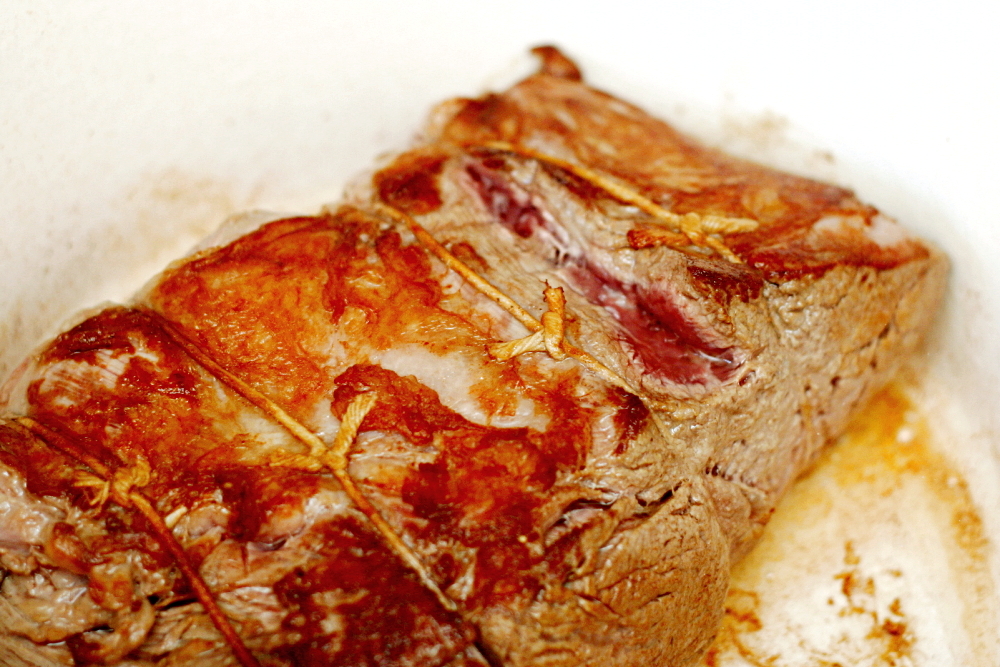
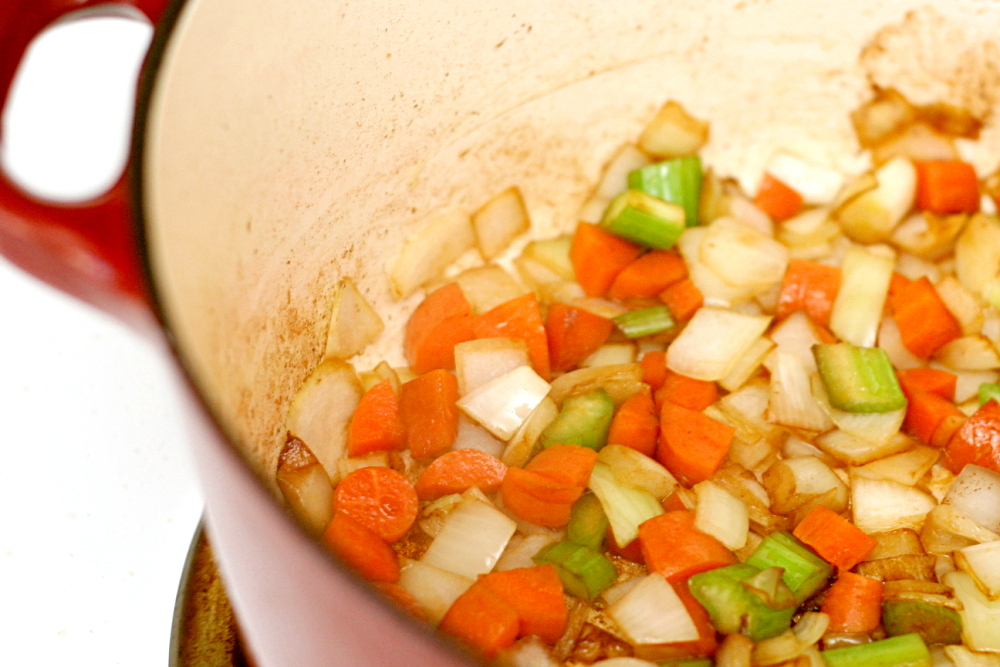
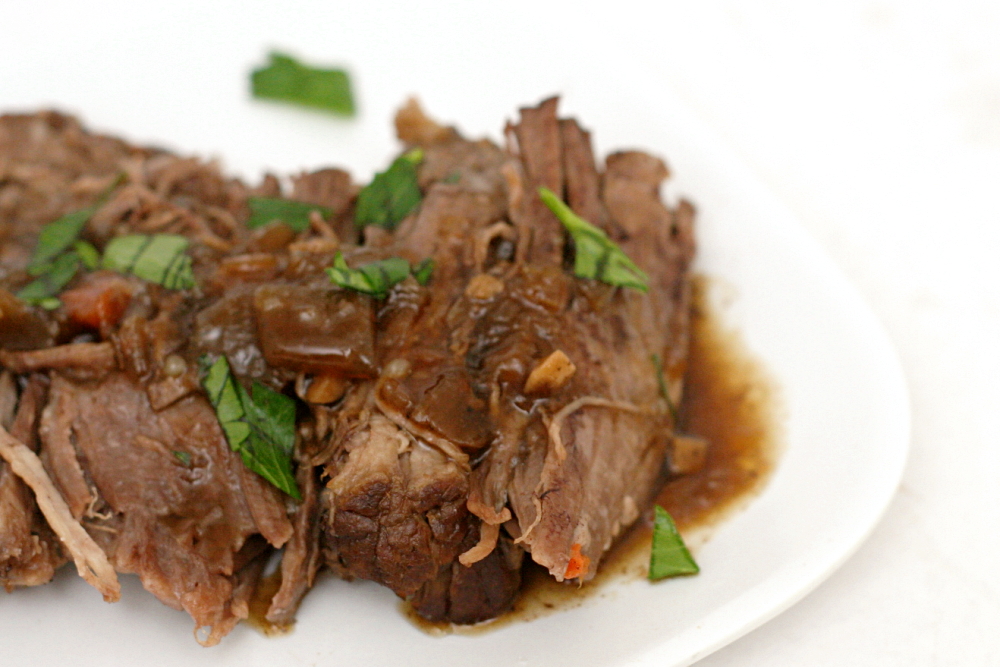
For their pot roast, they brown the meat in a very hot Dutch oven, then sauté some vegetables and use broth to deglaze the pan. Then everything is cooked in the oven for four hours. They mention in their discussion about the development of the recipe that they tried adding red wine with the broth and found that it was good, but it wasn’t really pot roast. True – it’s beef in Barolo (or it would be if you were to use Barolo, which I never would because it’s too expensive), which I happen to love. So I added some red wine with the broth. When the roast is so soft it’s falling apart, it’s removed from the pot and the remaining liquid is boiled down to a sauce.

copy-of-img_1988

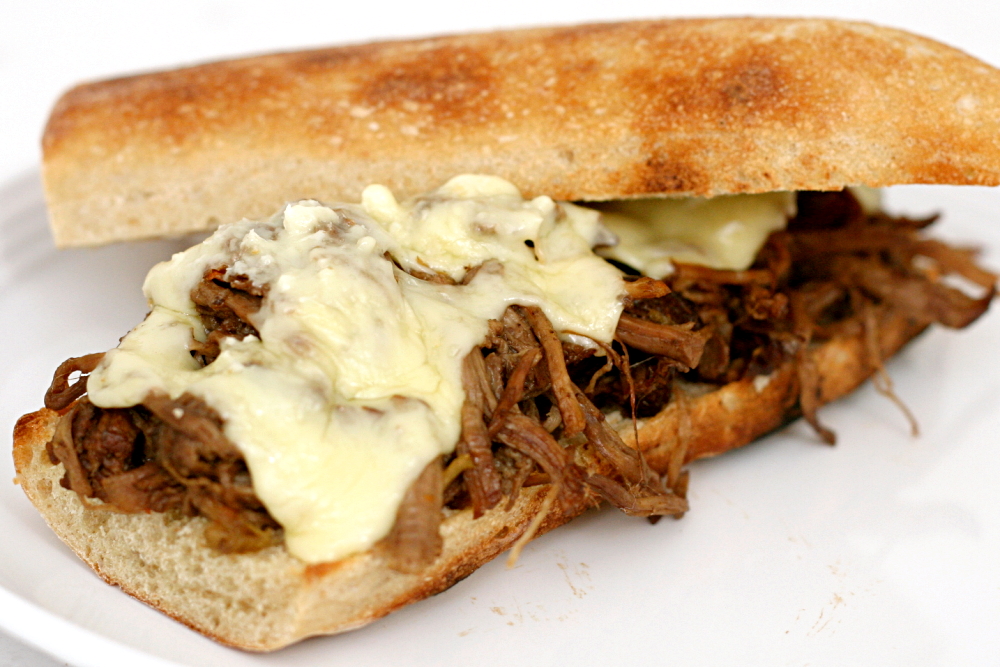
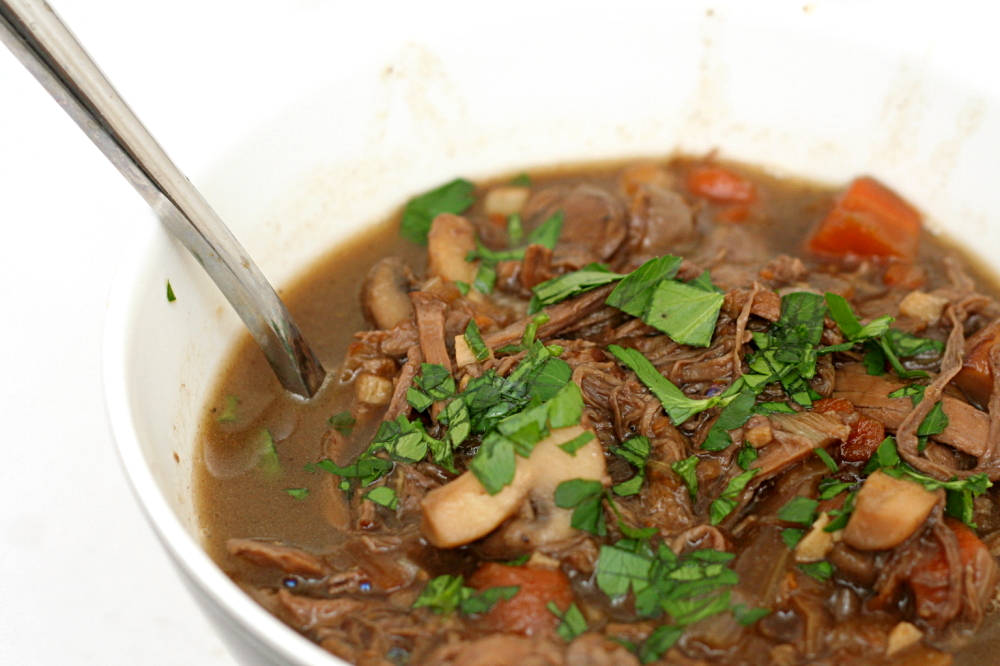
Oh my gosh, it was so good. I served it with boiled new potatoes and glazed carrots, and it was a meal that I couldn’t get enough of. Two days later, I put the meat and some sauce on pain a l’ancienne with swiss cheese and horseradish to make great sandwiches. The day after that, I added it, along with the rest of the sauce and some diluted chicken broth, to a pan of sautéed onions and mushrooms for a really good pot roast soup.

Because we don’t eat beef often, when we do, we like it to be a treat. This certainly was.

copy-of-img_2000

One year ago: Salmon Pesto Pasta

Pot Roast (from Cooks Illustrated)

Serves 6-8

Cooks Illustrated recommends a chuck-eye roast, which is what I used. I’ve found that it can be difficult to find though.

I added about 1/4 cup red wine with the broths.

1 boneless chuck roast (about 3½ pounds)
salt and pepper
2 tablespoons vegetable oil
1 medium onion, chopped
1 small carrot, chopped
1 small celery rib, chopped
2 cloves garlic, minced
2 teaspoons sugar
1 cup canned low sodium beef broth
1 cup low-sodium chicken stock
1 sprig fresh thyme
¼ cup dry red wine

1. Adjust an oven rack to the middle position and heat oven to 300F. Thoroughly pat the roast dry with paper towels; sprinkle generously with salt and pepper.

2. Heat the oil in a large heavy-bottomed Dutch oven over medium-high heat until shimmering but not smoking. Brown roast thoroughly on all sides, reducing heat if fat begins to smoke, 8-10 minutes. Transfer the roast to a large plate; set aside.

3. Reduce the heat to medium; add onions, carrots, and celery to pot and cook, stirring occasionally, until beginning to brown, 6-8 minutes. Add the garlic and sugar; cook until fragrant, about 30 seconds. Add the chicken and beef broths and thyme, scraping the bottom of the pan with a wooden spoon to loosen the browned bits. Return the roast and any accumulated juices to the pot; add enough water to come halfway up the sides of the roast. Bring the liquid to a simmer over medium heat, then cover tightly and transfer the pot to oven.

4. Cook, turning the roast every 30 minutes, until fully tender and a meat fork slips in and out of meat very easily (3½-4 hours). Transfer the roast to a carving board and tent with foil to keep warm.

5. Allow the liquid in the pot to settle about 5 minutes, then use a wide spoon to skim fat off the surface; discard thyme sprig. Boil over high heat until reduced to about 1½ cups, about 8 minutes. Add the red wine and reduce again to 1½ cups, about 2 minutes. Season to taste with salt and pepper.

6. Cut the meat into ½-inch slices, or pull apart in pieces; transfer the meat to a warmed serving platter and pour about ½ cup sauce over the meat. Serve, passing remaining sauce.

copy-of-img_1991

red velvet cake comparison

copy-of-img_1985

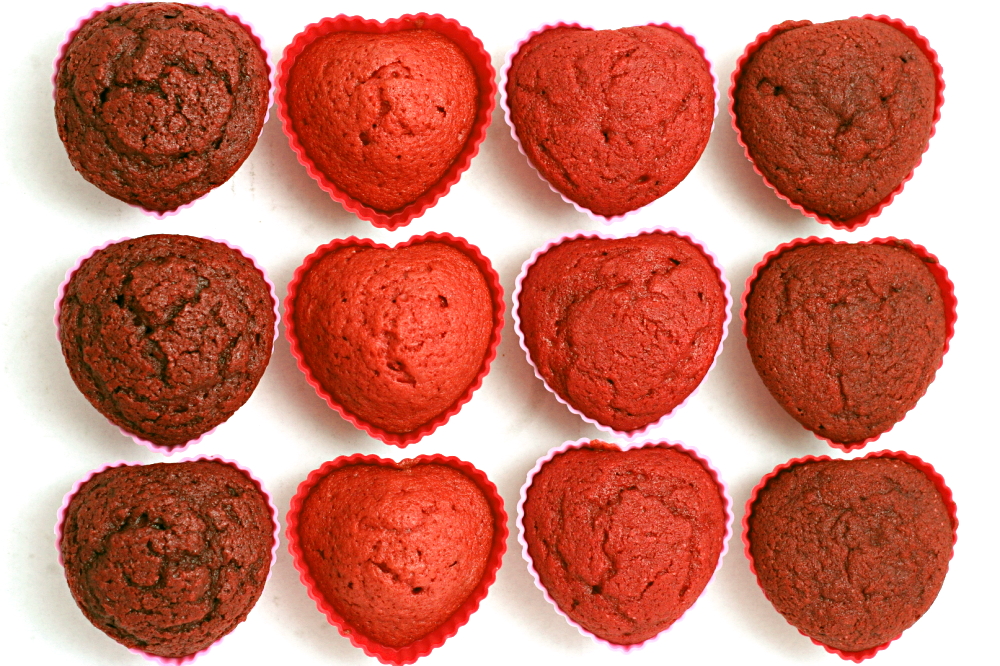
I started thinking about a Valentine’s Day blog post as soon as I pulled these heart-shaped silicone baking cups out of my Christmas stocking. And if you’re making heart-shaped cupcakes, they should be bright red. And if you’re making heart-shaped bright red cupcakes, they should be covered in heart-shaped pink and red sprinkles. My philosophy toward Valentine’s Day is, if you’re going to do it, overdo it.

copy-of-img_1789

What’s weird is that the closest I can remember to eating red velvet cake is these whoopie pies that I made a couple months ago. In fact, I didn’t even know that red velvet cake existed until college, when one of my professors told me a story about someone throwing it up on her carpet and the stain never coming out.

copy-of-img_1791

My lack of red velvet cake experience is even stranger considering that my mom was recently telling me about a great recipe that my grandmother has for it. My sister made that recipe recently and said it was a little dry, but she’s baking at high altitude, which makes cakes prone to problems. I wanted to give the recipe a try myself.

copy-of-img_1808

But Deb has a recipe she recommends as well, and I’ve had very good experiences with almost everything I’ve made from her site. And Kelsey describes herself as a red velvet cake enthusiast, and she recently found a recipe she loves. And Cooks Illustrated (via Cooks Country, their slightly less OCD magazine) has a recipe, and in general their stuff is worth trying.

copy-of-img_1797

Four recipes, all highly recommended from trusted sources. There was no good way for me to choose just one, so this seemed like a perfect opportunity to spend an entire evening baking something as simple as cupcakes do a recipe comparison.

copy-of-img_1803

Before I discuss detailed comparisons between each, let me cut to the chase and tell you that every single cake was really good, both in taste and texture. There were differences, but they were subtle. Dave and I had a hard time choosing favorites. That being said, once I ate enough cupcakes, preferences started to emerge.

In the discussion below, I will use the following abbreviations: SK for Smitten Kitchen; G for my grandmother’s recipe; AD for Apple a Day, and CC for Cooks Country.

copy-of-img_1810

Effort: None of the cakes were exceptionally difficult. AD was the simplest – the dry and wet ingredients were mixed separately, then combined in the mixer. SK and G called for the vinegar and baking soda to be mixed together before being added to the already-mixed remaining ingredients, which I’d never seen before. And G and CC call for the cocoa and food coloring to be stirred into a paste initially, which Cooks Country explains is to distribute the cocoa more evenly.

copy-of-img_1907from left to right: SK, AD, G, CC

Color: While the shades of red vary, all of the cakes are definitely red. I have no preference. I should note that I used a little less food coloring in G and SK than the recipes called for, because I thought I was going to run out. Even so, I think their color is fine.

copy-of-img_1911from left to right: SK, AD, G, CC

Texture: While I wouldn’t call any of the cakes dry, G did seem less moist than the others. This isn’t surprising considering that it uses the least fat of these recipes and only a third of the fat of one of them (AD). AD and SK, both of which used oil as the fat, were perhaps a little moister than CC and G, which call for butter. None of the cakes were too dense, but SK and CC seemed especially fluffy. I was expecting a different texture in CC compared to the rest, because it was the only recipe that called for all-purpose instead of cake flour, but it wasn’t noticeable.

copy-of-img_1969

Taste: One thing that I think it important to note about Red Velvet cake, that Cooks Country clarifies in their article, is that it not meant to be a chocolate cake. The small amount of cocoa is just there to provide the red color. Unfortunately, CC’s cake was my least favorite. I think it’s because of one very small difference between their recipe and the others – the rest call for a teaspoon of salt, CC has just a pinch in it. The flavor of this cake was definitely muted compared to the others. The rest were all really good. SK calls for over twice as much cocoa as the others, which was enough so that I could actually taste a little chocolatiness. I like chocolate of course, but in this case, it masked that classic Red Velvet tanginess. AD and G tasted somewhat similar, but I think G had a little bit of a metallic taste to it (which I have no explanation for).

So, in the end, I choose AD (found through Kelsey’s Apple a Day and originally from Saveur) as my favorite, for its moistness, its bright, pinky red color, the ease with which it comes together, and especially its sweet but tangy flavor.

copy-of-img_1970
Update 2/15/09: When BMK pointed me in the direction of another oft-recommended Red Velvet cake recipe, I used amazing restraint in waiting a whole 6 hours before I tried it. The Pastry Queen’s recipe uses butter instead of oil as the fat, and it includes sour cream. Other than the sour cream and calling for both all-purpose and cake flour, the ingredient list was similar to the other recipes I tried.

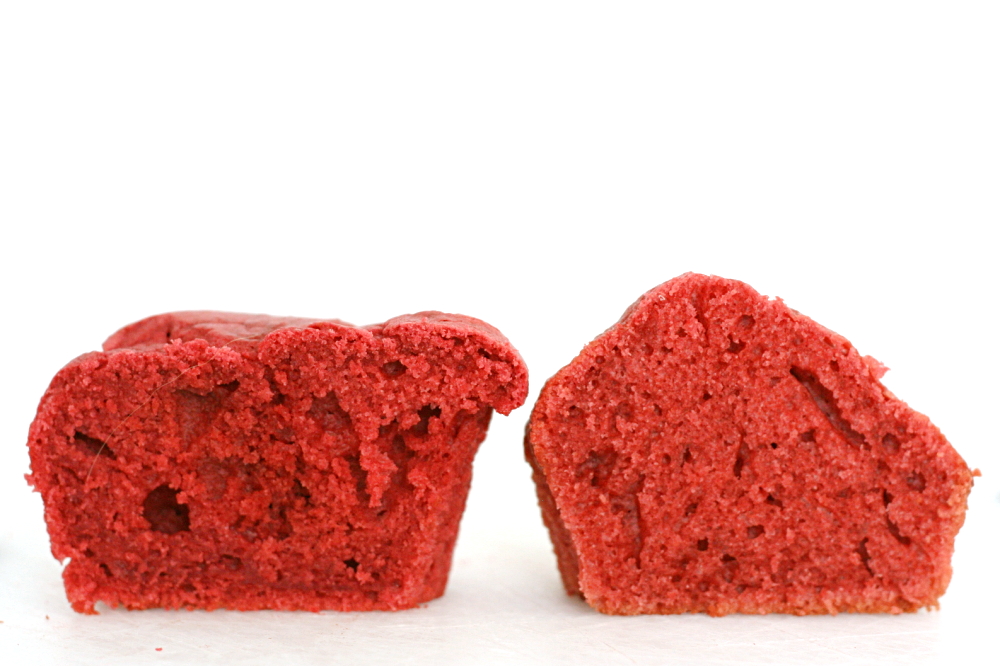
copy-of-img_2003top – Pastry Queen; bottom – Apple a Day

I generally prefer butter over oil in desserts, and I think sour cream makes cakes really tender, so I was pre-disposed toward liking the Pastry Queen’s cake. And it really was great – fluffy, moist, tangy, even-textured (although it doesn’t look like that here – the recipe specifically warns not to overbake the cupcakes, so of course I underbaked them). However, in the end, I still preferred the recipe from Kelsey’s Apple A Day, originally from Saveur, which also has great texture, and I like the flavor a little more. But this is definitely a personal preference – you can’t go wrong with either recipe. Next time I might experiment with using the ingredients from AD, substituting butter for the oil, and using the mixing method from the Pastry Queen’s recipe.

copy-of-img_2005left – Pastry Queen; right – Apple a Day

One year ago: A comparison of four vanilla frostings

Red Velvet Cake with Cream Cheese Frosting (from Saveur via Apple a Day)

Makes 1 8-inch 3-layer cake

After making this recipe a few times, I’m finding that it’s actually too moist from all that oil.  A number of commenters have agreed.  When I make the recipe now, I often reduce to the oil to 1 to 1¼ cups.

For the cake:
2½ cups (10 ounces) cake flour
1½ cups (10.5 ounces) sugar
1 teaspoon baking soda
1 tablespoon cocoa powder
1 teaspoon salt
2 eggs
1½ cups vegetable oil (see note)
1 cup buttermilk
2 tablespoons (1 ounce) red food coloring
1 teaspoon vanilla extract
1 teaspoon white distilled vinegar

For the frosting:
12 ounces cream cheese, softened
12 ounces butter, softened
1½ teaspoons vanilla extract
3 cups confectioners’ sugar
1½ cups chopped pecans (optional)

1. For the cake: Preheat oven to 350°.

2. Sift together flour, sugar, baking soda, cocoa, and salt into a medium bowl.

3. Beat eggs, oil, buttermilk, food coloring, vanilla, and vinegar in a large bowl with an electric mixer until well combined. Add dry ingredients and beat until smooth, about 2 minutes.

4. Divide batter evenly between 3 greased and floured 8″ round cake pans.

5. Bake cakes, rotating halfway through, until a toothpick inserted in the center of each cake comes out clean, 25-30 minutes. Let cakes cool 5 minutes, then invert each onto a plate, then invert again onto a cooling rack. Let cakes cool completely.

6. For the frosting: Beat cream cheese, butter, and vanilla together in a large bowl with an electric mixer until combined. Add sugar and beat until frosting is light and fluffy, 5-7 minutes.

4. Put 1 cake layer on a cake plate, level off with a serrated knife, and spread one-quarter of the frosting on top. Set another layer on top, level, and repeat frosting. Set remaining layer on top, level, and frost top and sides with the remaining frosting. Press pecans into the sides of the cake, if desired. **Tip: after leveling cake, turn it upside down to reduce numbers of crumbs. I also did a crumb coat on the outside, let it set for ten minutes, then finished with remaining frosting.

5. Chill for 2 hours to set frosting.

Red Velvet Cake (from Smitten Kitchen, who adapted it from “The Confetti Cakes Cookbook” by Elisa Strauss via the New York Times 2/14/07)

Bridget note: This is the frosting that I used. It was great. (I’ve never met a homemade cream cheese frosting that I didn’t like.) Also, note that this recipe makes 50% more than the others.

Makes 1 9-inch 3-layer cake

1 tablespoon unsalted butter
3½ cups (14 ounces) cake flour
½ cup unsweetened cocoa (not Dutch process)
1½ teaspoons salt
2 cups canola oil
2¼ cups (15.75 ounces) granulated sugar
3 large eggs
6 tablespoons (3 ounces) red food coloring or 1 teaspoon red gel food coloring dissolved in 6 tablespoons of water
1½ teaspoons vanilla
1¼ cup buttermilk
2 teaspoons baking soda
2½ teaspoons white vinegar.

1. Preheat oven to 350 degrees. Place teaspoon of butter in each of 3 round 9-inch layer cake pans and place pans in oven for a few minutes until butter melts. Remove pans from oven, brush interior bottom and sides of each with butter and line bottoms with parchment.

2. Whisk cake flour, cocoa and salt in a bowl.

3. Place oil and sugar in bowl of an electric mixer and beat at medium speed until well-blended. Beat in eggs one at a time. With machine on low, very slowly add red food coloring. (Take care: it may splash.) Add vanilla. Add flour mixture alternately with buttermilk in two batches. Scrape down bowl and beat just long enough to combine.

4. Place baking soda in a small dish, stir in vinegar and add to batter with machine running. Beat for 10 seconds.

5. Divide batter among pans, place in oven and bake until a cake tester comes out clean, 40 to 45 minutes. Let cool in pans 20 minutes. Then remove from pans, flip layers over and peel off parchment. Cool completely before frosting.

Red Cake (from my grandmother)

Makes 1 9-inch 2-layer cake

My grandmother isn’t known for adding a lot of detail to her recipes. I’ve added some.

Also, the frosting here isn’t the cream cheese frosting you usually see associated with red velvet cakes these days. Instead, it’s based on a cooked flour mixture similar to this.

2 ounces red food coloring
2 tablespoon cocoa
2¼ cups cake flour
1 teaspoon salt
½ cup shortening (I used butter of course), softened
1½ cups sugar
2 eggs
1 teaspoon vanilla
1 cup buttermilk
1 teaspoon vinegar
1 teaspoon baking soda

1. Adjust an oven rack to the middle position and preheat oven to 350C. Butter and flour two 9-inch cake pans. Make a paste out of the food coloring and the cocoa. Mix together the flour and salt.

2. Cream shortening and sugar until fluffy. Add eggs, one a time, then the vanilla. Mix in food coloring paste. Add a third of the flour mixture, then half the buttermilk, a third of the flour, half the buttermilk, and ending with the rest of the flour. Holding a small dish over the mixing bowl, add vinegar to baking soda, pouring it into the mixing bowl as it foams. (The original recipe now says “Beat as you would any cake.” That’s helpful!) Beat at medium speed for 30 seconds.

3. Pour the batter into the prepared pans and bake for 30 minutes, until a toothpick comes out clean. Let cool slightly in pans, then invert the cakes onto a cooling rack. When cool, split each later in two and frost.

Frosting:

3 tablespoons flour
1 cup milk
1 cup sugar
1 teaspoon vanilla
16 tablespoons (2 sticks) butter

Cook flour and milk until thick. Cool. Cream butter and sugar and vanilla until fluffy. Blend the creamed mixture into cooked mixture. Beat. The longer you beat it, the better it gets.

Red Velvet Cake (from Cooks Country Dec 2006/Jan 2007)

Serves 12

CC note: The recipe must be prepared with natural cocoa powder. Dutch-processed cocoa will not yield the proper color or rise.

Cake
2¼ cups all-purpose flour
1½ teaspoons baking soda
Pinch salt
1 cup buttermilk
1 tablespoon white vinegar
1 teaspoon vanilla extract
2 large eggs
2 tablespoons natural cocoa powder
2 tablespoons red food coloring
12 tablespoons (1½ sticks) unsalted butter, softened
1½ cups granulated sugar

Frosting
16 tablespoons unsalted butter, softened
4 cups confectioners’ sugar
16 ounces cream cheese, cut into 8 pieces, softened
1½ teaspoons vanilla extract
Pinch salt

1. For the cake: Adjust oven rack to middle position and heat oven to 350 degrees. Grease and flour two 9-inch cake pans. Whisk flour, baking soda, and salt in medium bowl. Whisk buttermilk, vinegar, vanilla, and eggs in large measuring cup. Mix cocoa with food coloring in small bowl until a smooth paste forms.

2. With electric mixer on medium-high speed, beat butter and sugar together until fluffy, about 2 minutes, scraping down bowl as necessary. Add one-third of flour mixture and beat on medium-low speed until just incorporated, about 30 seconds. Add half of buttermilk mixture and beat on low speed until combined, about 30 seconds. Scrape down bowl as necessary and repeat with half of remaining flour mixture, remaining buttermilk mixture, and finally remaining flour mixture. Scrape down bowl, add cocoa mixture, and beat on medium speed until completely incorporated, about 30 seconds. Using rubber spatula, give batter final stir. Scrape into prepared pans and bake until toothpick inserted in center comes out clean, about 25 minutes. Cool cakes in pans 10 minutes then turn out onto rack to cool completely, at least 30 minutes.

3. For the frosting: With electric mixer, beat butter and sugar on medium-high speed until fluffy, about 2 minutes. Add cream cheese, one piece at a time, and beat until incorporated, about 30 seconds. Beat in vanilla and salt. Refrigerate until ready to use.

4. When cakes are cooled, spread about 2 cups frosting on one cake layer. Top with second cake layer and spread top and sides of cake with remaining frosting. Cover and refrigerate until ready to serve, up to 3 days.

floating islands

copy-of-img_1962

When you make a commitment to bake a recipe every single week, some of those weeks are by necessity going to be half-assed. It’s not that I’m any less interested in floating islands than any other dessert – it sounds tasty, and it’s definitely not something I have experience with – it just happens that this week I have another dessert project that dominating my attention right now.

copy-of-img_1946

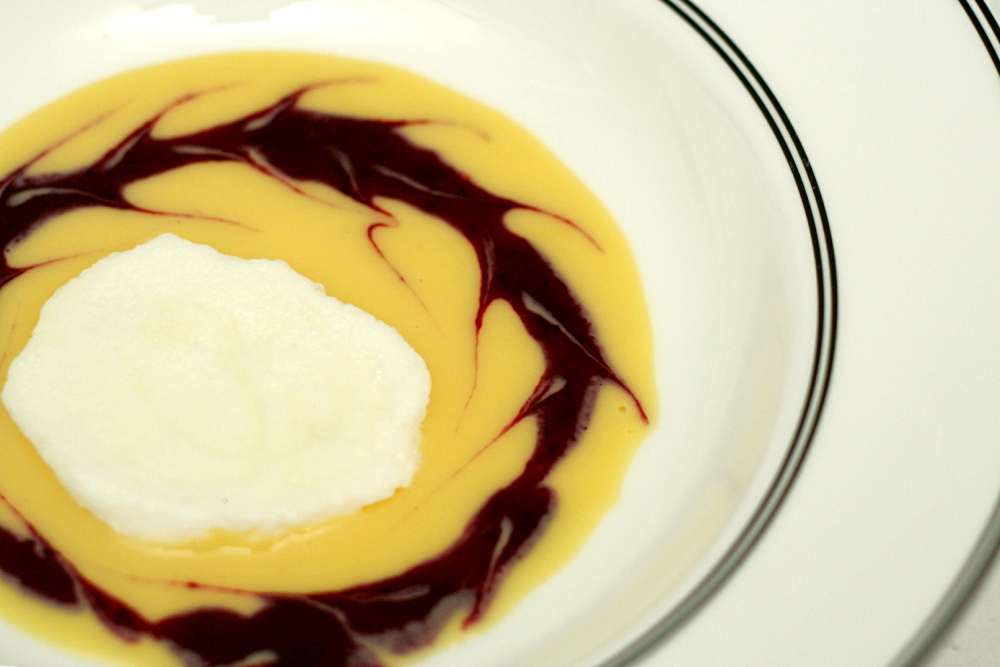
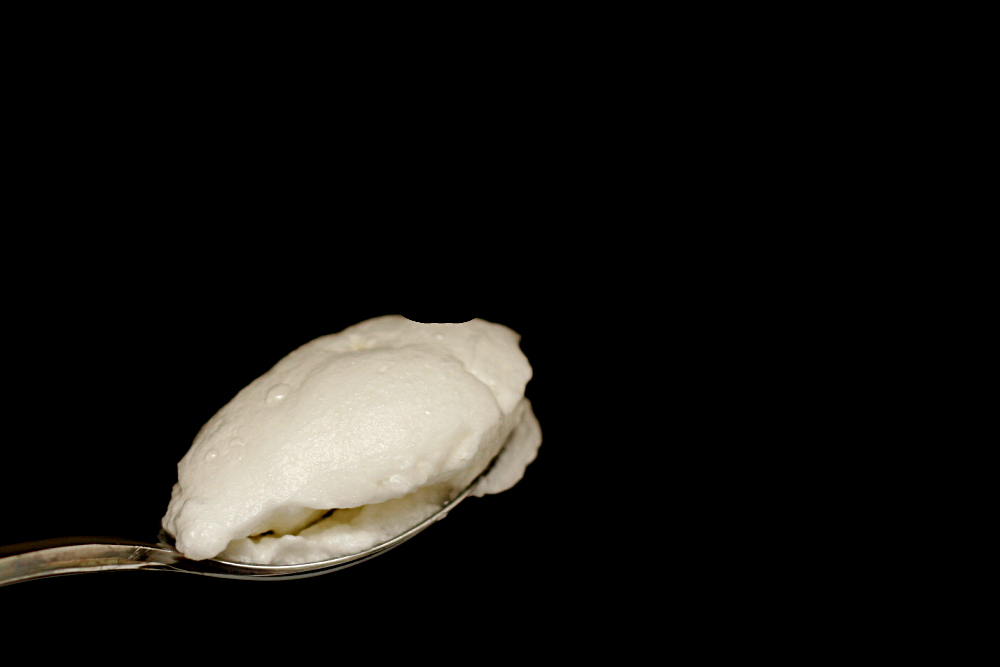
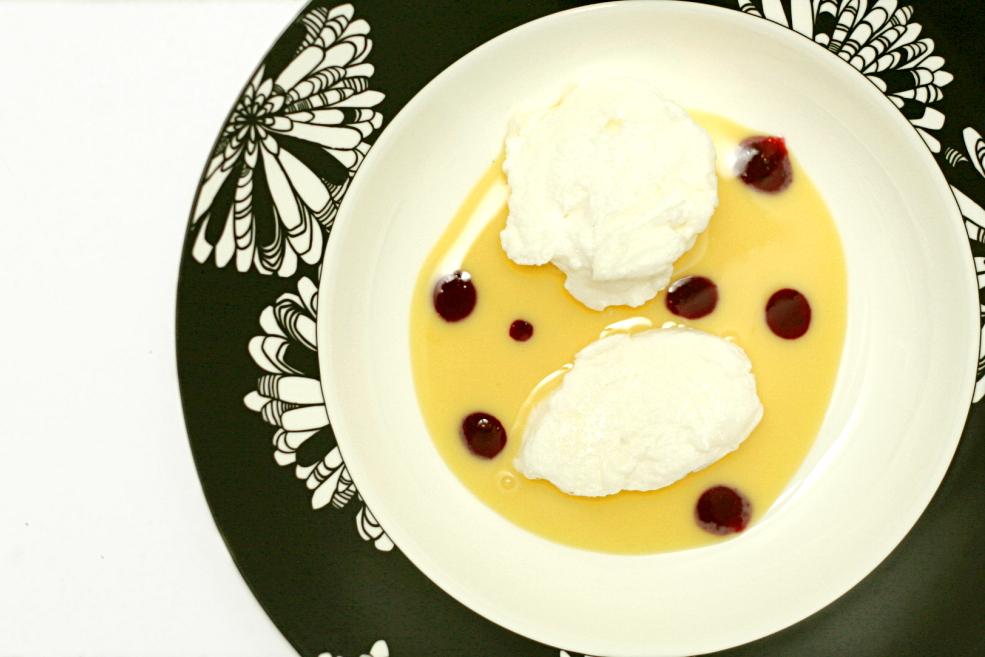
Floating islands are meringues that have been poached in milk and are served with crème anglaise. It wasn’t that I skimped too much on the effort involved; it’s just that I decided to use only one egg. That means I made a quarter of the meringue recipe and one sixth of the crème anglaise.

copy-of-img_1955

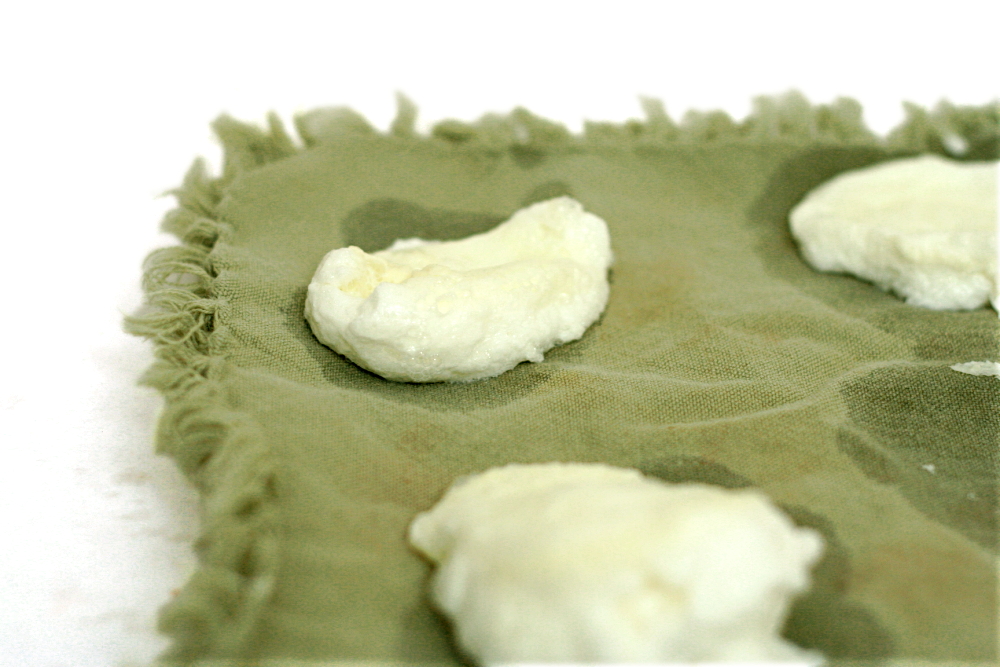
None of this recipe was very difficult, although the work involved with multi-component desserts always seems to add up. The only portion I had any problem with was the poaching, and most of that was because I didn’t carefully read the instructions that warn you that the meringues will deflate after poaching. I thought I had screwed them up, so I ate one while I poached the rest.

I served the floating islands with berry coulis. Dave and I both thought that the dessert was really good. It would be even better with some fresh berries. I’ll have to try that next time. Shari has the recipe posted.

copy-of-img_1957

crispy bagel roll

copy-of-img_1619

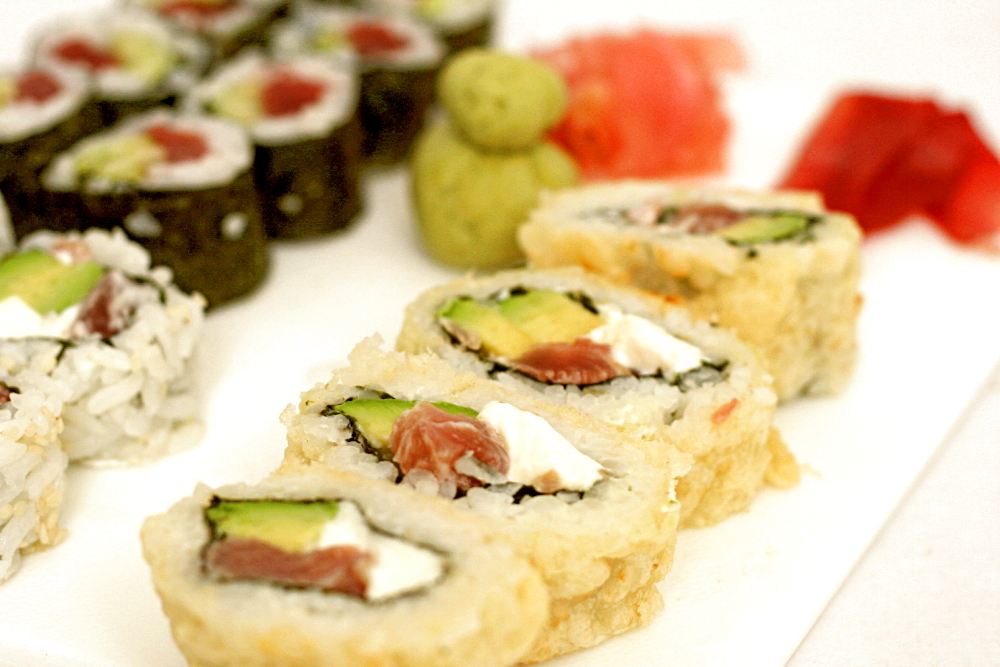
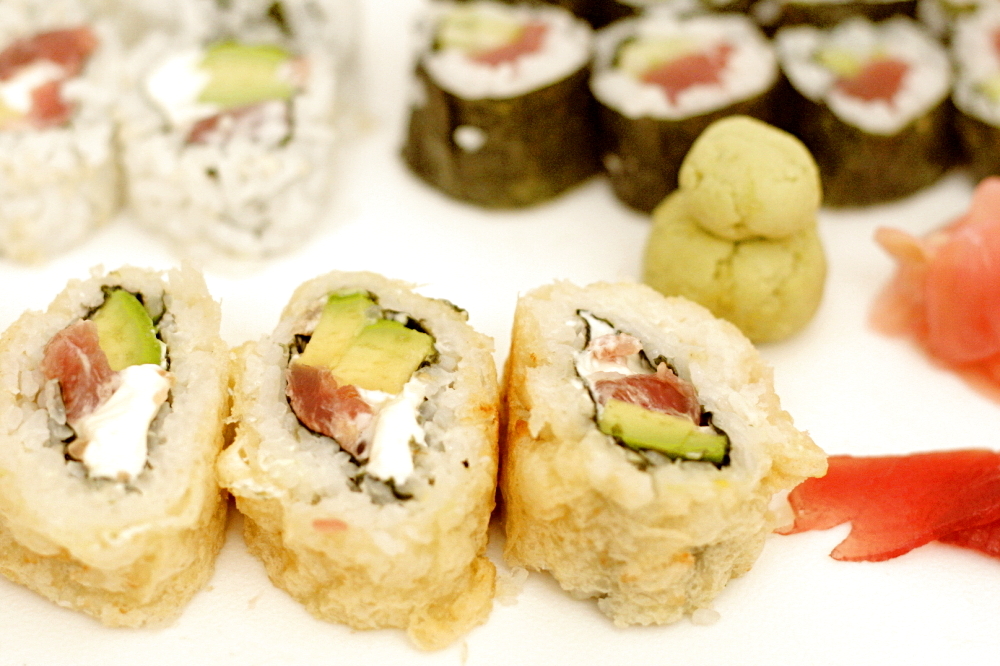
A third grader was telling me once about her favorite restaurant, and she said that it served “eggs and bagels and bacon and everything good.” That’s kind of how this sushi roll is – full of fish and cream cheese and avocado and everything good. And then it’s fried.

copy-of-img_1601

The first time Dave and I tried sushi, we were visiting friends, who took us to one of their favorite sushi restaurants. We ordered a crispy bagel roll, and it was so good! I haven’t found even one restaurant since then that serves anything similar. After almost two years of my friends mentioning that they went out for sushi and enjoyed the crispy bagel roll, I decided I’d have to try to re-create it at home.
copy-of-img_1602

I made sushi rolls a few times last year, and it wasn’t a disaster, but it was a lot of work, and I always ended up frustrated because my dull chef’s knife couldn’t cut through the nori. But since then, I’ve acquired a new knife and new inspiration from Jen, who makes homemade sushi seem so approachable.

copy-of-img_1605

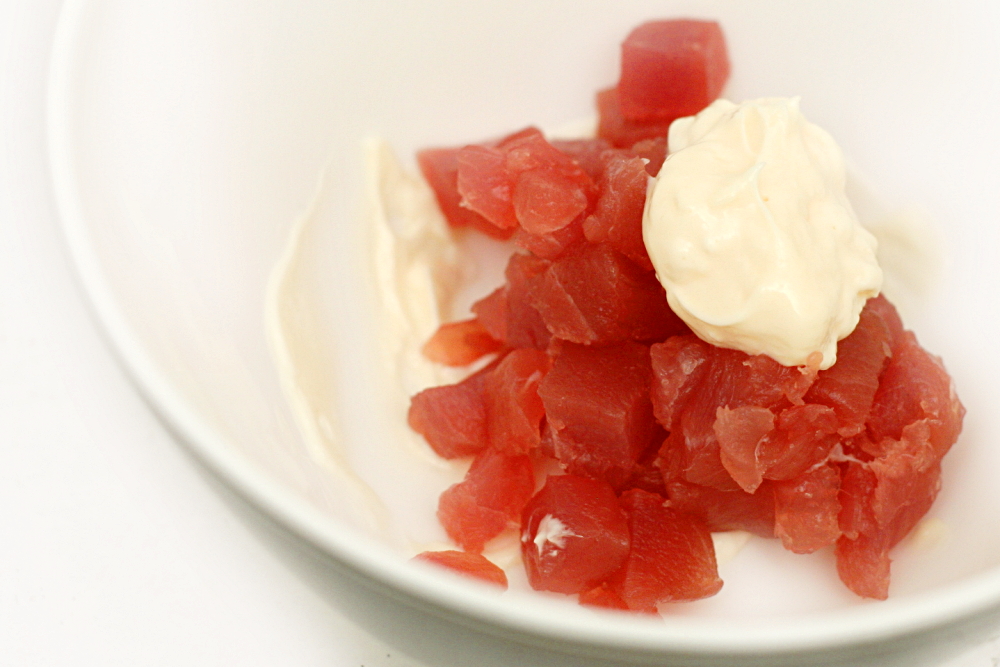
Bagel rolls aren’t original to the restaurant I had them at, but recipes differ slightly. I looked up their menu and found that their version includes pretty much all of my favorite sushi ingredients – fish, cream cheese, avocado – everything good indeed. If I recall, they serve theirs with aioli, but I opted to just mix the mayonnaise with the fish before forming the roll.

copy-of-img_1606

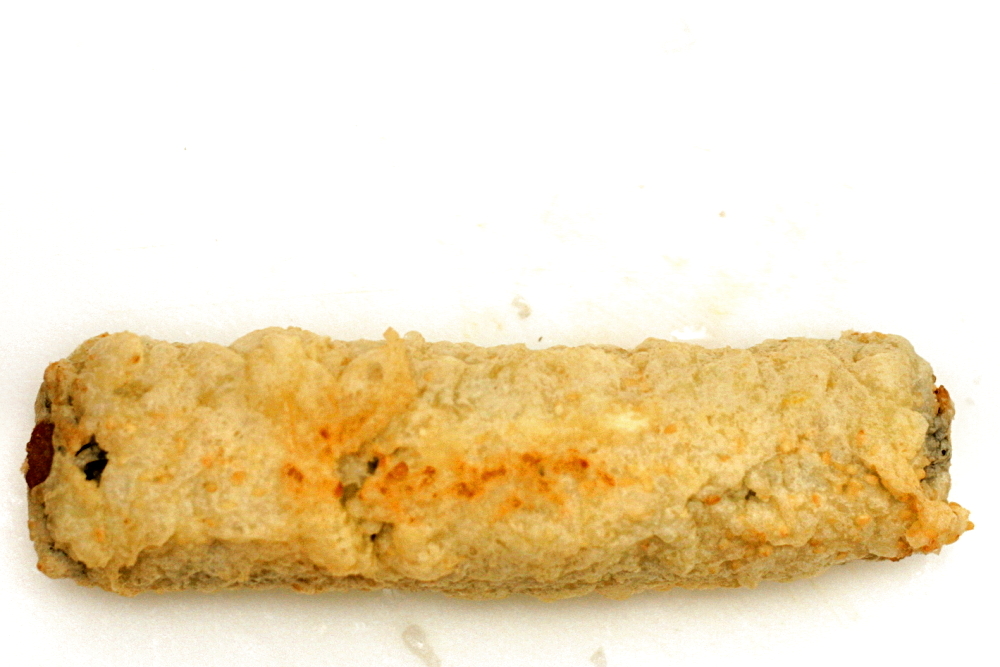
And then there’s the “crispy” part. The rolls are delicious without frying, so if you want to stop here, be my guest! Making tempura batter, heating oil, and deep-frying the rolls adds a significant amount of work to an already labor-intensive meal. But it’s a fun way to give this roll a different flavor profile than a lot of other sushi rolls.

copy-of-img_1610

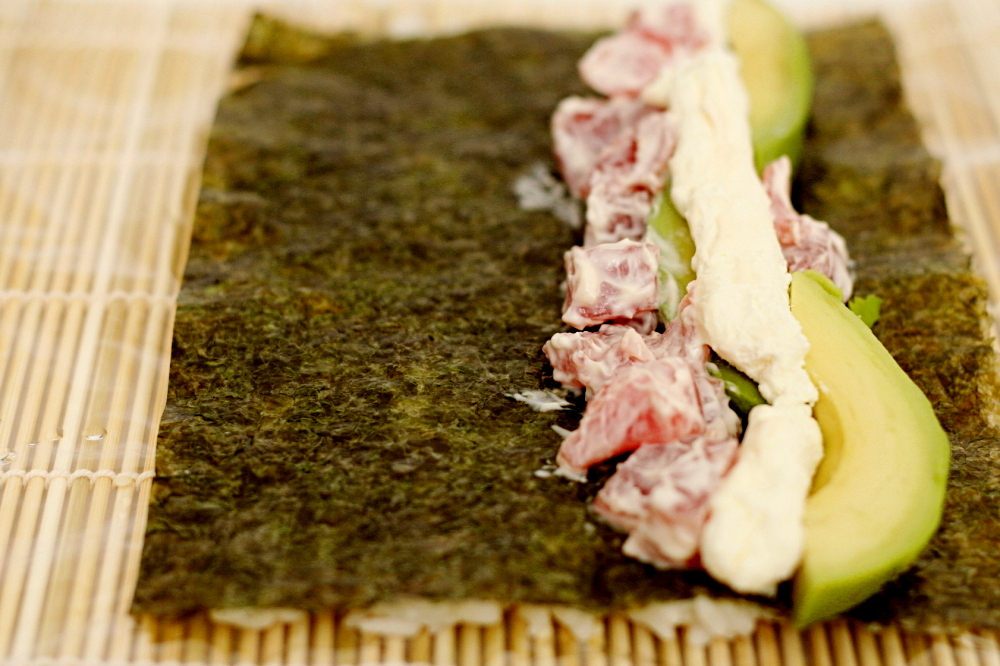
This roll lends itself especially well to being made at home, because it calls for smoked salmon, so there’s no worry about finding or working with quality raw fish. (Um, except that the pictures show tuna, because we love tuna. But smoked salmon makes more sense in this roll.) Plus, the roll is full of everything good. How can you go wrong?

copy-of-img_1614

One year ago: Olive Oil Bread

Bagel Rolls (rice recipe adapted from Alton Brown)

Unfortunately, I can’t share the tempura batter recipe I used because it’s I recipe I tested for Cooks Illustrated, and it isn’t published yet. However, I think this one would work fine. I fried the rolls until they were just slightly browned. I didn’t want the filling to cook, or even get warm really.

The only part of making homemade sushi that I haven’t nailed down is how much of the sheet of nori to use. The whole sheet is too much and ends up forming a spiral, but a half sheet isn’t quite enough to fit the fillings. I ended up using about 3/5 of the sheet and saving the scraps for sushi bowls.

Makes 4 rolls, serving 2 people

Rice:
1 cup sushi rice
1 cup water
1 tablespoon rice vinegar
1 tablespoon sugar
½ teaspoon salt

Filling:
4 (8- by 7-inch) sheets nori (see comments above)
4 ounces smoked salmon
1 tablespoon mayonnaise
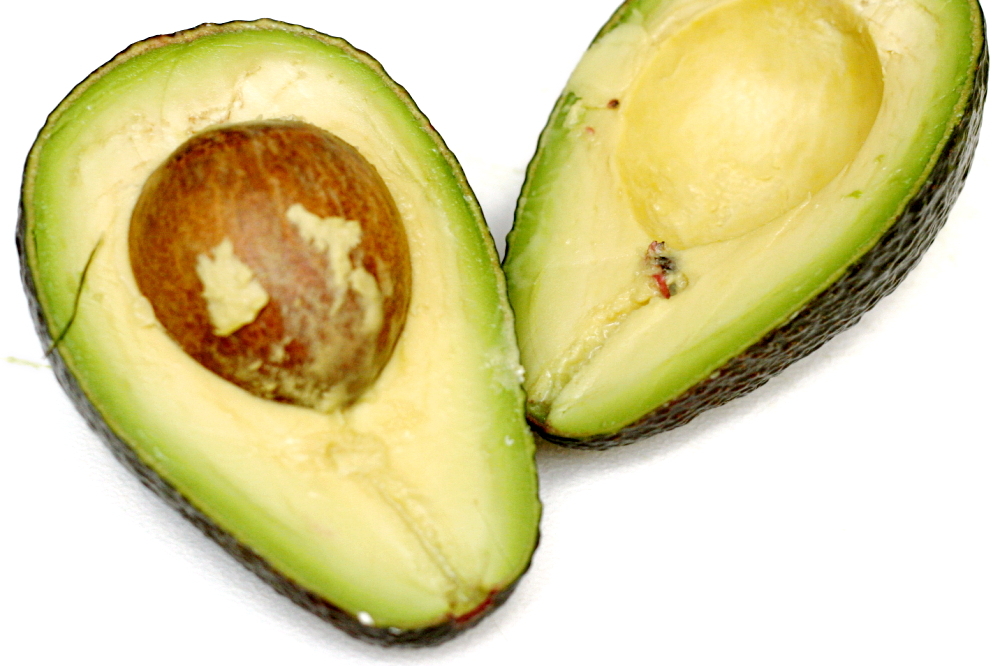
1 avocado, sliced
2 ounces cream cheese
2 teaspoons sesame seeds

For serving:
Wasabi
Pickled ginger
Soy sauce

Rice:
Rinse rice and let drain for 30-60 minutes. (I often skip this without any huge loss in quality.)

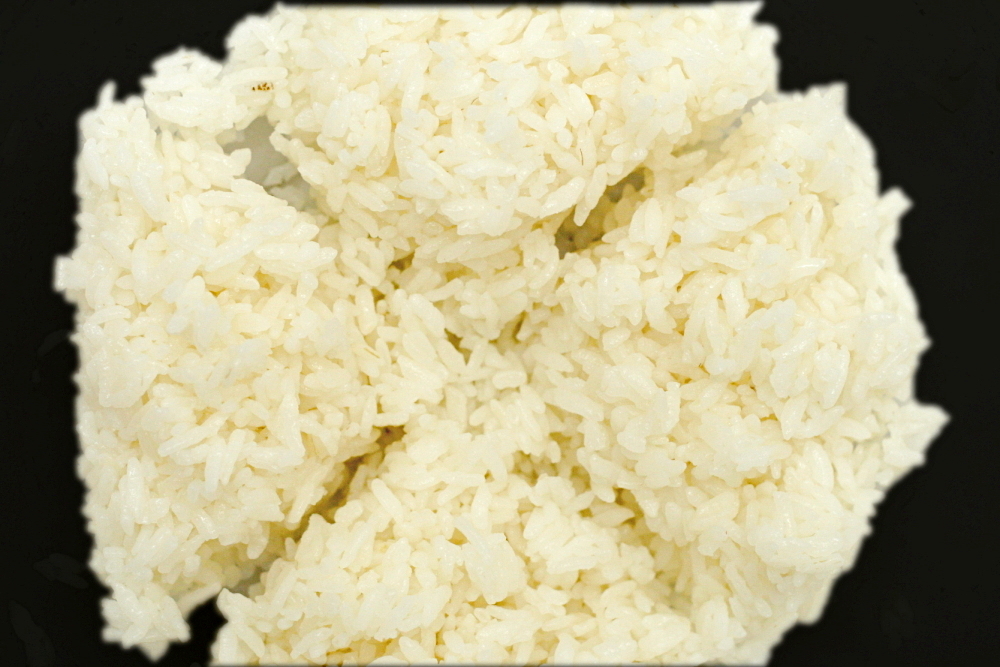
Place the rice and water into a medium saucepan and place over high heat. Bring to a boil, uncovered. Once it begins to boil, reduce the heat to the lowest setting and cover. Cook for 15 minutes. Remove from the heat and let stand, covered, for 10 minutes.

Heat the rice vinegar, sugar and salt (either in a small pot on the stove or in the microwave) until the sugar is dissolved. Transfer the rice into a large wooden or glass mixing bowl and add the vinegar mixture. Fold and cut thoroughly to combine and coat each grain of rice with the mixture. Fan until rice is near room temperature. Do not

Chop the salmon into approximately ⅛-inch pieces and mix it with the mayonnaise. Fill a small bowl with tap water and place it near where you’ll be doing the rolling.

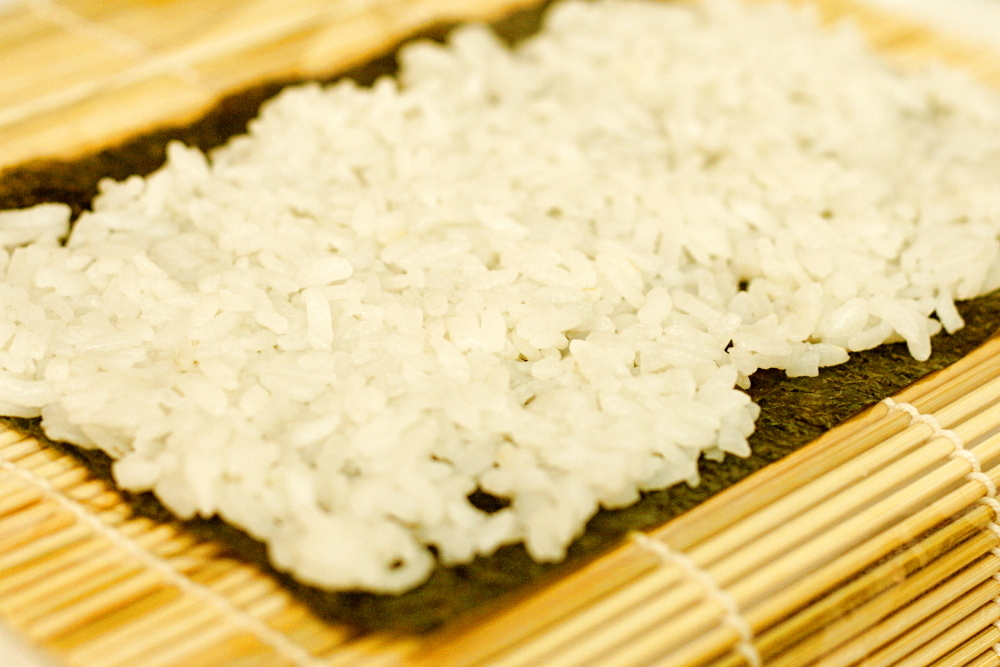
Lay a sheet of plastic wrap over a bamboo rolling mat. Lay 1 sheet of nori, shiny side down, on the plastic wrap. Wet your fingers with water and spread ¼ of the rice evenly onto the nori. Sprinkle the rice with ½ teaspoon sesame seeds. Flip the nori over so that the rice faces down onto the plastic wrap. Place ¼ of salmon mixture, the avocado, and the cream cheese in the middle of the nori. Use the plastic wrap to roll the nori and rice around the fillings, as tight as possible without squeezing the fillings out. Use the bamboo mat to shape and compact the roll. Leave the roll covered in the plastic wrap while you use the remaining ingredients to make three more rolls.

If you’re frying the sushi rolls: Heat 2-3 quarts of canola, vegetable, or peanut oil to 400C in a Dutch oven that holds at least 5 quarts. Remove the plastic wrap from a roll. Dip the entire roll into tempera batter. Fry one roll at a time for about 2 minutes, until the batter is firm and slightly browned. Drain on a cooling rack. Repeat with the remaining rolls, making sure that the oil is at 400 degrees before adding the next roll.

Remove the plastic wrap from the rolls (if you didn’t fry them). Cut each roll in half, then half again and again to make 8 pieces for each roll. Serve with wasabi, pickled ginger and soy sauce.

copy-of-img_1615

world peace cookies

copy-of-img_1691

This week, I’m one of those reviewers – the ones who tweak the recipe beyond recognition, then say the recipe sucks and no one should bother making it.

Except for the ‘beyond recognition’ and ‘the recipe sucks’ parts, at least. For whatever reason, I took it upon myself to, um, improve upon this recipe. Yes, the World Peace Cookie recipe that has gotten one shining review after another.

copy-of-img_1632

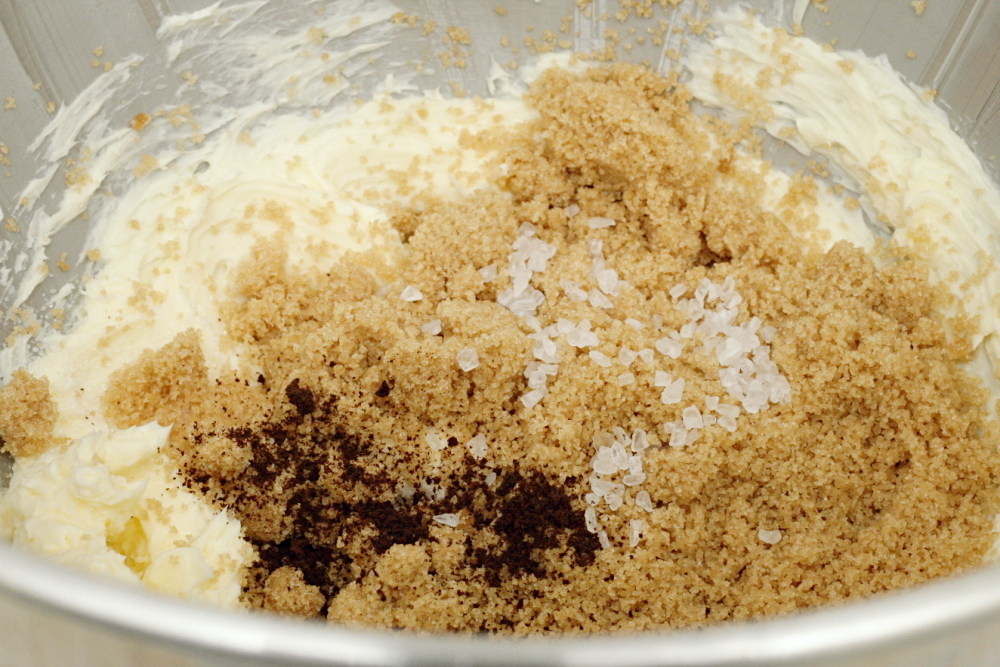
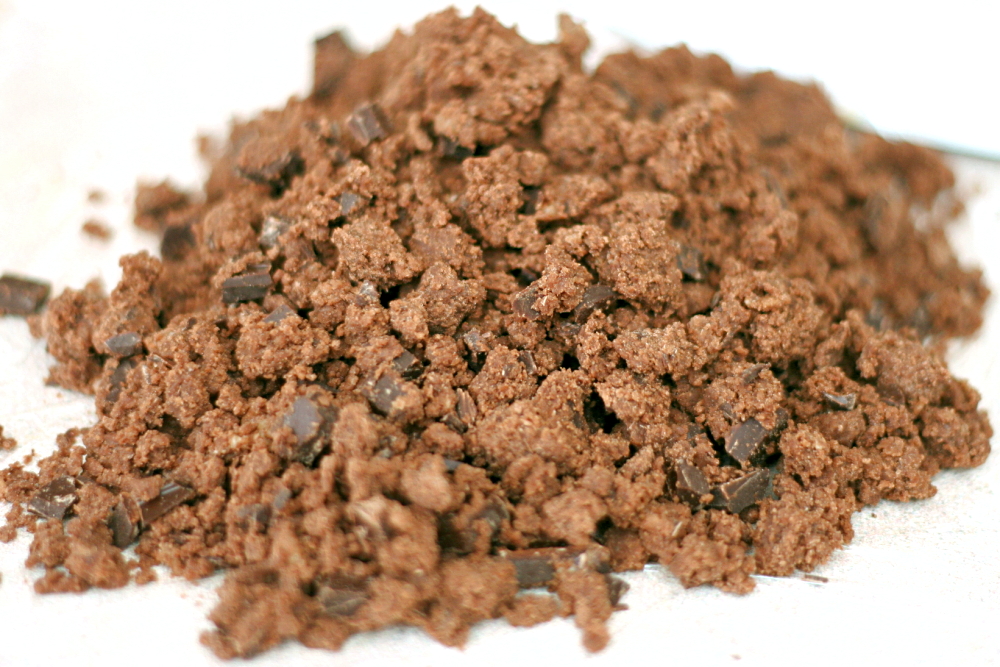
But a few Tuesdays with Dorie members said the dough was so crumbly they could hardly roll it into a log, and that trying to slice cookies off of the log was a mess. So I added an extra tablespoon of butter. And then I figured that what’s a chocolate cookie doing without espresso powder? So I added some. And I forgot to buy fleur de sel, so I used some coarse sea salt that I’ve had forever.

copy-of-img_1643

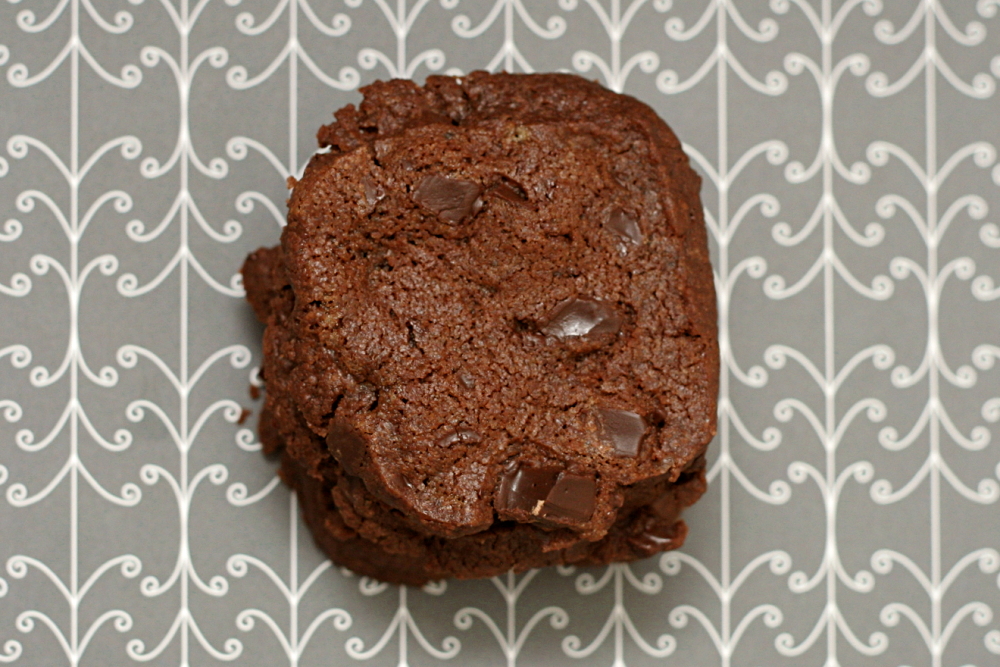
And the result was good. Not mind-blowing, but good. I don’t think the espresso was a good idea – the bitterness didn’t really blend into this cocoa-flavored cookie. The extra butter seemed like it was a good thing, because the dough was still pretty crumbly. On the other hand, there was a bit of a spreading problem during baking. (Maybe a higher temperature would solve that?)

copy-of-img_1669

Actually, I’m not sure shortbread is really my thing. I’m not against it, mind you, but my ideal cookie is chewier. I like them; I just like these chocolate cookies better.

Jessica (along with a lot of other people) has the recipe posted.

One year ago: Chocolate Cupcakes

copy-of-img_1680