Archives for May 2009

tofu mu shu

copy-of-img_5589

A friend of mine once, oh-so-innocently, asked me if I had any recipes with napa cabbage. Poor guy. You have to be careful talking to me about food, because I can go on forever. I sent him longwinded comments about a bunch of recipes. I also sent a recipe for tofu mu shu, which I overcomplicated by providing two versions, one a super-anal-Bridget-version and the other simpler. Of course I had only made the super anal one. Of course.
copy-of-img_5570

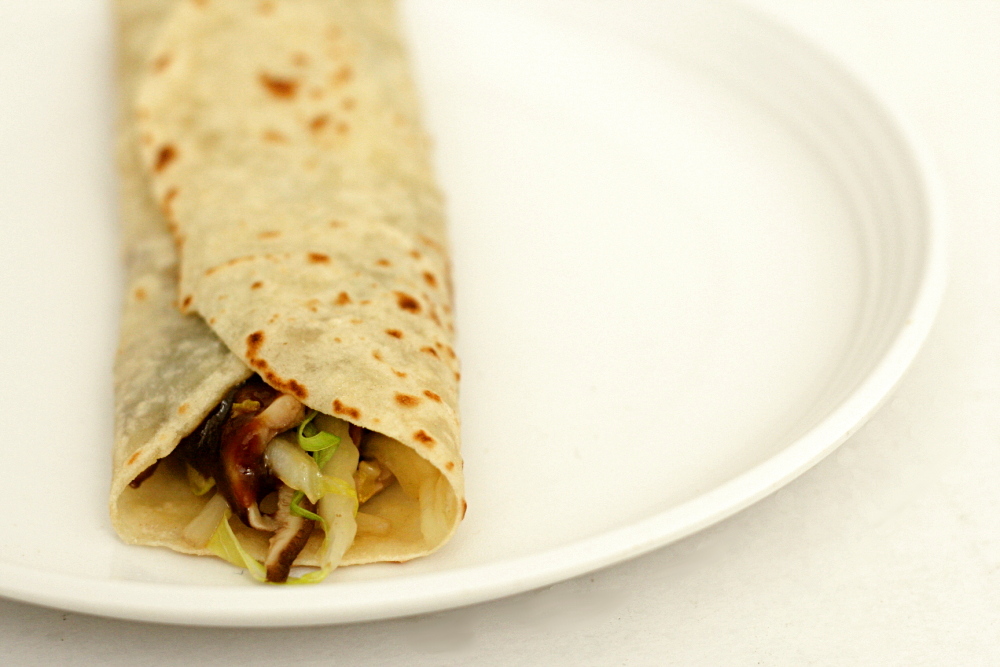
Mu shu is stir-fry wrapped in a thin bread-like shell. The first several times I made it with pork using Jen’s recipe, which is quite delicious. I did want a vegetarian version though, as we tend to save meat for special occasions (you know, like weekends). I haven’t been able to find the dried tofu cakes that Jen recommends substituting for the pork.
copy-of-img_5574

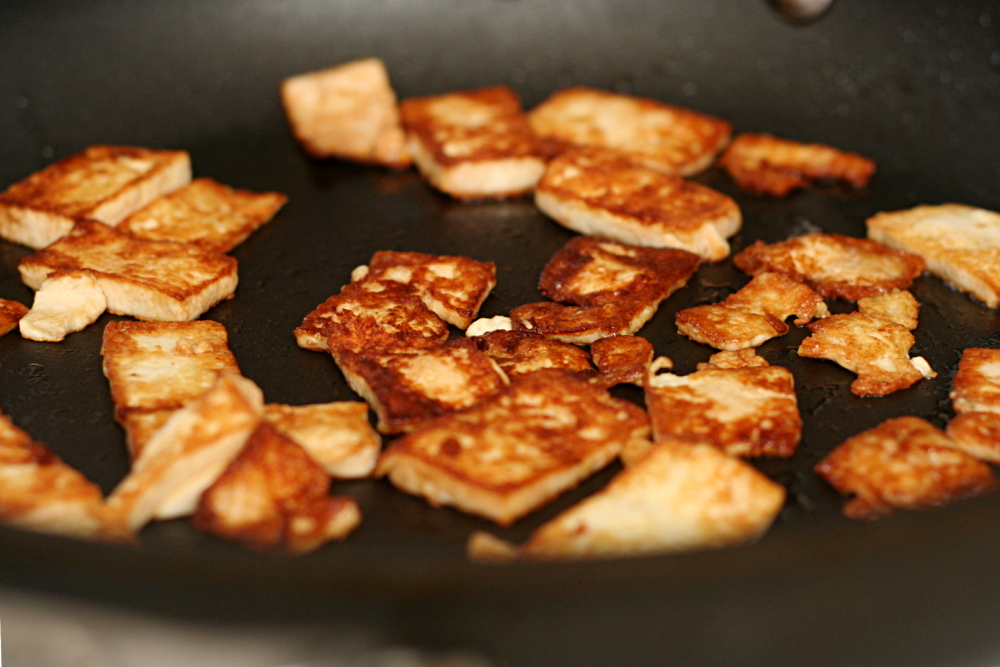
I’ve had good results from pressing firm tofu, marinating it briefly in soy sauce, and sautéing it in a very hot pan. Tofu prepared this way was excellent in mu shu, so it was included in my super-anal-Bridget-version.
copy-of-img_5580

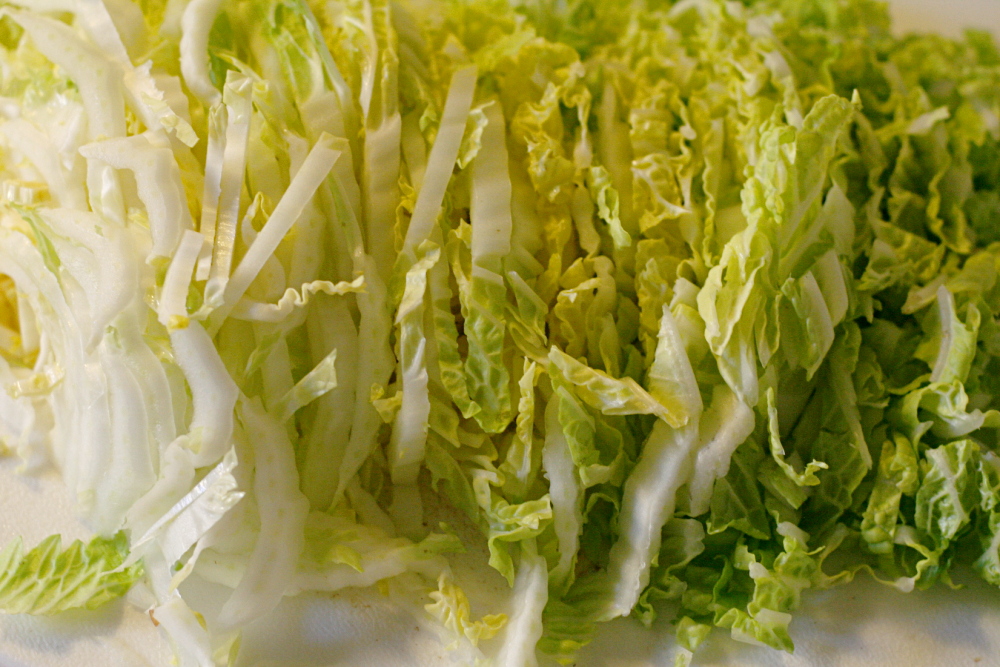
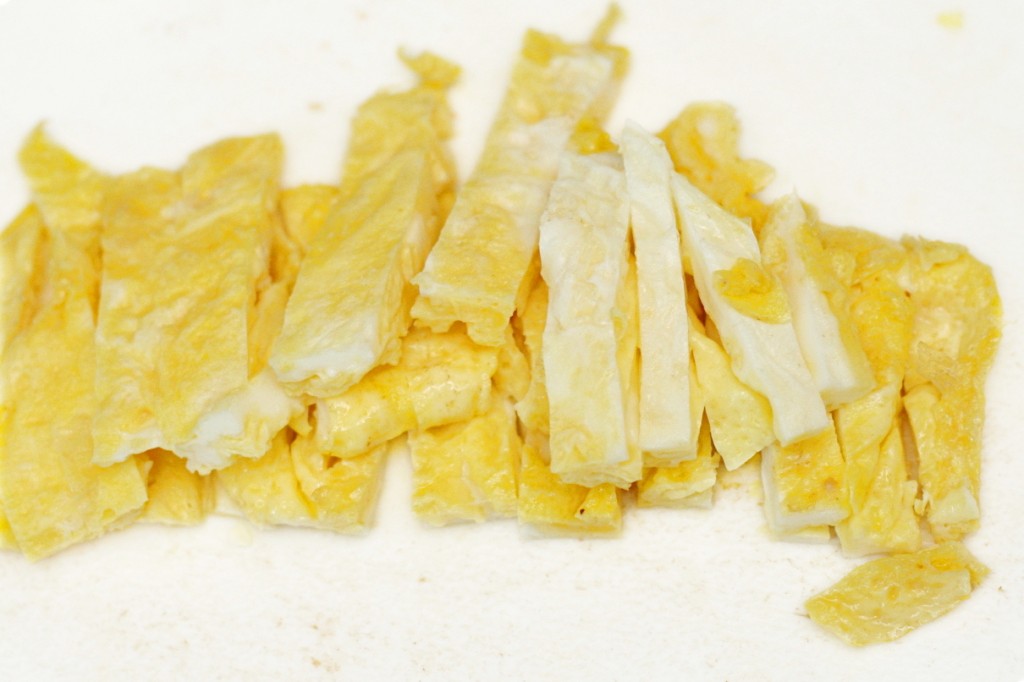
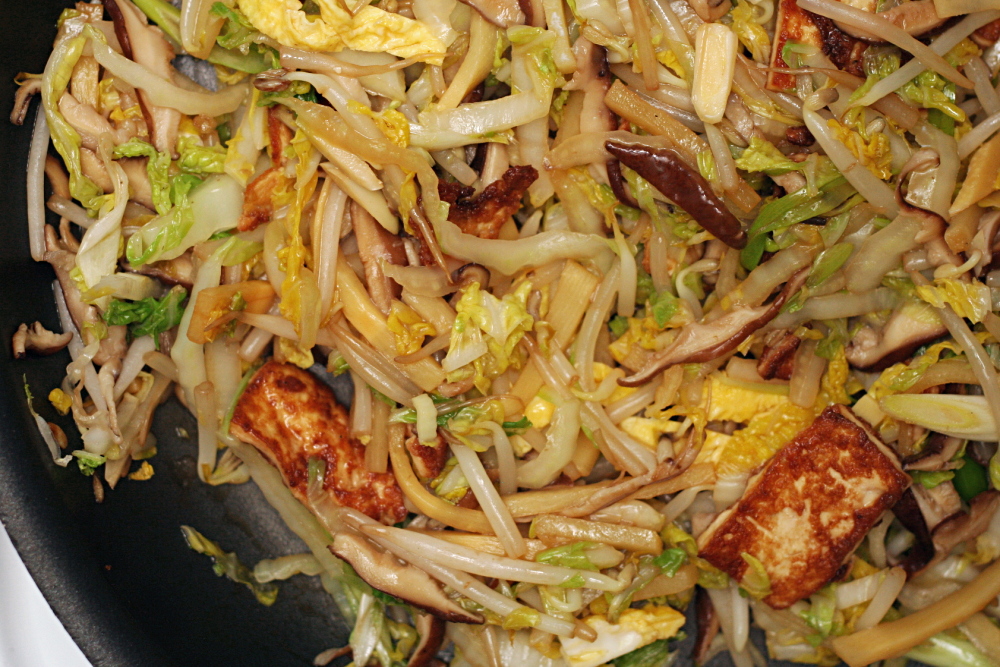
The other difference between my two recipes is the shape of the chopped ingredients. Jen has exceptional knife skills, and her prepped ingredients for mu shu are beautifully julienned. Frankly, it takes me forever to do. Jen also cooks the eggs as one sheet, then removes it from the pan and cuts it into strips, which is far more attractive than clumpy scrambled eggs.
copy-of-img_5582

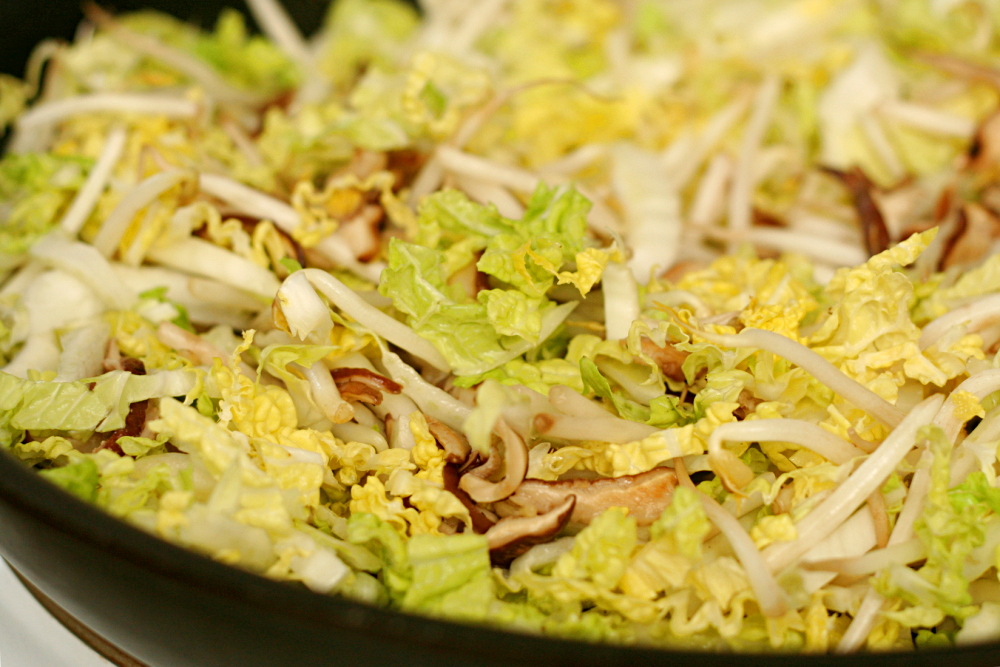
But are crisped tofu, julienned vegetables, and eggs cut into strips worth the extra time? I made my easy version first, with unbrowned tofu, scrambled eggs, and coarsely chopped vegetables. Two days later, I made the other version, sautéing the tofu, cooking the eggs as a sheet, and julienning the vegetables.
copy-of-img_5585

Dave and I didn’t notice a difference in flavor in the finished product. The easy version probably took me about 15 minutes less time. With pre-made mu shu pancakes, that makes this a pretty reasonable weeknight meal.
copy-of-img_5587

One consideration is that the more work-intensive method is more attractive, as the ingredients are all approximately the same shape. That could be an important consideration if you’re serving this to guests. I, for one, am happy to have a simpler version of this, so I can eat it that much more often.
copy-of-img_5588

One year ago: Pecan Honey Sticky Buns

Mu Shu Tofu (adapted from Use Real Butter)

Start to press the tofu before preparing the remaining ingredients.

Serves 6

1 (12-ounce package) firm or extra-firm tofu
3 tablespoons soy sauce
1 tablespoon toasted sesame oil
2 teaspoons cornstarch
3 teaspoons canola oil
3 eggs, beaten
8 ounces shiitake mushrooms, stemmed and cut into strips
3 cloves garlic, minced or julienned
1 medium head napa cabbage, halved and shredded
2 cups bean sprouts
4 green onions, sliced
1 can bamboo shoots, roughly chopped
12 mu shu shells
hoisin sauce

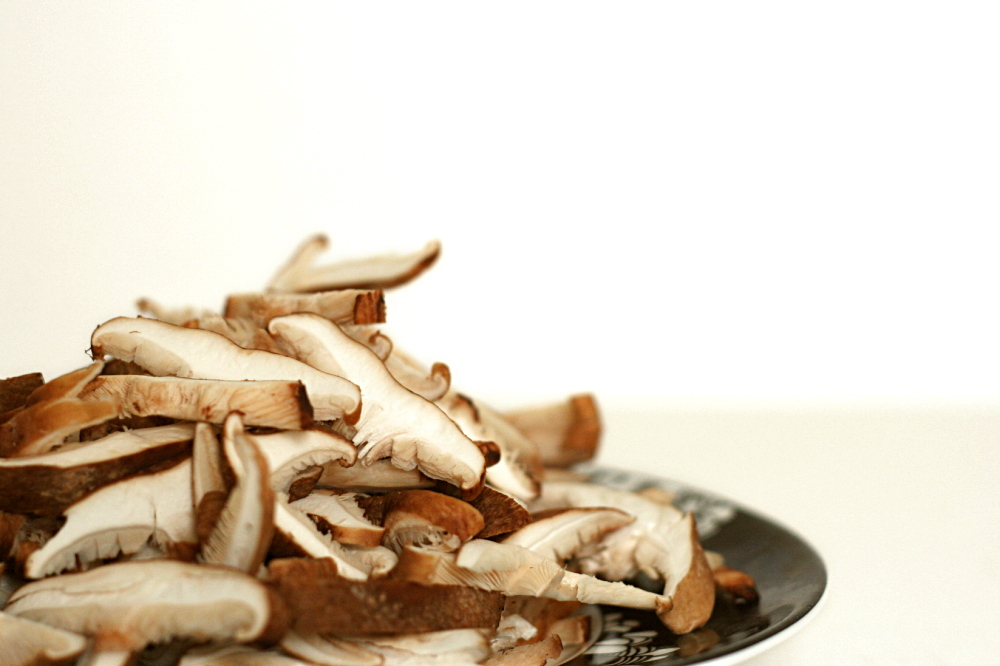
1. Cut tofu in half horizontally to make two flat rectangles. Layer it between double layers of paper towels or clean dish towels. Put all of that in a pie plate and put something heavy on top, maybe another pie plate with some cans in it or something. Set it aside while you prepare the other ingredients.

2. In a small bowl, mix together the soy sauce, sesame oil, and cornstarch. Cut the tofu into strips and add it to liquid ingredients; stir gently.

3. Heat 2 teaspoons canola oil in a 12-inch nonstick skillet over medium-high heat and add the mushrooms. Once the mushrooms are softened (2-3 minutes), add the garlic; cook and stir until fragrant, about 30 seconds. Add the eggs and stir vigorously with wooden spoon until scrambled and barely moist, about 20 seconds. Add the cabbage and bean sprouts. Sauté until the cabbage is wilted but still a little crunchy, 3-4 minutes. Add the remaining ingredients and the tofu mixture. Cook and stir until evenly heated.

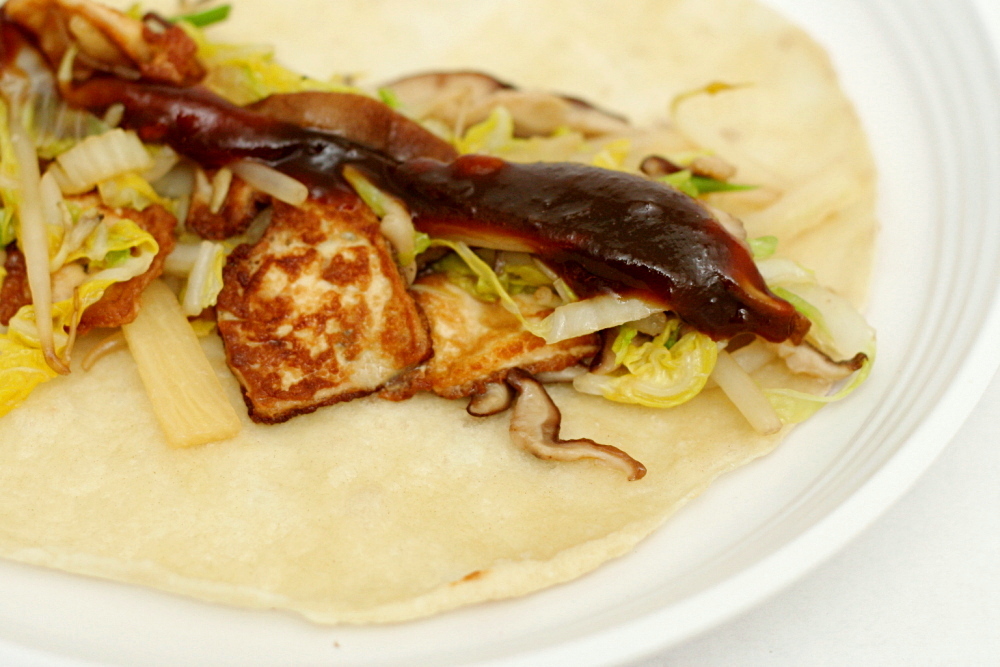
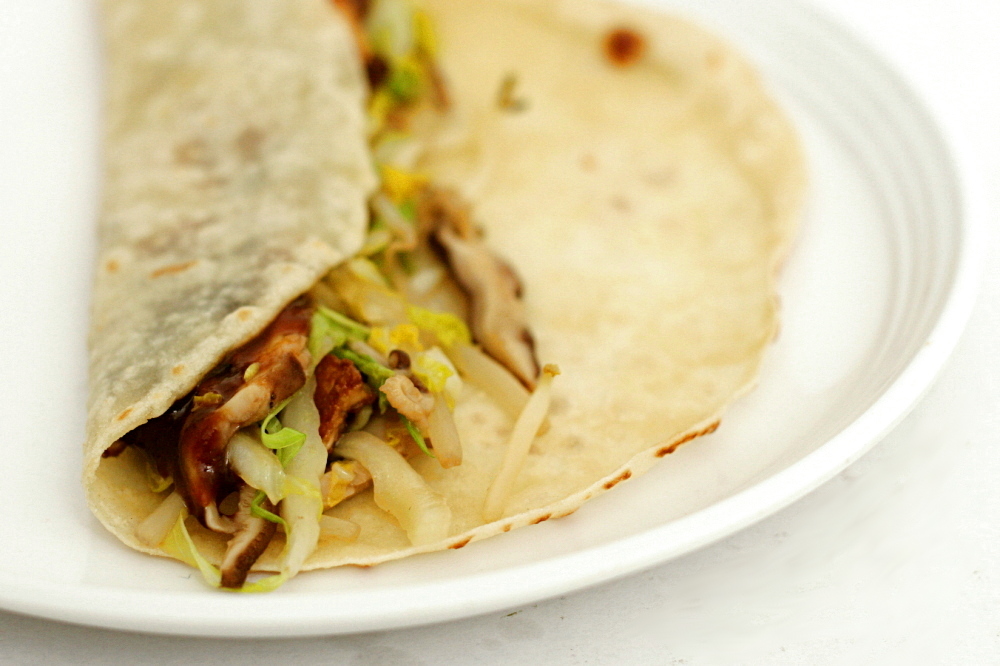
4. Heat the mu shu shells according to the instructions on the package. Serve each mu shu shell with a smear of hoisin sauce down the middle. Place several spoonfuls of mu shu on the shell and fold the sides in.
copy-of-img_5593

chipster-topped brownies

copy-of-img_5872
(chilled and therefore solid here)

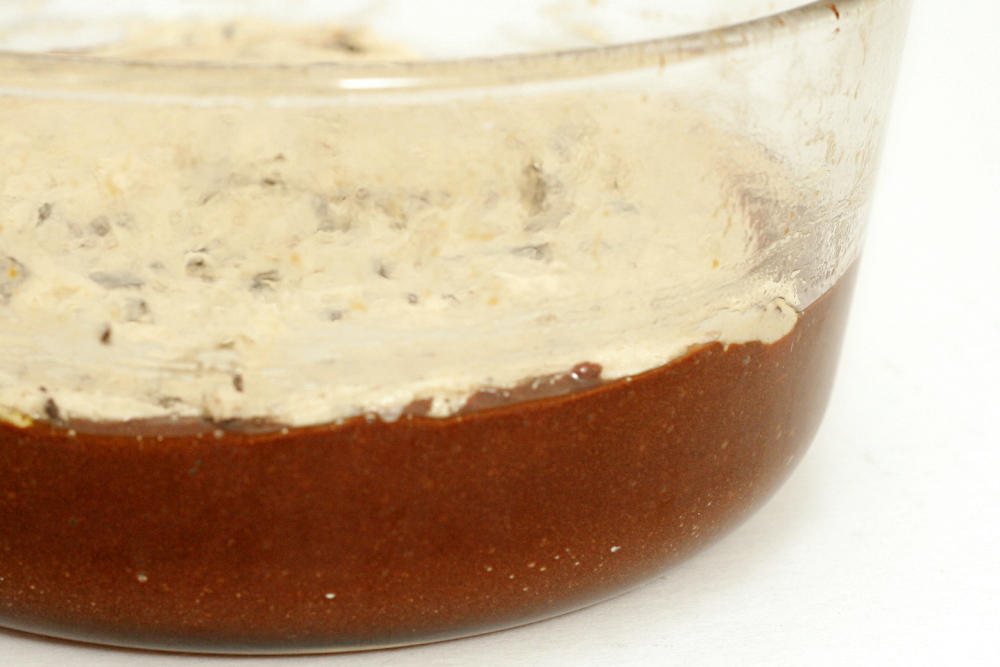
One of my favorite things about the weekend is coffee. On weekdays, I limit myself to a big mug of black tea each day, maybe two mugs on Friday. But I have to be careful with caffeine, because even one mug of black tea makes me a little excited.  The day I made these brownies, I had about twice my normal weekend allotment of coffee at home, and then there was some deal at the bookstore, and I ended up getting a medium instead of my normal small cappuccino. Whoa.

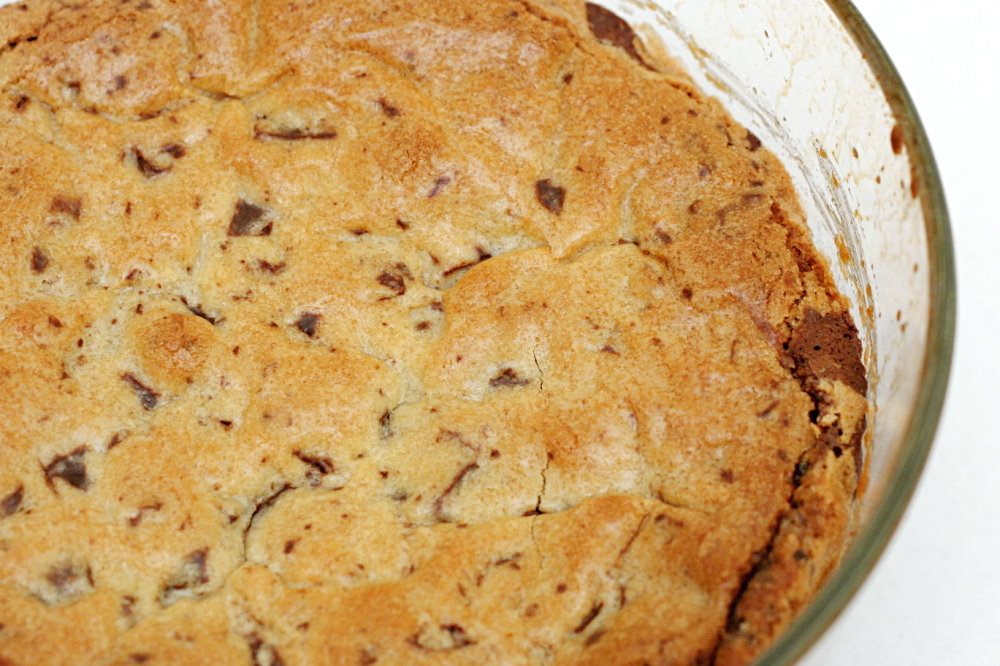
I came home and tried to make dinner and these brownies. Dinner wasn’t too complicated, and this dessert is just a basic brownie recipe topped with a basic chocolate chip cookie recipe. But I couldn’t focus on anything. I kept walking into the kitchen, looking around, and basically thinking, “what should I do, what should I do, what should I do?” Bzzzzzt. That was my brain. Bzzzzt.

copy-of-img_5818

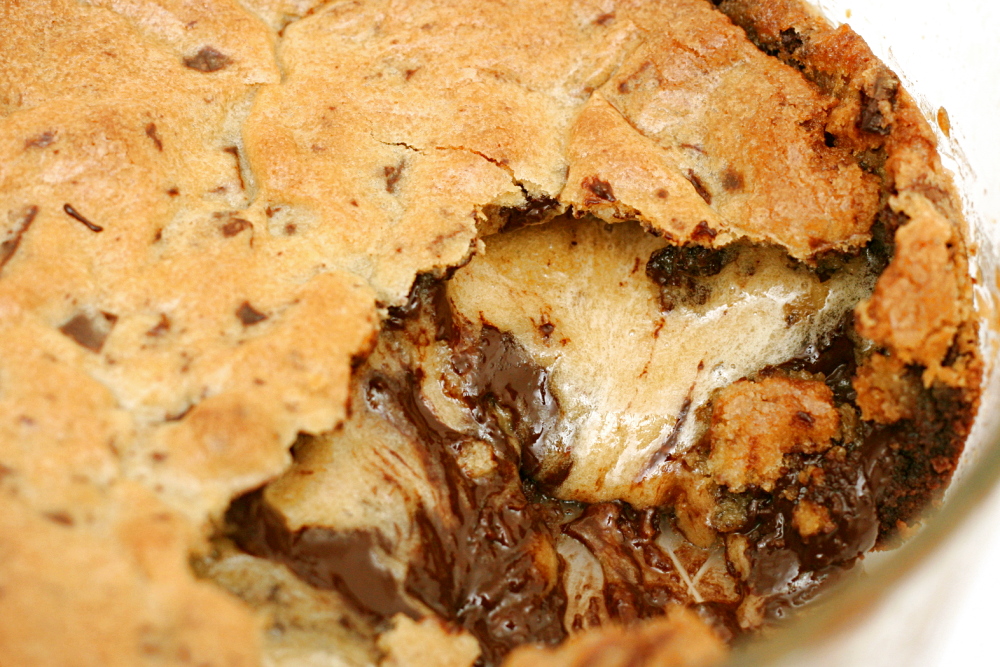
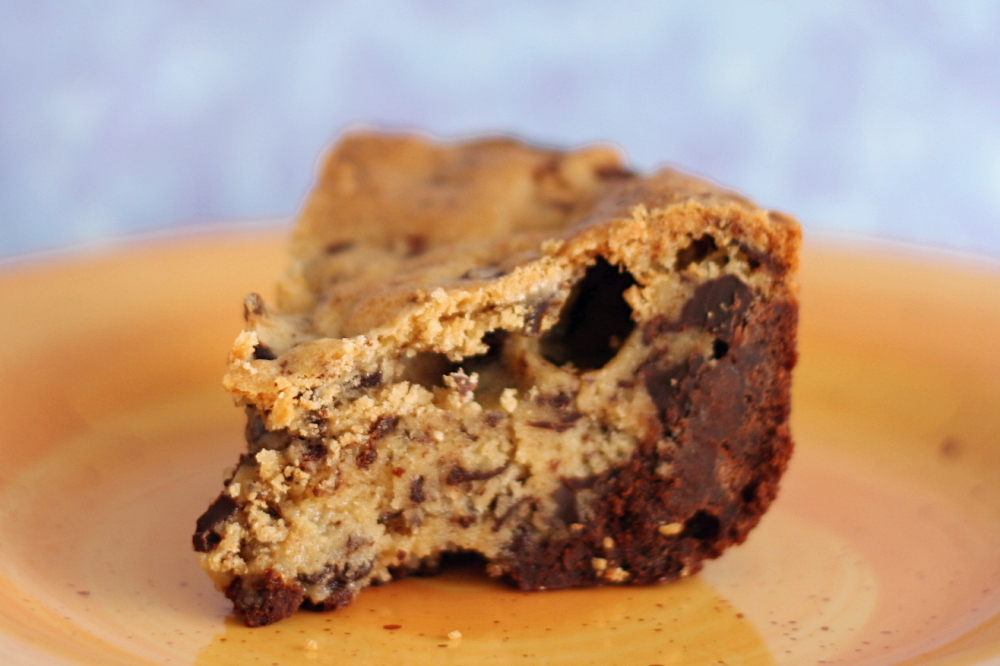
Dinner was sort of a disaster, so I decided to placate myself by skipping right to dessert – only to find that the middle of the pan of brownies was totally raw. That just made me irritated enough to grab a spoon and go to town.

I have no one to blame but myself. I never bothered to check the doneness of the brownies at all. I didn’t pay attention to when they went into the oven, and then at some point later, it occurred to me that I should check on them. I noticed how dark the top was and assumed I’d overcooked them.

copy-of-img_5834

If I had bothered to read the discussion of this recipe on TWD’s site, which of course I hadn’t, I would have known that underdoneness was a common problem. To complicate matters, I made ¼ of the brownie portion and ½ of the cookie portion using a pan ¼ the size of what’s recommended for a full recipe. (Thanks to Caitlin for this advice – it was definitely closer to the ratio of brownie to cookie that I preferred.)

If this is the result, I’m really going to have to be more careful about my caffeine consumption. It’s a good thing that chocolate chip cookie dough is one of my favorite foods, because that and brownie batter is basically what this ended up as.

Chipster-Topped Brownies (from Dorie Greenspan’s Baking: From my Home to Yours)

For the brownie layer:
6 ounces bittersweet chocolate, coarsely chopped
3 ounces unsweetened chocolate, coarsely chopped
16 tablespoons (2 sticks) unsalted butter, cut into chunks
1⅔ cups (11.66 ounces) sugar
4 large eggs
½ teaspoon salt
½ teaspoon vanilla extract
1 cup (4.8 ounces) all-purpose flour
1 cup walnuts

For the cookie layer:
1¼ cups (6 ounces) all purpose flour
½ teaspoon baking soda
½ teaspoon salt
12 tablespoons (1½ sticks) butter, room temperature
¾ cup (5.25 ounces) packed brown sugar
⅔ cup (4.66 ounces) sugar
1 large egg
1 large egg yolk
1 teaspoon vanilla extract
6 ounces bittersweet chocolate, either chips or chunks

Getting Ready: Center a rack in the oven and preheat the oven to 350F. Butter a 9×13 inch pan, line it with wax or parchment paper and butter the paper. Put the pan on a baking sheet.

To make the brownie batter:
Put both chocolates and the butter in a bowl set over a saucepan of simmering water. Stirring occasionally, heat just until the ingredients are melted, shiny and smooth. If the mixture gets too hot, the butter will separate from the chocolate. Remove the bowl from the heat.

Working with a stand mixer, preferable fitted with a paddle attachment, or working with a hand mixer in a large bowl, beat the sugar and eggs on medium-high speed for about 2 minutes, until pale, thick and creamy. Beat in the salt and vanilla extract. Reduce speed to low and mix in the melted chocolate and butter, mixing only until incorporated. Scrape down the sides of the bowl with a rubber spatula, then, still on low speed, add the flour, mixing only until it disappear into the batter. Using a spatula, fold in the walnuts, and scrape the batter into the prepared pan. Set aside.

To make the cookie dough:
Whisk together the flour, baking soda and salt.

Working with the stand mixer in the cleaned bowl or with the hand mixer in another large bowl, beat the butter and both sugars together on medium-high speed until smooth and creamy, about 3 minutes. One at a time, add the egg and the yolk, beating for 1 minute after each addition. Beat in vanilla. Reduce the mixer speed to low and add the dry ingredients, mixing only until they disappear into the dough. Still on low, mix in the chocolate. Drop the cookie dough by spoonfuls over the brownie batter and, using a spatula and a light touch, spread evenly over the batter.

Bake for 50-55 minutes, or until the cookie top is deep golden brown and firm and thin knife inserted into the brownie layer comes out with only faint streaks of moist chocolate. Transfer the pan to a rack and cool to room temperature.

When the brownies are completely cool, carefully run a knife between the sides of the pan and the brownies, then invert them onto another rack, remove the paper and turn right side up onto a cutting board. Cut into bars about 2 inches by 1 inch.

One year ago: Ricotta Spinach Tofu Ravioli

copy-of-img_5837

potato galette

copy-of-img_5551

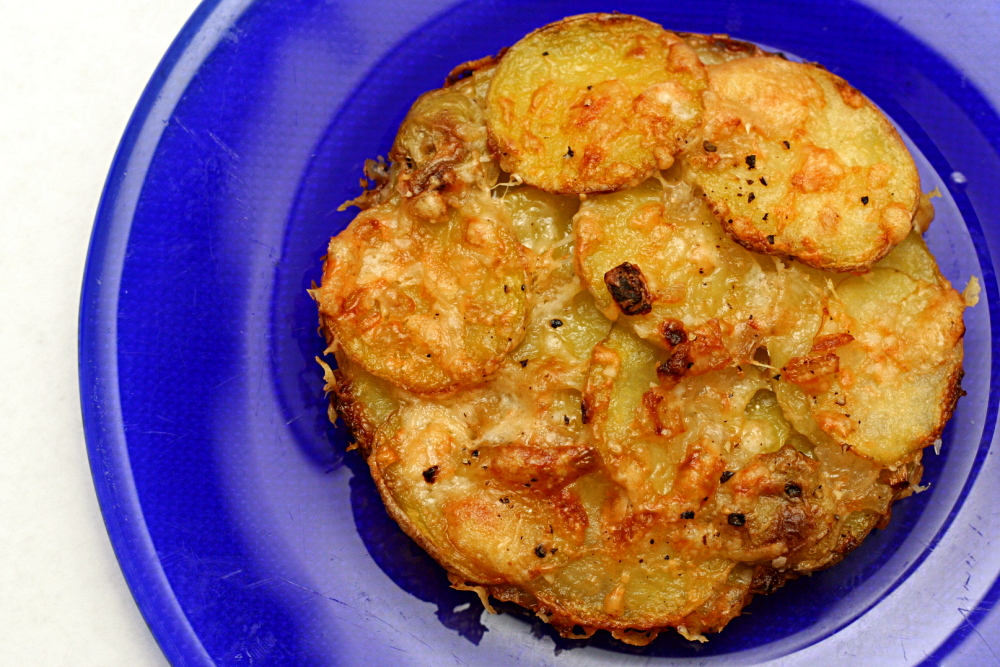
You know the expression, “your eyes were bigger than your stomach?” Yeah, that never happens to me. I have quite the stomach. What I do instead of over-anticipating my appetite is over-anticipate my desire to cook. When it came time to actually make the meal that included these potatoes, I was just not in the mood. The meal itself – strip steak topped with shallot butter and Brussels sprouts braised in cream were the other dishes – sounded delicious, but the path there just seemed like a pain.

copy-of-img_5522

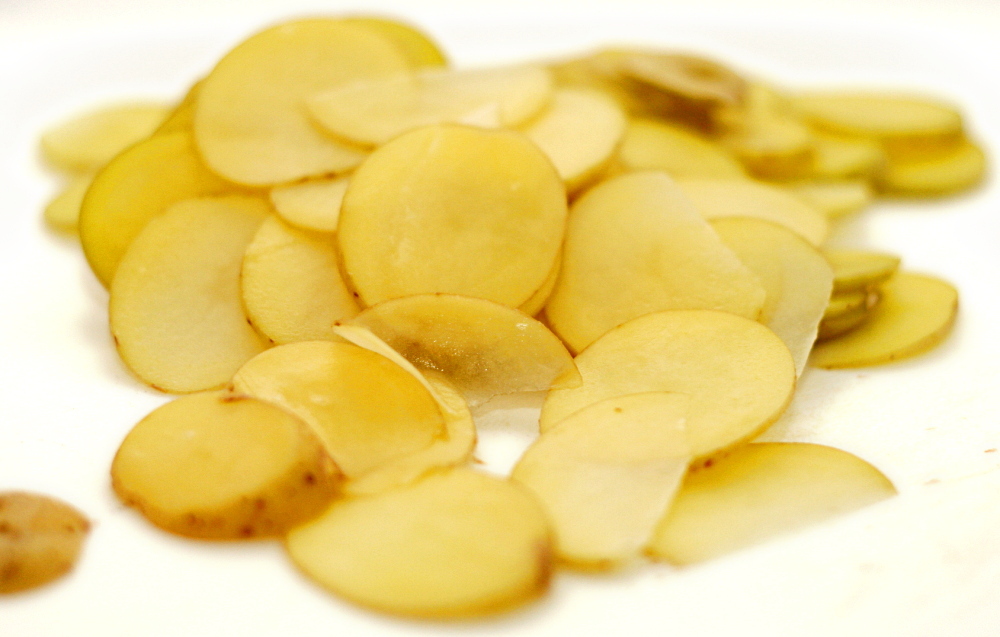
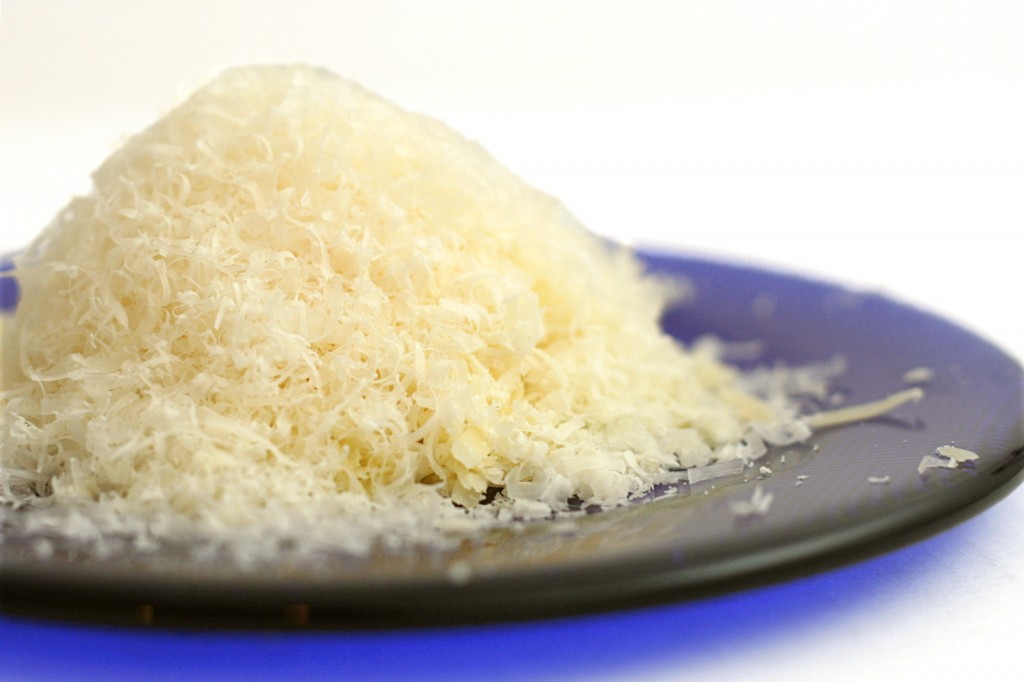
At least the steak and vegetables were easy. This potato dish was significantly more involved. The ingredient prep alone is an investment in time, with potatoes sliced as thin as you can get them, and five ounces of cheese that the original recipe instructs should be finely grated. After grating about half an ounce, I gave up and shredded all of it on the medium-sized holes of a box grater.

copy-of-img_5540

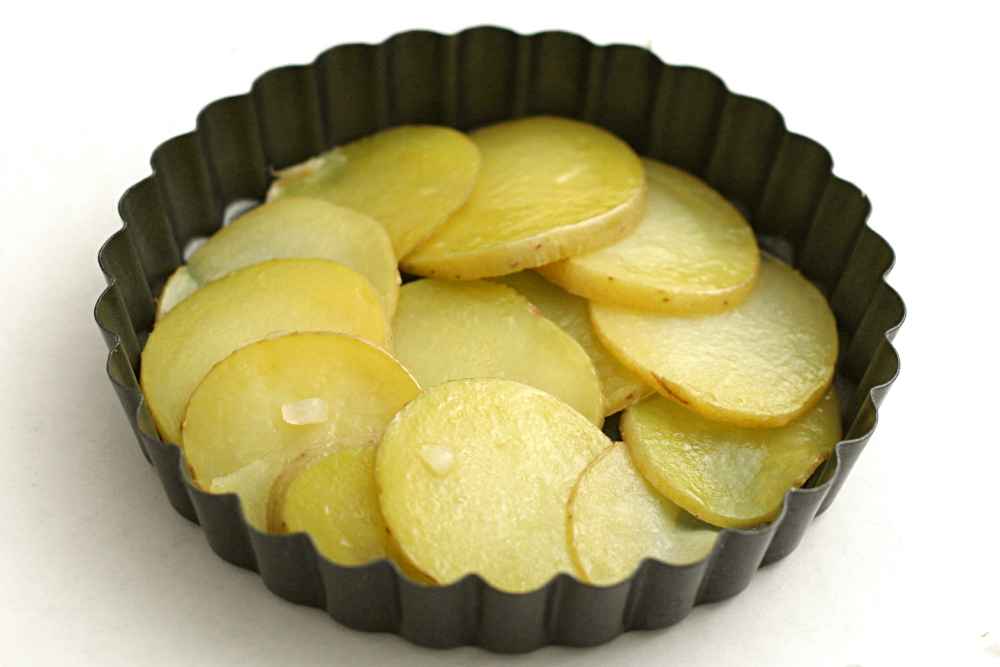
The recipe recommends layering and baking the uncooked potatoes, but Jen says the potatoes never cook through all the way for her when she follows this method. She parboils the potatoes before baking. I remembered a Cooks Illustrated’s recipe for pan-fried sliced potatoes that calls for microwaving the sliced potatoes with a bit of butter first, and that sounded easier.

copy-of-img_5543

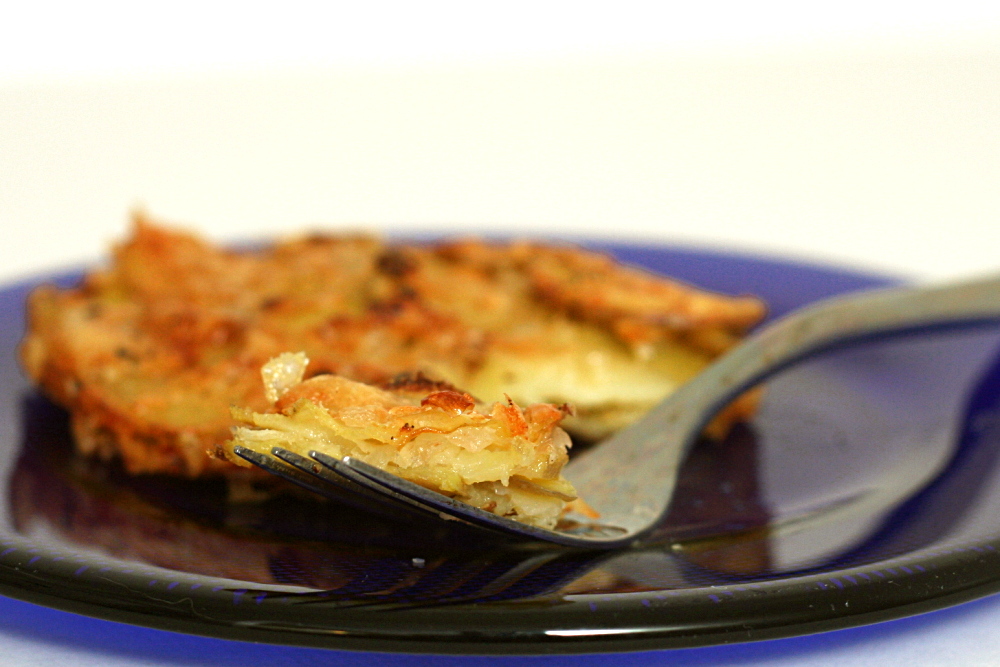
Once the ingredients were prepared, and the shallots were softened, and the potatoes were cooked a little, I could finally start layering the ingredients. Then the tart is baked until it’s a beautiful red-gold, with crispy edges and a creamy center. In the end, this dish was exactly the flavor and texture I wanted from it, and I will certainly make it again. Just hopefully only when I’m in the mood to expend the effort.

copy-of-img_5555

One year ago: Traditional Madeleines. I need to remake these now that I have a madeleine pan.

Potato Galette (adapted from Fine Cooking #53 via Use Real Butter)

Looking at the recipe again, I don’t see any reason why you couldn’t add the shallots and the rest of the butter to the potatoes and microwave the whole mixture together.

3 tablespoons butter
¼ cup shallots, finely chopped
16 ounces Yukon gold potatoes, unpeeled and scrubbed
1 teaspoon fresh thyme, lightly chopped
kosher salt
½ cup (1 ounce) Parmigiano Reggiano, grated
1 cup (4 ounces) Gruyère cheese, shredded

1. Heat oven to 400F. Grease bottom and inside edge of 7½-inch tart pan (who in the world has a 7½-inch tart pan?) with removable bottom. Place the pan on a rimmed baking sheet.

2. Melt 1 tablespoon of the butter in a small saucepan over medium heat. Add the shallots, reduce the heat to low, and cook until the shallots are softened but not browned, about 2 minutes. Remove from the heat.

3. Slice the potatoes as thinly as possible, no more than 1/16 inch thick. Melt 2 tablespoons of the butter in a large bowl in the microwave. Add the potatoes and a pinch of salt to the bowl and toss to coat the potatoes with butter. Microwave, uncovered, for 4 minutes, stirring every minute. The potatoes should bend, but they don’t need to be cooked all the way through. Remove the potatoes from the microwave and add the shallot mixture, thyme, and ½ teaspoon salt.

4. Layer the bottom of the pan with potato slices, overlapping them slightly. Sprinkle ¼ of each cheese type on the potatoes, then repeat the layering three more times, ending with cheese.  (You’ll probably need to scrape some of the shallots and other goodies over the potatoes as you form the layers.  The don’t cling to the potatoes much.)

5. Bake until the top of the galette is golden brown and the potatoes are tender, 30-40 minutes. Let cool for about 10 minutes, then carefully remove the tart ring from the galette. Use a thin spatula to transfer the galette to a cutting board, cut into wedges, and serve.

copy-of-img_5547

croissants 1 (tartine)

copy-of-img_4769

Someone must have told me “if at first you don’t succeed, try, try again” at a particularly impressionable age. Either that, or I’ve struggled through learning enough new subjects that I recognize the value of practice. Or maybe I’m just obsessive.

copy-of-img_4717

This was my first time making croissants, and it wasn’t perfect, which immediately sparked my desire to try a bunch of other croissant recipes. (Not side-by-side, mind you. My head spins just thinking about it.) The thing is that I can’t figure out exactly where I went wrong. I’m hoping that by gaining experience with different recipes, I’ll become more familiar with the process and pick up some nice tips along the way.

copy-of-img_4746

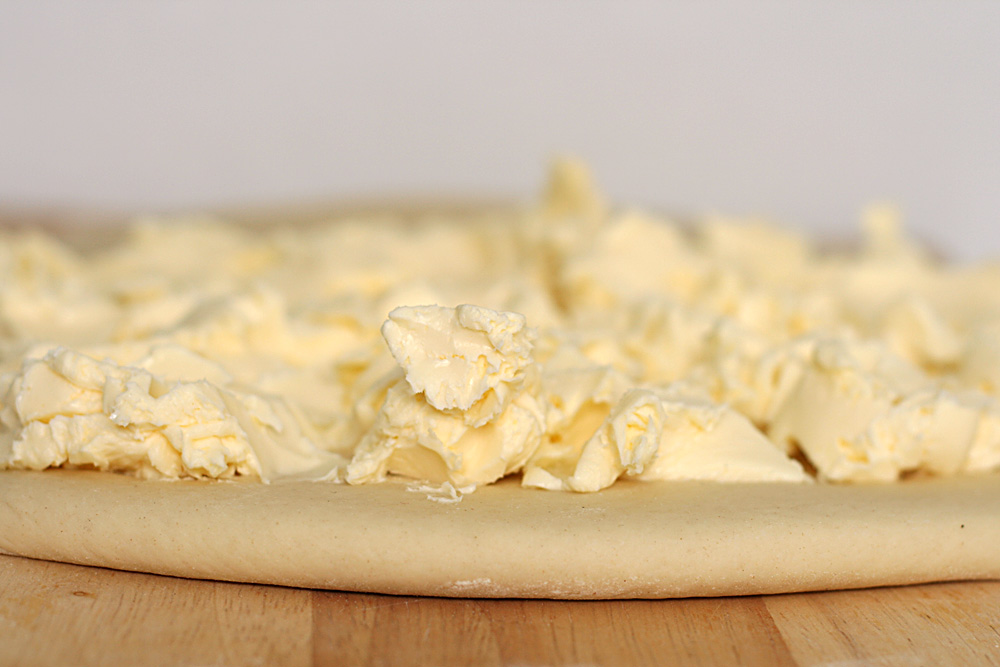
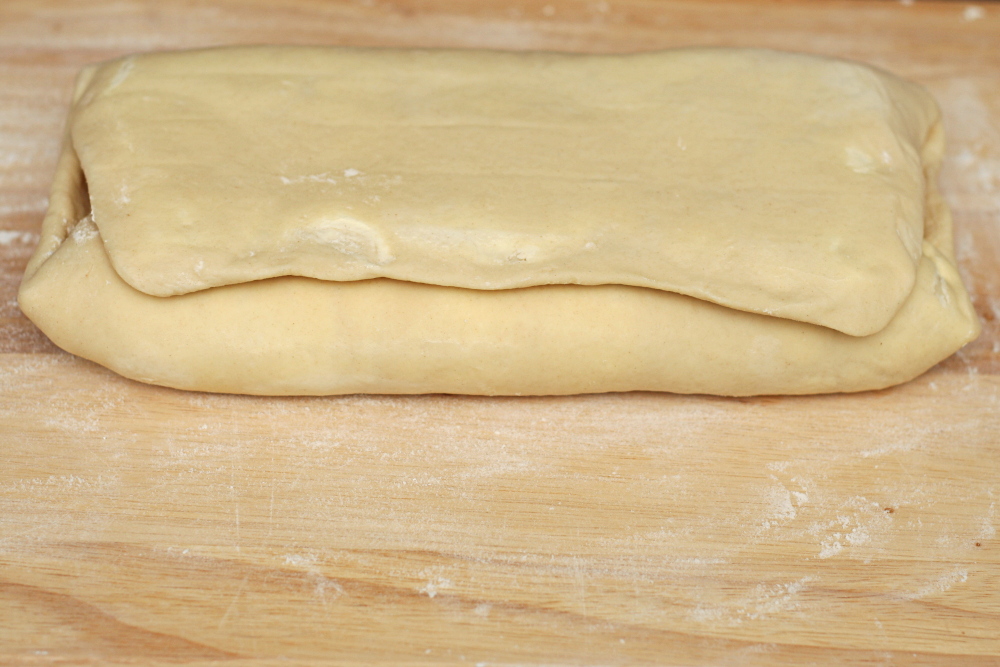
Of the recipes I’ve considered trying, this one is the most complex. First, a pre-ferment is made, two days before you want to bake the croissants. That gets turned into croissant dough the next day, and from there, most recipes are the same. Knead a little, then roll it out with a bunch of butter and fold it like a letter. Chill, then repeat the folding twice. Chill overnight. Roll out, cut, shape, rise, bake.

copy-of-img_4752

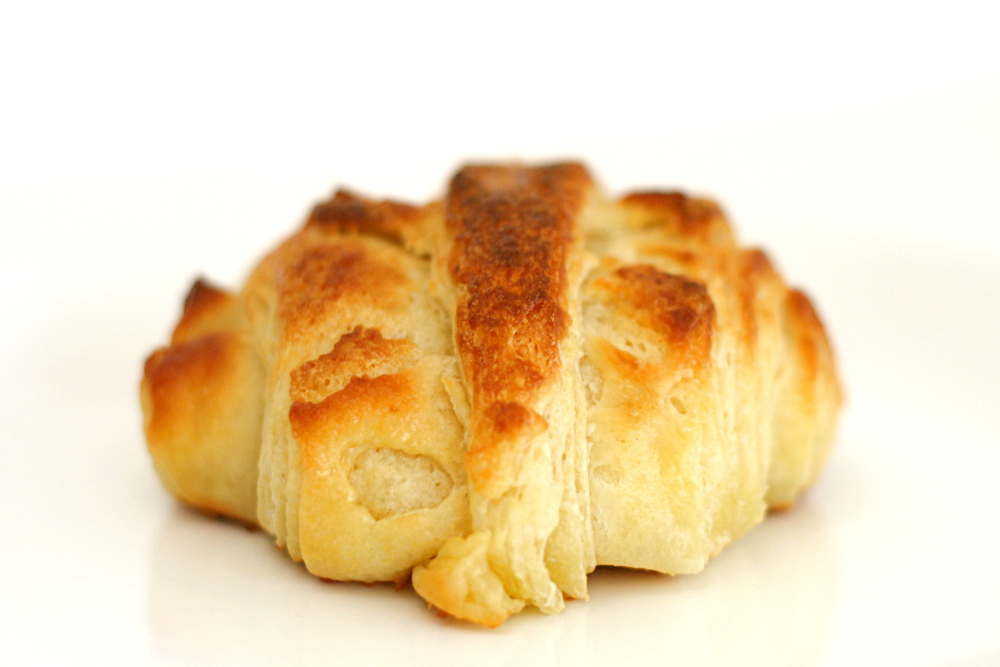
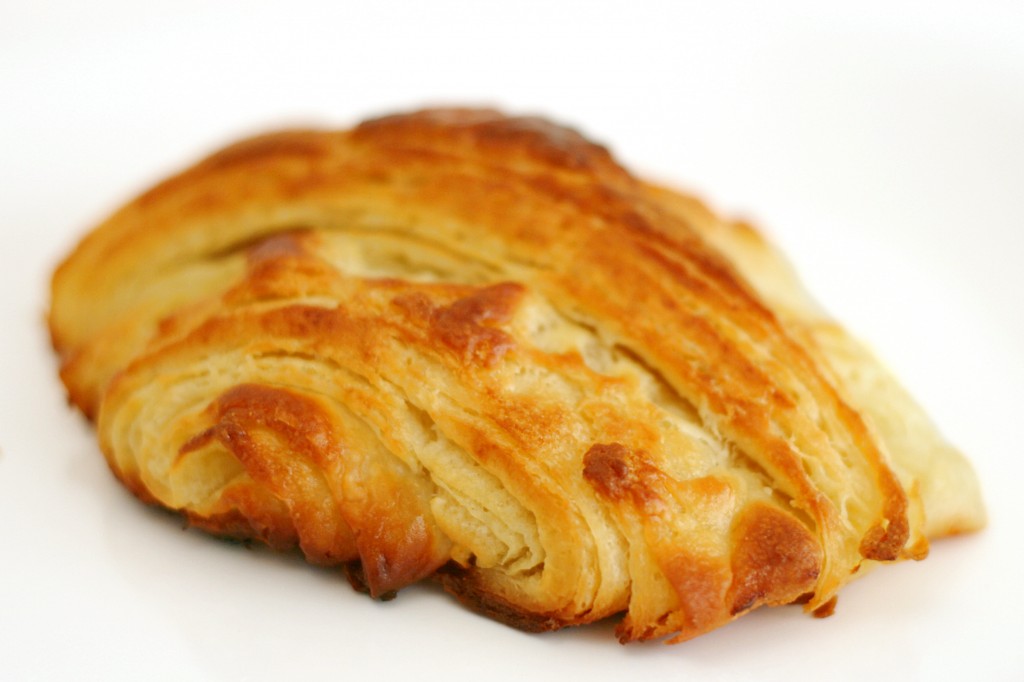
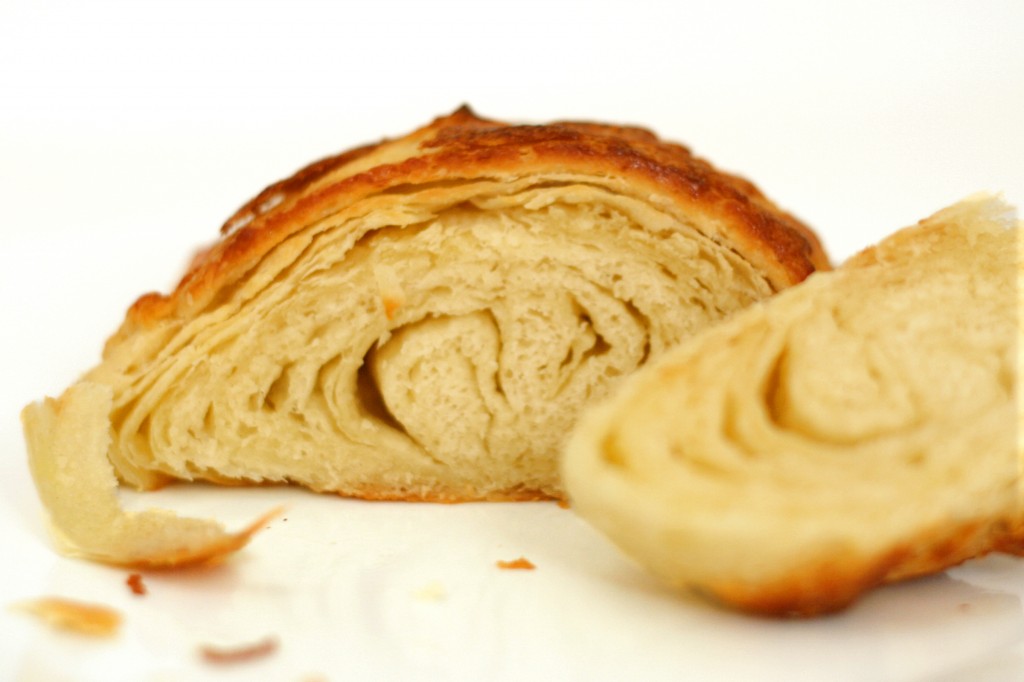
The author of the recipe, Elisabeth Prueitt, gives a lot of detail, turning my 60-word summary of the recipe into 5 pages of instructions, tips, and advice. She does not mention that the dough will be so elastic that it will fight you every time you have to roll it out, which makes me think I did something wrong. (Overkneading is my guess.) She also does not say anything about a huge pool of butter left behind in the baking pan after the croissants are removed from the oven. And I’m guessing the yeasty flavor of the croissants isn’t right either. And clearly they’re not supposed to look like this:

copy-of-img_4772

The croissants were still way better than edible – flaky, light, buttery delicious – but clearly my technique needs some refining. After I made this recipe, I was chomping at the bit to try another, and in fact, I have a handful of recipes I want to try. (Although one of them was the recipe that the Daring Bakers made a few years ago – which I just realized is this one. So never mind that one.) Expect to see reviews of one croissant recipe after another as I attempt to master this pastry.

copy-of-img_4764

One year ago: Snickery Squares

Croissants (from Tartine by Elisabeth M. Prueitt and Chad Robertson)

Preferment:
¾ cup non-fat milk (6 ounces/150 ml)
1 tablespoon active dry yeast (15ml)
1⅓ cup all-purpose flour (6¼ ounces/175g)

Dough:
1 tablespoon + 1 teaspoon active dry yeast (20ml)
1¾ cup whole milk (14 ounces/425 ml)
6 cups all-purpose flour (28 ounces/800g)
⅓ cup sugar (2½ ounces/70g)
1 tablespoon + 1 teaspoon salt (20 ml)
1 tablespoons unsalted butter (15ml)

Roll-in butter:
2¾ cup unsalted butter (22 ounces/625 g)

Egg wash:
4 large egg yolks (2 ounces/60 ml)
¼ cup heavy cream
pinch salt

To Make the Preferment:

In a small saucepan, warm the milk to take the chill off (between 80° to 90 °F). Pour the milk into a mixing bowl, sprinkle the yeast over the milk, stir to dissolve the yeast with a wooden spoon, and then add the flour, mixing with a wooden spoon until a smooth batter forms. Cover the bowl with cheesecloth and let the mixture rise until almost double in volume, 2 to 3 hours at moderate temperature or overnight in the refrigerator.

To Make the Dough:

First measure out all your ingredients and keep them near at hand. Transfer the preferment and then the yeast to the large bowl of a stand mixer fitted with the dough hook. Mix on low speed until the yeast is incorporated into the preferment batter, which will take a minute or two. Stop the mixer as needed and use a spatula to clean the bottom and sides of the bowl, folding the loosened portion into the mixture to incorporate all the elements fully. When the mixture has come together into an even, well-mixed mass, increase the speed to medium, and mix for a couple of minutes. Slowly add half of the milk and continue to mix until the milk is fully incorporated.

Reduce the speed to low, add the flour, sugar, salt, melted butter, and the rest of the milk, and mix until the mass comes together in a loose dough, about 3 minutes. Turn off the mixer and let the dough rest for 15 to 20 minutes. This resting period helps to shorten the final mixing phase, which comes next.

Engage the mixer again on low speed and mix until the dough is smooth and elastic, a maximum of 4 minutes. If the dough is very firm, add a little milk, 1 tablespoon at a time. Take care not to overmix the dough, which will result in a tough croissant that also turns stale more quickly. Remember, too, you will be rolling out the dough several times, which will further develop the gluten structure, so though you want a smooth dough, the less mixing you do to achieve that goal, the better. Cover the bowl with cheesecloth and let the dough rise in a cool place until the volume increases by half, about 1½ hours.

Lightly flour a work surface. Transfer the dough to the floured surface and press into a rectangle 2 inches thick. Wrap the rectangle in plastic wrap, or slip it into a plastic bag and seal closed. Place the dough in the refrigerator to chill for 4 to 6 hours.

To Make the Roll-in butter:

About 1 hour before you are ready to start laminating the dough, put the butter that you will be rolling into the dough in the bowl of the mixer fitted with the paddle attachment. Mix on medium speed until malleable but not warm or soft, about 3 minutes. Remove the butter from the bowl, wrap in plastic wrap, and place in the refrigerator to chill but not resolidify.

Laminating the dough:

Lightly dust a cool work surface, and then remove the chilled dough and the butter from the refrigerator. Unwrap the dough and place it on the floured surface. Roll out the dough into a rectangle 28 by 12 inches. With the long side of the rectangle facing you, and starting from the left side, spread and spot the butter over two-thirds of the length of the rectangle. Fold the uncovered third over the butter and then fold the left-hand third over the center, as if folding a business letter. The resulting rectangle is known as a plaque. With your fingers, push down along the seams on the top and the bottom to seal in the plaque.

Second turn:

Give the plaque a quarter turn so the seams are to your right and left, rather than at the top and bottom. Again, roll out the dough into a rectangle 28 by 12 inches, and fold again in the same manner. Wrap in plastic wrap or slip into a plastic bag and place in the refrigerator for 1½ to 2 hours to relax the gluten in the dough before you make the third fold, or “turn”.

Third turn:

Clean the work surface, dust again with flour, and remove the dough from the refrigerator. Unwrap, place on the floured surface, and again roll out into a rectangle 28 by 12 inches. Fold into thirds in the same manner. You should have a plaque of dough measuring about 9 by 12 inches, about the size of a quarter sheet pan, and 1½ to 2 inches thick. Wrap in plastic wrap or slip into the plastic bag, place on a quarter sheet pan, and immediately place in the freezer to chill for at least 1 hour. If you intend to make the croissants the next morning, leave the dough in the freezer until the evening and then transfer it to the refrigerator before retiring. The next morning, the dough will be ready to roll out and form into croissants, proof, and bake. Or, you can leave the dough in the freezer for up to 1 week; just remember to transfer it to the refrigerator to thaw overnight before using.

Making the croissant:

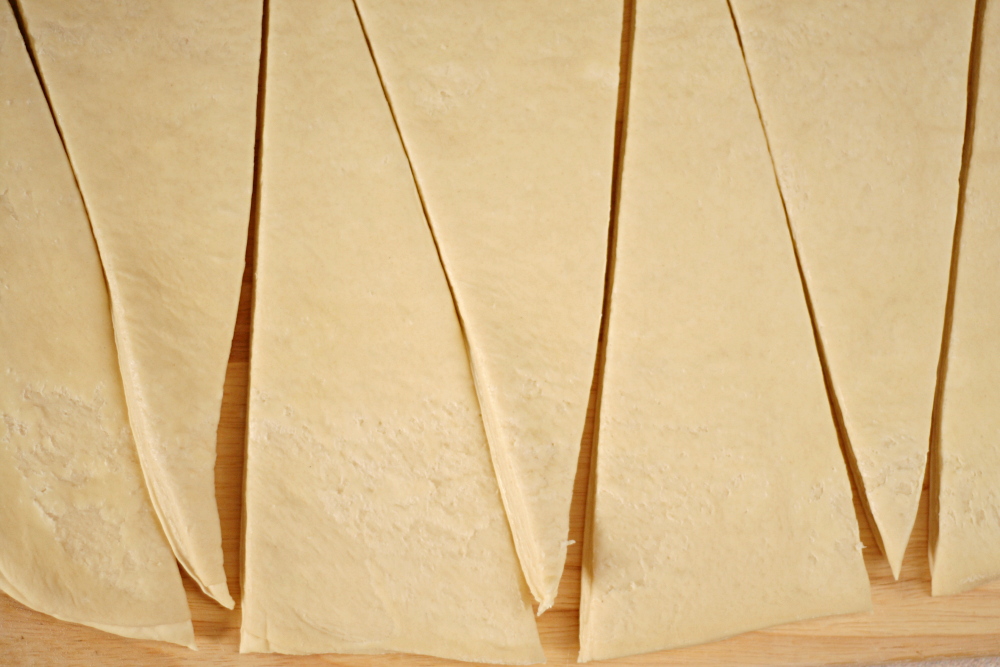
When you are ready to roll out the dough, dust the work surface again. Roll out the dough into a rectangle 32 by 12 inches and 3/8 inches thick. Using a pizza wheel or chef’s knife, cut the dough into long triangles that measure 10 to 12 inches on each side and about 4 inches along the base.

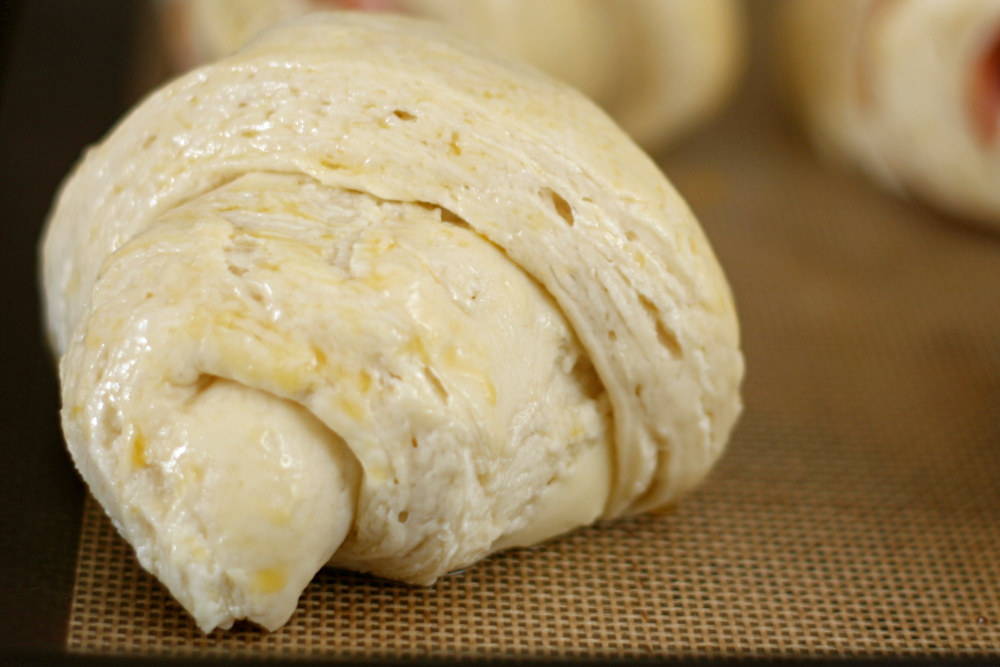
Line a half sheet pan (about 13 by 18 inches) with parchment paper. To shape each croissant, position a triangle with the base facing you. Positioning your palms on the two outer points of the base, carefully rolling the base toward the point. To finish, grab the point with one hand, stretching it slightly, and continue to roll, tucking the point underneath the rolled dough so that the croissant will stand tall when you place it on the sheet pan. If you have properly shaped the croissant, it will have 6 or 7 ridges.
As you form the croissants, place them, well-spaced, on the prepared half-sheet pan. When all the croissants are on the pan, set the pan in a draft-free area with relatively high humidity, and let the pastries rise for 2 to 3 hours. The ideal temperature is 75 °F. A bit cooler or warmer is all right, as long as the temperature is not warm enough to melt the layers of butter in the dough, which would yield greasy pastries. Cooler is preferable and will increase the rising time and with it the flavor development. For example, the home oven (turned off) with a pan of steaming water placed in the bottom is a good place for proofing leavened baked items. To make sure that no skin forms on the pastries during this final rising, refresh the pan of water halfway through the rising.

During this final rising, the croissants should at least double in size and look noticeably puffy. If when you press a croissant lightly with a fingertip, the indentation fills in slowly, the croissants are almost ready to bake. At this point, the croissants should still be slightly “firm” and holding their shape and neither spongy nor starting to slouch. If you have put the croissants into the oven to proof, remove them now and set the oven to 425 °F to preheat for 20 to 30 minutes.

About 10 minutes before you are ready to bake the croissants, make the egg wash. In a small bowl, whisk together the egg yolks, cream, and salt until you have a pale yellow mixture. Using a pastry brush, lightly and carefully brush the yolk mixture on the pastries, being careful not to allow the egg wash to drip onto the pan. Let the wash dry slightly, about 10 minutes, before baking.

Place the croissants into the oven, immediately turn down the oven temperature to 400 °F, and leave the door shut for the first 10 minutes. Then working quickly, open the oven door, rotate the pan 180 degrees, and close the door. This rotation will help the pastries to bake evenly. Bake for 6 to 10 minutes longer, rotating the pan again during this time if the croissants do not appear to be baking evenly. The croissants should be done in 15 to 20 minutes total. They are ready when they are a deep golden brown on the top and bottom, crisp on the outside and light when they are picked up, indicating that the interior is cooked through.

Remove the croissants from the oven and place them on a wire rack to cool. As they cool, their moist interiors will set up. They are best if eaten while they are still slightly warm. If they have just cooled to room temperature, they are fine as well, or you can rewarm them in a 375°F oven for 6 to 8 minutes to recrisp them before serving. You can also store leftover croissants in an airtight container at room temperature for 1 day, and then afterward in the refrigerator for up to 3 days. If you have stored them, recrisp them in the oven before serving.

copy-of-img_4779

strawberry lemon sorbet

copy-of-img_5483

I think I’ve developed a warped sense of nutrition. For the most part, I maximize fruits and vegetables, minimize carbs, focus on lean, usually vegetarian proteins, and avoid alcohol. But this all gets thrown out the window on the weekends, when all I do is try not to overeat and hopefully get some fiber at some point. Oh, and then there’s dessert, which I eat every day.

copy-of-img_5180

I do not skip dessert. I try to control portion sizes of course, but I recognize that this is an indulgence that’s important to me and I’m willing to make other sacrifices (i.e., alcohol on weekdays) to account for it. But somewhere along the way I’ve tricked myself into thinking that as long as something doesn’t have loads of butter in it, it must be healthy.

copy-of-img_5185

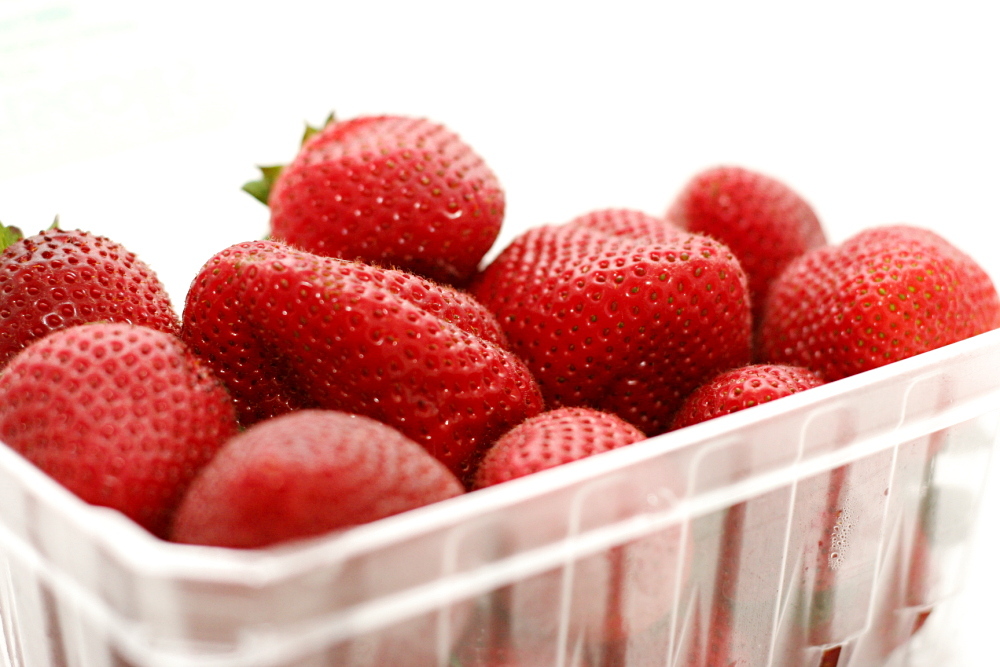
That means that I’m under the impression that this sorbet isn’t just “not so bad”, but it’s downright good for me! Pureed strawberries! A whole lemon! …2 cups of sugar? Oh well.

copy-of-img_5192

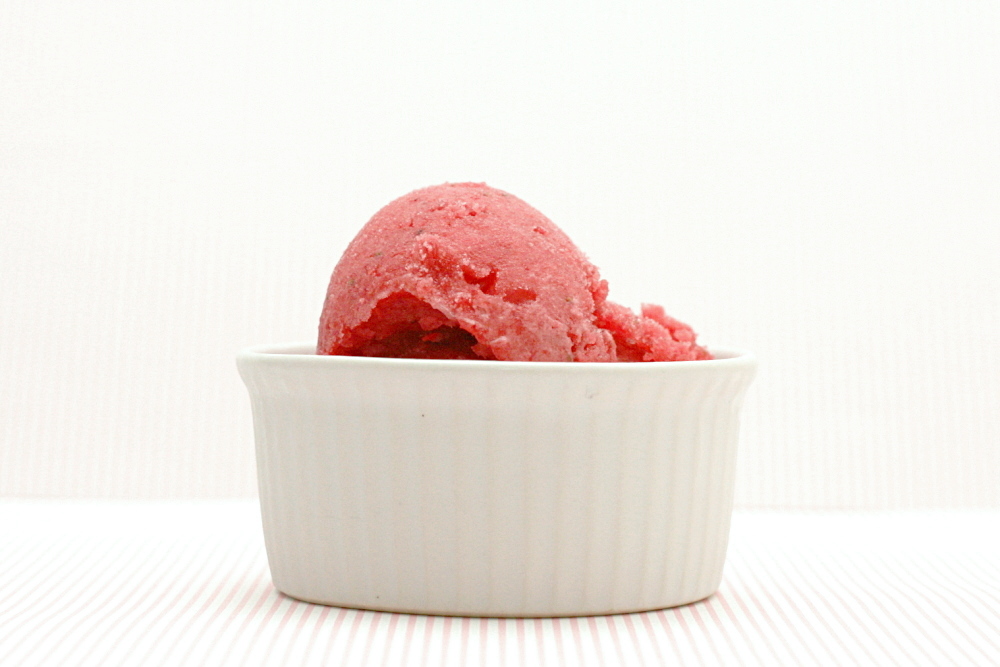
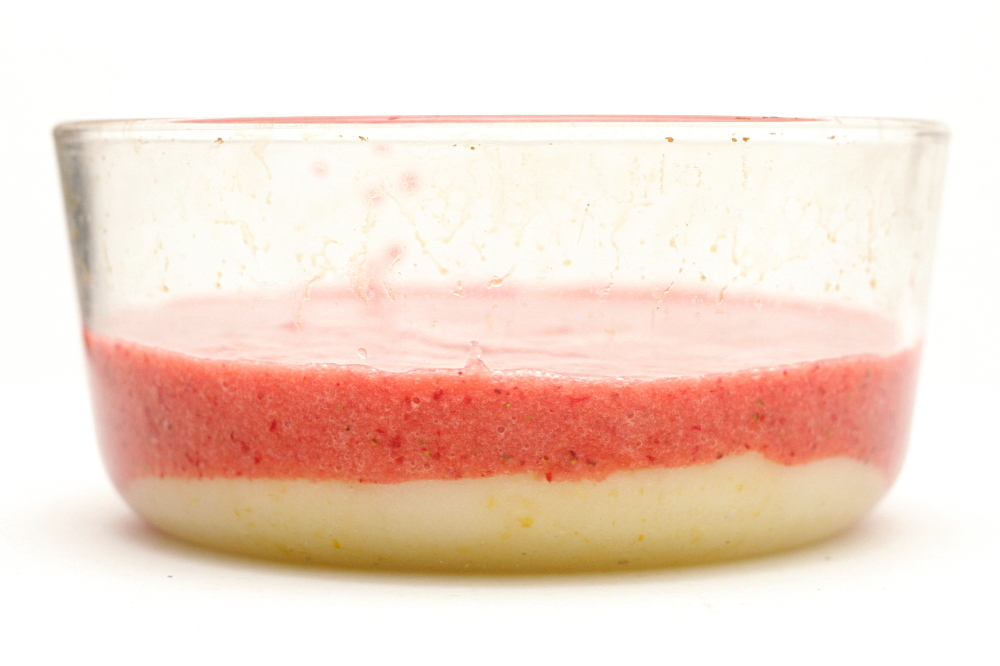
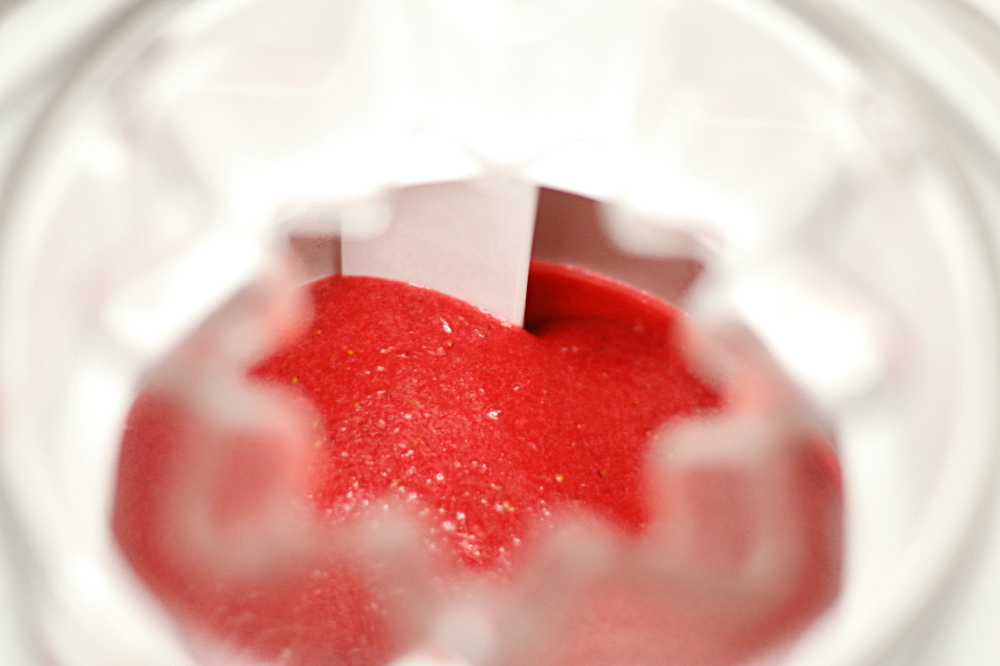
This is another whole lemon dessert, which makes it that much easier to make. All you do is puree everything and churn it in your ice cream maker. This smooth, bright pink sorbet tastes not just of strawberries, but almost equally of lemon, pleasantly tinged by bitterness from the lemon peel. It actually tastes a lot like a strawberry daiquiri. All that and it isn’t even an indulgence! Kinda.

copy-of-img_5235

One year ago: Asparagus and Arugula Salad with Cannellini Beans and Balsamic Vinegar

Strawberry Sorbet (from Smitten Kitchen, who reports the original source as the London River Cafe Cook Book)

Makes 1½ quarts

I added a bit of vodka, maybe a couple of teaspoons, just to keep it from freezing too solid. It was the perfect consistency. I’m wondering if rum would be even better, to keep with the daiquiri flavor?

1 lemon, seeded and roughly chopped
2 cups sugar
2 pounds strawberries, hulled
Juice of 1 to 2 lemons

1. Place the chopped lemon and sugar in a food processor, and pulse until combined. Transfer to a bowl.

2. Puree the strawberries in a food processor, and add to the lemon mixture, along with the juice of 1 lemon. Taste and add more juice as desired. The lemon flavor should be intense but should not overpower the strawberries. Pour the mixture into an ice cream machine and churn until frozen.

copy-of-img_5490

basic lentil soup

copy-of-img_5478

I recently had a friend visit, and somehow, her week-long trip turned into a wine and cheese fest. The wine part of the trip started immediately. We didn’t start hitting the cheese until the third day, but once we’d started, it quickly escalated. On her last night, for a grand finale, we made macaroni and cheese for dinner. We had cheese and crackers for an appetizer. We had chocolate fondue for dessert, and one of the dippers was cheesecake. We also had a lot of wine. It was glorious.

copy-of-img_5455

The next day, however, not so much. Poor Ramie was stuck on planes all day, but after dropping her off at the airport, I came home and immediately worked out. Then I considered what to make for dinner – something healthy(!) and easy that didn’t require a trip to the store. I didn’t have salad ingredients and the weather was rainy and cold, so lentil soup was exactly what I wanted.

copy-of-img_5449

Mark Bittman has a simple recipe in his How to Cook Everything Vegetarian that calls for lentils, carrots and celery to be cooked in broth. An onion is supposed to be sautéed separately and then stirred into the cooked lentils. What is that about? Why am I using an extra dish, skipping any sort of caramelization of the carrots and celery, and denying my broth of soaking up onion flavor as it simmers? With no explanation for such an unusual method, I chose to cook this in a more traditional order, sautéing all of the aromatics together before adding the broth and lentils. I also decreased the oil and increased the amount of vegetables, because, you know, the cheese and wine detox.

copy-of-img_5468

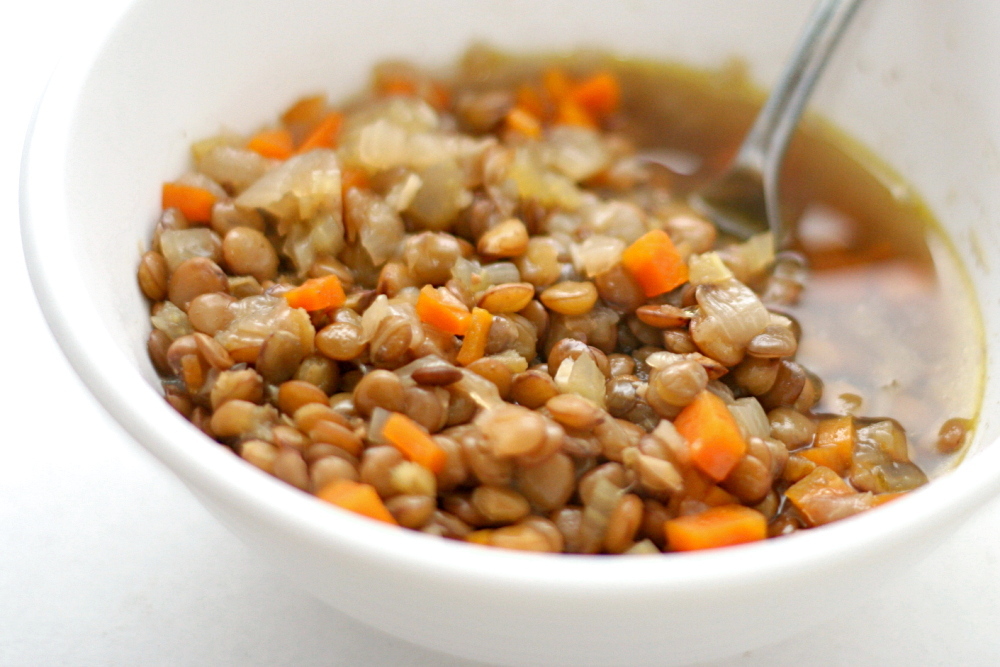
The soup was just perfect. It was simple, it was filling, it was healthy, and it was delicious. The lentils were tender but not mushy, and the broth was perfect with some rustic whole wheat bread. It goes to show that healthy food can be just as tasty as something more indulgent. Of course, the next day we had pizza for dinner. I don’t want to go too crazy with taking a break from cheese.

copy-of-img_5472

One year ago: Florida Pie

Basic Lentil Soup (adapted from Mark Bittman’s How to Cook Everything Vegetarian)

Obviously, Bittman calls for vegetable broth (or water) in his Vegetarian cookbook, but since I’m not actually a vegetarian, I usually use chicken broth. How much salt you need to add will depend a lot on your broth.

2-3 main dish servings

1 tablespoon olive oil
1 carrot, diced small
1 celery stalks, diced small
1 onion, diced small
2 cloves garlic, minced
¾ cup lentils, washed and picked over
4 cups chicken broth
1 bay leaf
freshly ground black pepper
salt to taste

1. Heat the oil in a medium saucepan over medium heat. Add the carrots, celery, and onions and cook until just brown around the edges, about 8 minutes, stirring occasionally. Add the garlic; cook, stirring constantly, until fragrant, about 1 minute. Stir in the lentils, broth, bay leaf, and black pepper, increase the heat to medium-high, and bring to a boil. Once the mixture boils, reduce the heat to medium-low, cover, and simmer until the lentils are tender, about 30 minutes. Adjust the heat as necessary to keep the soup at a simmer.

2. Once the lentils are tender, remove the bay leaf and adjust the seasonings as necessary. Serve. The soup can be made a few days in advance and refrigerated.

copy-of-img_5481

fresh mango bread

copy-of-img_4960

I recently told someone that neither Dave or I like mangoes. Exactly one week later, Dave brought home four mangoes from work. Um…dude, we don’t like mangoes, remember?

But it turns out that I do like mangoes! I just don’t like the unripe ones I was buying from the grocery store. These were soft and sweet and a little spicy. And now I know how to tell when mangoes are ripe!

copy-of-img_4937

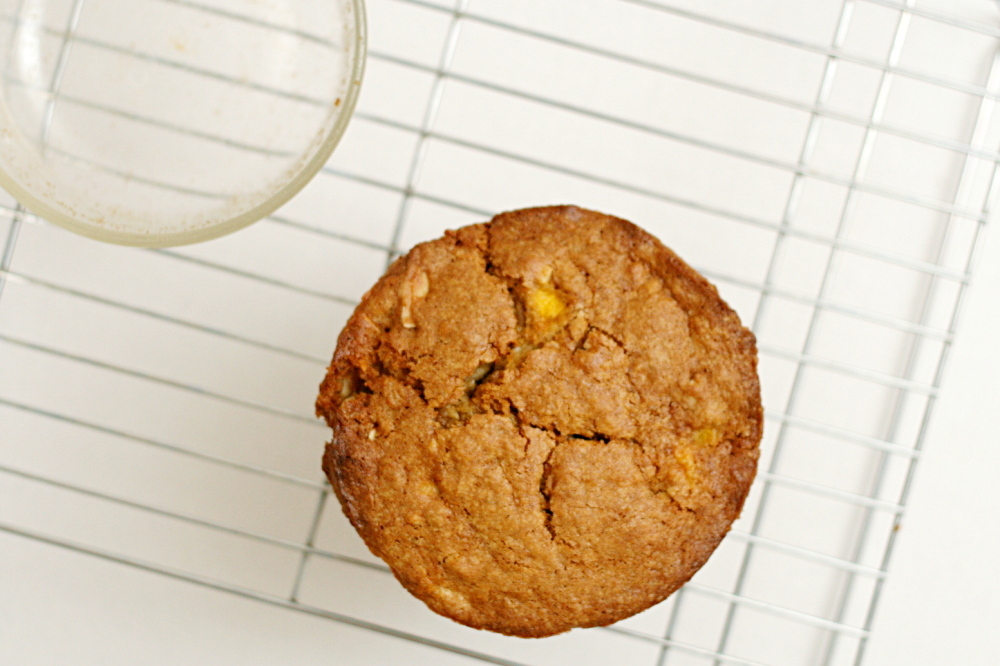
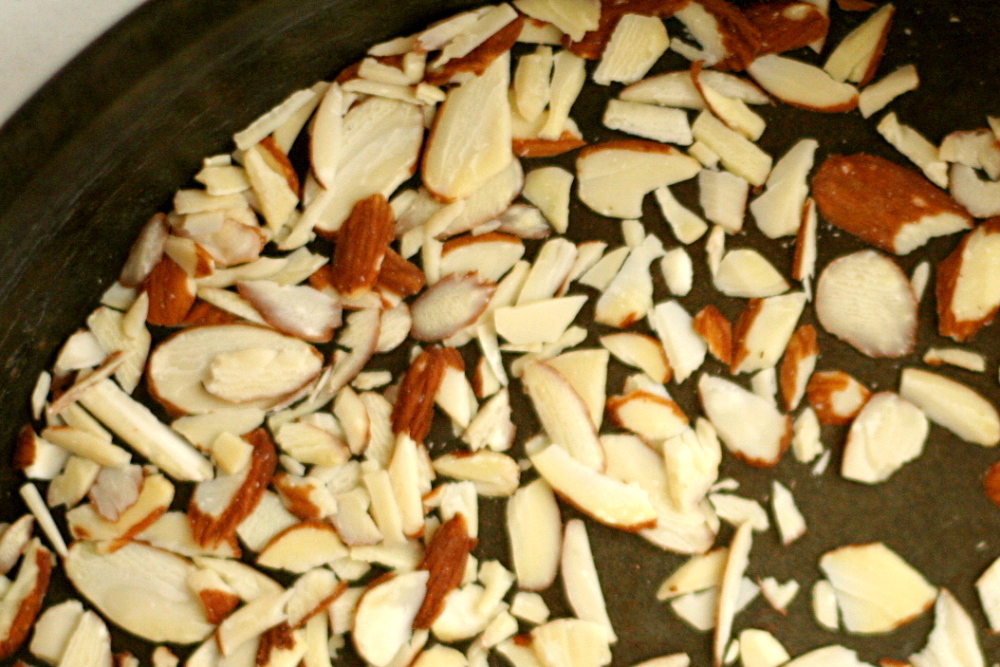
I used the last of those four mangoes in this bread, which is made like a classic quick bread, where the dry and the wet ingredients are mixed separately, then gently combined. I didn’t have raisins, so I skipped those, and I added lightly toasted sliced almonds instead. I didn’t have a lime or ginger either, so I left those out too.

copy-of-img_4942

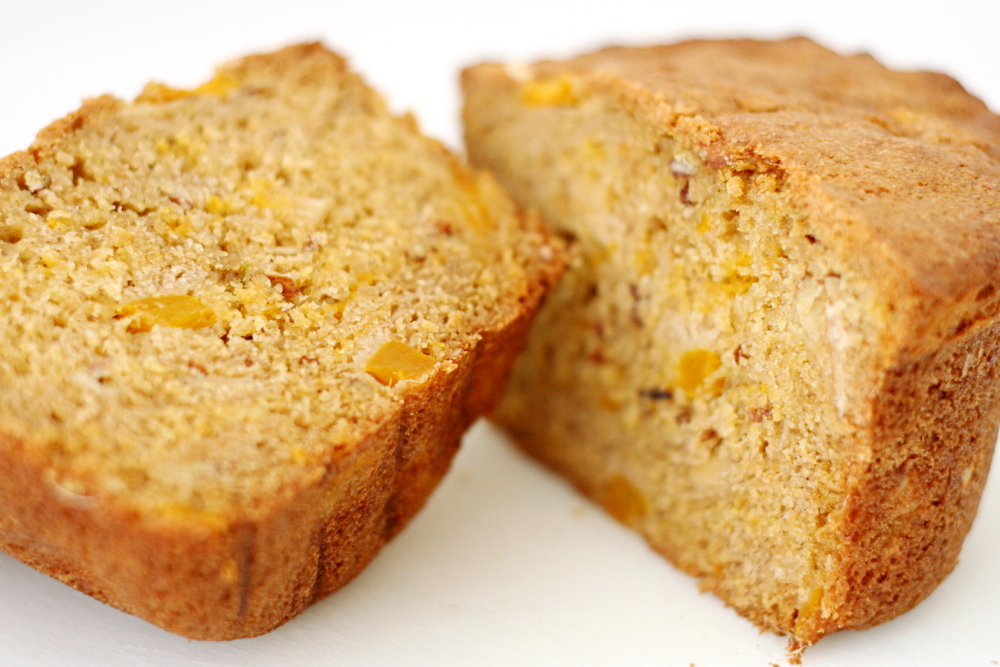
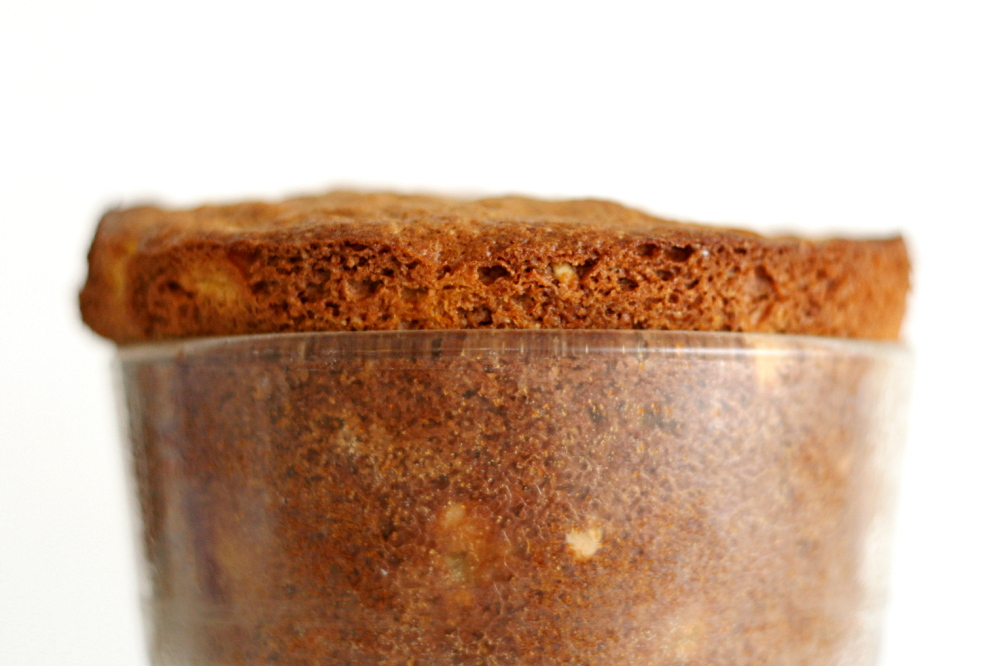
So it turns out that I like mangoes…and I definitely like quick breads, and the bread part of this was particularly good, subtly spiced and perfectly tender without being too delicate. But I found that I don’t really like mangoes in a quick bread. Mangoes, to me, represent something refreshing and cool. Even once the bread was at room temperature, it didn’t seem like the right venue for mangoes. I didn’t hate it, but in the future, I’ll keep my mangoes and my quick breads separate.

copy-of-img_4962

If you feel differently, check out the recipe on Kelly’s site. She chose this recipe for TWD.

One year ago: Hash Browns with Sautéed Vegetables and Poached Eggs

copy-of-img_4948

tartest lemon tart

copy-of-img_5171

You know how a lot of citrus recipes warn you to be careful not to get any of the white pith when you zest the fruit, because it’s bitter? Well, guess what?

Bitter is good.

copy-of-img_5149

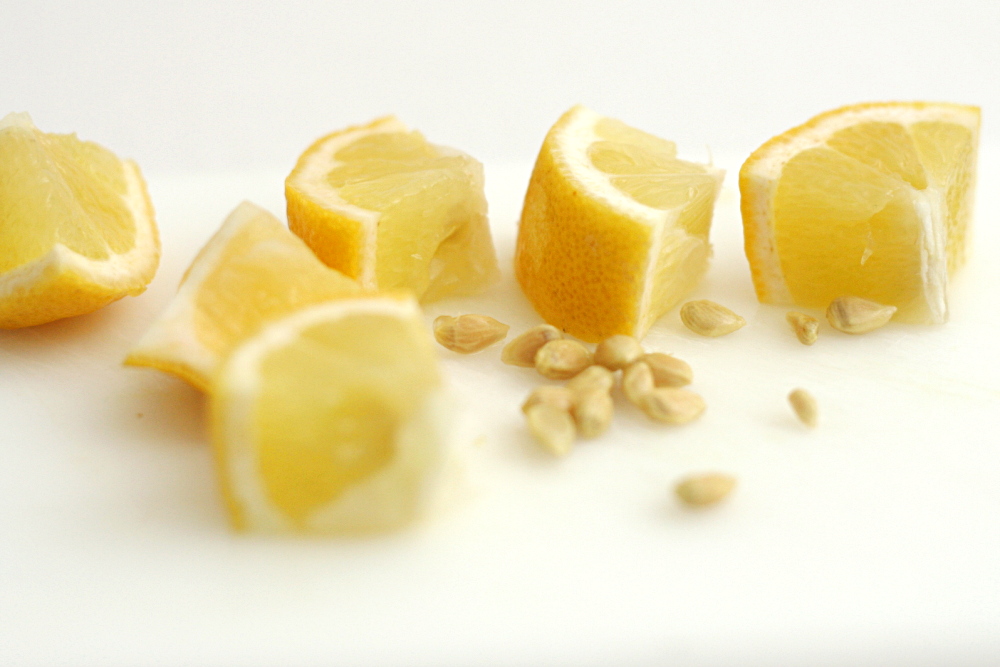
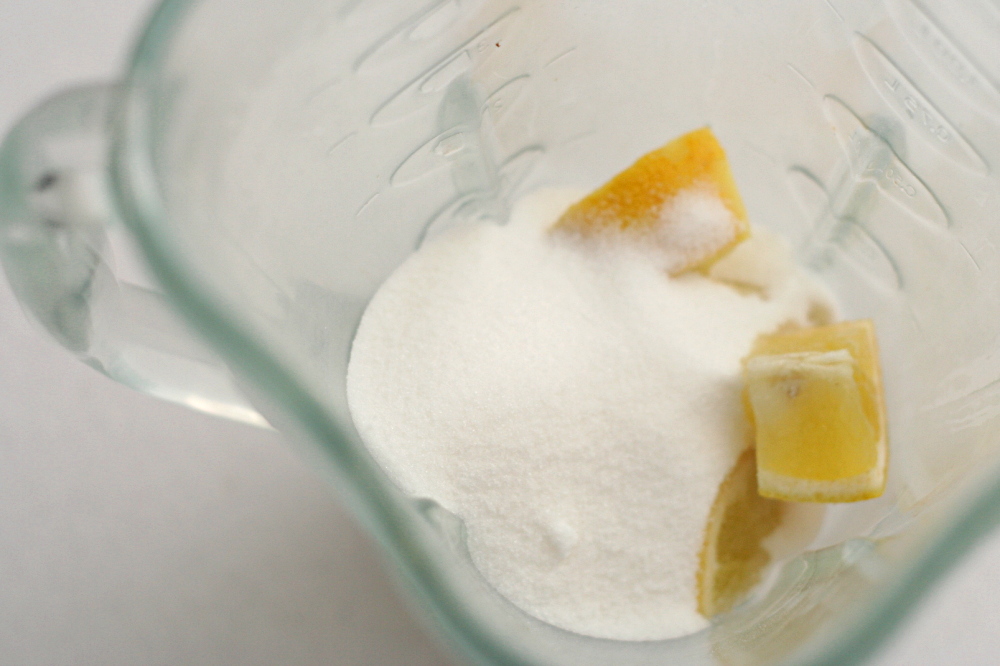
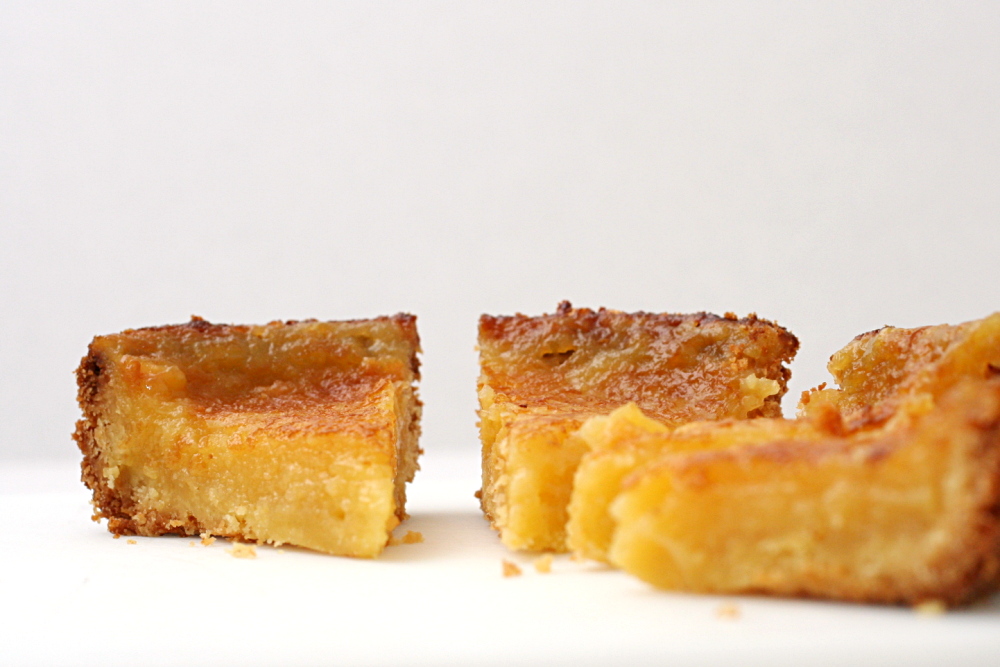
This was my first whole lemon dessert, where everything but the seeds is included. It was simple. Blend sugar and lemons together, then add the rest of the ingredients – eggs and cream, cornstarch and of course butter – to the blender and mix it all together. Then bake it, supposedly until it sets, but it never set for me. The filling boiled instead, until the crust was quite a bit darker than I like and I figured I’d better take the tart out of the oven, bubbling or not.

copy-of-img_5154

It did set up once it cooled, and it was delicious. I loved it. I didn’t think it was exceptionally tart, but it’s possible that I either had a lemon that was on the milder side, or my smallish organic lemons had a very thin layer of pith. It was just the slightest bit bitter, which was perfectly balanced by sour and sweet, adding an extra dimension to the dessert without dominating it.  I am definitely sold on the idea of whole lemon desserts – so much so that I made another one two days later!

copy-of-img_5156

Barb chose this tart for Tuesdays (or Thursdays, if you’ve been ignoring your blog while entertaining a guest) with Dorie, and she has the recipe posted.

One year ago: Caesar Salad and Snickerdoodles

Tartest Lemon Tart (adapted from Dorie Greenspan’s Tartest Lemon Tart recipe found in Baking from My Home to Yours)

Sweet Tart Dough with Nuts:
1¼ cups (6 ounces) all purpose flour
¼ cup ground almonds (or pecans, walnuts or pistachios)
½ cup (2 ounces) confectioners’ sugar
¼ tsp salt
1 stick, plus 1 tbsp (9 tbsp) very cold or frozen unsalted butter, diced
1 large egg yolk, at room temperature

Filling:
1½ lemons, scrubbed and dried
1½ cups (10.5 ounces) sugar
1 large egg, at room temperature
2 large egg yolks, at room temperature
1½ tbsp cornstarch
½ cup heavy cream
½ stick (4 tablespoons) unsalted butter, melted and cooled

1. For the dough: Put the flour, ground almonds, confectioners’ sugar and salt in a food processor, pulsing a few times to combine. Scatter the butter pieces over the dry ingredients and pulse until the butter is coarsely cut in—you should have some pieces the size of oatmeal flakes and some the size of peas. Stir the yolk, just to break it up, and add it a little at a time, pulsing after each addition. When the egg is in, process in long pulses— about 10 seconds each — until the dough, which will look granular soon after the egg is added, forms clumps and curds. Just before you reach this stage, the sound of the machine working the dough will change — heads up. Turn the dough out onto a work surface and, very lightly and sparingly, knead the dough just to incorporate any dry ingredients that might have escaped mixing.

2. To press the dough into the pan: Butter a 9-inch fluted tart pan with a removable bottom. Press the dough evenly over the bottom and up the sides of the pan, using all but one little piece of dough, which you should save in the refrigerator to patch any cracks after the crust is baked. Don’t be too heavy-handed—press the crust in so that the edges of the pieces cling to one another, but not so hard that the crust loses its crumbly texture. Freeze the crust for at least 30 minutes, preferably longer, before baking.

3. To partially bake the crust: Center a rack in the oven and preheat the oven to 375 degrees. Butter the shiny side of a piece of aluminum foil and fit the foil, buttered side down, tightly against the crust. (Since you froze the crust, you can bake it without weights.) Put the tart pan on a baking sheet and bake the crust for 25 minutes. Carefully remove the foil. If the crust has puffed, press it down gently with the back of a spoon. If there are any cracks in the baked crust, patch them with some of the reserved raw dough as soon as you remove the foil. Slice off a thin piece of the dough, place it over the crack, moisten the edges and very gently smooth the edges into the baked crust. If the tart will not be baked again with its filling, bake for another 2 minutes or so, just to take the rawness off the patch. Transfer the crust to a cooling rack (keep it in its pan).

4. For the filling: Center a rack in the oven and preheat the oven to 325 degrees. Place tart pan on baking sheet lined with parchment or silicone mat.

5. Slice whole lemon in half and pull out seeds from it and the half. Then cut lemons into small pieces. The filling is best made in a blender, but you can use a food processor. Put lemons and sugar in the blender or processor and pulse, blending and scraping down the sides until you have smooth mix. Add the remaining filling ingredients and pulse and blend until the filling is homogeneous. Rap bowl on counter several times to de-bubble the filling as much as possible, and pour it into your prepared partially baked crust.

6. Very carefully – tart shell will be full – transfer baking sheet to the oven. Bake 20 minutes, then increase the oven temp to 350 degrees and bake the tart for an additional 25 to 30 minutes. (The total time is 45 to 50 minutes). Don’t be alarmed when the filling starts to bubble up. (It might even bubble over the edge of tart – that’s okay.) When tart is properly baked, it should be set, although perhaps still shaky in center, and most of top will have formed a light sugary crust.

7. Transfer the tart pan to a cooling rack and let cool to room temperature. Chill, if you’d like, before serving with cream or a dusting of confectioners’ sugar.

copy-of-img_5166

fresh strawberry scones

copy-of-img_3628

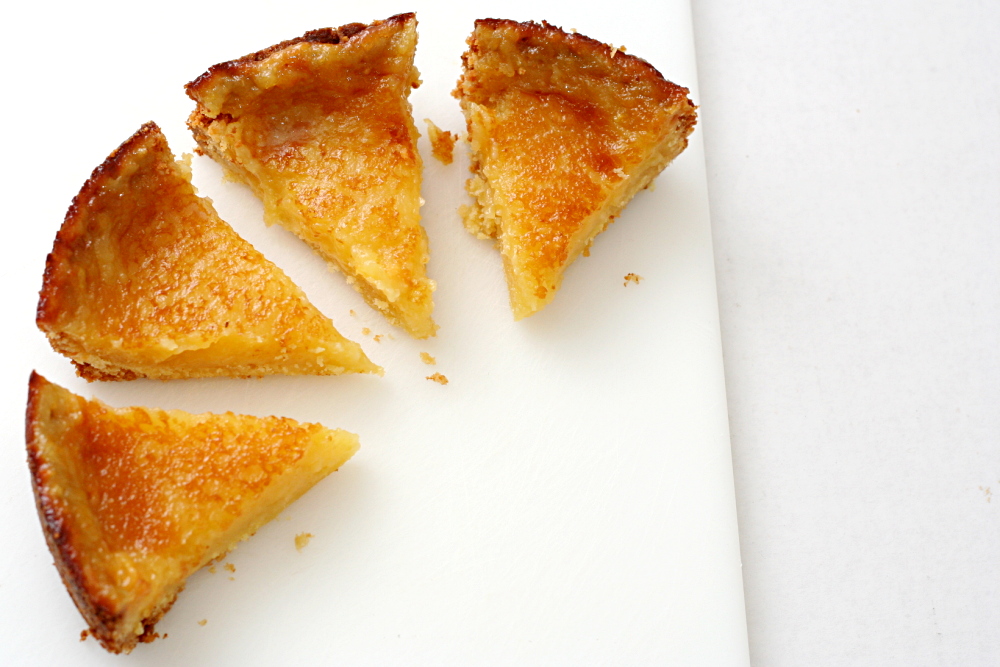
What’s fun about going through phases with certain foods, like my recent scone phase, is that it gives you a chance to really explore that category. I’ve made all sorts of scones in the past few months – cream scones, scones made with lighter dairy but more butter, scones filled with fresh fruit and with nuts. So far I’ve avoided scones with dried fruit, even though it’s traditional.

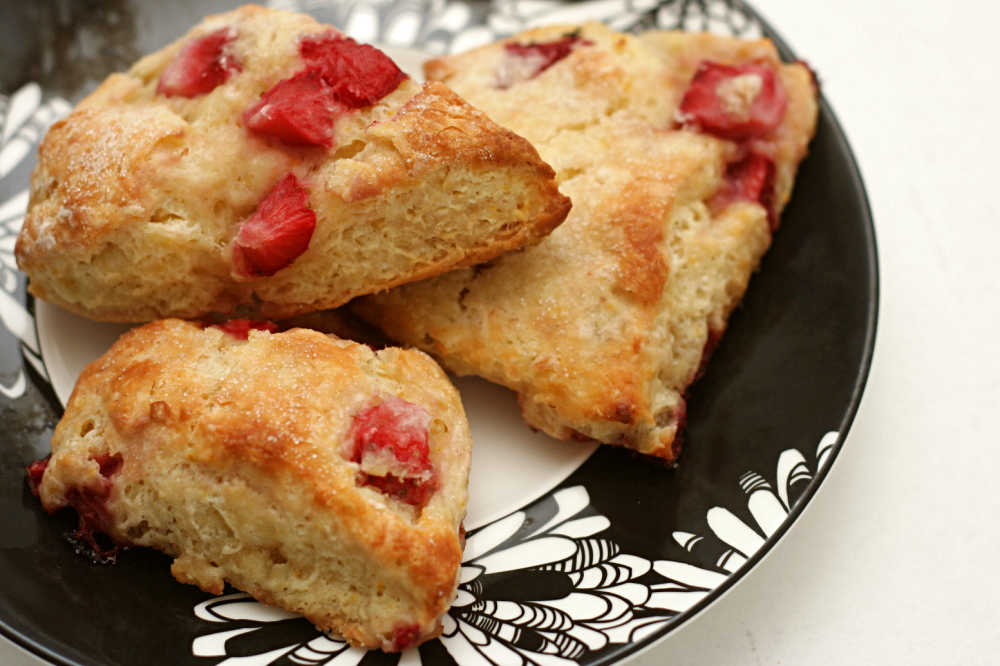
Instead, I tried scones with one of the juiciest fruits. Katie’s recipe for strawberry scones closely resembles most other scone recipes, with butter cut into the dry ingredients before dairy is gently stirred in. The recipe includes yogurt and milk instead of the richer cream often called for in scones.
copy-of-img_3487

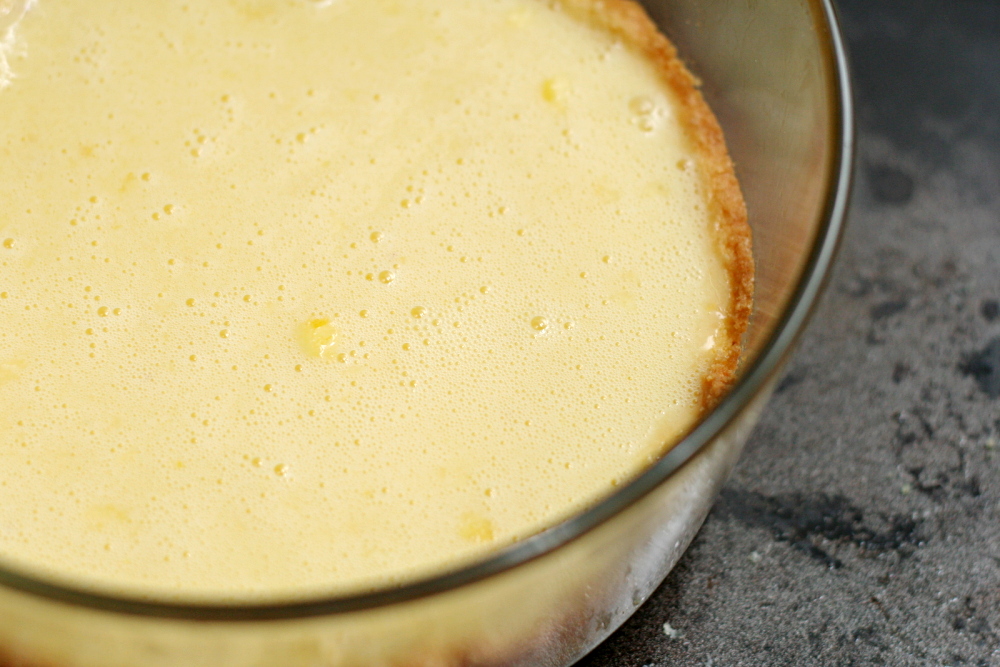
The recipe was a little tricky for me. Because strawberries vary so much in water content, Katie recommends a range of flour. I knew my early season berries weren’t at their juicy peak, so I kept to the lower end of the range. However, I still needed far more liquid than the original recipe requires before the dough would come together. Kelsey indicated that she had a similar problem. Fortunately, it was easy enough to increase the milk until all of the flour was evenly moistened.

copy-of-img_3488

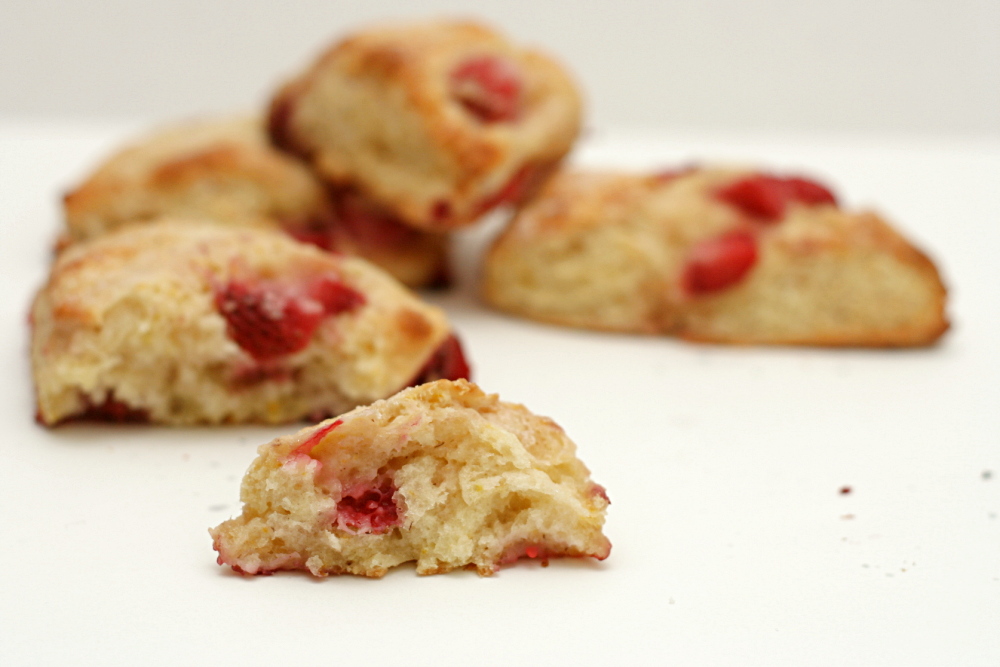
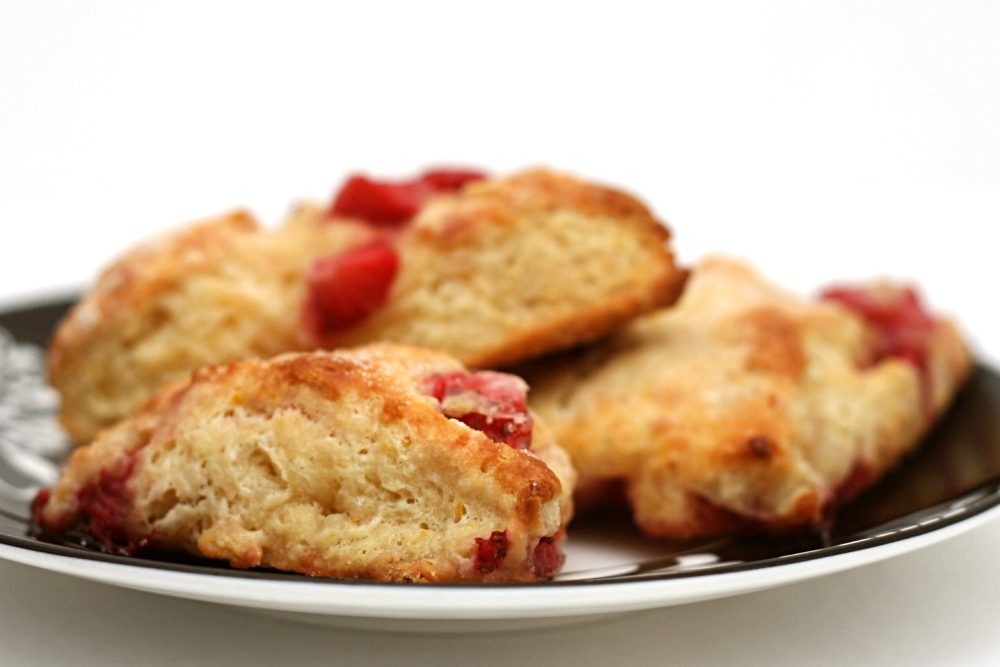
I’ve found that I generally prefer cream scones for their rich tender crumb that has no trace of dryness. These scones were a little different, and my first instinct was to prefer the cream scones that I’m used to, but then I realized that these were every bit as good. Because of the higher amount of butter compared to flour, the scones had crisper edges, especially the bottom, but it was good, almost like a flaky pie crust. And you know how scones are so good topped with jam? Putting strawberries right in the scone is ten times better.

One year ago: Peanut Butter Torte

copy-of-img_3626

Strawberry Scones (adapted from Good Things Catered)

When I make scones, I almost always prepare them up to just before baking (through step 5 in this recipe), then freeze the shaped dough. The scones can be baked straight from the freezer, with just a few minutes added to the baking time.

2¼ cups (10.8 ounces) all purpose flour
¼ cups (1.75 ounces) granulated sugar, plus extra for sprinkling
1 tablespoon baking powder
½ teaspoon salt
8 tablespoons (1 stick) butter, chilled and cut into small pieces
1 egg
¼ cup plain yogurt
½ cup milk
1 teaspoons orange zest
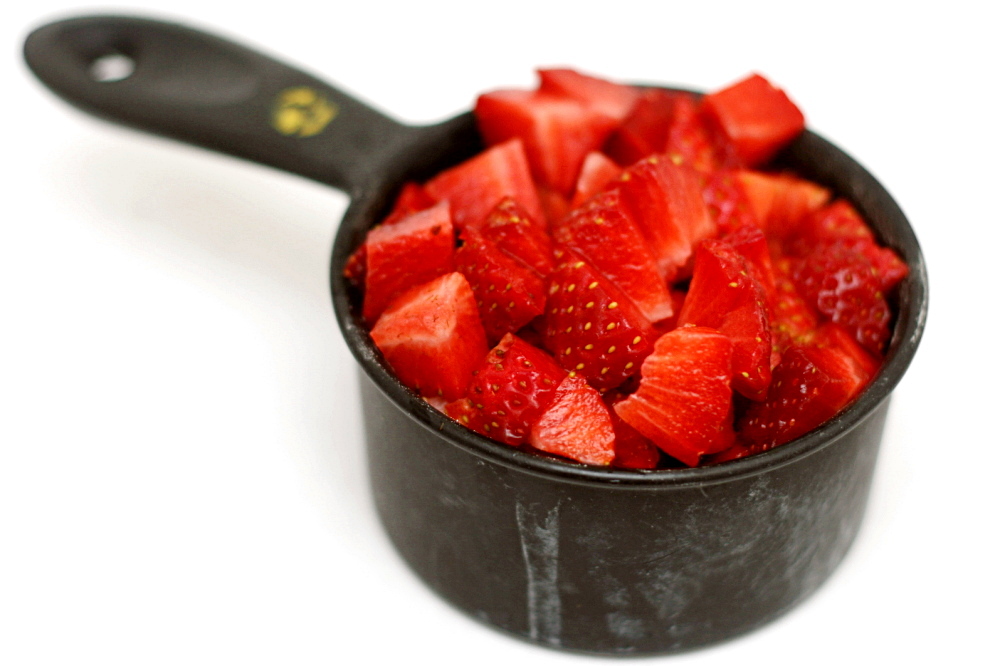
1 cup diced fresh strawberries

1. Adjust an oven rack to the middle position and heat the oven to 425F. Line a baking sheet with parchment paper or a silicone mat.

2. In a small bowl, combine the egg, yogurt, milk and zest and whisk to thoroughly combine. Set aside.

3. Place the flour, sugar, baking powder, and salt in the work bowl of a food processor. Pulse to combine (or mix with a whisk in a large bowl). Add the cubes of butter and pulse several times, until the butter pieces are all smaller than pea-sized (or cut the butter into the flour with a pastry cutter or two knives). Transfer the mixture to a large bowl.

4. Add the strawberries to the flour mixture and toss to coat. Add the wet ingredients and fold them into the dry ingredients, mixing just until the dough comes together and all of the flour is hydrated.

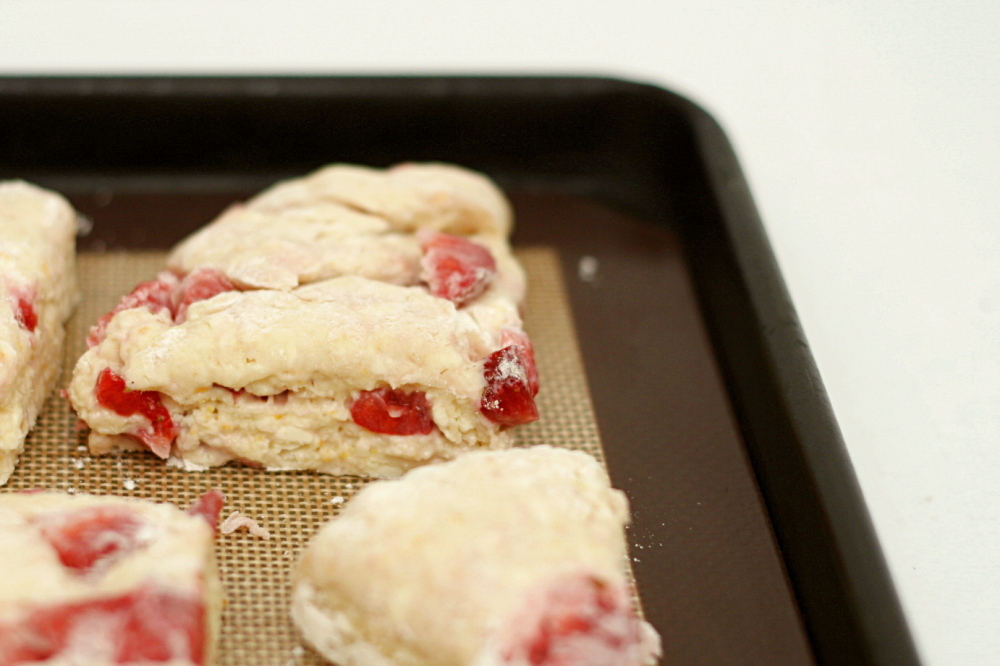
5. Turn the dough out onto a well-floured work surface and pat it into a large ball. Cut the ball in half, and shape each half into a flat disk about ½-inch thick. Cut the discs into 8 wedges.

6. Place the wedges on the prepared baking sheet and sprinkle sugar on top. Bake until slightly browned on top, about 15 minutes. Remove the baking sheet from the oven and let the scones cool on the sheet for a few minutes before transferring to a wire rack. The scones are best served when still slightly warm.

copy-of-img_3630

tiramisu cake

copy-of-img_5122

I would be curious to see a statistical analysis of the Tuesdays with Dorie recipes chosen so far. I figure we’ve made our way through about a third of the book, maybe a little less. But we’ve made 12 out of 18 of the celebration cakes (and that’s not including the Perfect Party Cake, which a good portion of the members made for the Daring Bakers). I also wouldn’t be surprised if a higher proportion of recipes with pictures have been chosen compared to those without.

copy-of-img_5099

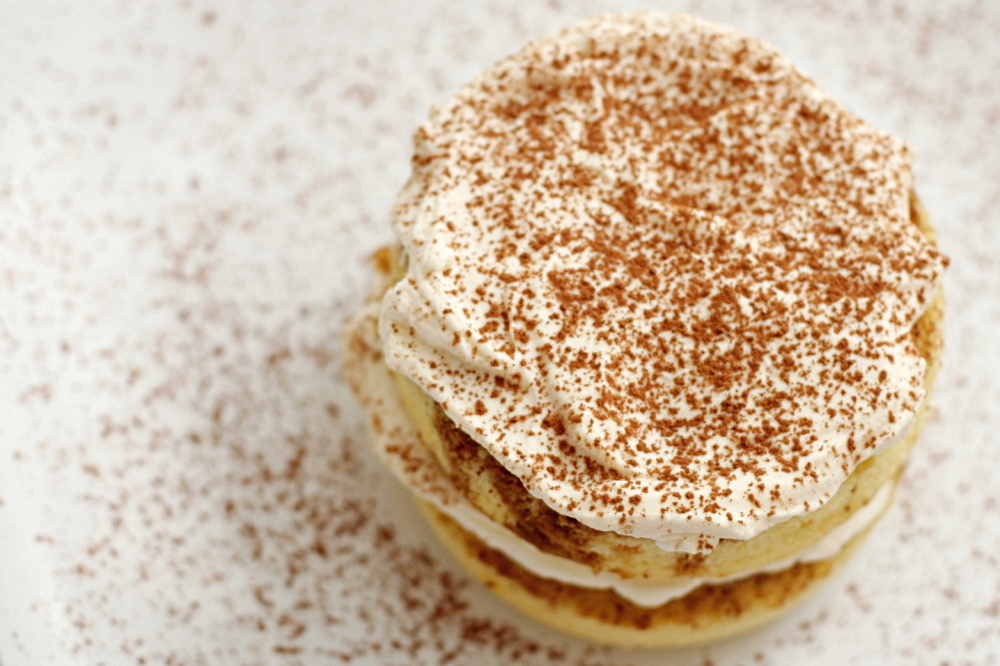
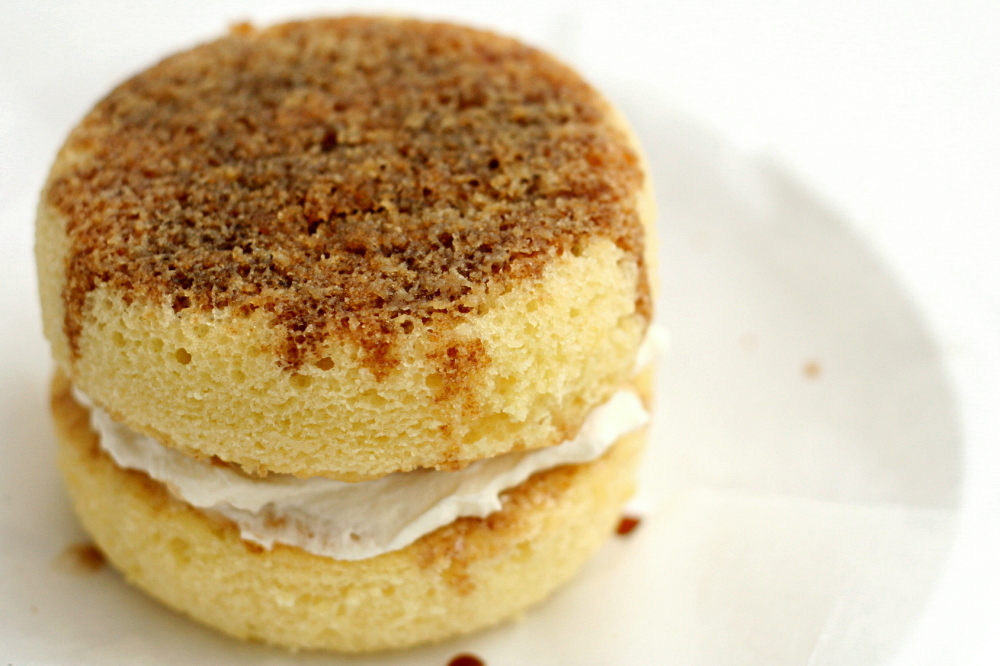
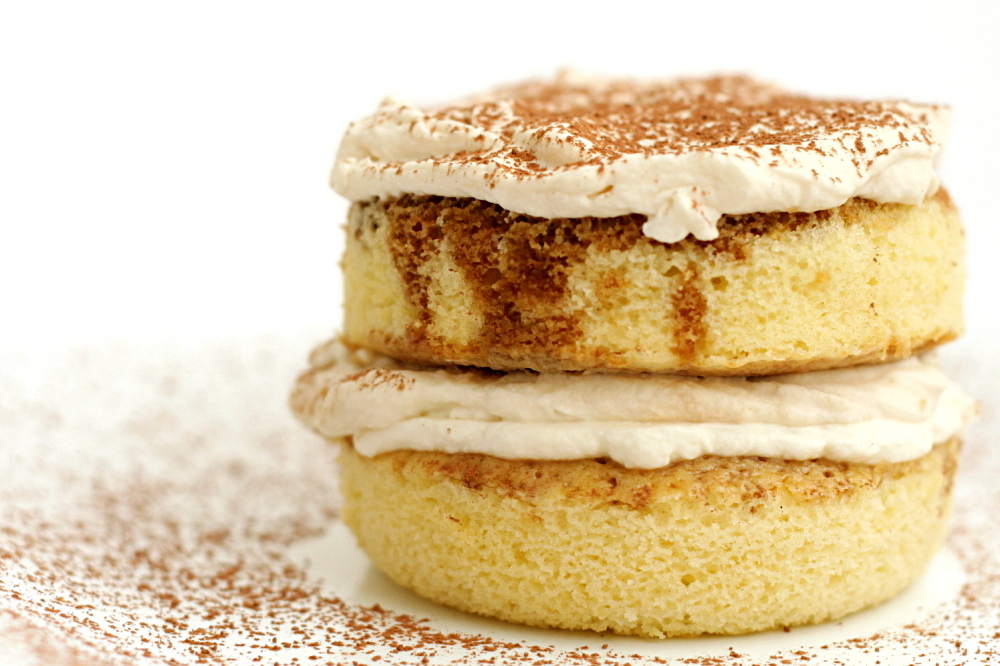
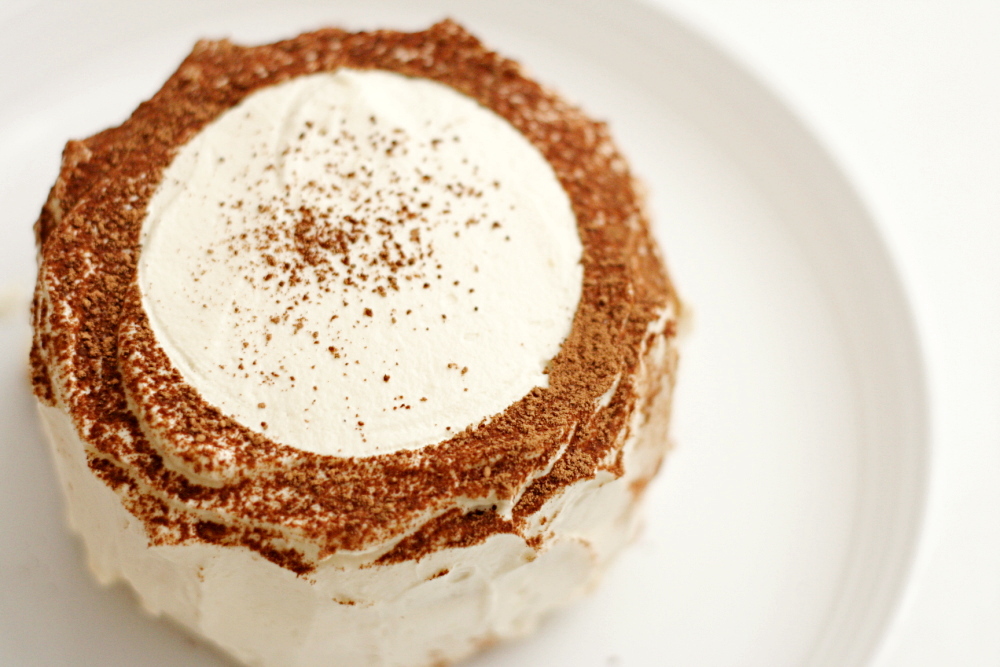
The problem with celebration cakes is that I generally don’t have a celebration for them. Without people to share with, I have to get creative with fractions and pan sizes. This time, I made half of the recipe into two 4-inch round layer cakes.

copy-of-img_5114

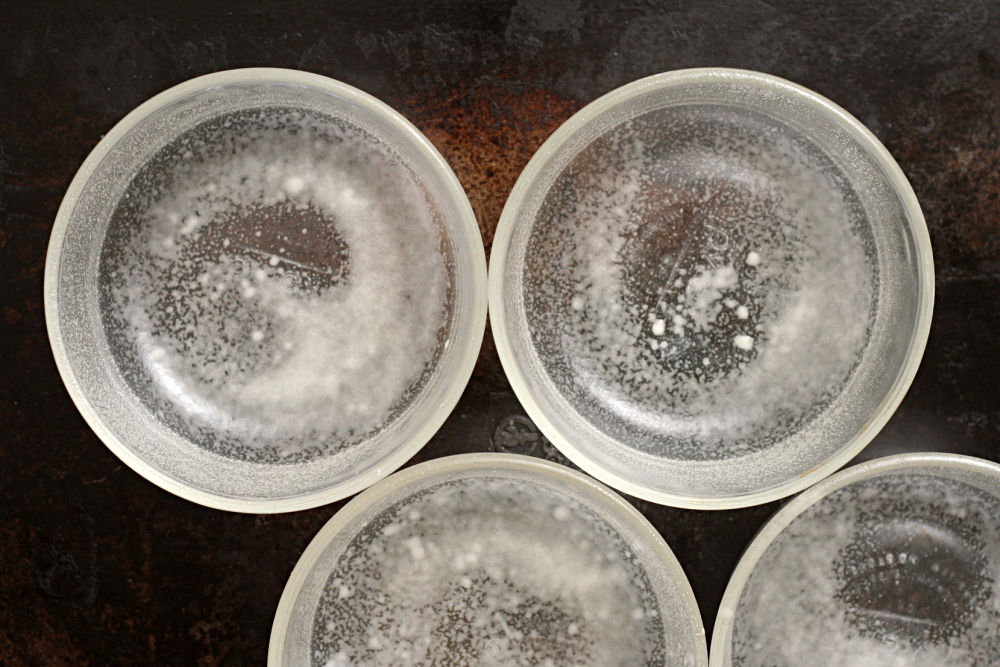
I took some shortcuts here and there. I skipped the chocolate, mostly out of laziness. I used half mascarpone and half cream cheese, because I had bits of both leftover from other things. I know cream cheese isn’t authentic in this, but I honestly just really like cream cheese. Then I added all of the espresso extract to the syrup mixture instead of saving some for the topping because I didn’t read the recipe carefully. And, I didn’t use all of the syrup to soak the cake layers.

copy-of-img_5121

None of those tweaks, save maybe the cream cheese, improved the dessert. That being said, the only one that I really regretted was using less of the coffee mixture than Dorie intended. I was concerned about soggy cake, plus the smooth untrimmed tops of my layers weren’t soaking up much liquid.

copy-of-img_5131

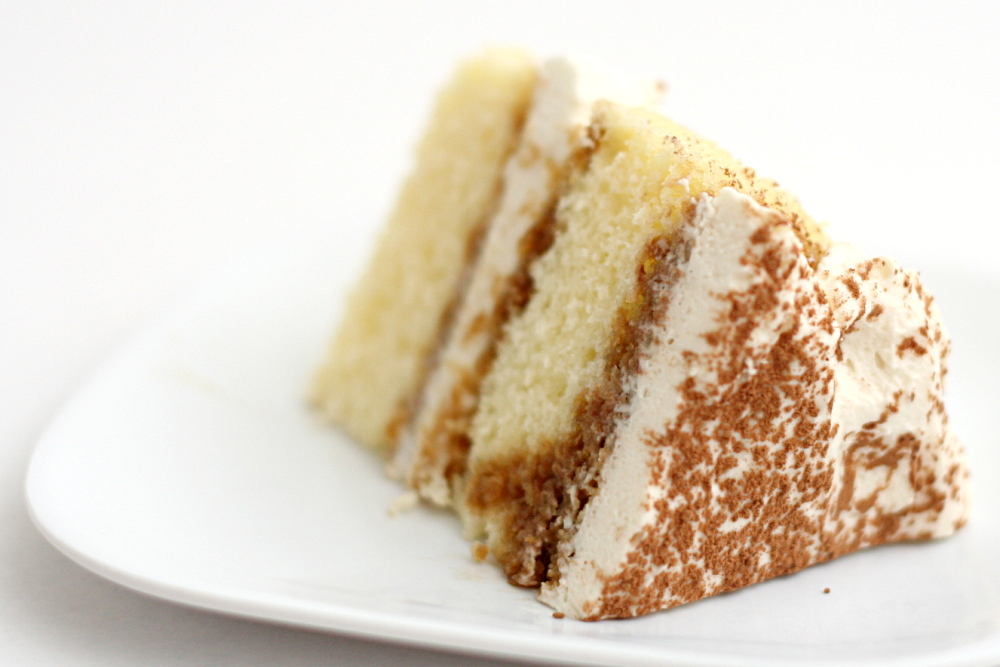
But a little less coffee flavor couldn’t ruin a dessert like this. The cake was light, but sturdy enough to soak up plenty of espresso syrup. The filling was creamy and light and just sweet enough. Everything was accented by bitter coffee and boozy brandy. You shouldn’t wait for a celebration to enjoy cake like this.

Megan has the recipe posted.

One year ago: Double/Triple Chocolate Cookies

copy-of-img_5134