Archives for September 2013

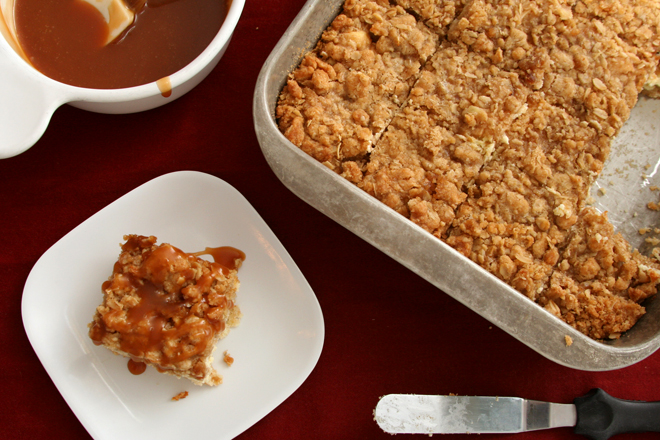
caramel apple cheesecake bars

apple cheesecake bars 9

Fall in upstate New York, where I went to graduate school, was amazing. Even my drive through town to work was gorgeous, passing hillsides of brightly colored trees. I lived a couple blocks away from a cider mill, and Dave and I made a point to go there every year for cider, doughnuts, and squash so oddly shaped they looked deformed. It was my favorite place to buy apples too; some, like Empire and Cortland, even named for the area.

apple cheesecake bars 5

The only problem was that fall came too soon, at least for this lover of summer. It seemed like it had hardly warmed up after the long freezing winter before it started getting chilly again. For this reason, I had a strict rule of no fall-inspired foods until October – no pumpkin, no candy corn, no apples.

apple cheesecake bars 6

It’s kind of the opposite here in southern New Mexico. I’m tired of being hot and welcome the chill we’re getting in the mornings and evenings. I’m not quite ready for pumpkin – things need to cool off a bit more, so I probably will wait until October. But apples are just right.

apple cheesecake bars 3

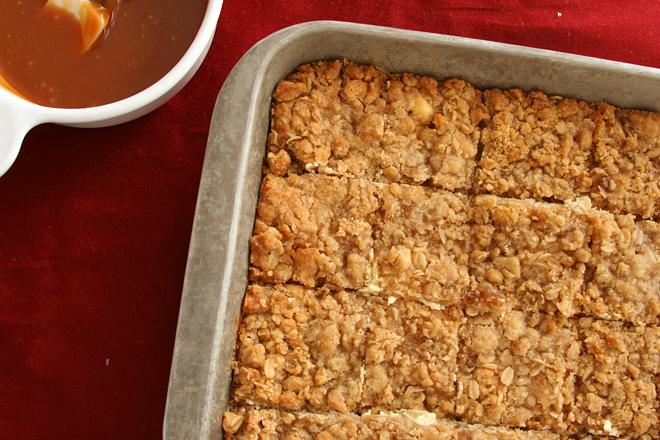
These apples are piled on top of a cookie crust and a cheesecake layer, then topped with streusel and caramel. I saw the recipe on a blog and was aghast at how rich it was until I traced it back to its original source, Paula Deen. This is my first time making one of her recipes, but my understanding it that it’s par for the course.

apple cheesecake bars 2

In this case, it definitely works. I’ll add another apple next time, because the apples were pretty balanced with the other components, and I want them to stand out more. But having those other components come forward is not a bad thing, because each one was so good. Somehow, the combination of everything didn’t make these overpoweringly sweet or unpleasantly rich.  Really, these were a perfect fall treat.

apple cheesecake bars 8

Printer Friendly Recipe
Caramel Apple Cheesecake Bars with Streusel (adapted from the Food Network via Closet Cooking; caramel sauce from Smitten Kitchen)

There are a lot of steps, but none of them are hard.

If you like to line your pans with a double layer of aluminum foil for bar cookies for easy removal, this recipe is a good candidate for that. I prefer not to, and the first bar I removed crumbled. The remainder were easy enough to get clean slices of with a spatula.

Streusel:
1 cup (7 ounces) firmly packed light brown sugar
1 cup (4.8 ounces) all-purpose flour
½ teaspoon cinnamon
⅛ teaspoon salt
8 tablespoons (1 stick) butter, room temperature
½ cup quick cooking oats

Apples:
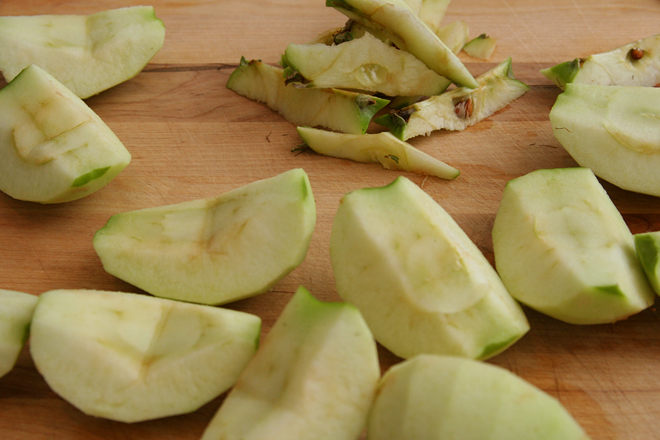
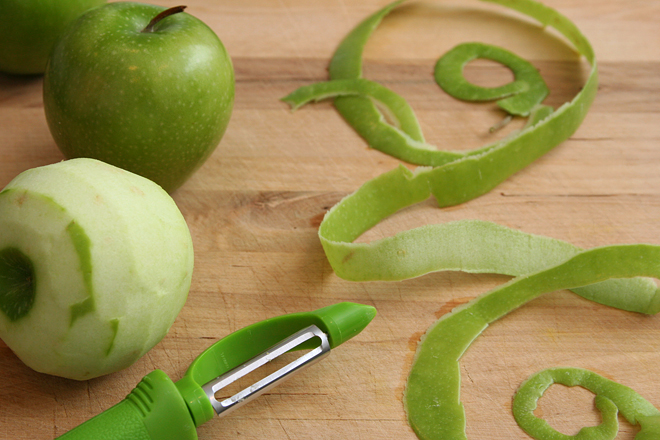
4 Granny Smith apples, peeled, cored and finely chopped
¼ cup (1.75 ounces) sugar
½ teaspoon ground cinnamon
½ teaspoon lemon juice
pinch salt

Cookie base:
2 cups (9.6 ounces) all-purpose flour
½ cup (3.5 ounces) firmly packed brown sugar
¼ teaspoon salt
16 tablespoons (2 sticks) butter, room temperature

Cream cheese layer:
2 (8-ounce) packages cream cheese, room temperature
pinch salt
½ cup (3.5 ounces) sugar
2 large eggs
1 teaspoon vanilla extract

Caramel sauce:
½ cup (3.5 ounces) granulated sugar
¼ cup water
1 tablespoon corn syrup
3 tablespoons unsalted butter, cubes
⅛-¼ teaspoon salt
1 teaspoon lemon juice
⅓ cup heavy cream

1. Adjust a rack to the middle position and heat the oven to 350 degrees. Spray a 9-by-13-inch pan generously with cooking spray.

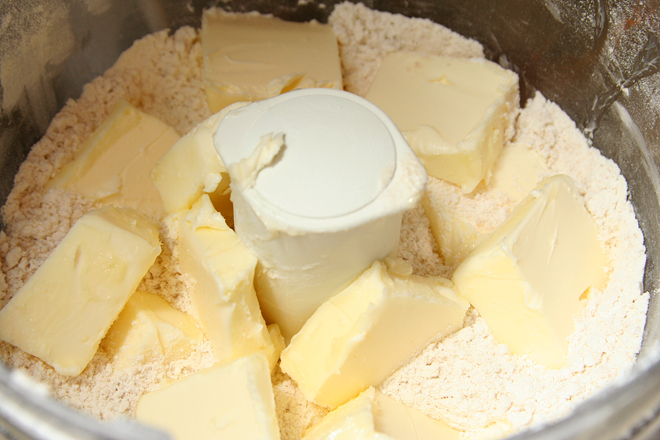
2. For the streusel: Add the sugar, flour, cinnamon, and salt in the bowl of a food processor fitted with the blade; pulse to combine. Add the butter and process until the mixture is crumbly. Add the oats and pulse just to combine. Transfer to a bowl and chill. Do not wash the processor bowl.

3. For the apples: In a medium bowl, mix everything. Set aside.

4. For the cookie base: Add the flour, sugar, and salt to the food processor bowl; pulse to combine. Add the butter and process until the mixture is crumbly. Press into the bottom of the prepared pan. Bake until lightly browned around the edges, about 15 minutes.

5. For the cream cheese layer: While the cookie base is baking, beat the cream cheese and salt with a mixer on medium-low speed, until softened. Add the sugar and continue mixing until the mixture is smooth. Add the eggs, one a time, mixing just until combined. Mix in the vanilla extract.

6. Pour the cream cheese mixture over the warm crust. Spread the apples over the cream cheese batter, then top with the streusel, breaking it until ¼- to ½-inch chunks. Bake until the top is browned and the cream cheese filling is set, about 30 minutes. Transfer to a wire rack and cool completely.

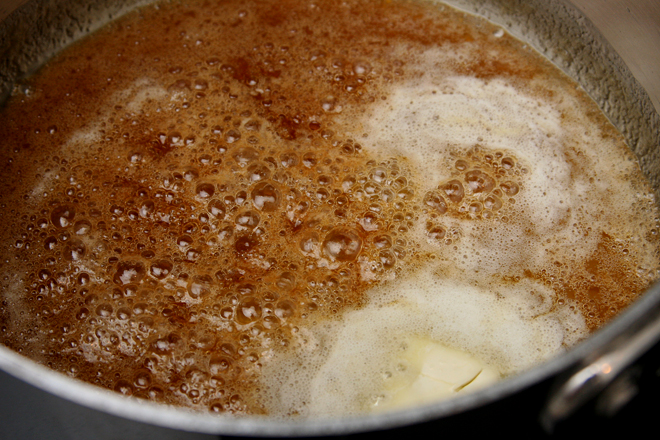
7. For the caramel sauce: Add the sugar, water, and corn syrup to a 2-quart saucepan. Cover and heat over medium-high heat until simmering, then remove the cover and let simmer until the mixture is honey-colored, swirling the pan occasionally at first and more often as the sugar browns. Add the butter, which will foam violently, and stir to combine. Stir in ⅛ teaspoon salt, lemon juice, and heavy cream. Once the mixture cools slightly, taste and add more salt if necessary. Let the sauce cool to room temperature before topping the bars. (Caramel can be made up to a week in advance.)
apple cheesecake bars 7

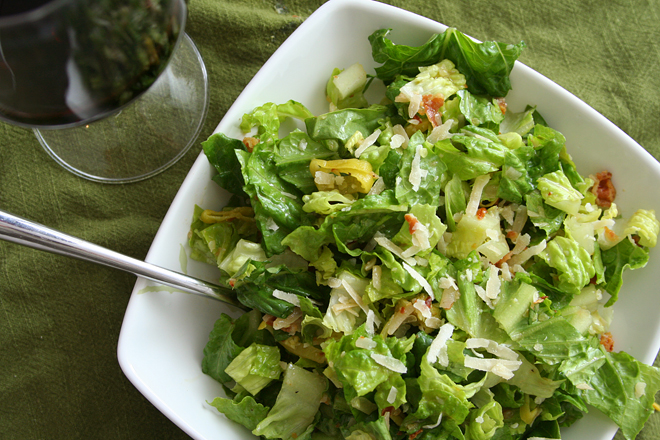
salad with pancetta, peperoncini, and parmesan

peperoncini pancetta salad 3

My favorite way to spend a Saturday night is cooking. It’s the only night of the week I feel like dinner can be a project; I’m busy being busy on weeknights, and I’m busy being lazy Friday and Sunday. So when I finally get the chance to cook a lot of food, I have a habit of cooking too much food.

peperoncini pancetta salad 1

One strategy I use to eat as much as possible without stuffing myself silly is to eat in courses, with time between each to allow for some digestion. Another is to serve food that’s fairly light, so I don’t get filled up by just a few bites.

peperoncini pancetta salad 2

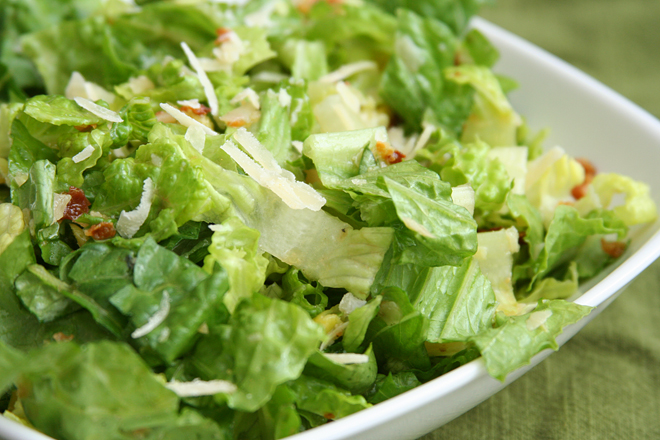
This salad has become my go-to light salad course. It doesn’t hurt that it’s easy, plus the combination of ingredients is just perfect – briny peppers, salty meat, and parmesan to make it seem hearty and filling when it really isn’t. I’ve served it to pretty much everyone who’s come over for dinner in the last few months. I’ve also served at least four other courses each time, because there’s no better way for me to spend a Saturday night.

peperoncini pancetta salad 4

Printer Friendly Recipe
Salad with Pancetta, Peperoncini, and Parmesan

Serves 4 to 6

Before adding garlic to dressings, I always toast it, with the peel on, in a dry skillet over medium-high heat for a few minutes, until the peel is black where it hits the pan.  It tames the harsh bite of raw garlic.

Dressing:
2 cloves garlic, pressed through a garlic press
½ teaspoon salt
½ teaspoon pepper
1½ tablespoons fresh lemon juice
1 teaspoon Worcestershire sauce
1 teaspoon Dijon mustard
¼ cup extra virgin olive oil

Salad:
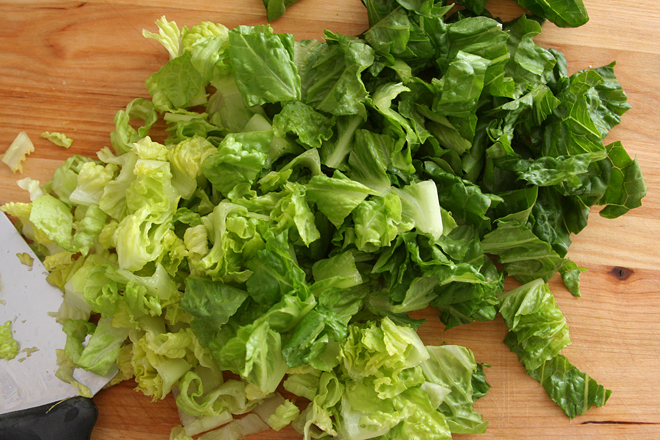
2 romaine hearts, washed and chopped
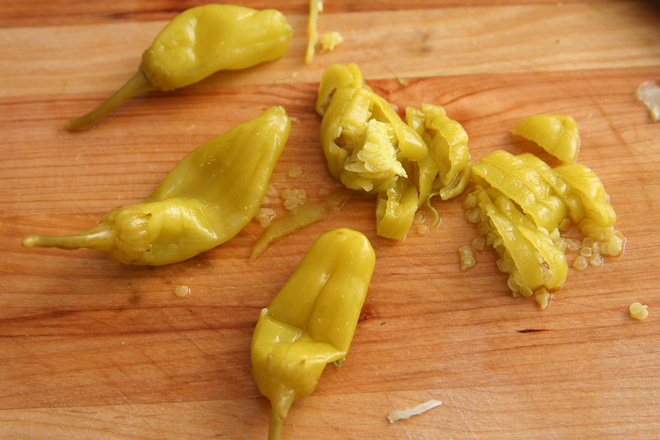
8 peperocini, stems removed, chopped fine
6 ounces pancetta, cooked and crumbled
½ cup (1 ounce) shredded parmesan

1. For the dressing: Mix everything.

2. For the salad: Mix everything; toss with dressing.

peperoncini pancetta salad 5

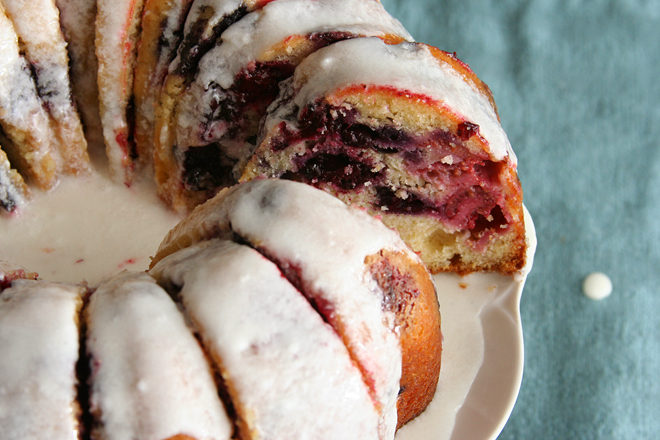
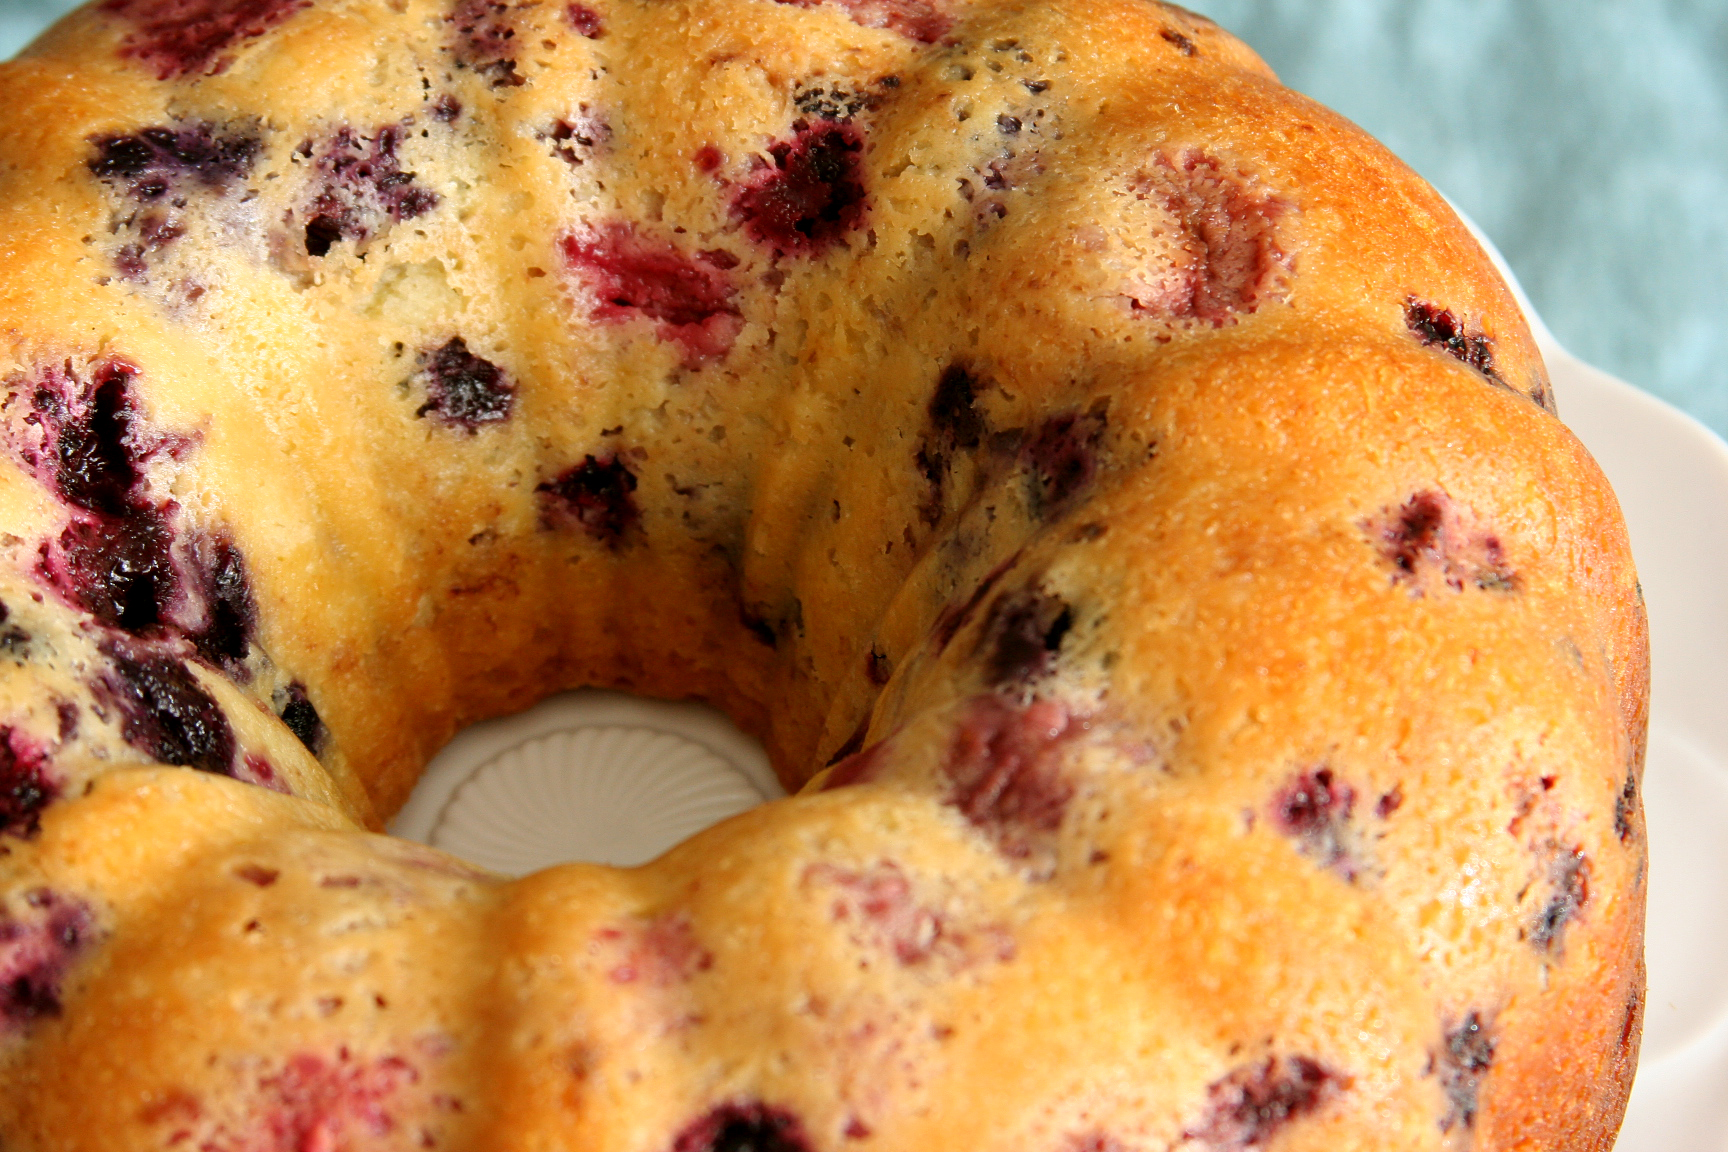
mixed berry buttermilk bundt cake

mixed berry bundt cake 11

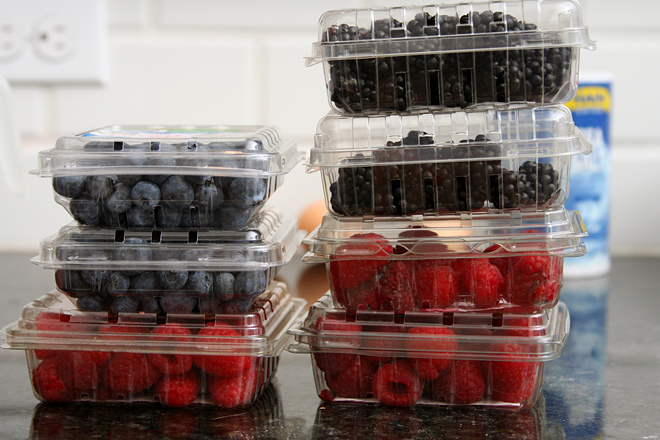
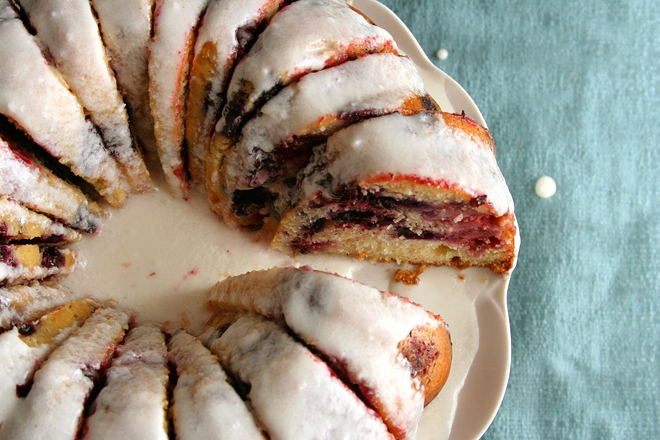
If Labor Day is the last hurrah of summer and fall officially starts September 23, what does that make the rest of September? It’s getting darker, but the leaves aren’t changing yet, and tomatoes are really picking up this time of year. Plus, there was a 2-for-1 sale on berries at the grocery store this week!

mixed berry bundt cake 1

I didn’t intend to add even more berries than the recipe calls for, but I confess I got carried away by the sale. Somehow, I ended up with at least three times more berries than this cake required. Adding an extra cup to the cake didn’t make a dent in the excess, but I couldn’t resist.

mixed berry bundt cake 6

And then I was at the store a few days later, and they announced that berries were on an even better sale! It was so hard to resist, but we hadn’t finished the last batch!  Maybe I need to make more cake, before the last vestiges of summer are gone.

mixed berry bundt cake 7

Printer Friendly Recipe
Mixed Berry Buttermilk Bundt Cake (adapted from Cory Schreiber and Julie Richardson’s Rustic Fruit Desserts: Crumbles, Buckles, Cobblers, Pandowdies, and More via Smitten Kitchen)

Cake:
2½ cups (12 ounces) plus 2 tablespoons all-purpose flour
2 teaspoons baking powder
16 tablespoons (2 sticks) unsalted butter, at room temperature
zest of 1 lemon
1 teaspoon table salt
1¾ cups (12.25 ounces) granulated sugar
3 large eggs, room temperature
½ teaspoon vanilla extract
¾ cup buttermilk, room temperature
3 to 4 cups (12 to 16 ounces) mixed berries

Glaze:
1½ cups (6 ounces) powdered or confections’ sugar
juice of 1 lemon
1 tablespoon unsalted butter, very soft

1. Heat the oven to 350 degrees. Grease and flour a Bundt pan or spray with baking spray. In a medium bowl, combine the flour and baking powder.

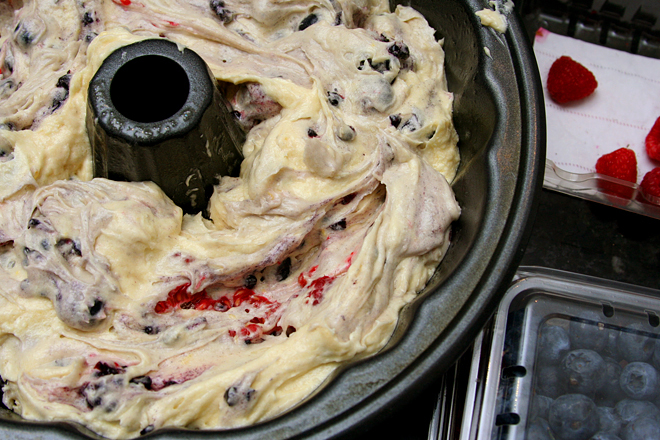
2. Place the butter, lemon zest, salt, and sugar in the bowl of an electric mixer fitted with the paddle attachment. Beat on medium-high speed for 3 minutes, until light and creamy in color. Mix in the eggs one at a time, until incorporated, then add the vanilla. With the mixer on low speed, add one-third of the flour mixture, followed immediately by half of the buttermilk, mixing just until incorporated. Repeat with another third of the flour and the rest of the buttermilk, then the last of the flour. Scrape down the sides of the bowl and mix for 15 seconds longer. Carefully fold in the berries.

3. Transfer the batter to the prepared baking pan, smoothing the top. Bake for 50-60 minutes, or until a toothpick inserted in the center comes out clean. Transfer to a wire rack to cool.

4. Combine the powdered sugar, lemon juice, and butter; whisk until smooth. Spoon over the cooled cake.

mixed berry bundt cake 10

steak and egg green chile hash

steak egg chile hash 5

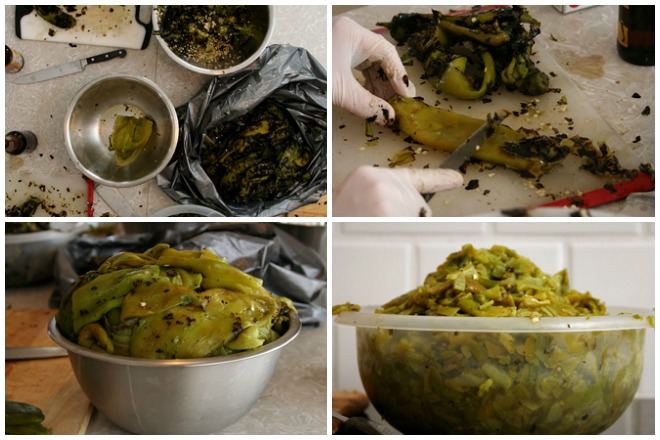
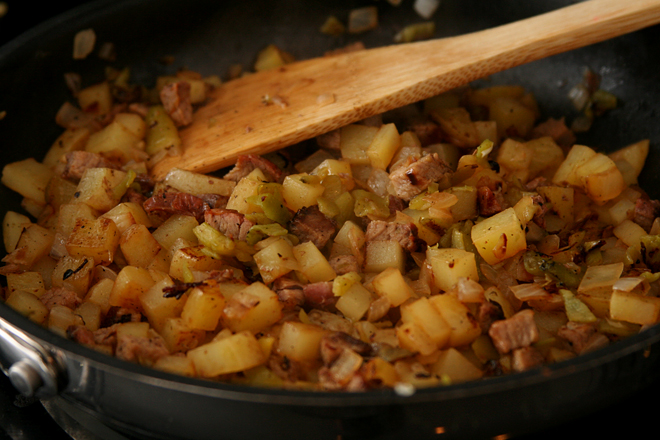
Where was this Hatch green chile mania back when I lived on the opposite side of the country from New Mexico? Back then, I had to have my mom send me boxes of fresh green chiles from Albuquerque. She’d pack newspaper in the boxes to help keep the chiles dry, poke holes in the box, and pay out the wazoo for overnight shipping. (Clearly I owe my mom a drink or two.) When they’d arrive, I’d broil them in batches until the skins turned black, then peel, chop, and bag them up. One time I forgot about wearing gloves, resulting in the worst burn I’ve ever had, not from temperature, but from spice.

green chile 2013

But that was years ago. Now I just head down to the local grocery store, buy 2 huge burlap sacks of fresh chiles, and bring it out to the guy roasting them in the parking lot. (Actually, I never do this; it’s become Dave’s errand.) Back at home, Dave and I put on latex gloves and start peeling, seeding, and stemming the chiles. At some point I’ll transition from peeling to chopping and bagging. The whole process takes about 4 hours, and at the end, we have a shelf in the freezer dedicated to our stash.

steak egg chile hash 1

I grew up in Albuquerque, and my family did this when I was a kid, as well. It’s only recently when anyone outside New Mexico could find Hatch green chiles. In fact, the “Hatch” title is a bit of a misnomer – Hatch is a place, not a variety of chile. Green chiles are grown in Hatch, but they’re also grown in the rest of the state. This year, Dave bought our green chiles from a farm in Artesia, so technically they’re not Hatch green chiles at all, but since people seem to recognize Hatch as a type of chile, we’ll stick with that title.

steak egg chile hash 2

Most New Mexicans don’t need a recipe for how to use their green chiles. They just add them to their favorite foods – there’s no Hatch chile macaroni and cheese, there’s just your favorite macaroni and cheese recipe with chiles stirred in. The same goes for cheeseburgers, pizza, grilled cheese sandwiches…are you seeing a pattern? Green chile is really good with carbs and cheese.

steak egg chile hash 3

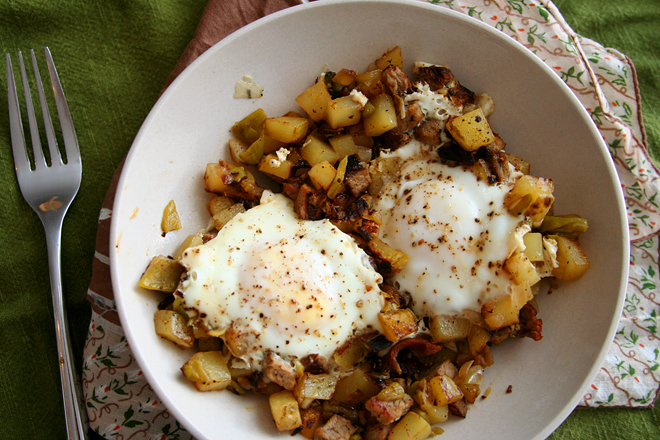
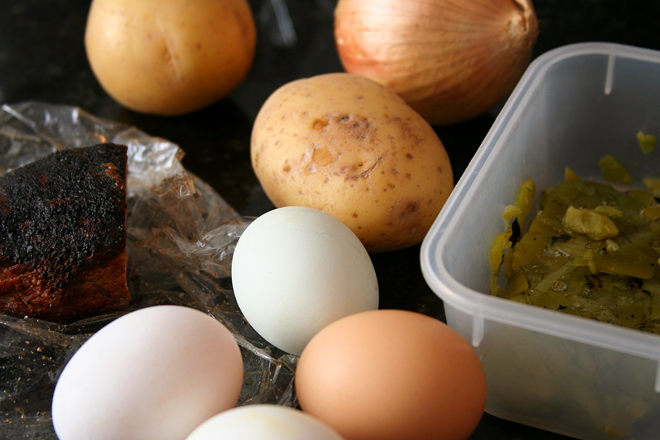
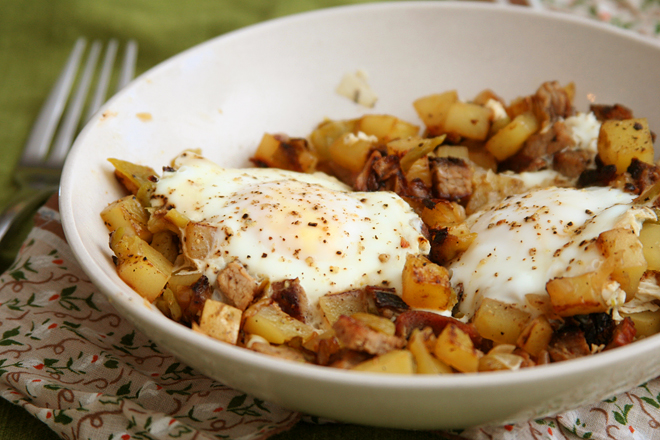
In this case, we don’t need cheese, just steak, leftover if you have it. Because green chiles are also really good for breakfast – migas and huevos rancheros are my favorite two breakfasts, and now this is up there too. And fortunately, now that “Hatch” green chiles are making their way to almost all corners of the country, you can actually make this for yourself. That is a very good thing.

steak egg chile hash 4

Printer Friendly Recipe
Steak and Egg Green Chile Hash

Serves 4

Depending on how hot your chiles are, you might want to use less (or more) than this.

Photos show a half recipe made in a 9-inch skillet.

12 ounces Yukon gold potatoes, diced into ¼- to ½-inch cubes
2 tablespoons olive or canola oil
salt
1 large onion, diced
8 ounces cooked steak, diced
½ cup Hatch green chiles, roasted, peeled, and chopped
8 eggs
ground black pepper

1. In a medium microwave-safe bowl, combine the potatoes, 1 tablespoon olive oil, and ½ teaspoon salt. Cover and microwave on high for 1 minute. Stir, then return to the microwave for another minute. Stir again, and if the potatoes are not softened to their centers, repeat the microwaving until they are; larger cubes will need more time.

2. In a 12-inch nonstick skillet over medium heat, heat the remaining 1 tablespoon of oil until it flows like water when the pan is tilted. Add the onion and a pinch of salt and cook, stirring occasionally, until translucent. Add the potatoes and steak and cook, without stirring, until the bottom is lightly browned, about 2 minutes. Stir and cook for another 2 minutes without stirring. Stir in the green chiles. Taste for seasoning and add salt if necessary.

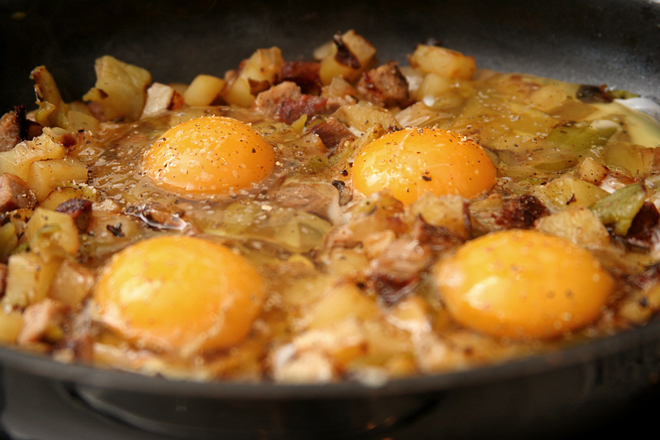
3. Using the back of a spoon, create 8 wells in the hash. Break one egg into each well; season with salt and pepper. Cover the pan and cook, without stirring, until the white is set, about 6 minutes. Serve immediately.

pasta with zucchini cream sauce

pasta with zucchini cream sauce 7

I love love love Domenica Marchetti’s The Glorious Pastas of Italy. Although it isn’t my newest cookbook, it’s still the one that gets me the most excited to cook. But somehow I’d convinced myself that it was a cookbook for winter, full of baked pastas and braised meats. A recent perusal through the book proved me wrong. Not only are there four soups specifically designed for each season, there was this recipe, based on zucchini, the butt of everyone’s summer garden jokes.

pasta with zucchini cream sauce 3

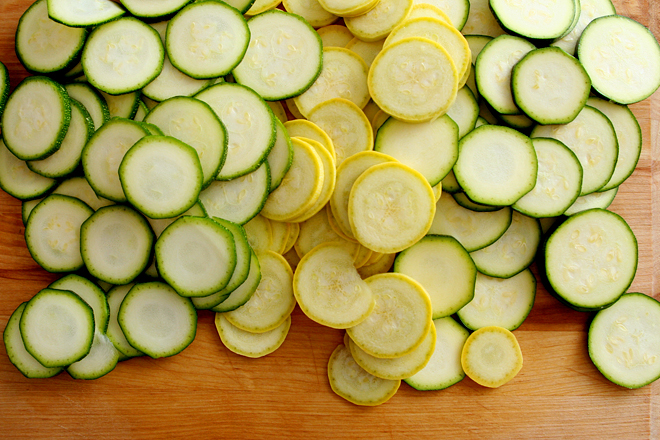
I’ve never been presented with the problem of too much zucchini, but while I happen to love the vegetable, this might be more because I’m a terrible gardener. Regardless, this is yet another great way to use it.

pasta with zucchini cream sauce 5

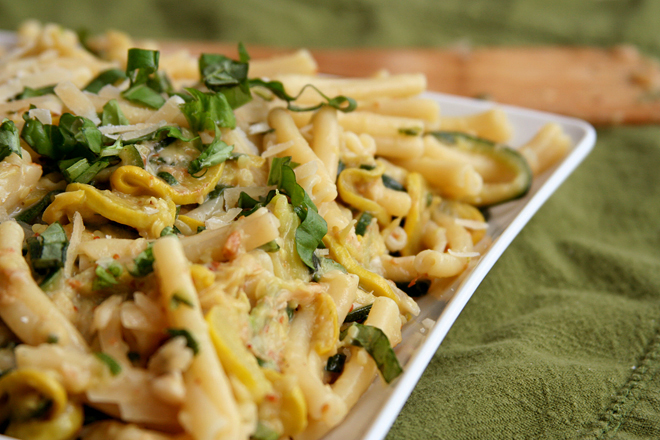
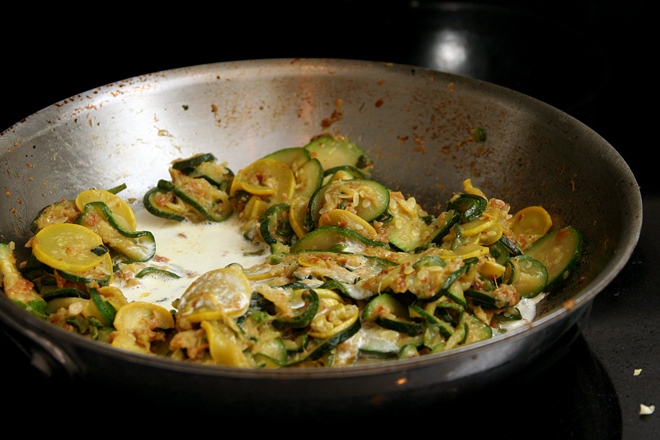
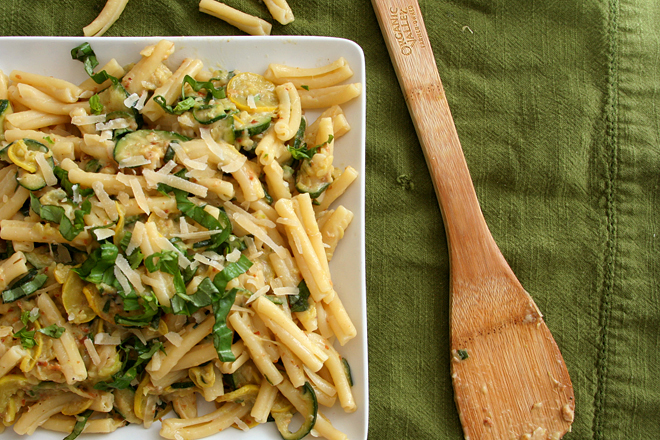
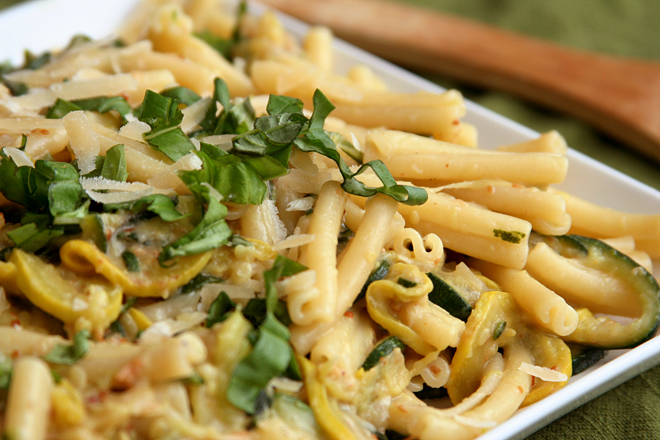
Summer squash can be difficult to cook without it getting mushy, but this recipe solves that problem for you. It’s supposed to be mush; the vegetables cook down into the sauce. There’s still toothy bites, but this isn’t pasta with zucchini; it’s pasta in sauce made from summer squash. Everything else is just playing a supporting role, with savoriness from the pancetta, body from the cream, and salty richness in the cheeses. It’s a great new way to eat this summer vegetable and a perfect example of why I love this cookbook so much.

pasta with zucchini cream sauce 6

Printer Friendly Recipe
Pasta with Zucchini Cream Sauce (adapted from Domenica Marchetti’s The Glorious Pastas of Italy)

Serves 4 as a side dish or starter course

I made this once without checking the recipe before shopping and had to substitute prosciutto for pancetta, skip the basil, and double the parmesan because I didn’t have pecorino. The dish was still delicious.

I’ve reduced the cream a bit, but the only major change I’ve made is to drastically reduce the amount of pasta, so every bite of pasta gets some creamy zucchini with it.

2 tablespoons extra-virgin olive oil
4 ounces thickly sliced pancetta, cut into narrow strips
2 cloves garlic, cut into paper-thin slices
6 to 8 small to medium zucchini or other summer squash, sliced into thin coins
salt
freshly ground black pepper
¼ cup heavy cream
8 ounces dried pasta
½ cup freshly grated Parmigiano-Reggiano cheese
½ cup freshly grated pecorino Romano cheese
5 large fresh basil leaves, cut into narrow strips (chiffonade)

1. In a large skillet over medium heat, heat the olive oil until shimmering. Add the pancetta; cook, stirring occasionally, until lightly browned. Add the garlic; cook and stir until fragrant, about 30 seconds. Add the zucchini, 1 teaspoon salt, and ½ teaspoon pepper; stir to combine. Reduce the heat to medium and cook, stirring occasionally, until the squash breaks down, about 30 minutes. Stir in the cream.

2. Meanwhile, bring 3 quarts of water to a boil. Add 1 tablespoon salt and the pasta. Cook according to package instructions; drain, reserving 1 cup of the pasta water.

3. Add the pasta, ½ cup of the reserved water, and the cheeses to the zucchini mixture. Cook and stir until the pasta is coated, adding more water if necessary to loosen the sauce. Stir in the basil and serve immediately.

pasta with zucchini cream sauce 8