Archives for August 2014

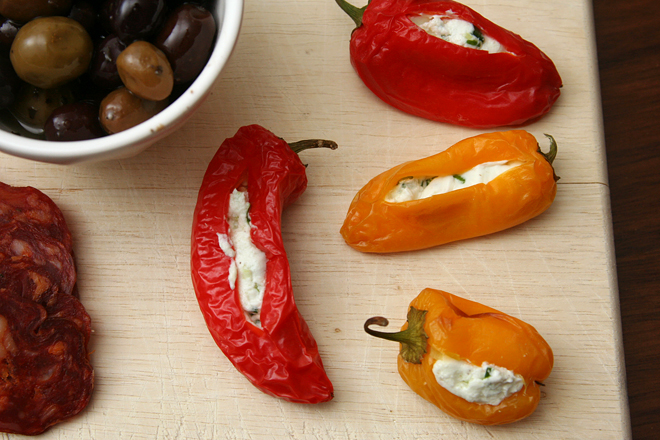
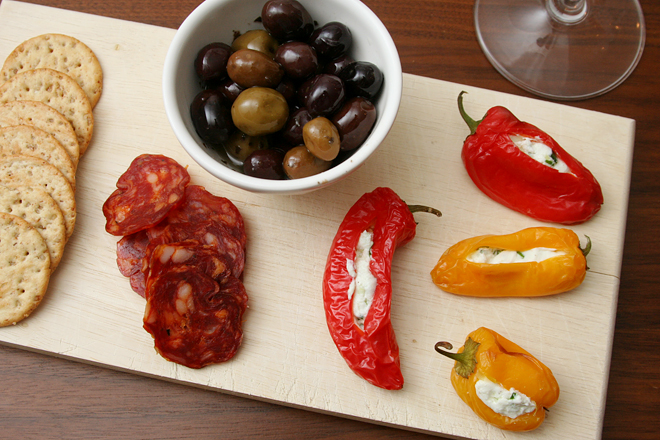
goat cheese-stuffed mini peppers

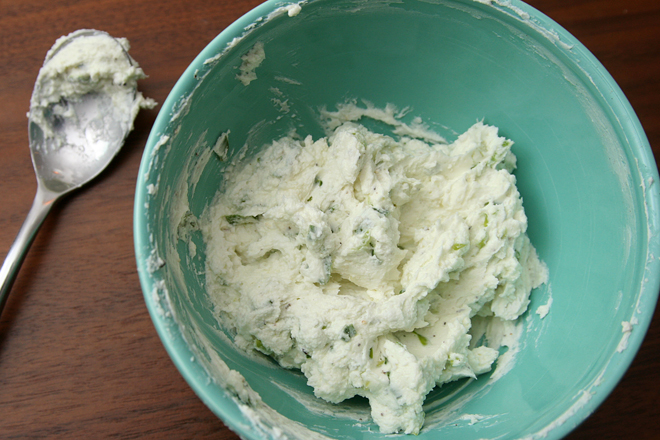
goat cheese stuffed peppers 3

I’ve been lucky to have a lot of opportunities for tapas lately. It started, I believe, last year when Dave and I met my brother for a weekend in Los Angeles, and we shared an exceptional tapas meal. Since then, my brother is tapas-crazy.

goat cheese stuffed peppers 1

On our family’s recent trip to the beach, we collaborated to serve nine different tapas to eleven people (in a house with no dishwasher). Two weeks later, Dave and I had the opportunity to go tailgating in the parking lot of an opera house before seeing Carmen; tapas was the obvious choice again. Less than a week after that, a friend hosted a potluck dinner, and the theme she chose was tapas.

goat cheese stuffed peppers 2

These are among some of my favorite of the options at each dinner, with nods also going to gazpacho and anything with bread (obviously). There are so many bread-based snack options that I love offering something different, especially something with vegetables. But the vegetables are filled with cheese, so they can hold their own on a table filled with garlicky shrimp and things-on-bread. With this recipe in my pocket, I’m ready for many more tapas dinners.

goat cheese stuffed peppers 4

Printer Friendly Recipe
Goat Cheese-Stuffed Mini Peppers

Makes 24 appetizers

I don’t take the seeds or veins out of these when I make them. It hasn’t been a problem.

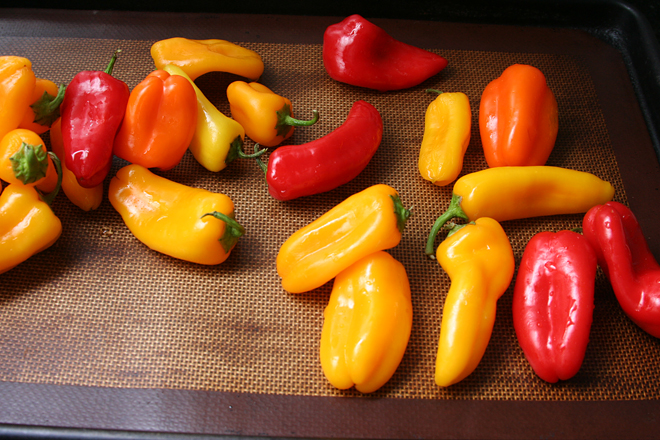
24 miniature sweet peppers
8 ounces soft goat cheese
2 scallions, finely chopped
2 tablespoons lemon juice
Pinch salt
Pinch black pepper

1. Adjust a rack to the middle position and heat the oven to 400 degrees. Cut a 1 to 2-inch slit down the side of each pepper. Arrange the peppers in a single layer on a rimmed baking sheet, cut-side up. Roasted until softened and slightly browned, about 20 minutes. Set aside to cool slightly.

2. Meanwhile, mix the goat cheese, scallions, lemon juice, salt, and pepper. Transfer the mixture to a piping bag with a wide tip or a zip-top bag with a corner cut off. (I tried spooning the filling into the peppers once, and it didn’t work at all. Piping is definitely the way to go.)

3. Squeeze the goat cheese mixture into each pepper, widening the cut in the pepper if necessary. Serve at room temperature (can be made 2 days in advance).
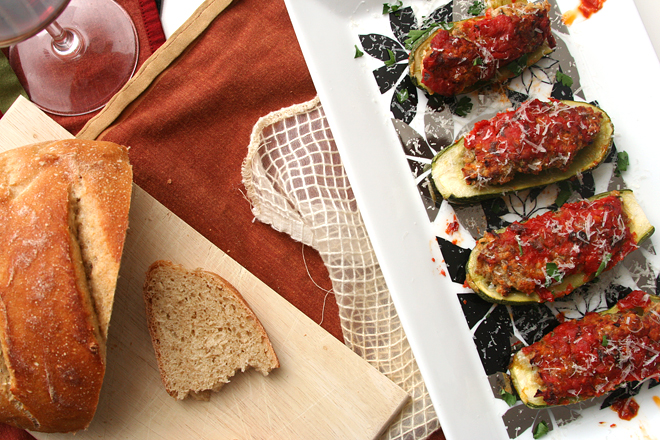
meatball-stuffed zucchini

meatball zucchini 8

I joke about not being good at gardening, but the truth is, it’s no joke. I am not good at it. Every year, at least half of what I plant is a failure. This year, in fact, in one raised bed, it’s exactly half, with two tomato plants and one pepper plant doing quite well, and two tomato plants and one pepper plant not doing much of anything at all.

meatball zucchini 2

This year, I’m having more success with my zucchini plant than ever before. (Keeping with the theme, the beans in the same bed aren’t producing at all.) Maybe the disgusting and destructive squash bugs will move in eventually, but so far, so good. I get about three zucchinis each week, which has been just right for making old favorites like these enchiladas and this pasta, while also providing an opportunity to try a new favorite.

meatball zucchini 3

This has become my go-to zucchini recipe this summer. I like it as a first course, maybe with a pasta dish served afterward, but it would work well as a main dish too. If things keep going well with my zucchini plant – and in my garden, that’s not a guarantee – I might just make this once a week until the season is over.

meatball zucchini 4

Printer Friendly Recipe
Meatball-Stuffed Zucchini (adapted from Domenica Cooks and Cook’s Illustrated)

Makes 4-6 first course servings or 2 main course servings

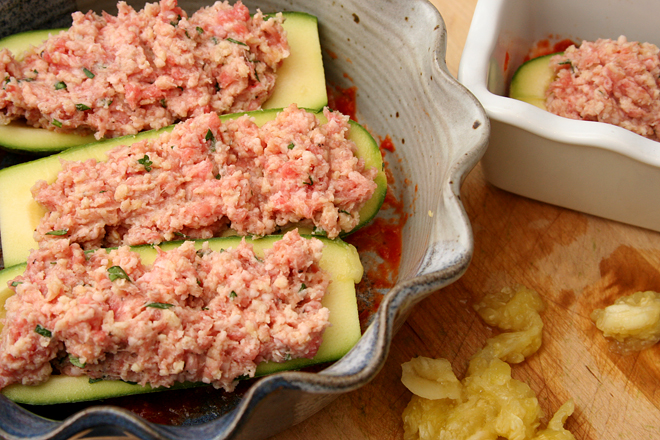
I’ve used ground lamb for these (which is what the pictures show) because we love it, and I’ve used ground venison because someone gave us a bunch that we need to use up.

1 tablespoon olive oil
2 cloves garlic, minced, divided
1 (14-ounce) can whole tomatoes, chopped with scissors in the can
salt
1 slice white sandwich bread (crusts discarded), torn into small cubes
¼ cup buttermilk or 3 tablespoons plain yogurt thinned with 1 tablespoon milk
2 tablespoons grated Parmesan cheese, plus more for topping
1 tablespoon minced fresh parsley leaves
1 large egg yolk
pinch ground black pepper
½ pound ground beef or lamb
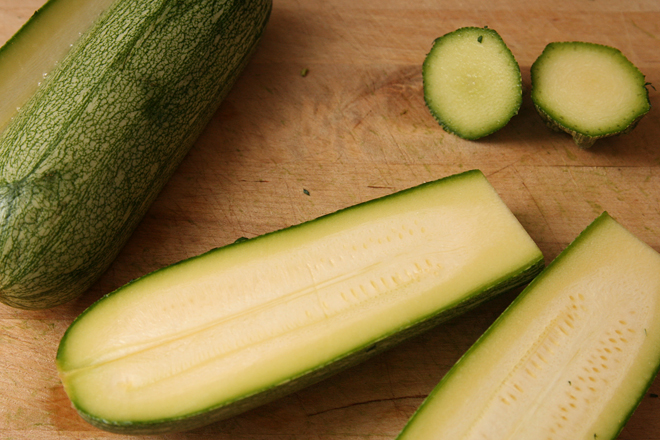
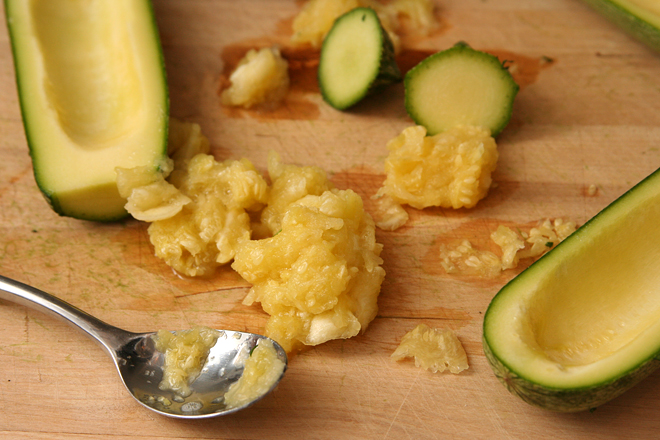
2 large or 3 small zucchini or summer squash, halved lengthwise, seeds scraped out and discarded

1. Heat the oven to 400 degrees. Add the oil and 1 clove of garlic to an 8-by-8-inch (or equivalent size) baking dish; transfer to the oven until the garlic is sizzling, 5-8 minutes. Stir the tomatoes and a pinch of salt into the oil; set aside.

2. In a medium bowl, combine the bread and buttermilk or yogurt and milk; set aside for 10 minutes for the bread to soften. Stir in the cheese, parsley, egg yolk, remaining garlic, ¼ teaspoon salt, and pepper. Using your hands, evenly mix in the ground meat.

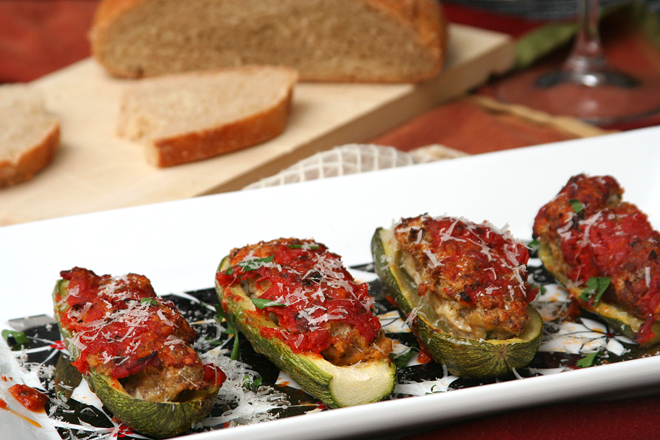
3. Divide the meat mixture evenly between the halved and cored zucchini. Arrange the stuffed zucchini in the baking dish. Transfer the dish to the oven and bake until the zucchini is softened and the meat is cooked through, 30-40 minutes. Let rest for 5-10 minutes. To serve, spoon the tomato sauce over the zucchini and top with parmesan cheese.

meatball zucchini 7

quinoa puttanesca

quinoa puttanesca 1

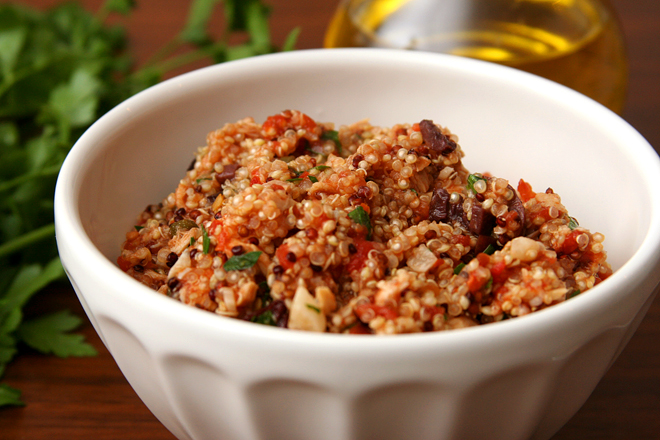
Based on whether it leaves a bunch of half-used ingredients leftover, this may not be the best single-person dinner, but it’s one of my favorite meals for when Dave is out of town anyway. For years, Dave didn’t like anchovies or olives, so those were the things I ate when he traveled. He’s come around to both, but the tradition has stuck, and this has become a treat for myself while he’s gone.

quinoa puttanesca 3

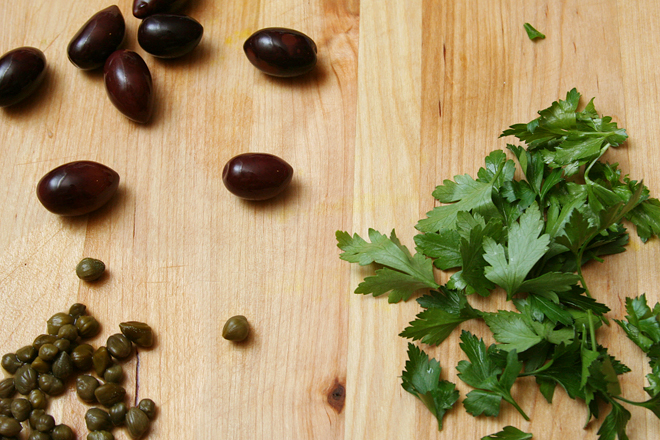
It’s very similar to the pasta version, but I like to think quinoa is a little healthier than pasta. Certainly, quinoa has a stronger, earthier flavor, which required adjustments in the other ingredients. More briny olives, more salty capers, and more bitter parsley were all necessary to stand out next to the quinoa.

quinoa puttanesca 4

Even if it doesn’t fulfill my no-leftover-bits-of-ingredients rule for single-person dinners, it meets the rest of my criteria – easy, healthy, minimal dishes. Fortunately, I like it so much that I’m willing to make it twice in one week while Dave travels, which is the perfect way to use up the half cans of tomatoes and tuna leftover from one serving. That puts this back on the list of great meals for cooking for one.

quinoa puttanesca 2

Printer Friendly Recipe
Quinoa Puttanesca (adapted from Cook’s Illustrated’s Spaghetti Puttanesca)

4 servings

I use the higher amount of anchovies, because I love them, but I understand that not everyone shares that opinion. The tuna is not at all traditional in puttanesca, but it increases the protein of this one-pot dish.

1 tablespoon olive oil
1 teaspoon red pepper flakes
6 cloves garlic, peeled and minced
6-8 anchovies, minced
8 ounces (1⅓ cups) quinoa, rinsed and drained
1 (28-ounce) can whole tomatoes, coarsely diced in the can with scissors
2 (5-ounce) cans solid white tuna in water, drained and flaked into bite-sized pieces (optional)
¼ cup capers, drained
1 cup kalamata olives, finely chopped
¼ cup minced parsley

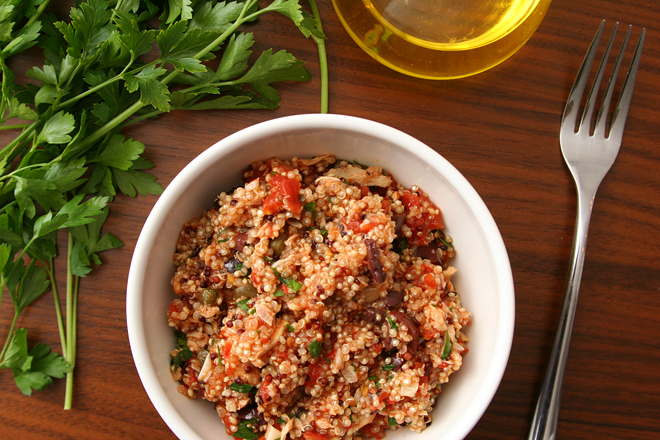
In the medium saucepan over medium heat, heat the olive oil, red pepper flakes, garlic, and anchovies until sizzling and fragrant, 2-3 minutes. Add the quinoa, tomatoes with their juice, and tuna (if using). Increase the heat to medium-high and bring to a simmer. Once the mixture simmers, cover, reduce the heat to low, and simmer for 15 minutes. Stir once, then replace the cover, remove the pot from the heat, and let set for another 15 minutes. Stir in the capers, olives, and parsley; serve immediately.

blackberry cake with raspberry filling

blackberry cake 9

I require a weekend for my birthday. Not a week, certainly not a month, just two days and one evening to do as many as my favorite things as possible and as few of my least favorite things. So wine and a new novel are in; laundry is most definitely out.

blackberry cake 4

Baking and eating my birthday cake is in, but I was really on top of things this year and did all the steps I don’t like so much beforehand. That includes digging around in the messy, nearly unreachable cabinet for pans, lining the pans, and pureeing and straining the fruit. All that was left to do on my actual birthday was add things to the mixer and nibble on frosting while assembling the cake.

blackberry cake 2

I’d originally made this cake for a friend’s bridal shower, but there were two issues: 1) I only got one piece, and 2) I didn’t save any for Dave. He’s pretty adamant about not being a dessert guy and even less so a cake guy, but our friends had such good things to say about the cake after the party that he was sorry he missed it.

blackberry cake 6

So choosing this year’s birthday cake wasn’t a hard decision. Making the cake wasn’t hard either, since I’d left only my favorite parts of baking for my birthday itself. I made a small cake, but I had just enough to last for my entire birthday weekend. Cake everyday is definitely on the list for an awesome birthday.

blackberry cake 10

Printer Friendly Recipe
Blackberry Cake with Raspberry Filling and Cream Cheese Frosting (cake adapted from Cook’s Illustrated White Cake recipe; filling is just barely adapted from Cook’s Illustrated Raspberry Coulis)

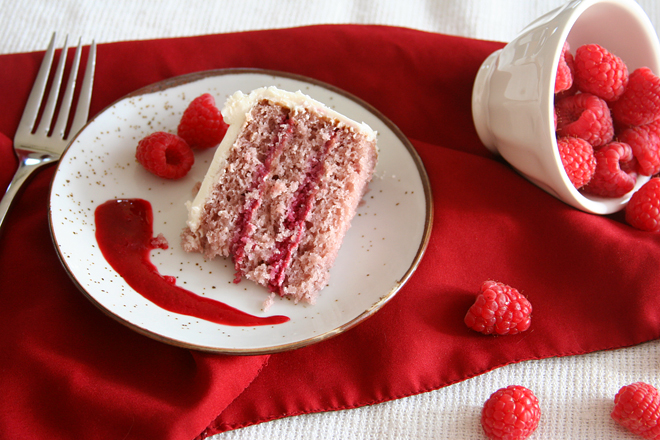
The bride’s wedding colors are Tiffany blue and red, so I originally made a blackberry cake hoping that it would turn out blue, like Elly’s, with raspberry filling as the red. I ended up with a purple cake with pink filling, but no one complained. However, you could mix this up with other berries – blackberries, raspberries, blueberries, or strawberries can be used in both the cake and the filling. Fresh or frozen and thawed berries can be used.

I made a three-layer cake for my birthday, and a four-layer cake for the shower, which I preferred. I love the raspberry filling, so an extra layer of it is very welcome.

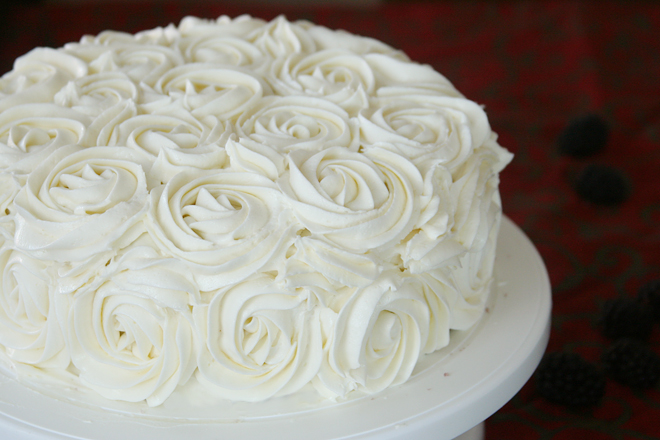
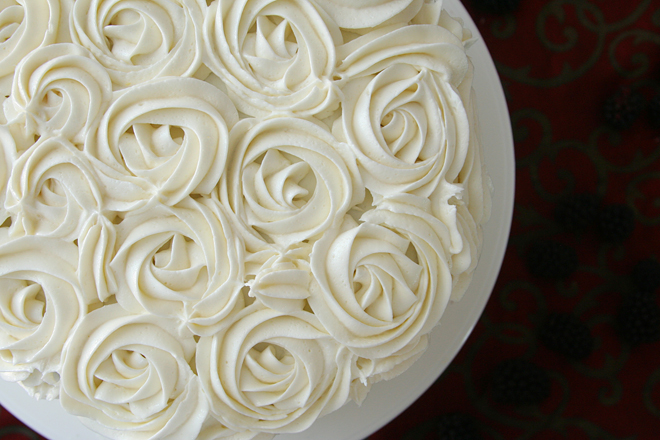
For heavy decorations like the roses, increase the frosting recipe by 50% (using 12 tablespoons butter, 12 ounces cream cheese, and 6 cups powdered sugar).

Cake:
¾ cup pureed and strained blackberries (from 8 ounces of blackberries)
⅓ cup milk, at room temperature
1 teaspoon vanilla extract
2¼ (9 ounces) cups cake flour
3 teaspoons baking powder
12 tablespoons unsalted butter, at room temperature
1½ cups (10.5 ounces) sugar
¾ teaspoon salt
4 egg whites, at room temperature

Raspberry Filling:
6 ounces fresh raspberries (or thawed if frozen)
2½ to 3½ tablespoons granulated sugar
pinch table salt
1 teaspoon lemon juice

Cream Cheese Frosting:
8 tablespoons (1 stick) butter, at room temperature
8 ounces cream cheese, at room temperature
pinch salt
2 teaspoons vanilla extract
4 cups powdered sugar

1. For the cake: Heat the oven to 350F. Spray two 8-inch round cake pans with baking spray (or grease and flour the pans). Line with parchment or waxed paper and grease the paper.

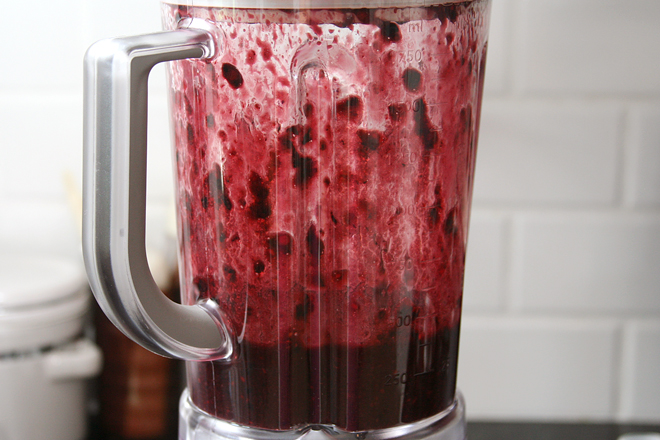
2. Using a blender, puree the blackberries. Transfer them to a fine-mesh strainer set over a small bowl; use a spoon or rubber spatula to press the liquid through the strainer, discarding the seeds. Measure ¾ cup of puree. Stir the milk and vanilla extract into the blackberry puree. In a separate small bowl, combine the flour and baking powder.

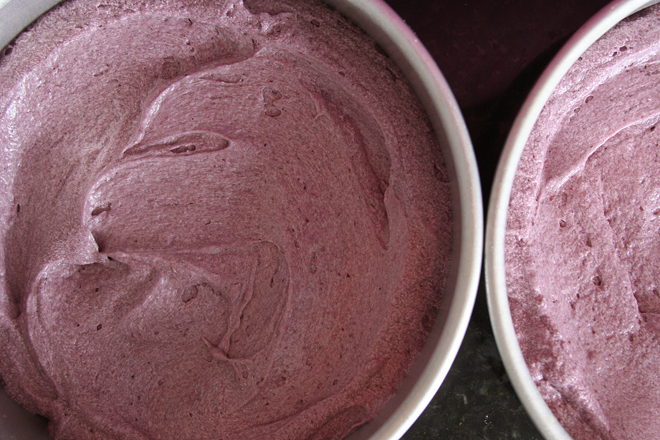
3. Place the butter, sugar, and salt in the bowl of an electric mixer fitted with the paddle attachment (or a large bowl if using a hand mixer). Beat on medium speed for 2 minutes, until light and fluffy. Add the egg whites one at a time, beating well after each addition. Reduce the mixer speed to low and add one-third of the flour mixture, followed immediately by half of the blackberry mixture, mixing just until incorporated. Repeat with another third of the flour and the rest of the blackberry puree, then the last of the flour. Scrape down the sides of the bowl and mix on medium-low speed for 15 seconds longer.

4. Divide the cake between the prepared pans. Bake for 22 to 28 minutes, or until a cake tester or wooden toothpick inserted into the center comes out clean. Allow the layers to cool in the pans for 5 to 10 minutes. Invert and turn out onto wire racks and peel off the paper liners. Let stand until completely cooled before assembling the cake, at least one hour.

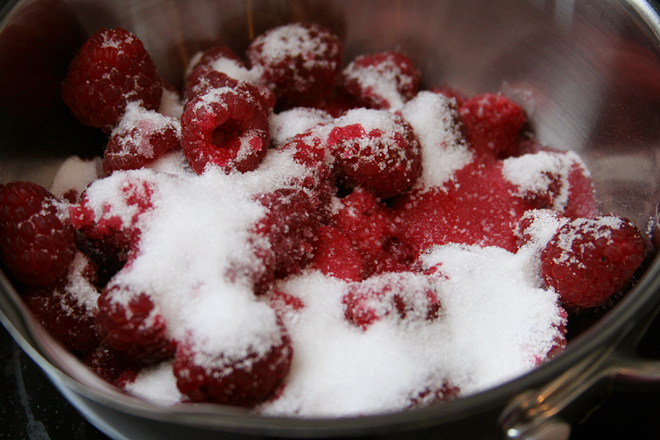
5. For the filling: In a medium saucepan, bring the raspberries, 1 teaspoon water, 2½ tablespoons sugar, and salt to bare simmer over medium heat, stirring occasionally; cook until the sugar is dissolved and the berries are heated through, about 1 minute longer. Transfer the mixture to the blender; puree until smooth, about 20 seconds. Strain through a fine-mesh strainer into a small bowl, pressing and stirring the puree with a rubber spatula to extract as much seedless puree as possible. (there’s no need to wash either the blender or the strainer between the blackberries and the raspberries.) Stir in the lemon juice and additional sugar, if desired. Cover with plastic wrap and refrigerate until cold, at least 1 hour. Stir to recombine before serving. Can be refrigerated in airtight container for up to 4 days.

6. For the frosting: Place the butter, cream cheese, and salt in the (clean) bowl of an electric mixer fitted with the paddle attachment; beat on medium speed until smooth. Switch to the whisk attachment; on low speed, gradually add the powdered sugar, beating until it’s just incorporated. Increase the speed to high and beat for 5 minutes, scraping down the sides of the bowl as necessary.

7. To assemble: To make the cakes easier to handle, wrap each tightly in plastic wrap and chill for at least an hour or up to overnight. Working with one cake at a time, unwrap it and use a serrated bread knife to cut the cakes horizontally in half. If you’re using a cake board, put a small spoonful of frosting in the center of it to glue the cake to the board; if you’re not using a cake board, line the perimeter of your serving dish with strips of wax paper, then put a small spoonful of frosting in the center of the serving dish. Center a layer of cake over the frosting, cut side down. Spread a thin layer of cream cheese frosting over the cake layer. Spoon 3 tablespoons of raspberry filling over the frosting, spreading it to within about an inch of the edge. Center another cake layer over the filling, cut side-down. Repeat the layering of frosting, filling, and cake twice more. Spread a thin layer of frosting evenly over the top and sides of the cake to seal in crumbs. If the layers slide around while you’re spreading the frosting, push wooden skewers from the top to the bottom of the cake in three places to secure the layers. Chill the cake, uncovered, for 30 minutes to 2 hours to set the frosting. Remove the skewers if necessary, then spread the remaining cream cheese frosting evenly over the top and sides of the cake, decorating as desired. Either transfer the cake on the cake board to a serving platter, or carefully remove the strips of wax paper to leave a clean serving platter around the sides of the cake.

blackberry cake 8