caramel apple cheesecake bars

apple cheesecake bars 9

Fall in upstate New York, where I went to graduate school, was amazing. Even my drive through town to work was gorgeous, passing hillsides of brightly colored trees. I lived a couple blocks away from a cider mill, and Dave and I made a point to go there every year for cider, doughnuts, and squash so oddly shaped they looked deformed. It was my favorite place to buy apples too; some, like Empire and Cortland, even named for the area.

apple cheesecake bars 5

The only problem was that fall came too soon, at least for this lover of summer. It seemed like it had hardly warmed up after the long freezing winter before it started getting chilly again. For this reason, I had a strict rule of no fall-inspired foods until October – no pumpkin, no candy corn, no apples.

apple cheesecake bars 6

It’s kind of the opposite here in southern New Mexico. I’m tired of being hot and welcome the chill we’re getting in the mornings and evenings. I’m not quite ready for pumpkin – things need to cool off a bit more, so I probably will wait until October. But apples are just right.

apple cheesecake bars 3

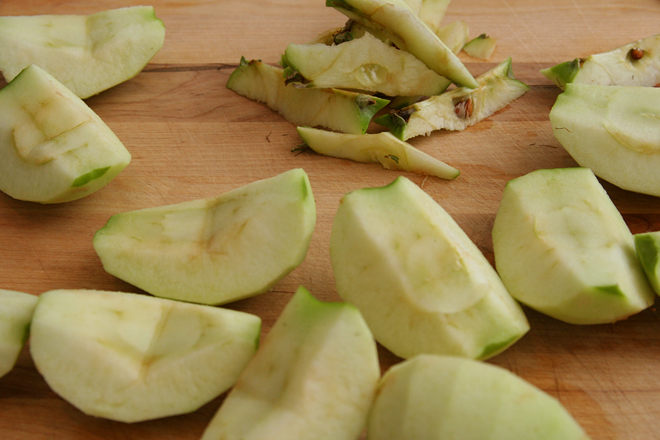
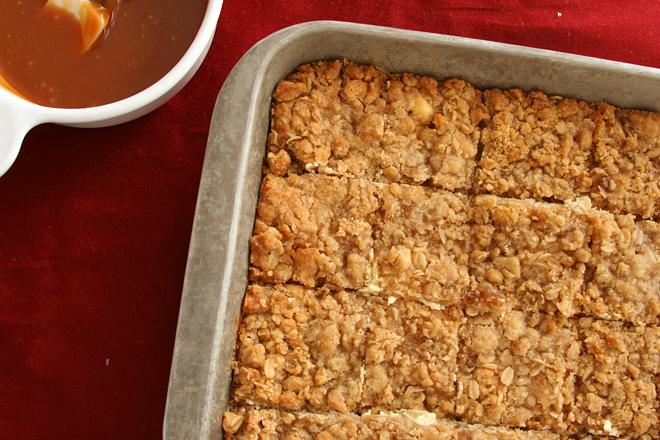
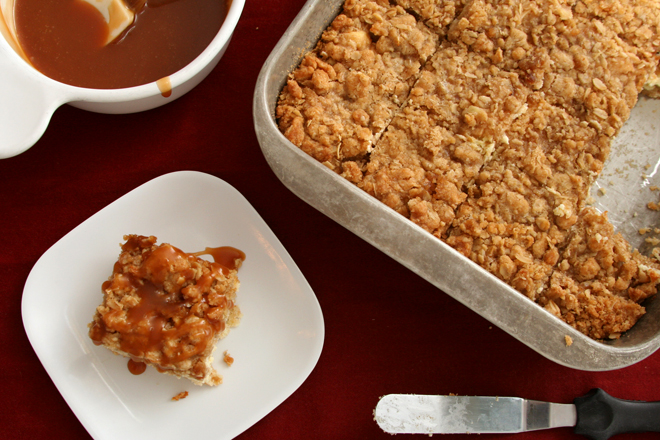
These apples are piled on top of a cookie crust and a cheesecake layer, then topped with streusel and caramel. I saw the recipe on a blog and was aghast at how rich it was until I traced it back to its original source, Paula Deen. This is my first time making one of her recipes, but my understanding it that it’s par for the course.

apple cheesecake bars 2

In this case, it definitely works. I’ll add another apple next time, because the apples were pretty balanced with the other components, and I want them to stand out more. But having those other components come forward is not a bad thing, because each one was so good. Somehow, the combination of everything didn’t make these overpoweringly sweet or unpleasantly rich.  Really, these were a perfect fall treat.

apple cheesecake bars 8

Printer Friendly Recipe
Caramel Apple Cheesecake Bars with Streusel (adapted from the Food Network via Closet Cooking; caramel sauce from Smitten Kitchen)

There are a lot of steps, but none of them are hard.

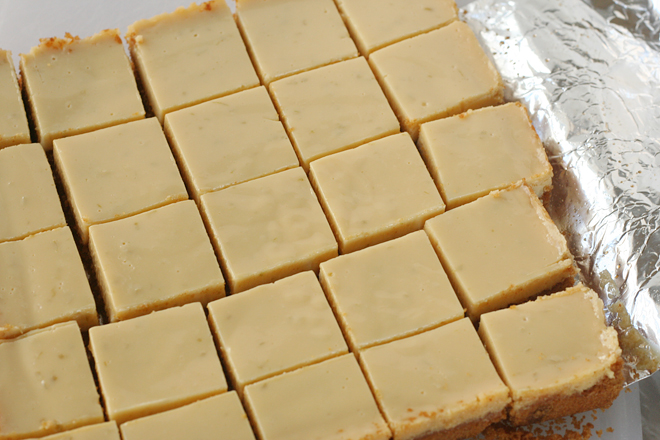
If you like to line your pans with a double layer of aluminum foil for bar cookies for easy removal, this recipe is a good candidate for that. I prefer not to, and the first bar I removed crumbled. The remainder were easy enough to get clean slices of with a spatula.

Streusel:
1 cup (7 ounces) firmly packed light brown sugar
1 cup (4.8 ounces) all-purpose flour
½ teaspoon cinnamon
⅛ teaspoon salt
8 tablespoons (1 stick) butter, room temperature
½ cup quick cooking oats

Apples:
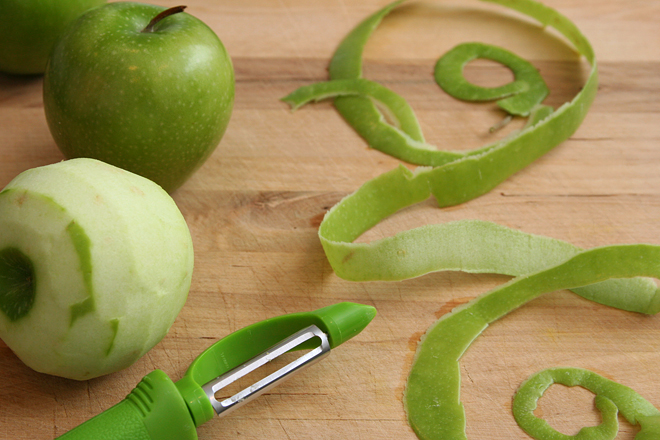
4 Granny Smith apples, peeled, cored and finely chopped
¼ cup (1.75 ounces) sugar
½ teaspoon ground cinnamon
½ teaspoon lemon juice
pinch salt

Cookie base:
2 cups (9.6 ounces) all-purpose flour
½ cup (3.5 ounces) firmly packed brown sugar
¼ teaspoon salt
16 tablespoons (2 sticks) butter, room temperature

Cream cheese layer:
2 (8-ounce) packages cream cheese, room temperature
pinch salt
½ cup (3.5 ounces) sugar
2 large eggs
1 teaspoon vanilla extract

Caramel sauce:
½ cup (3.5 ounces) granulated sugar
¼ cup water
1 tablespoon corn syrup
3 tablespoons unsalted butter, cubes
⅛-¼ teaspoon salt
1 teaspoon lemon juice
⅓ cup heavy cream

1. Adjust a rack to the middle position and heat the oven to 350 degrees. Spray a 9-by-13-inch pan generously with cooking spray.

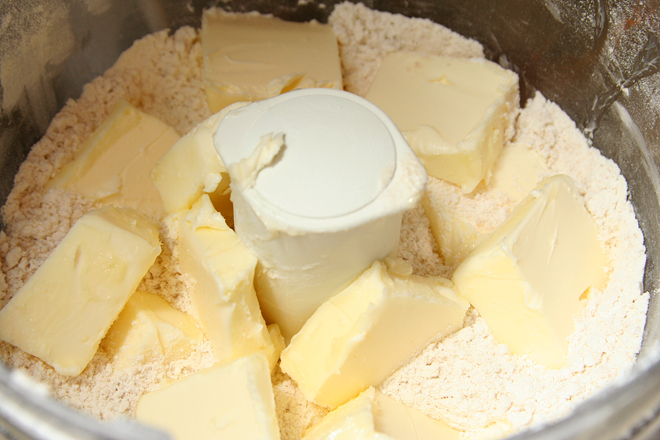
2. For the streusel: Add the sugar, flour, cinnamon, and salt in the bowl of a food processor fitted with the blade; pulse to combine. Add the butter and process until the mixture is crumbly. Add the oats and pulse just to combine. Transfer to a bowl and chill. Do not wash the processor bowl.

3. For the apples: In a medium bowl, mix everything. Set aside.

4. For the cookie base: Add the flour, sugar, and salt to the food processor bowl; pulse to combine. Add the butter and process until the mixture is crumbly. Press into the bottom of the prepared pan. Bake until lightly browned around the edges, about 15 minutes.

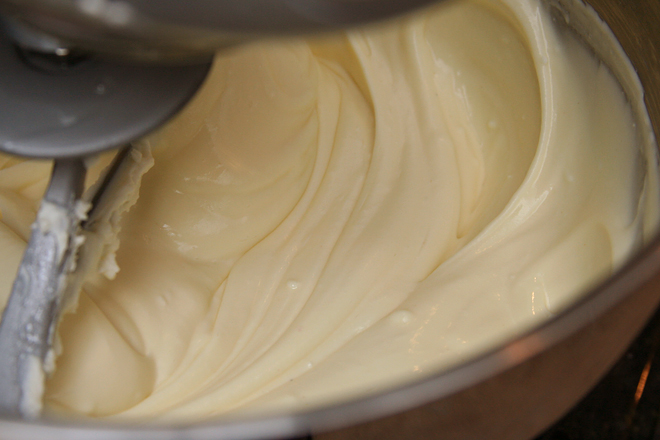
5. For the cream cheese layer: While the cookie base is baking, beat the cream cheese and salt with a mixer on medium-low speed, until softened. Add the sugar and continue mixing until the mixture is smooth. Add the eggs, one a time, mixing just until combined. Mix in the vanilla extract.

6. Pour the cream cheese mixture over the warm crust. Spread the apples over the cream cheese batter, then top with the streusel, breaking it until ¼- to ½-inch chunks. Bake until the top is browned and the cream cheese filling is set, about 30 minutes. Transfer to a wire rack and cool completely.

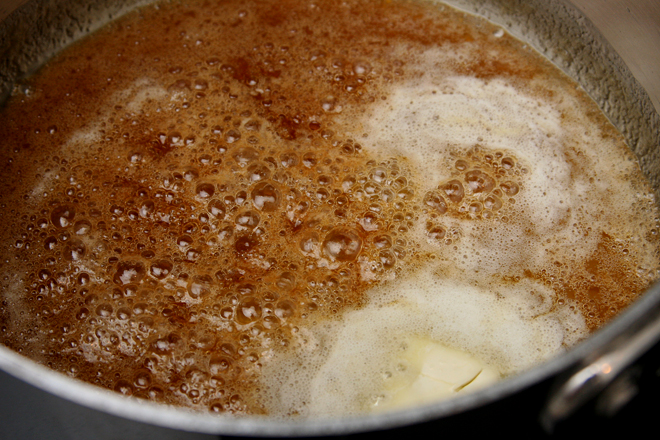
7. For the caramel sauce: Add the sugar, water, and corn syrup to a 2-quart saucepan. Cover and heat over medium-high heat until simmering, then remove the cover and let simmer until the mixture is honey-colored, swirling the pan occasionally at first and more often as the sugar browns. Add the butter, which will foam violently, and stir to combine. Stir in ⅛ teaspoon salt, lemon juice, and heavy cream. Once the mixture cools slightly, taste and add more salt if necessary. Let the sauce cool to room temperature before topping the bars. (Caramel can be made up to a week in advance.)
apple cheesecake bars 7

mixed berry buttermilk bundt cake

mixed berry bundt cake 11

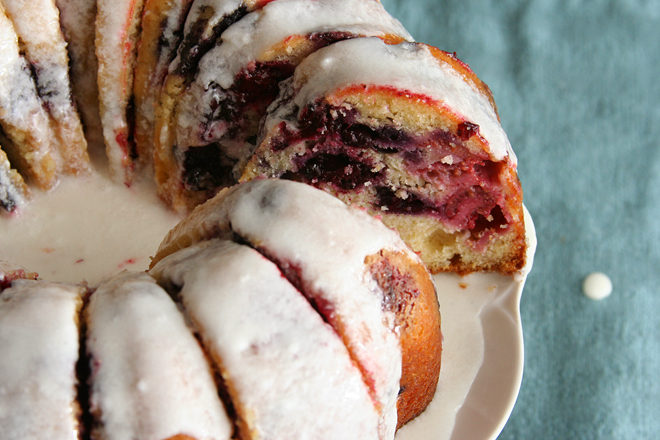
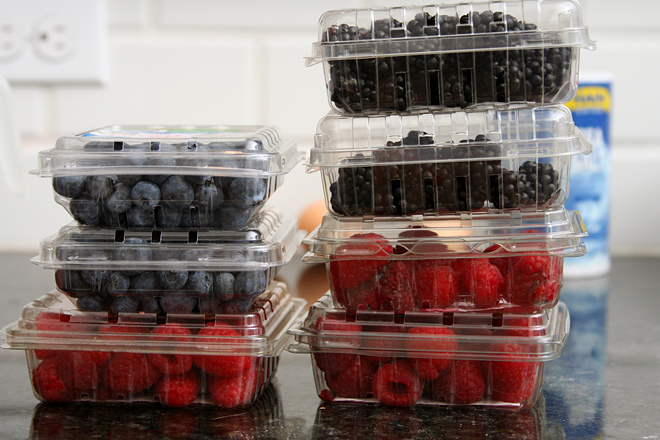
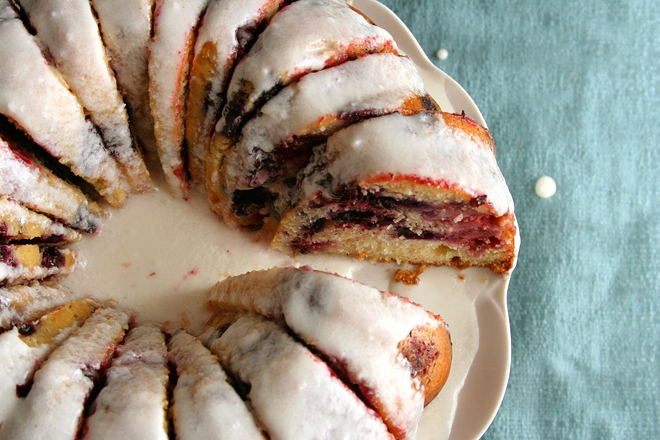
If Labor Day is the last hurrah of summer and fall officially starts September 23, what does that make the rest of September? It’s getting darker, but the leaves aren’t changing yet, and tomatoes are really picking up this time of year. Plus, there was a 2-for-1 sale on berries at the grocery store this week!

mixed berry bundt cake 1

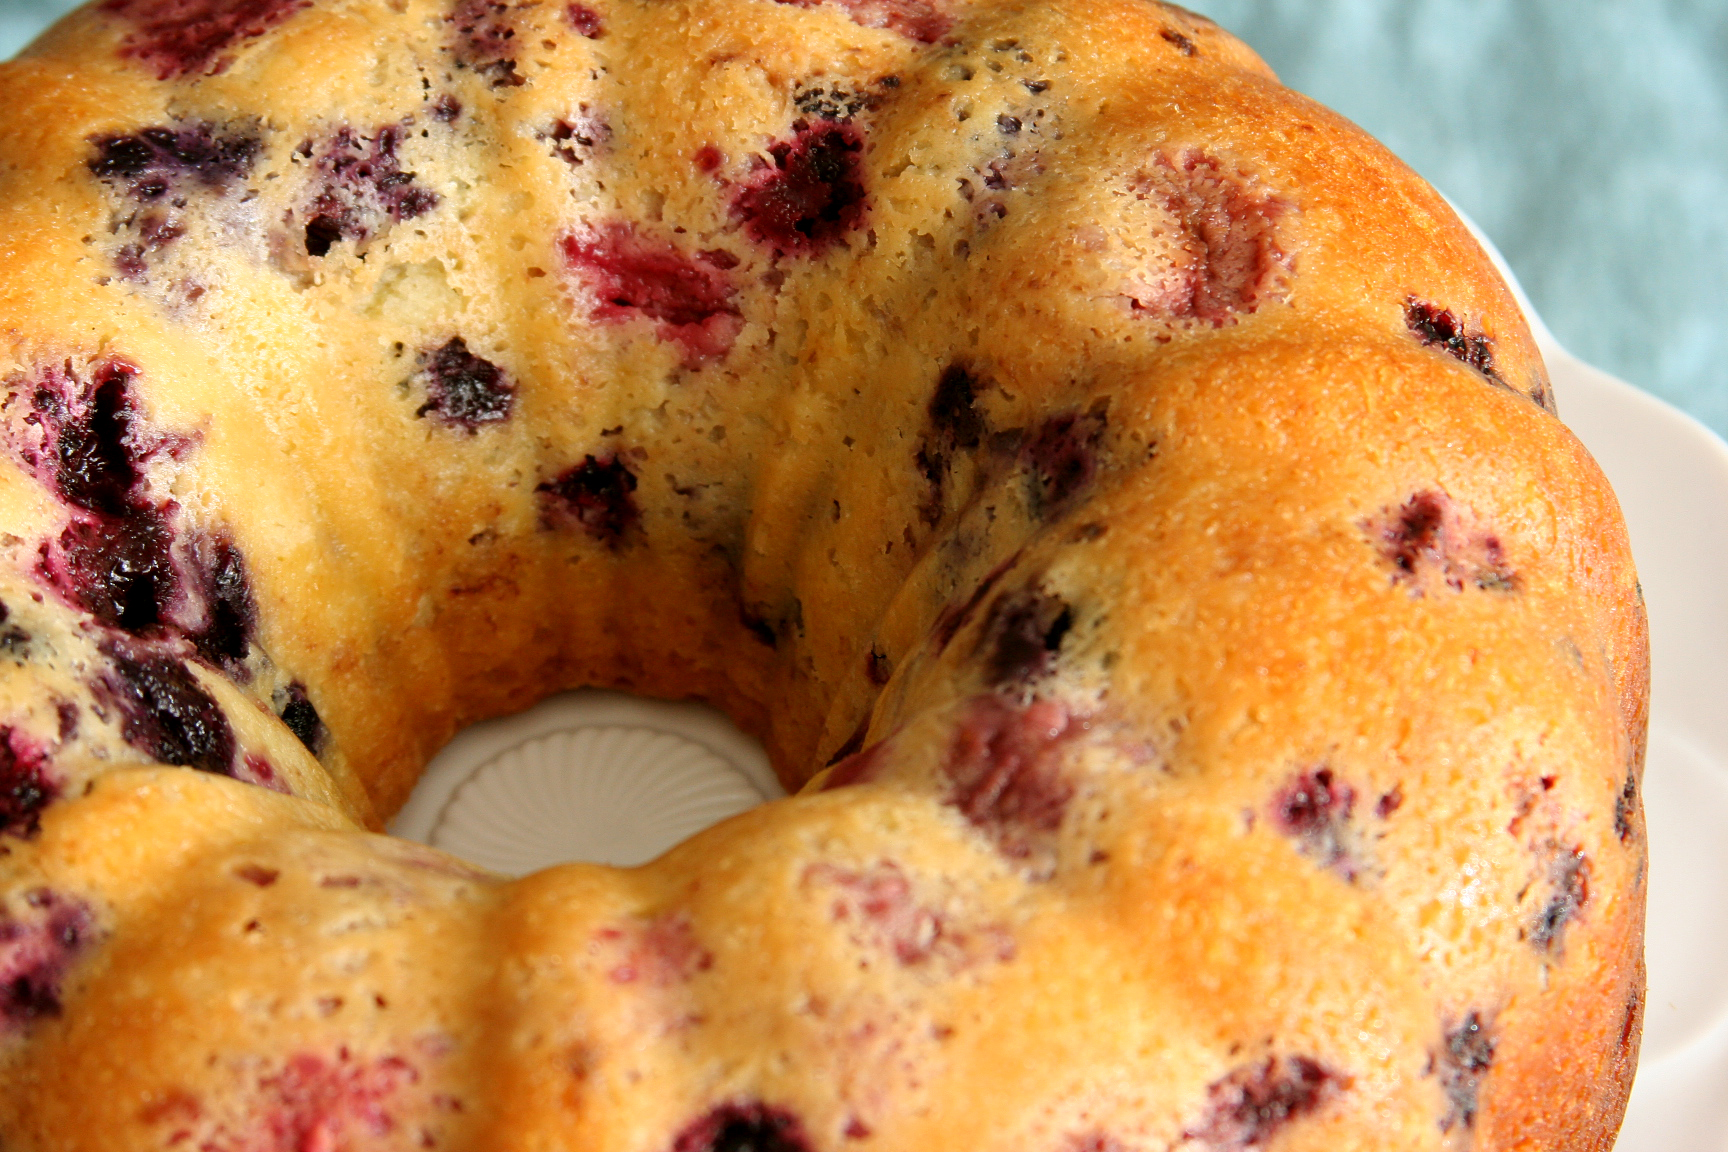
I didn’t intend to add even more berries than the recipe calls for, but I confess I got carried away by the sale. Somehow, I ended up with at least three times more berries than this cake required. Adding an extra cup to the cake didn’t make a dent in the excess, but I couldn’t resist.

mixed berry bundt cake 6

And then I was at the store a few days later, and they announced that berries were on an even better sale! It was so hard to resist, but we hadn’t finished the last batch!  Maybe I need to make more cake, before the last vestiges of summer are gone.

mixed berry bundt cake 7

Printer Friendly Recipe
Mixed Berry Buttermilk Bundt Cake (adapted from Cory Schreiber and Julie Richardson’s Rustic Fruit Desserts: Crumbles, Buckles, Cobblers, Pandowdies, and More via Smitten Kitchen)

Cake:
2½ cups (12 ounces) plus 2 tablespoons all-purpose flour
2 teaspoons baking powder
16 tablespoons (2 sticks) unsalted butter, at room temperature
zest of 1 lemon
1 teaspoon table salt
1¾ cups (12.25 ounces) granulated sugar
3 large eggs, room temperature
½ teaspoon vanilla extract
¾ cup buttermilk, room temperature
3 to 4 cups (12 to 16 ounces) mixed berries

Glaze:
1½ cups (6 ounces) powdered or confections’ sugar
juice of 1 lemon
1 tablespoon unsalted butter, very soft

1. Heat the oven to 350 degrees. Grease and flour a Bundt pan or spray with baking spray. In a medium bowl, combine the flour and baking powder.

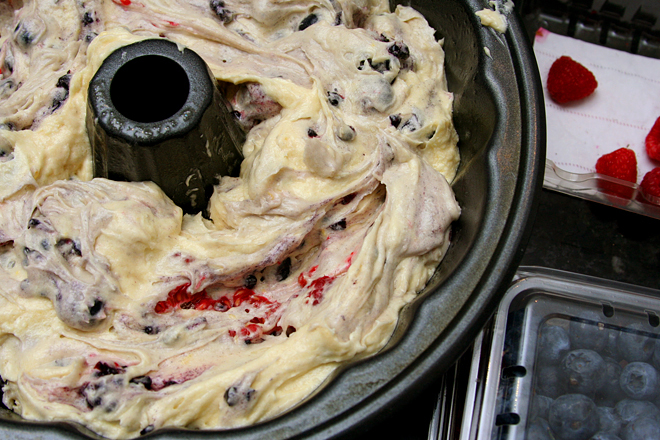
2. Place the butter, lemon zest, salt, and sugar in the bowl of an electric mixer fitted with the paddle attachment. Beat on medium-high speed for 3 minutes, until light and creamy in color. Mix in the eggs one at a time, until incorporated, then add the vanilla. With the mixer on low speed, add one-third of the flour mixture, followed immediately by half of the buttermilk, mixing just until incorporated. Repeat with another third of the flour and the rest of the buttermilk, then the last of the flour. Scrape down the sides of the bowl and mix for 15 seconds longer. Carefully fold in the berries.

3. Transfer the batter to the prepared baking pan, smoothing the top. Bake for 50-60 minutes, or until a toothpick inserted in the center comes out clean. Transfer to a wire rack to cool.

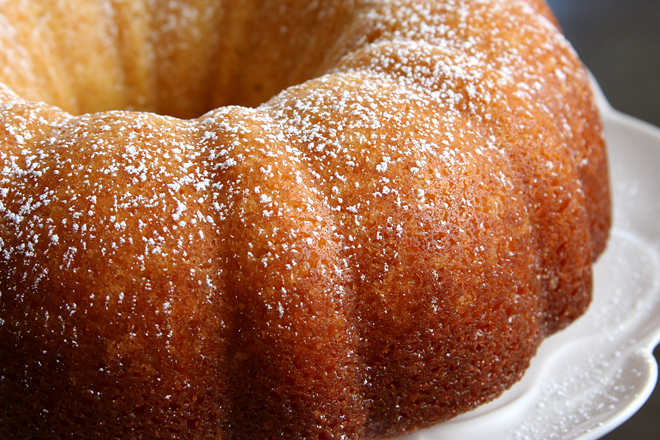
4. Combine the powdered sugar, lemon juice, and butter; whisk until smooth. Spoon over the cooled cake.

mixed berry bundt cake 10

berry tart with mascarpone cream

mascapone fruit tart 4

In late August, I always start to get a little bit panicked about the end of summer. This, despite the long six months of summer we get in southern New Mexico and despite the months of temperatures reaching nearly 100 degrees. This, despite the breathtaking beauty of upstate New York’s fall, despite the pumpkins and apples, football and fall fairs that I loved when I lived there.

mascapone fruit tart 2

But for me, fall can’t beat summer. I love being not just warm, but hot. The 4th of July is my favorite holiday. Homegrown tomatoes are my favorite food. I love wearing skirts and hate wearing pants.

mascapone fruit tart 1

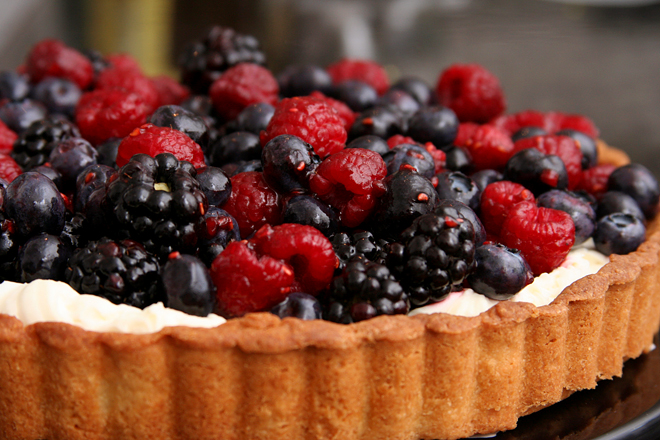
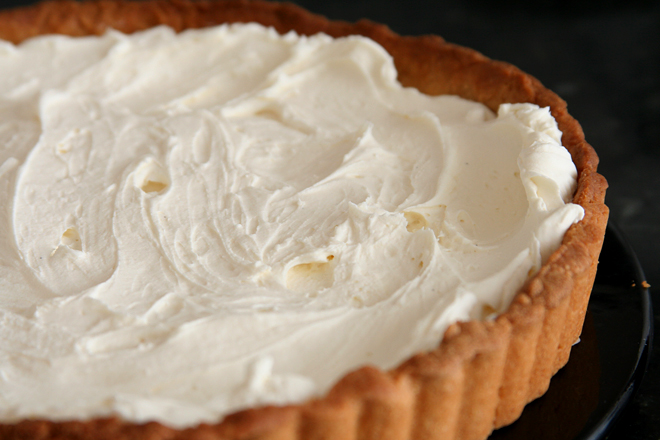
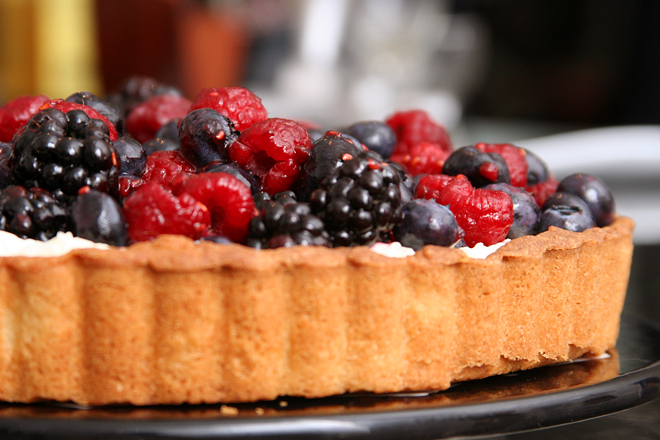
I love peaches and zucchini and berries. I already made Dave’s favorite pie once this summer, not that it isn’t good enough to have more often. But I was hosting an Italian-ish dinner party so wanted an Italian-ish dessert. This was perfect. A sweet cookie crust, a simple mascarpone-based creamy layer, lots of fresh berries, and none of that gelatinous shellack that fruit tarts often include. The custard layer was similar to pastry cream, but it required just a few minutes of mixing instead of egg-separating, heating, tempering, whisking, straining, and cooling.

mascapone fruit tart 3

It’s been a long, hot summer here. My tomato plants haven’t done well, although I’m grateful for the occasional fruit they do give. But I’m as ready as I ever am to move on to fall. I’m thinking about braising and roasting. But I can’t quite shake that tug of dread to say goodbye to my favorite season, and fresh berries are just part of the reason.

mascapone fruit tart 5

Printer Friendly Recipe
Berry Tart with Mascarpone Cream
(crust rewritten from Dorie Greenspan’s Baking: From my Home to Yours; filling adapted from Gourmet via epicurious)

Crust:
1½ cups all-purpose flour
½ cup (2 ounces) confectioners’ sugar
¼ teaspoon salt
1 stick plus 1 tablespoon (9 tablespoons) very cold (or frozen) unsalted butter, cut into small pieces
1 large egg yolk

Filling:
1 cup (8 ounces) mascarpone cheese
⅓ cup well-chilled heavy cream
¼ cup (1.75 ounces) sugar
1½ cups raspberries
1½ cups blueberries
1½ cups blackberries
2 tablespoons red currant jam or raspberry jelly
2 tablespoons dark berry liqueur such as blueberry, blackberry, or cassis or port

1. For the crust: Put the flour, confectioners’ sugar, and salt in a food processor and pulse to combine. Scatter the butter over the dry ingredients and pulse until the butter is coarsely cut, with some pieces the size of oatmeal flakes and some the size of peas. Stir the yolk with a fork and add it a little at a time, pulsing after each addition. Process in long pulses until the dough forms clumps and curds; the sound of the machine working will change. Scrape the sides of the processor bowl to incorporate any unmixed dry ingredients.

2. Grease a 9-inch fluted tart pan with a removable bottom. Press the dough evenly over the bottom and up the sides of the pan. Freeze the crust for at least 30 minutes before baking.

3. Center a rack in the oven and heat the oven to 375 degrees.

4. Spray a piece of aluminum foil with nonstick spray and fit the foil, oiled side down, tightly against the crust. Put the tart pan on a baking sheet and bake the crust for 25 minutes. Carefully remove the foil. If the crust has puffed, press it down gently with the back of a spoon. Bake for another 8 minutes or so, or until it is firm and golden brown. Transfer the tart pan to a rack and cool the crust to room temperature before filling.

5. For the filling: In a bowl with a whisk or an electric mixer, beat together the mascarpone, cream, and sugar until the mixture holds stiff peaks. Spoon the mixture into the shell, spreading it evenly.

6. In a large bowl, combine the raspberries, blueberries, and blackberries. In a small saucepan, simmer the jam and port, stirring, until reduced to about 3 tablespoons; pour over the berries. With a rubber spatula, gently stir the berries to coat evenly. Mound the berries decoratively on the mascarpone cream. The tart may be assembled 2 hours ahead and chilled; bring to room temperature and remove the sides of the pan before serving.

chocolate chip cookie dough cupcakes

chocolate chip cookie dough cupcakes 8

I might have mentioned, once or twice, that I am a fan of cookie dough. Any cookie is good, but chocolate chip is the best. And not any of those new recipes that are based on melted butter, those make greasy dough. I want the classic light and fluffy, pale, grainy dough. For me, the chocolate chips are mostly a distraction, but I figure they’re part of the package.

chocolate chip cookie dough cupcakes 3

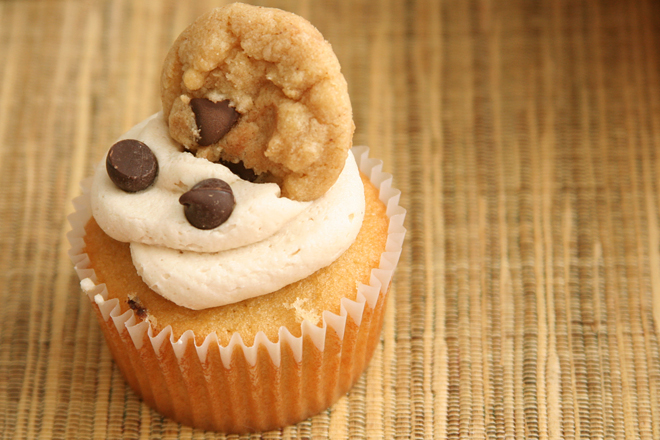
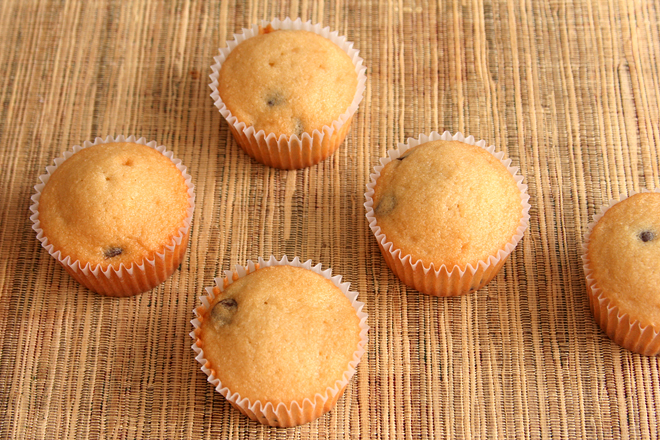
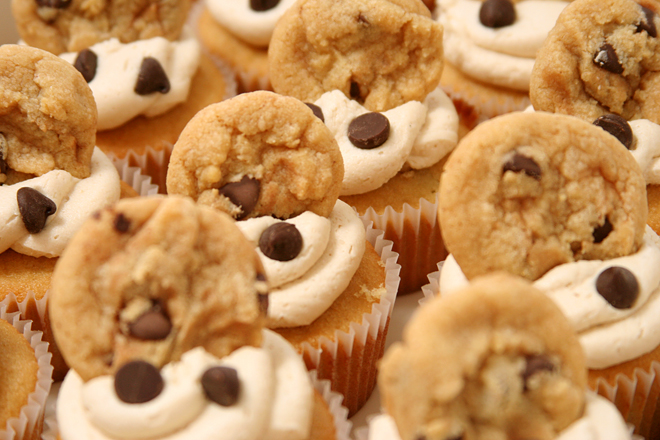
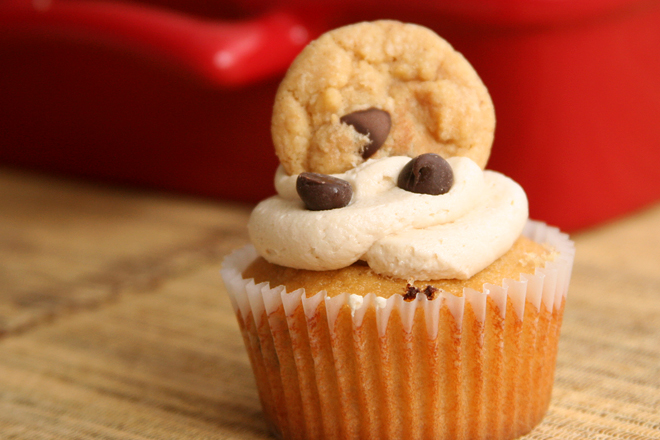
But it’s my birthday, and I guess chocolate chip cookie dough is not an appropriate celebratory dessert to share. I figured these were the next best thing. A yellow cake adapted with extra brown sugar and chocolate chips, an eggless cookie dough filling, frosting with brown sugar and even raw flour, all topped off with the most adorable chocolate chip cookies you’ve ever seen. Do you know how many opportunities this was to eat something resembling chocolate chip cookie dough? A lot.

chocolate chip cookie dough cupcakes 5

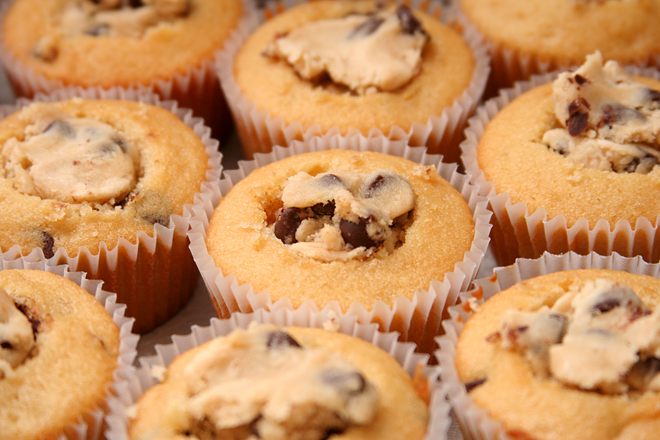
I have to admit that my favorite part was the filling – pure dough, with none of this cake distraction. The frosting was impressive too, the raw flour and brown sugar really made it resemble cookie dough. It was pretty much the perfect birthday cake for me, especially because there’s extra filling in the fridge for the rest of the weekend.

chocolate chip cookie dough cupcakes 6

Printer Friendly Recipe
Chocolate Chip Cookie Dough Cupcakes
(adapted from Annie’s Eats and Martha Stewart’s Yellow Cake recipe)

Makes 30 cupcakes

I baked the cookies a week early and froze them. I made the filling two days early. I made the cupcakes the night before, then filled, frosted, and garnished them the morning before I served them.

For the cake:
1½ cups (7.2 ounces) all-purpose flour
1½ cups (6 ounces) cake flour
2 teaspoons baking powder
½ teaspoon baking soda
12 tablespoons (1½ sticks) unsalted butter, softened
1¼ cups (8.75 ounces) brown sugar
½ cup (3.5 ounces) granulated sugar
1 teaspoon salt
4 large eggs, at room temperature
¼ cup canola oil
2 teaspoons vanilla extract
1¼ cups buttermilk, room temperature
1 cup (6 ounces) chocolate chips

For the filling:
8 tablespoons (1 stick) unsalted butter
½ teaspoon salt
½ cup (3.5 ounces) brown sugar
¼ cup (1.75 ounces) granulated sugar
2 tablespoons milk
1 teaspoon vanilla extract
1 cup plus 2 tablespoons (5.6 ounces) cups all-purpose flour
½ teaspoon baking soda
1 cup (6 ounces) chocolate chips

For the frosting:
16 tablespoons (2 sticks) unsalted butter, at room temperature
½ teaspoon salt
½ cup (3.5 ounces) light brown sugar, packed
2 cups (8 ounces) confectioners’ sugar
⅔ cup (3.2 ounces) all-purpose flour
2 teaspoons vanilla extract

For the garnish:
mini chocolate chip cookies (optional)
chocolate chips (optional)

1. For the cake: Adjust an oven rack to the middle position; heat the oven to 350 degrees. Line 24 muffin wells with paper cups. In a medium bowl, whisk together the flours, baking powder, and baking soda.

2. In a stand mixer fitted with the paddle attachment (or a large bowl if using a hand-held mixer), beat the butter, sugars, and salt on medium speed until light and fluffy, about 2 minutes, scraping down the sides of the bowl as necessary. Add the eggs one at a time, beating well after each addition, then mix in the oil and vanilla. Reduce the mixer speed to low; add the dry ingredients in three additions, alternating with the buttermilk and ending with the dry ingredients. Beat each addition just until incorporated. Stir in the chocolate chips.

3. Divide the batter between the prepared muffin cups, filling each cup about two-thirds full. Bake for 16-20 minutes, until a toothpick inserted into the center of a cupcake comes out clean. Transfer the pan to a wire rack to cool. Remove the cupcakes from the pan after 5 minutes. Cool completely before filling and frosting.

4. For the filling: In the bowl of a stand mixer fitted with the paddle attachment (or a large bowl if using a stand mixer), beat the butter, salt, and sugars on medium speed until light and fluffy, 1-2 minutes. Add the milk, beating until incorporated, then mix in the vanilla. Reduce the mixer speed to low and gradually add the flour, mixing just until incorporated. Stir in the chocolate chips.

5. For the frosting: In a standing mixer fitted with the whisk attachment, beat the butter at medium-high speed until smooth, about 20 seconds. Add the brown sugar and salt; beat at medium speed until pale and fluffy. Reduce the speed to low and slowly add the confectioners’ sugar and flour; beat at medium-low speed until most of the sugar is moistened, about 45 seconds. Scrape the bowl, add the vanilla, and beat at medium speed until incorporated, about 10 seconds, then increase the speed to medium-high and beat until light and fluffy, about 4 minutes, scraping down the bowl once or twice.

6. To assemble: Use a paring knife to carve a cone out of the center of each cupcake, leaving at least ¼-inch of cake on the bottom of the cupcakes. Fill each divot with filling. Frost the cupcakes, completely covering the filling. Garnish with cookies and additional chocolate chips, if desired.

chocolate chip cookie dough cupcakes 7

all-grown-up s’mores bars

smores bars 5

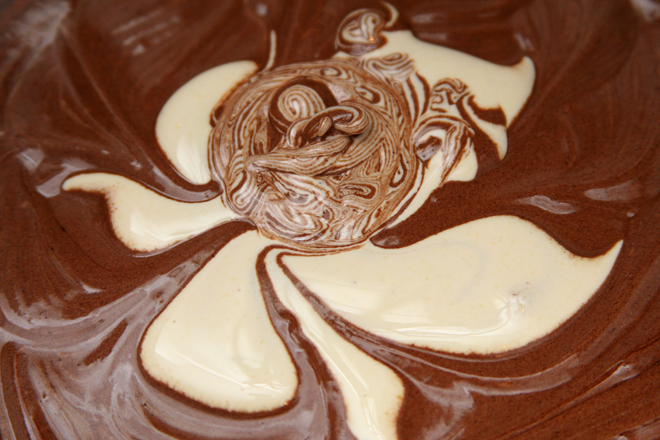
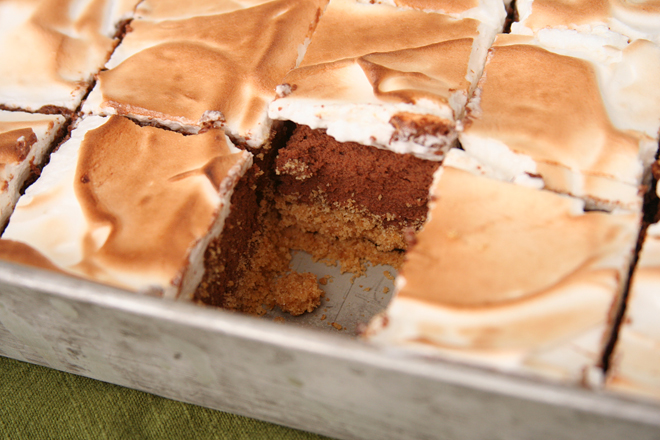
I’m going to say something here, and it might shock you: These were too rich, and they were too chocolately. I know, you’re thinking that that isn’t possible because you love rich food. Or you’re thinking that the easy solution is to serve small pieces. But the problem goes beyond that – it’s an issue of balance, of mimicking everything that’s good about a s’more, but in an elegant way that doesn’t require a campfire.

smores bars 1

S’mores are mostly marshmallow, a generous amount of graham cracker, and just a small wedge of chocolate. Any more chocolate and the heat of the marshmallows won’t be able to melt it. It’s a ratio that’s pleased people for generations; we don’t need to change it now.

smores bars 2

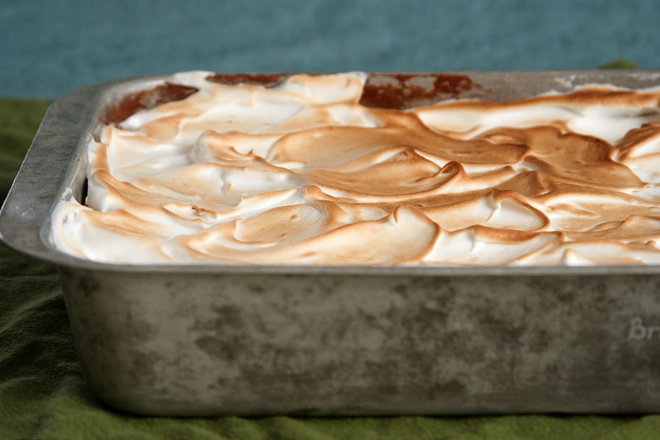
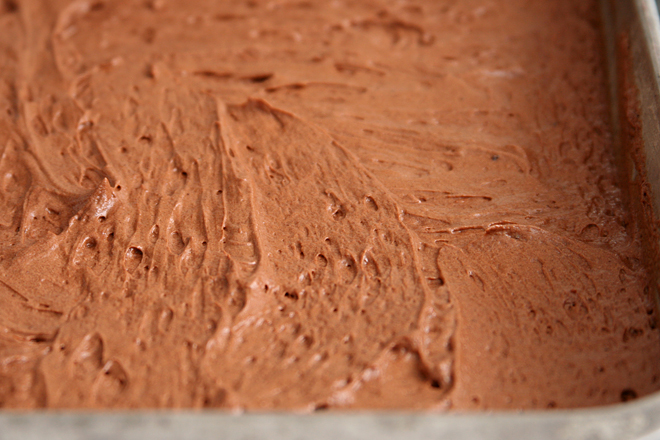
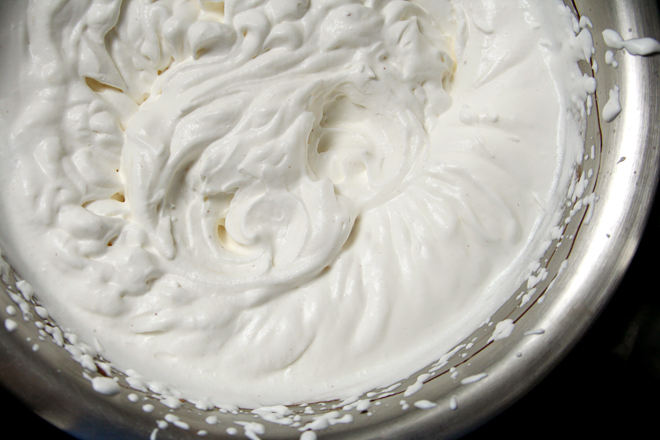
These bars, on the other hand, were reversed: almost all chocolate and a smidgen of marshmallow. Both layers on their own were everything you could hope for, the chocolate mousse airy and smooth with enough bitterness to balance the fluffy toasted marshmallow topping. This wasn’t an issue of quality, just of relative quantities.

smores bars 4

So, for the recipe below, I’ve mixed around the ratios. No, I haven’t tried it myself, but each portion is basically the same recipe as the original, just scaled up (in the case of the marshmallow) or down (the chocolate). With these new proportions, you’ll have a treat to please everyone, with plenty of marshmallow and graham cracker and still more chocolate than you get in a real s’more, but not so much that it’s the only thing you notice. All that with no sticky fingers afterward.

smores bars 6

Printer Friendly Recipe
All-Grown-Up S’mores Bars (adapted from Jill O’Connor’s Sticky, Chewy, Messy, Gooey)

For the graham cracker crust:
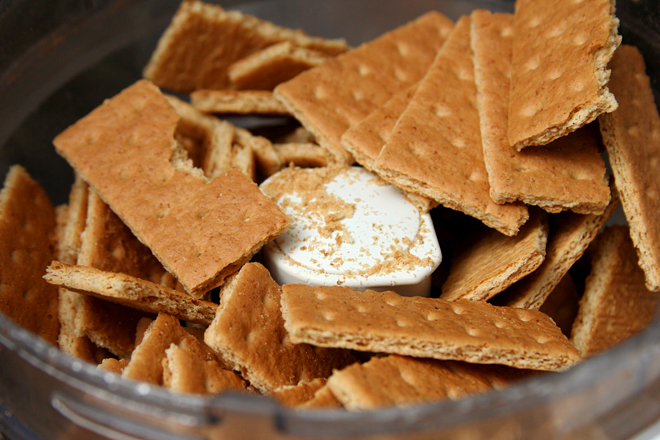
3 cups crushed graham cracker crumbs (from about 26 full crackers)
8 tablespoons (1 stick) unsalted butter, melted
1 tablespoon granulated sugar

For the chocolate filling:
6 large egg yolks
1 cup plus 2 tablespoons confectioners’ sugar, sifted
2 tablespoons cognac or brandy
2 tablespoons Kahlua
1 teaspoon pure vanilla extract
⅛ teaspoon salt
12 tablespoons (1½ sticks) unsalted butter
1½ tablespoons Dutch-processed cocoa powder
9 ounces semisweet or bittersweet chocolate, finely chopped
1 cup plus 2 tablespoons heavy cream, whipped to soft peaks

For the Marshmallow Fluff meringue:
5 large egg whites
Pinch of salt
⅛ teaspoon cream of tartar
½ teaspoon pure vanilla extract
1½ cup Marshmallow Fluff

1. Heat the oven to 350 degrees. Spray a 9×13-inch baking pan with oil.

2. To make the crust: Combine the graham cracker crumbs with the melted butter and granulated sugar until well combined. Press into the bottom of the prepared ban. Bake the crust until it starts to brown and become crisp, about 10 minutes. Transfer to a wire rack and let cool completely.

3. To make the filling: Using an electric mixer, beat the egg yolks and confectioners’ sugar together in a large bowl until they are thick and the color of butter. Beat in the cognac, Kahlua, vanilla, and salt.

4. Melt the butter in a medium saucepan over low heat and whisk in the cocoa powder until smooth. Remove the pan from the heat, add the chocolate, and stir until the chocolate is melted and the mixture is smooth. Let cool slightly, then gradually beat into the egg mixture.

5. Fold the softly beaten heavy cream into the chocolate mixture just until combined. Spoon the chocolate cream over the graham cracker crust, smoothing it evenly with a spatula. Cover the pan with plastic wrap and refrigerate until very firm, at least 4 hours or up to overnight.

6. When ready to serve, make the meringue: Using an electric mixer set at low speed, beat the egg whites until foamy. Add the salt and cream of tartar and beat at medium speed until soft peaks form. Beat in the vanilla. Add the Marshmallow Fluff to the egg whites a little at a time, beating constantly until stiff peaks form. Spread the meringue on the chocolate layer, using the back of a spoon to create peaks. Toast the meringue using a kitchen torch or the broiler. Cut into squares and serve immediately.

smores bars 3

blackberry pie bars

blackberry pie bars 3

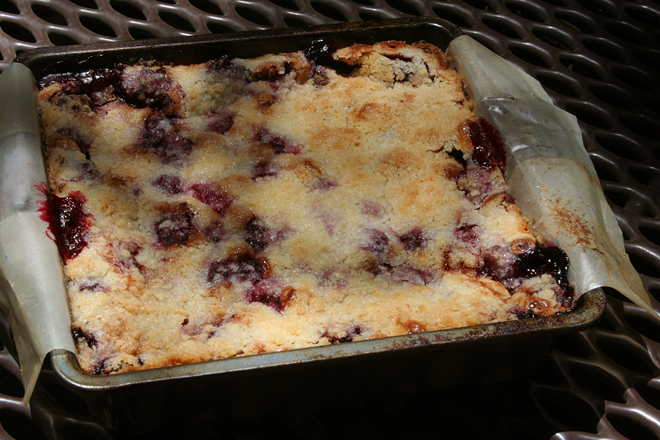
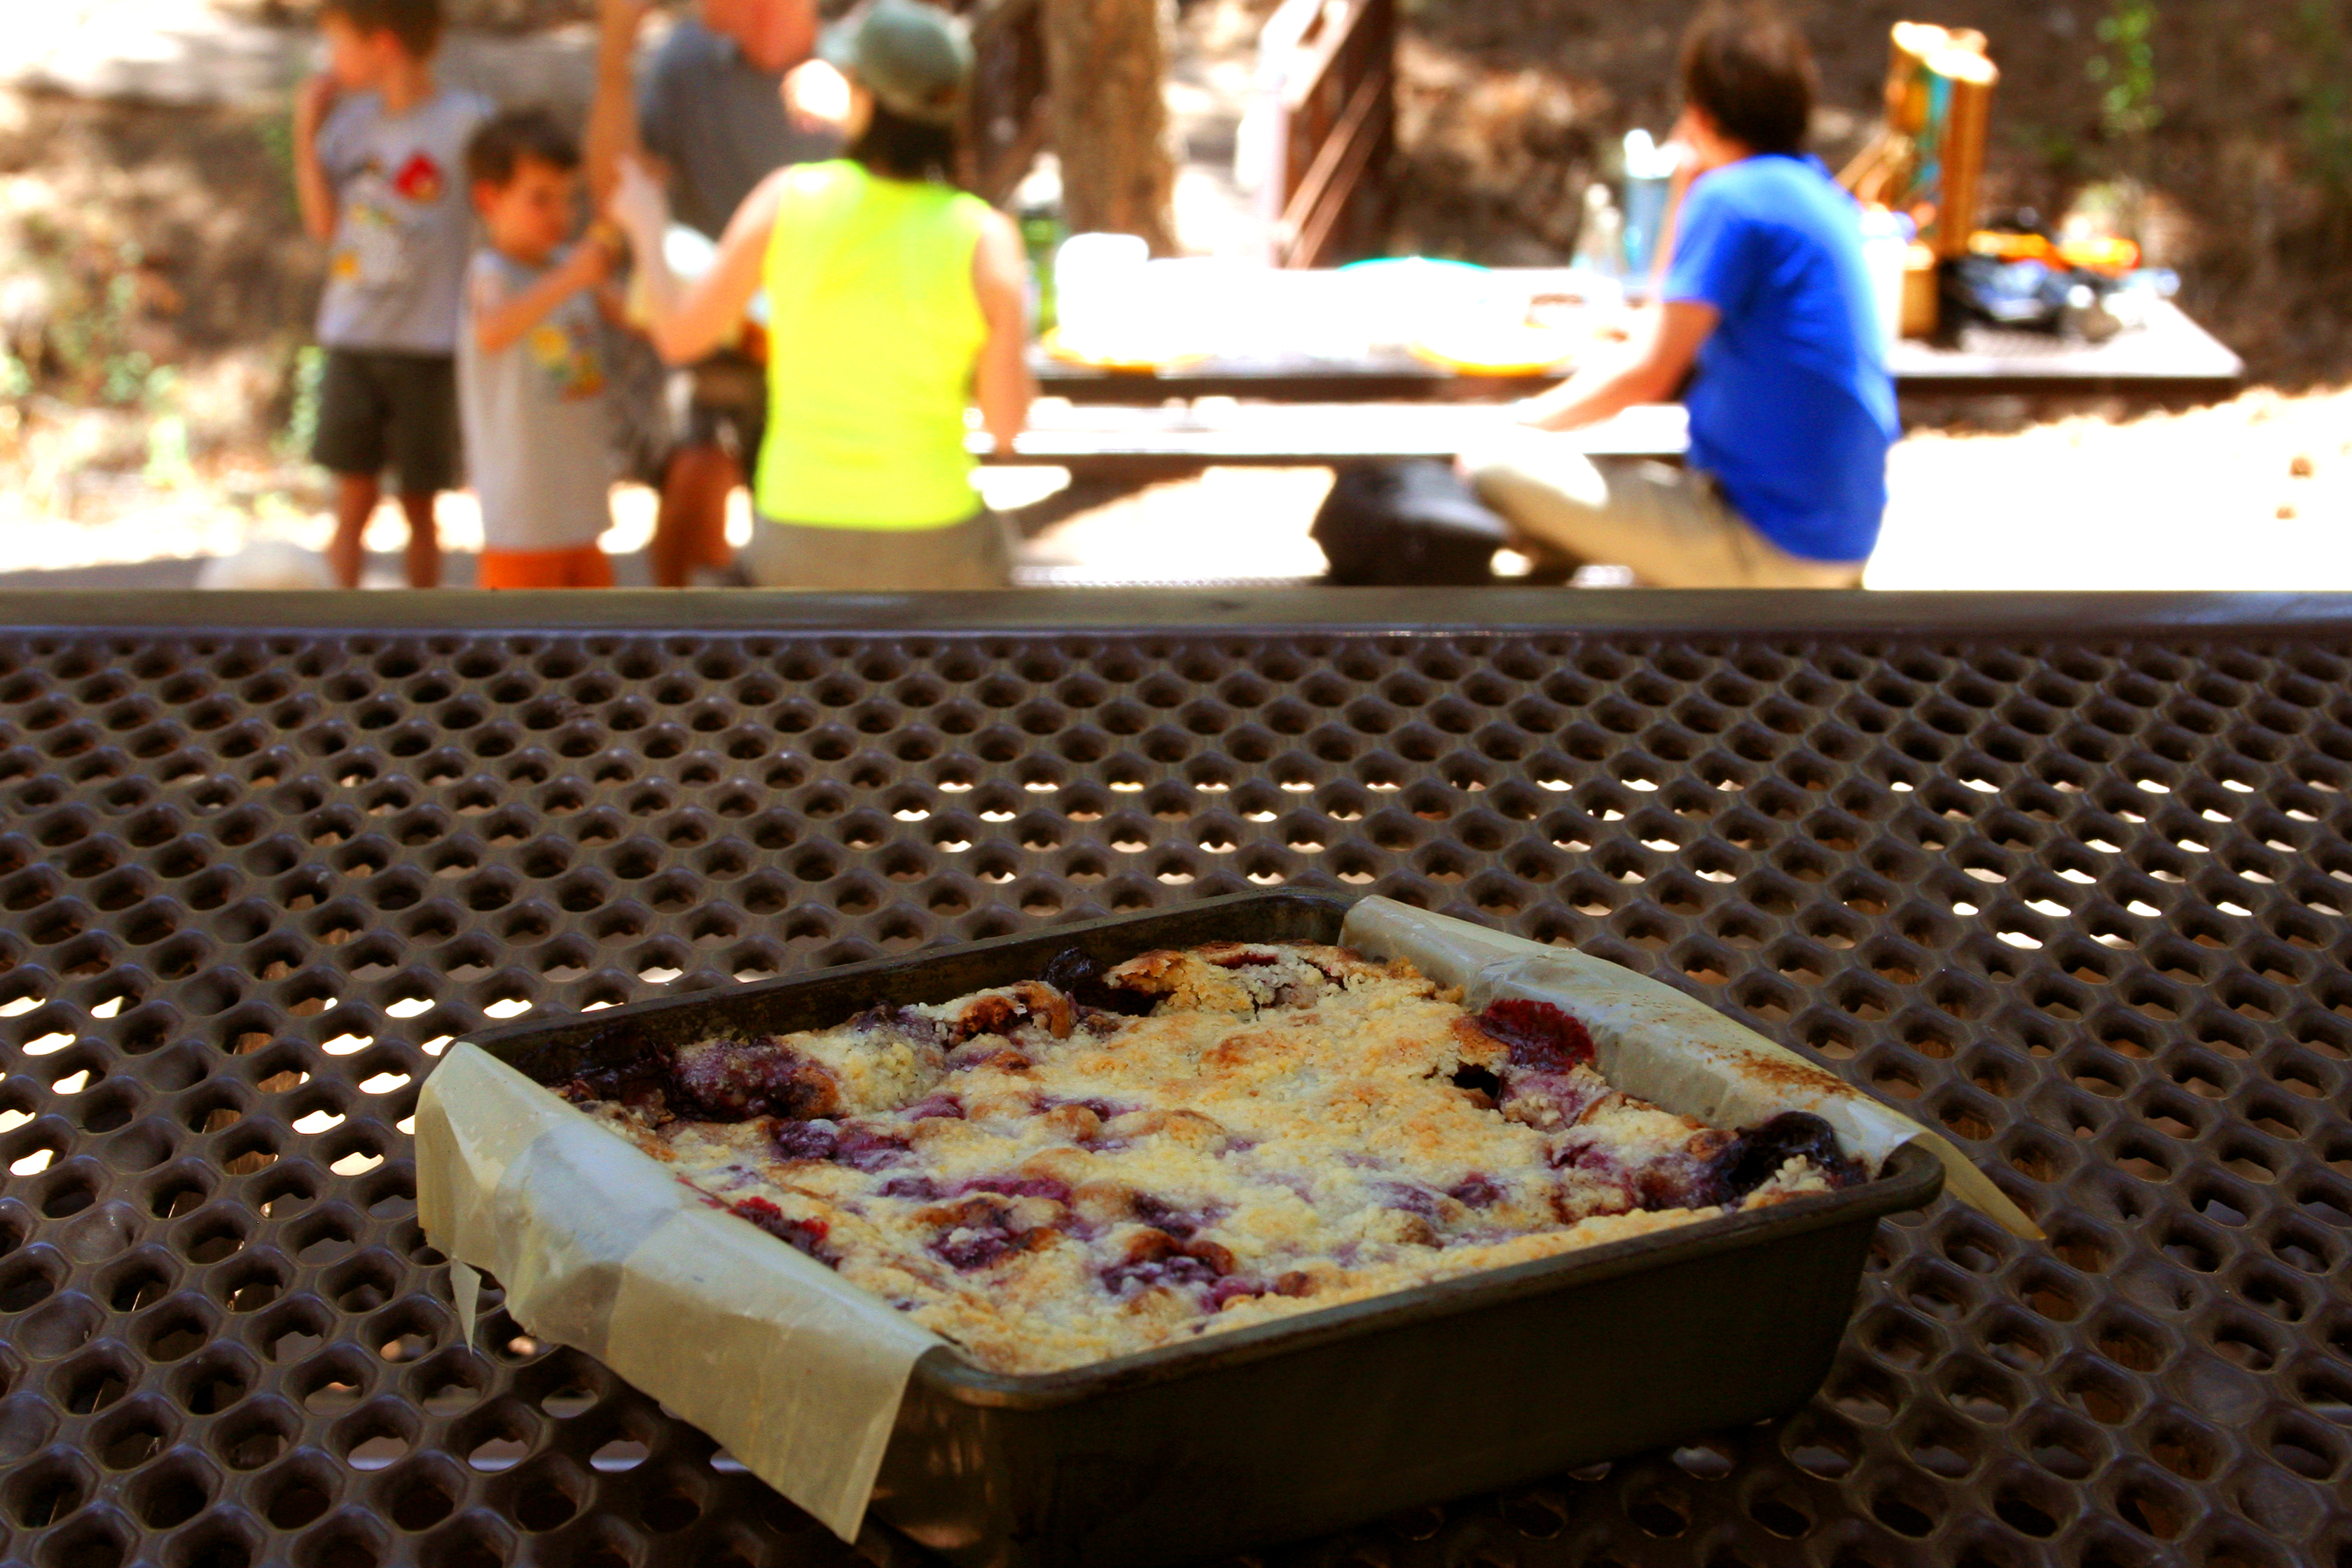
We planned a picnic with my sister and her family recently, and two things were certain: I wanted to make these pie bars, and my sister wanted to make potato salad. So we had the important things figured out. I ended up making pizza wraps (the first time I’d ever made wraps!), and she brought deviled eggs. We both threw some cherries into our picnic baskets, because that’s what you do in the summer.

blackberry pie bars 1

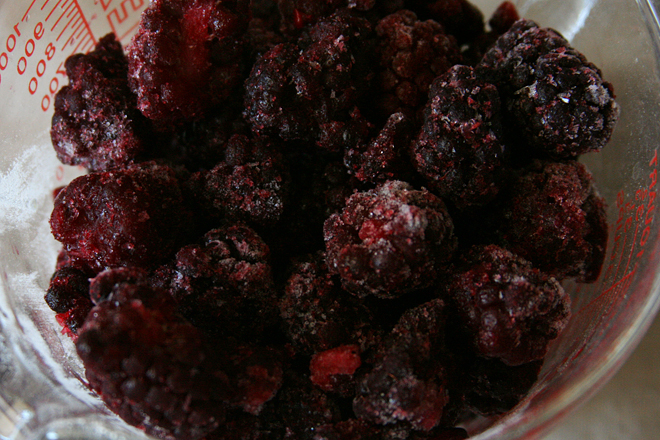
It was a nice hike in the mountains, and a nice lunch, but mostly I just wanted to get to dessert. And that wasn’t the only waiting I had to do, as these took about three times longer to bake than I was expecting. I was mystified at the time, but eventually I figured out the culprit – the blackberries that I most definitely had not gotten around to defrosting before baking.

blackberry pie bars 2

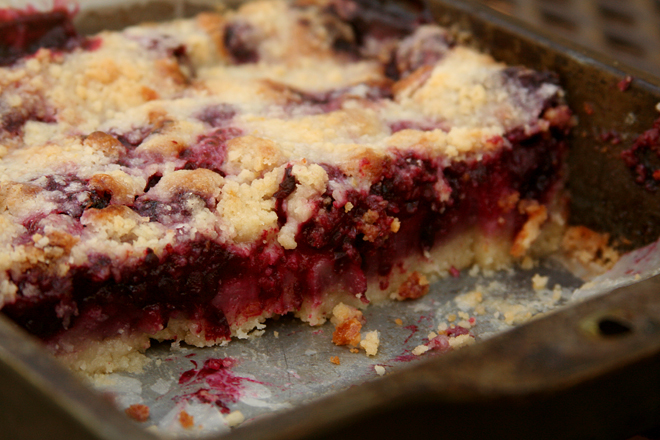
They were certainly worth waiting through the hike (which I enjoyed anyway) and the lunch (same) and the extra oven time (not so much), because they were a perfect casual summer dessert. They had the perfect balance of fruit and buttery dough.  They were the perfect cap to a great picnic in the woods.

blackberry pie bars 8

Printer Friendly Recipe
Blackberry Pie Bars (adapted from Rebecca Rather’s The Pastry Queen via Pink Parsley)

Crust and topping:
3 cups (14.4 ounces) all-purpose flour
1½ cups (10.5 ounces) sugar
½ teaspoon salt
1½ cups (3 sticks) unsalted butter, chilled

Fruit filling:
4 large eggs
2 cups (14 ounces) sugar
1 cup sour cream
¾ cup (3.6 ounces) flour
¼ teaspoon salt
zest of ½ lemon
1 teaspoon almond extract
2 (16-ounce) packages frozen blackberries, thawed and drained

1. Adjust the rack to the middle position and heat the oven to 350 degrees. Spray a 9-by-13-inch baking pan with nonstick spray.

2. To make the crust and topping, combine the flour, sugar, and salt in the bowl of a food processor. Pulse a few times to mix. Cut the butter into ½ inch cubes and add it to the flour mixture. Process until the butter is evenly distributed but the mixture is still crumbly, 30-60 seconds.

3. Reserve 1½ cups of the mixture to use as the topping. Press the remaining mixture into the bottom of the pan, and bake 12-15 minutes. Cool for at least 10 minutes.

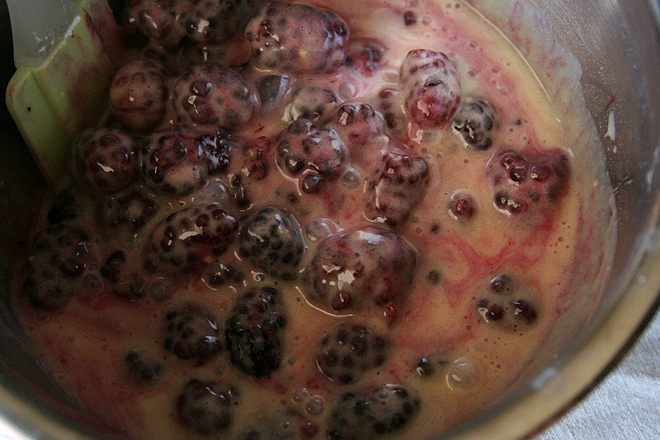
4. To make the filling, whisk the eggs in a large bowl, then add the sugar, sour cream, flour, salt, lemon zest, and almond extract. Gently fold in the berries and spoon the mixture over the crust. Sprinkle the remaining flour mixture evenly over the filling, and bake 45 to 55 minutes, until the dough is set and lightly browned on top.

5. Cool at least 1 hour before cutting into bars, or scoop out of the pan to serve cobbler-style.

blackberry pie bars 4

goat cheese almond strawberry cheesecake

goat cheese cheesecake 5

Sometimes you just nail it. I remember years ago, when I was barely starting to get into making rustic breads, I baked the best baguettes I’d ever made. I don’t remember what meal I cooked to serve with the bread, but I distinctly remember having leftovers of the main dish while we filled up on bread. Later, despite my best efforts, I was never able to reproduce that bread.

goat cheese cheesecake 1

Let’s hope this cheesecake doesn’t go the way of that bread, because I nailed it again and I definitely want it to be just as good next time. It might sound like an odd idea – how could goat cheese in cheesecake be even better than cream cheese? Honestly, I don’t know; I was trying to use up a big package of goat cheese.

goat cheese cheesecake 2

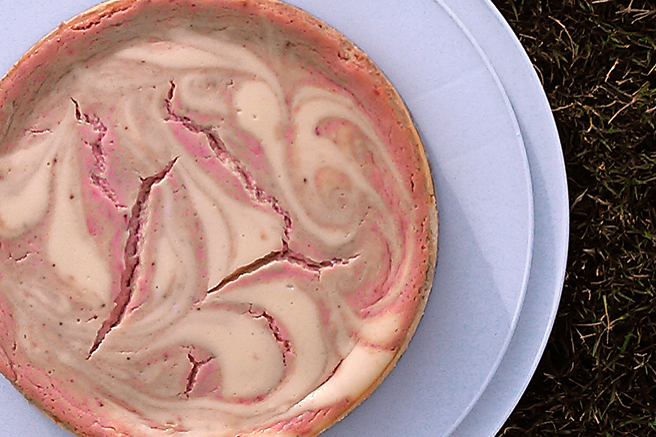
But, it was better. It was the best cheesecake I’ve ever made. Everyone who ate it raved; some said it was the best thing I’ve baked. Most said they wouldn’t have been able to taste the goat cheese if they hadn’t known it was there, and I agree; it was subtle, just a bit of extra tartness. The almond flavor wasn’t noticeable and even the strawberry was on the subtle side, but I’ll tell you this – there is not one thing I’d change about this, because it was perfection. And it had better be just as good, just as soft and creamy, next time I make it.

goat cheese cheesecake 3

Printer Friendly Recipe
Goat Cheese Almond Strawberry Cheesecake (adapted from Love and Olive Oil)

Crust:
8 ounces vanilla wafers, ground to make 2 cups crumbs
1 ounce (¼ cup) almond meal
pinch salt
5 tablespoons butter, melted

Filling:
2 (8-ounce) packages cream cheese, room temperature
8 ounces goat cheese, room temperature
1 cup (7 ounces) granulated sugar
⅛ teaspoon salt
¼ cup sour cream or Greek yogurt
2 tablespoons all-purpose flour
1 teaspoon vanilla extract
½ teaspoon almond extract
3 eggs, room temperature
6 ounces whole fresh or frozen strawberries, thawed and drained if frozen, pureed

1. For the crust: Heat the oven to 350 degrees. Spray the bottom of a springform pan with nonstick spray. Either grind the cookies with a food processor or place them in a ziptop bag and crush with a rolling pin. Add the almond meal, salt, and butter to the crumbs and stir until evenly mixed. Press the crumbs into an even layer covering the bottom of the prepared pan.

2. Bake the crust for 10 minutes, or until fragrant. Let cool on a wire rack. Reduce the oven temperature to 300 degrees.

3. For the cheesecake: With a mixer fitted with the paddle attachment (or with a hand mixer), beat the cream cheese and goat cheese at medium-low speed until smooth. Add the sugar and salt; continue mixing for about 2 minutes, until the mixture is light and creamy. Add the sour cream and flour, then vanilla and almond extracts, and the eggs one a time, mixing just until each one is incorporated.

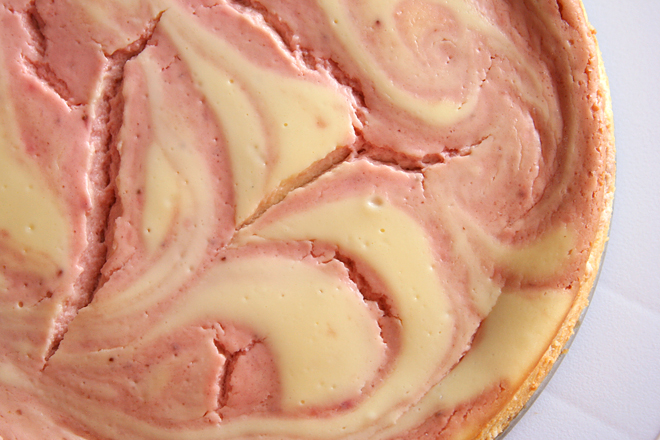
4. Pour ¾ of the batter into the cooled crust. Mix the strawberry puree into the remaining batter. Dollop it over the plain batter in the crust and use a butter knife to gently swirl it.

5. Bake for 55 to 65 minutes or until the top is just barely jiggly. Remove the cake from the oven and place on a wire rack; run a thin knife or spatula around the edge to release the cake from the sides of the pan. Let cool completely to room temperature, then cover with plastic wrap and refrigerate overnight before serving.

goat cheese cheesecake 4

key lime bars

lime bars 6

Back in the old days, I made these all the time. Whenever I needed a dessert to go with Mexican food, or I wanted to bring something to a party that was sure to be popular but wasn’t too common, or I just wanted a refreshing treat, this was my go-to. “The old days”, of course, being before I had a blog and joined Tuesdays with Dorie, which started a love affair with recipes that are shiny and new. (But not a love affair that trumps that one I already have with chocolate chip cookies, of course.)

lime bars 2

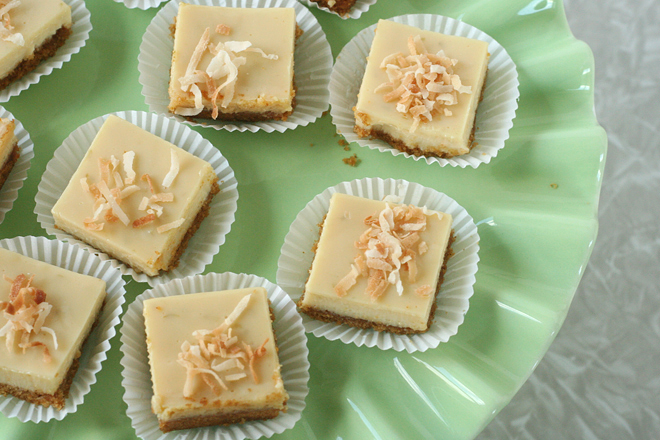
If not for having made these before, they would be just the type of dessert I love to make – something a little different, but based on familiar flavors that people enjoy. Also there is cream cheese.

lime bars 3

Of course my desire to constantly try new things has led me to so many fun and delicious recipes, but this one makes me a little nostalgic for the old days. It’s easy, it’s handheld, it works for any season – really, it’s such a great dessert. I would make it more often if there weren’t thousands of other great desserts calling my name.

lime bars 5

Printer Friendly Recipe
Key Lime Bars (from Cook’s Illustrated)

Crust:
5 ounces animal crackers (about 1¼ cups crumbs)
3 tablespoons light or dark brown sugar packed
pinch salt
4 tablespoons butter, melted and cooled slightly

Filling:
2 ounces cream cheese, room temperature
1 tablespoon grated lime zest
1 (14-ounce) can sweetened condensed milk
1 large egg yolk
½ cup key lime juice or regular juice (do not use bottled juice)

Garnish (optional):
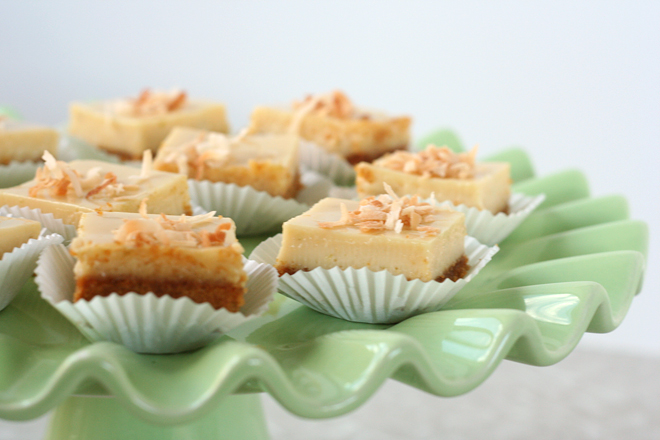
shredded coconut, toasted until crisp

1. Adjust an oven rack to the middle position and heat the oven to 325 degrees. Cut about a 12-inch length of extra-wide heavy duty foil; fold the cut edges back to form a 7½-inch width. With the folded sides facing down, fit the foil securely into the bottom and up the sides of an 8-inch square baking pan, allowing the excess to overhang the pan sides. Spray the foil with non-stick cooking spray.

2. To make the crust: In the workbowl of a food processor, pulse the animal crackers until they’re broken down, about ten 1-second pulses; then process the crumbs until evenly fine, about 10 seconds. Add the brown sugar and salt; process to combine, ten to twelve 1-second pulses. Drizzle the butter over the crumbs and pulse until the crumbs are evenly moistened with butter, about ten 1-second pulses. Press the crumbs evenly and firmly into the bottom of the prepared pan. Bake until deep golden brown, 18 to 20 minutes. Cool on a wire rack while making the filling. Do not turn off the oven.

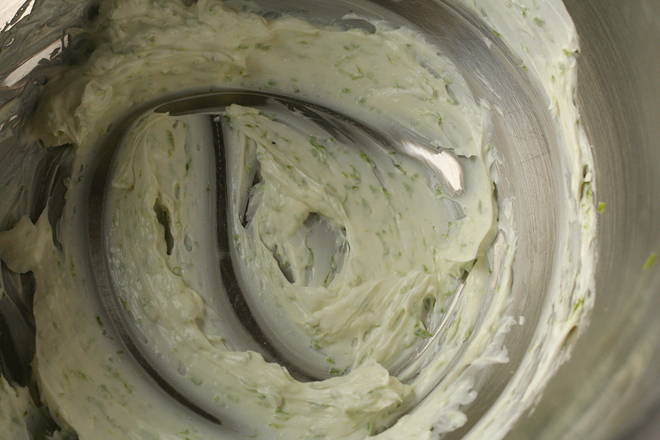
3. To make the filling: While the crust cools, in a medium bowl, stir the cream cheese, zest and salt with rubber spatula until softened, creamy, and thoroughly combined. Add the sweetened condensed milk and whisk vigorously until it’s incorporated and no lumps of cream cheese remain; whisk in the egg yolk. Add the lime juice and whisk gently until incorporated (the mixture will thicken slightly).

4. To assemble and bake: Pour the filling into the crust; spread to the corners and smooth the surface with a rubber spatula. Bake until set and the edges begin to pull away slightly from the sides, 15 to 20 minutes. Cool on a wire rack to room temperature, 1 to 1½ hours. Cover with foil and refrigerate until thoroughly chilled, at least 2 hours.

5. Loosen the edges with paring knife and lift the bars from the baking pan using the foil extensions; cut the bars into 16 squares. Sprinkle with toasted coconut if using, and serve. (Leftovers can be refrigerated up to two days; crust will soften slightly. Let stand at room temperature, about 15 minutes before serving.)
lime bars 4

kentucky butter cake

kentucky butter cake 7

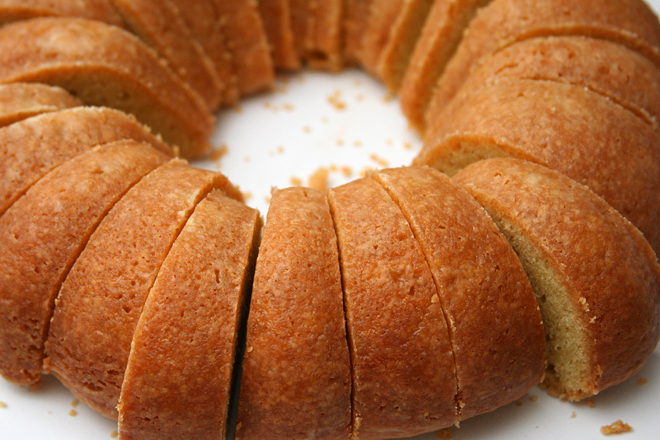
I’ve told you before that my coworkers go crazy for pound cake. They’re always appreciative of treats that I bring in – I work with good people – but pound cake disappears the fastest.

kentucky butter cake 1

Even pound cake gone wrong. The first time I made this, I messed it up, and not in a minor way. I forgot to add not just the baking powder, but the buttermilk. Basically, instead of making a cake, I made a giant ring-shaped cookie.

kentucky butter cake 3
first attempt

It was still pretty good, so I brought it in to share at work anyway. You wouldn’t believe the number of people who came by claiming it was the best thing I’ve ever baked – in three years of almost weekly treats! I’m glad it was so popular, because I didn’t feel bad making it again a few days later, this time with all the ingredients.

kentucky butter cake 4

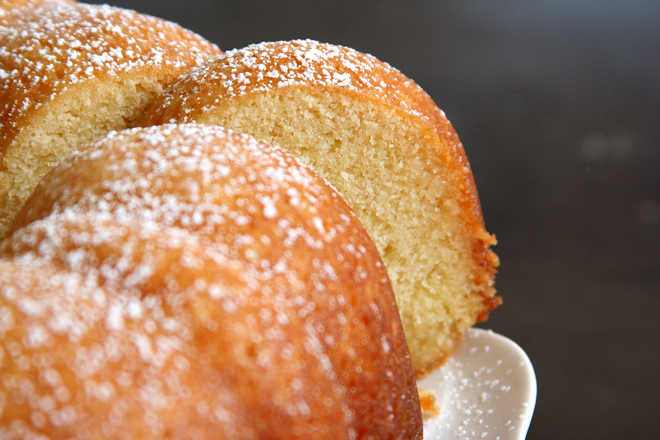
Most people said it was better with the buttermilk, lighter and more tender. A few didn’t notice the difference. One stalwart fan said that while both were good, the first version was better. So there you have it – you really can’t go wrong with this cake, even when you do actually go wrong.

kentucky butter cake 8

One year ago: Meyer Lemon Semifreddo
Two years ago: Strawberry Cream Cake
Three years ago: Strawberry Chocolate Ice Cream Pie
Four years ago: Strawberry Lemon Sorbet
Five years ago: Franks and Beans

Printer Friendly Recipe
Kentucky Butter Cake (adapted from allrecipes via Beantown Baker)
Makes one 9-inch Bundt cake

I do have some uncertainty with the glazing method. The recipe instructions are to pour all of the glaze onto the cake while it’s still in the pan, so you’re essentially saturating the bottom of the cake. The cake is left in the pan until it cools completely, which presumably gives the glaze (which is now more of a soaking liquid than a glaze) a chance to soak into the cake. I did this the second time I baked the cake, wanting to follow the directions exactly.

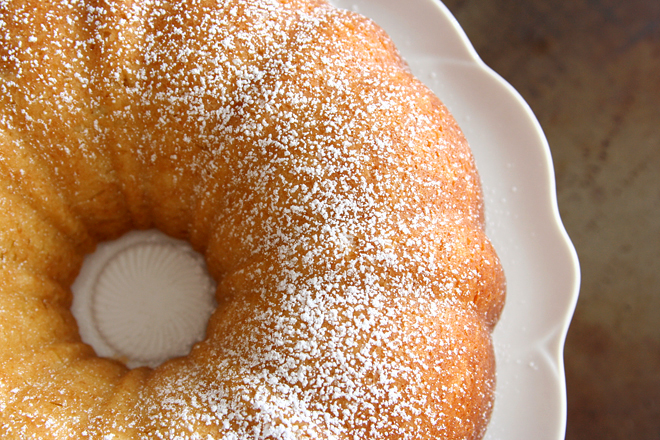
The first time, I poured only about half of the glaze onto the cake before unmolding it and pouring the remaining glaze down the sides. I liked this method better, because the glaze formed a delicious hard crust on the cake (although a lot of it dripped right off the cake too). However, it’s possible that it only worked this way on the firmer more cookie-like cake, and would simply soak into the top of the cake when it’s made correctly. It’s good either way.

For the cake:
3 cups (14.4 ounces) unbleached flour
1 teaspoon baking powder
½ teaspoon baking soda
16 tablespoons (2 sticks) unsalted butter, softened
1½ cups (10.5 ounces) granulated sugar
1 teaspoon table salt
4 eggs, room temperature
2 teaspoons vanilla
1 cup buttermilk

For the glaze:
5 tablespoons unsalted butter
½ cup (3.5 ounces) granulated sugar
⅛ teaspoon table salt
2 tablespoons water
2 teaspoons vanilla extract

1. Heat the oven to 325 degrees. Grease and flour a Bundt pan or spray with baking spray. In a medium bowl, combine the flour, baking powder, and baking soda.

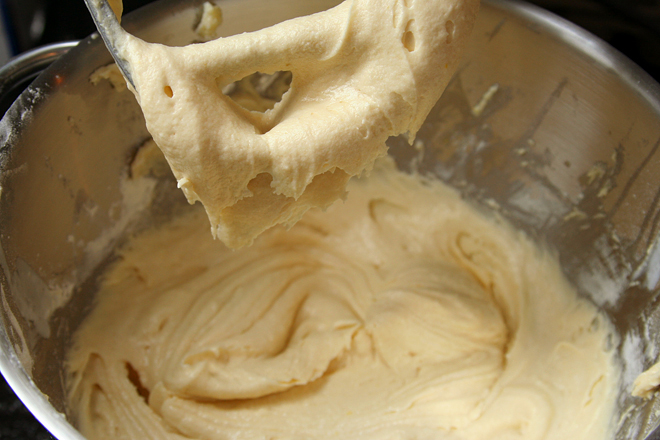
2. Place the butter and salt in the bowl of an electric mixer fitted with the paddle attachment. Beat on medium-high speed for 3 minutes, until light and creamy in color. Gradually add the sugar to the butter mixture. Mix in the eggs one at a time, until incorporated, then add the vanilla. With the mixer on low speed, add one-third of the flour mixture, followed immediately by half of the buttermilk, mixing just until incorporated. Repeat with another third of the flour and the rest of the buttermilk, then the last of the flour. Scrape down the sides of the bowl and mix for 15 seconds longer.

3. Transfer the batter to the prepared baking pan, smoothing the top. Bake for 50-60 minutes, or until a toothpick inserted in the center comes out clean. Transfer to a wire rack to cool.

4. Shortly before the cake is removed from the oven, combine the butter, sugar, salt, and water in a small saucepan over medium heat, stirring until the butter melts. Remove from the heat and stir in the vanilla.

5. Pour about half of the glaze mixture over the cooling cake. After the cake has been cooling for at least 10 minutes, invert it onto the wire rack, removing the pan. Place a baking sheet below the cooling rack to catch drips, then spoon the remaining glaze over the top of the glaze. Cool completely before serving.

kentucky butter cake 5

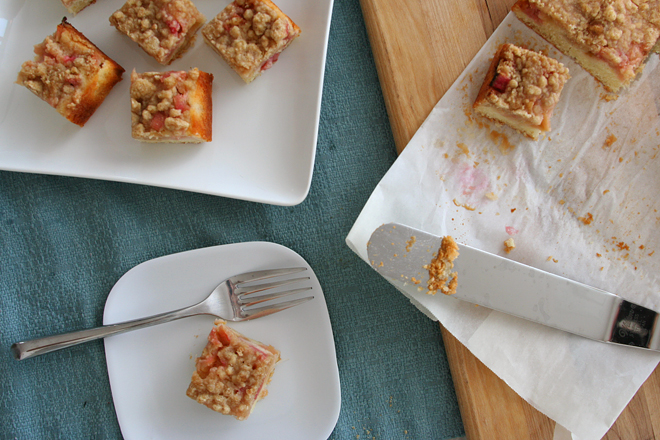
rhubarb snack cake

rhubarb cake 5

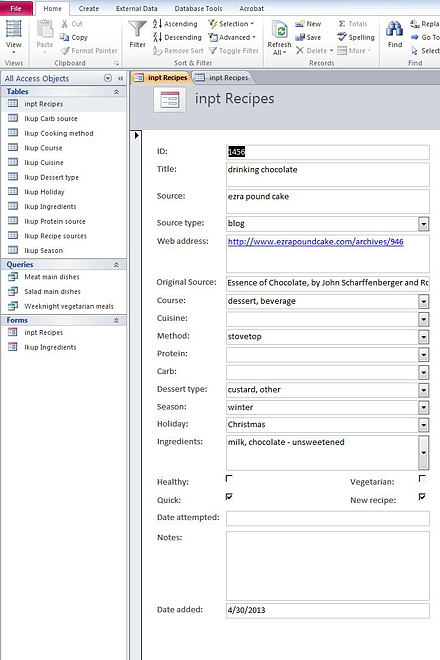
I never got around to telling you about my New Awesome Recipe Database back when it was new. It’s still awesome. But now that it’s well over a year old and has over 1500 recipes entered into it, it definitely isn’t new.

rhubarb cake 2

I love it. I built it myself, something I’d wanted to do for at least a decade. I remember getting Microsoft Access for Dummies from the library shortly after I moved out of my parents’ house for graduate school. But without anything to really push me or anyone around to help me, the project never got off the ground. It wasn’t until I had to use databases at work that it finally clicked.

rhubarb cake 3

I seem to have a bit of a natural aptitude for them, probably because I love organizing things and playing with data. There were a couple online recipe databases I could have downloaded and built upon, but they didn’t have all of the categories and features that I was looking for, so I made my own database from scratch. And almost a year and a half later, I still absolutely love it.

rhubarb cake 8

One of the ways it’s so useful is that when the grocery store carries relatively fresh-looking rhubarb, I snatch it up whether I have a plan for it or not. And then I can go to my Not-New Awesome Recipe Database and do a search of all the recipes I’ve saved over the last few years that include rhubarb.  Narrowing down to the one that only includes ingredients I already have and can be made after work takes no time at all.  The only problem, other than the tedium of entering recipes (my goal is 6 per weekday), is that searching for recipes is so easy and fun with my database that I hardly use my beautiful and inspiring cookbook collection anymore.  Until someday, when I enter those recipes into my Awesome Recipe database, and then I’ll have the best of both worlds.

rhubarb cake 7

One year ago: Shrimp Ricotta Ravioli
Two years ago: Barbecued Pulled Pork
Three years ago: Cream Cheese Spritz
Four years ago: Orange-Oatmeal-Currant Cookies
Five years ago: Snickery Squares

Printer Friendly Recipe
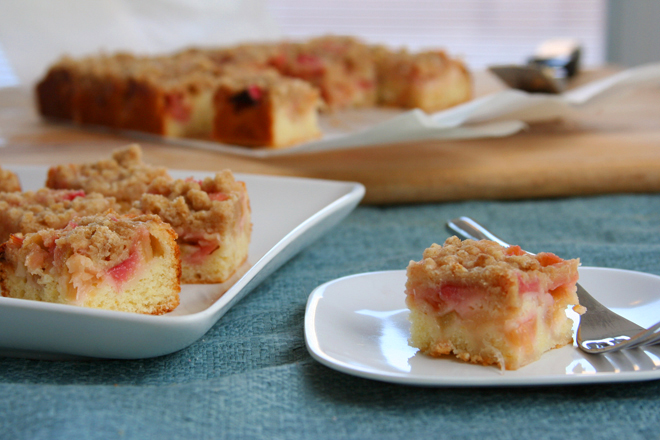
Rhubarb Snack Cake (adapted from Smitten Kitchen)

Makes about 24 servings

Crumb:
1 cup (4.8 ounces) all-purpose flour
¼ cup (1.75 ounces) light brown sugar
⅛ teaspoon table salt
¼ teaspoon ground cinnamon
4 tablespoons unsalted butter, melted

Cake:
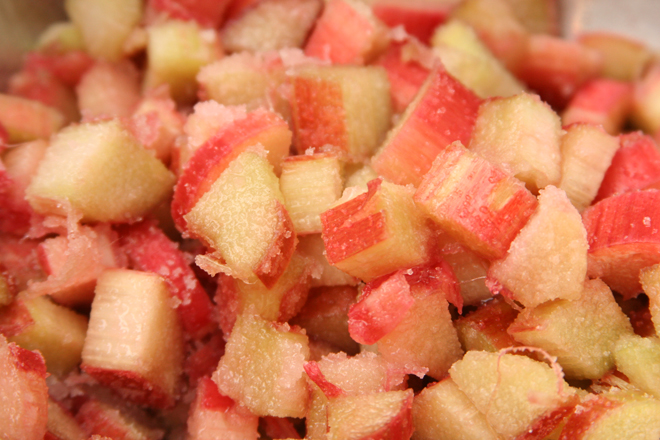
1¼ pounds rhubarb, trimmed and cut into ½-inch lengths
1 tablespoon lemon juice
1⅓ cup (9.65 ounces) granulated sugar, divided
8 ounces (1 stick) unsalted butter, softened
½ teaspoon finely grated lemon zest
2 large eggs
1⅓ cups (6.4 ounces) all-purpose flour
1 teaspoon baking powder
¾ teaspoon table salt
¼ teaspoon ground ginger
⅓ cup (2.75 ounces) sour cream

1. To make the crumb mixture: In a small bowl, whisk the flour, brown sugar, salt, and cinnamon together, then stir in the melted butter. Set aside.

2. Heat the oven to 350 degrees. Spray the bottom and sides of a 9-by-13-inch baking pan with nonstick cooking spray, then line the bottom with parchment paper, extending the lengths up two opposite sides of the pan to form a sling. In a medium bowl, stir together rhubarb, lemon juice and ⅔ cup (4.67 ounces) sugar; set aside.

3. For the cake: In the bowl of a stand mixer fitted with the paddle attachment (or in a medium-sized mixing bowl with a hand-held mixer), beat the butter, remaining ⅔ cup (4.67 ounces) sugar, and the lemon zest until light and fluffy. Add the eggs, one at a time, scraping down the sides after each addition. In a small bowl, whisk together the flour, baking powder, salt and ground ginger. Add one-third of this mixture to the batter, mixing until just combined. Continue beating, adding half of the sour cream, half of the remaining flour mixture, the remaining sour cream, and then the remaining flour mixture, mixing between each addition until just combined.

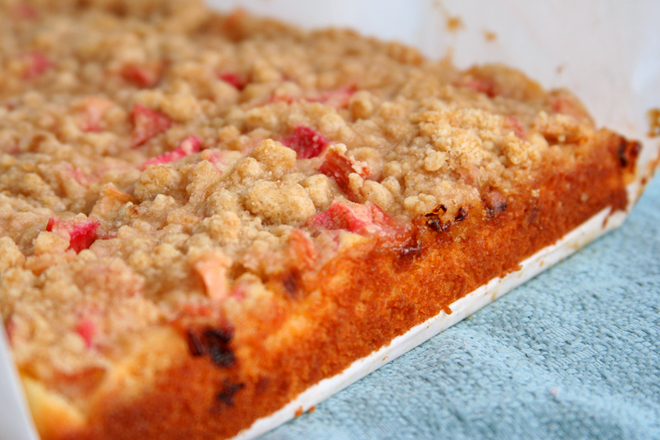
4. Spread the batter in the prepared pan. Pour the rhubarb mixture over the batter, spreading it into an even layer. Scatter the crumbs evenly over the rhubarb layer.

5. Bake the cake for 50 to 60 minutes, or until a tester comes out free of the cake batter. It will be golden on top. Cool completely in the pan on a rack. To serve, use the parchment sling to remove the cake from the pan; cut into 2-inch squares.

rhubarb cake 6