rhubarb scones

copy-of-img_5500

Scones get a seriously bad rap. People think they’re bland, dense, and/or crumbly. People think you can only enjoy them if you have a mug of coffee or tea with them. Branny told me that her husband thinks they taste like chalk. And these people aren’t completely wrong – some scones are pretty terrible. As for the whether they need to be accompanied by a hot drink, I happen to think that everything even a little sweet is better with coffee or tea.  But that doesn’t mean that I can’t enjoy a cookie without coffee.
copy-of-img_5281

Like a lot of foods, you might have to make scones yourself to get good ones. I can’t personally attest to the scones at coffee shops, but if they’re on par with every other baked treat I’ve ordered from a national coffee shop chain, they’ll be stale and bland. Don’t judge scones based on this example.
copy-of-img_5288

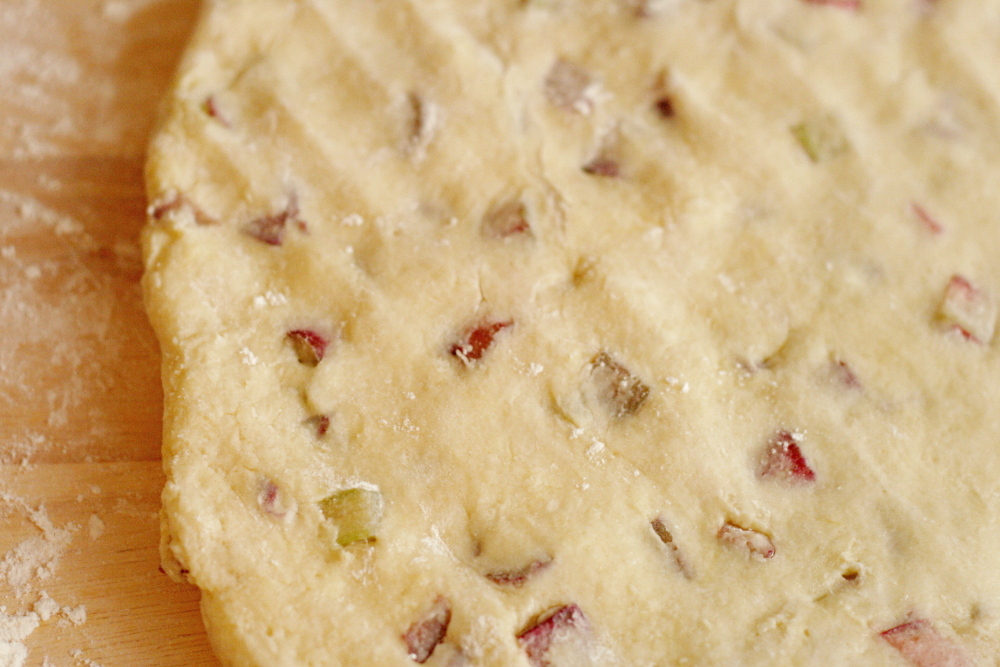
Scones are similar to biscuits, although many scone recipes have eggs included, which is rare in biscuits. In both, the dry ingredients are mixed first, and cold butter is cut in, then cold liquid is gently stirred in. Compared to the last scone recipe I made, this one has less butter, but richer dairy (cream as opposed to yogurt + milk).

copy-of-img_5517

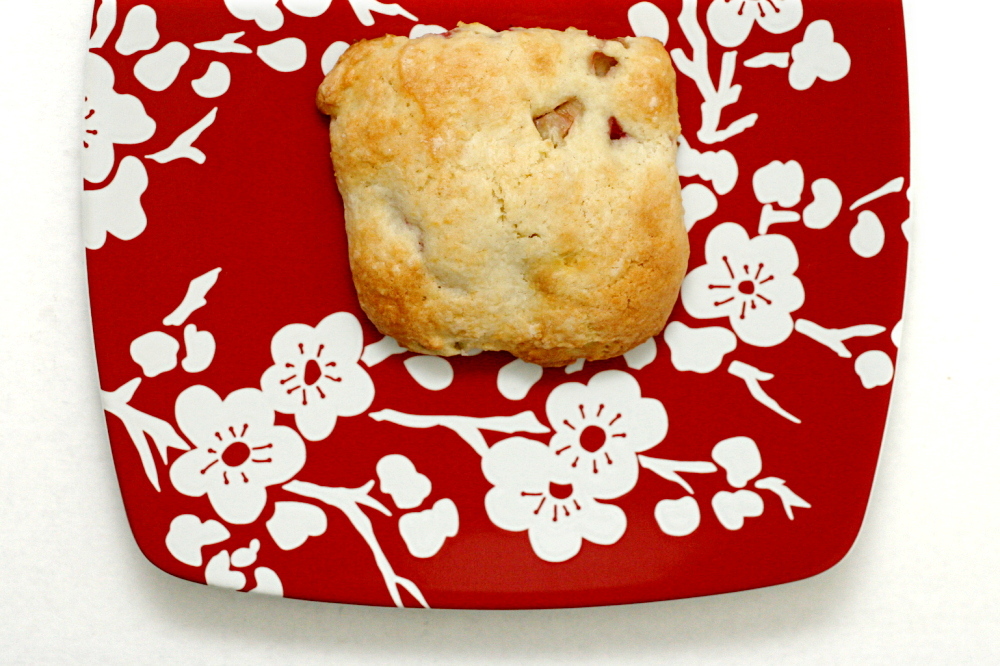
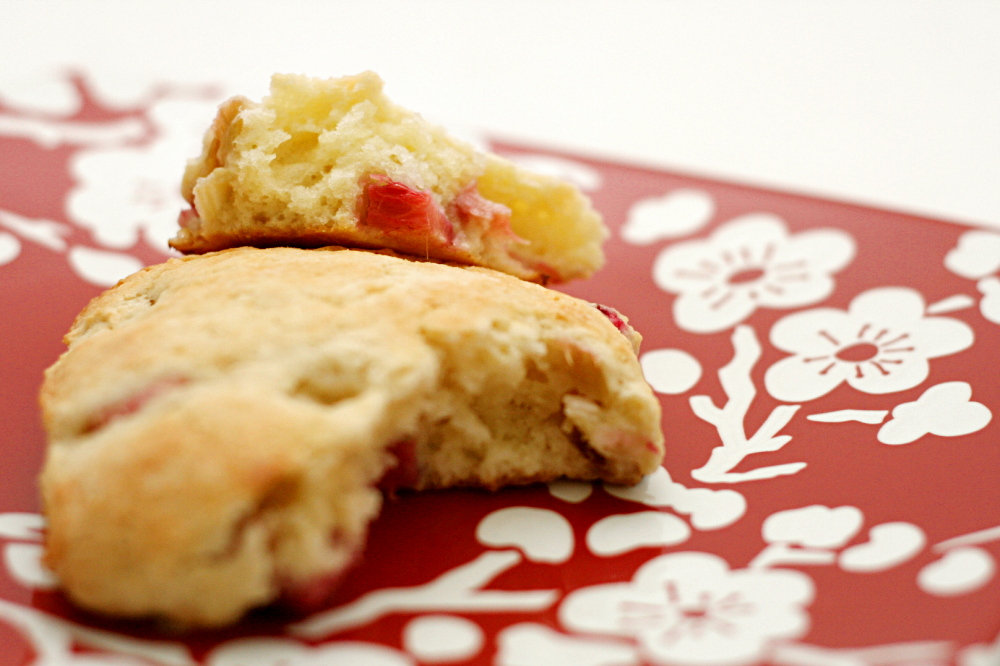
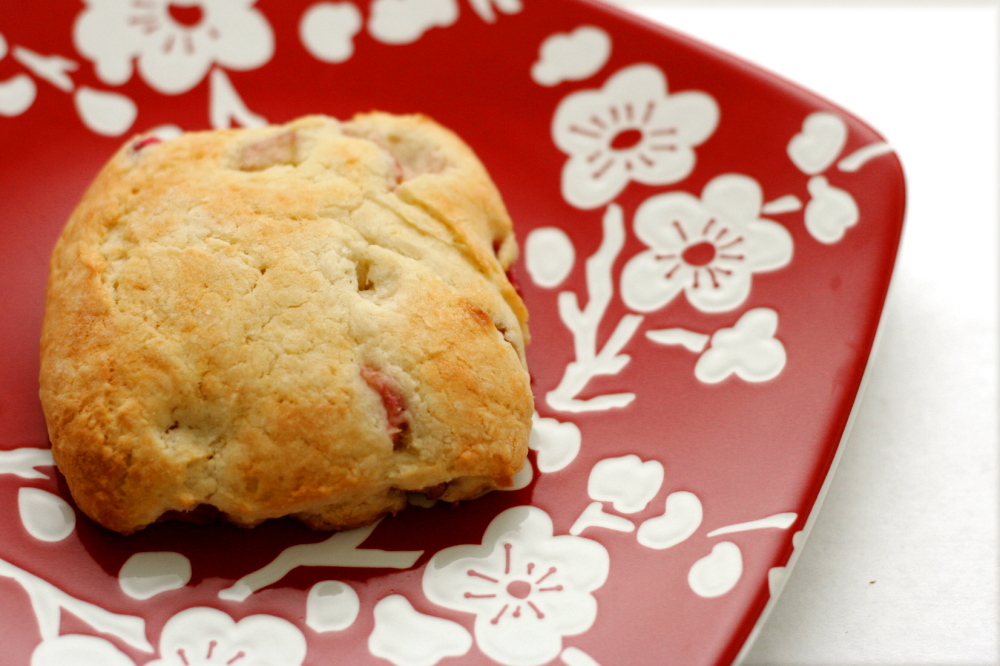
The cream changes the texture from flaky to melt-in-your-mouth tender. They’re sweet, but only slightly so, and studded by juicy, tart bits of rhubarb. There’s nothing bland, dense, crumbly, or chalky about these scones, and while I enjoyed mine with my Saturday cup of coffee, a hot drink is not required to appreciate these. If you think you don’t like scones, try these.
copy-of-img_5496

One year ago: Kaiser Rolls – I have to admit that I’ve made these twice and have decided that they’re just not worth the effort.  I like using this much easier dough instead.

Printer Friendly Recipe
Rhubarb Cream Scones
(adapted from Gourmet via Smitten Kitchen)

I only used 1½ cups (2 stalks) of rhubarb, but it wasn’t nearly enough. I would even err on the high side of 2 cups.

Update 5/8/2012 – While many people have had good results with this recipe, a few commenters have complained that their dough was too wet. This might have to do with imprecise volume measurements of flour, variability in rhubarb juiciness, or perhaps the size of the eggs used. Regardless, start with ½ cup of cream, then add more until the dough comes together but holds its shape. It might be sticky, but you should be able to pat it out with floured hands.

2½ cups (12 ounces) all-purpose flour
½ cup sugar (3.5 ounces) plus 3 tablespoons
1 tablespoon baking powder
½ teaspoon salt
¾ stick (6 tablespoons) cold unsalted butter, cut into bits
2 cups diced rhubarb (¼-inch cubes), about 3 stalks
1 large egg
1 large egg yolk
1 cup heavy cream (see update)

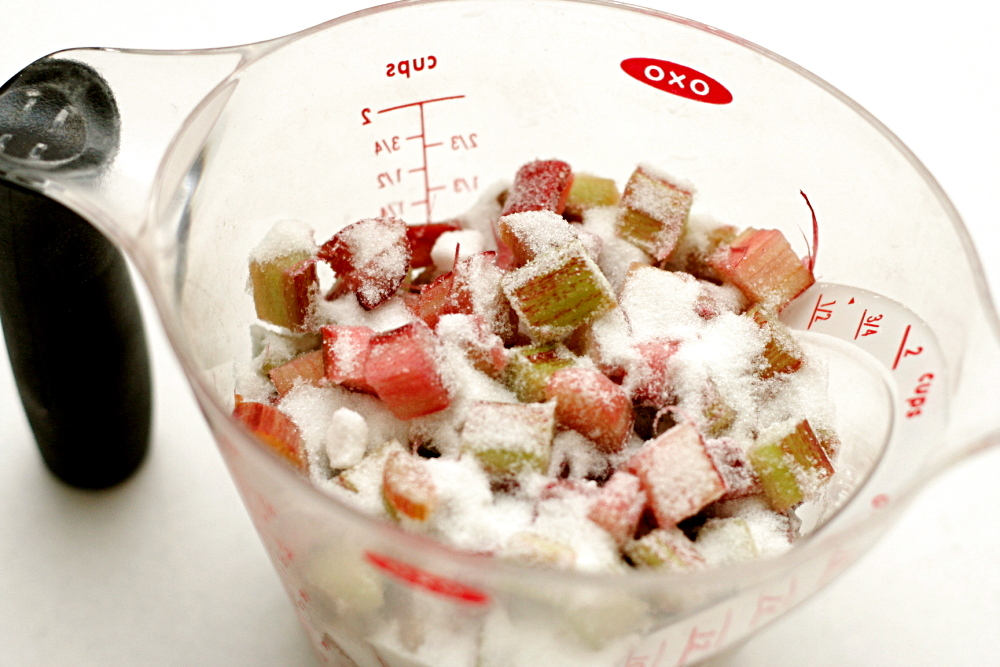
1. Preheat oven to 400F and line a large baking sheet with parchment paper. Adjust a baking rack to the middle position. In a small bowl, mix the rhubarb with 3 tablespoons sugar.

2. In a food processor, pulse the flour, ½ cup sugar, baking powder, and salt a few times, just to mix. Distribute the butter evenly over the dry ingredients and pulse until the mixture resembles coarse meal. Transfer to a large bowl.

3. Stir the rhubarb into the flour mixture. Lightly beat the egg, yolk, and cream together in a bowl (use the same one you used for the rhubarb), then add this mixture to the flour mixture. Stir until just combined.

4. On a well-floured surface with floured hands, pat the dough into a 1-inch-thick round (about 8 inches in diameter). Using a 2-inch round cutter or rim of a glass dipped in flour, cut out as many rounds as possible, rerolling scraps as necessary. Arrange rounds about 1 inch apart on baking sheet and bake for 15 to 20 minutes, or until pale golden.  Transfer the scones to a cooling rack and let them cool slightly before serving.
copy-of-img_5495

anadama bread

copy-of-img_5945

It’s a good thing I had well-behaved friends for the most part in high school, because I am apparently highly susceptible to peer pressure. A new baking group has recently been formed, somewhat similar to Tuesday with Dorie, but baking their way through Peter Reinhart’s Bread Baker’s Apprentice. I resisted joining the group for a few weeks, because I really don’t need another baking obligation. But I’ve had this book for years and love it, plus if this group can improve my bread-baking skills as much as TWD has improved my dessert-baking skills, it’ll be worth it. And when I heard that Reinhart supported the group, I made the decision to join. I’m a sucker for cookbook authors who support blogs.

I had some trouble figuring out how to fit a new baking group into my blog. I can only produce 3-4 blog entries per week, and I’d like the majority to be unaffiliated with a group. I think I’ve decided on short, simple (I’m doing something simply?!) entries with one photo and a brief analysis of the recipe. Since I joined the group a few weeks after it started, I’m doing a bit of catch up.

Anadama bread is a sandwich bread made with cornmeal and molasses. Reinhart’s MO is to soak grains and/or ferment dough slowly to release as much flavor from them as possible. In this recipe, that means soaking the cornmeal overnight before kneading in the remaining ingredients and continuing with rising and shaping. Reinhart recommends coarser-grained polenta over cornmeal, and it smelled particularly corny after soaking, which was nice.

Overall, this was a nice bread. The texture was very light. I definitely think it needs more salt (the recipe calls for 1.5 teaspoons for 20 ounces of flour; I’ll add at least 2 teaspoons next time). Also, the polenta grains didn’t soften in the bread as much as I would like, adding a crunchiness, but not a good crunchiness. I’ll use regular cornmeal next time. Or I might just stick to the last anadama bread recipe I tried, but adjust the method to soak the cornmeal overnight.

True to most groups who cook their way through a cookbook, we won’t all be posting the recipes. However, Michelle plans to post the recipes on her blog.

strawberry lemon sorbet

copy-of-img_5483

I think I’ve developed a warped sense of nutrition. For the most part, I maximize fruits and vegetables, minimize carbs, focus on lean, usually vegetarian proteins, and avoid alcohol. But this all gets thrown out the window on the weekends, when all I do is try not to overeat and hopefully get some fiber at some point. Oh, and then there’s dessert, which I eat every day.

copy-of-img_5180

I do not skip dessert. I try to control portion sizes of course, but I recognize that this is an indulgence that’s important to me and I’m willing to make other sacrifices (i.e., alcohol on weekdays) to account for it. But somewhere along the way I’ve tricked myself into thinking that as long as something doesn’t have loads of butter in it, it must be healthy.

copy-of-img_5185

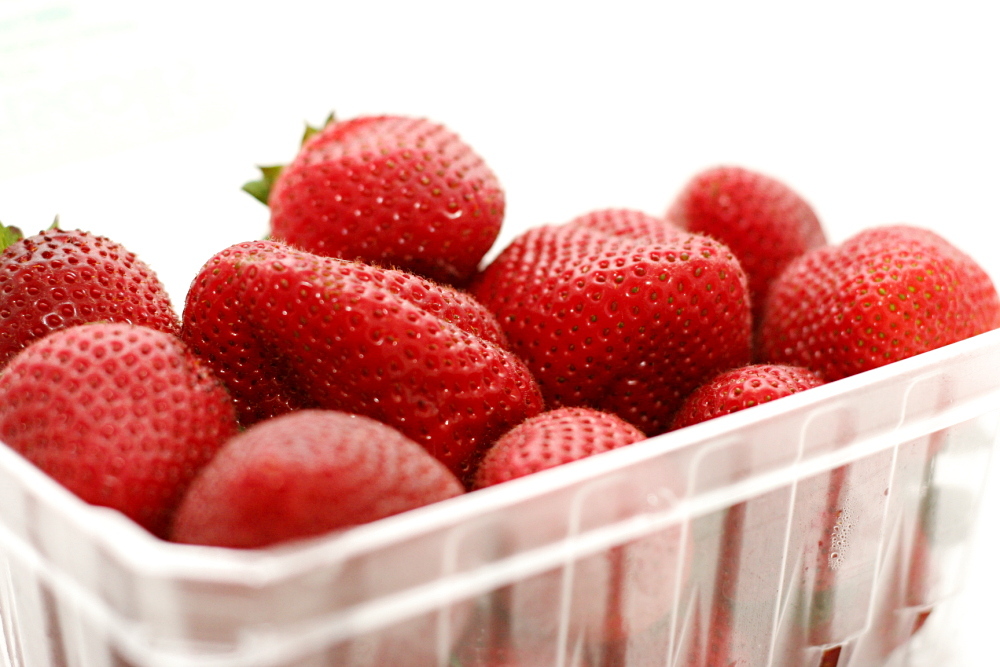
That means that I’m under the impression that this sorbet isn’t just “not so bad”, but it’s downright good for me! Pureed strawberries! A whole lemon! …2 cups of sugar? Oh well.

copy-of-img_5192

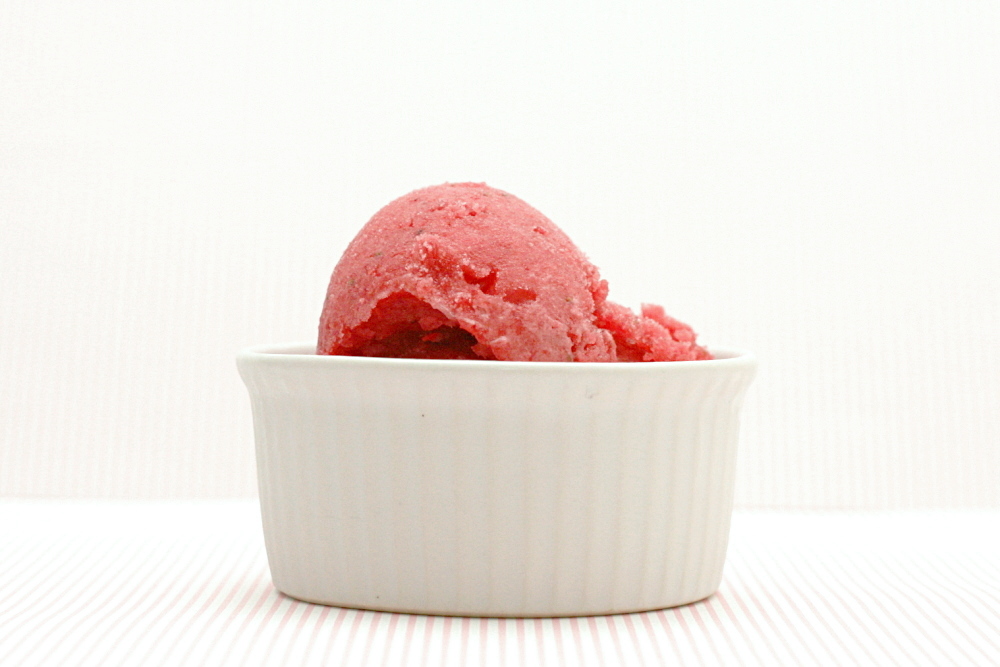
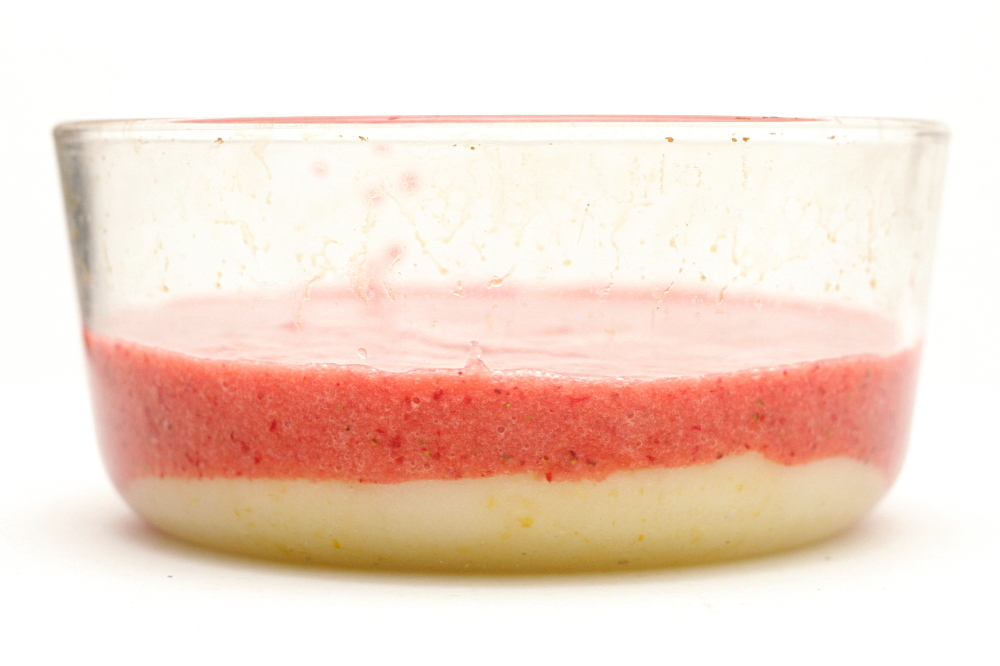
This is another whole lemon dessert, which makes it that much easier to make. All you do is puree everything and churn it in your ice cream maker. This smooth, bright pink sorbet tastes not just of strawberries, but almost equally of lemon, pleasantly tinged by bitterness from the lemon peel. It actually tastes a lot like a strawberry daiquiri. All that and it isn’t even an indulgence! Kinda.

copy-of-img_5235

One year ago: Asparagus and Arugula Salad with Cannellini Beans and Balsamic Vinegar

Strawberry Sorbet (from Smitten Kitchen, who reports the original source as the London River Cafe Cook Book)

Makes 1½ quarts

I added a bit of vodka, maybe a couple of teaspoons, just to keep it from freezing too solid. It was the perfect consistency. I’m wondering if rum would be even better, to keep with the daiquiri flavor?

1 lemon, seeded and roughly chopped
2 cups sugar
2 pounds strawberries, hulled
Juice of 1 to 2 lemons

1. Place the chopped lemon and sugar in a food processor, and pulse until combined. Transfer to a bowl.

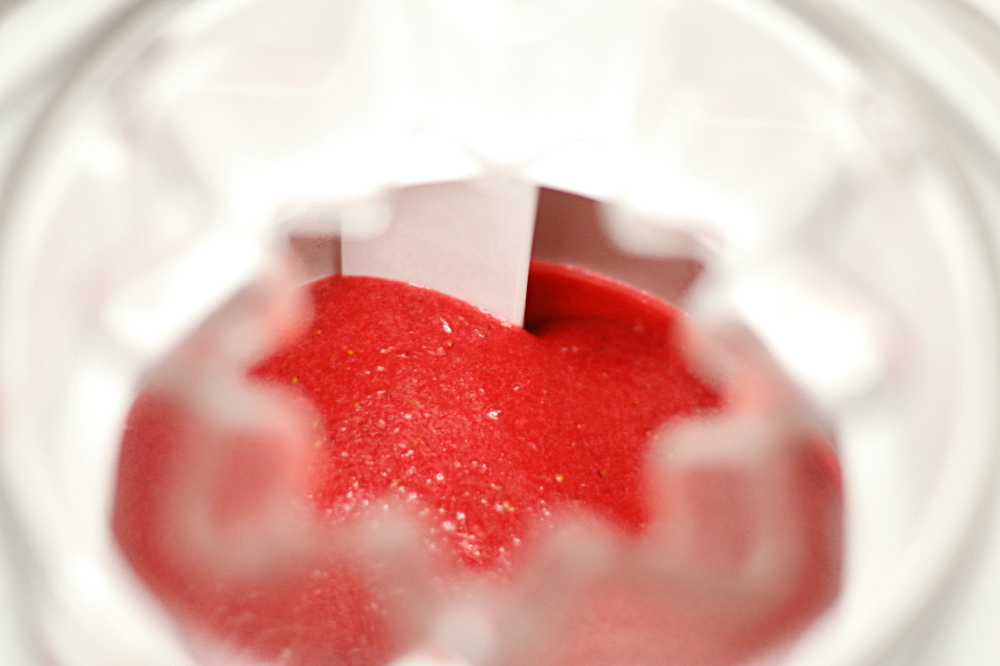
2. Puree the strawberries in a food processor, and add to the lemon mixture, along with the juice of 1 lemon. Taste and add more juice as desired. The lemon flavor should be intense but should not overpower the strawberries. Pour the mixture into an ice cream machine and churn until frozen.

copy-of-img_5490

fresh mango bread

copy-of-img_4960

I recently told someone that neither Dave or I like mangoes. Exactly one week later, Dave brought home four mangoes from work. Um…dude, we don’t like mangoes, remember?

But it turns out that I do like mangoes! I just don’t like the unripe ones I was buying from the grocery store. These were soft and sweet and a little spicy. And now I know how to tell when mangoes are ripe!

copy-of-img_4937

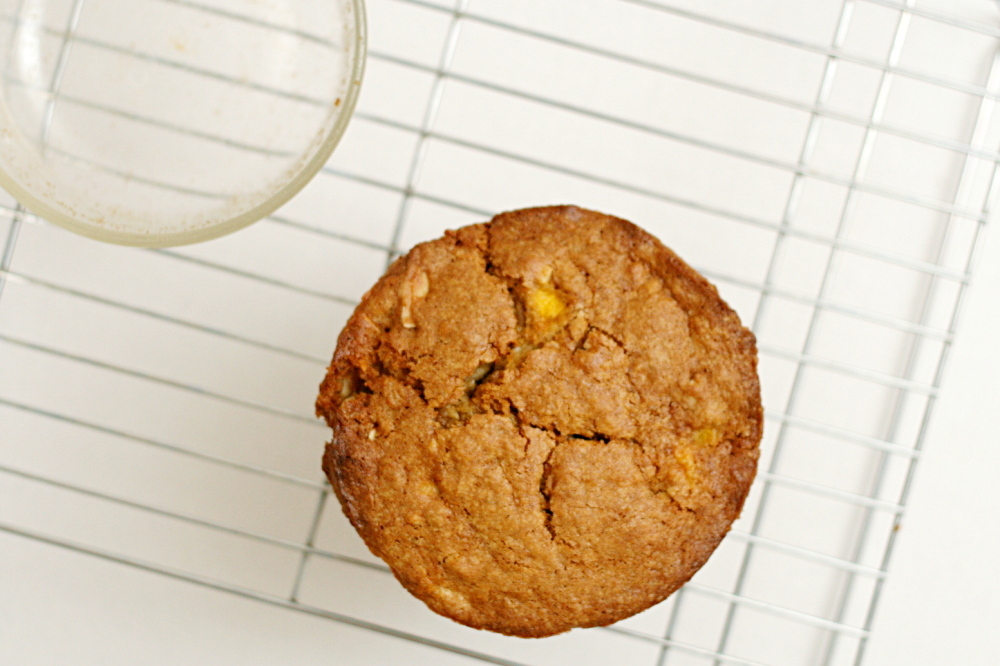
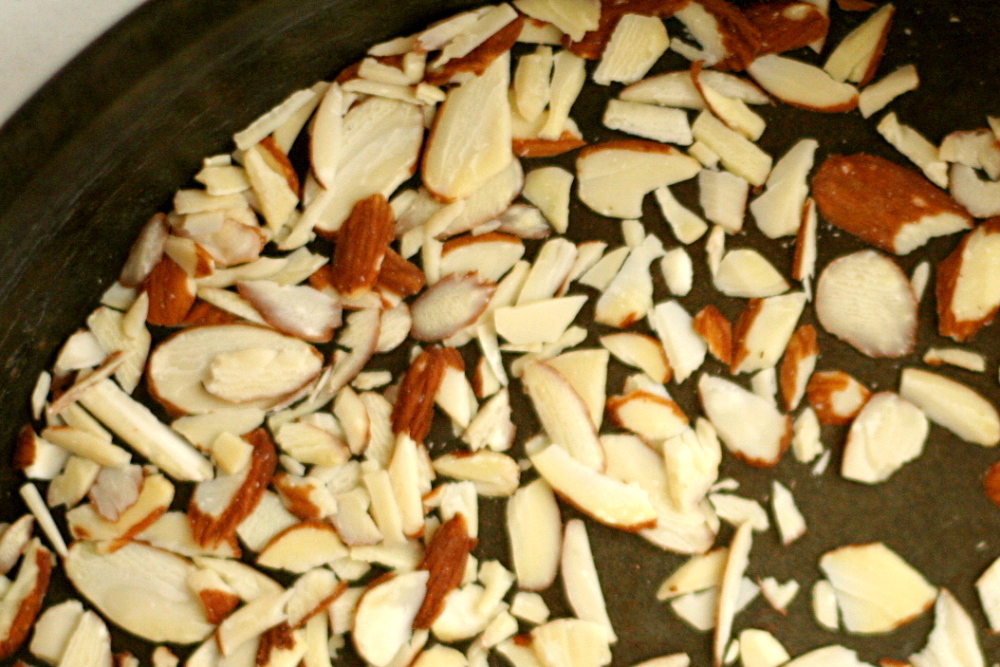
I used the last of those four mangoes in this bread, which is made like a classic quick bread, where the dry and the wet ingredients are mixed separately, then gently combined. I didn’t have raisins, so I skipped those, and I added lightly toasted sliced almonds instead. I didn’t have a lime or ginger either, so I left those out too.

copy-of-img_4942

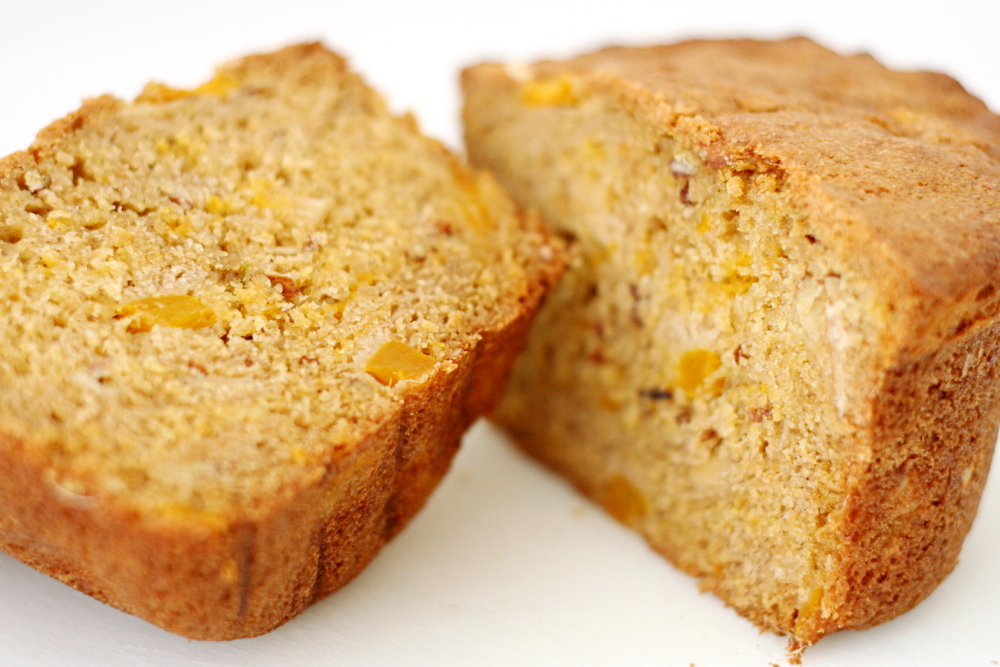
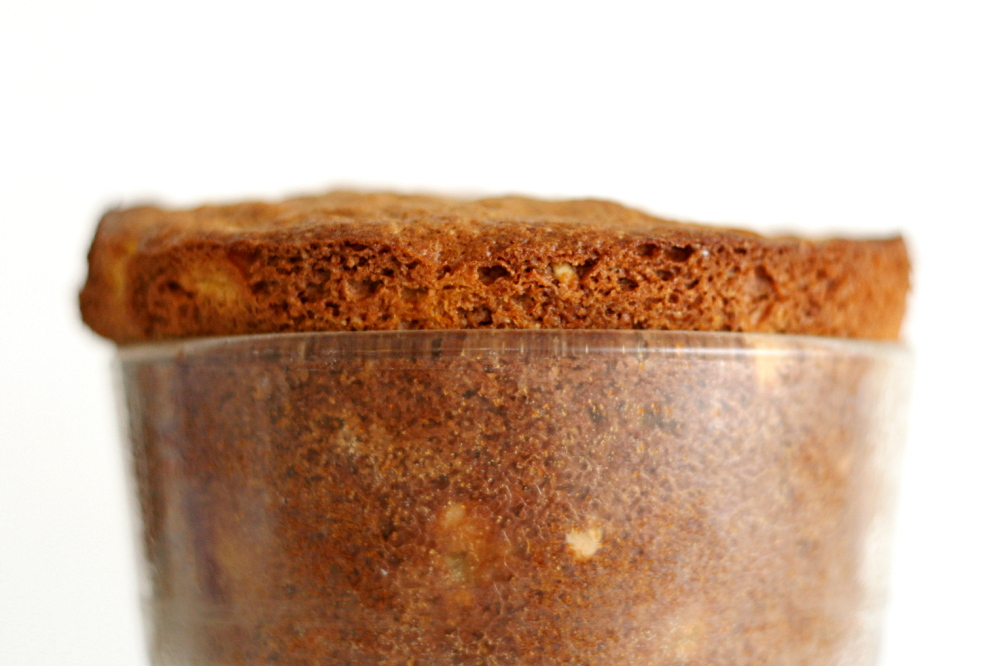
So it turns out that I like mangoes…and I definitely like quick breads, and the bread part of this was particularly good, subtly spiced and perfectly tender without being too delicate. But I found that I don’t really like mangoes in a quick bread. Mangoes, to me, represent something refreshing and cool. Even once the bread was at room temperature, it didn’t seem like the right venue for mangoes. I didn’t hate it, but in the future, I’ll keep my mangoes and my quick breads separate.

copy-of-img_4962

If you feel differently, check out the recipe on Kelly’s site. She chose this recipe for TWD.

One year ago: Hash Browns with Sautéed Vegetables and Poached Eggs

copy-of-img_4948

fresh strawberry scones

copy-of-img_3628

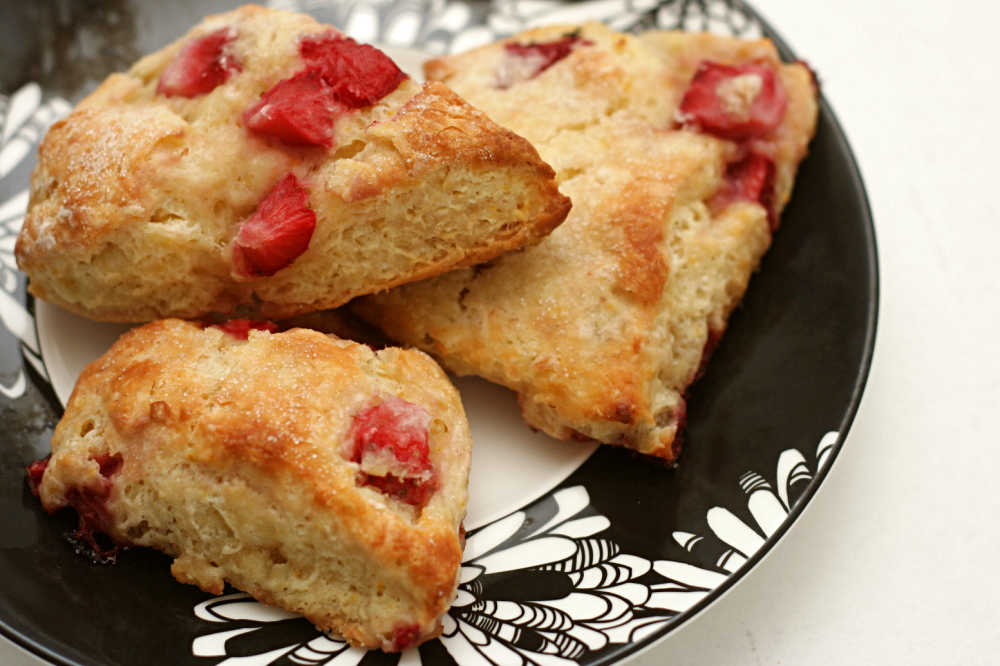
What’s fun about going through phases with certain foods, like my recent scone phase, is that it gives you a chance to really explore that category. I’ve made all sorts of scones in the past few months – cream scones, scones made with lighter dairy but more butter, scones filled with fresh fruit and with nuts. So far I’ve avoided scones with dried fruit, even though it’s traditional.

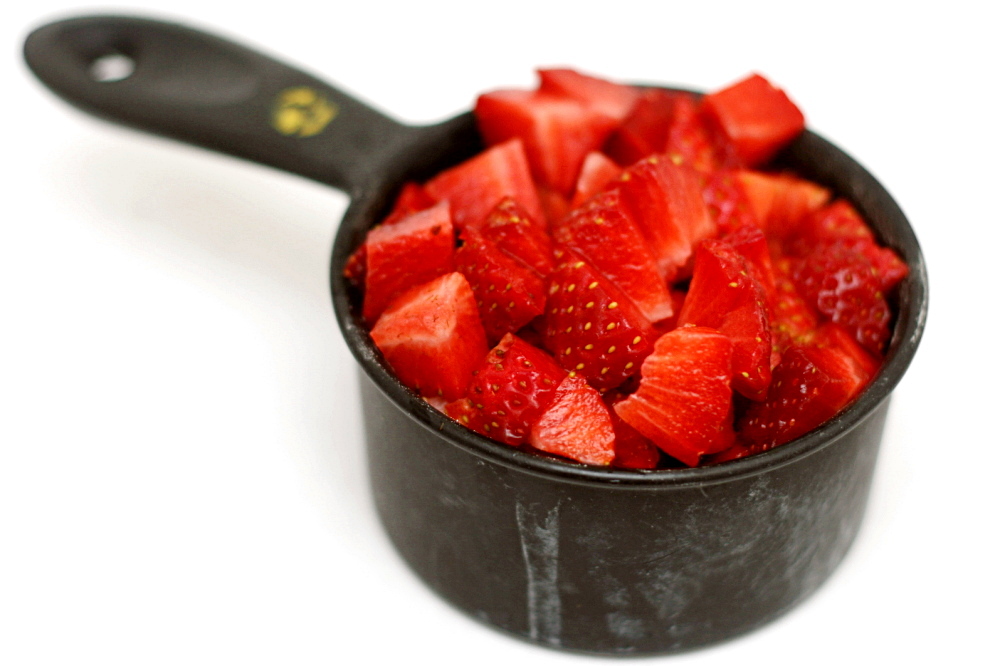
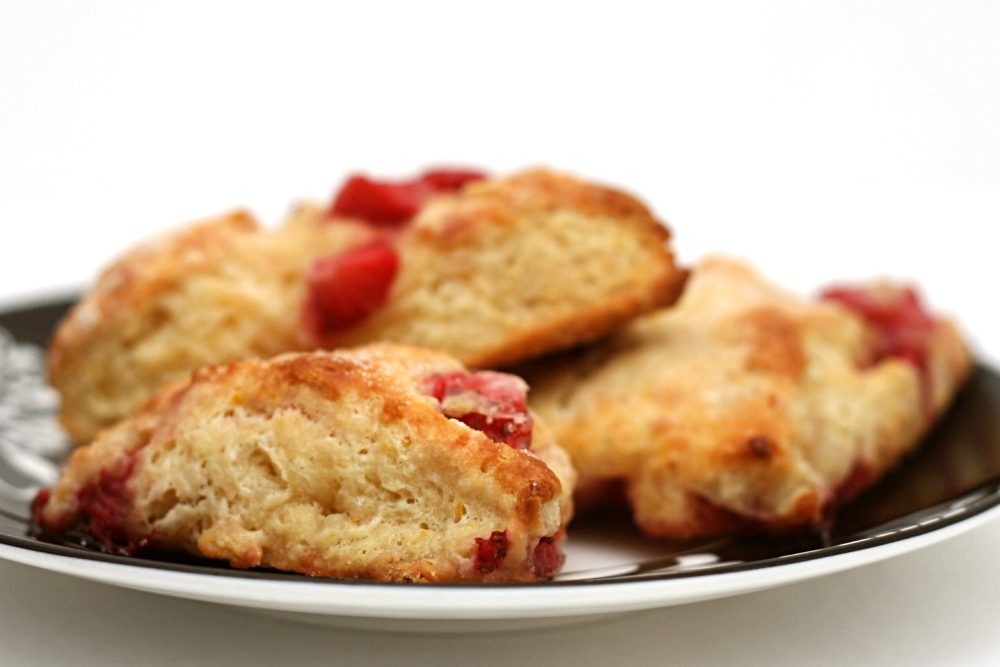
Instead, I tried scones with one of the juiciest fruits. Katie’s recipe for strawberry scones closely resembles most other scone recipes, with butter cut into the dry ingredients before dairy is gently stirred in. The recipe includes yogurt and milk instead of the richer cream often called for in scones.

copy-of-img_3487

The recipe was a little tricky for me. Because strawberries vary so much in water content, Katie recommends a range of flour. I knew my early season berries weren’t at their juicy peak, so I kept to the lower end of the range. However, I still needed far more liquid than the original recipe requires before the dough would come together. Kelsey indicated that she had a similar problem. Fortunately, it was easy enough to increase the milk until all of the flour was evenly moistened.

copy-of-img_3488

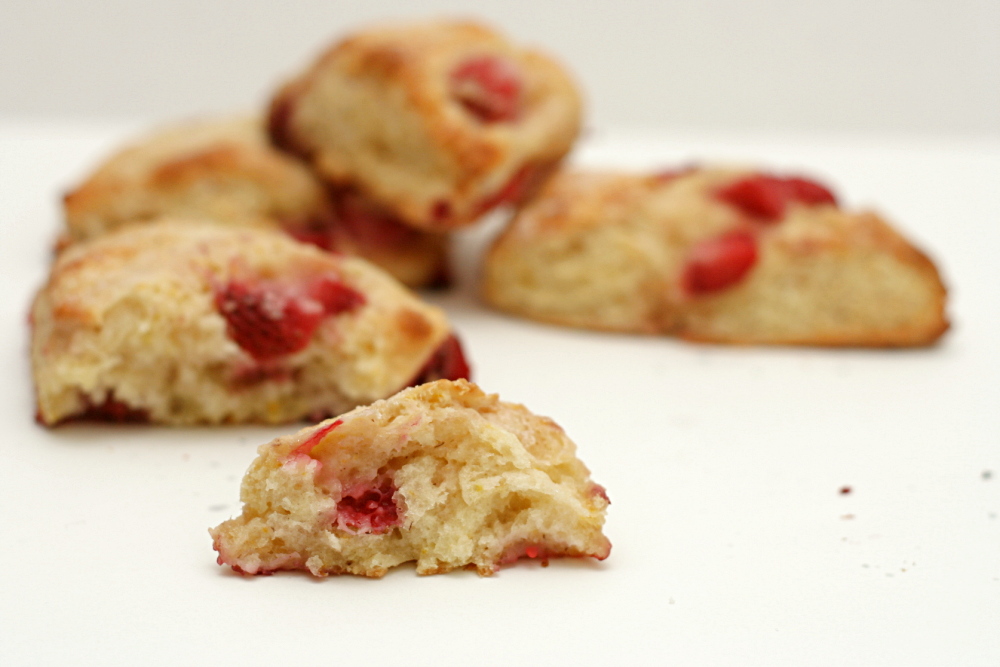
I’ve found that I generally prefer cream scones for their rich tender crumb that has no trace of dryness. These scones were a little different, and my first instinct was to prefer the cream scones that I’m used to, but then I realized that these were every bit as good. Because of the higher amount of butter compared to flour, the scones had crisper edges, especially the bottom, but it was good, almost like a flaky pie crust. And you know how scones are so good topped with jam? Putting strawberries right in the scone is ten times better.

One year ago: Peanut Butter Torte

copy-of-img_3626

Strawberry Scones (adapted from Good Things Catered)

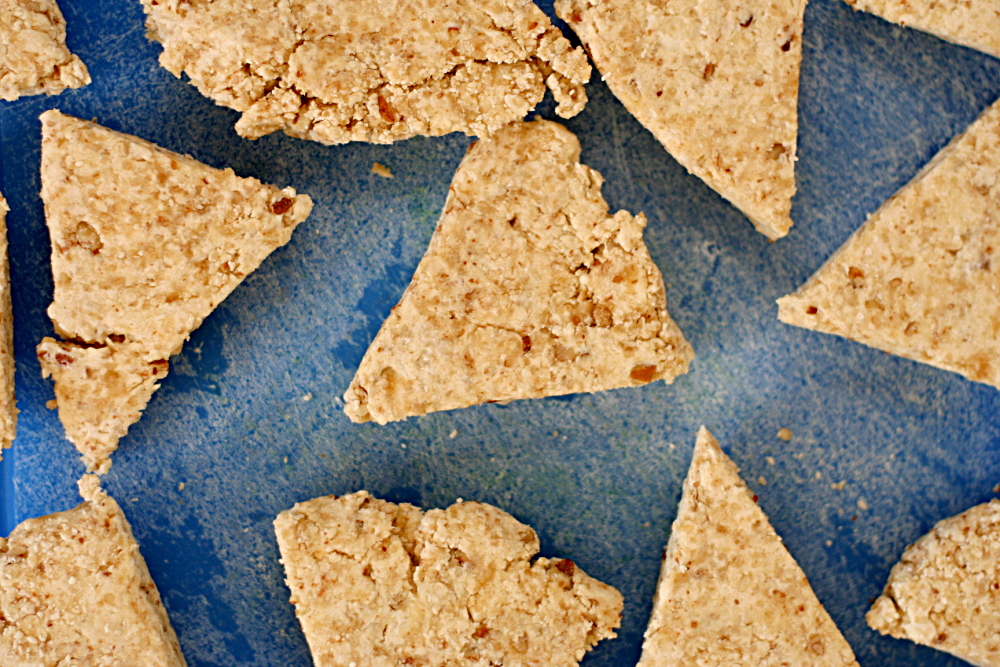
When I make scones, I almost always prepare them up to just before baking (through step 5 in this recipe), then freeze the shaped dough. The scones can be baked straight from the freezer, with just a few minutes added to the baking time.

2¼ cups (10.8 ounces) all purpose flour
¼ cups (1.75 ounces) granulated sugar, plus extra for sprinkling
1 tablespoon baking powder
½ teaspoon salt
8 tablespoons (1 stick) butter, chilled and cut into small pieces
1 egg
¼ cup plain yogurt
½ cup milk
1 teaspoons orange zest
1 cup diced fresh strawberries

1. Adjust an oven rack to the middle position and heat the oven to 425F. Line a baking sheet with parchment paper or a silicone mat.

2. In a small bowl, combine the egg, yogurt, milk and zest and whisk to thoroughly combine. Set aside.

3. Place the flour, sugar, baking powder, and salt in the work bowl of a food processor. Pulse to combine (or mix with a whisk in a large bowl). Add the cubes of butter and pulse several times, until the butter pieces are all smaller than pea-sized (or cut the butter into the flour with a pastry cutter or two knives). Transfer the mixture to a large bowl.

4. Add the strawberries to the flour mixture and toss to coat. Add the wet ingredients and fold them into the dry ingredients, mixing just until the dough comes together and all of the flour is hydrated.

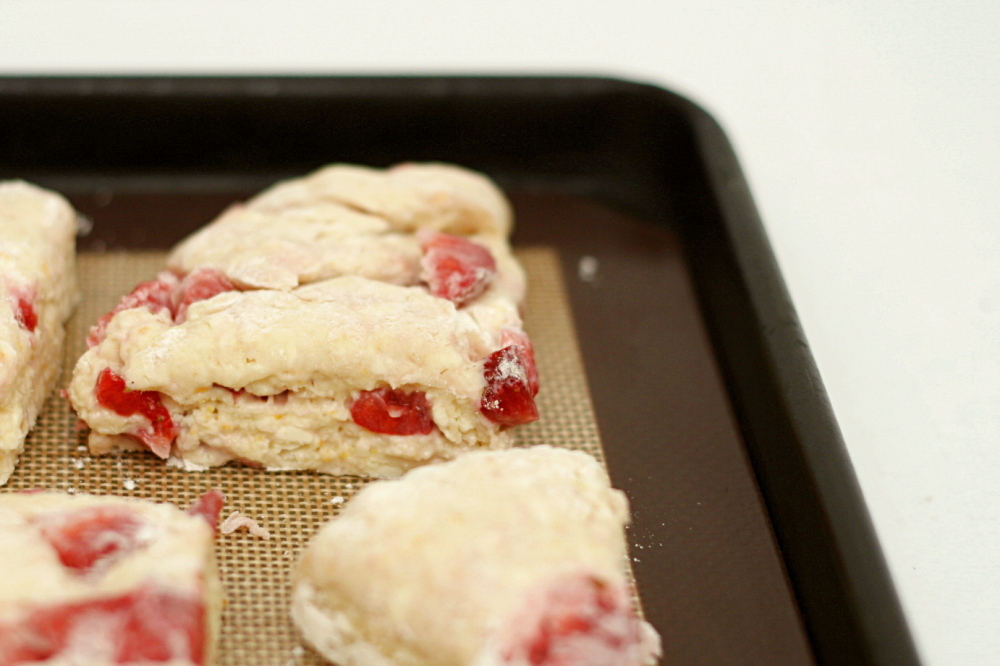
5. Turn the dough out onto a well-floured work surface and pat it into a large ball. Cut the ball in half, and shape each half into a flat disk about ½-inch thick. Cut the discs into 8 wedges.

6. Place the wedges on the prepared baking sheet and sprinkle sugar on top. Bake until slightly browned on top, about 15 minutes. Remove the baking sheet from the oven and let the scones cool on the sheet for a few minutes before transferring to a wire rack. The scones are best served when still slightly warm.

copy-of-img_3630

orange-oatmeal-currant cookies

copy-of-img_4655

Is it possible to have a cookbook crush? I received Tartine in the mail three weeks ago, and I’ve hardly put it down since. I heard about the book when Mark recommended it, so I flipped through it one day in the bookstore. I flip through a lot of the books in the bookstore, but I can usually resist buying. I didn’t buy Tartine immediately, but after my initial look-through, I couldn’t put it out of my mind. The croissants! The shortbread! The banana cream pie!

copy-of-img_4591

There are a number of reasons to be excited about this book. The photography is beautiful. The desserts are garnished elegantly.  The author, Elisabeth Pruett (with her husband Chad Robertson) sets a friendly tone and provides plenty of helpful tips.

copy-of-img_4589

But as with any cookbook, it all comes down to the recipes. What I love about Tartine’s recipes is that they’re classics – lemon bars, clafoutis, gingerbread cookies – but they’re taken up a notch. The banana cream pie has a thin layer of chocolate on the bottom crust to keep it crisp. The croissant dough is built from a sponge and then a slow rise. The lemon bars have a crust made from browned butter that’s topped with an extra thick layer of curd.

copy-of-img_4594

You do have to work for those extra steps, so this book won’t be for everyone. But for someone like me, who enjoys the process as much as the result, the book is a perfect fit. There isn’t one recipe in the book that I’m not eager to make.

copy-of-img_4601

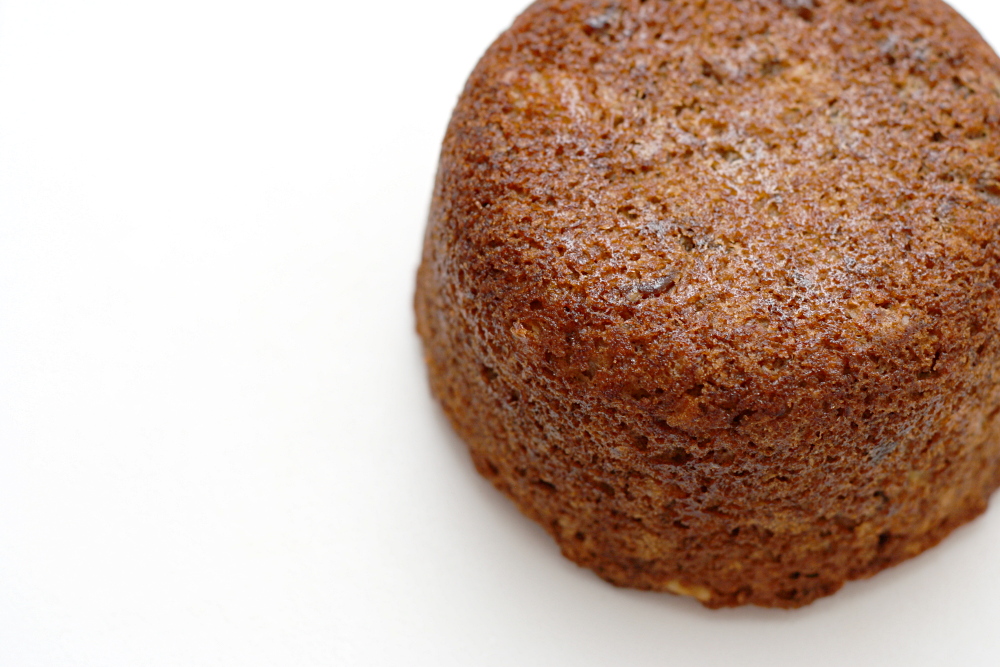
The first recipe I made was the Banana Date Tea Cake, which isn’t something that would normally sound good to me, but that’s what’s special about this book – everything sounds good. And the tea cake was delicious, with a moist, cinnamon-scented crumb that was just a little crisp at the edges. This is definitely one of my favorite banana breads. I have two old bananas sitting around right now, and I’m kicking myself for not buying dates.

copy-of-img_4573
miniature banana date tea cake

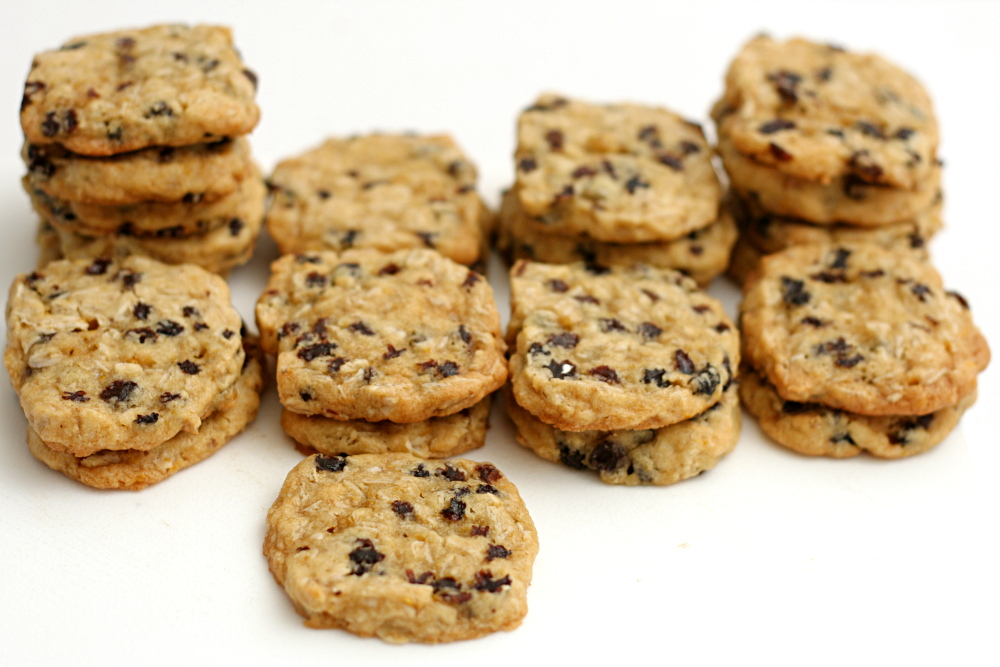
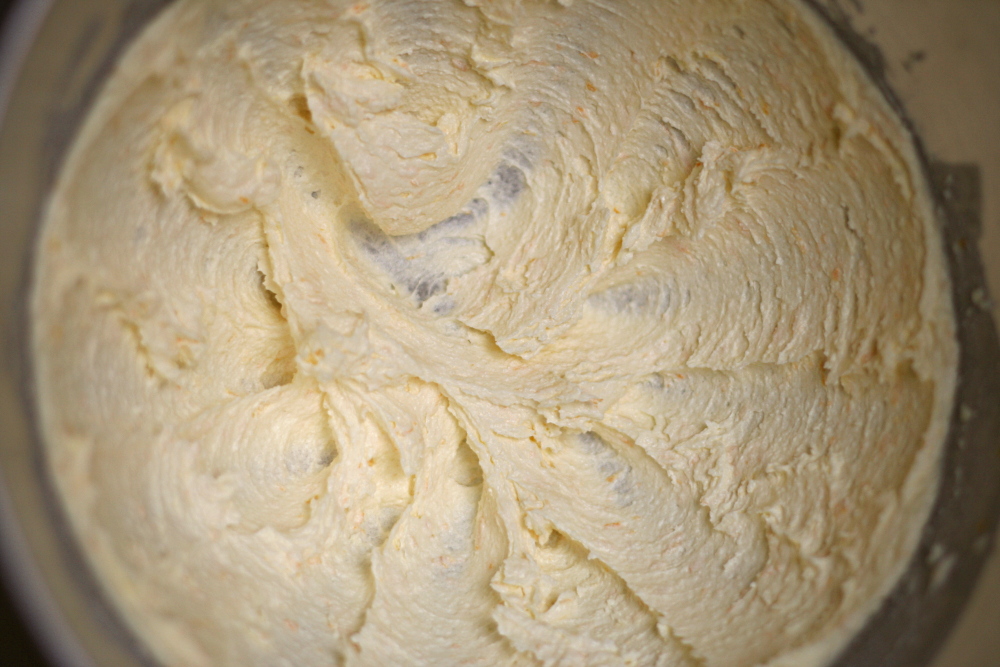
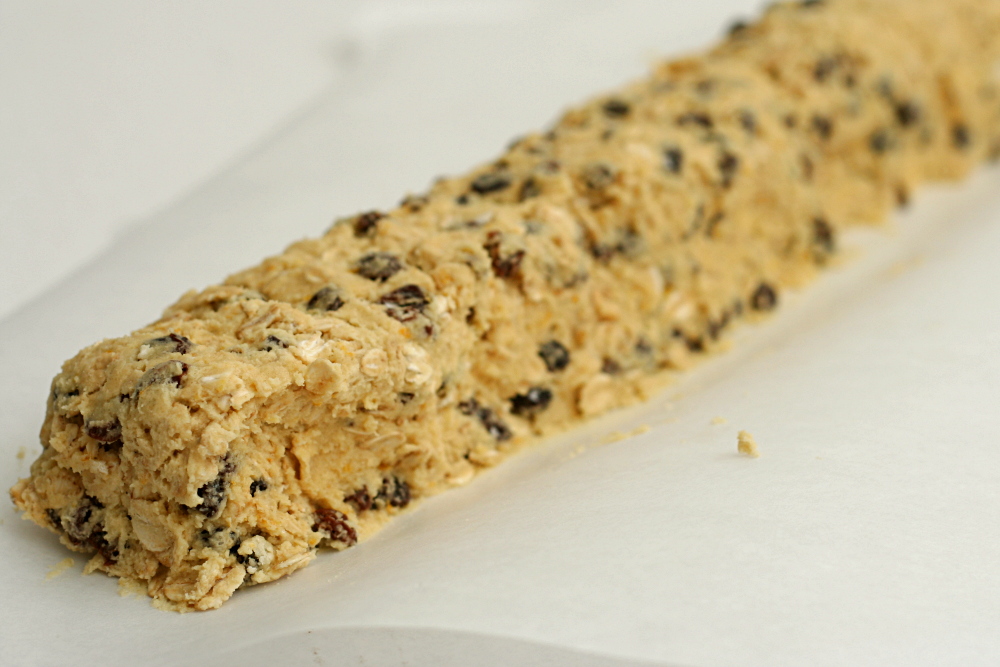
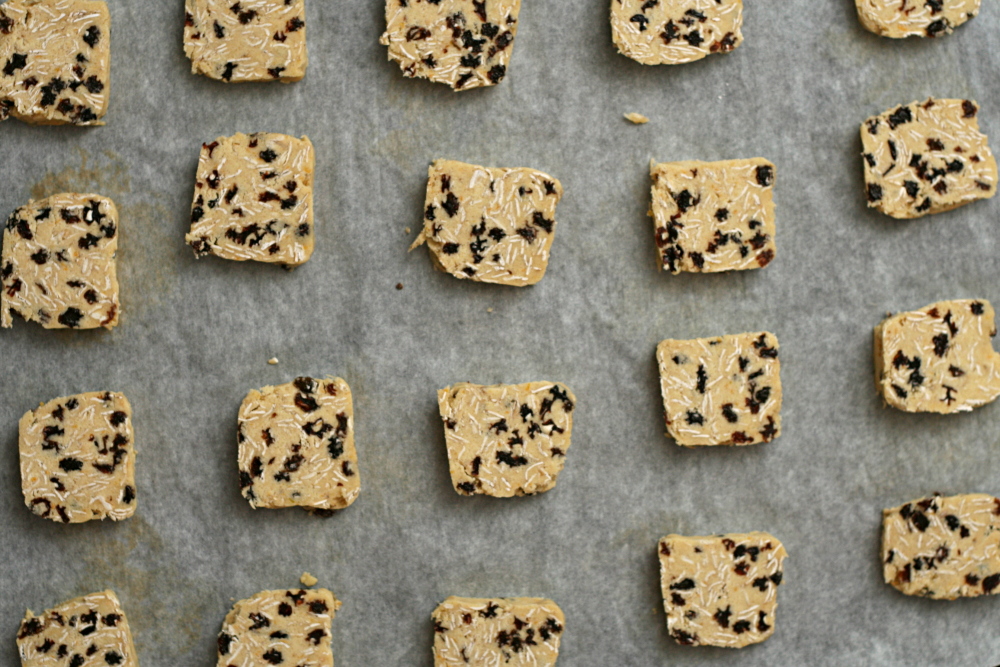
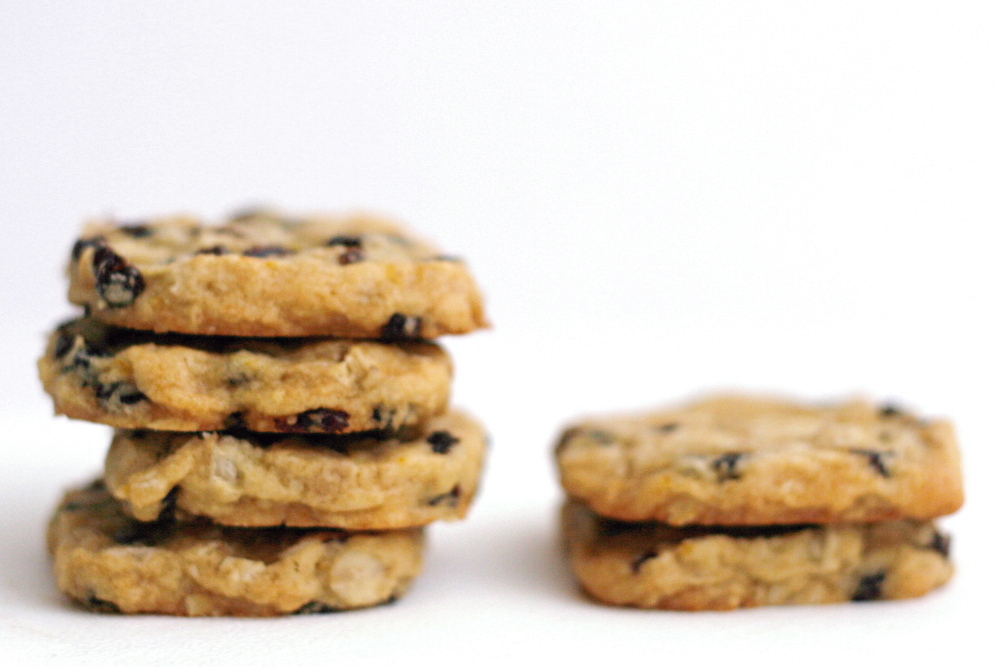
And these cookies honestly might be my new favorite (well…maybe not), and they’re certainly the best oatmeal cookie I’ve eaten. The method is mostly traditional – the butter and sugar are creamed, eggs are beaten in, and the dry ingredients are stirred in just until they’re incorporated. It’s a freezer cookie, so you wrap the dough up and chill it, then when you’re ready to bake, just slice off cookies.

copy-of-img_4644

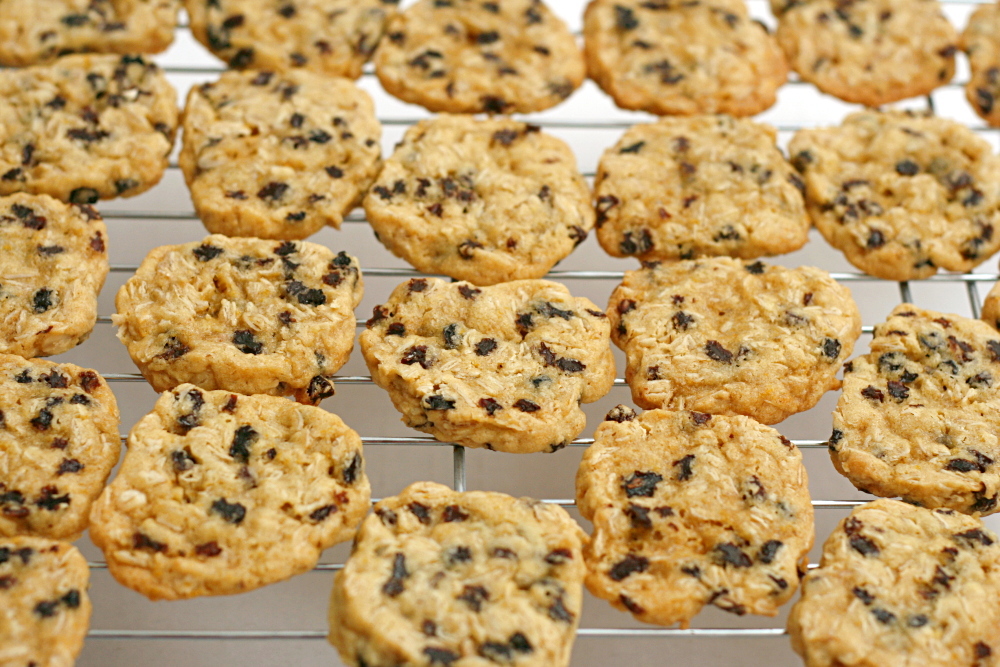
The cookies are perfectly balanced – slightly crisp on the edges, but mostly a soft chewy center, with tartness from the currants and a hint of orange and of spice. For a cookie, they feel almost light, with currants where chocolate often is and oatmeal adding plenty of healthy bulk. I’m looking for excuses to make them again, and I’m thinking particularly about Mother’s Day. It’s going to be impossible to make my way through Tartine if each recipe is so good that I have to make it twice to get enough.

copy-of-img_4645

One year ago: Red Beans and Rice

Orange-Oatmeal-Currant Cookies (from Tartine, by Elisabeth Pruett and Chad Robertson)

Makes 80 2-inch cookies

The recipe stressed the importance of being chilled overnight, but my dough was plenty chilled after a few hours in the freezer. Zante currants are the kind that you’ll find dried.

1½ cups (7 ounces) zante currants
2 cups (10 ounces) all-purpose flour
½ teaspoon baking soda
½ teaspoon nutmeg, freshly grated
1 cup (8 ounces/16 tablespoons) unsalted butter, at room temperature
1¼ cups (8¾ ounces) sugar
1 large whole egg
1 large egg yolk
1 teaspoon vanilla extract
2 tablespoons light corn syrup
1 tablespoon blackstrap or other dark molasses
½ teaspoon salt
4 teaspoon orange zest, grated
1½ cups (5½ ounces) old-fashioned rolled oats

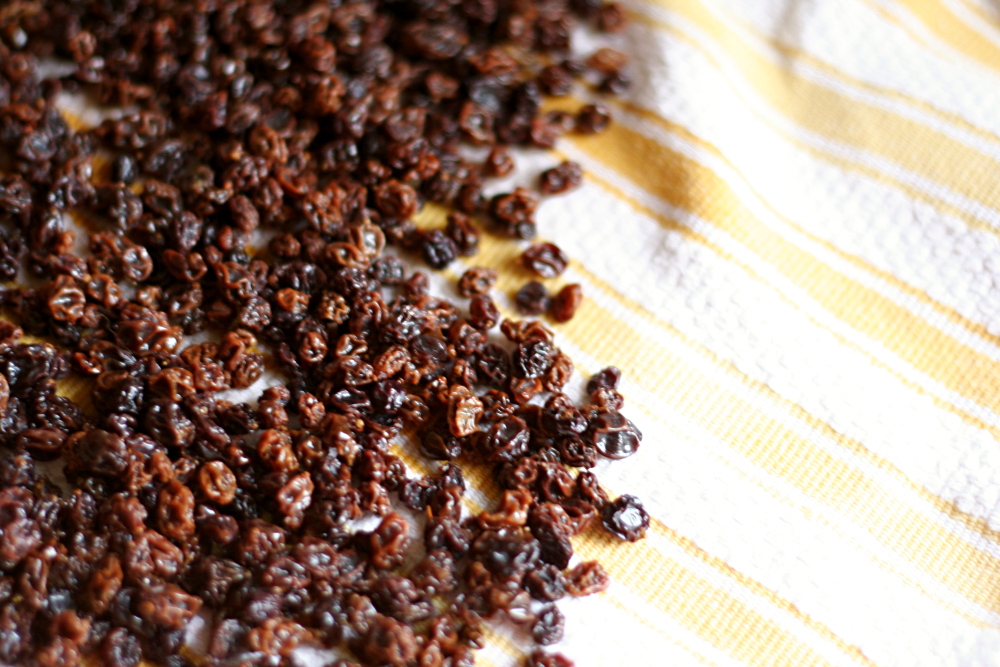
In a small bowl, combine the currants and warm water to cover and set aside for about 10 minutes until the currants are plumped. Drain well and set aside.

Sift together the flour, baking soda, and nutmeg into a mixing bowl and set aside. Using a stand mixer fitted with the paddle attachment, beat the butter on medium-high speed until light and creamy. Slowly add the sugar and mix on medium speed until light in color and fluffy. Stop the mixer and scrape down the sides of the bowl with a rubber spatula as needed. Add the whole eggs, egg yolk, vanilla, corn syrup, molasses, salt, and orange zest and beat until well mixed. Stir in the flour mixture, currants, and oats until well incorporated.

Divide the dough into 2 equal portions. Working on a large sheet of parchment paper, shape each portion into a log about 14 inches long and 2 inches in diameter. Gently Press each log to give it an oval shape. Wrap tightly in parchment paper or plastic wrap and place in the refrigerator or freezer overnight.

Preheat the oven to 350F. Line a baking sheet with parchment paper or a nonstick liner.

Unwrap the logs. Using a sharp knife, slice the logs into ovals about ¼ inch thick. Arrange the ovals on the prepared baking sheets. Bake until the edges of the cookies are lightly browned but the centers remain pale, 7-10 minutes. You may bake both pans at the same time, but rotate them 180 degrees at the midway point if they are not baking evenly. Transfer the cookies to wire racks to cool. The cookies will be soft when they cool. They will keep in an airtight container at room temperature for up to 2 weeks.

copy-of-img_4647

anadama bread

copy-of-img_3605

My friends and I aren’t amateurs at sleeping outdoors, but we went on a disaster of a trip a few years ago. Near the end of October, we went to West Virginia hoping to see some fall colors. We hiked up to a ridge with all of our gear, planning to camp at the top for a couple nights. And a little blizzard blew through. Then my friend leaned over too far while cooking dinner and fell – into the fire. The dog kept running away. Our tent blew away – while we were in it.

copy-of-img_3491

The next morning, we got off of that stupid ridge as early as possible. (Another friend fell and sprained his ankle on the way down.) Once down, we had a very nice, sunny and even warm picnic lunch in a beautiful park at the base of Seneca Rocks. My friend passed around this bread, apologizing that something had gone wrong with the baking. It clearly hadn’t risen – it was so dense it was almost crystalline. But the taste, sweet and complex, was good enough to make up for the texture. I promised her I’d try the recipe and see if I could figure out what went wrong.

copy-of-img_3501

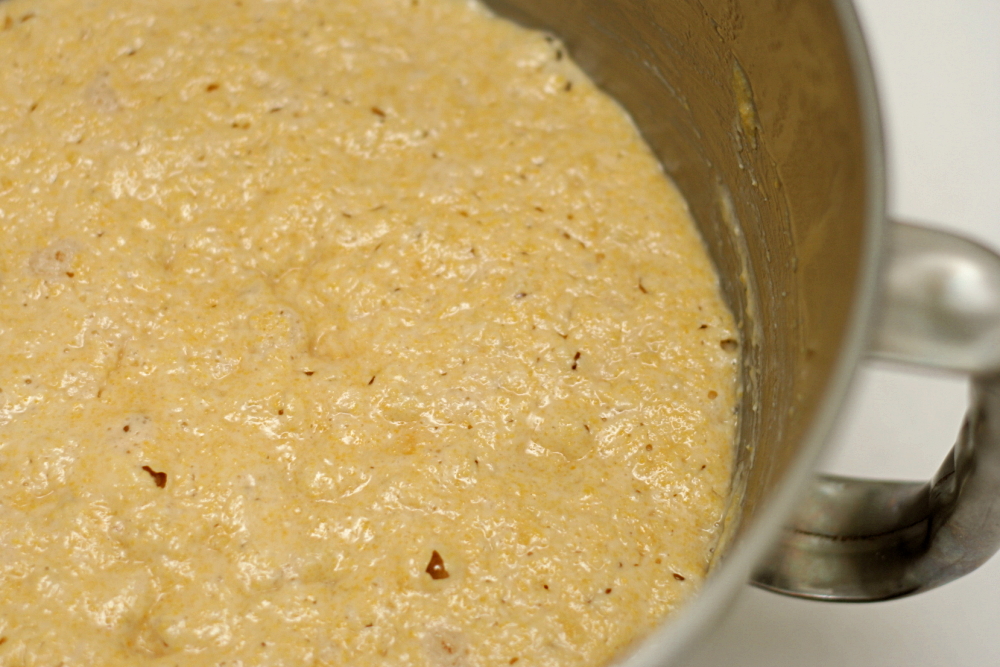
The recipe has quite a number of issues, actually. For one thing, it calls for 12-13 cups of flour and says that it makes two 9×5-inch loafs, where most recipes use just 3-4 cups of flour per loaf. It also instructs the baker to dump cornmeal into hot liquid, but that will cause it to clump. And then there’s the place where I think my friend went wrong: the recipe starts with a hot cornmeal mush, and after that cools for “a bit”, as the recipe misleadingly states, the yeast is added. But it took at least half an hour before it was cool enough not to kill the yeast.

copy-of-img_3506

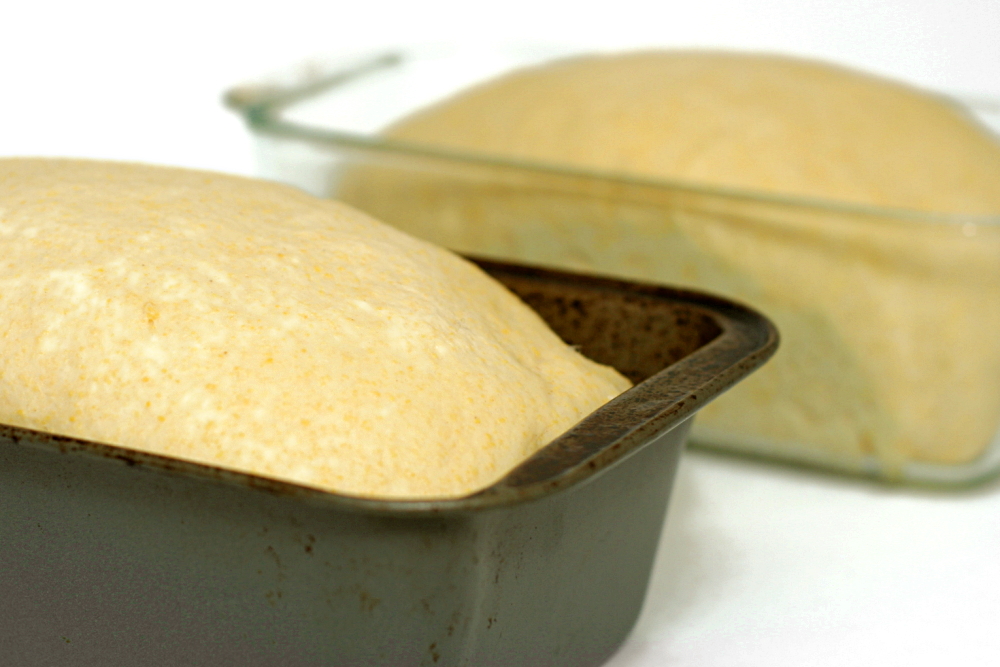
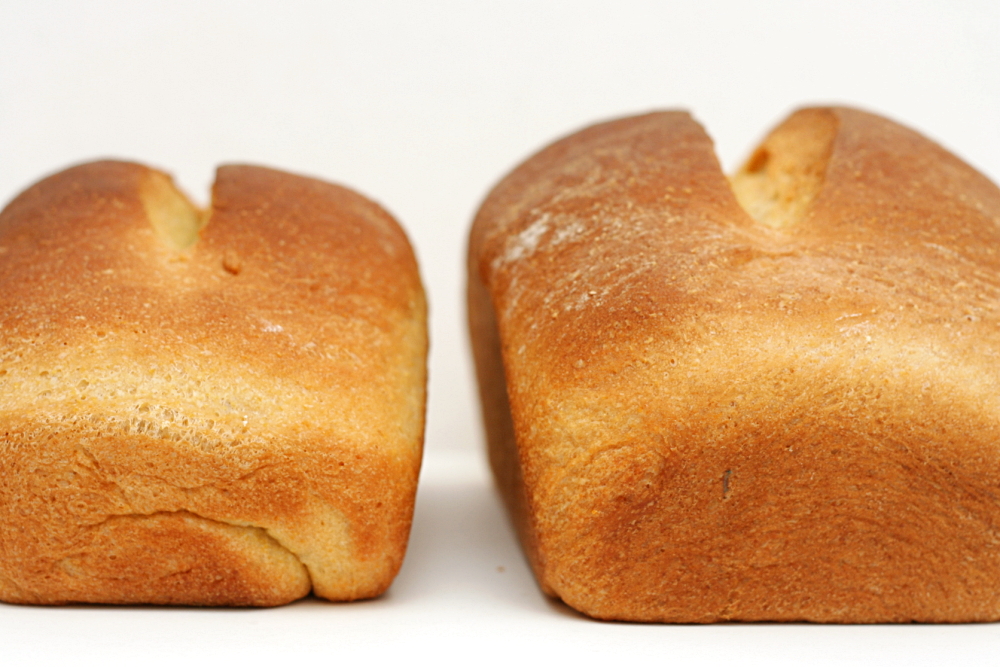
It’s good thing I’m not new at bread baking.  I halved the recipe and divided the dough between two loaf pans. The cornmeal lumps did seem to break up during kneading, but I’ve reworked the recipe to avoid this problem anyway. And fortunately, I used my thermometer to make sure the mush had cooled enough before adding the yeast.

copy-of-img_3602

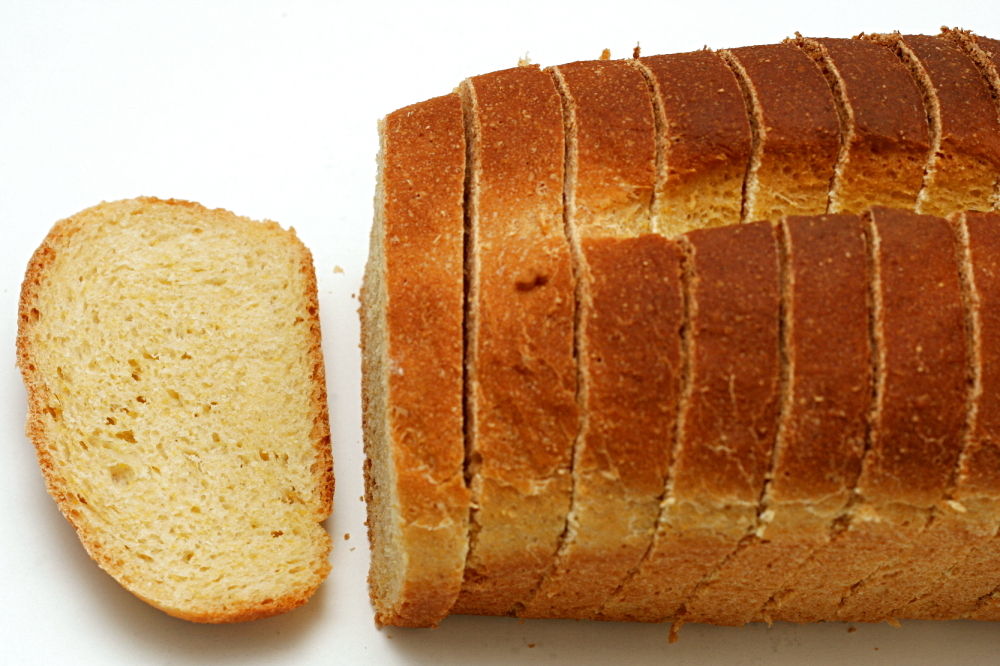
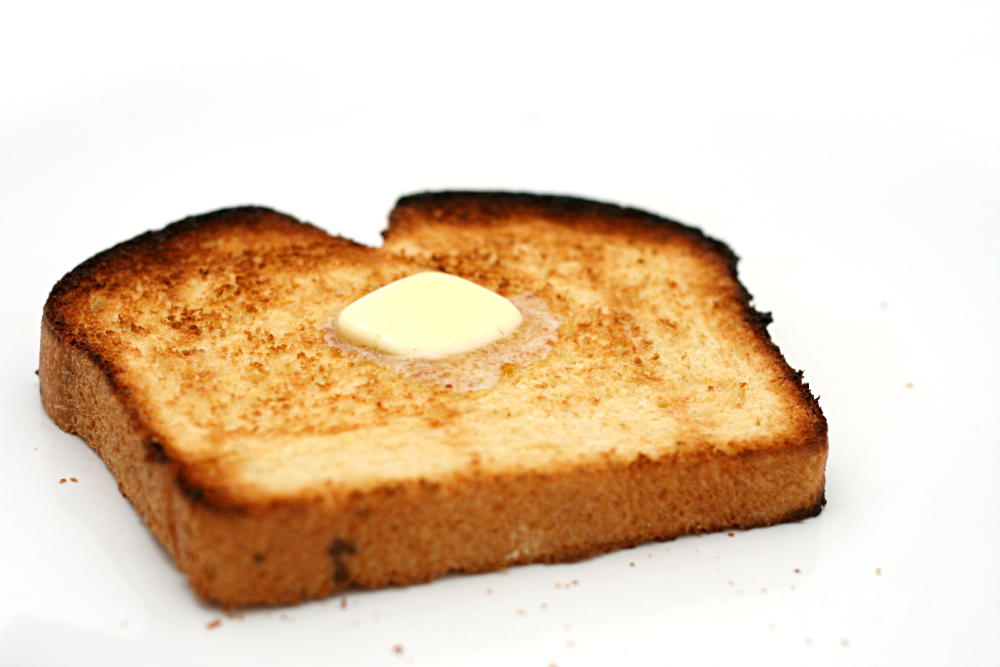
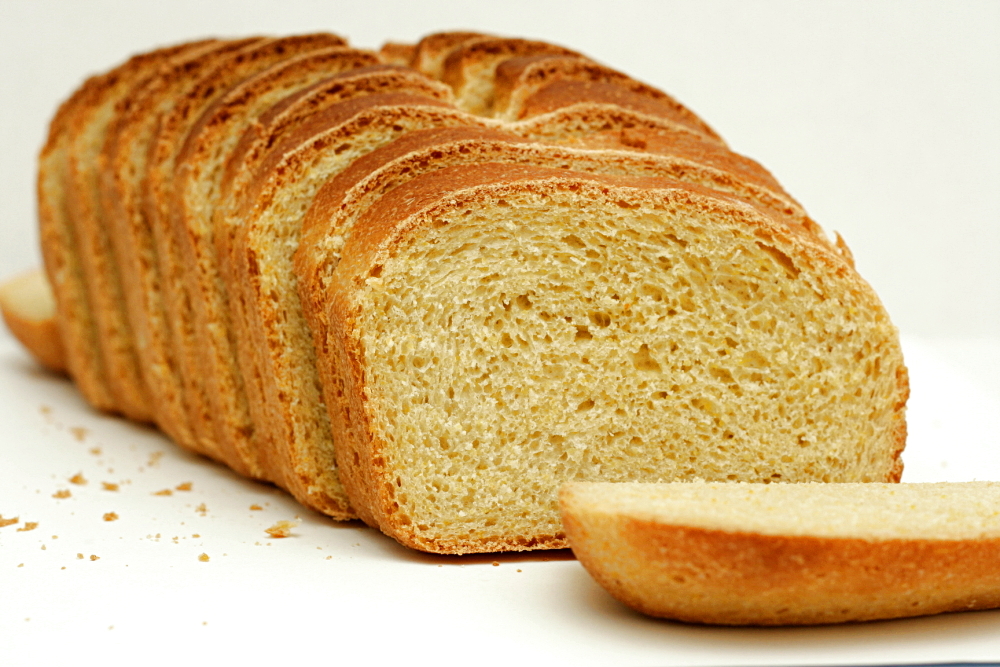
After all was said and done, the bread was great. It was just as sweet as I remember, plus light and tender. So far I’ve eaten it toasted with butter, as French toast, with sliced avocado, and as part of a ham sandwich.  Tomorrow it will be bread pudding.  It’s delicious and versatile.

copy-of-img_3610

One year ago: Cinnamon Rolls

Anadama Bread (revised from Moosewood Restaurant Daily Special)

Makes 2 loaves

Note from Bridget: I have to admit that I didn’t totally make Anadama bread, which requires molasses. It turns out that I didn’t have any, so I used honey instead. Not the same, but still good.

¾ cup water
1 cup milk
1 cup cornmeal
¼ cup (1.75 ounces) packed brown sugar
2 tablespoons molasses
1 package (2¼ teaspoons) instant yeast
6 to 6½ cups (28.8 to 32.2 ounces) unbleached flour
2 tablespoons vegetable or canola oil
1 tablespoon salt

1. Heat the water, milk, cornmeal, and sugar in a medium-saucepan over medium heat, stirring frequently. Once it thickens, transfer to it to the bowl of a standing mixer or other large bowl, stir in the molasses, and set the mixture aside to cool, about 30 minutes.

2. When the cornmeal mush has cooled to 105-110F, add the yeast and 1 cup of the flour, and stir until smooth. Cover the bowl with a damp cloth and set aside until the mixture bubbles, about 45 minutes.

3. Stir the oil, salt, and 3½ cups of the remaining flour into the sponge to make a stiff dough, mixing well (or mix for 2 minutes on low speed in a stand mixer fitted with the dough hook). Generously dust a board with the remaining flour. Turn the dough onto the board and knead it until elastic, about 10 minutes (or knead on medium low for 6 minutes, slowly adding flour until the dough pulls away from the sides and bottom of the mixing bowl). The dough may be sticky, but should be firm.

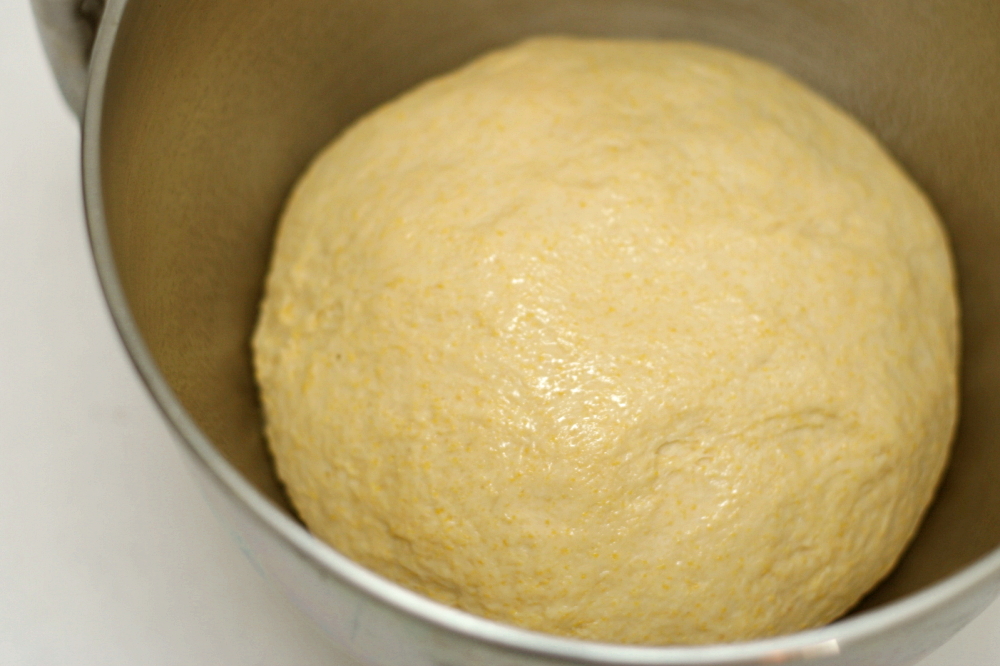
4. Lightly oil a large bowl, shape the dough into a round, and put it in the bowl, turning it to coat both sides with oil. Cover the bowl with a damp cloth and set aside in a warm place until the dough has doubled in size, 45 to 60 minutes.

5. Lightly oil two loaf pans (8.5×4.5 inches or 9×5 inches). Punch down the dough and turn it out onto a lightly floured board. Slice it into halves and shape each half to fit the loaf pans. Place the dough in the prepared pans, cover with a damp cloth, and let rise until doubled, 30-45 minutes. Preheat the oven to 350F.

6. When the dough has risen about an inch above the top of the loaf pans, bake for about 40 minutes, or until golden and hollow-sounding when tapped on the bottom. An instant-read thermometer inserted into the center of the loaf should read 195-200F. Cool on a wire rack for 15 minutes, then use a knife to loosen the edge of the bread from the pans. Invert the loaves onto a cooling rack and cool completely before slicing.

copy-of-img_3606

pasta with roasted red pepper sauce

copy-of-img_3718

I read the Pioneer Woman’s cooking blog, even though I don’t find too many recipes there that are my style.  Ree tends to add more butter, more oil, and more cream to her dishes. And yes, all of those things make food very good. But it’s a safe bet that I live a more sedentary life than Ree does on her ranch, so I can’t be adding extra butter to everything I cook.

copy-of-img_3672

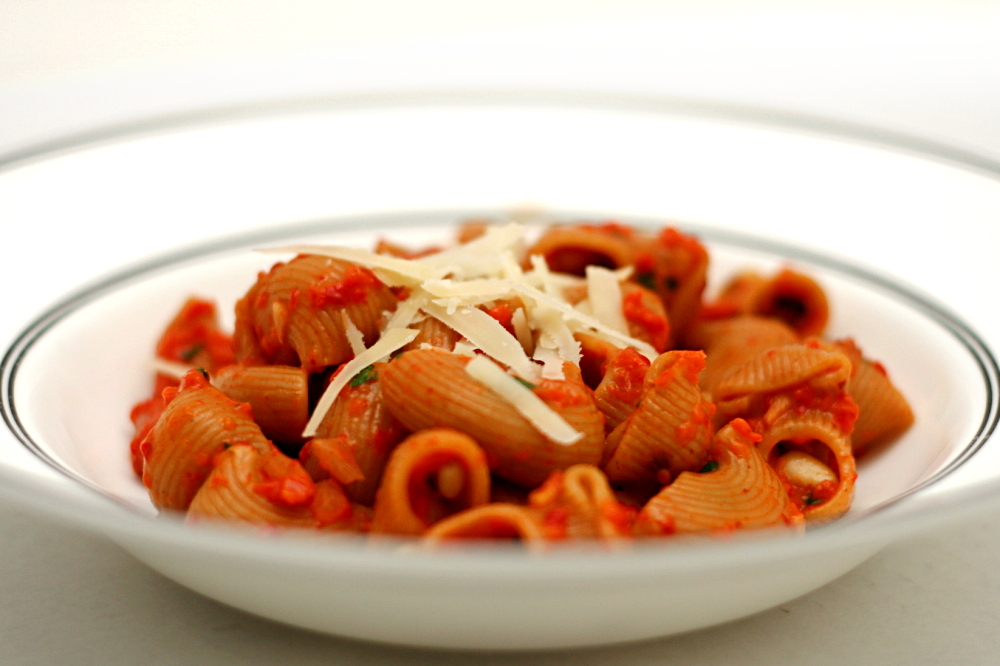
Occasionally, though, Ree makes a dish that does click with me, like this one. It’s an easy, fairly healthy, vegetarian, one-dish pasta meal. That is exactly how we normally eat.

copy-of-img_3700

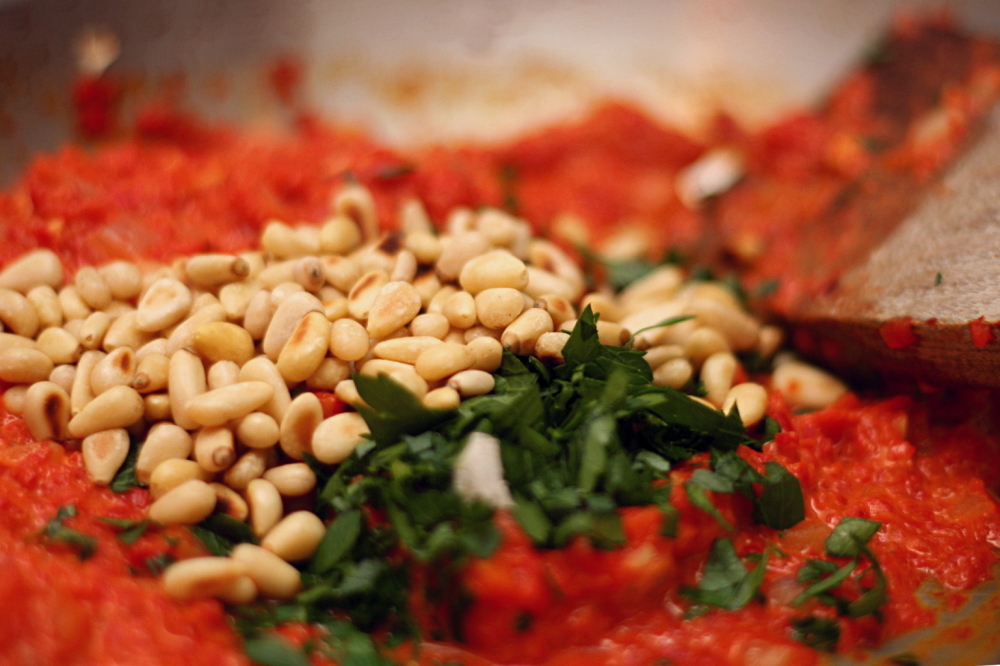
The sauce is simply sautéed onions and garlic with pureed roasted red peppers, pine nuts, and heavy cream stirred in. I used less cream than Ree, of course, and I decided to keep the pine nuts whole instead of grinding them with the roasted peppers. I’m sure either way is fine; recipes as straightforward as this are easy to adapt to your preferences.

copy-of-img_3707

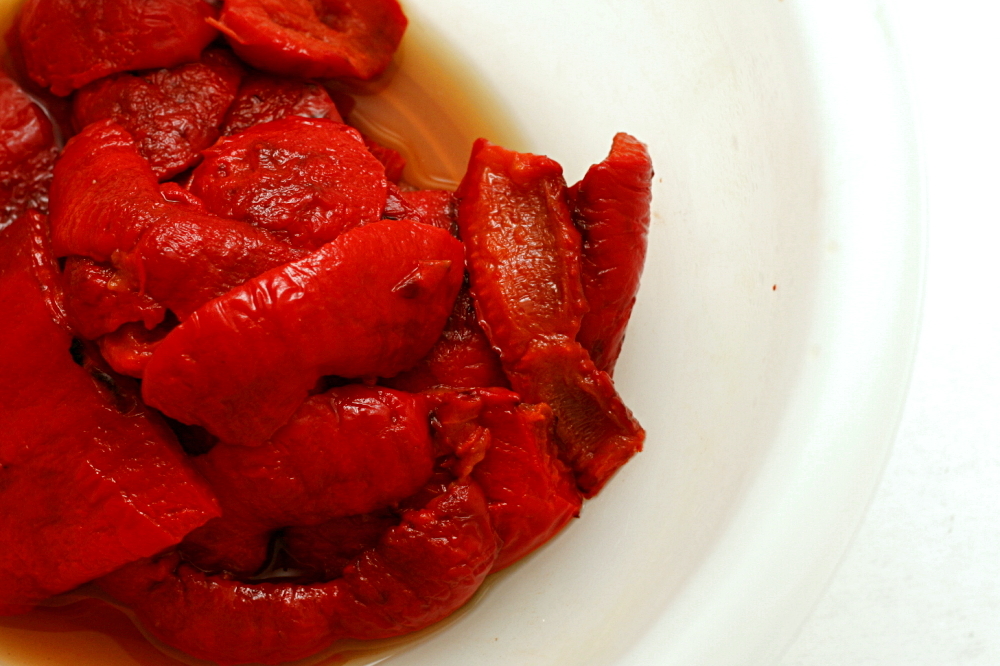
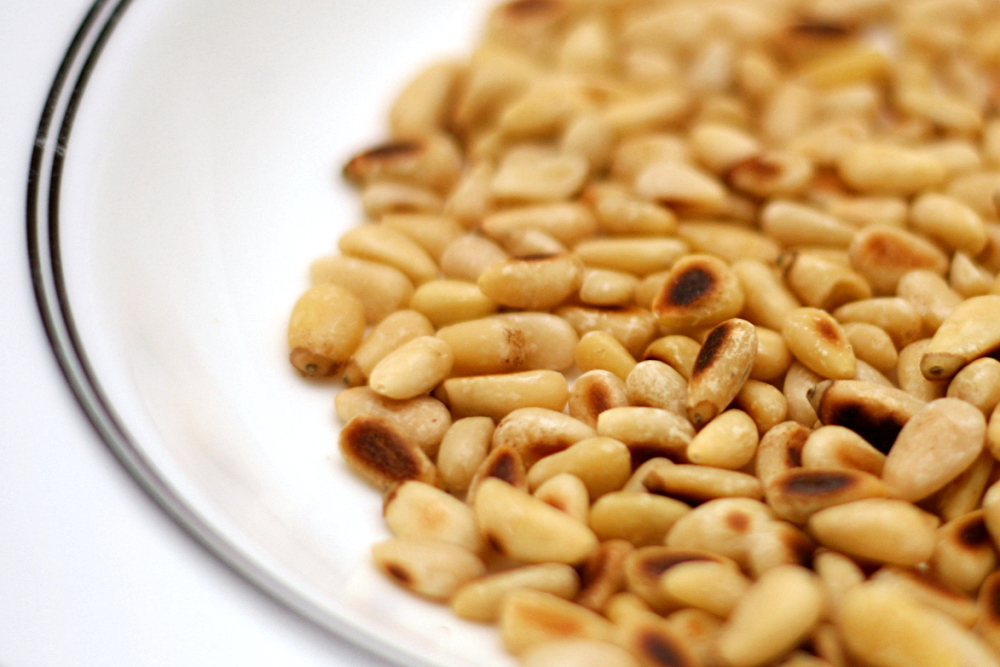
I also burnt the pine nuts and under-roasted the peppers, but these aren’t changes that I recommend that you make. Fortunately, this pasta is so good that even that couldn’t ruin it.

copy-of-img_3712

One year ago: Blueberry Poppy Seed Brunch Cake

Pasta with Roasted Red Pepper Sauce (adapted from The Pioneer Woman Cooks)

Note from Bridget: This is fairly similar to the original recipe, in that it uses the same ingredients in almost the same proportions, but I’ve changed the directions slightly, mostly to give them some more detail. You can roast the peppers a few days advance, and keep them refrigerated (or frozen) either peeled or unpeeled. Also, Ree warns that this dish needs quite a bit of salt, and I found this to be the case. Please don’t be afraid to add salt at the end until the sauce has some flavor!

Serves 2

2 red bell peppers
6 ounces dry pasta
salt
2 tablespoons pine nuts
2 teaspoons olive oil
½ medium onion, finely diced
2 cloves garlic, minced
2 tablespoons heavy cream
1 tablespoon minced flat leaf parsley
fresh Parmesan, shaved, grated or shredded

1. Adjust an oven rack to the top position and heat the broiler. Line a baking sheet with foil. Cut a ½-inch ring off the tops and bottoms of the peppers. Remove the seeds and stems, then cut the remaining cylinders of pepper in half lengthwise, into two wide strips. Lay the strips of pepper and the rings skin-side up on the foil-lined pan, pushing the strips down. Broil until thoroughly blackened, 6-8 minutes. Put the broiled peppers in a bowl; cover the bowl and set aside for at least 10 minutes.

2. Bring a large pot of water to a boil. Once boiling, add 1 tablespoon salt and the pasta. Cook the pasta according to the package instructions, until al dente. Drain and return to the cooking pot.

3. Meanwhile, heat a medium skillet, preferably not nonstick, over medium heat. Add the pine nuts and toast, shaking the pan occasionally, until golden brown and fragrant, 3-6 minutes. Remove the pine nuts from the pan and set aside.

4. Peel the skins off of the peppers. Add them to a blender or food processor and purée.

5. Add the olive oil to the now-empty skillet over medium heat. Once heated, add the onion. Sauté, stirring occasionally, until softened and just browned around the edges, about 5 minutes. Add the garlic and cook until fragrant, about 1 minute, then stir in the red pepper puree and ½ teaspoon salt. Pour in the cream and toasted pine nuts, and stir until the sauce is evenly heated. Check for seasoning, adding additional salt if necessary.

6. Add the sauce to the cooked pasta, and stir over medium-high heat until everything is heated and the pasta absorbs some of the sauce. Serve, topping each portion with parsley and Parmesan.

copy-of-img_3714

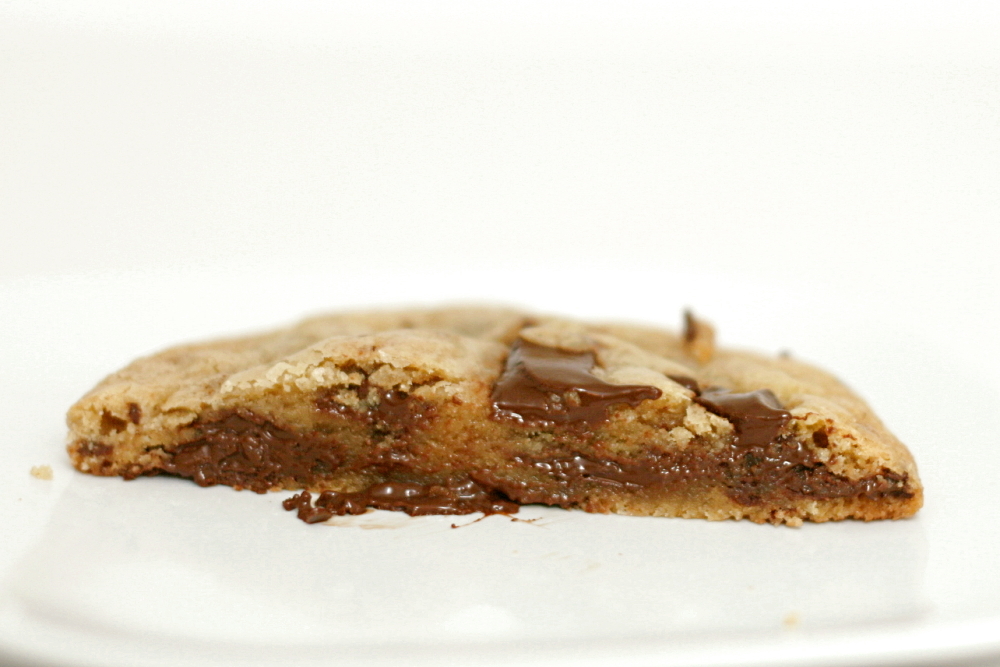
cook’s illustrated’s perfect chocolate chip cookies

copy-of-img_3471

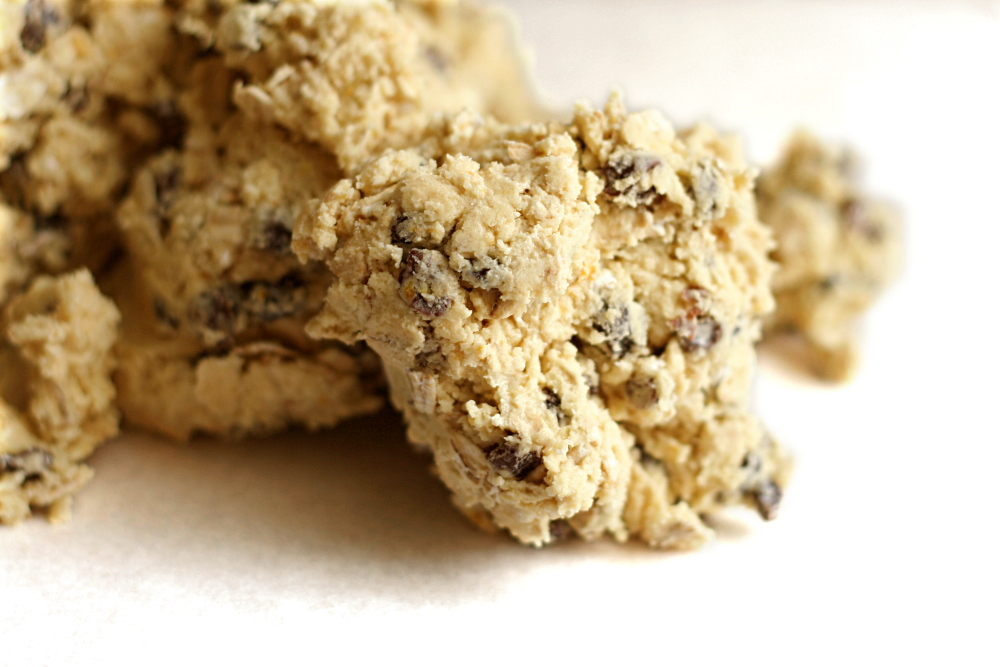
If you’re at all familiar with my blog, you must have known that I would be all over Cooks Illustrated’s new chocolate chip cookie recipe. Not because it might become my new favorite – I knew beforehand that it wouldn’t. The thing is, I’m a major cookie dough eater. To me, the baked cookies are just a bonus dessert; the dough is the reason I make chocolate chip cookies. And I don’t like dough made with melted butter.

copy-of-img_3459

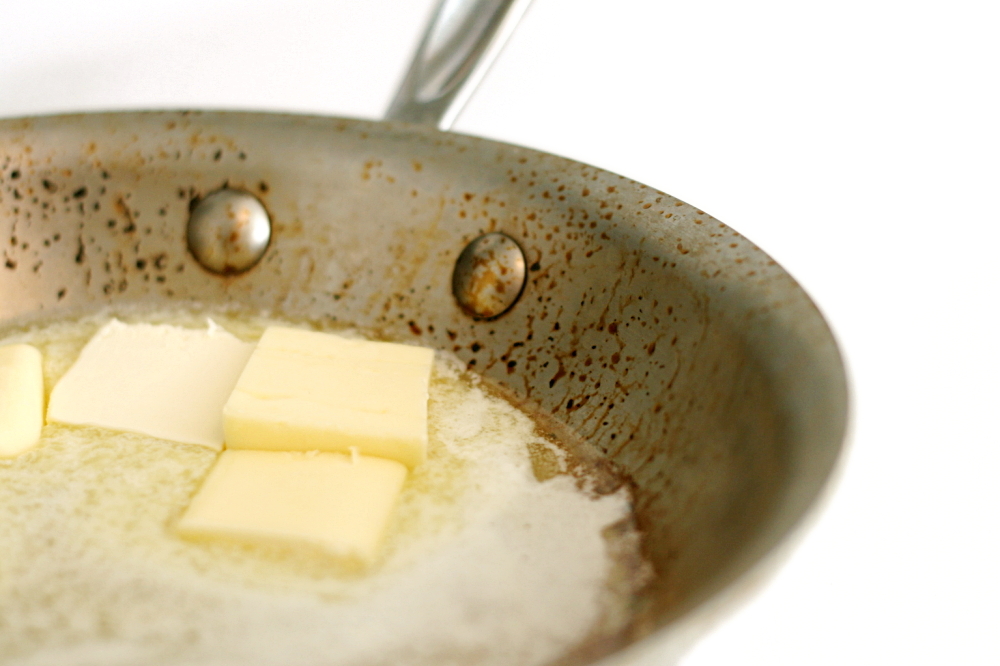
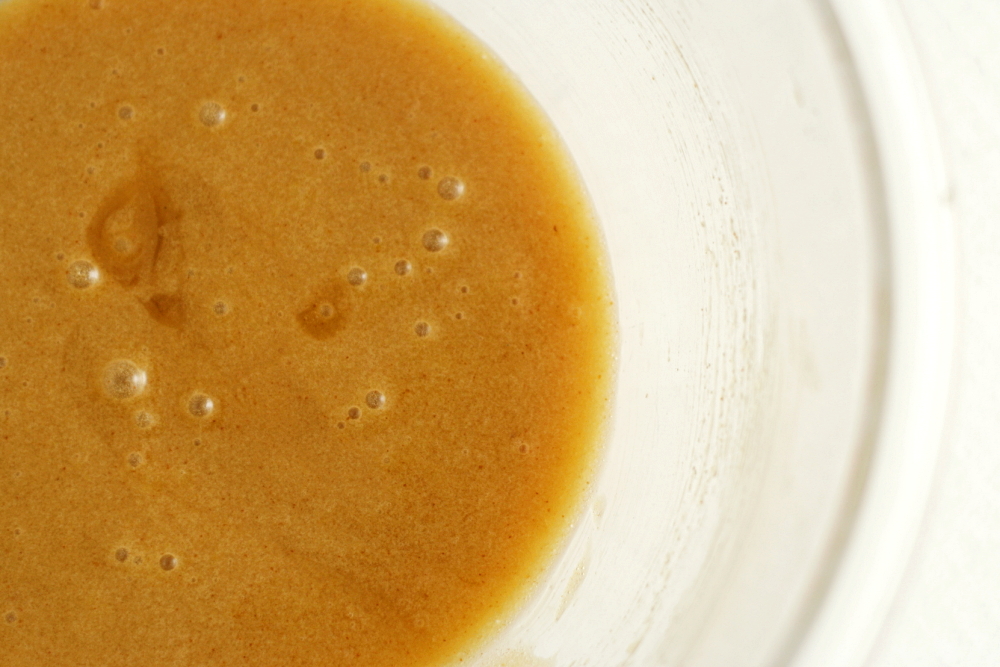
No, the real reason I wanted to try this recipe is because it has some interesting tricks in it, and I thought I might learn something. First, a portion of the butter is browned. Then the sugar is mixed into the melted butter and left to set for 10 minutes, which apparently dissolves the sugars and gives them more opportunity to caramelize in the oven.

copy-of-img_3466

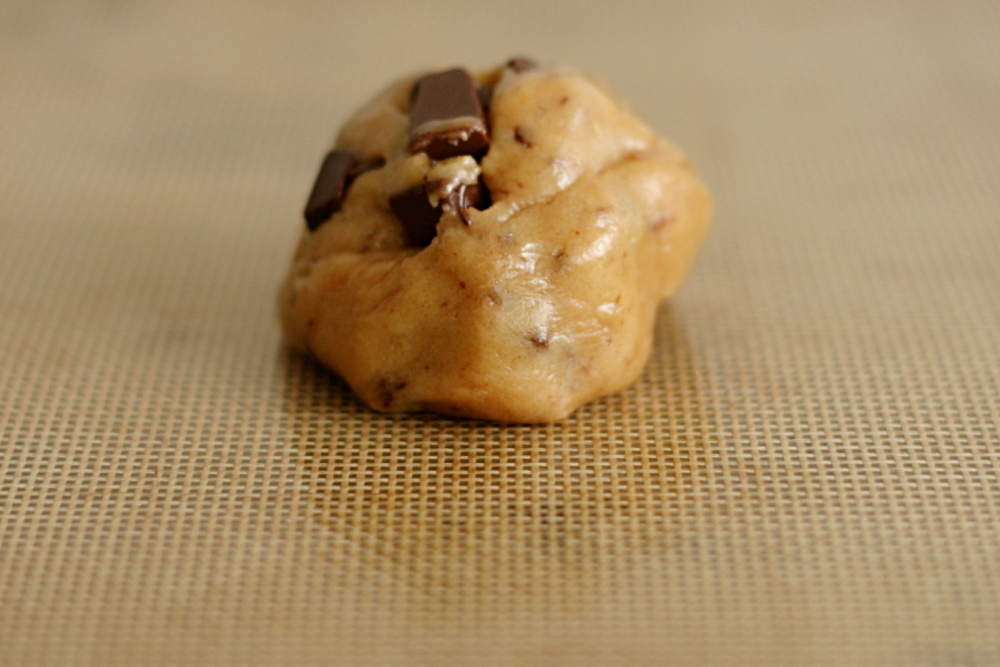
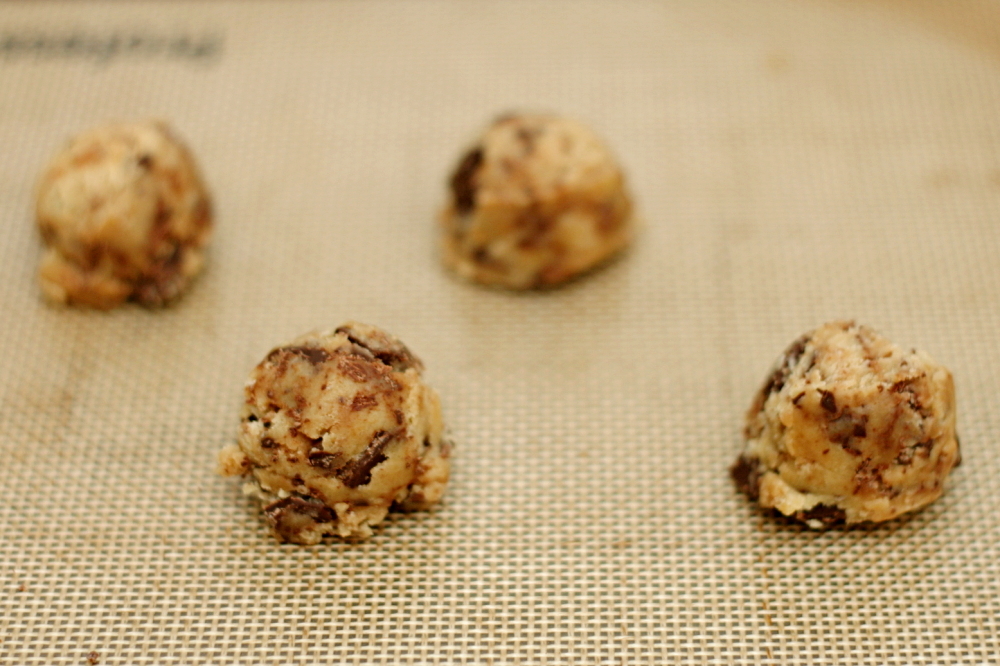
It also makes the recipe very easy – you just melt the butter, whisk in a few more ingredients, let it set, then stir in the remaining ingredients. Divide the dough into 16 portions and bake.

copy-of-img_3468

Here are, for me, the things the recipe has against it. 1) The dough has a greasy texture from the melted butter. 2) It uses portions of eggs. This is a pet peeve of mine, because I hate having containers of egg parts in my freezer or refrigerator. For something I make as often as chocolate chip cookies, I’d rather use whole eggs. 3) It doesn’t use a stand mixer. Dude, stand mixers are fun. That’s why everyone these days has one.

copy-of-img_3477

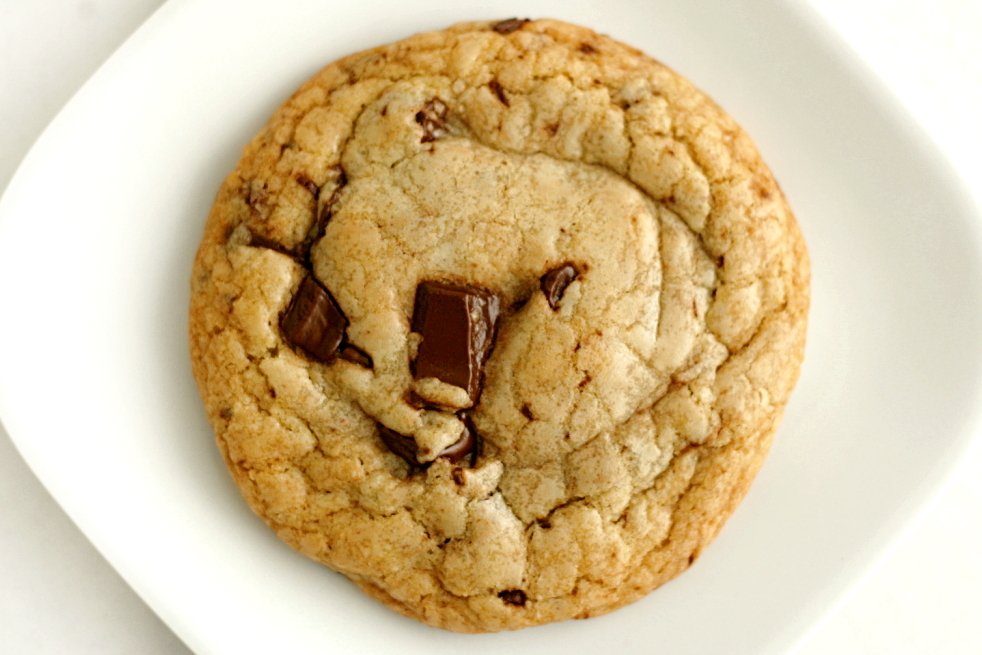
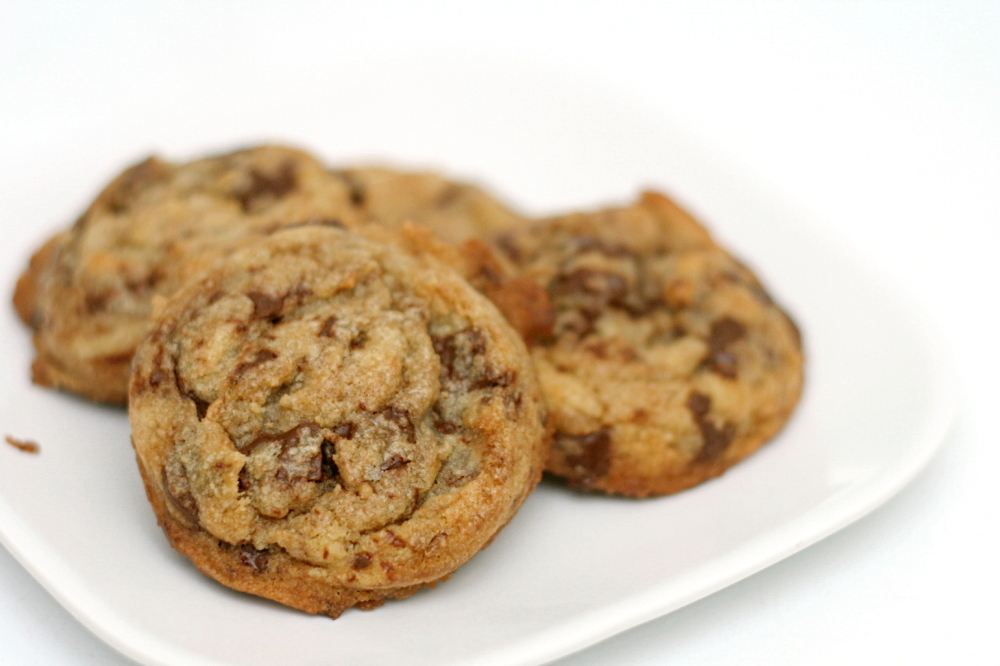
You may have noticed that none of my complaints take issue with the outcome of the baked cookie? That’s because the cookies were really good. This wasn’t a side-by-side comparison, so it’s hard for me to say exactly where they stand in my chocolate chip cookie rating, but they’re certainly in the upper echelon of chocolate chip cookies. So if you’re normal, and all you want out of your chocolate chip cookie recipe is really good cookies without a lot of effort, then definitely check this recipe out. It’s certainly up there with Alton Brown’s popular The Chewy and the NY Times recipe.

copy-of-img_3474

One year ago: Spinach Feta Pine Nut Tart and Dorie’s Perfect Party Cake

Perfect Chocolate Chip Cookies (from Cook’s Illustrated May/June 2009)

Note from Bridget: The recipe makes large cookies in an effort to maximize the difference in texture between the crisp exterior and the tender center. However, I prefer small cookies. I tried baking both sizes, and preferred the texture of the smaller cookies anyway. They still had a great mix of textures. If you do this, you’ll want to reduce the baking time to 7-9 minutes.

1¾ cups (8¾ ounces) unbleached all-purpose flour
½ teaspoon baking soda
14 tablespoons (1¾ sticks) unsalted butter
½ cup (3½ ounces) granulated sugar
¾ cup (5¼ ounces) packed dark brown sugar
1 teaspoon table salt
2 teaspoons vanilla extract
1 large egg
1 large egg yolk
1¼ cups semisweet chocolate chips or chunks
¾ cup chopped pecans or walnuts, toasted (optional)

1. Adjust oven rack to middle position and heat oven to 375 degrees. Line 2 large baking sheets with parchment paper. Whisk flour and baking soda together in medium bowl; set aside.

2. Heat 10 tablespoons butter in 10-inch skillet over medium-high heat until melted, about 2 minutes. Continue cooking, swirling pan constantly until butter is dark golden brown and has nutty aroma, 1 to 3 minutes. Remove skillet from heat and, using heatproof spatula, transfer browned butter to large heatproof bowl. Stir remaining 4 tablespoons butter into hot butter until completely melted.

3. Add both sugars, salt and vanilla to bowl with butter and whisk until fully incorporated. Add egg and yolk and whisk until mixture is smooth with no sugar lumps remaining, about 30 seconds. Let mixture stand for 3 minutes, then whish for 30 seconds. Repeat process of resting and whisking 2 more times until mixture is thick, smooth and shiny. Using rubber spatula or wooden spoon, stir in flour mixture until just combined, about 1 minute. Stir in chocolate chips and nuts (if using), giving dough final stir to ensure no flour pockets remain.

4. Divide dough into 16 portions, each about 3 tablespoons (or use a #24 cookie scoop). Arrange 2 inches apart on prepared baking sheets, 8 dough balls per sheet.

5. Bake cookies 1 tray at a time until cookies are golden brown and still puffy, and edges have begun to set but centers are still soft, 10-14 minutes, rotating baking sheet halfway through baking. Transfer baking sheet to wire rack; cool cookies completely before serving.
copy-of-img_3479

pecan sour cream biscuits

copy-of-img_2095

So what exactly is the difference between a biscuit and a scone? It seems to me that scones are just sweet biscuits. I’ve been going through a scone phase the last few months, making batches and freezing them unbaked. It makes for a great weekend breakfast, because there’s basically no work to do. Plus I love scones with coffee and I only drink coffee on the weekends. I know that technically, these aren’t scones. The name says biscuits, but I thought they’d fit right in with the theme.

copy-of-img_2080

They’re made just like any other biscuit (or scone) – mix the dry ingredients, cut (or rub) in the butter, stir in some liquid. In this case, the liquid includes sour cream, which seemed promising because I really like the tenderness of scones made with cream, and sour cream has that same richness.

copy-of-img_2082

The biscuits were just as good as I had hoped. Not only were they light and tender, but I love the flavor of the nuts. I only put jam on my biscuit for the sake of the photograph, but then I decided that it was a great compliment. I’m so glad that I have a few more of these in the freezer, stocked up for a lazy weekend morning.

copy-of-img_2091

One year ago: Chocolate Cream Pie

Pecan Sour Cream Biscuits (from Dorie Greenspan’s Baking: From My Home to Yours)

2 cups (9.6 ounces) all-purpose flour (or 1¾ cups all-purpose flour and ⅓ cup cake flour)
1 tbsp baking powder
½ tsp salt
¼ tsp baking soda
¼ cup (packed) (1.74 ounces) light brown sugar
5 tbsp cold unsalted butter, cut into 10 pieces*
½ cup cold sour cream
¼ cup cold whole milk
⅓ cup finely chopped pecans, preferably toasted

Center a rack in the oven and preheat the oven to 425F. Get out a sharp 2-inch-diameter biscuit cutter, and line a baking sheet with parchment or a silicone mat.
Whisk the flour(s), baking powder, salt and baking soda together in a bowl. Stir in the brown sugar, making certain there are no lumps. Drop in the butter and, using your fingers, toss to coat the pieces of butter with flour. Quickly, working with your fingertips or a pastry blender, cut and rub the butter into the dry ingredients until the mixture is pebbly. You’ll have pea-size pieces, pieces the size of oatmeal flakes and pieces the size of everything in between – and that’s just right.

Stir the sour cream and milk together and pour over the dry ingredients. Grab a fork and gently toss and turn the ingredients together until you’ve got a nice soft dough. Now reach into the bowl with your hands and give the dough a quick, gentle kneading – 3 or 4 turns should be just enough to bring everything together. Toss in the pecans and knead another 2 to 3 times to incorporate them.

Lightly dust a work surface with flour and turn out the dough. Dust the top of the dough very lightly with flour and pat the dough out with your hands or roll it with a pin until it is about ½ inch high. Don’t worry if the dough isn’t completely even – a quick, light touch is more important than accuracy.

Use the biscuit cutter to cut out as many biscuits as you can. Try to the cut the biscuits close to one another so you get the most you can out of this first round. By hand or with a small spatula, transfer the biscuits to the baking sheet. Gather together the scraps, working them as little as possible, pat out to a ½-inch thickness and cut as many additional biscuits as you can; transfer these to the sheet. (The biscuits can be made to this point and frozen on the baking sheet, then wrapped airtight and kept for up to 2 months. Bake without defrosting – just add a couple more minutes to the oven time.)

Bake the biscuits 14 to 18 minutes, or until they are tall, puffed and golden brown. Transfer them to a serving basket.

copy-of-img_2094