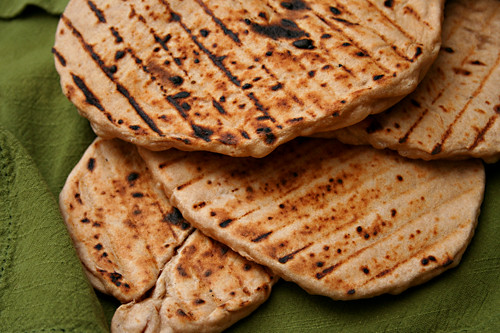
It’s news to no one that homemade pita is a hundred times better than storebought pita. But it might be news to some that grilled homemade pita is a hundred times better than baked homemade pita. True story.
Pita dough and pizza dough are so similar that I keep batches in the freezer (actually lately I’ve been using Tartine’s country bread dough) and use them interchangeably. Both are rounds of dough that are stretched out thin, and when cooked, are expected to be spotty browned but still tender. So if grilled pizza is so popular lately, why not grilled pita?
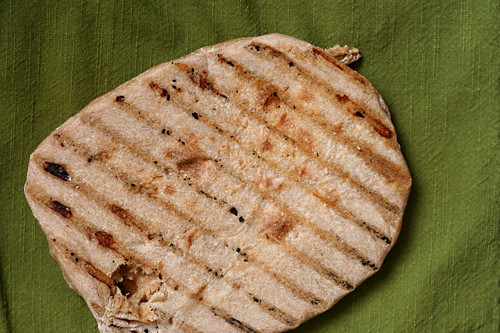
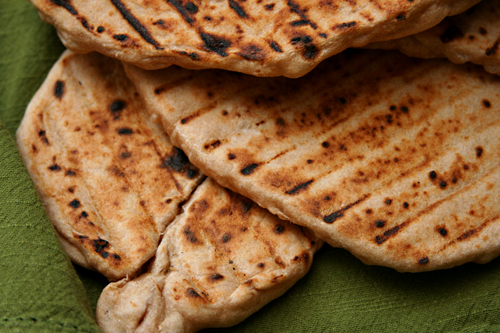
Grilling pita is particularly convenient for me because all of my favorite pita fillings are grilled. So once the chicken comes off the grill and is resting, I plop a round of dough on the hot coals, wait a minute until it bubbles and browns, then flip it. Your pita breads likely won’t be perfectly round, because transferring sticky stretchy dough to hot hot coals isn’t a trivial process. But what they might lack in symmetry, they make up for in grill lines – not to mention crisp edges, soft middles, and that touch of smoke that only the grill can provide.
One year ago: Baked French Toast
Two years ago: Pasta with No-Cook Tomato Sauce and Fresh Mozzarella
Three years ago: Blackberry Swirl Ice Cream
Printer Friendly Recipe
Grilled Pocketless Pitas
12 pitas
2½ pounds pizza dough, fully risen
nonstick spray or olive oil
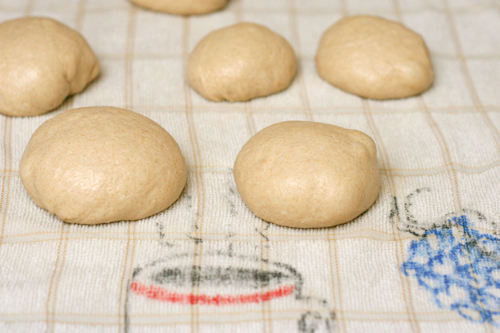
1. Working on a damp towel, cut the dough into 12 pieces. Shape each into a ball by gently pulling the edges toward one side and pinching the seam to seal it. Roll the ball of dough on the towel to smooth and even the shape. Let the dough rest for 15-30 minutes. Meanwhile, heat the grill to medium-high heat.
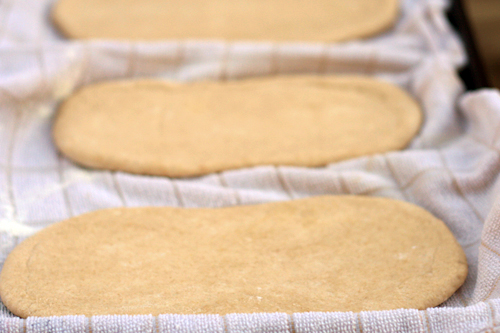
2. Pick up one ball of dough by an edge; stretch and pull it into a 5- to 6-inch round. If it becomes too elastic to shape, set it aside, loosely covered, for 5 minutes before trying again. Spray the tops of the shaped rounds with nonstick spray or brush with olive oil.
3. Carefully lay the pita rounds, oiled side down, directly on the grill. When the pita bubbles and the bottom is spottily browned, after 1-2 minutes, use tongs to flip the pita. Continue cooking until the second side begins to brown, about 1 minutes. Serve immediately or wrap in a kitchen towel for up to 30 minutes.


I am very excited to try this! YUM!
Nice lookin’ pitas – those grill marks make all the difference!
I would have never thought of this! We just joined the world of grilled pizza…I cannot wait to try the pita!
What a great idea!! I’ve fallen in love with grilled pizza this summer, and I imagine that grilled pitas would be equally amazing!
Everything is better from the grill. Love the grill marks!!
Looks great, Bridget! I’m loving the new layout 🙂
What a great idea!! I’ve never made homemade pita but I think it’s time to give it a shot…your pictures have inspired me!
oh, i wish i had a grill! grilled pita sounds fabulous, and i can think of lots of things to put on top.