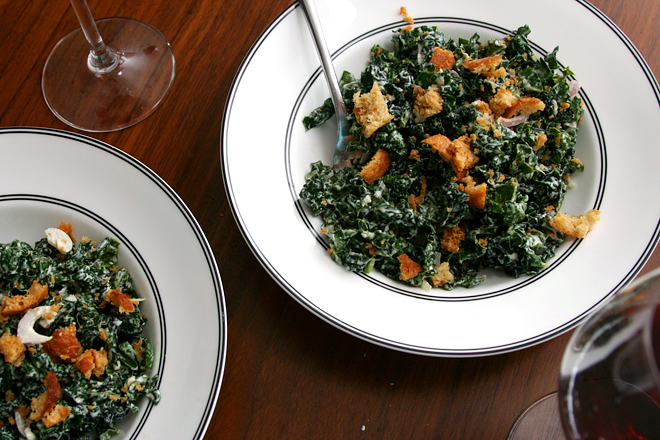
This is my salad of the season. It seems like there’s always one, something I make every time we have a big meal (i.e., every Saturday night). This one was so good we had it for Sunday lunch too.
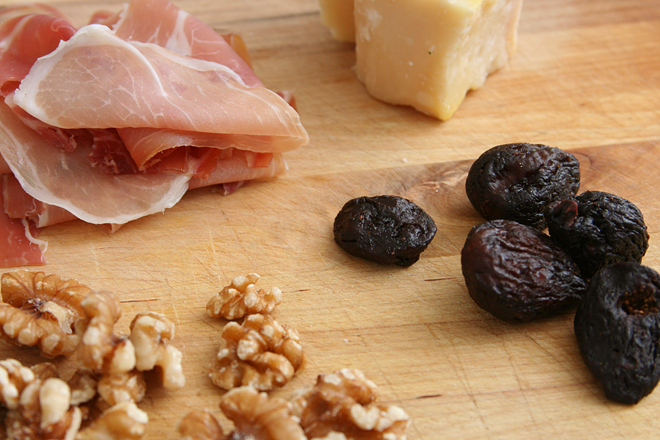
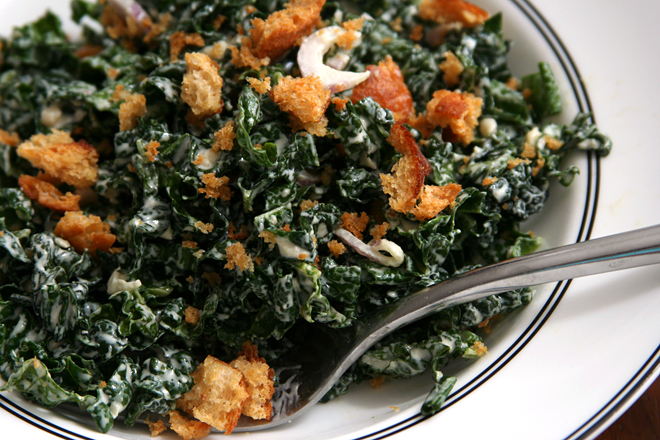
Maybe I should start making soup as a first course instead of salad, especially this time of year, but this salad seems appropriate for winter. It has deep, rich flavors from the prosciutto, figs, and walnuts, so it doesn’t taste bright and light like a lot of summer salads do.
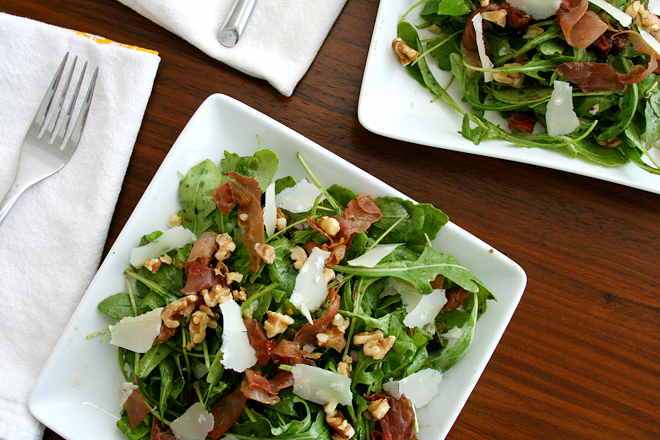
And yet, even piled with crisp prosciutto and slivers of parmesan, it’s still a salad, still mostly vegetables. That makes it a great accompaniment to rich winter braises and casseroles. If this is my salad of the season, I’m glad it’s still early in the season.
Printer Friendly Recipe
Arugula Salad with Prosciutto, Figs, Walnuts, and Parmesan (from Cook’s Illustrated)
4-6 servings
4 tablespoons extra-virgin olive oil
2 ounces thinly sliced prosciutto, cut into ¼-inch-wide ribbons
1 tablespoon raspberry jam or honey
3 tablespoons balsamic vinegar
½ cup dried figs, stems removed, fruit chopped into ¼-inch pieces
1 small shallot, very finely minced (about 1 tablespoon)
Table salt and ground black pepper
5 ounces lightly packed stemmed arugula (about 8 cups)
½ cup toasted, chopped walnuts
2 ounces Parmesan cheese, shaved into thin strips with vegetable peeler
1. Heat 1 tablespoon oil in 10-inch nonstick skillet over medium heat; add prosciutto and fry until crisp, stirring frequently, about 7 minutes. Using slotted spoon, transfer to paper-towel-lined plate and set aside to cool.
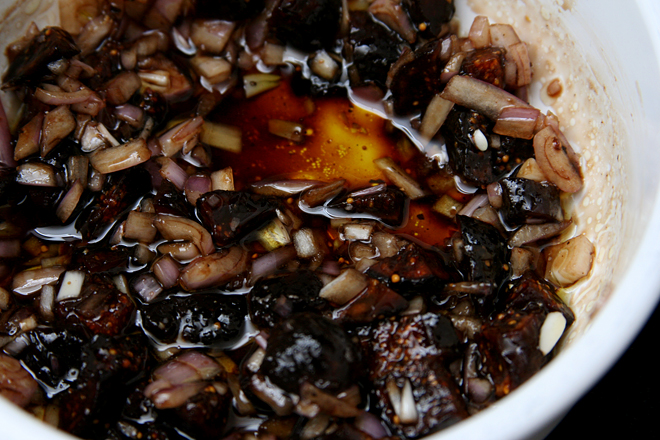
2. Whisk jam and vinegar in medium microwave-safe bowl; stir in figs. Cover with plastic wrap, cut several steam vents in plastic, and microwave on high until figs are plump, 30 seconds to 1 minute. Whisk in remaining 3 tablespoons oil, shallot, ¼ teaspoon salt, and ⅛ teaspoon pepper; toss to combine. Let cool to room temperature.
3. Toss arugula and vinaigrette in large bowl; adjust seasonings with salt and pepper. Divide salad among individual plates; top each with portion of prosciutto, walnuts, and Parmesan. Serve immediately.