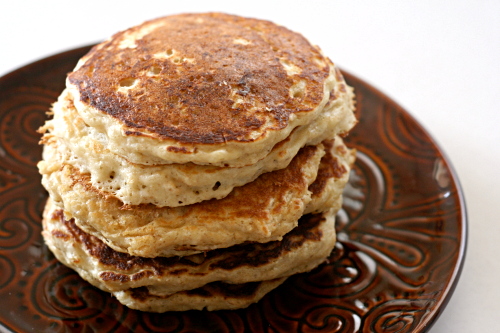
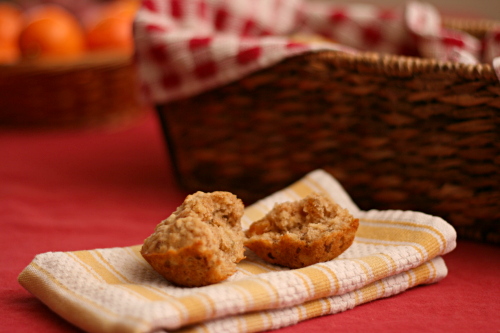
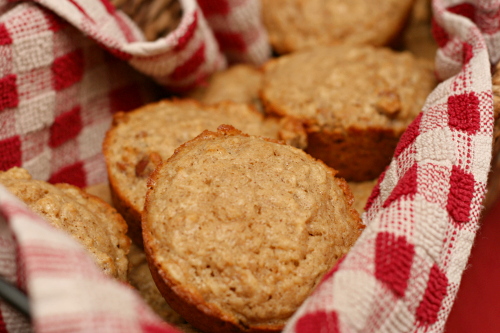
basic pancakes

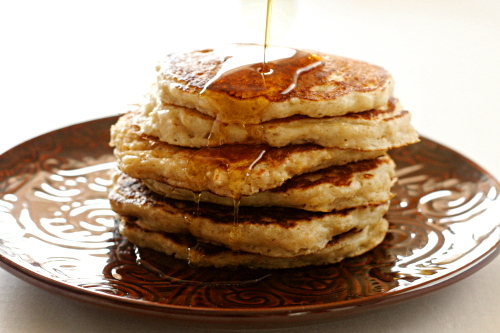
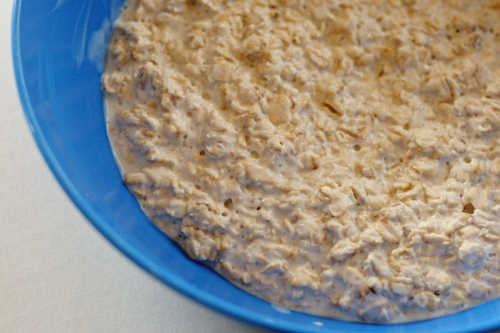
Every time I want to make pancakes, I have to look up my pumpkin pancake recipe and mentally subtract out the pumpkin and fall spices. It’s about time I made my basic pancake recipe more accessible.

The thing about pancakes is that there are a lot of less-than-perfect recipes. Trust me, I’ve tried a lot of them. I suppose what’s less-than-perfect for me might be perfect for someone else. Maybe. Because if a pancake is not too thin and not too thick, not too sweet and not too bland, plus not too hard to make and not too bad for you, what else could you want?

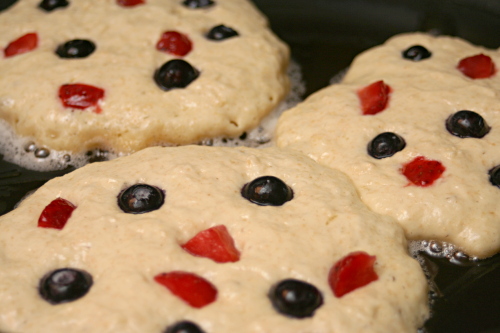
Did you want adaptability? You can have that too. Add fruit or nuts. Replace the sugar with honey. Replace half (maybe more!) of the flour with whole wheat pastry flour.

Did you want to use something other than buttermilk? I’m becoming a fan of actual buttermilk (or what passes for it in the grocery store today, which is not actually the “milk” leftover after churning cream into butter, but something more similar to yogurt – whatever, I like it). I love having it around. It lasts a while in the fridge and gives me an excuse to make pancakes, waffles, biscuits, coleslaw, cake. If you instead want to do the milk+lemon juice trick, only use ¾ cup of milk along with a tablespoon of lemon juice. If you’re using powdered buttermilk, only use 7 (liquid) ounces of water instead of the cup it recommends. If you have both plain yogurt and milk around, mixing the two together is my favorite buttermilk substitute.

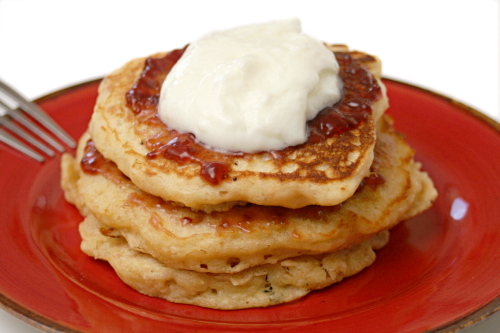
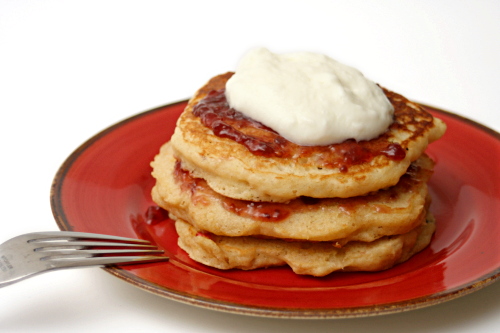
You can top your pancakes with whatever you want too, which probably means syrup. But, consider something different – maybe jam and plain yogurt? It’s healthier, but more important, it tastes great, with a nice balance of sweet and tart, hot (if you heat the jam first) and cool. Or just use syrup. However you prefer your perfect pancakes is fine by me.

One year ago: Brioche
Two years ago: Salad with Herbed Baked Goat Cheese

Printer Friendly Recipe
Basic Pancakes

Serves 2

There are all kinds of ways to play with this recipe – chunks of fruit or chocolate or nuts, spices, whole wheat pastry flour. The recipe is your oyster. You can even get away with using only 1 tablespoon of butter.

See the blog entry for notes on buttermilk substitutions.

1 cup (5 ounces) flour
1 tablespoon sugar
1 teaspoon baking powder
½ teaspoon baking soda
½ teaspoon salt
1 egg
2 tablespoons butter, melted and cooled
1 cup buttermilk
vegetable oil for the pan

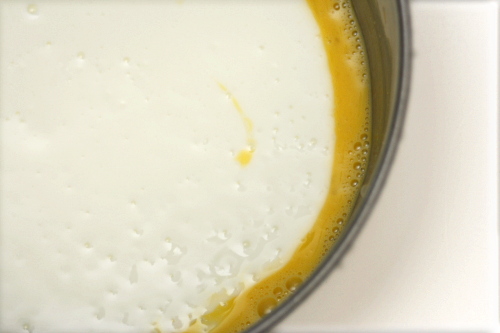
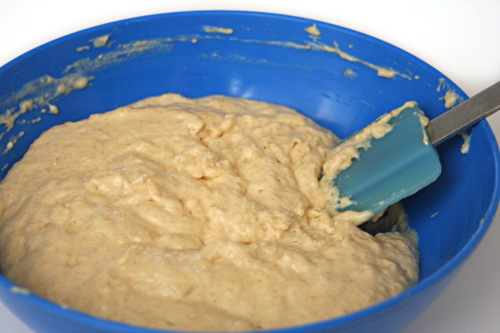
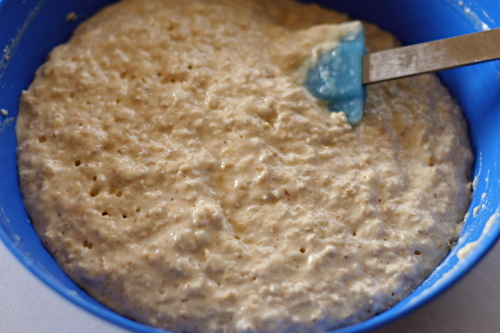
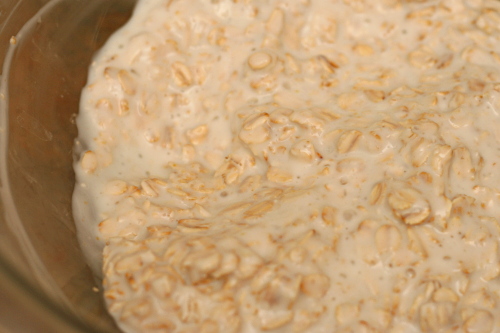
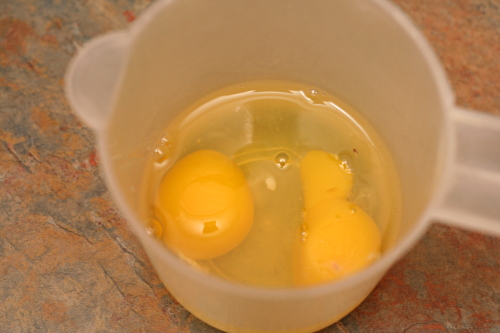
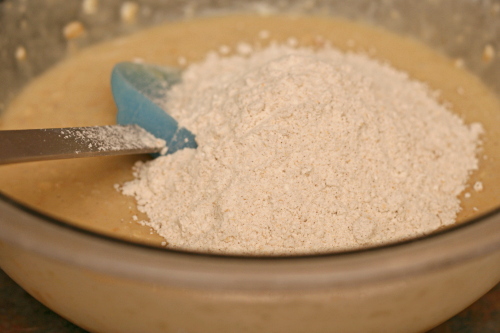
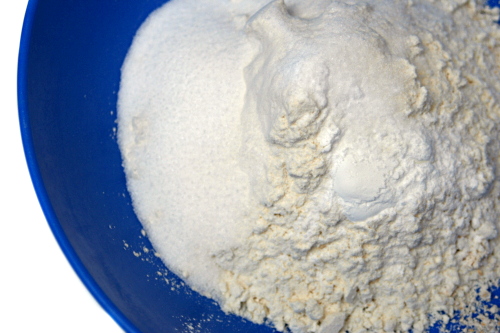
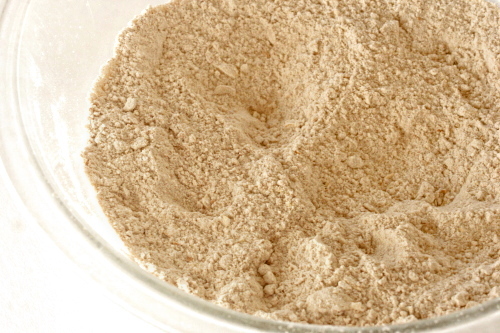
1. In a large mixing bowl, stir together the flour, sugar, baking powder, baking soda, and salt. In a separate mixing bowl, whisk the egg until thoroughly combined, then add the butter and buttermilk. Pour the liquid ingredients into the dry ingredients and whisk gently until batter is mostly mixed but still contains small lumps. Let the batter rest while the pan heats, at least 5 minutes.

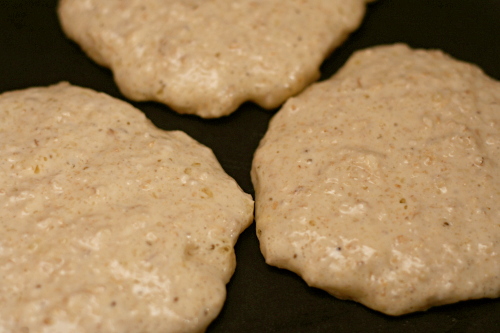
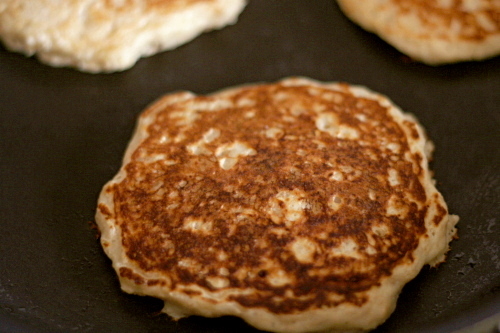
2. Heat a non-stick skillet or a griddle over medium heat. Add a few drops of oil and spread it over the bottom of the pan. Using a ¼ cup measure, pour the pancake batter onto the hot griddle. When the pancakes are golden brown, after about 2-3 minutes, flip to cook the other side another 2-3 minutes. Keep warm in oven heated to 200 degrees.
raisin swirl bread

Dave has recently encountered an enviable problem. After starting to exercise a few months ago for the first time in years, he started losing weight too fast.

Losing weight. Too fast.

So now we’re trying to come up with ways to get him more healthy calories that don’t create much more work. Hard-boiled eggs, peanut butter, protein shakes, and bread. Making a loaf of bread every couple of weeks for him to eat at work does require more effort, but it isn’t work, because I like making bread.

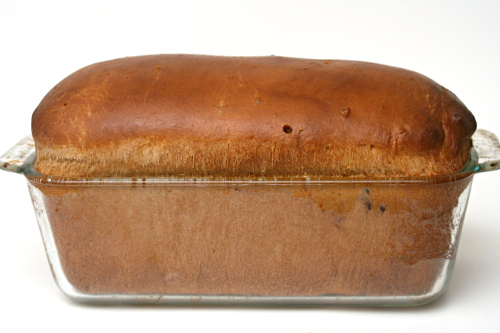
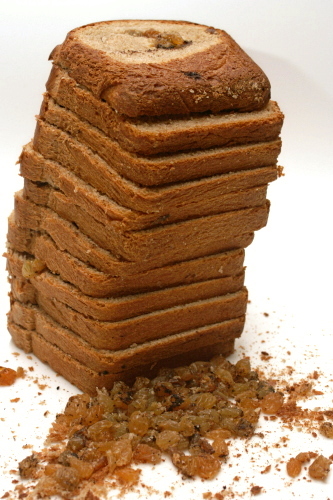
I haven’t bought bread since moving to New Mexico last winter, and I haven’t made pure white bread since discovering I could adapt any recipe to be at least partially whole wheat with no detriment to flavor or texture. It worked just as well with this bread as it has in the past, giving me a light, tender loaf of bread made a little more special with a spiral of raisins and sugar and cocoa. Not that I got to eat more than a slice, since most of this loaf went to He Who is Super Annoying Because He Gets to Eat Twice as Much Food as Me.

Susan chose this bread for Tuesdays with Dorie, and she has the recipe posted. I mixed 2 cups (9.6 ounces) of whole wheat flour with ¾ cup of the milk and ½ teaspoon of the salt and let it sit overnight before combining it with the rest of the ingredients. And for whatever reason, 1 cup of raisins was way too much for me and they all fell out when I cut into the bread. But no one else had this problem, so apparently I’m just a weirdo. Still, next time, ½ cup of raisins.

One year ago: Honey Peach Ice Cream
Two years ago: Cappuccino Cream Puff Rings

croissants 3 (martha stewart)

I worked in a lab for years, but I never absolutely loved it. You’d think I would have, considering that I basically mixed up ingredients and baked them, but I guess without that crucial eating-the-batter – sorry, of course I mean that eating-the-result step, it just wasn’t as fun.

Plus I could never get the hang of keeping good records in the lab. My notebook seemed to be both unorganized and lacking crucial information. I took detailed notes on the amount and type of ingredients used and the baking temperature and time, but whenever I needed to look up details of the result, I was left with a few marginally descriptive words.

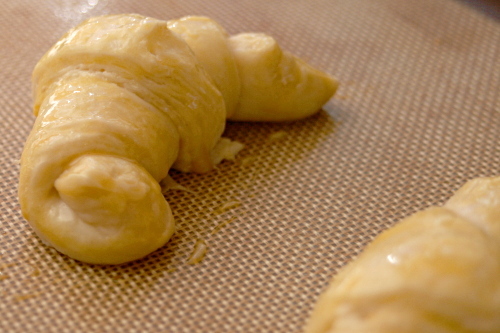
In the kitchen, it’s the opposite. The result, now that’s memorable, especially in this case – slightly sweet, intensely flaky, dark golden brown, impossible to resist, always leaving me wanting another.

The path to that result isn’t as memorable, particularly in the amount of instant dry yeast I used. Probably I should have written that down somewhere. I’m going to hypothesize – remember, hypothesizing is not the same thing as guessing! It’s an educated guess, which is to say, don’t skip out on this recipe just because the fresh yeast called for in the original recipe is dumb and I’m bad at note-taking, because the chances are very good that my estimate of the amount of yeast I used isn’t too terribly terrible, and anyway, it’s yeast and yeast always does its job eventually.

Anyway. I’m going to hypothesize that I used about one packet of yeast. Please accept my apologies for not taking thirty seconds to write it down. This must be why I now have an office job instead of a lab job.

One year ago: Anadama Bread
Two years ago: Baba Ghanoush and Falafel

Printer Friendly Recipe
Croissants (adapted from Martha Stewart’s Baking Handbook)

Makes 12

1 cup cold milk
1 tablespoon honey
14 ounces (about 3 cups) all-purpose flour
¼ cup (1.75 ounces) sugar
2¼ teaspoons salt
2¼ teaspoons (1 packet) instant yeast
20 tablespoons (2½ sticks) unsalted butter, cold
1 large egg, lightly beaten with a pinch of salt and a dribble of water or milk

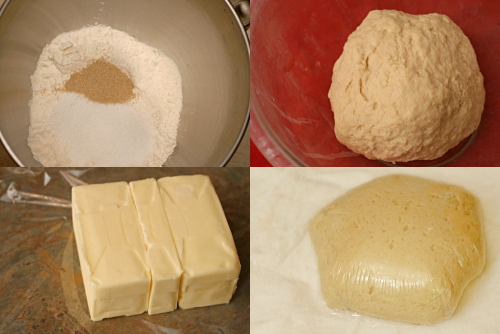
1. Make the dough package: Pour the milk and honey into a 2-cup liquid measuring cup, and stir to combine; set aside. In the bowl of an electric mixer fitted with the dough hook, stir together 12 ounces (about 2¾ cups) of the flour, the sugar, yeast, and salt; stir to combine. Add the milk mixture and mix on low speed until the dough just comes together, 2 to 3 minutes.

2. Turn out the dough onto a lightly floured work surface; gently knead to form a smooth ball, about 45 seconds. Wrap in plastic and refrigerate at least 1 hour or overnight.

3. Make the butter package: Lay the butter sticks side by side on a piece of plastic wrap, and sprinkle with the remaining 1 ounce (about 2 tablespoons) flour. Pound with a rolling pin until the flour is incorporated; roll into a 4- by 3-inch rectangle. Wrap tightly and refrigerate for at least 1 hour or overnight.

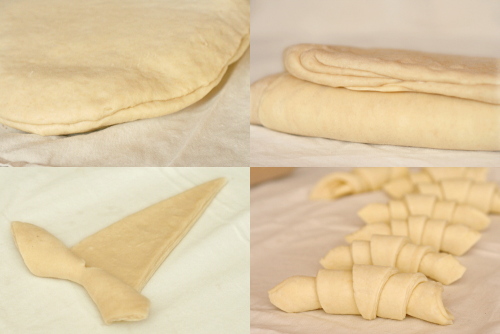
4. Remove the dough package from the refrigerator; place on a lightly floured work surface. Roll out to an 8-by-10-inch rectangle, about ½ inch thick, with a short side facing you. Remove the butter package from the refrigerator; place on the bottom half of the dough; fold the top half of the dough over the butter, and pinch the edges to seal.

5. Roll out the dough to a 10-by-10-inch square about ½ inch thick; keep the corners as square as possible. Remove any excess flour with a dry pastry brush. Starting at the far end, fold the square in thirds, as you would a business letter. This completes the first of three turns. Wrap in plastic and refrigerate for 1 hour.

6. Repeat rolling and folding as above two more times, starting with the flap opening on the right, as if it were a book, and refrigerate at least 1 hour between turns. To help you remember how many turns have been completed, mark the dough after each: Make one mark for the first turn, two for the second, and three for the third. After the third, wrap the dough in plastic, and refrigerate 6 to 8 hours, or overnight.

7. Turn out the chilled dough onto a lightly floured work surface. Roll out the dough to a 30-by-8-inch rectangle. (If the dough becomes too elastic, cover with plastic wrap, and let rest in the refrigerator for 10 minutes.) Using a pizza wheel, cut the dough into triangles, each with a 4-inch base (you will have scraps of dough at both ends). Cut a 1-inch slit in the center of the base of each triangle. Place triangles in a single layer on a clean work surface.

8. To shape the croissants, stretch the two lower points of each triangle to enlarge the slit slightly. Fold the inner corners formed by the slit toward the outer sides of the triangles, and press down to seal. Using your fingertips, roll the base of each triangle up and away from you, stretching the dough slightly outward as you roll; the tip should be tucked under the croissant. Pull the two ends toward you to form a crescent. Transfer the crescents to a parchment-lined baking sheets, 2 inches apart. Cover loosely with plastic wrap, and let rise in a warm place until very spongy and doubled in bulk, 45 to 60 minutes.

9. Preheat the oven to 400ºF, with a rack in the middle position. Lightly brush the crescents with the beaten egg. Bake until the croissants are puffed and golden brown, about 15 to 20 minutes. Transfer the sheet to a wire rack to cool. Serve warm or at room temperature.

sweet cream biscuits

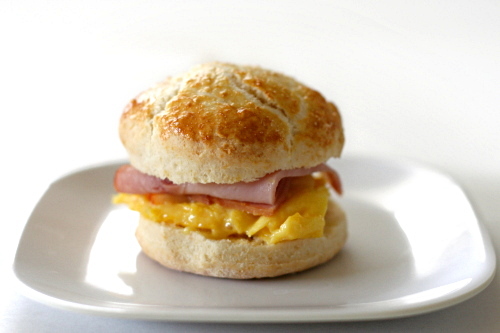
I was all set to make the tiniest portion of this recipe and serve little bitty biscuits with salad for dinner. And then Dorie mentioned ham sandwiches in the headnote and I started thinking about adding eggs and cheese to that and suddenly I was making extra dough to freeze. Breakfast sandwiches are on my Favorite Foods Ever List. (Let us not discuss how long that list is.)

There are all sorts of biscuits – flaky from cutting in butter, layered from multiple pastry turns, tender from stirring in cream – and I love them all. And they all make one mean breakfast sandwich.

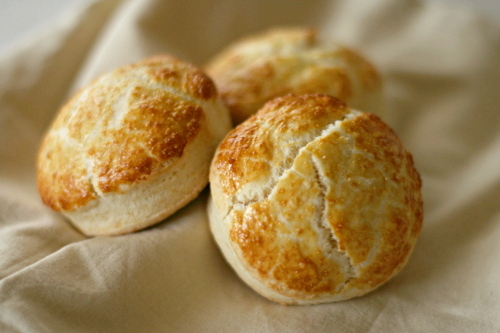
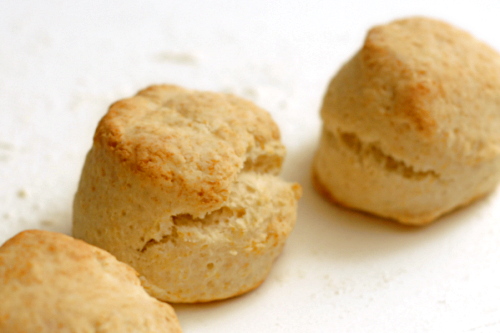
Melissa, who chose these biscuits for Tuesdays with Dorie, has the recipe posted on her site. You might be able to tell from the photos that my tiny biscuits rose higher than my bigger biscuits. I mixed, cut, and rolled the dough at the same time; the only difference is that the larger ones were baked straight from the freezer instead of right after the dough was made like the smaller ones. Also, I brushed the larger biscuits with an egg wash because I happened to have eggs available. It makes for a pretty biscuit, but they’re great either way.

One year ago: Chocolate Bread Pudding
Two years ago: Carrot Cake

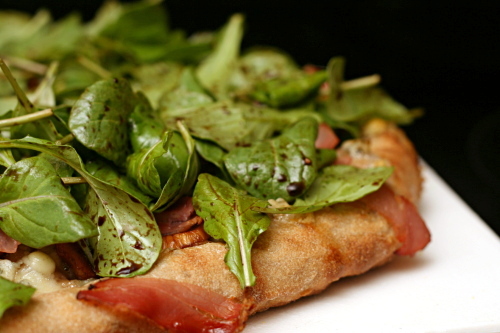
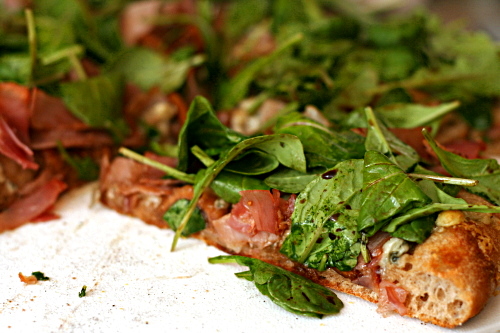
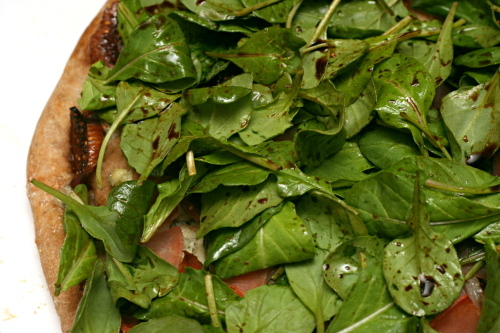
pizza with figs, prosciutto, gorgonzola, balsamic, and arugula

I went to dinner at a fancy pizza place with my parents and Dave a few months ago, and my dad ordered a pizza that seemed appropriate for him – cheeseburger.  Because the more meat, the better!  Hold the vegetables please, is generally his motto.  Oh, I laughed and laughed when his pizza arrived covered in lettuce.  He scraped it right off.

Not that I’ve been much better about the idea of salad on pizza.  It’s a pretty popular concept, but so far I’ve wanted to keep my bread and cheese unadulterated by large amounts of greenery.

I guess when you’re already putting figs on pizza (oh, how I’d love to see my dad’s face if there were figs on his pizza!), arugula doesn’t seem so weird by comparison.  It turns out that the figs and arugula work really well together.  The figs add sweetness, the prosciutto saltiness, the arugula freshness, and the blue cheese…um…stinky-feetiness?  But in a good way.  In a very, very good way, in fact.

One year ago: Brandied Berry Crepes
Two years ago: Breakfast Strata with Sausage, Mushrooms, and Monterey Jack

Printer Friendly Recipe
Pizza with Figs, Prosciutto, Gorgonzola, Balsamic, and Arugula (adapted from Bon Appetit via epicurious)

The original recipe calls for fresh figs; since I used dried, I soaked them in port for a while to plump them.  However, I’m not sure this is necessary.

Makes 1 12-inch pizza, serving about 3 people

6 small fresh figs, cut into thin slices
2 tablespoons balsamic vinegar, divided
cornmeal (for sprinkling)
12 ounces (¾ pound) pizza dough (⅓ of this recipe), after its first rise
1 cup crumbled Gorgonzola cheese (about 4 ounces)
3 ounces thinly sliced prosciutto, cut into strips
2 teaspoons extra-virgin olive oil
3 ounces stemmed arugula

1. Place a pizza stone on the bottom rack of the oven and preheat the oven to 500ºF. Put the figs in a medium bowl and drizzle 1 tablespoon of the vinegar over them. Set aside.

2. Gently flatten the dough, then pick it up and stretch it out, keeping it as circular as possible. Curl your fingers and let the dough hang on your knuckles, moving and rotating the dough so it stretches evenly. If it tears, piece it together. If the dough stretches too much, put it down and gently tug on the thick spots.

3. Dust a pizza peel with cornmeal and transfer the round of dough to the peel. Rearrange the dough to something reasonably circular; stab it several times with a fork. Top the pizza with the cheese, figs, and prosciutto.

4. Transfer the pizza from the peel to the hot stone. Bake for 8-10 minutes, until the crust is spotty brown. Let the pizza cool on the peel for about 5 minutes.

5. Meanwhile, whisk the remaining 1 tablespoon vinegar with the oil and a pinch of salt and pepper; toss the arugula with the dressing. Spread the salad evenly over the pizza. Slice and serve.

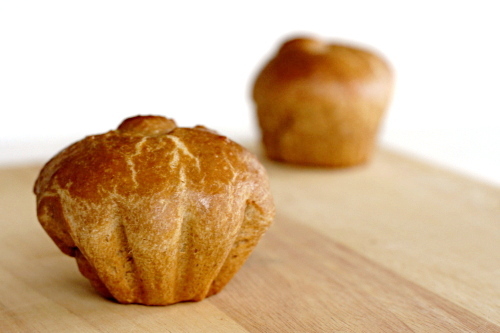
whole wheat brioche

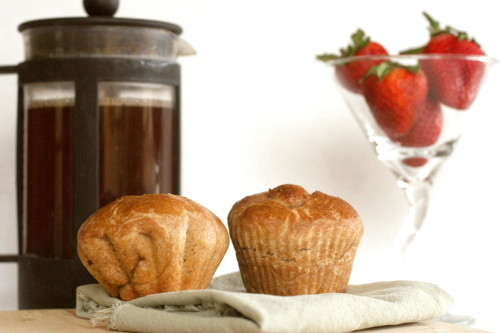
This recipe cracks me up. Each little brioche roll has 1¼ tablespoons of butter in it, so it doesn’t matter how much whole grain you use – these are not good for you.

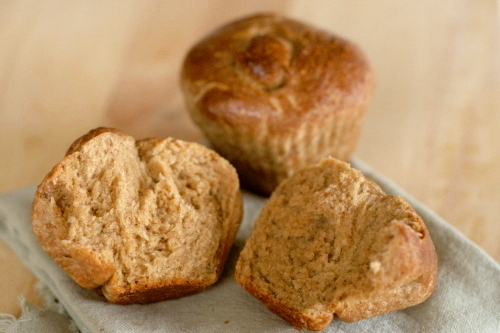
They are, however, good. Of course they don’t have much in common with their white flour cousins, which, if we were talking about people, would be one of those unceasingly friendly people who always have something nice to say. The whole wheat version is more akin to a sarcastic friend who always manages to make you laugh, but sometimes at your own expense. Both are good! Just different.

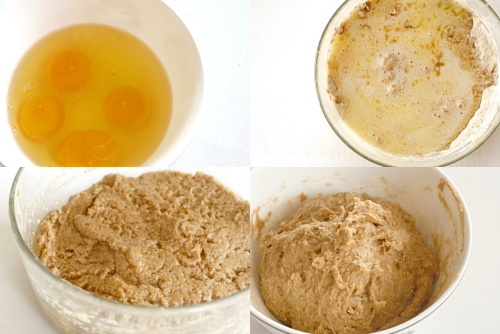
The whole wheat brioche is made along the same lines as the rest of Peter Reinhart’s Whole Grain Breads. What’s fun about this recipe is that the liquid used in one of the pre-doughs is melted butter, and in the other, it’s eggs. The one with the butter had a texture very different from the normal water-hydrated doughs – and not a particularly appetizing one, truth be told, as the best word to describe it would be ‘greasy’. Fortunately, after sitting in the fridge for several hours, the butter hardens and the mixture is more palatable – plus, of course, the liquid has had an opportunity to break down those bran fibers, which is the heart of Reinhart’s whole wheat bread method.

I tried a trick with this bread that was marginally successful. After the final dough is mixed and kneaded, it’s shaped immediately and then needs to rise again – for 3 to 4 hours. We tend to eat breakfast kind of late on weekends, but not that late!

So I reduced the yeast quite a bit, with the goal of extending the rising time to about 8 hours, or overnight. I wanted to wake up, heat the oven and throw the perfectly risen brioche rolls in to bake.

It turns out, though, that I decreased the yeast too much, and the poor little guys didn’t have enough strength to lift up that heavy dough. I still think the method is sound; I just need to use more yeast than I did. (The under-risen after 8 hours brioche were salvageable; I just had to give them an hour or so in a really warm environment before I could bake them.)

Usually my theory is that if food is supposed to be indulgent, then make it indulgent! Why worry about whole grains if you’re mainlining butter? But sometimes it’s just fun to make something weird, and whole wheat brioche is, indeed, weird.

One year ago: Pecan Sour Cream Biscuits
Two years ago: Chocolate Cream Pie

Printer Friendly Recipe
Whole Wheat Brioche (rewritten from Peter Reinhart’s Whole Grain Breads)

I reduced the yeast in the final dough to ½ teaspoon, hoping I could stretch the rising time to 8-10 hours, or overnight. This was too little, but I still think the method is worth trying, but with 1 teaspoon yeast.

I froze the brioche rolls after shaping, before rising. I let them defrost in the fridge for a few hours before moving them to room temperature to rise.

The melted butter kept leaking out of its pre-dough. Once the dough had chilled somewhat, I stirred it back in, so that the pre-dough would be homogeneous.

For the final cup of flour, after both pre-doughs are combined, I used white flour. I know that’s cheating, but I’ve had better results with Reinhart’s whole wheat bagels when white flour is used at the end, and I thought it was probably similar here. The rolls are still 80% whole wheat.

Pre-dough 1:
1¾ cups (8 ounces) whole wheat flour
½ teaspoon salt
½ cup whole milk, scalded and cooled
16 tablespoons (2 sticks) unsalted butter, melted

Mix all of the ingredients until thoroughly combined. Cover and refrigerate at least 8 hours and up to 3 days.

Pre-dough 2:
1¾ cups (8 ounces) whole wheat flour
¼ teaspoon instant yeast
4 large eggs, slightly beaten

Mix all of the ingredients until thoroughly combined. Using a rubber spatula or wet hands, knead the dough in the bowl for a couple minutes; it will be very tacky. Let the dough rest for 5 minutes, then knead again for 1 minute. Cover and refrigerate for at least 8 hours and up to 3 days.

Final dough:
Both pre-doughs
1 cup (4.5 ounces) whole wheat flour (see note)
¾ teaspoon salt
2¼ teaspoons instant yeast (see note)
3 tablespoons sugar

Egg wash:
1 egg beaten with 1 tablespoon water and a pinch of salt

1. Chop the chilled pre-doughs into to 12 pieces each. Combine the pre-doughs, flour, salt, yeast and sugar in the bowl of a standing mixer fitted with the dough hook (or a large bowl if mixing by hand). Mix on slow speed for 3 to 4 minutes, scraping the bowl as needed, (or knead with wet hands) until the pre-doughs are assimilated into each other. Add flour or water, as needed, to form a soft and slightly sticky dough. Knead (either with a mixer or by hand) for 3 to 4 minutes, until the dough is cold, firm, and slightly tacky. Let the dough rest for 5 minutes.

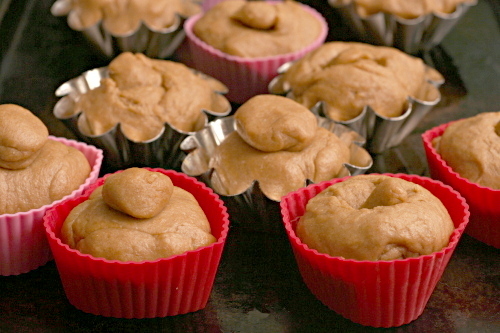
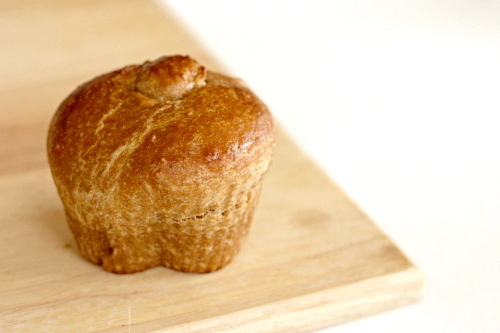
2. Divide the dough into 12 equal pieces and round each into a smooth ball. Spray 12 brioche molds or a 12-cup muffin pan with spray oil. To shape the brioche, roll each piece of dough into a cone; poke a hole through the larger end and slip the small end through the hole. (I also sometimes just formed a much smaller round from a small portion of the dough and stuck that on top of the larger round. I didn’t notice a difference in the baked versions of the two shaping methods.) Place the shaped rolls into the prepared pan and cover loosely with plastic wrap or a damp towel. Let rise at room temperature for 3 to 4 hours, until the dough has grown to about 1½ times its original size.

3. Adjust a rack to the middle position and heat the oven to 425 degrees. Brush the risen rolls with egg wash and place them in the oven, lowering the temperature to 400 degrees. Bake for 17 to 25 minutes, rotating the pan halfway through, until the brioche are dark golden brown, measure 195 degrees in the center, and sound hollow when tapped on the bottom (after one is removed from its pan).
4. Remove the rolls from their molds; cool on a cooling rack for at least 20 minutes before serving.

brown soda bread

Epicurious reviewers get a lot of flack for their “I made 8 million changes to the recipe and hated it” habit, but in general, I find them completely awesome. Without their unequivocal positive reviews, I wouldn’t have chosen this recipe at all, or I at least would have modified it.

I started to have doubts about the recipe when I was measuring out the ingredients. It’s a quick bread with just two little tablespoons of fat, plus all sorts of whole grains. I was sorely tempted to add another couple tablespoons of butter, but I put my faith in the reviewers who loved the recipe. Honestly, if I hadn’t already eaten two green velvet cupcakes that day, I’m sure I would have doubled the butter.

But I resisted, and it was the right decision. Why am I always surprised when healthy food tastes good? Not only is half of the flour whole wheat, but the recipe includes some wheat bran, wheat germ, and oats for good measure, not to mention that barely there amount of butter.

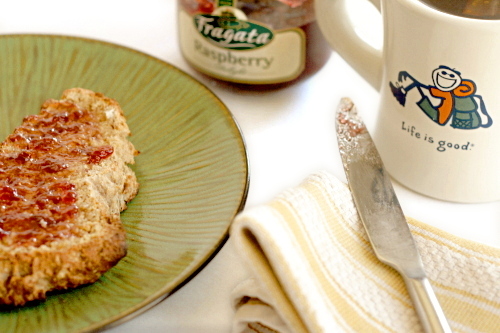
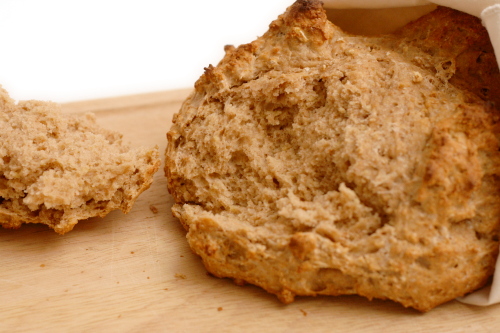
Somehow, with only 2 tablespoons of butter and nearly 4 cups of flour, over half of it whole grain, this bread wasn’t dry, dense, bitter, or bland. It was the slightest bit sweet, sturdy but soft, perfect smeared with butter and jam or dipped in the cooking liquid from corned beef and cabbage. Who knew that a low fat, whole grain quick bread could be so great? Fortunately for me, I guess those epicurious reviewers did.

One year ago: Chicken Artichoke Pesto Calzones
Two years ago: Spaghetti and Meatballs

Printer Friendly Recipe
Brown Soda Bread (adapted slightly from Bon Appetit via epicurious.com)

I toasted the wheat germ, wheat bran, and for good measure, the oats, in a small skillet over medium heat until they smelled nutty, which took just a couple of minutes.

1¾ cups (8.4 ounces) all-purpose flour
1¾ cups whole wheat flour
3 tablespoons toasted wheat bran
3 tablespoons toasted wheat germ
2 tablespoons old-fashioned oats
2 tablespoons (packed) dark brown sugar
1 teaspoon baking soda
1 teaspoon salt
2 tablespoons (¼ stick) chilled unsalted butter, cut into pieces
2 cups (about) buttermilk

1. Adjust a rack to the middle position and heat the oven to 425°F. Line a baking sheet with parchment paper or a silicone baking mat.

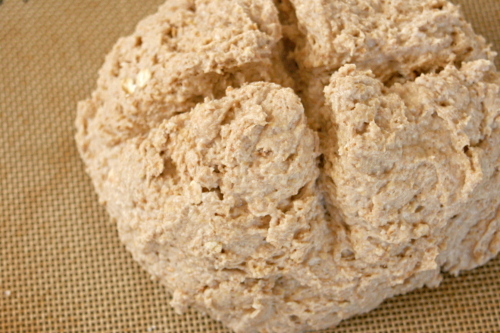
2. In a large bowl, combine the flours, bran, wheat germ, oats, brown sugar, baking soda, and salt. Rub the butter into the dry ingredients until the mixture resembles fine meal. Stir in enough buttermilk to form a soft dough. Knead the dough slightly to form a cohesive mass and transfer it to the prepared pan. Shape into a round, then, using a bread knife, cut two 1-inch-deep slashes into the dough, forming a cross.

3. Bake until the loaf is dark brown and a toothpick inserted into the center comes out clean, about 40 minutes. Remove the bread from the pan to a cooling rack and let it cool about 30 minutes before serving.

how to adapt any bread recipe to be whole wheat

As much as I love Peter Reinhart’s Whole Grain Breads, I’ve only made a few recipes from the book. Instead, I’ve been busy using his techniques to adapt my old favorite bread recipes to whole wheat versions. While you can, in general, simply substitute up to half of the flour in a bread recipe with whole wheat, I guarantee that you’ll have better results if you use Reinhart’s trick.

Reinhart uses the same method for most of the breads in his book – about half of the whole wheat flour is combined with salt and liquid and the other half is combined with yeast and liquid. Both mixtures sit overnight before they’re mixed and kneaded into the dough. The resting time breaks down the long bran molecules, making the bread smoother, lighter, and sweeter – in short, more like a white bread.

The 100% whole wheat breads that I’ve tried from Reinhart’s book are truly exceptional. However, I guess I’m sort of a wimp about whole grains. I do like the flavor and texture of white bread, but of course I prefer the health factor of whole grain bread. Plus, I’m still interested in bread recipes outside of Reinhart’s book.

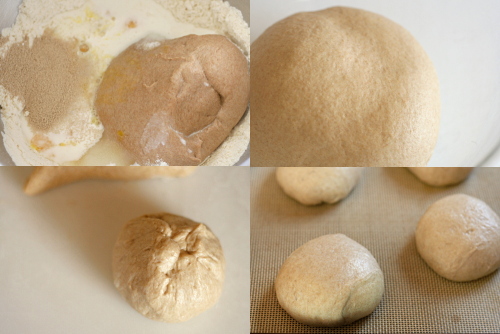
(the pre-dough before resting)

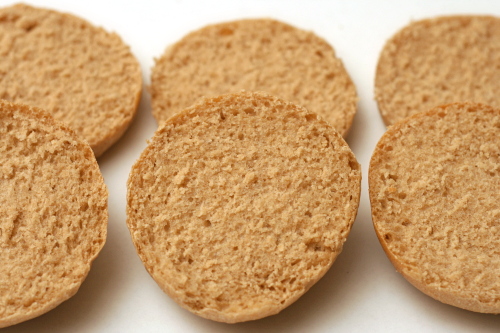
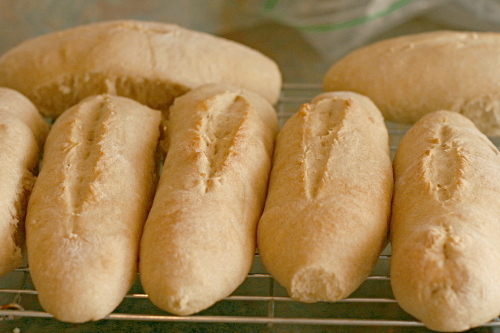
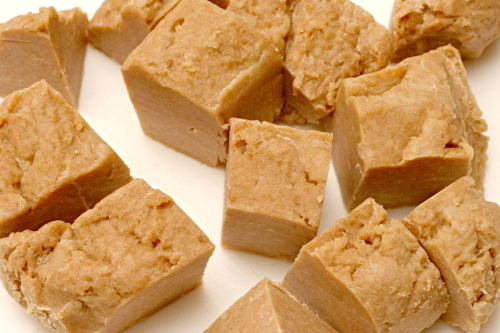
The solution is to mix up just one of Reinhart’s mixtures with whole wheat flour and let that rest overnight (or for around 8 hours), then continue with the recipe as written, mixing in the pre-dough. I’ve done this with all sorts of bread recipes – English muffins, pain ordinaire, light brioche buns, country crust bread, pizza crust.

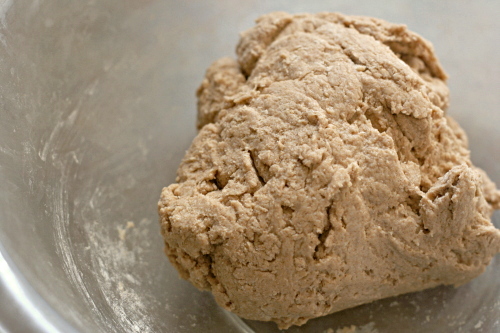
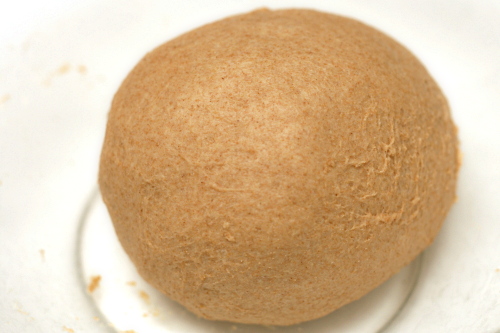
(the pre-dough after resting and a bit of kneading)

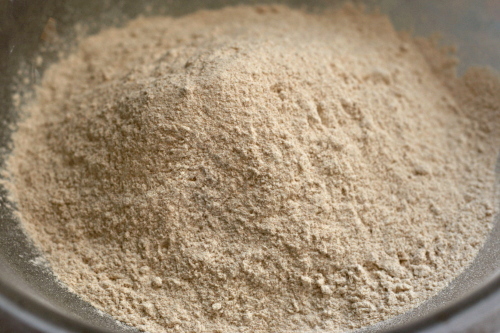
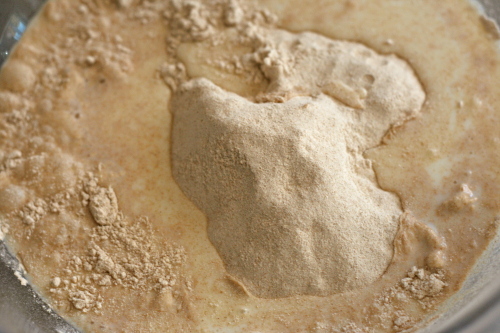
In all cases, I take half of the flour in the recipe and mix it with ¼ teaspoon salt for every 4 ounces of flour. Then I mix in enough liquid – whatever liquid the recipe calls for – to moisten the flour until it forms a dough. Most bread recipes call for about 16 ounces flour total, so the pre-dough is simply 8 ounces of whole wheat flour, ½ teaspoon of salt, and ¾ cup of water (or whatever liquid the recipe calls for).  When the final dough is mixed, those ingredients are subtracted from the original recipe.

And every time, the result is essentially identical to an all-white version – the dough is smooth, elastic, and easy to work with. The bread is light and flavorful. And, I still get to play with an entire world of bread recipes. Win win win!

One year ago: Roasted Kale
Two years ago: Banana Walnut Pancakes

Printer Friendly Recipe
Whole Wheat Light Brioche Burger Buns (adapted from Smitten Kitchen and Peter Reinhart’s Whole Grain Breads)

Makes 8 buns

Pre-dough:
1¾ cups (8 ounces) whole wheat flour
½ teaspoon salt
¾ cup water

1. Mix all of the soaker ingredients together in a bowl for about 1 minute, until all of the flour is hydrated and the ingredients form a ball of dough.

2. Cover loosely with plastic wrap and leave at room temperature for 12 to 24 hours. (If it will be more than 24 hours, place the soaker in the refrigerator; it will be good for up to 3 days. Remove it 2 hours before mixing the final dough to take off the chill.)

Dough:
8 ounces (about 1⅔ cups) bread flour
1 teaspoon salt
2½ tablespoons unsalted butter, softened
pre-dough
¼ cup warm water
3 tablespoons warm milk
2 teaspoons instant yeast
2½ tablespoons sugar
1 large egg
extra flour or water for adjustments
egg wash: 1 tablespoon milk or 1 egg white or whole egg beaten with 1 tablespoon water
sesame seeds

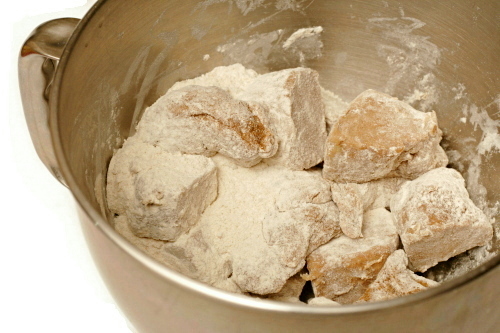
1. If mixing with a stand mixer: Add the flour and salt to mixer bowl fitted with paddle attachment. Mix on low just to combine. Add the butter and mix on medium-low speed until the mixture resembles crumbs. Cut the pre-dough into about 12 pieces and add them to the flour mixture, tossing the pieces to coat (to keep them from immediately sticking back together). Replace the paddle attachment with the hook. Add the water, milk, yeast, sugar, and egg to the mixer bowl and mix on medium-low until combined, then continue kneading until smooth and elastic, 6-8 minutes. The dough should be just a bit loose and sticky; add flour if necessary.

If mixing by hand: In a large bowl, whisk flours with salt. Add butter and rub into flour between your fingers, making crumbs. Cut the pre-dough into about 12 pieces and add them to the flour mixture, tossing the pieces to coat (to keep them from immediately sticking back together). Add the water, milk, yeast, sugar, and egg and stir with a rubber spatula until a dough forms. Scrape dough onto clean, well-floured counter and knead, scooping dough up, slapping it on counter and turning it, until smooth and elastic, 8 to 10 minutes. The dough will be on the sticky side so it can be a bit messy, but keep in mind that the more flour you knead in, the tougher the buns will get. Try to leave them tackier than you would a round loaf.

2. Spray a bowl with nonstick spray; shape dough into a ball and place it in bowl. Cover bowl with plastic wrap or a damp towel and let rise in a warm place until doubled in bulk, one to two hours.

3. Line a baking sheet with parchment paper or a silicone mat. Divide dough into 8 equal parts. To shape each portion into an even round, gently pull the edges toward a pucker and pinch them together. Gently roll each into a ball and arrange them two to three inches apart on the prepared baking sheet. Cover loosely with a piece of plastic wrap lightly coated in nonstick spray (or a damp towel) and let buns rise in a warm place for about one hour.

4. Preheat oven to 400 degrees with rack in center. Brush egg wash on buns and sprinkle with sesame seeds. Bake, turning sheet halfway through baking, until tops are golden brown and an instant-read thermometer reads at least 185 degrees, about 15 minutes. Transfer to a rack to cool completely.

Printer Friendly Recipe
Whole Wheat Pain Ordinaire (adapted from Eric Treuille and Ursula Ferrigno’s Ultimate Bread and Peter Reinhart’s Whole Grain Breads)

Makes 1 loaf

Pre-dough:
1¾ cups (8 ounces) whole wheat flour
½ teaspoon salt
¾ cup water

1. Mix all of the soaker ingredients together in a bowl for about 1 minute, until all of the flour is hydrated and the ingredients form a ball of dough.

2. Cover loosely with plastic wrap and leave at room temperature for 12 to 24 hours. (If it will be more than 24 hours, place the soaker in the refrigerator; it will be good for up to 3 days. Remove it 2 hours before mixing the final dough to take off the chill.)

Dough:
1¾ cups (9½ ounces) all-purpose or bread flour
pre-dough
2 teaspoons instant yeast
⅔ cup water, room temperature
¾ teaspoon salt

1. Add the flour to a mixer bowl fitted with hook attachment (or a large bowl if mixing by hand). Cut the pre-dough into about 12 pieces and add them to the flour, tossing the pieces to coat (to keep them from immediately sticking back together). Add the water, yeast, and salt to the mixer bowl and mix on medium-low until combined (or stir with a rubber spatula), then continue kneading until smooth and elastic, 6-8 minutes (8-10 minutes if by hand). The dough should be soft but not sticky; add flour if necessary.

2. Lightly oil a large bowl and transfer the dough to the bowl, rolling it to coat with the oil. Cover the bowl with plastic wrap or a damp towel. Let rise until doubled in size, about 1½ to 2 hours.

3. Gently pat the dough into a rough rectangle. Fold the bottom third of dough, letter style, up to the center and press to seal, creasing surface tension on the outer edge. Fold the remaining dough over the top and use the edge of your hand to seal the seam closed and to increase the surface tension all over. Press evenly with the palms of both hands and roll the dough backward and forward until it is 10 inches in length. Line a pizza peel baking parchment. Place the loaf on the peel and lightly dust with flour. Cover loosely with plastic wrap or a damp towel.

4. Proof at room temperature for about 1 hour, or until the loaf has grown to about twice its original size. About half an hour into the second rise, place a baking stone on the bottom rack of the oven and preheat the oven to 500 degrees.
5. Using a very sharp knife or a serrated bread knife, cut 5 diagonal slashes, each about ¼ to ½-inch deep, across the top of the loaf. (Alternatively, cut one long slash that extends for the length of the loaf.)

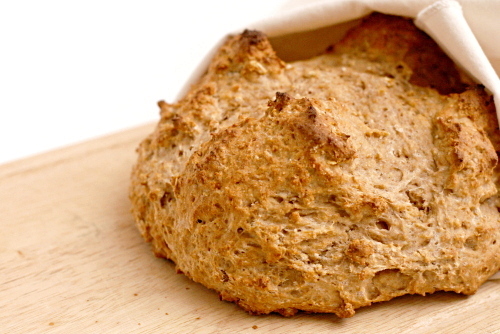
6. Transfer the dough on the parchment to the baking stone. Close the oven and reduce the temperature to 450 degrees. Bake until golden brown and the temperature is at least 200 degrees at the center. Transfer the loaves to a cooling rack and cool for at least 1 hour before slicing and serving.
Printer Friendly Recipe
Whole Wheat Country Crust Bread (adapted from Betty Crocker and Peter Reinhart’s Whole Grain Breads)

Makes 1 sandwich loaf

Pre-dough:
1¾ cups (8 ounces) whole wheat flour
½ teaspoon salt
¾ cup water

1. Mix all of the soaker ingredients together in a bowl for about 1 minute, until all of the flour is hydrated and the ingredients form a ball of dough.

2. Cover loosely with plastic wrap and leave at room temperature for 12 to 24 hours. (If it will be more than 24 hours, place the soaker in the refrigerator; it will be good for up to 3 days. Remove it 2 hours before mixing the final dough to take off the chill.)

Dough:
1¾ cups (9½ ounces) unbleached flour
1 teaspoon table salt
¼ cup water, warm (110 degrees)
1 egg
2 tablespoons vegetable oil or unsalted butter, melted
¼ cup (1.75 ounces) granulated sugar
2 teaspoons instant yeast

1. Add the flour to mixer bowl fitted with hook attachment (or a large bowl if mixing by hand). Cut the pre-dough into about 12 pieces and add them to the flour, tossing the pieces to coat (to keep them from immediately sticking back together). Add the salt, water, egg, oil, sugar, and yeast to the mixer bowl and mix on medium-low until combined (or stir with a rubber spatula), then continue kneading until smooth and elastic, 6-8 minutes (8-10 minutes if by hand). The dough should be soft but not sticky; add flour if necessary.

2. Lightly oil a large bowl and transfer the dough to the bowl, rolling it to coat with the oil. Cover the bowl with plastic wrap or a damp towel. Let rise until doubled in size, about 1½ to 2 hours.

3. Form dough into loaf by gently pressing the dough into a rectangle, one inch thick and no wider than the length of the loaf pan. Next, roll the dough firmly into a cylinder, pressing with your fingers to make sure the dough sticks to itself. Turn the dough seam side up and pinch it closed. Finally, place dough in greased 9-by-5-by-3-inch loaf pan and press it gently so it touches all four sides of the pan.

4. Cover with plastic wrap or a damp towel; set aside in warm spot until dough almost doubles in size, about 45 minutes. Heat oven to 350 degrees.

5. Remove plastic wrap from loaf pan; place pan in oven. Bake until instant-read thermometer inserted at angle from short end just above pan rim into center of loaf reads 195 degrees, about 40 to 50 minutes. Remove bread from pan, transfer to a wire rack, and cool to room temperature. Slice and serve.
oatmeal pancakes

Dave gets a man magazine – not one with naked ladies, but one about fashion and supposedly culture and, I don’t know, other manly stuff. I know he’ll insist that I clarify that he doesn’t pay for it. Anyway, the last issue had an article about getting in shape in which the author claims that whole wheat gives guys man boobs. Instead, men should focus on grains like oats and quinoa.
Yes, it’s whole wheat that gives you man boobs, and not, you know, overeating. I suspect that eating too much quinoa without exercising would also result in man boobs.

But hey, if you’re concerned about your man boob potential, these pancakes are perfect for you, because they are almost completely oats, with just a small amount of flour. Of course, they have a stick of butter in them, but hey, the problem is whole wheat, right, not fat.

Plus I cut the amount of butter in half and the pancakes were still perfect. I also substituted whole grain pastry flour for half of the flour in the recipe, my new favorite trick with quick breads. I increased the milk a little to make up for the lost liquid from the butter.

I’m loving the result of soaking oats before mixing them into batter. Once the oats are softened, they blend better with the rest of the ingredients. I’m also really eager to try toasting the oats before mixing them with the liquid, because I love the flavor that toasting gives oats. I’ll have to try that next time, which might be soon, since I don’t want to give Dave man boobs by making him regular pancakes.

One year ago: Tofu Croutons
Two years ago: Old-Fashioned Chocolate Layer Cake

Printer Friendly Recipe
Oatmeal Pancakes (adapted from Orangette, who adapted it from the Inn at Fordhook Farm in Doylestown, PA)

4 servings

I replaced ¼ cup of the flour with the equal amount of whole wheat pastry flour, a trick I’ve found very successful with pancakes and muffins.

2 cups old-fashioned oats
2 cups + ½ cup buttermilk
½ cup (2.4 ounces) all-purpose flour
2 tablespoons sugar
1 teaspoon baking powder
1 teaspoon baking soda
½ teaspoon table salt
2 large eggs, lightly beaten
4 tablespoons (½ stick) unsalted butter, melted but not hot
vegetable oil for the pan

1. Combine the oats and 2 cups of the buttermilk in a medium bowl. Cover with plastic wrap and refrigerate overnight.

2. In a medium bowl, whisk together the flour, sugar, baking powder, baking soda, and salt. Whisk the remaining ½ cup buttermilk, the eggs, and then the butter into the oat mixture. Fold the flour mixture into the batter.

3. Brush a large nonstick skillet or griddle with vegetable oil; heat over medium heat. Spoon scant ¼ cups of the batter onto the pan. Cook until the sides of the pancakes start to look dry and the bottom is golden brown, 2-3 minutes. Flip, then continue to cook until the second side is also golden brown, about 2 minutes. Repeat with the remaining pancakes, adjusting the heat if necessary. If you’d like, you can keep the pancakes in a 200 degree oven on a cooling rack set over a baking sheet until the whole batch is cooked.

oatmeal raisin muffins

I must be growing up. Since when do I like raisins? At least I still think green peppers are blech. If that ever changes, I know I’ll be ready to pick up my cane and trade in my real teeth for the kind you take out at night to clean. Oh, and buy one of those plastic bag things to wrap around my head when it rains.

Granted, Dave pointed out that these are particularly good raisins. Even so, these muffins are wonderful – soft and fluffy and tender, and the raisins add some tartness and the pecans a bit of crunch, and all together, kinda sorta perfect actually!

They’re not too bad for you – oats are whole grains, right? I replaced a third of the flour with whole wheat pastry flour, a great trick with muffins. Let’s forget about the butter, okay? You have to pay a small price for muffins this good.

It seems inconceivable, but could oatmeal raisin cookies be my next favorite thing? I did buy yellow peppers for the fajitas we’re making for dinner tonight, instead of the green peppers called for in the recipe, so I feel safe there. Still young! (And picky, apparently.)

Two years ago: Potstickers

Printer Friendly Recipe
Oatmeal Raisin Muffins (adapted from Morning Food, by Margaret S. Fox and John B. Bear, via recipezaar)

Makes 12

I substituted ¼ cup whole wheat pastry flour for an equal amount of white flour, and the muffins were still wonderful.

1 cup old-fashioned oats
1 cup buttermilk
¾ cup (3.6 ounces) all-purpose flour
½ teaspoon baking powder
½ teaspoon salt
¾ teaspoon baking soda
1 teaspoon cinnamon
pinch nutmeg
½ cup pecans or walnuts, chopped
2 eggs, beaten lightly
⅓ cup (2.35 ounces) packed light brown sugar
6 tablespoons melted butter
½ cup raisins

1. Combine the oats and buttermilk and let stand 30 minutes. Adjust a rack to the middle position and heat the oven to 400ºF. Spray the bottoms only of a 12-cup muffin pan with nonstick spray or line with paper liners. Combine the flour, baking powder, salt, baking soda, cinnamon, and nutmeg.

2. Spread the nuts evenly on a baking sheet. Bake, shaking the pan every couple of minutes, until fragrant, about 5 minutes. Transfer the nuts to a small bowl. (If you leave them on the hot pan, they’ll continue to cook and might burn.)

3. Add the eggs to the oatmeal mixture one at a time, whisking thoroughly after each addition. Whisk in the sugar, then the butter. Switch to a rubber spatula and fold in the flour mixture. Once the flour is dispersed, but not completely moistened, gently stir in the raisins and nuts.

4. Divide the batter evenly between the muffin cups. Bake until a toothpick inserted into a muffin comes out clean, 13-18 minutes. Set the pan on a rack to cool slightly, about 5 minutes, then use a thin-bladed knife to remove the muffins from the pan.