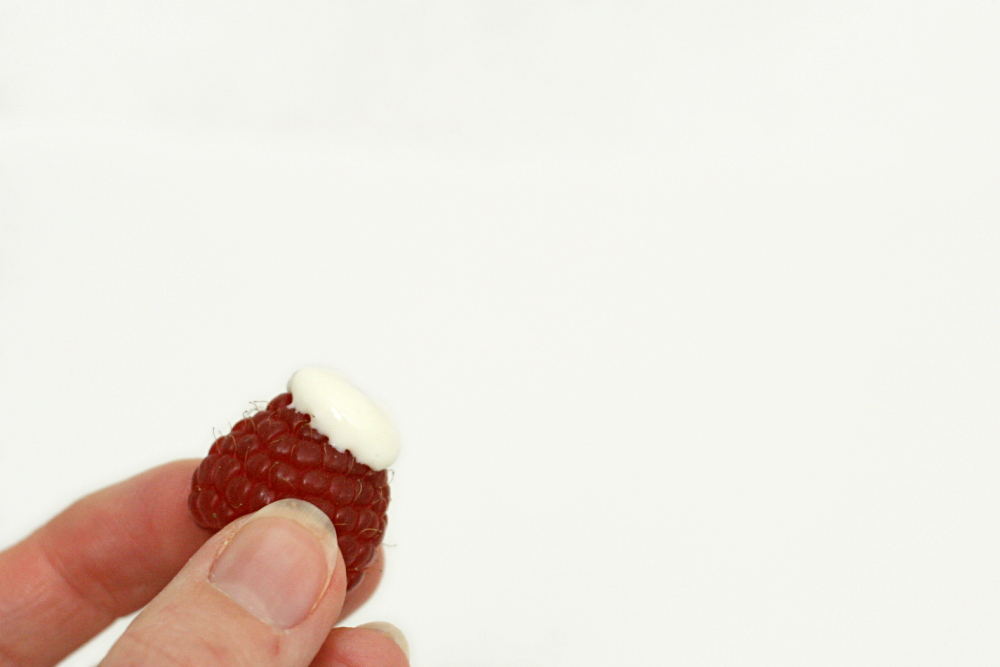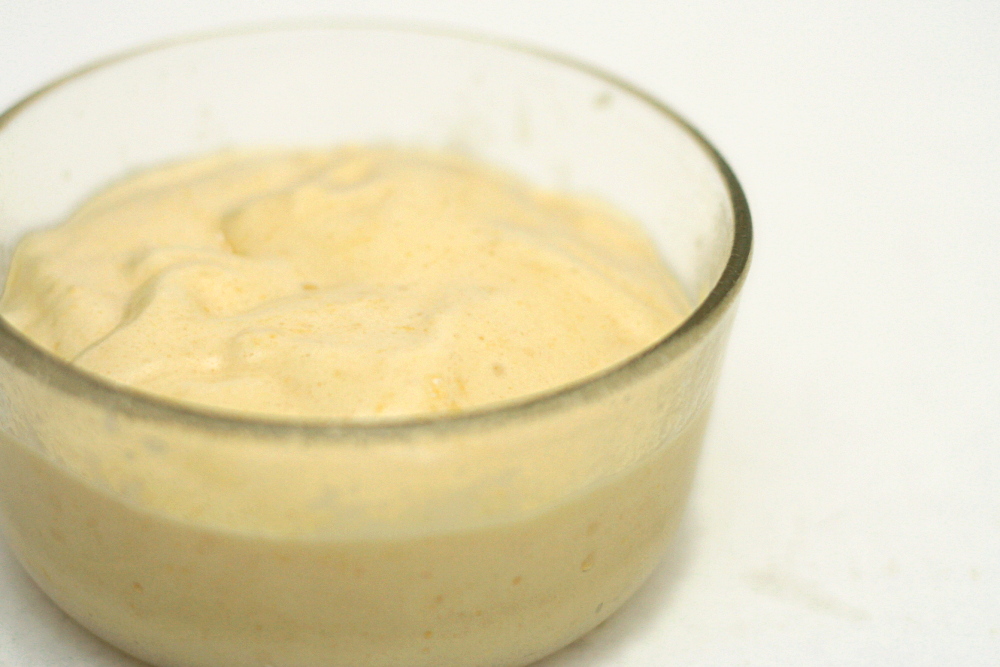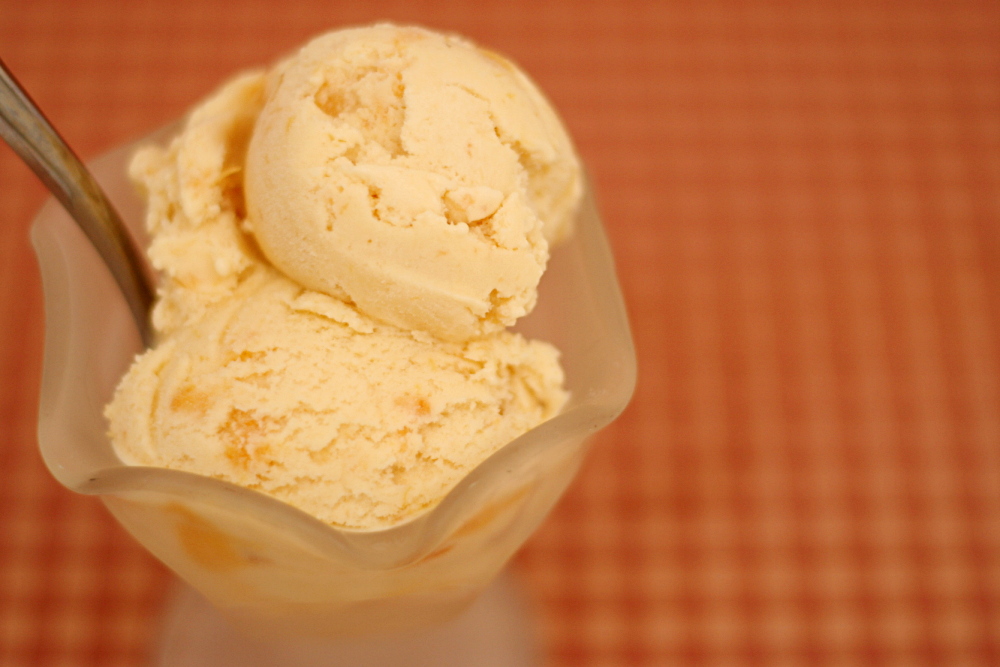
honey peach ice cream

img_6200-copy

It seems lately that ice cream isn’t really my thing. For one thing, it hurts my sensitive teeth. For another, when it comes to making desserts, I really want to use the mixer. And the oven. And butter and flour and leavening. The blender and the stove? Pbbth! That’s for cooking, not baking. Although watching the ice cream slowly change texture while churning is fun.
img_6156-copy

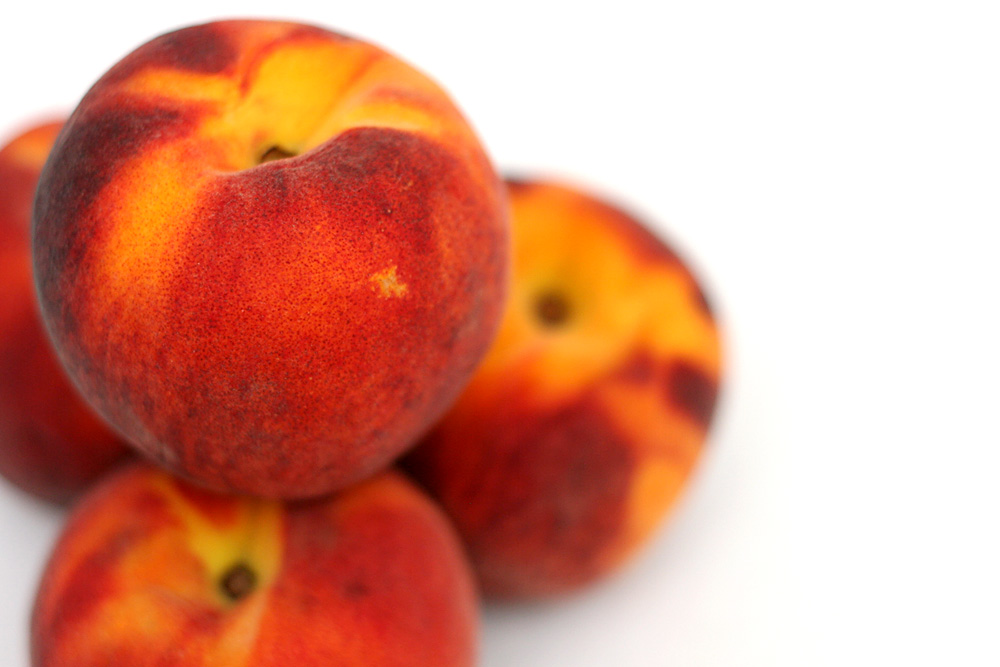
But if I’m making ice cream, at least it’s peach ice cream. It’s the only flavor I remember my mom making as a kid, and I always loved it, even though I thought I didn’t like peaches, picky little brat that I was.
img_6160-copy

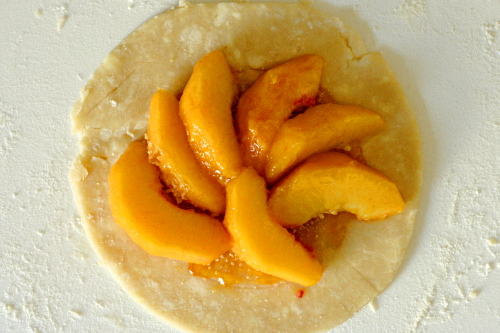
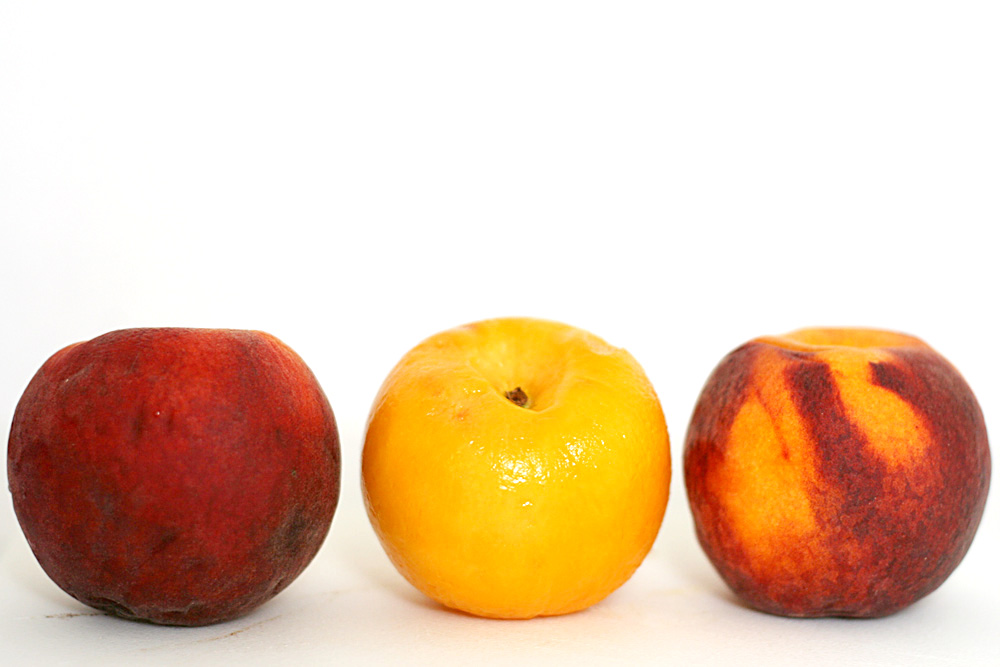
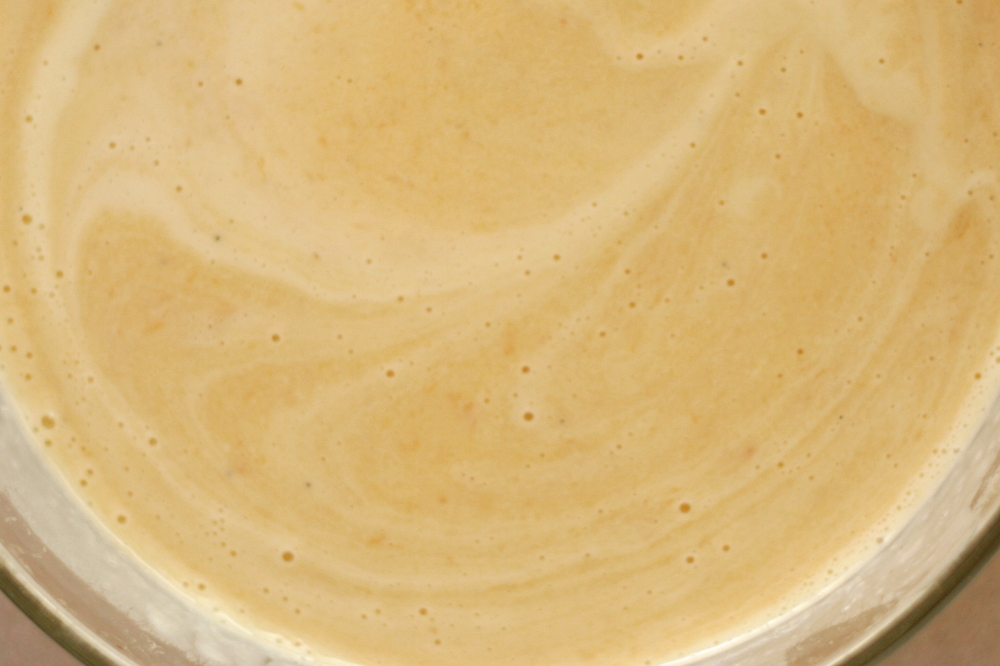
For this ice cream, peaches are softened over low heat with honey, then pureed and made into a custard with egg yolks, sugar, milk and cream. Once the custard is chilled, it’s churned into ice cream, with more peaches, chopped, mixed in at the end.
img_6165-copy

Because I had no desire for peach-flavored ice cubes dispersed throughout my ice cream, I stirred some vodka into the chopped peaches and let them set for a few hours. Hopefully the alcohol would soak into the peaches and keep them from freezing completely.
img_6197-copy

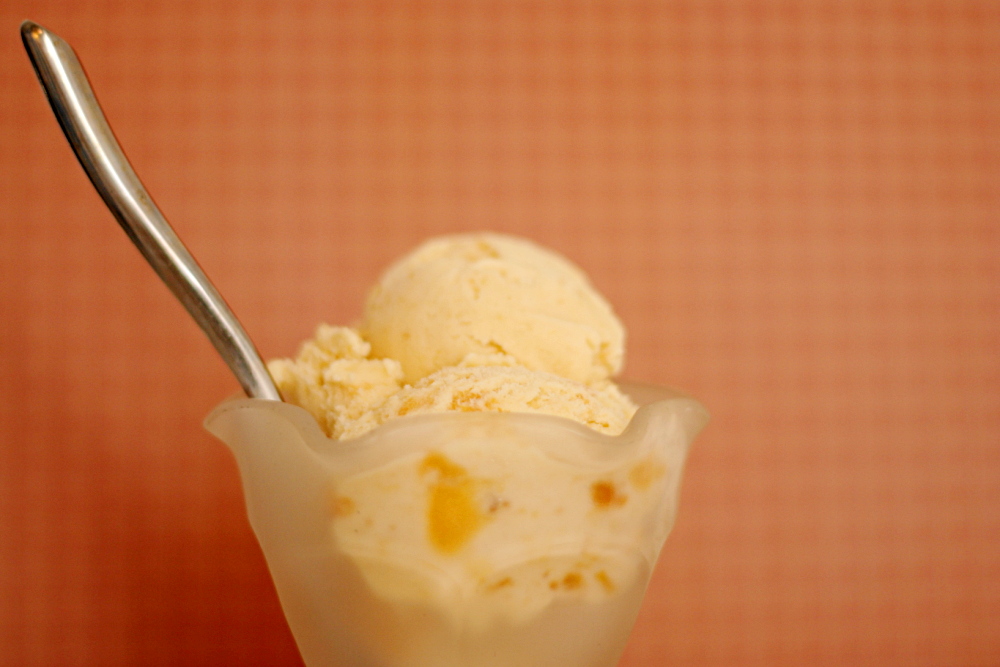
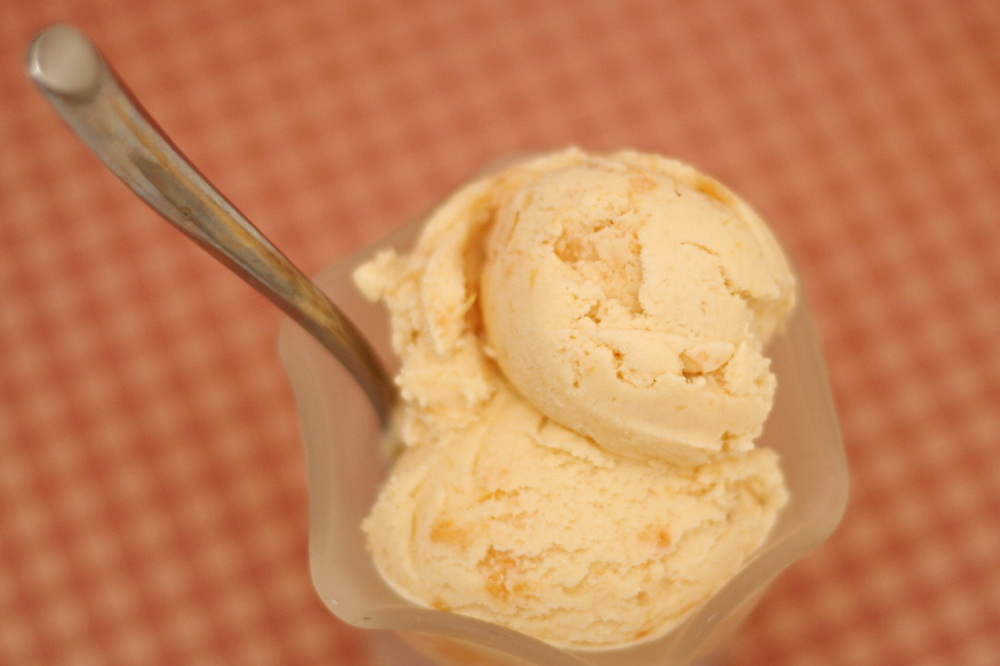
It sort of worked. Nothing is going to stop ice cream from being cold, of course, but at least the peach bits weren’t ice bits. I personally would have still preferred the ice cream without them, but Dave liked them. The custard part of the ice cream was smooth and soft enough to scoop after spending days in the freezer. It tasted pleasantly peachy, although I’m sure the flavor would be improved by more seasonal specimens than I was able to find. I couldn’t really taste the honey, but since I do like honey quite a bit, I think I’m going to start replacing part of the sugar with honey every time I make peach ice cream.

This ice cream was chosen for Tuesdays with Dorie by Tommi, and she has posted the recipe.

One year ago: Deep Dark Chocolate Cookies
img_6192-copy

Temporarily or not, the above link doesn’t work for the recipe.  So here it is!

Honey-Peach Ice Cream (from Dorie Greenspan’s Baking: From my Home to Yours)

4 large ripe peaches
1/4 cup honey
1 cup whole milk
1 cup heavy cream
3 large egg yolks
1/2 cup sugar
2 tsp vanilla

1. Chop 2 of the peaches into 1/2 inch chunks and toss them in a small saucepan. Add the honey and bring to a boil, lower the heat, cover the pan and cook until the peaches are soft (about 10 minutes). Scrape the mixture into a blender or food processor and puree. Set aside.

2. Bring the milk and cream to a boil in a saucepan. Meanwhile, whisk the yolks and sugar together until blended in a heatproof bowl. Drizzle in a bit of the hot milk mixture to temper the eggs (making sure they don’t curdle). Slowly add the rest of the milk mixture. Pour the milk/egg mixture back into the saucepan and heat while stirring until it thickens. Remove from the heat, pour into a heatproof bowl, and stir in the vanilla and peach puree.

3. Refrigerate the custard until chilled. Scrape into the bowl of an ice cream maker and churn according to the manufacturer’s instructions. While the ice cream is churning, dice the remaining 2 peaches and add them just before the ice cream is thickened. When the ice cream is ready, pack into a container and freeze for at least 2 hours until it is firm enough to scoop.
brandied berry crepes

copy-of-img_3826

When I scoped out the fresh blueberry selection while shopping for the blueberry crumb cake a few weeks ago, I caught a strong scent of strawberries. Yay! I hadn’t seen them there, hadn’t even though to look for them yet, but I definitely wasn’t passing them up. After months of apples and pumpkin, I am so ready for some different fruit. Since then, I’ve been using strawberries in everything possible.

copy-of-copy-of-img_3818

I made crepes a few months ago, and while I was perfectly happy with the recipe I used, I decided to try a new one anyway. I didn’t use any whole wheat flour this time, but this recipe uses a quarter of the butter as the other one, which is even better. I just mixed everything in a blender and let it set while I waited a few hours for Dave to wake up.

copy-of-img_3831

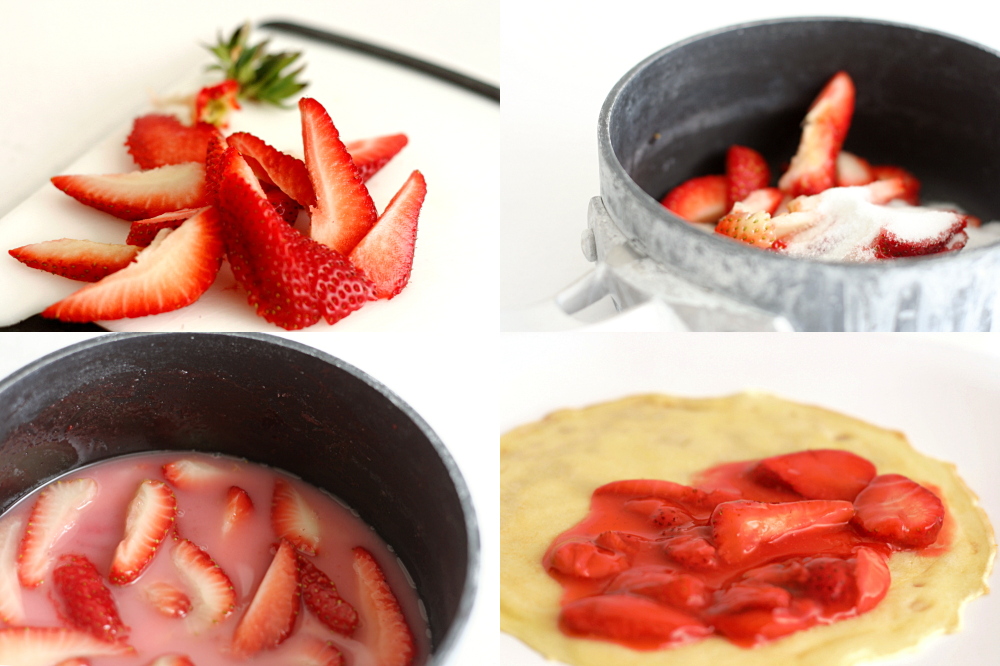
The filling was more of an adventure. Berries and sugar are heated to dissolve the sugar, then a mixture of cornstarch and kirsch is added. The filling is finished off with lemon juice and more fresh berries. For one pound of berries, the filling has ¼ cup kirsch, which seemed on the high side, especially considering the very low quality of my kirsch (and that this is breakfast). Then I accidentally added twice as much alcohol as I was supposed to. Blech, it was disgusting – it tasted like a college party. Fortunately, I had more of everything else, so I just doubled the rest of the ingredients. It still has a pretty strong alcohol flavor, but in a good way.

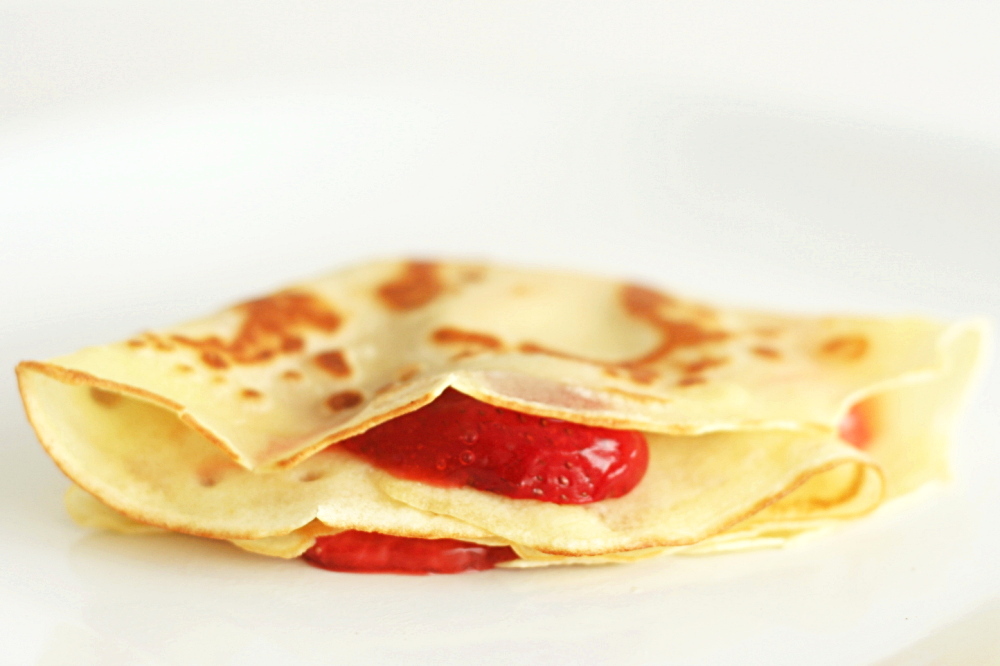
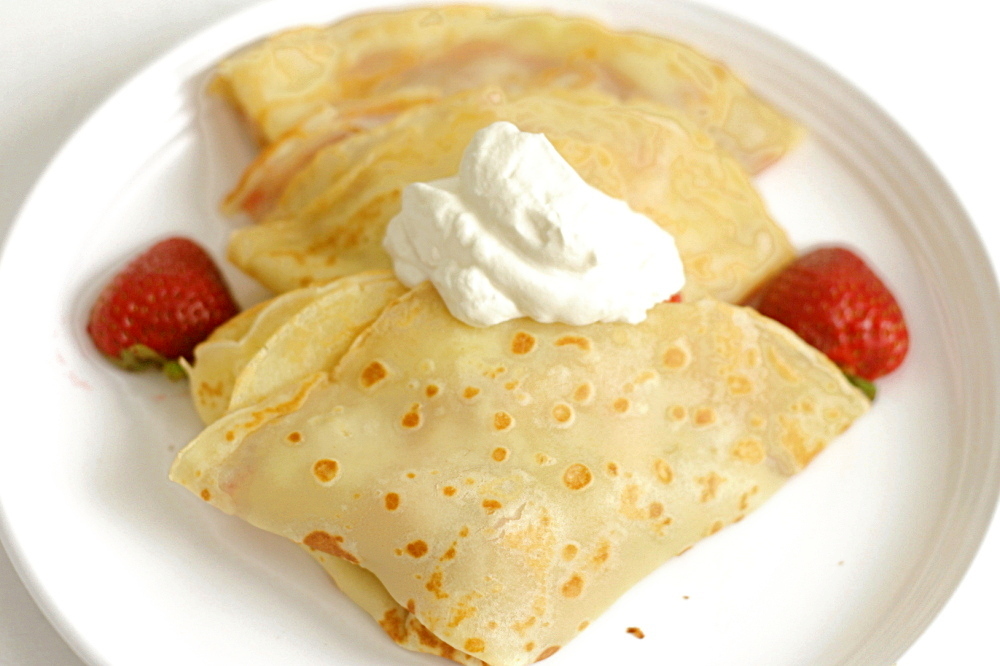
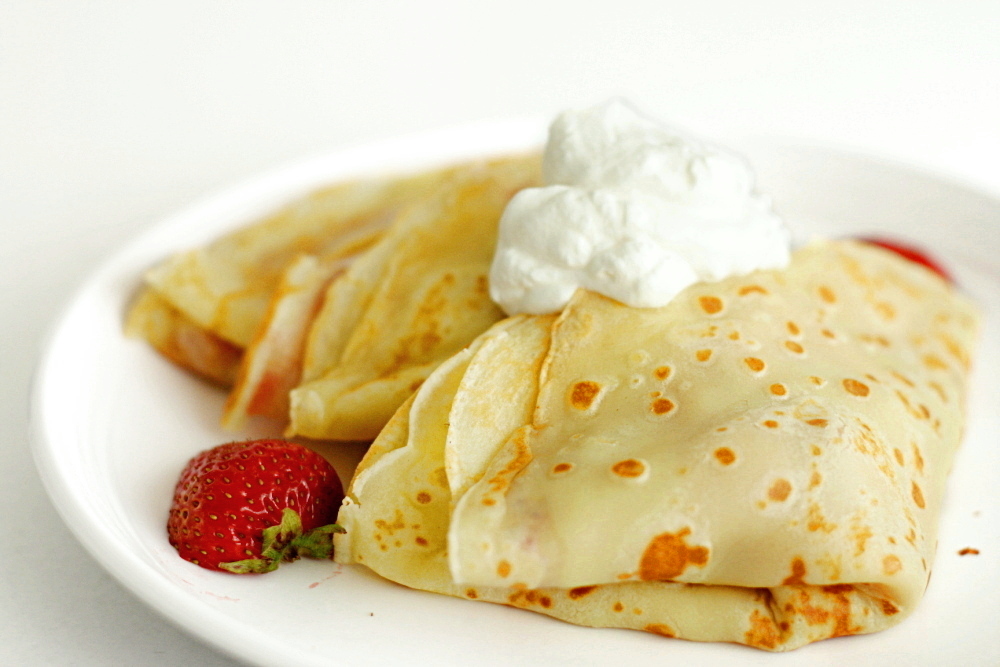
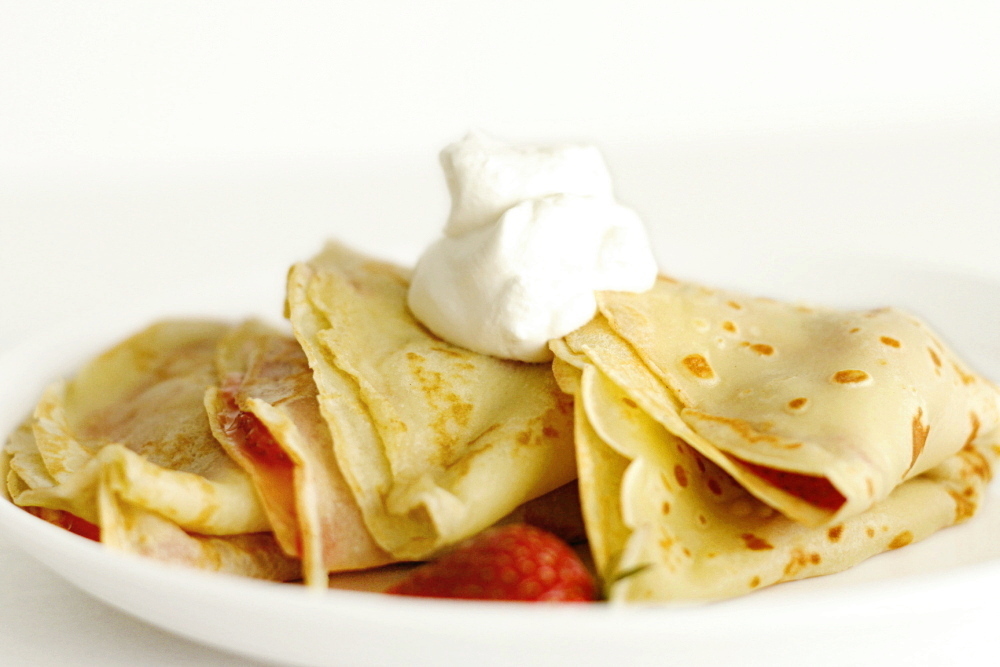
Topping with whipped cream, it’s a pretty decadent breakfast, one that could easily pass as dessert. But who wants to wait all day for something this good?

copy-of-img_3827

One year ago: Almond Biscotti – still the best biscotti I’ve made

Brandied Berry Crepes (adapted from Williams-Sonoma Desserts via Evan’s Kitchen Ramblings)

For the crepe batter:
1¾ cup + 2 tablespoons (8.8 ounces) all-purpose flour
1 tablespoon sugar
¼ teaspoon salt
1 cup + 1 tablespoon milk
1 egg
1 egg yolk
2 tablespoons butter, melted, plus more for cooking the crepes
1 teaspoon vanilla extract

For the filling:
8 ounces mixed berries or berry puree
¼ cup (1.75 ounces) sugar
pinch salt
1½ tablespoon cornstarch
¼ cup brandy, preferably kirsch
1 tablespoon lemon juice
8 ounces mixed berries

1. For the crepe batter: Add all of the ingredients to the blender and blend until smooth. Let stand for at least 15 minutes or refrigerate for up to 8 hours.

2. For filling: Combine cornstarch and brandy in a small bowl. Combine the mixed berries or berry puree, the sugar, and the salt in a medium saucepan, then cook over medium heat, stirring, until the sugar is dissolved. Reduce the heat to maintain a simmer, then stir in the brandy mixture and cook until slightly thickened. Remove from heat. Stir in the lemon juice and add the remaining berries. Set aside.

3. Preheat a crepe pan or medium nonstick skillet of medium heat. When hot, grease with a dollop of butter (using a stick of butter to smear some directly on the skillet works nicely), and add enough batter to coat the skillet in a thin, even layer when you swivel the skillet around in your hand. Cook just until batter is set and golden on bottom, then flip and cook on second side for another minute or two. Repeat with the remaining batter, stacking the cooked crepes on a plate.

4. Spoon filling onto crepes, fold into quarters and serve.

copy-of-img_3829

berry surprise cake

copy-of-img_1496

I’ve been a member of Tuesdays with Dorie for ten months, and I haven’t missed even one week. I’ve posted through holidays, vacations, and…I’m trying to come up with a third thing to round out this sentence, but honestly, I have no life. Hence it’s been easy to stay on track with TWD. But this week really tested me – my dishwasher is broken. That’s been rough.

copy-of-img_1486

It’s a good thing I persisted though, because I forgot to take into account Dave’s love of fruit + cream desserts. He goes nuts for them. I made a fourth of this recipe, and we ate the whole thing on Saturday night. Dave was talking about it all day Sunday, and it wasn’t until the end of the day that he realized there was none left. He wasn’t happy.

copy-of-img_1471

I guess I’ll have to make it again sometime then! Which is no problem, because there were things I really liked about this as well as things I’d like to experiment with.

copy-of-img_1473

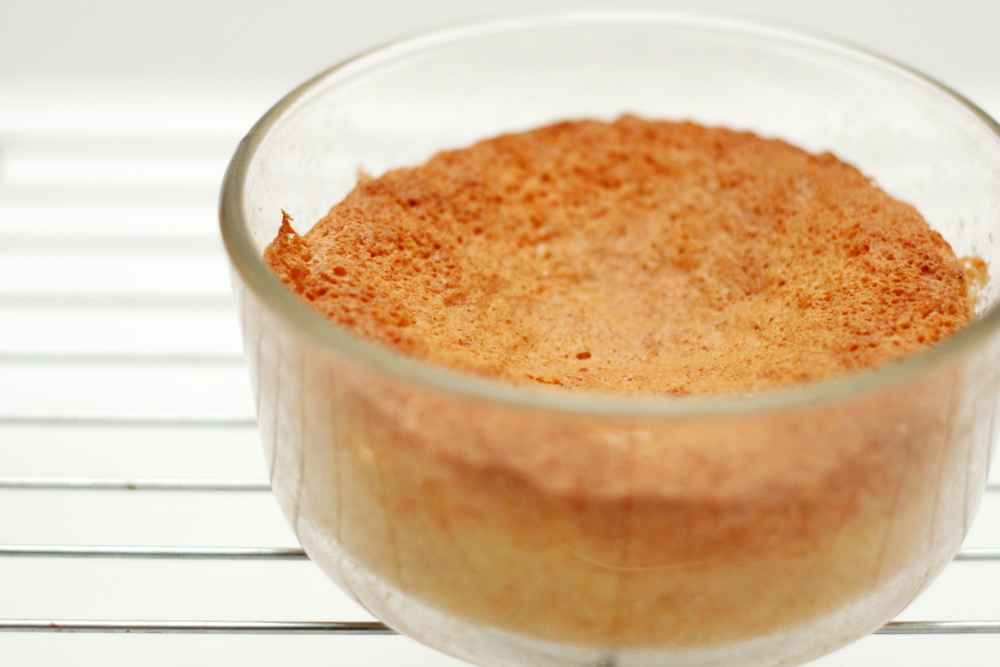
Like most of the group this week, my cake fell in the middle. I’d read through the reviews of people who made it before me and knew this was a possibility, so I was so careful when mixing up the batter. I certainly didn’t overmix, because there were still clumps of hard, dry flour in the baked cake. On the other hand, I could see the structure of the beaten eggs breaking down as I tried to fold in the flour, so I knew I had to stop.

copy-of-img_1479

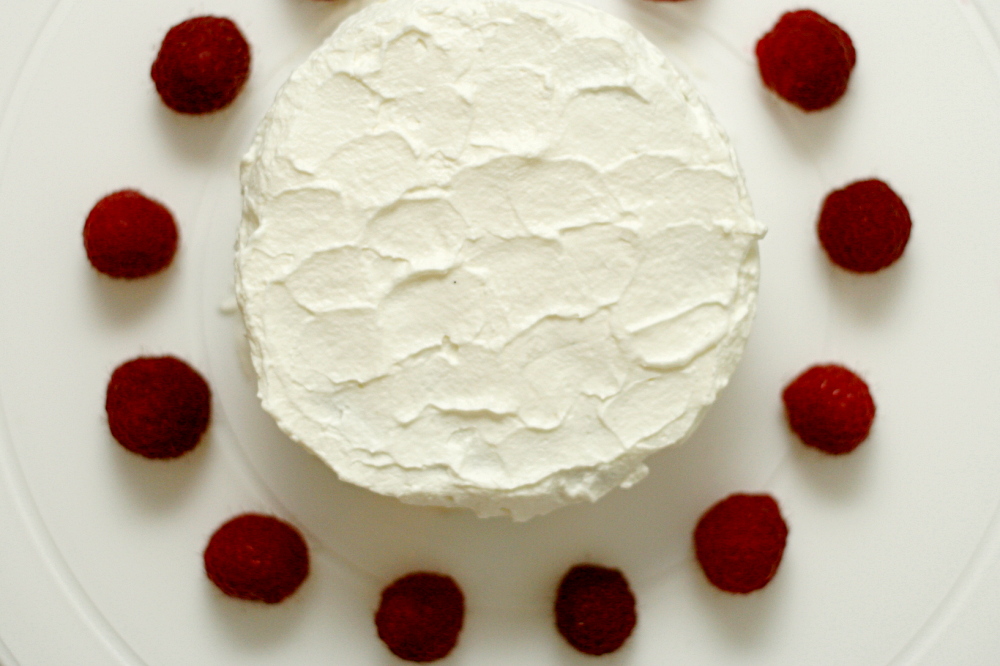
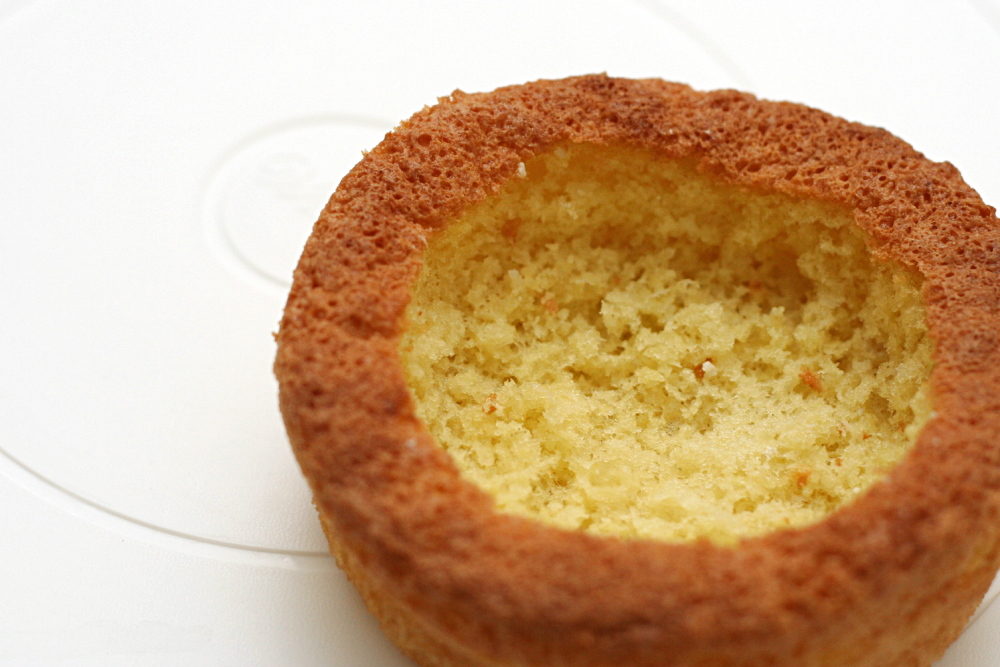
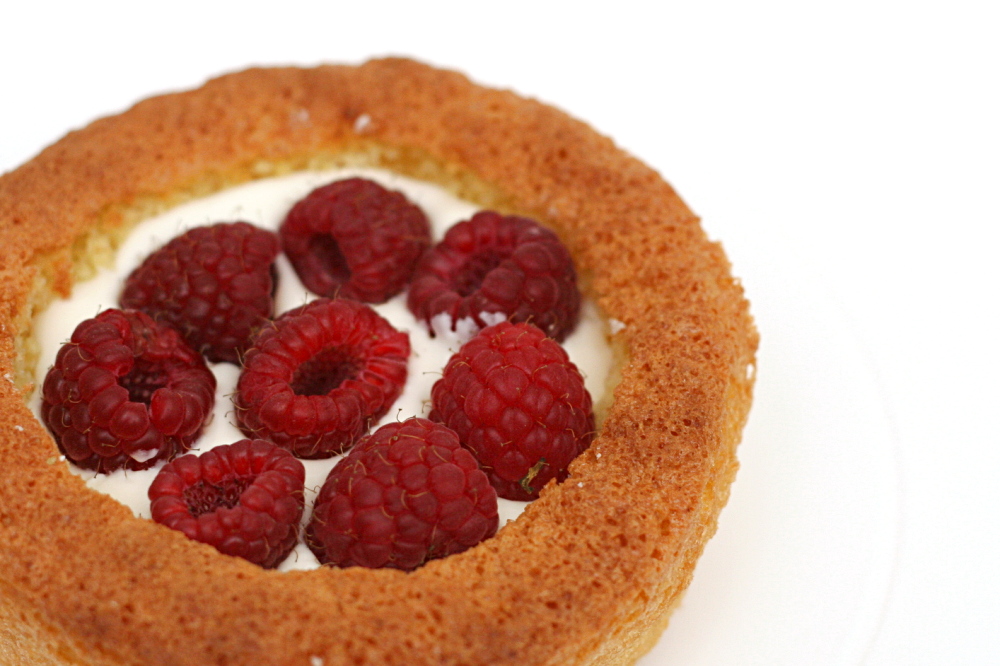
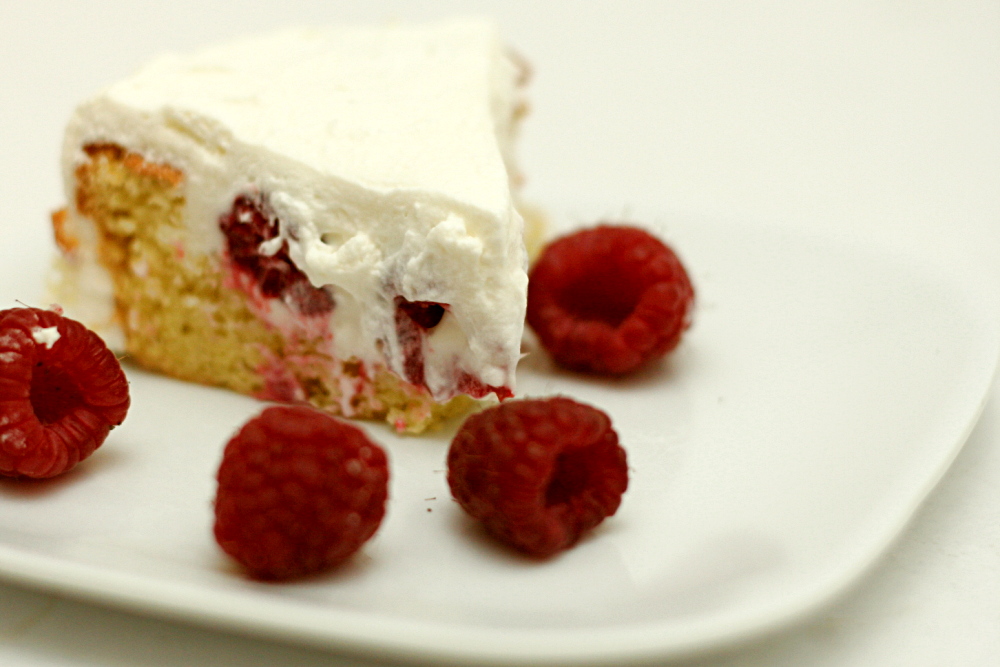
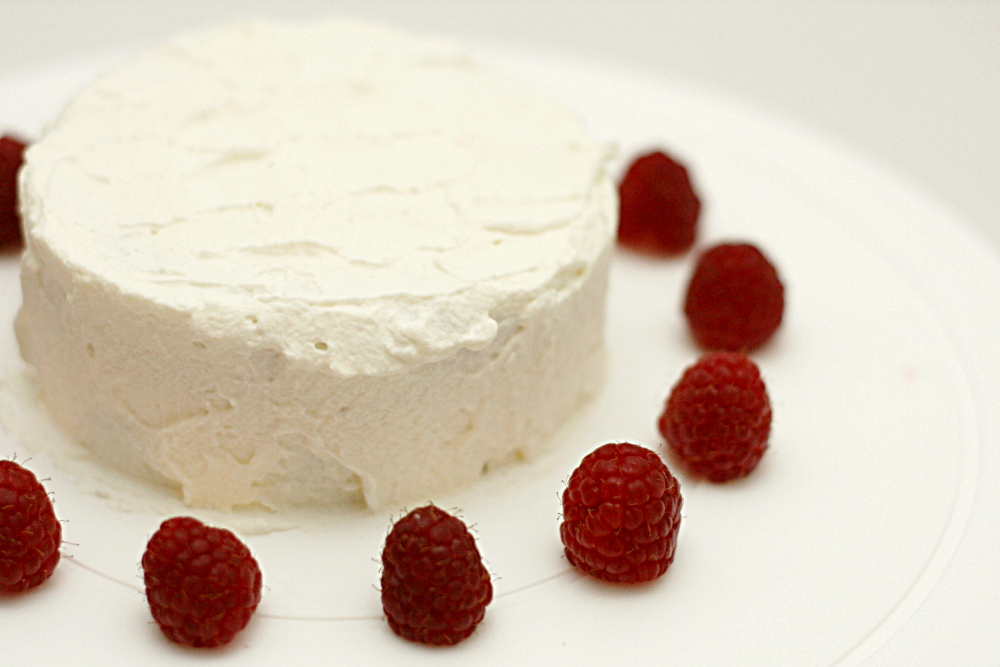
It was no matter though, since we were hollowing out the cake anyway. Dorie’s instructions are to slice off the top of the cake, make a nest in the middle, fill the nest with berries and cream, then put the top of the cake back on. Because the sides of my cake were nice and high, I was able to do all of that except I didn’t have a “lid” to cover the filling with. I just spread the whipped cream topping right over the filling.

copy-of-img_1485

The other issue people had with the recipe was the filling, which is a combination of cream cheese, sugar, vanilla, and cream. So basically cheesecake batter, which I absolutely love. Dorie then whips up more heavy cream and mixes that with the cream cheese ingredients, but a lot of people were saying that the filling ended up bland, so I skipped the extra whipped cream.

copy-of-img_1522

There were things I loved about this recipe – the cream cheese filling, raspberries of course (I lucked out and found good ones for a reasonable price), the whipped cream topping…so basically everything except the sunken cake. To be honest, I’m not sure I’ve ever had a genoise I loved. When I make this again, which will be soon if Dave has any say in the matter, I’ll just use a different vanilla cake recipe.

Mary Ann has posted the recipe.

One year ago: Maple Walnut Cupcakes

copy-of-img_1492

gazpacho

While everyone else has been getting excited about fall, publishing recipes with pumpkin and apples and cranberries, I’ve been desperately holding on to summer. Not only do I just plain like being warm, but I didn’t get my fill of summer produce this year. I only ate corn on the cob one time – just one! I’m a disgrace. And I can never get enough of flavorful seasonal tomatoes.

Gazpacho, to me, is the quintessential summer dish, putting the spotlight on tomatoes, with cucumbers and peppers singing backup. I served this gazpacho to a friend of mine from Spain, and he said that it was as good as any gazpacho he’d had over there. This is good stuff.

I’ve always been a big fan of traditional hot tomato soup, and I didn’t understand the allure of gazpacho when I was young – cold tomato soup? Yuck. But gazpacho made correctly isn’t anything like a smooth tomato soup. I like gazpacho to have more in common with salad than soup. That means that the vegetables have to be chopped by hand instead of in the food processor. It takes more time, but it’s worth it to eat real gazpacho instead of the vegetable smoothie that you’d end up with if you used the food processor.

Another great aspect of gazpacho is that it lasts for several days in the fridge. And it’s absolutely healthy, so it makes a really good snack. I love to keep some around for when I get home from work and I’m starving and dinner won’t be ready for a while.

Right after I finished dicing the vegetables for this, I inhaled deeply – it was pure summer. I felt better about letting the season go and moving into fall once I had made a batch of gazpacho. But don’t expect to see pumpkin recipes here for a while!

Gazpacho (from Cooks Illustrated)

CI note: Welch’s and Fresh Samantha’s are our favorite brands of tomato juice for this recipe — not too thick, with a bright, lively flavor. This recipe makes a large quantity because the leftovers are so good, but it can be halved if you prefer. Traditionally, diners garnish their gazpacho with more of the same diced vegetables that are in the soup, so cut some extra vegetables when you prepare those called for in the recipe. Additional garnish possibilities include simple garlic croutons, chopped pitted black olives, chopped hard-cooked eggs, and finely diced avocados. For a finishing touch, serve in chilled bowls.

Bridget note: I’ve found that the brand of tomato juice is extremely important. I’m never been able to find Welch’s or Samantha’s tomato juice, but Campbell’s works fine. And I never use ice cubes, I just add 1 cup of cold water.

Makes about 3 quarts, serving 8 to 10

3 ripe medium beefsteak tomatoes (about 1½ pounds), cored and cut into ¼-inch cubes (about 4 cups)
2 medium red bell peppers (about 1 pound), cored, seeded, and cut into slices, then into ¼-inch cubes (about 2 cups)
2 small cucumbers (about 1 pound), one peeled and the other with skin on, both seeded and cut into ¼-inch cubes (about 2 cups)
½ small sweet onion (such as Vidalia, Maui, or Walla Walla) or 2 large shallots, peeled and minced (about ½ cup)
2 medium cloves garlic, minced or pressed through a garlic press (about 2 teaspoons)
2 teaspoons table salt
⅓ cup sherry vinegar
ground black pepper
5 cups tomato juice
1 teaspoon hot pepper sauce (optional)
8 ice cubes
extra-virgin olive oil for serving

1. Combine the tomatoes, bell peppers, cucumbers, onions, garlic, salt, vinegar, and pepper in a large (at least 4-quart) nonreactive bowl. Let stand until the vegetables just begin to release their juices, about 5 minutes. Stir in the tomato juice, hot pepper sauce, if using, and ice cubes. Cover tightly and refrigerate to blend flavors, at least 4 hours and up to 2 days.

2. Adjust the seasonings with salt and pepper and remove and discard any unmelted ice cubes. Serve cold, drizzling each portion with about 1 teaspoon extra-virgin olive oil and topping with the desired garnishes, (see top note).

fruit bruschetta

Lately I’ve been on a major breakfast kick. It seems like I want to try something different every weekend morning. This fruit bruschetta is definitely different – it doesn’t even fit into my simple sweet versus savory categorization of breakfasts. (Obviously it’s a sweet option, but it isn’t the standard pancakes/waffles/French toast offering.)

The bruschetta are easy to make. Toast and butter bread, sprinkle with cinnamon sugar and broil until the sugar caramelizes, top with fruit and yogurt. And except for the bit of sugar and butter, it’s actually healthy. As much as Dave loves the croque-madame, I think if it was up to him, we’d eat breakfasts like this far more often.

I used the last loaf of pain a l’ancienne for the brushetta. I noted when I made the pain a l’ancienne that the crust was too thick, and that, combined with maybe overtoasting it a bit, caused my bruschetta to be way too crispy. That’s an understatement – I worried for my teeth, eating this. But if you’re using normal bread, I’m sure you won’t have the same problem.

I think these would be perfect for a brunch. They can sit at room temperature for a while without a problem, and they’re easy finger food. They’re simple, they’re fairly healthy, and they’re certainly an original option.

Peach, Strawberry, and Banana Bruschetta (from Gourmet August 1994, but really epicurious.com)

Bridget note: I used vanilla yogurt to drizzle over the toasts instead of plain yogurt, so I skipped the honey and sprinkled lemon zest over the yogurt instead.

Makes 16 bruschetta

16 ½-inch-thick slices crusty Italian or French bread
2 tablespoons melted unsalted butter
1½ tablespoons sugar
1½ tablespoons cinnamon, or to taste
1 peach, peeled, pitted, and cut into fine dice
½ banana, cut into fine dice
8 large strawberries, cut into fine dice
3 to 4 tablespoons plain yogurt
honey for drizzling

Preheat oven to 375°F.

Arrange bread slices in one layer in a shallow baking pan and bake in middle of oven until golden, about 10 minutes. Brush toasts with butter on one side. Toasts may be made 1 week ahead and kept in an airtight container.

In a small bowl stir together 1 tablespoon sugar and cinnamon and sprinkle evenly over buttered side of each toast. Broil toast about 5 inches from heat under preheated broiler 30 seconds, or until tops are bubbling, and cool.

In a bowl stir together fruit and remaining ½ tablespoon sugar and mound about 1 tablespoon on each toast. Top each toast with about 1 teaspoon yogurt and drizzle with honey.

tuscan-style couscous salad


Food generally tastes better outside. Even more so after you’ve hiked eight miles while carrying a 25-pound pack. Since Dave and I almost always eat this couscous salad while we’re backpacking, it’s no wonder we like it so much. But last time we went camping, we got driven home early by, um, we’ll just say fear of Lyme disease and spare you the creepy details. We ate this salad when we got home that night, and it tasted just as good while sitting on the couch watching a movie as it does when we’re eating it out of zip-top bags in the woods.

What’s so great about this salad is that it’s a perfectly balanced complete meal – a couscous base, both beans and nuts, and plenty of tomatoes, onions, and basil. There’s no real cooking involved and not much chopping.

I have tweaked the original recipe slightly – while it’s basically the same list of ingredients, I’ve doubled the amount of pine nuts, tomatoes, basil, and onion. I’ve also reduced to the olive oil in the dressing, which I do with most vinaigrettes recipes.

One final change I make to the original recipe is to toast the unpeeled garlic cloves before adding them to the dressing. Lately I’ve been unhappy with the sharpness of raw garlic, and toasting it mellows its flavor a bit. It’s still garlicky and good, but it won’t burn your tongue. And since the pine nuts are already being toasted, it’s no problem to add the garlic cloves to the skillet as well.

Between the vivid colors of this dish, its healthfulness, the ease with which it comes together, and of course, its flavorful mix of ingredients, this salad is well worth eating at home and in the woods.

Tuscan-Style Couscous Salad (adapted from Vegetarian Classics, by Jeanne Lemlin)

Serves 4 as a main course

1½ cups couscous
½ teaspoon turmeric
2 cups boiling water
½ cup pine nuts
1 (15-ounce) can small white beans such as navy or Great Northern, rinsed well and drained
1 pint cherry tomatoes, halved
¾ cup shredded fresh basil
1 small red onion, slivered

The dressing:
3 garlic cloves, unpeeled
⅓ cup lemon juice
½ teaspoon salt
Generous seasoning freshly ground pepper
3 tablespoon extra virgin olive oil

1. Place the couscous and turmeric in a large bowl and mix. Pour on the boiling water, stir, and immediately cover the bowl with a large plate. Let sit for 10 minutes. Remove the cover and fluff the couscous with a fork. Let cool.

2. Place the pine nuts and unpeeled garlic cloves in a small skillet and toast over medium heat, tossing often, until golden, about 5 minutes. Watch them carefully because they can easily burn. Let the pine nuts cool, then mix them into the couscous along with the beans, tomatoes, basil, and red onion.

3. Mince the garlic. Place the dressing ingredients in a jar with a tight-fitting lid and shake vigorously. Pour over the couscous mixture and toss well. Let marinate at least 30 minutes before serving. Cover and chill if longer than 30 minutes. Serve at room temperature.

summer fruit galette (twd)

It’s safe to say that this Summer Fruit Galette, chosen for TWD by Michelle, wasn’t my best effort. My baking has gotten really out of control lately – my freezer is full of cupcakes, cookies, muffins, and breads. There’s cookie dough and half a cake in my refrigerator. (But I finally found someone to offload some of this excess onto, so I’m excited about that!) My capacity to bake has far outstripped our capacity to eat. I thought the galette would fit into this pattern perfectly because I could pare down the recipe, which would be tricky with a regular pie.

Last time I made Dorie’s pie crust, I was pretty happy with it, but was put off by the shortening. Mari suggested substituting lard for the shortening, and since the galette uses the same dough as the blueberry pie did, I had that opportunity. I didn’t notice any big differences between the crusts made with shortening and with lard – they seemed equally easy to work with and flavorful. But a few weeks ago, I had noticed two or three TWD members who had problems with the pie crust sort of melting in the oven, and I had a little of that problem this time. In short, I’m going to stick with my old favorite pie crust. They’re both good, but I’ve been using that one for years and I’ve always been happy with it. (I’ll put it on my blog at some point or another – probably the next pie recipe TWD makes.)

The rest of my problems with the galette were my fault. I only made a quarter of the recipe, and I’m afraid that that’s an impractically small fraction. The ratio between the area necessary to hold fillings and the area necessary to pleat the edges gets thrown off, and you end up with far more crust per filling than the recipe intended. And one of the parts of this recipe that I was very interested in was the custard topping that gets poured over the fruit, but again, with so little filling exposed, I was only able to dribble in the slightest amount of custard mix before it overflowed and made a mess.

Despite all of my foibles making this dessert, I still really enjoyed it. I can tell the potential for a really amazing dessert is there. This is another example of how Dorie takes just a few ingredients and shows them off to their best advantage.

The recipe can be found on Melissa’s website.

cherry rhubarb cobbler (twd)

Amanda chose possibly the healthiest recipe in the TWD cookbook. A portion of the flour in the biscuits is whole wheat and there’s <gasp> less than a tablespoon of butter per serving.

Combining rhubarb and cherries is a little unusual – Dorie does it because they have contrasting and complimentary flavors. Fair enough, but they also both have notoriously short seasons that only slightly overlap. I was lucky to find fresh rhubarb still available.

I love rhubarb in uses like this – it cooks down so soft as to be unnoticeable except for the sweet-tart flavor it lends. Sweet cherries, it turns out, I’m not so fond of in cooked fruit desserts. It sounds weird, but I’m annoyed at how well they hold their shape. I guess I want them to cook down and blend in with the other filling ingredients.

The biscuits were fine. Not as light and tender as the ones from Dorie’s other cobbler; these were more dense and bready. (I swear I didn’t overmix them.) They weren’t bad by any means, but maybe a little more wholesome than I prefer for dessert.

Dave, of course, loved the whole thing. He generally prefers healthier food than I do. When we eat out, I order steak and potatoes while he gets fish and vegetables. This cobbler was right up his alley.

Amanda will post the recipe on her blog.

sauteed shredded zucchini

The side I originally served with Chicken with Forty Cloves of Garlic was shredded sautéed zucchini with tomatoes and basil. While it’s a very good dish, in retrospect, I don’t think the Italian bent in the zucchini matched the flavors and French feel of the chicken. My goal for the vegetable served alongside this flavorful garlicky chicken was something that would play backup well while offering a bit of contrast in flavors. While any simply prepared vegetable would work nicely, I also wanted something that my guests probably hadn’t made for themselves.

I do like the shredded sautéed zucchini, so I didn’t want to completely alter my original meal plan. I love when vegetables get just a little crispy and browned, and something about shredded zucchini instead of slices makes me happy. All of the prep work for this dish can be completed a few hours before dinner, which means the vegetables just need a quick stay on a hot burner and a few turns before they’re ready to be served.

The problem is that it’s not a simple task getting something as watery as zucchini to caramelize. Just like cabbage, the best way to get water out of zucchini is to sprinkle some salt on it and set it aside in a strainer. Then squeeze the hell out of it. I made only two servings of this recently, and squeezed out almost half a cup of (vividly green) water.

The original recipe makes this a bit more work than I like to put into a side dish. For one, it gives instructions for shredding the zucchini by hand. That isn’t happening; that is why I have a food processor with a shredding disk. You’re also supposed to discard the watery middle of the zucchini where the seeds are, but I disregard that too, so that I can just throw the whole vegetable through the feed tube of the food processor.

Once the zucchini are shredded and squeezed, you can mix them with your flavorings and some oil and set them aside until you’re ready to cook them. For serving with the chicken, I like to use just olive oil and minced shallots with a bit of lemon juice squeezed on at the end. It’s the perfect side dish – interesting and flavorful on its own right without overpowering the star of this show, which is the chicken.

Zucchini with Shallots and Lemon (adapted from Cooks Illustrated)

Serves 4

Bridget note: Five zucchini for four servings sounds like a lot, but you lose a lot of volume with the water, so it really is the right amount. I’ve added all of the oil to the zucchini mixture and added all of that to a preheated, non-oiled pan, and that works too.

5 medium zucchini (about 8 ounces each), ends trimmed
Table salt
2 shallots, minced
1 tablespoon olive oil
1-2 teaspoons fresh lemon juice from 1 lemon
Ground black pepper

1. Shred zucchini with shredding disk of food processor or large holes of a box grater. Toss zucchini with 1½ teaspoons salt and place in colander set in medium bowl; let drain 5 to 10 minutes. Wrap zucchini in kitchen towel, in batches if necessary, and wring out excess moisture.

2. Place zucchini in medium bowl and break up any large clumps. Add shallots and 2 teaspoons oil to zucchini and toss to combine thoroughly.

3. Heat remaining 1 teaspoon oil in 12-inch nonstick skillet over high heat. Add zucchini mixture and spread evenly in pan with tongs; cook without stirring until bottom layer browns, about 2 minutes; stir well, breaking up any clumps with tongs, then cook until “new” bottom layer browns, about 2 minutes more. Off heat, stir in lemon juice and salt and pepper to taste. Serve immediately.

For the tomato-basil variation: Combine 3 cored, seeded and diced plum tomatoes, 1 clove of minced garlic, 1 teaspoon balsamic vinegar, 2 teaspoons extra-virgin olive oil, ¼ teaspoon salt, and 2 tablespoons chopped fresh basil leaves in small bowl and set aside. When the zucchini has finished cooking, remove it from the heat and stir in tomato mixture and salt and pepper to taste. Transfer to serving platter, sprinkle with ¼ cup finely grated Parmesan, and serve immediately, drizzling with additional olive oil, if desired.

Other recipes part of this recommended dinner party menu:
Salad with Herbed Baked Goat Cheese
Chicken with Forty Cloves of Garlic
Pain a l’Ancienne (baguettes)

Just about any dessert works well with this meal.
Many wines work well with this meal, but I especially like full-flavored whites such as Chardonnay, and medium-bodied reds such as Pinot Noir.

blueberry pie (twd)

Blueberry season snuck up on me. When I first saw that Amy’s TWD pick this week was blueberry pie, I hadn’t yet seen seasonal blueberries at the store. But when I went just a few days later, blueberries had replaced strawberries in the produce place of honor. Phew. (Then we went camping in the supposed “blueberry capital of the world”, so…yeah, finding blueberries didn’t end up being a problem.)

Like most somewhat experienced bakers, I already have a favorite pie crust recipe. It’s tasty, flaky, easy to work with, and doesn’t require shortening. However, if I stubbornly cling to my old favorites and refuse to try new recipes, I’ll stagnate as a baker and a cook. I was certainly willing to give Dorie’s pie crust recipe a try.

I also have a favorite blueberry pie recipe, but again, with the trying new things…

Dorie’s pie crust knocked my socks off. It was delicious, flaky, tender, and even easier to work with than my other recipe. However, the shortening is actually a deal breaker with me. I’d rather be careful that my pie crust is chilled enough when I’m rolling it out than eat hydrogenated fats. Also, I think Dorie’s recipe needs to be scaled back a bit. It makes about 20% more crust than other recipes I’ve used, and as a result, the pie had a higher crust to fruit ratio than I like, even though I think I like pie crust more than most people. (Depending on the quality of the crust, of course.)

The filling, well, it reminded me that I love blueberry pie. I ate four (small, I swear!) pieces in one day. I reduced the sugar from 1 cup to ¾ cup, and I’m glad I did, I think I used just the right amount of sugar. I also didn’t have the lemon zest that I was supposed to use, so I fudged that with a bit of lemon extract. I still like my other recipe better – it uses cinnamon as a supporting flavor instead of Dorie’s lemon, and the cinnamon is surprisingly perfect with the blueberries.

The recipe calls for bread crumbs to be scattered on the bottom crust before the filling ingredients are added. I’m not putting breadcrumbs in blueberry pie; it’s just not happening. I considered using graham cracker crumbs, but ultimately got lazy and skipped this step entirely. I bake pies on a preheated baking sheet, which I think helps brown the bottom crust and keep it crispy. I had no problems with my crust getting soggy.

The recipe can be found on Amy’s blog.