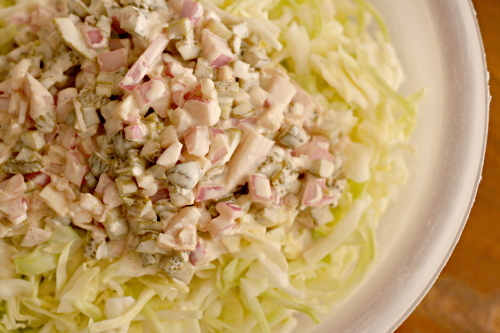
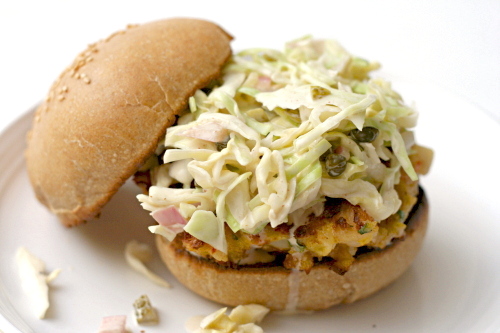
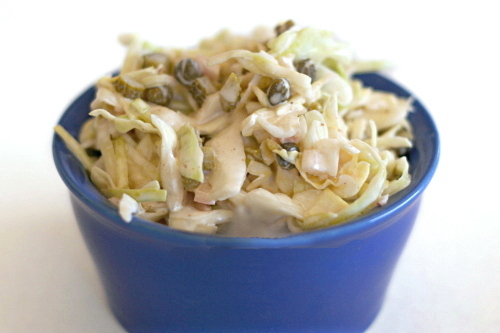
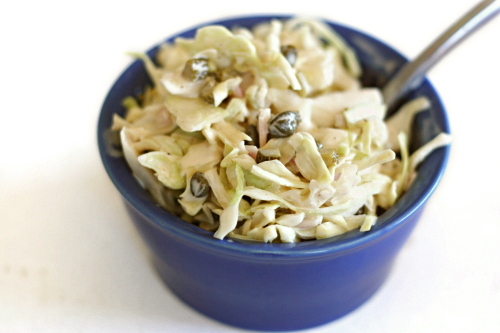
slaw tartare

“Here, taste this”, I requested, bringing Dave a cornichon.

He obliged, then made a face. “Euck, it’s a pickle.”

I sighed. Brined food is Dave’s single food hangup, but the cornichons had seemed relatively mild to me. I was hoping he wouldn’t mind them.

I went back into the kitchen to finish the salad, snacking on at least one cornichon for every one I chopped.

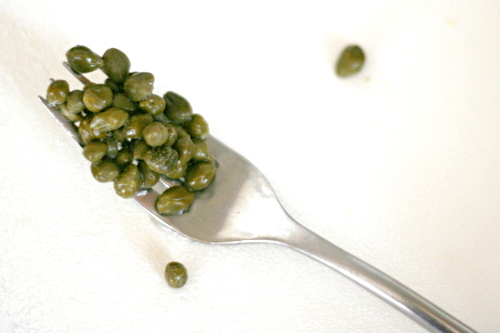
Before too long, I tried again, this time with capers. “Too briny”, he insisted.

I was starting to get worried about whether Dave would tolerate this slaw at all. Instead of coleslaw, he might be topping his shrimp burger with arugula and, uh…ketchup? We were out of mayonnaise; it had all gone into the dressing.

I forged on, but halved the capers and reduced the vinegar by even more. After mixing the dressing into the salad, I started tasting for seasoning. Results were inconclusive, so I tasted again. Seems okay, but I should take one more taste. When I realized that all my tasting was simply to keep eating, I decided the seasoning was just fine.

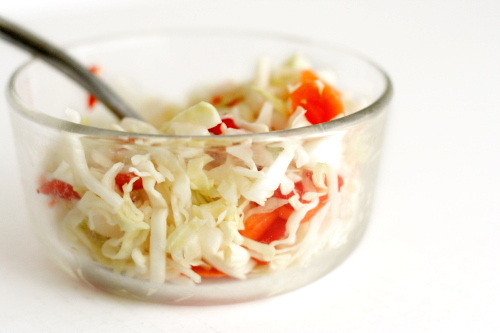
But it was time for the real test. I took a small bowl of the coleslaw to Dave. “Ooh, this is good slaw!” he exclaimed, finishing the bowl off in no time. I let out the breath I’d been holding. He was right. It is good slaw.

(The shrimp burgers were delicious.  They will be my next entry.)

One year ago: Pasta with Cauliflower, Walnuts, and Ricotta Salata
Two years ago: Creamy Buttermilk Coleslaw (okay, that’s kind of wierd)

Printer Friendly Recipe
Slaw Tartare (adapted from Smitten Kitchen who adapted it from Rebecca Charles’ and Deborah Di Clementi’s Lobster Rolls and Blueberry Pies)

Not a fan of watery coleslaw, these days I salt all of my cabbage destined for slaw.

Also, the recipe on Deb’s site, which reportedly already has less mayonnaise than the original, still seems to have a crazy amount of it. I’ve reduced it to about a third of what she recommends and thought the slaw was perfectly creamy. I’ve reduced some of the other dressing components accordingly.

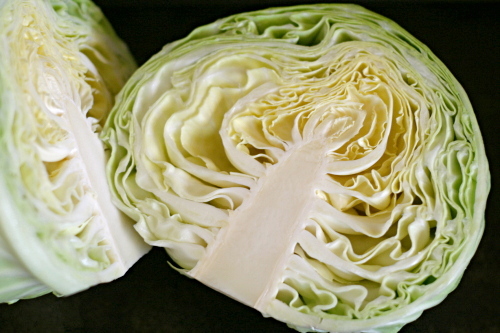
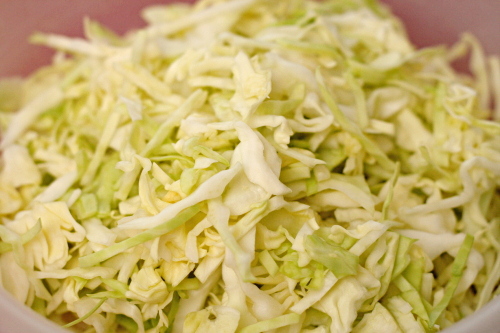
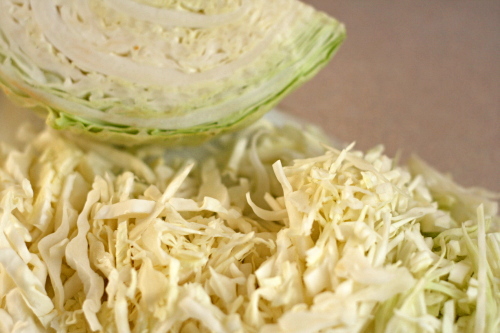
½ cabbage (about 1 pound), shredded fine (5-6 cups)
kosher salt
¼ cup chopped red onion
2 tablespoons sherry vinegar
½ teaspoon sugar
¼ cup capers
¼ cup chopped cornichons, plus 1 tablespoon of the juice
2 teaspoons Dijon mustard
6 tablespoons mayonnaise
½ teaspoon freshly ground black pepper

1. Toss the shredded cabbage and 1 teaspoon salt in a colander or large mesh strainer set over a medium bowl. Let it stand until cabbage wilts, at least 1 hour or up to 4 hours. Rinse the cabbage under cold running water. Spin the cabbage in a salad spinner until it’s dry or press, but do not squeeze, to drain it; pat dry with paper towels. Place the wilted cabbage in a large bowl.

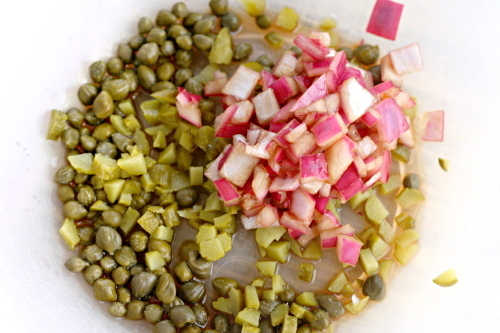
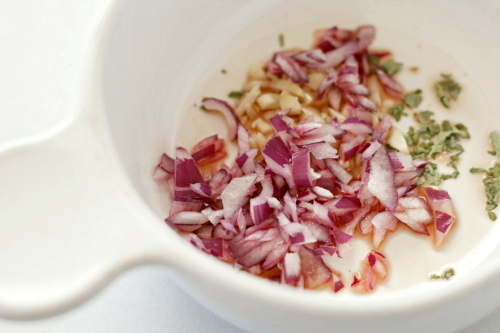
2. Mix the onions, sherry vinegar, and sugar together in a small bowl. Let it set for about 15 minutes, then mix in the capers, cornichons, cornichon juice, mustard, mayonnaise, and pepper. Fold the dressing into the cabbage and serve, or refrigerate for several hours for serving.
cherry tomato salad

Here are two common pairings that seem impractical to me – bread served with pasta and fries served with burgers. Of course they’re tasty combinations – who doesn’t love more carbs? – but do they make nutritional sense?

Granted, a leafy green salad would be too refined, and roasted or steamed vegetables don’t go with the casual feel of a burger. That’s why I love a non-lettuce based salad to go along with burgers, instead starring something like mushrooms or peppers or tomatoes.

Even though my little desert town has perfect grilling weather nearly year-round, it does not have perfect tomatoes. That’s a nice thing about this salad – you can make it with grape tomatoes, the only decent tomato option at the grocery store for most of the year.

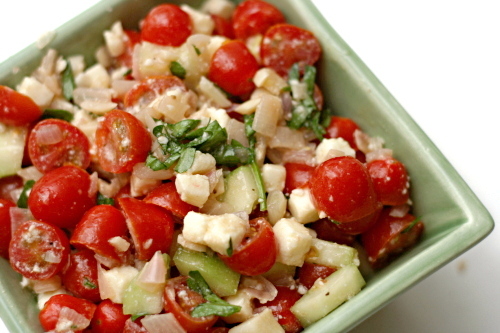
What’s more, the tomato flavor is enhanced by draining the watery juice from the tomatoes and reducing it to use with the dressing. The dressing ends up somewhat sweet, which is nicely balanced by tart red wine vinegar, fresh cucumber (I can’t believe I used to not like cucumber), and salty feta. I’d take this salad over fries any day.

One year ago: Lemon Poppy Seed Waffles
Two years ago: Whole Wheat Pasta with Greens, Beans, Tomatoes, and Garlic Chips

Printer Friendly Recipe
Greek Cherry Tomato Salad (from Cooks Illustrated)

If in-season cherry tomatoes are unavailable, substitute vine-ripened cherry tomatoes or grape tomatoes from the supermarket. Cut grape tomatoes in half along the equator rather than quartering them.

If you don’t have a salad spinner, after the salted tomatoes have stood for 30 minutes, wrap the bowl tightly with plastic wrap and gently shake to remove seeds and excess liquid. Strain the liquid and proceed with the recipe as directed.

The amount of liquid given off by the tomatoes will depend on their ripeness. If you have less than ½ cup of juice after spinning, proceed with the recipe using the entire amount of juice and reduce it to 3 tablespoons as directed.

2 pints ripe cherry tomatoes, quartered (about 4 cups) (see note)
table salt
½ teaspoon sugar
2 medium garlic cloves, minced or pressed through a garlic press (about 2 teaspoons)
½ teaspoon dried oregano
1 medium shallot, minced (about 3 tablespoons)
1 tablespoon red wine vinegar
2 tablespoons extra virgin olive oil
ground black pepper
1 small cucumber, peeled, seeded, cut into ½-inch dice
½ cup chopped pitted kalamata olives
4 ounces feta cheese, crumbled (about 1 cup)
3 tablespoons chopped fresh parsley

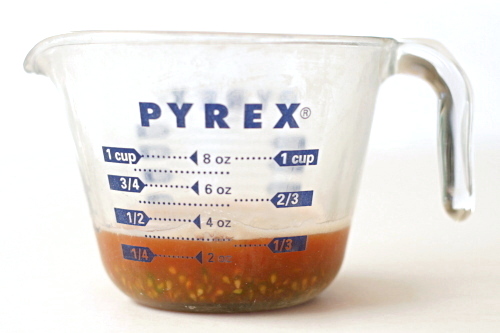
1. Toss tomatoes, ¼ teaspoon salt, and sugar in a medium bowl; let stand for 30 minutes. Transfer the tomatoes to a salad spinner and spin until the seeds and excess liquid have been removed, 45 to 60 seconds, stirring to redistribute the tomatoes several times during spinning. Return the tomatoes to the bowl and set aside. Strain the tomato liquid through a fine-mesh strainer into a liquid measuring cup, pressing on the solids to extract as much liquid as possible.

2. Bring ½ cup tomato liquid (discard any extra), the garlic, oregano, shallot, and vinegar to a simmer in a small saucepan over medium heat. Simmer until the mixture is reduced to 3 tablespoons, 6 to 8 minutes. Transfer the mixture to a small bowl and cool to room temperature, about 5 minutes. Whisk in the oil and pepper to taste until combined. Taste and season with up to ⅛ teaspoon table salt.

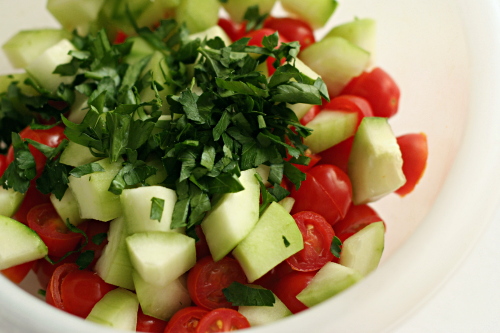
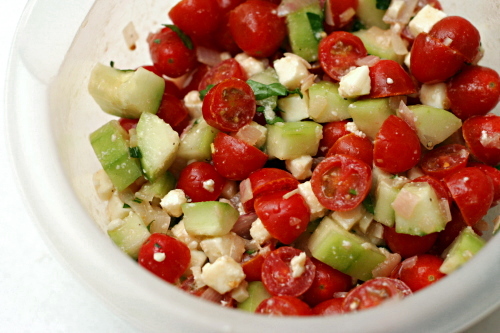
3. Add the cucumber, olives, feta, dressing, and parsley to the bowl with the tomatoes; toss gently and serve.

soft chocolate and berry tart

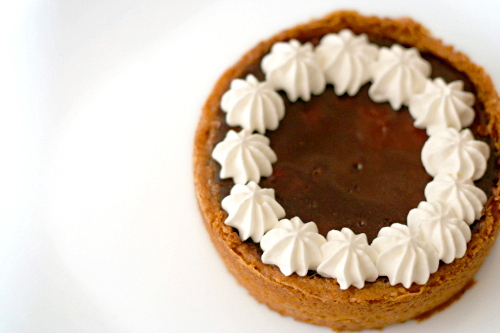
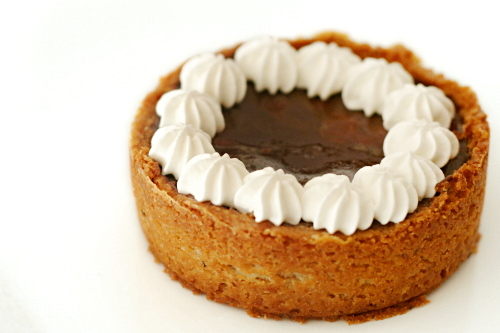
Chocolate and raspberry was my favorite flavor combination for a long time. It’s still up there for sure, but I’ve tried so many desserts recently that I’ve found all kinds of other great pairs – orange and vanilla, peaches and amaretto, cream cheese and anything. There’s no need to play favorites, but I was excited about making a chocolate and raspberry tart.

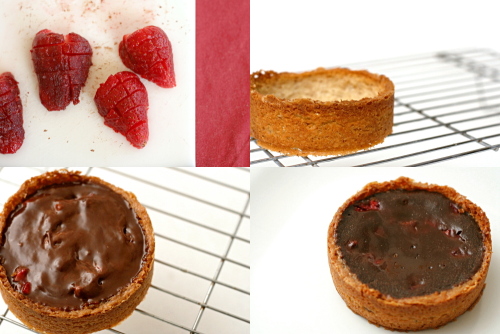
Then I used strawberries instead. Sometimes baking for Tuesdays with Dorie happens to be one item on a long (but manageable!) To Do list, and those times, I make do – and I had strawberries in the freezer. Even though Dorie specifically recommends against using strawberries because they’re too juicy, I went ahead with what I had. I defrosted a few, diced them small, sprinkled them with sugar, and set them aside to give off some liquid, which I drained before using the berries in the recipe. (I had a brief thought of “what should I do with the liquid?” Then – wait a minute! That’s sugary strawberry juice! And I drank it.)

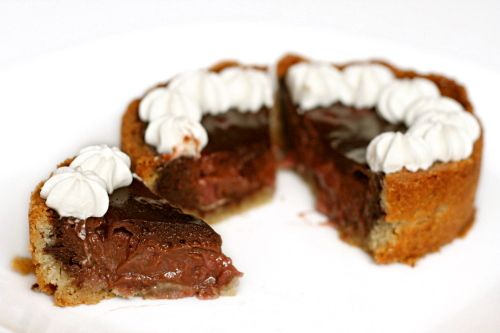
I’d call it a success! My tart was a bit sloppy when I cut into it, but it was still crisp tart crust, rich chocolate, and sweet berries. No one complained about combining chocolate and strawberries around here, that’s for sure.  Rachelle has the original recipe posted on her site.

One year ago: Lemon Cup Custards

zucchini bread

Copy of IMG_8571

You know what always makes me twitchy with envy? Hearing people talk about how they just have sooo many zucchini or tomatoes or whatever from their garden, and they just don’t know what to do with it all.

Shut. Up.

Also: Give them to me.

Copy of IMG_8549

I live in an apartment. There are no raised beds and no compost bins. There isn’t enough sunlight for container plants. I can’t even keep herbs because the cats eat them.

No, I bought these zucchini from the grocery store, although it at least was from the local farm section. But it’s the end of summer, and, damn it, I wanted zucchini bread.

Copy of IMG_8552

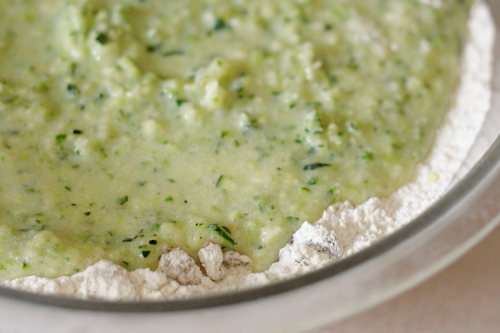
I’m not a big carrot cake fan – vegetables? dessert? they do not belong together – but zucchini bread I can do. It’s a quick bread, a snack; it isn’t masquerading as a fancy cake. Like most quick breads, this one starts with the dry ingredients (flour, salt, leavener, nuts) and the wet ingredients (eggs, butter, sugar, yogurt, a little lemon juice) mixed separately before being folding together.

Copy of IMG_8557

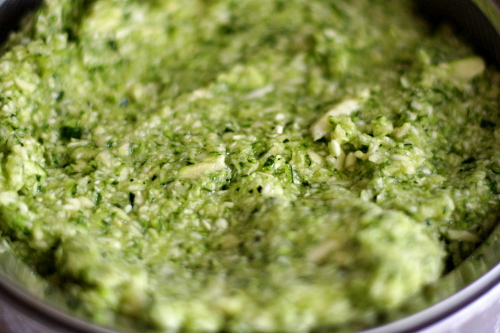
What I like about this recipe is how it treats the zucchini. Zucchini is full of water, and think about it – when did you last add water to a quick bread? You don’t, because it makes baked foods wet and gummy. So you have to remove the water from the zucchini. After the zucchini is shredded, mix it with a couple tablespoons of sugar, and let it sit and drain in a strainer while you prepare the rest of the ingredients. By the time you’re ready to move on with the recipe, the zucchini will have given up something like a half-cup of (bright green) water. What’s even better about this method is that you end up using more zucchini than you could if you had to keep all of the water in the dough.

Copy of IMG_8562

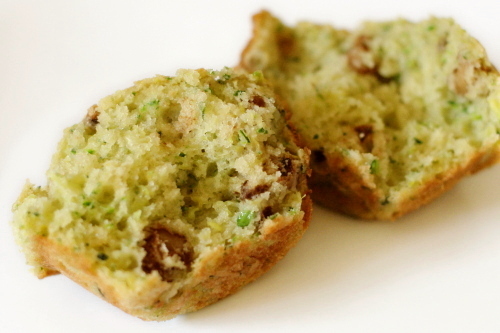
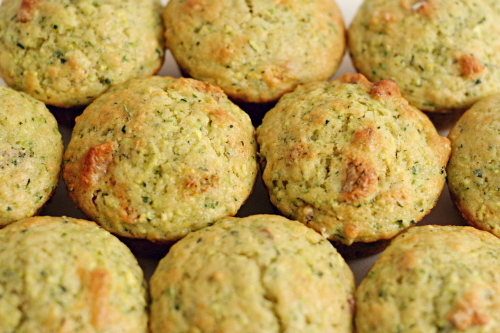
Ooh, I loved these. Loved them. So soft, so tender, so pretty and green. They don’t taste at all vegetal, and they’re just sweet enough. Someday I’ll have a house and a vegetable garden, and I will turn so much zucchini into beautiful bread. Until then, I’ll be grateful that zucchini is available year-round from the grocery store.

Copy of IMG_8568

One year ago: Sausage and Red Pepper Hash

Zucchini Bread (from Cooks Illustrated)

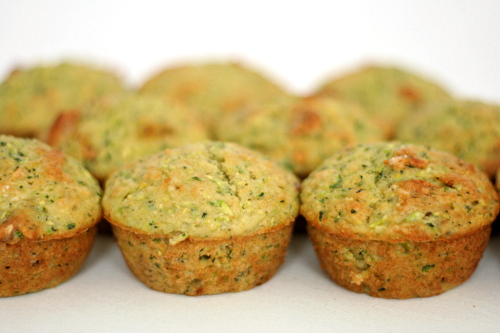
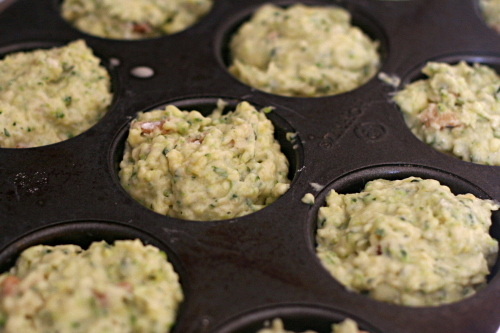
To make muffins instead of a loaf, divide the batter between 12 greased and floured muffin cups. Bake at 375 degrees for 18-25 minutes.

2 cups (10 ounces) all-purpose flour, plus more for dusting
1 pound zucchini, washed and dried, ends and stems removed, cut in half lengthwise and seeded if using large zucchini, each half cut into 1-inch pieces
¾ cups (5¼ ounces) sugar
½ cup pecans or walnuts, chopped coarse
1 teaspoon baking soda
1 teaspoon baking powder
½ teaspoon salt
¼ cup plain yogurt
2 large eggs, beaten lightly
1 tablespoon lemon juice
6 tablespoons (¾ stick) butter, melted and cooled

1. Adjust an oven rack to the middle position and heat the oven to 375 degrees. Grease the bottom and sides of a 9 by 5-inch loaf pan; dust with flour, tapping out the excess.

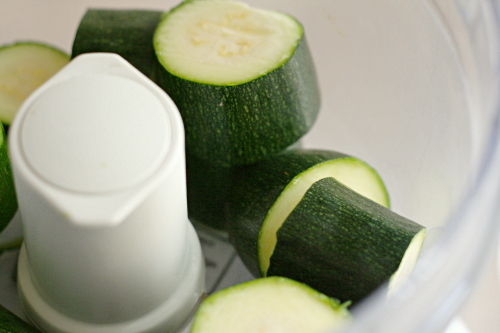
2. In the bowl of a food processor fitted with the metal blade, process the zucchini and 2 tablespoons of the sugar until the zucchini is coarsely shredded, twelve to fifteen 1-second pulses. Transfer the mixture to a fine-mesh strainer set at least 2 inches over a bowl and allow to drain for 30 minutes. Alternatively, you can shred the halved zucchini (don’t cut into 1-inch pieces) on the large holes of a box grater, toss with the 2 tablespoons of sugar, and drain.

3. Meanwhile, spread the nuts on a baking sheet and toast until fragrant, 5 to 7 minutes. Transfer the nuts to a cooling rack and cool completely. Transfer the nuts to a large bowl; add the flour, baking soda, baking powder, and salt, and whisk until combined. Set aside.

4. Whisk together the remaining ½ cup plus 2 tablespoons of sugar, yogurt, eggs, lemon juice, and melted butter in a 2-cup glass measure until combined. Set aside.

5. After the zucchini has drained, squeeze the zucchini with several layers of paper towels to absorb excess moisture. Stir the zucchini and the yogurt mixture into the flour mixture until just moistened. Scrape the batter into the prepared pan and smooth the surface with a rubber spatula.

6. Bake until the loaf is golden brown and a skewer inserted in the center comes out clean, 55 to 60 minutes, rotating the pan halfway through baking. Cool in the pan for 10 minutes, then transfer to a wire rack and cool for at least one hour before serving. (The bread can be wrapped with plastic wrap and stored at room temperature for up to 3 days.)
Copy of IMG_8579

pickled coleslaw

Copy of IMG_6584

Salads can be tricky, because if I’m eating a big bowl of vegetables, it better be healthy, you know? But there’s the whole salad dressing issue. Vinaigrette is the standard lighter option, but even it’s usually based on olive oil.

Coleslaw is no exception to the salad dressing problem. Many coleslaws are simply cabbage, mayonnaise and seasoning. Not only is this a little plain for my taste, but it turns coleslaw into a full-on indulgence. Even my favorite buttermilk coleslaw recipe includes a bit of mayonnaise and sour cream (which could probably be replaced by plain yogurt), although the base of the dressing is lowfat buttermilk.

Copy of IMG_6553

A lot of people don’t even like creamy coleslaws, preferring vinegar-based slaws instead. I like both types, and at first I thought these vinegar dressings were the no-fat answer for coleslaw, until I found out that most involve oil, like a typical vinaigrette does.

Copy of IMG_6547

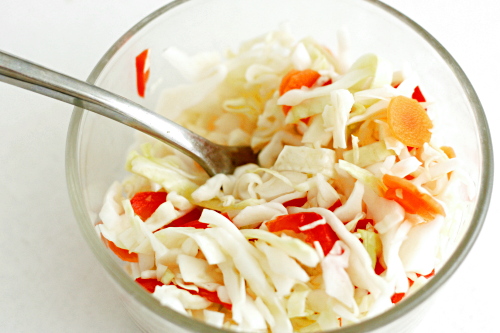
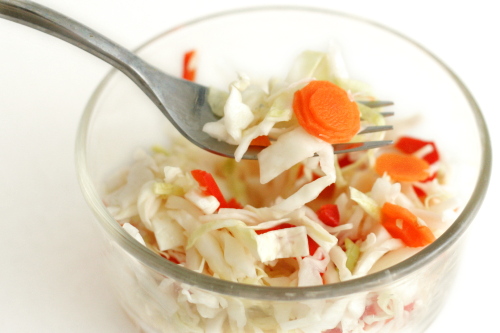
The solution, it turns out, is pickled coleslaw. The cabbage here is mixed with nothing but vinegar, water, sugar and salt. Those ingredients have to be heated to dissolve the sugar, then cooled so they don’t wilt the cabbage. Then they’re mixed with the shredded cabbage and a few other vegetables (sadly, I didn’t have a cucumber around when I made this, so I had to skip it), and refrigerated overnight – or for longer, if need be.

Copy of IMG_6556

What a great way to eat a big bowl of vegetables. Since I’m not worried by a wee bit of sugar, there’s nothing for me to feel guilty about here. And it isn’t just about being healthy – it tastes great too. It’s tart without being too sour and has a wonderful crunch. Even Dave, pickle-hater that he is, enjoyed it. Gotta love a salad without compromise.

Copy of IMG_6583

One year ago: Mashed Potatoes with Kale

Pickled Coleslaw (from Deb Perelman for NPR)

Makes 8 to 10 servings

Brine:
1½ cups distilled white vinegar
1½ cups water
⅓ (2.33 ounces) cup sugar
2½ tablespoons kosher salt

Slaw:
1 small head green cabbage
1 red bell pepper, cored, seeded and thinly sliced into 1- to 2-inch pieces
1 carrot, peeled and very thinly sliced
1 kirby cucumber, thinly sliced

Bring brine ingredients to a boil in a 2-quart nonreactive saucepan over moderate heat, stirring until sugar is dissolved. (Use a pan of stainless steel, glass and enameled cast iron; avoid pure aluminum and uncoated iron, which can impart an unpleasant taste to recipes with acidic ingredients) Transfer to a 3- to 4-quart nonreactive bowl and cool completely. To speed this process up, you can set the bowl over a second bowl of ice water, and stir, which will quickly chill the brine.

Halve, core and halve again the head of cabbage, then finely slice it with a knife, or run the quarters through a food processor fitted with a slicing blade.

Toss sliced cabbage, bell pepper, carrot and cucumber in bowl with brine. Cover with lid or plastic wrap, and refrigerate, tossing the ingredients once or twice in a 24-hour period. After one day in the brine, the coleslaw is ready to serve. It keeps for up to 1 week, chilled.

Copy of IMG_6586

amaretto cheesecake

Copy of IMG_5299

My brother became known as the family cheesecake maker early on. I think we were still teenagers when he started getting cheesecake cookbooks. In one of those, there was a recipe for amaretto peach cheesecake that became a family favorite.

Copy of IMG_5223

I’m guessing it’s a Kraft recipe that’s widely available on the internet, but, frankly, I think I can do better than Kraft these days. Okay, fine, I think Dorie Greenspan can do better than Kraft, and I can add a bunch of amaretto to her Tall and Creamy Cheesecake recipe.

Copy of IMG_5216

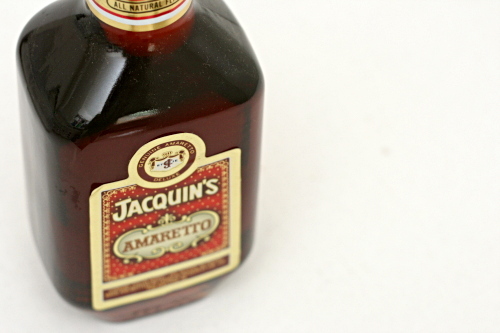
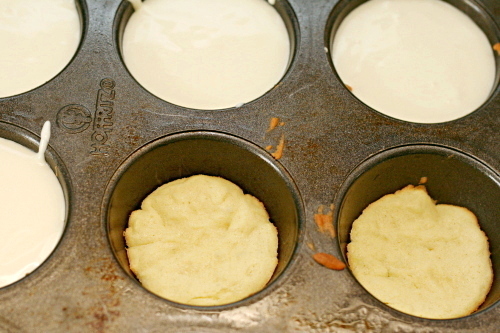
The ratio of the main ingredients – the cream cheese, eggs, and sugar – is the same as Dorie’s recipe. I used heavy cream this time instead of sour cream because I didn’t want anything to fight with the almond flavor of the amaretto. I dumped in as much amaretto as I thought the batter could take, then added a teaspoon of almond extract to bump up the flavor even more. I used a sugar cookie crust instead of a graham cracker crust, again, so as not to fight with the almond flavor. Something sweet and subtle was more in line with my goals.

Copy of IMG_5219

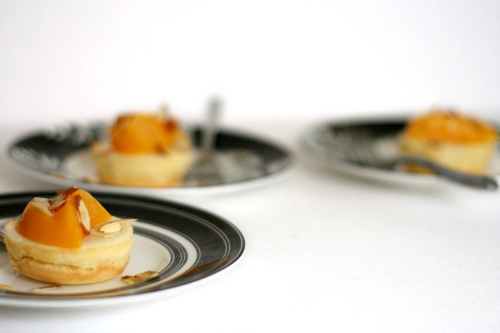
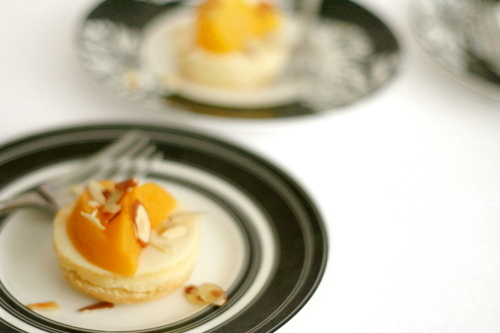
The peach part of the picture was an afterthought in my case. I considered somehow adding it directly to the cream cheese mixture, but, I couldn’t figure out how to make this work. In the end, I think I’m happier with keeping the almond and peach parts separate anyway. I had wanted to make a peach coulis to top the cheesecake, but I ran out of time. Instead, I thinly sliced some peaches (canned, as this was several months before peach season) and sprinkled the tops with toasted almonds.

Copy of IMG_5226

And – yum. I was worried that the amaretto flavor would be too subtle, but I thought it was perfectly balanced. The texture was smooth and creamy, just what you want from cheesecake. It wasn’t quite as light as some cheesecakes, since I didn’t use much heavy cream, but it wasn’t overly dense either. The peaches and almond are such a great combination. I still think a light peach coulis would be perfect, but there’s certainly nothing bad about almond-scented cheesecake, sliced peaches, and toasted almonds. Who’s the family cheesecake maker now? 😉

Copy of IMG_5243

One year ago: Fruit Bruschetta

Amaretto Cheesecake

To make a full cheesecake instead of miniatures, use a 9-inch springform pan; bake the crust for 10 minutes and cook the cheesecake in a water bath for 90 minutes, keeping the same temperatures noted below.

Crust:
3 tablespoons butter
⅓ cup (2.33 ounces) sugar
pinch salt
1 egg
¾ cup (3.6 ounces) unbleached all-purpose flour

Cheesecake:
4 (8-ounce) boxes cream cheese, room temperature
1⅓ cup (10.5 ounces) granulated sugar
½ teaspoon salt
4 eggs, room temperature
½ cup heavy cream
¼ cup amaretto
2 teaspoons lemon juice
1 teaspoon almond extract

1. Adjust an oven rack to the middle position and preheat the oven to 350 degrees. Spray a muffin pan with nonstick spray. (You could also line the muffin tin with cupcakes liners.)

2. For the crust: Beat the butter on medium speed until smooth. Add the sugar and salt and continue beating until the mixture is light and fluffy. Add the egg, mixing until thoroughly integrated. Gradually add the flour, mixing just until combined. Divide the batter evenly between 24 muffin cups and spread over just the bottom of each tin. Bake 7-10 minutes, until the crusts are firm and just slightly browned around the edges. Cool on a wire rack. Reduce the oven temperature to 325 degrees.

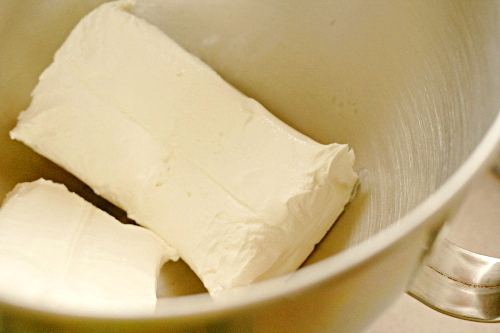
3. Meanwhile, beat the cream cheese in the bowl of a standing mixer fitted with the paddle attachment until soft and smooth. (Of course, you can also use a hand mixer for this.) Add the sugar and salt and continue beating until smooth and light. Add the eggs, one at a time, beating for about 1 minute between each addition. Add the cream, amaretto, lemon juice, and almond extract and beat until combined.

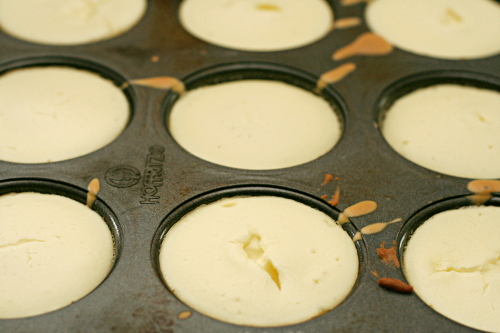
4. Pour the batter into the crust-lined muffin cups. It won’t rise significantly, so feel free to fill the cups. Bake in the preheated oven for 25-30 minutes, until an instant-read thermometer inserted into the center of a cheesecake measures 150 degrees.

5. Let the cheesecakes cool on a wire rack until they’re at room temperature. Use a thin-bladed knife or offset spatula to remove the cheesecakes from the pan. (If you can’t seem to get them to budge without breaking them, try putting the pan in the freezer for 15 minutes first.) Refrigerate for several hours, until cool. Top with something peachy and lightly toasted sliced almonds, if desired.

Copy of IMG_5303

pasta with no-cook tomato sauce and fresh mozzarella

Copy of IMG_8005

I know I’ve been harping on my love of summer lately, and I did the same thing last year. Honestly, while summer is undoubtedly my favorite season, fall is a not-too-distant second, and really, there are aspects I like about every season. But summer doesn’t just have sunlight and warmth and lightning bugs and beach trips and fireworks and…well, all of those other things I love, but very importantly, it has tomatoes.

Copy of IMG_7989

I love fresh summer tomatoes so much that, other than the very occasional container of cherry tomatoes, I don’t bother buying fresh tomatoes any other time of the year. Why set myself up for disappointment? Why bother with those dry, mealy, flavorless winter tomatoes? I’d rather just wait for the real thing.

Copy of IMG_7995

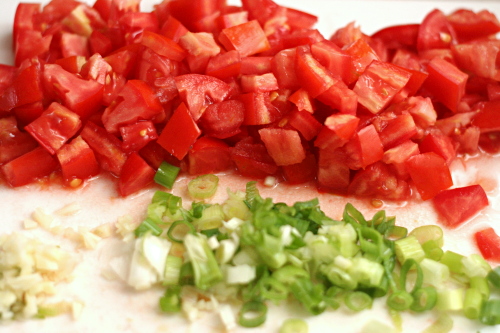
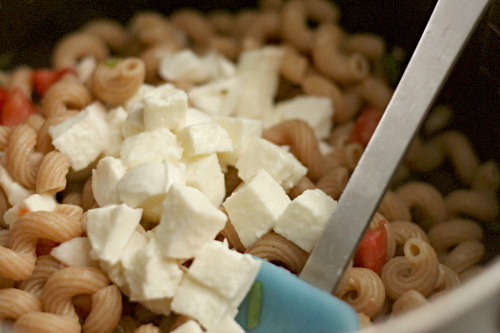
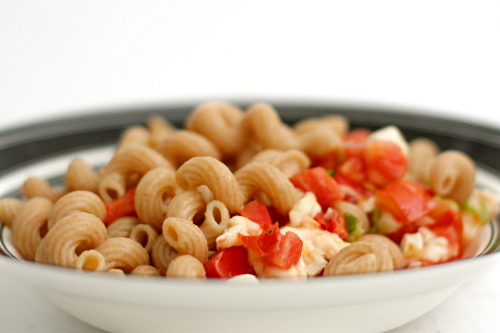
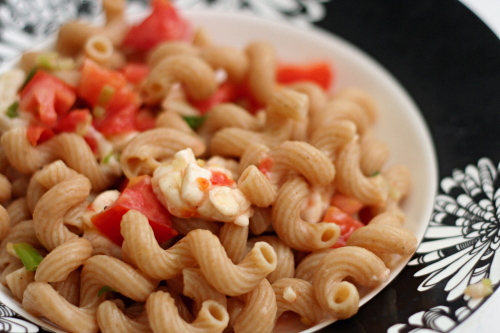
And then – then I go crazy. Gazpacho, BLTs, maybe a potato tomato tart, and this pasta. Oh this pasta. It’s a perfect meal. Super simple, it can be made in the time it takes to boil the noodles. The sauce, uncooked, retains the brightness of tomatoes at their peak, accented with smooth fresh mozzarella, tangy green onions, and fruity extra virgin olive oil.

Copy of IMG_7999

With almost no cooking and so few ingredients, you need to make sure you’re using the best ingredients you can get. Summer tomatoes, of course. Use whatever your favorite mozzarella is – this time I used buffalo mozzarella, but I’ve also tried the little balls my grocery sells in its olive bar, as well as the shrink-wrapped balls that I’m guessing are more widely available. Also, be careful of your garlic – I once made this (for a large group, no less) with some incredibly strong garlic, and it really ruined the whole dish. I recommend toasting the unpeeled cloves, either in a dry skillet or in the oven if it’s already on.

Copy of IMG_8001

Fall is closing in fast (pumpkin and cider and football and colorful trees and crisp air!) but there’s still time! We still have at least a month of wonderful tomatoes left! What are your favorite ways to use them?

Copy of IMG_8006

One year ago: Blueberry Sour Cream Ice Cream

Pasta with No-Cook Tomato Sauce and Fresh Mozzarella (from Cooks Illustrated)

This is the recipe directly from Cooks Illustrated. I do make a few small changes. First, I don’t seed the tomatoes, which does make the pasta a little wetter, but I just can’t throw away so much precious summer tomato flavor. I also use less oil, because, you know, fat and all that. And sometimes I reduce the amount of pasta.

Also, you’ll probably want to warm your serving bowl for this recipe.  I usually put the bowl in the oven, turn the oven on to warm for a few minutes, then turn the oven off, leaving the bowl in there until I’m ready for it.

salt
1 pound pasta (a short, curly type is best)
1½ pounds ripe tomatoes, cored, seeded, and cut into ½-inch dice
¼ cup extra virgin olive oil
1 medium garlic clove, minced or pressed through a garlic press
3 medium scallions, sliced thin
ground black pepper
8 ounces fresh mozzarella cheese, cut into ½-inch cubes

1. Bring 4 quarts water to a rolling boil in a large pot. Add 1 tablespoon salt and the pasta to the boiling water, stir to separate the noodles, and cook until al dente. Drain and return the pasta to the pot.

2. While the pasta is cooking, prepare the sauce. Combine the tomatoes, oil, garlic, scallions, ½ teaspoon salt, and ¼ teaspoon pepper in a medium bowl. Add the tomato mixture and mozzarella to the pasta in the pot and toss to combine. Adjust the seasonings with salt and pepper to taste and serve immediately.

Copy of IMG_8002

potato tomato tart

Copy of IMG_8028

Dave and I have this conversation nearly once a week:

Me (whining, after baking all day): I’ve been cooking all day and I’m tired and I haven’t even stupid started dinner. Stupid stupid stupid.

Dave: Okay. We’ll order pizza.

Me: We can’t order pizza! I bought ingredients for dinner! If we don’t use them tonight, they’ll go to waste!

Copy of IMG_8007

Once the week’s menu is set, it does not change.

But last week something went haywire, and I needed to come up with an extra meal on short notice.

Copy of IMG_8012

I had two potatoes that I’d bought and never got around to using (see! they almost went to waste!) and there was a pile of tomatoes leftover from tomato picking. But I couldn’t find any recipes that fit all of my requirements – used plenty of both tomatoes and potatoes, didn’t require any ingredients I didn’t have, and actually sounded good. So I <gasp> came up with something on my own.

Copy of IMG_8020

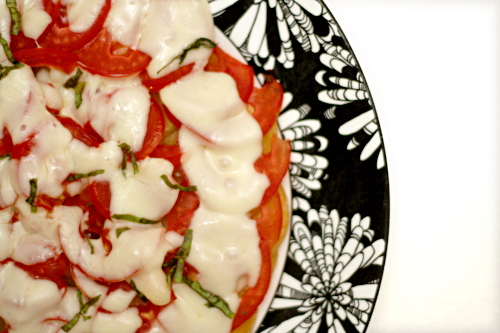
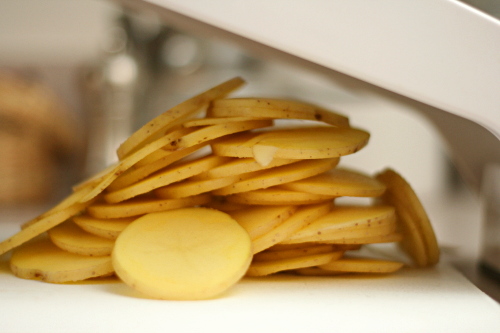
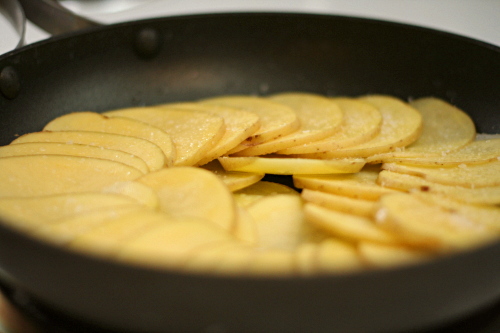
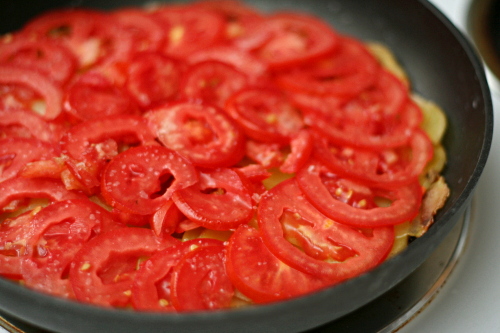
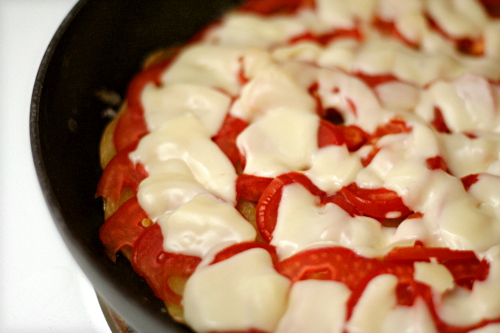
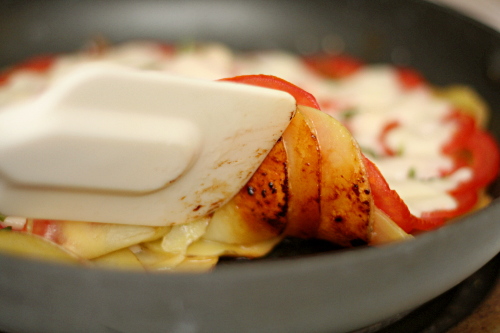
I sliced the potatoes thin and arranged them in a skillet. Once they were crisped on the bottom and mostly cooked through, I arranged sliced tomatoes over the top. Once those were softened, I arranged sliced mozzarella on top of that. It melted almost immediately, so I quickly picked a few leaves from my pathetic sun-starved basil plant, and sprinkled them over the tart.

Copy of IMG_8023

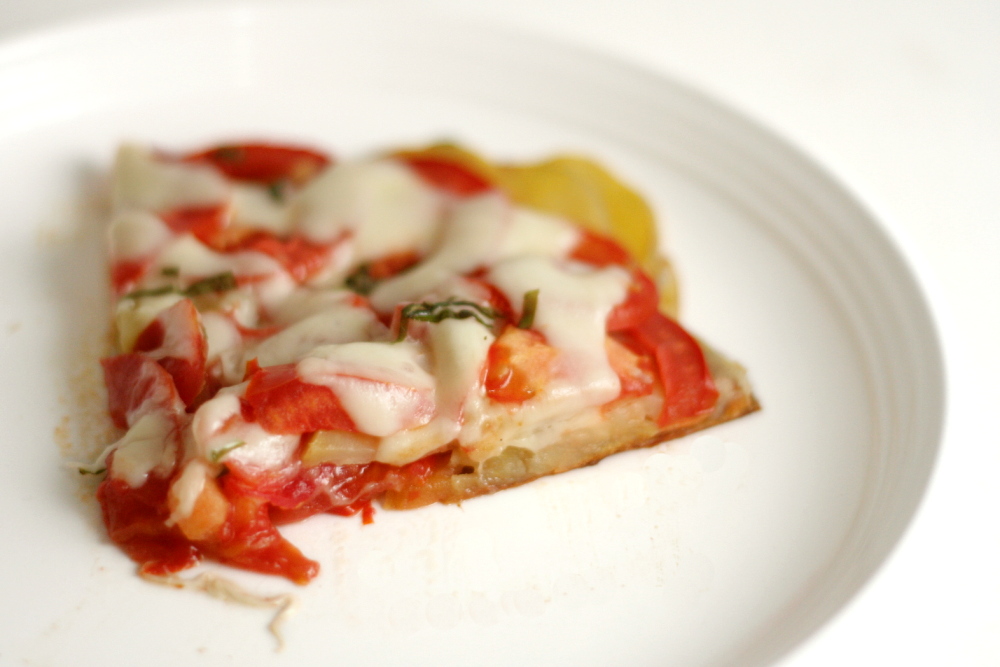
It was pizza-like, which is always a plus. The potatoes were browned and crisp on the bottom.  It was pretty. It was easy. It was tasty. It used up ingredients I didn’t know what else to do with. Perfect.

Copy of IMG_8027

One year ago: Banana Coconut Muffins

Potato Tomato Tart

Serves 2 for a light meal

I used a mandoline set at 1/8-inch to slice the potatoes and tomatoes.

1 tablespoon olive oil
2 medium Yukon gold potatoes, sliced thin
salt and pepper
2 large (or maybe 3 small) plum tomatoes, sliced thin
2½ ounces mozzarella cheese, sliced thin (or just over ½ cup shredded)
3-4 basil leaves, sliced thin

1. Heat the oil in a medium nonstick skillet over medium heat. Arrange the potatoes in one layer on the bottom of the skillet, overlapping each slice. Season with pepper and a generous pinch of salt. Cover the pan, reduce the heat to medium-low, and cook for 20 minutes, until the potatoes are almost tender and are lightly browned on the bottom.

2. Arrange the tomatoes in one layer of overlapping slices over the potatoes. Cover and cook for 5 minutes, until the tomatoes are slightly softened. Evenly disperse the mozzarella over the tomatoes and cook a few minutes, until it’s melty. Sprinkle the top of the tart with basil.

3. Serve. I was able to move the tart once, by sliding it from the pan to a serving plate. Then I realized it would be easier to cut the tart if it was on a cutting board, but moving it from the serving plate wasn’t nearly as easy as moving it from the pan. By which I mean that the whole thing mostly fell apart. So don’t try to move it around too much.

Copy of IMG_8030

farmer’s market salad with spiced goat cheese rounds

Copy of IMG_7094

This is a bit of a misnomer for me, as I haven’t found a convenient farmers market since we moved to Pennsylvania last January. We drove half an hour to one last year and bought some nice eggs, but it didn’t have much in the way of produce. I hear there’s another, 30 minutes in the opposite direction, but honestly, my grocery store sells local produce and I’m lazy.

Copy of IMG_6535

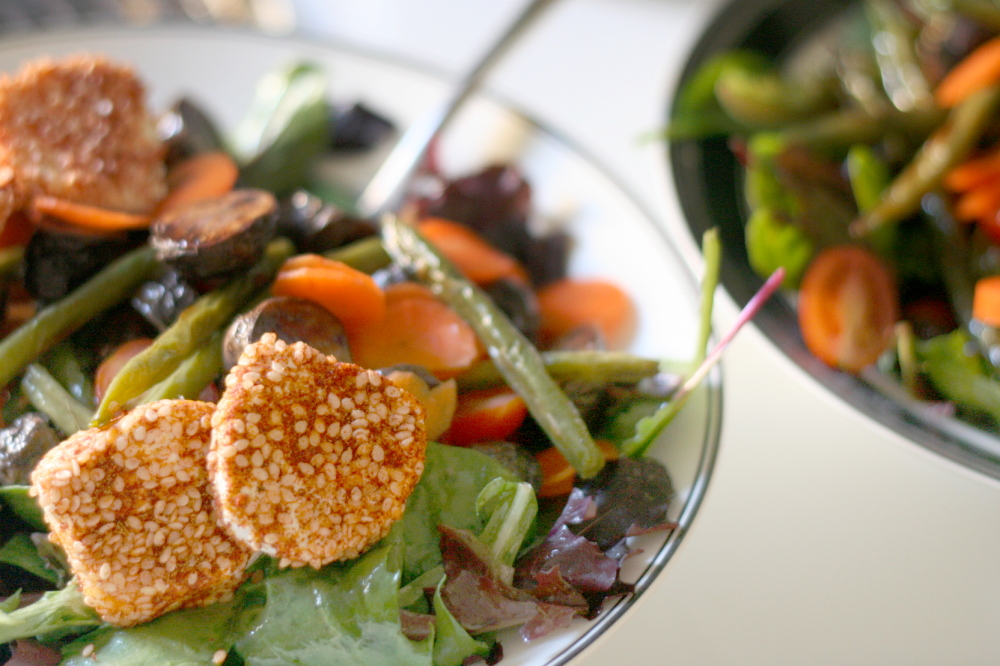
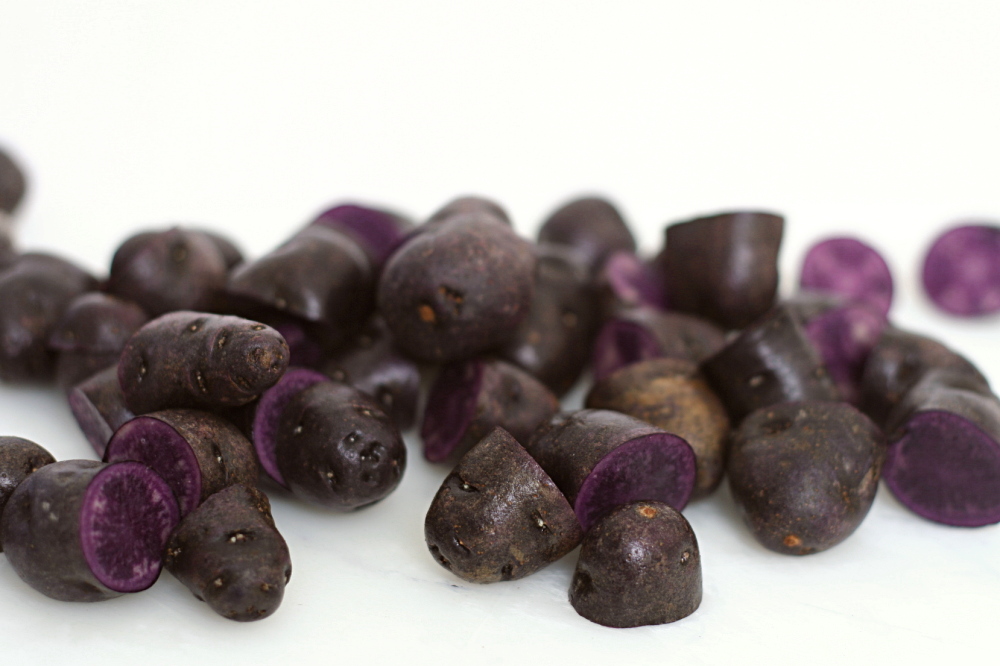
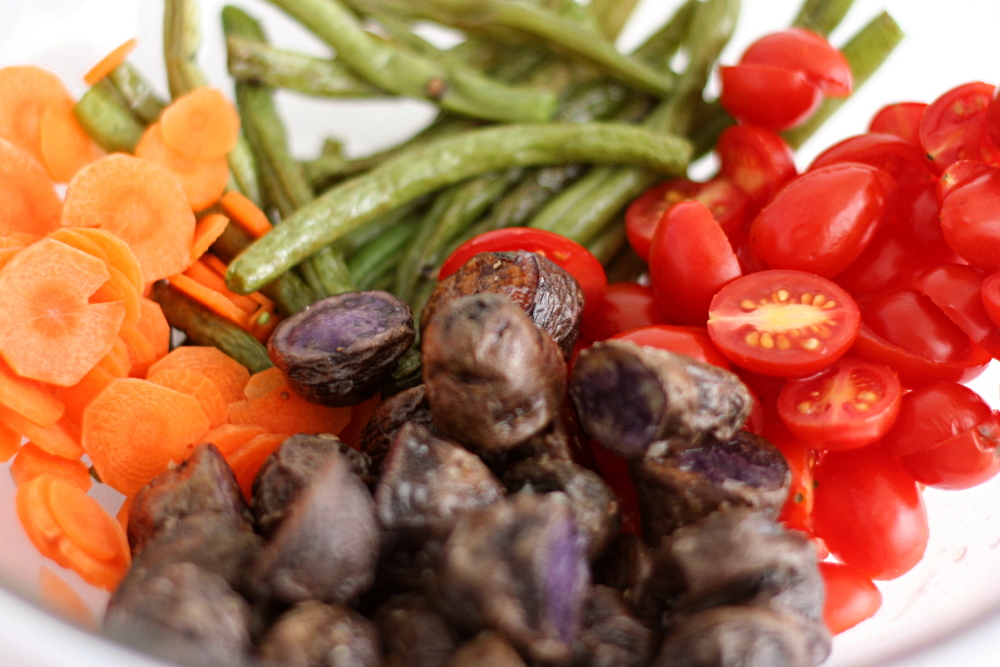
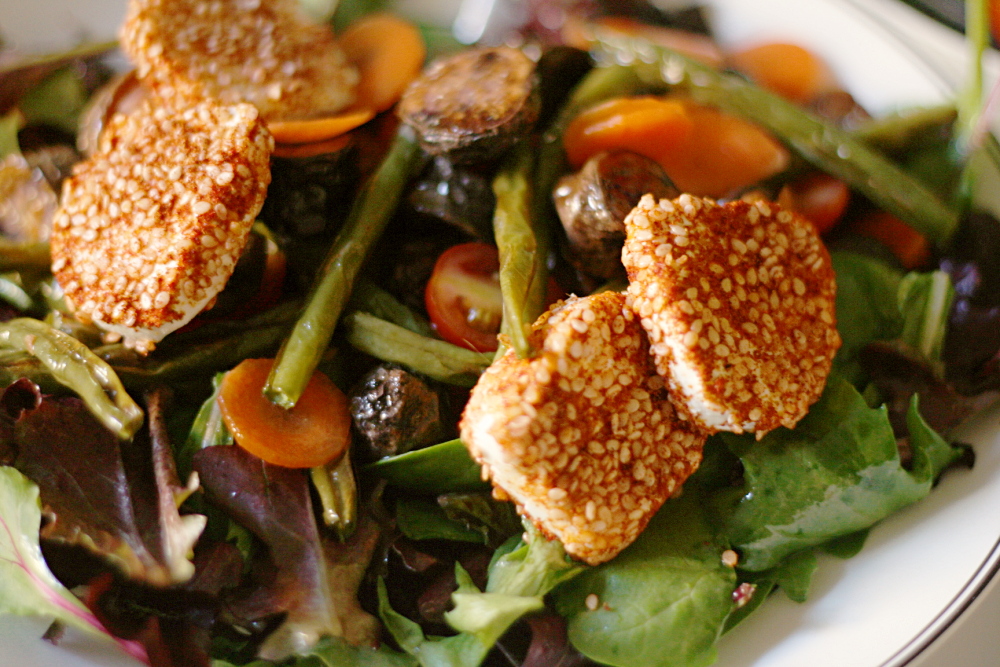
Whether you buy your ingredients at a farmers market or the grocery store, you’ll end up with a delicious salad. We’re talking greens, topped with potatoes, green beans, slivered carrots, tomatoes, and, mmm, goat cheese. I used purple potatoes and I wanted yellow beans (yellow green beans?) for maximum color impact, but couldn’t find them. The original recipe also has black olives, and I included them the first time I made this salad, but they didn’t seem to fit with the other flavors.

Copy of IMG_7054

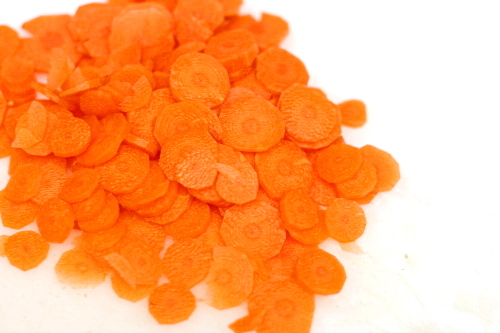
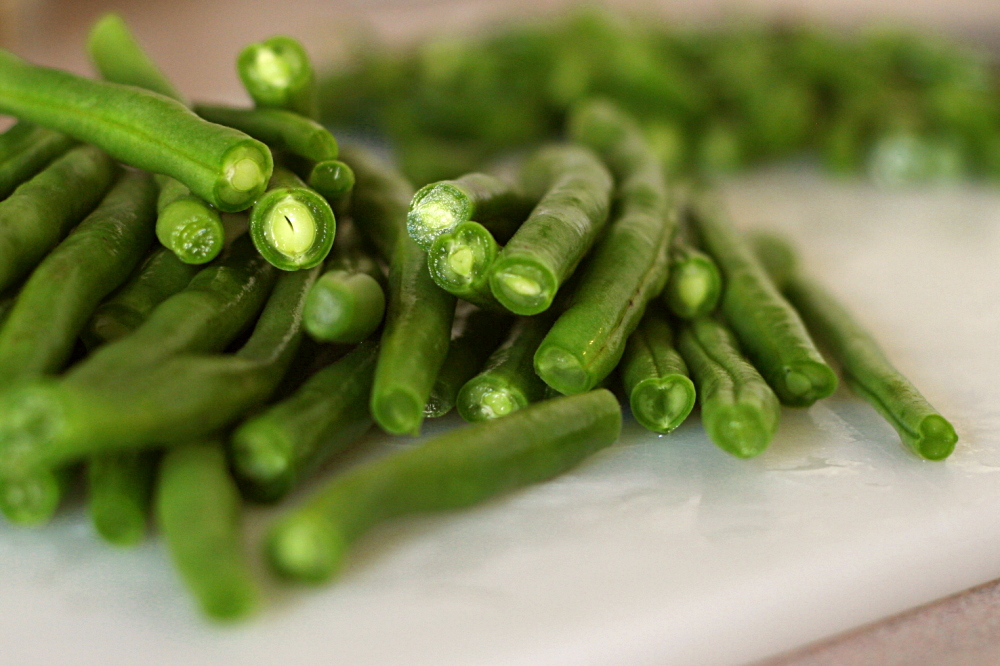
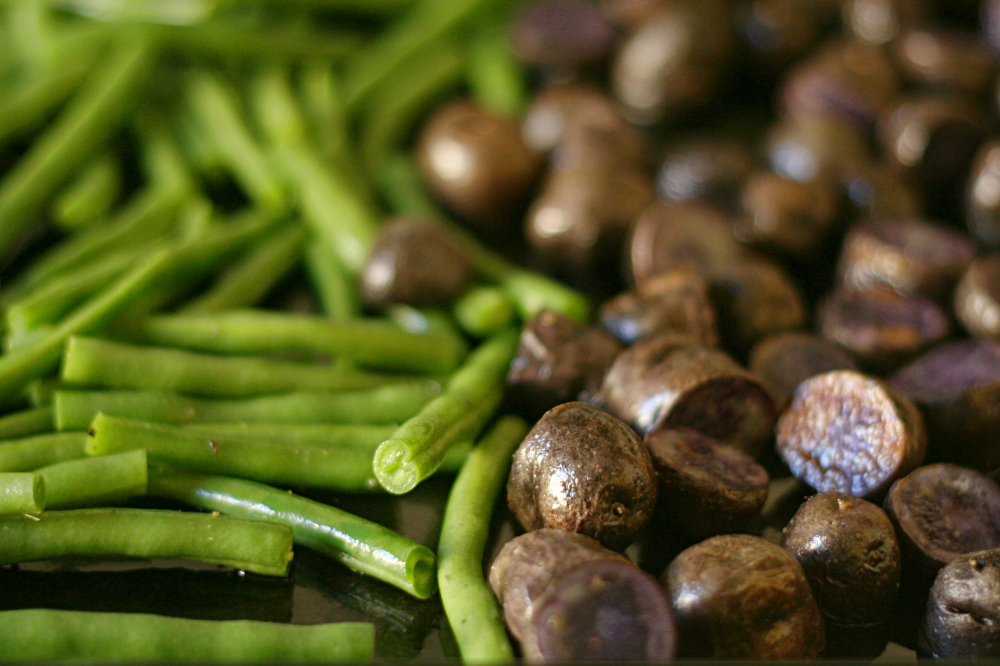
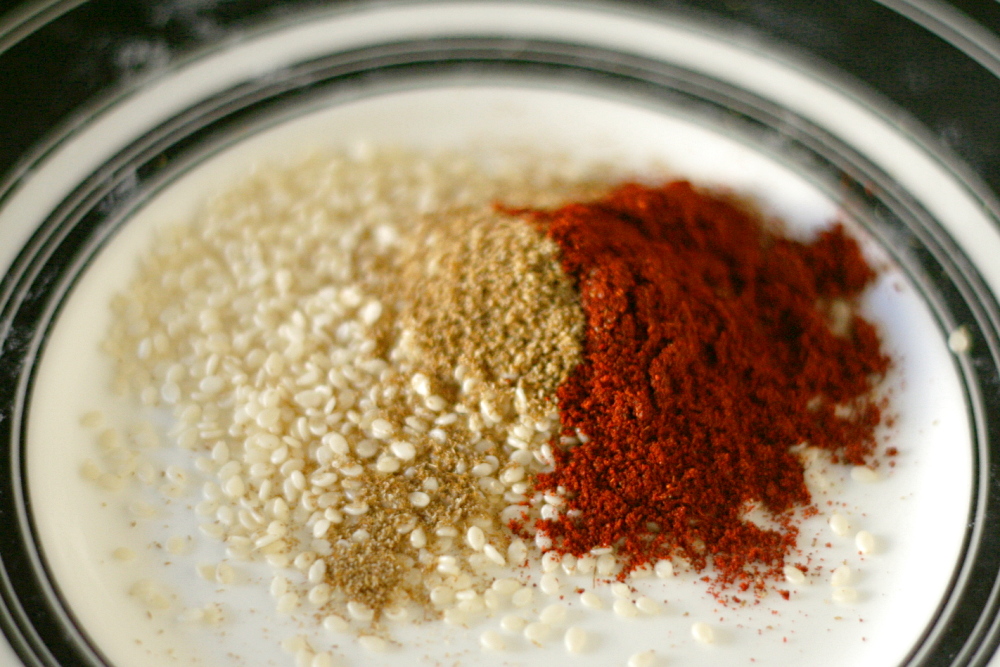
Now let me be honest: I put quite a bit of work into this salad. I roasted the potatoes and the green beans, I cut the carrots into the thinnest of coins, and I dutifully rolled discs of goat cheese in a colorful spice mixture. (Oh, and I unceremoniously dumped a pre-washed bag of mixed greens into a bowl.)

Copy of IMG_7061

Some of this is nice for maximum potential, but not strictly necessarily. The tomatoes? Expendable; I’m not sure they matched the rest of the ingredients anyway. The spices? Couldn’t taste ‘em. And it’s not like you’re really going to improve on goat cheese anyway. The shallot in the dressing? Nah. You could spend half the time, focusing on just the key components of this salad – the greens, dressing, potatoes, beans, and did I mention how much I love goat cheese? – and get a very similar result.

Copy of IMG_7075

On the other hand, if you do you have access to one of those colorful outside markets where the farmers are friendly and the produce is varied, mix it up! It’s a salad, and you’re not going to ruin it by making it your own.

Copy of IMG_6559

One year ago: Filbert Gateau with Praline Buttercream

Farmers Market Salad with Spiced Goat Cheese Rounds (adapted from epicurious)

Makes 4 main-course servings

Goat cheese rounds:
2 tablespoons sesame seeds
2 teaspoons ground cumin
1½ teaspoons paprika
1 teaspoon finely chopped fresh thyme
¼ teaspoon coarse kosher salt
⅛ teaspoon ground black pepper
16 (½-inch-thick) rounds chilled soft fresh goat cheese (from one 11-ounce log)

Vinaigrette:
2 tablespoons red wine vinegar
1 shallot, minced
1 teaspoon chopped fresh thyme
1 teaspoon Dijon mustard
5 tablespoons extra-virgin olive oil
Coarse kosher salt

Salad:
1 pound baby new potatoes (such as Dutch yellow baby potatoes), halved
1 pound green beans (or mix of green and yellow), trimmed
8 cups (loosely packed) mixed salad greens
12 ounces assorted small tomatoes (such as cherry, grape, and teardrop; preferably mix of red and yellow)

For goat cheese rounds:
Line baking sheet with waxed paper or parchment paper. Mix first 6 ingredients in shallow bowl. Dip cut sides of goat cheese rounds into spice mixture to coat. Place on prepared baking sheet. Chill until ready to serve. DO AHEAD Can be made 1 day ahead. Cover and chill. Bring to room temperature before serving.
For vinaigrette:
Whisk first 4 ingredients in small bowl. Gradually whisk in olive oil. Season with coarse salt and pepper. (Can be made 1 day ahead. Cover and refrigerate. Rewhisk before using.)

For salad:
Steam potatoes until just tender, about 10 minutes. Transfer to plate; cool. Steam green beans until crisp-tender, about 5 minutes. Rinse under cold water; drain. Pat dry with paper towels. ( Potatoes and green beans can be made 6 hours ahead. Wrap separately in paper towels. Place in resealable plastic bag; chill.)

Combine greens and basil in large bowl. Add enough vinaigrette to coat lightly; toss. Arrange on large platter. Add potatoes and green beans to same large bowl; add remaining dressing and toss. Arrange potatoes and beans atop greens. Scatter tomatoes and olives over. Surround with goat cheese rounds.

Copy of IMG_7083

clafoutis

Copy of IMG_7738

Cooking, to me, isn’t a competition. It’s about sharing and exchanging ideas. Cooking for someone is like offering them a bit of a gift, and competition adds intimidation where there should be none. Plus, whether someone is more or less experienced than me when it comes to cooking, I’m sure I have something to learn from them. So I’ve never participated in a cooking contest.

Copy of IMG_7713

Um, until now. This one isn’t just about cooking, it’s also blogging, and it seemed too fun to pass up. The event is associated with the movie Julie and Julia, based on a book of the same name. I read this book years ago, and after the book, I went back and read Julie’s entire blog. In it, Julie Powell cooks her way through Julia Child’s thoroughly intimidating Mastering the Art of French Cooking in one year. Not only is the book fun and easy to read, the whole concept of cooking entirely through a book appeals to me.

Copy of IMG_7721

To enter, I had to cook and blog about a Julia Child recipe. I’ve owned MtAoFC for years. I’ve just never bothered to use it, at all. I figured the time would come when I was excited to pick it up, and I was right. After scanning through the book, I chose to make clafoutis.

Copy of IMG_7724

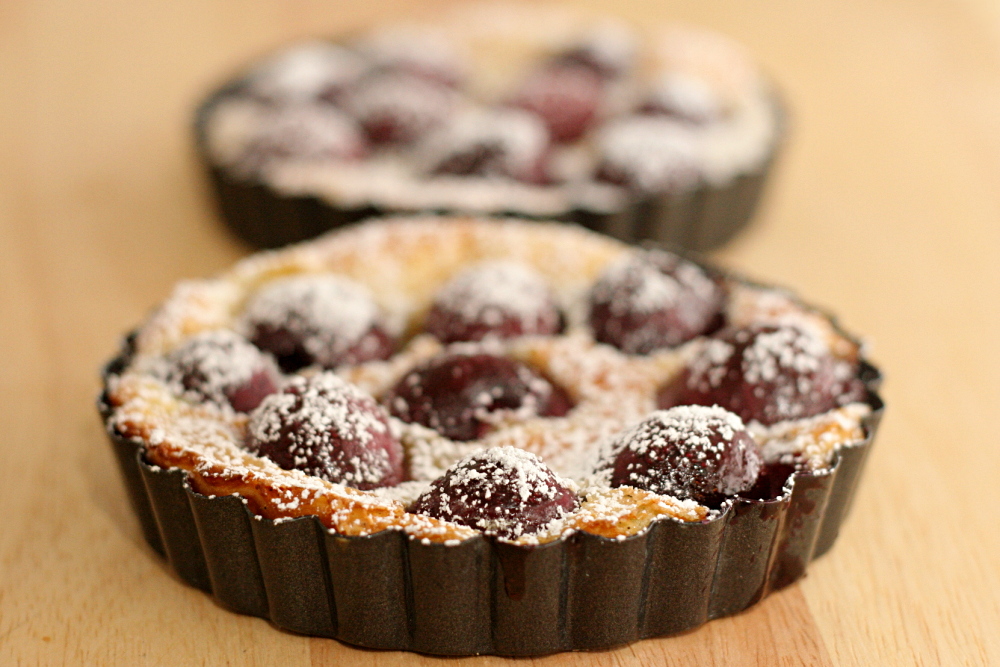
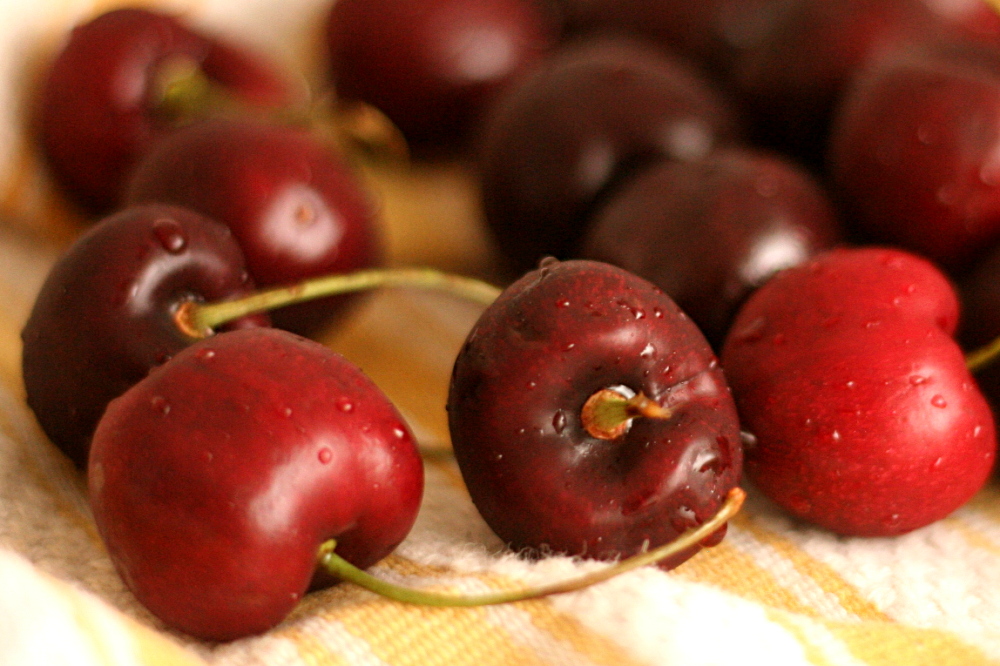
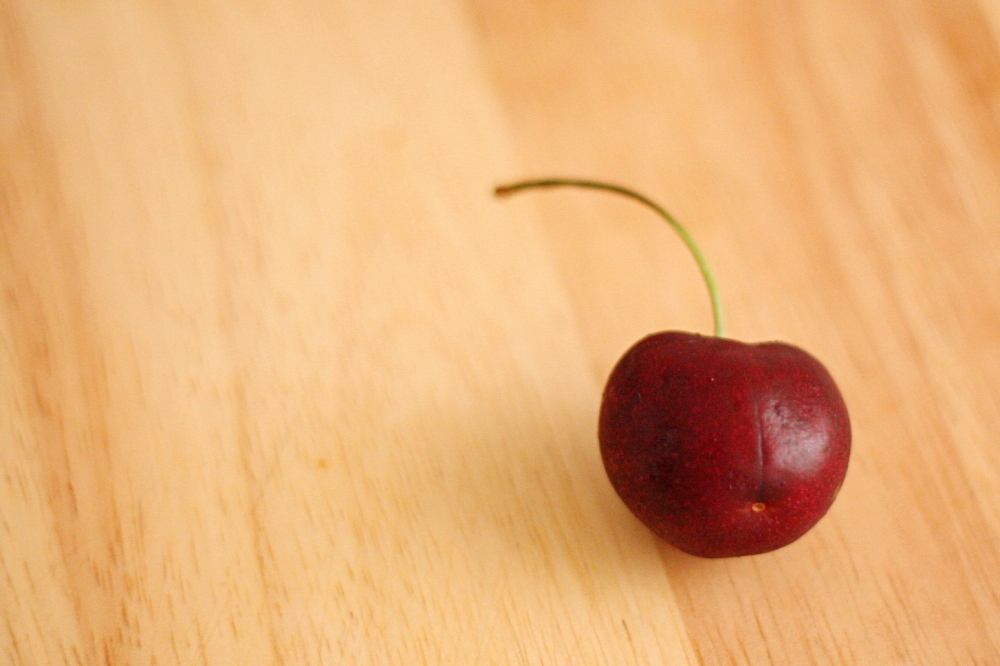
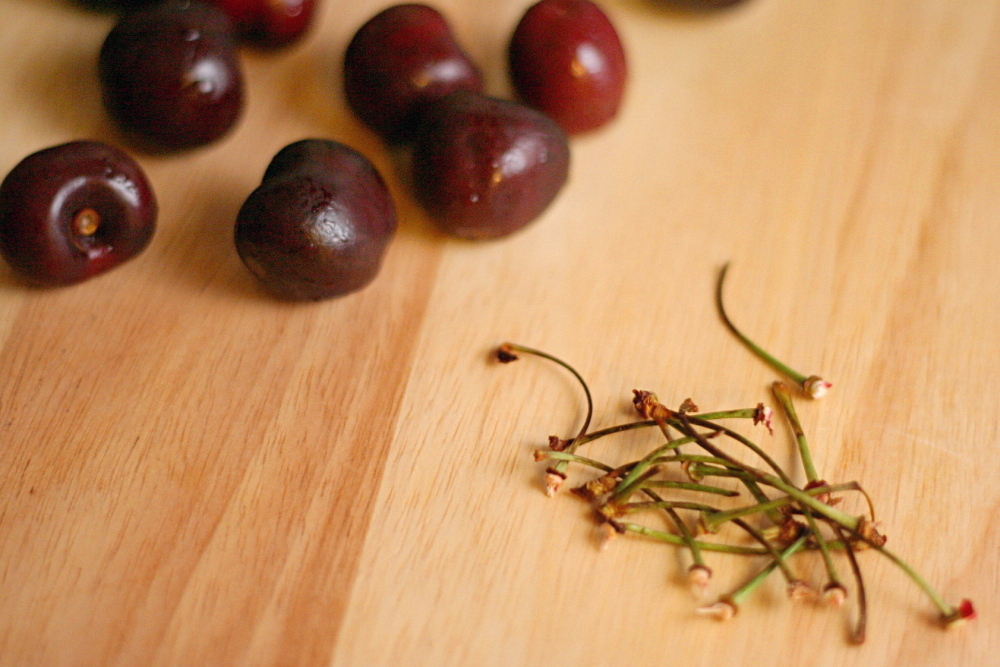
Clafoutis, it turns out, is really easy. The batter, which is similar to crepe batter or thin pancake batter, is mixed in the blender. Then it’s poured into a baking pan with cherries, topped with more sugar, and baked. To make it even easier, the cherries are traditionally left unpitted (although Julia does call for pitted cherries). Cherry pits release a bit of almond flavor as they’re heated, which is lost if the cherries are pitted before baking.
Copy of IMG_7729

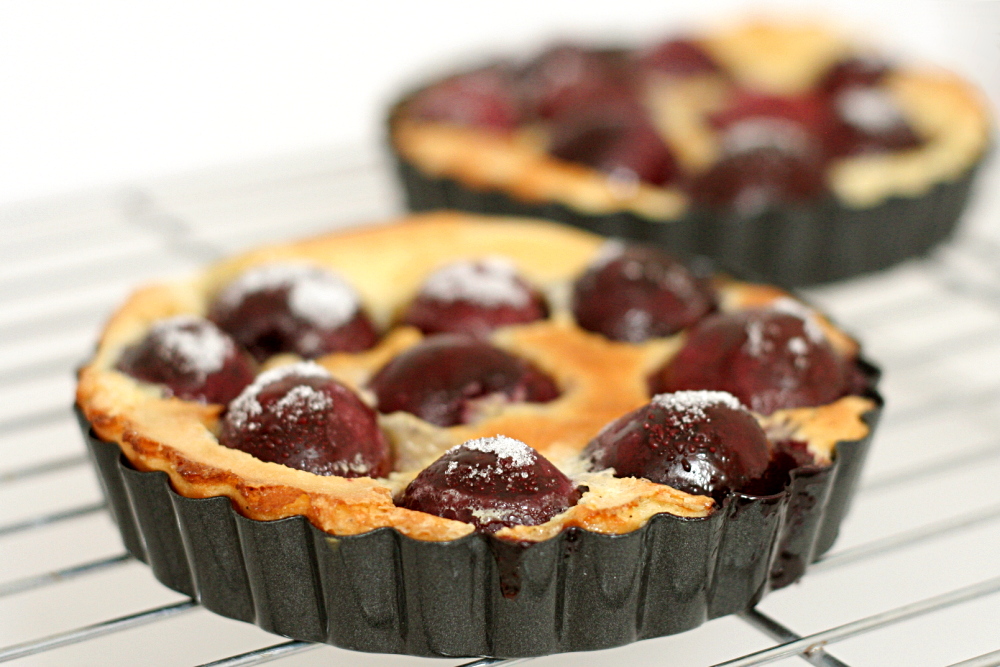
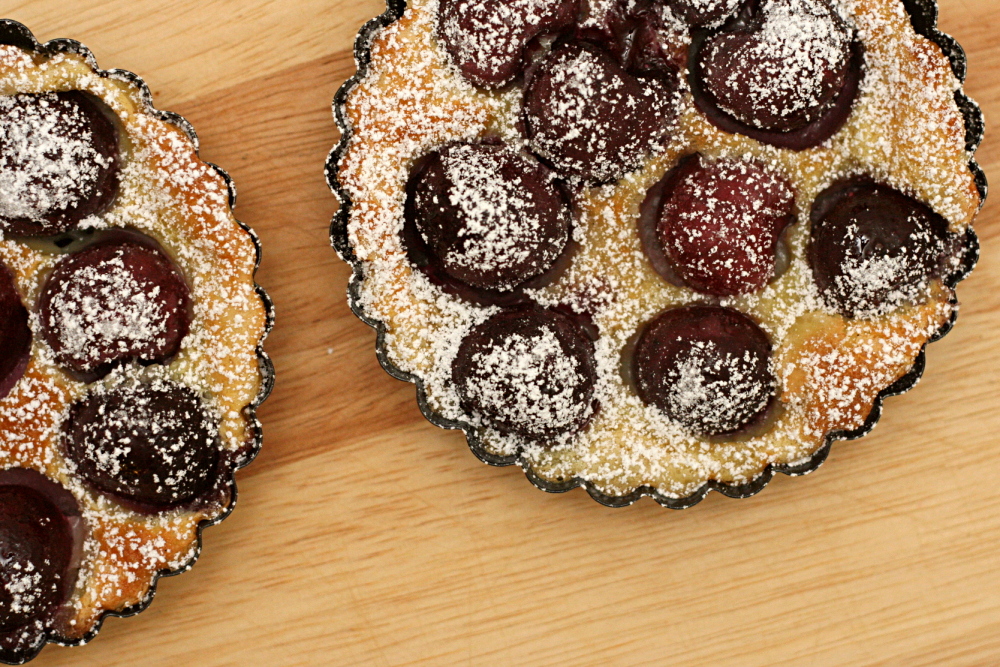
That being said, next time, I’ll pit the cherries, because the seeds were a little distracting. Other than that detail, this was a treat. You can’t go wrong with cherries in July, and these were just slightly tart and complimented the sweet batter. The batter cooks up moist and soft. What’s more, there’s no butter or oil in this dessert. So it’s fancy, easy, and relatively light – definitely a winner.
The contest winners are chosen through voting.  It’s an easy process with no sign-in required.  If you’d like to vote, click here.  I’m last on the list.  Thanks!
Copy of IMG_7734

One year ago: Comparison of 4 white cake recipes

Clafouti (slightly reworded from Mastering the Art of French Cooking, by Julia Child, Louisette Bertholle, and Simone Beck)

MtAoFC note: Use fresh, black, sweet cherries in season. Otherwise, use drained, canned, pitted Bing cherries, or frozen sweet cherries, thawed and drained.

My note: The only bit of funny business is that Julia calls for a Pyrex pan, then says to “set it over moderate heat.” Pyrex is not fit for stove use. I put the pan in the oven for a few minutes to let the batter set before continuing. I think you could also preheat the pan as the oven heats, and then the batter would set immediately after it’s poured in. (The batter isn’t especially cold, so it won’t shock the hot pan and cause it to shatter.)

For 6 to 8 people

3 cups pitted black cherries
1¼ cups milk
⅔ cup sugar, separated
3 eggs
1 tablespoon vanilla extract
⅛ teaspoon salt
½ cup flour (scooped and leveled)
powdered sugar

1. Preheat oven to 350F. Butter (or spray with nonstick spray) a 9-inch Pyrex pie pan.

2. Place the milk, ⅓ cup sugar, eggs, vanilla, salt, and flour in your blender jar in the order in which they are listed. Cover and blend at top speed for 1 minute.

3. Pour a ¼-inch layer of batter in the baking dish or pie plate. Set over moderate heat for a minute or two until a film of batter has set in the bottom of the dish. Remove from heat. Spread the cherries over the batter and sprinkle on the remaining ⅓ cup sugar. Pour on the rest of the batter and smooth the surface with the back of a spoon.

4. Place in middle position of preheated oven and bake for about an hour. The clafouti is done when it has puffed and browned, and a needle or knife plunged into its center comes out clean. Sprinkle top of clafouti with powdered sugar just before bringing it to the table. (The clafouti need not be served hot, but should still be warm. It will sink down slightly as it cools.)

Copy of IMG_7746