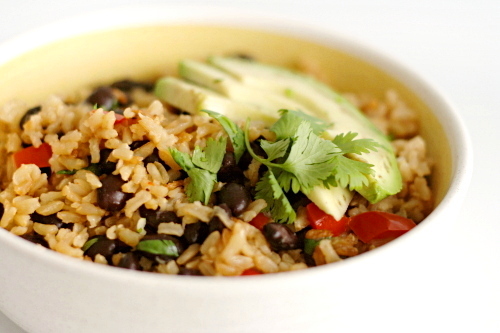
brown rice with black beans

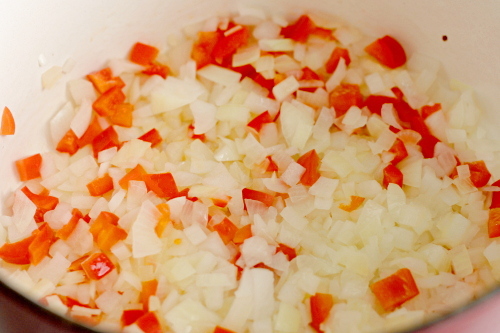
Copy of IMG_0357

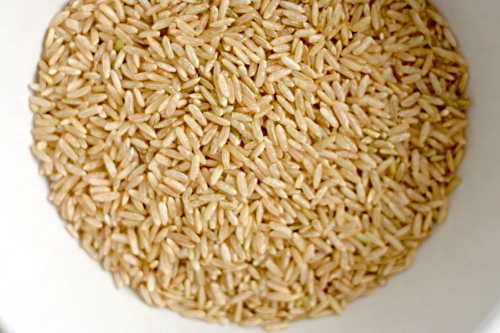
Of all the whole grains, brown rice has been the hardest for me to accept. I realize now that I’d been cooking it wrong for years. I just couldn’t seem to cook it through all the way, and I tried a bunch of different recipes, but it was always crunchy.

Copy of IMG_0345

Then sometime last year, Cooks Illustrated sent me a recipe to test for them for brown rice with andouille, and not only does it have andouille, which, come on, andouille, delicious, but at the time I was religiously making every recipe they sent for me to test. (It got to the point where I’d get the magazines and I’d already have made half the recipes. I’ve since slacked off.) So I only made the recipe because I felt like I had to, plus of course the andouille. But it was fantastic, just so, so good. It was a revelation for me, because it was the first brown rice I’d made that was not just edible, but delicious.

Copy of IMG_0344

But that isn’t the recipe I’m telling you about today. Ha! When the magazine issue came out, it had a few other variations, and one is just perfect for me. Brown rice, black beans and a bunch of aromatics, how healthy and tasty does that sound?

Copy of IMG_0347

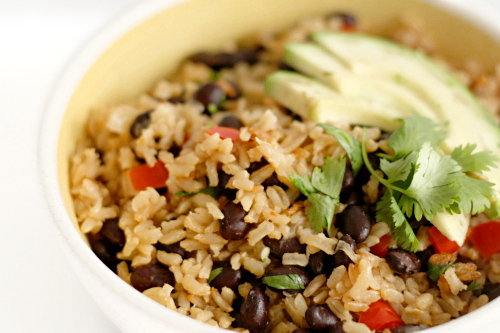
The first time I made it, I followed the directions fairly closely, just adding the scraped-off kernels of one cob of corn at the end of cooking. That was a great addition, especially visually. Corn isn’t in season anymore, so I skipped it this next time. I doubled the black beans the second time, because you can never go wrong with more black beans. I also added an avocado and wow! I mean, it goes without saying that avocado improves almost anything, but it was particularly complimentary with this.

Copy of IMG_0354

If you’ve ever had doubts about brown rice, this recipe will make a believer out of you. And if you’re already a convert, this dish will be a great addition to your repertoire.

Copy of IMG_0355

One year ago: Sushi Bowls

Printer Friendly Recipe
Brown Rice with Black Beans and Cilantro
(from Cooks Illustrated)

I like to double the black beans. Corn, either cut off of the cob or 1 cup frozen and defrosted, is a good addition stirred in with the black beans. One diced avocado is delicious added with the cilantro. I used red pepper, because I like them better than green.

Serves 4 to 6

4 teaspoons olive oil
1 medium onion, chopped fine (about 1 cup)
1 green bell pepper, chopped fine
3 garlic cloves, minced
1 cup low-sodium chicken broth
2¼ cups water
1½ cups brown rice, long-grain
1 teaspoon salt
1 (15.5-ounce) can black beans, drained and rinsed
¼ cup chopped fresh cilantro leaves
¼ teaspoon ground black pepper
1 lime, cut into wedges

1. Adjust oven rack to middle position; heat oven to 375 degrees. Heat oil in large Dutch oven over medium heat until shimmering. Add onion and pepper and cook, stirring occasionally, until well browned, 12 to 14 minutes. Stir in garlic and cook until fragrant, 30 seconds.

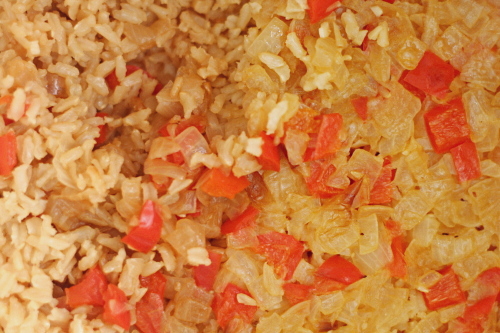
2. Add broth and water; cover and bring to boil. Remove pot from heat; stir in rice and salt. Cover and bake rice until tender, 65 to 70 minutes.

3. Remove pot from oven, uncover, fluff rice with fork, stir in beans, and replace lid; let stand 5 minutes. Stir in cilantro and black pepper. Serve, passing lime wedges separately.
white bean avocado sandwich

Copy of IMG_8653

I believe that people are what they think they are, which is just a less fancy way of saying that you can do just about anything you think you can do. I remember in high school, I consistently got an 89% in my classes, and I always wondered why I hadn’t worked just a bit harder to get an A. But I knew myself as a B+ student, so I worked just hard enough to get a B+.

Copy of IMG_8622

Early on in college, more by luck than design, I got straight A’s one semester. And then I knew I could do it – from then on, I was a pretty solid A student.

Copy of IMG_8627

Lately I’ve been thinking of myself as an indulgent eater. I see so many people on strict diets – raw food, clean food, low carb, vegan. I don’t, and never plan to, follow any of these eating philosophies. I eat refined flours and sugars, red meat and full-fat cheeses, butter and alcohol. When I compared myself to these people, I felt lax in my eating habits. And once I started believing I ate poorly, my eating habits did, indeed, decline.

Copy of IMG_8634

But the truth is, more of the time, I eat very healthfully. All of those treats above? You’ve heard it before – moderation. Most of my snacks are fresh fruit and vegetables. My tiny daily bagel is 100% whole grain. We rarely eat meat on weekdays, and I don’t drink alcohol on weekdays. I do eat dessert every single day, but we’re talking one, maybe two, small cookies.

Copy of IMG_8638

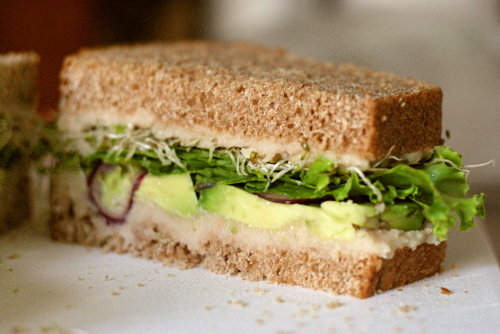
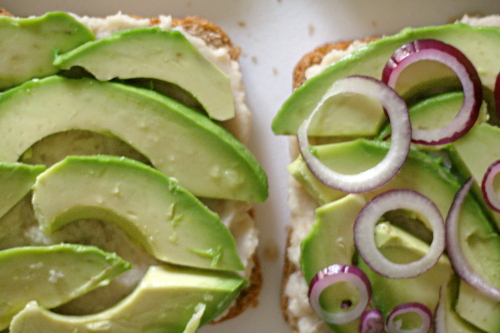
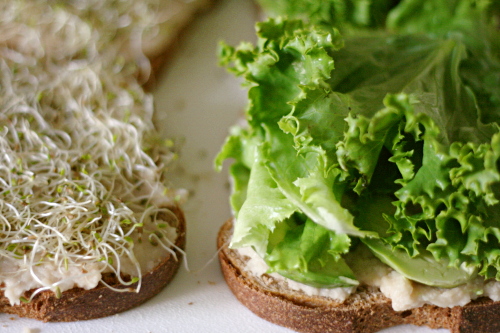
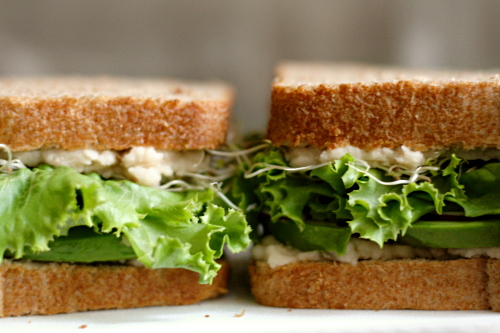
I need to remember that I do follow a good diet regularly, so that making healthy choices is easier. This sandwich, introduced to me by the same friend whose recipes for pumpkin muffins and peanut dip I love, is a perfect example of how I like to eat. Whole grains, beans, and lots of vegetables. It’s easy, filling, portable, and most importantly – delicious.

Copy of IMG_8641

One year ago: Green Chile Rellenos

Printer Friendly Recipe
White Bean Avocado Sandwich

Serves 4

I’ve tried mushing the beans up with a potato masher, but I really do prefer the creamy smooth texture a food processor provides. Also, one thing I’ve learned after making this a few times is to overseason the beans. The seasonings in the beans are flavoring the entire sandwich, so add the lemon juice, salt, and pepper until just past how you’d normally prefer them. Because I’m apparently salt-crazy, I also give the avocado slices a light sprinkling of salt, as well as squeeze some more lemon juice over them.

1 (15-ounce) can white beans, drained and rinsed
1 lemon
salt and pepper
8 slices hearty whole-grain sandwich bread
1 avocado, quartered, peeled, and sliced thin
a few leaves of leaf lettuce, torn into sandwich-sized pieces
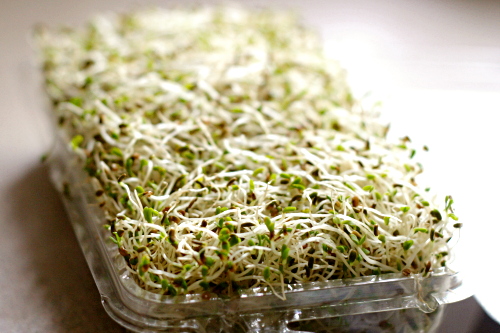
some alfalfa sprouts
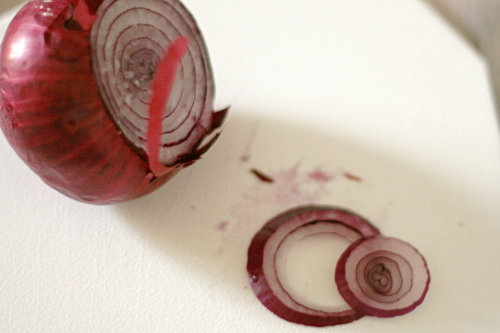
a bit of red onion, sliced thin

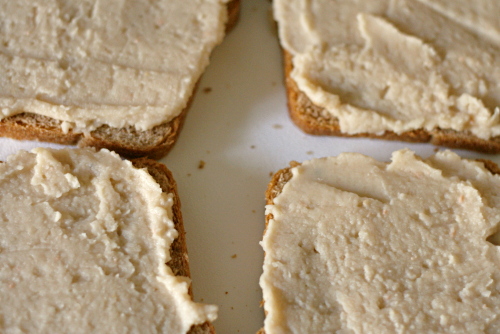
1. In a food processor, puree the beans until they’re completely smooth. Season with lemon juice, salt and pepper to taste (see note).  I took notes on about how much of everything to add and then lost them, but I think a reasonable place to start is 2 tablespoons lemon juice, ¼ teaspoon salt, and ⅛ teaspoon pepper.

2. Thickly spread one side of each piece of bread with the bean mixture. Top four of the bread slices with slices of avocado, a bit of onion, and plenty of lettuce. Press some sprouts into the bean mixture on the other four slices of bread. Place the sprout-bread, spout side down (duh) on the other-stuff-bread, slice the sandwich in half if you want, and enjoy.

Copy of IMG_8649

bran muffins

Copy of IMG_7107

Everything I eat is evaluated based on its ratio of nutrition to flavor. That sounds tedious but it isn’t. It’s really just answering one simple question that I think most of us ask before we dig in: Is it worth it?

Copy of IMG_7017

For example, macaroni and cheese: very indulgent, but also very delicious. Definitely worth it, at least once in a while.

Copy of IMG_7022

Raw carrots? Very healthy, but, eh, not my favorite thing to eat. I tend to ignore them unless there’s nothing else. But add some hummus, and you’ve increased the flavor significantly without decreasing the nutrition drastically, and hey, I’ll eat that.

Copy of IMG_7100

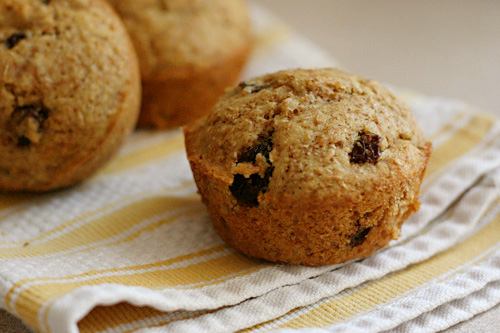
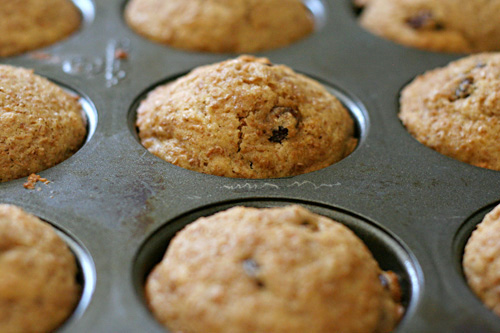
Sometimes I forget that something can be both ridiculously good for you and ridiculously good. And something like these muffins comes along, perfect in every way, both taste and health, and I’m oh-so-pleasantly reminded. Nutrition to flavor ratio? Off the charts.

Copy of IMG_7104

One year ago: Pain Ordinaire

Printer Friendly Recipe
Moist Bran Muffins
(from the King Arthur Flour’s Whole Grain Baking)

Makes about 18

Note that this is a two-day process, as the dough needs to set overnight before baking. Fortunately, at that point it can actually wait in the refrigerator for several days.

I’ve used both raisins and dried cranberries in these, and both are good. Of course most any dried fruit would work. I’ve also used clementine juice instead of orange juice, and that worked just fine.

¾ cup boiling water
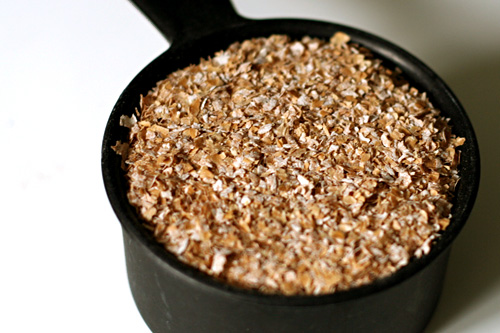
1¼ cups unprocessed wheat bran, divided
¾ cup dried fruit, chopped if large raisins
¾ cup packed light or dark brown sugar
¼ cup vegetable oil
2½ cups whole wheat flour, traditional or white whole wheat
1 teaspoon baking soda
½ teaspoon baking powder
1 teaspoon salt
1 large egg
¾ cup buttermilk
½ cup orange juice

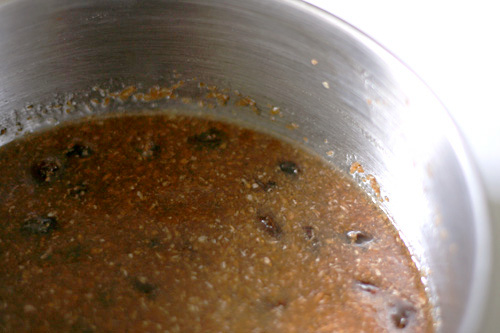
1. Pour boiling water over ¾ cup of the bran cereal in a small mixing bowl. Add the raisins, brown sugar and oil. While the bran mixture cools, blend together the flour, baking soda, baking powder, and salt in a large mixing bowl.

2. Beat the egg with the buttermilk and orange juice in a large measuring cup. Add this mixture to the dry ingredients. Stir in remaining ½ cup bran cereal, and then the bran-raisin mixture. Cover the bowl and refrigerate overnight.

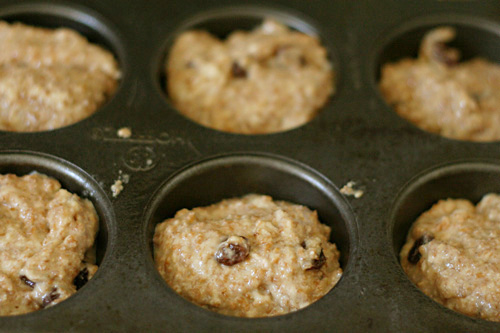
3. The next day, preheat the oven to 375 degrees. Lightly grease a muffin tin. Fill each cup two-thirds full. Bake the muffin until a tester comes out clean, about 23 to 26 minutes.

4. Remove from oven and allow to cool in pan for 5 minutes, then turn out onto a rack to finish cooling, or serve warm.

Copy of IMG_7111

100% whole wheat sandwich bread

Copy of IMG_8503

My guidelines for nutrition can pretty much be summed up by:

  1. Only eat when hungry. But don’t eat too much.
  2. Don’t eat processed crap.
  3. Eat as many fruits and vegetables as you can stand.
  4. Don’t be a baby about whole grains.

Copy of IMG_8488
I’ve been getting worse and worse about that last one recently. I’ve walked by Reinhart’s book on whole grain breads in the bookstore so many times and never even bothered to pick it up. It’s just that white bread, made well, is so darn good, you know? I’m not talking about Wonder Bread or something, I mean a nice sweet tender sandwich bread or a fantastic complex rustic baguette.

Copy of IMG_8491

But my interest was sparked when I saw the whole wheat bagels that Stefany made from this book. They look at least as good as any bagels I’ve made – but they’re so much healthier.  Within a week, I tried the recipe, was pleased with the results, and bought the book.

Copy of IMG_8494

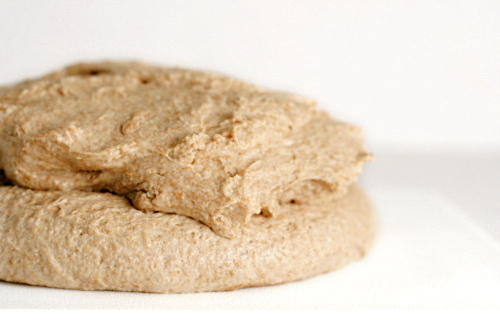
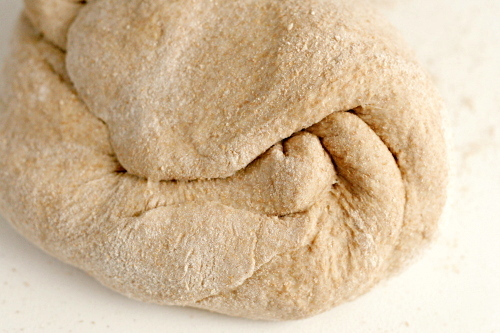
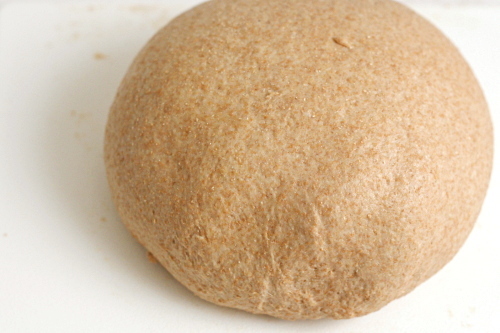
It’s Peter Reinhart, so we’re not talking about the most simple recipes here. In general, they’re two day affairs. The first day, you mix two things. One is a thick paste of whole wheat flour, liquid, and salt, and the other one is a mixture of whole wheat flour, liquid, and yeast. These both set overnight (or longer, if necessary) and are incorporated into the rest of the dough the next day. On the day of baking, you follow essentially a normal bread-baking procedure, from mixing and kneading, through rising, shaping, proofing, and baking.

Copy of IMG_8498

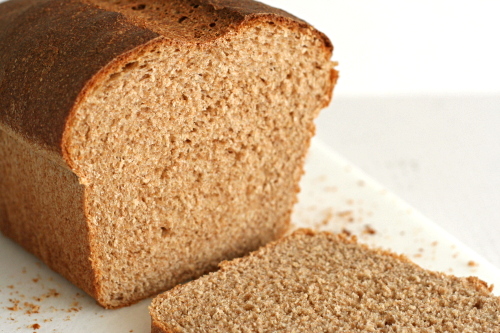
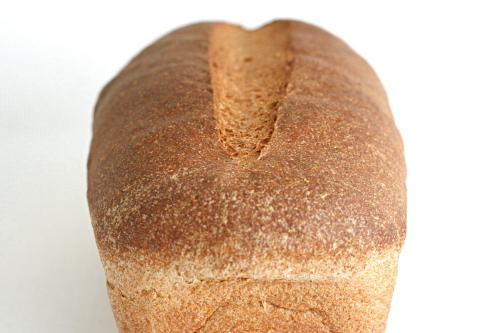
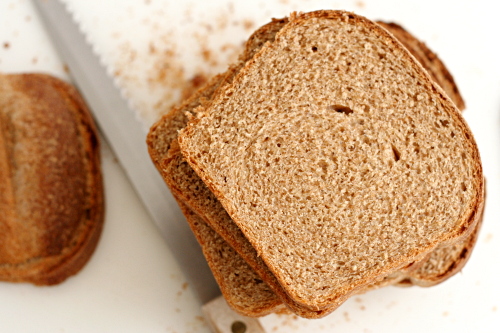
Most homemade whole wheat bread recipes call for, at most, half whole wheat flour. This recipe uses 100% whole wheat flour, and it’s as good as any of those other recipes. It’s tender and light, just like you want from a sandwich bread. And it tastes seriously good. Obviously it tastes whole wheaty, but it has more to it than that. The long soaks from the pre-doughs give the bread a full flavor that includes sweetness and a bit of acidity. I am officially hooked on 100% whole wheat breads.

Copy of IMG_8500

One year ago: Lemon Pancakes with Blueberry Syrup

Printer Friendly Recipe
100% Whole Wheat Sandwich Bread (from Peter Reinhart’s Whole Grain Breads)

Reinhart also has a “Transitional Whole Wheat Sandwich Bread” that is made the same way, except it uses white unbleached bread flour in the biga. If you decide to make this version instead, keep in mind that you’ll need a little less water when working with white flour (1-2 teaspoons per ounce of flour).

Soaker:
1¾ cups (227 grams) whole wheat flour
½ teaspoon (4 grams) salt
¾ cup plus 2 tablespoons (198 grams) milk, buttermilk, yogurt, soy milk, or rice milk

1. Mix all of the soaker ingredients together in a bowl for about 1 minute, until all of the flour is hydrated and the ingredients form a ball of dough.

2. Cover loosely with plastic wrap and leave at room temperature for 12 to 24 hours. (If it will be more than 24 hours, place the soaker in the refrigerator; it will be good for up to 3 days. Remove it 2 hours before mixing the final dough to take off the chill.)

Biga:
1¾ cups (227 grams) whole wheat flour
¼ teaspoon (1 gram) instant yeast
¾ cup (170 grams) filtered or spring water, at room temperature (about 70F)

1. Mix all the biga ingredients together in a bowl to form a ball of dough.  Using wet hands, knead the dough in the bowl for 2 minutes to be sure all of the ingredients are evenly distributed and the flour is fully hydrated. The dough should feel very tacky. Let the dough rest for 5 minutes, then knead it again with wet hands for 1 minute. The dough will become smoother but still be tacky.

2. Transfer the dough to a clean bowl, cover tightly with plastic wrap, and refrigerate for at least 8 hours and up to 3 days.

3. About 2 hours before mixing the final dough, remove the biga from the refrigerator to take off the chill. It will have risen slightly but need not have risen significantly in order to use it in the final dough.

Final dough:
All of the Soaker
All of the biga
7 tablespoons (56.5 grams) whole wheat flour, plus extra for adjustments
5/8 teaspoon (5 grams) salt
2¼ teaspoons (7 grams) instant yeast
2¼ tablespoons (42.5 grams) honey or agave nectar
1 tablespoon (14 grams) unsalted butter, melted, or vegetable oil

1. Using a metal pastry scraper, chop the soaker and the biga into 12 smaller pieces each (sprinkle some of the extra flour over the pre-doughs to keep the pieces from sticking back to each other).

2. If mixing by hand, combine the soaker and biga pieces in a bowl with all of the other ingredients except the extra flour and stir vigorously with a mixing spoon or knead with wet hands until all of the ingredients are evenly integrated and distributed into the dough. It should be soft and slightly sticky; if not, add more flour or water as needed.

If using a stand mixer, put the pre-dough pieces and all of the other ingredients except the extra flour into the mixer with the paddle attachment (preferable) or dough hook. Mix on slow speed for 1 minute to bring the ingredients together into a ball. Switch to the dough hook and mix on medium-low speed, occasionally scraping down the bowl, for 2 to 3 minutes, until the pre-doughs become cohesive and assimilated into each other. Add more flour or water as needed until the dough is soft and slightly sticky.

3. Dust a work surface with flour, then toss the dough in the flour to coat. Knead by hand for 3 to 4 minutes, incorporating only as much extra flour as needed, until the dough feels soft and tacky, but not sticky. Form the dough into a ball and let it rest on the work surface for 5 minutes while you prepare a clean, slightly oiled bowl.

4. Resume kneading the dough for 1 minute to strengthen the gluten and make any final flour or water adjustments. The dough should have strength and pass the windowpane test, yet still feel soft, supple, and very tacky. Form the dough into a ball and place it in the prepared bowl, rolling to coat with oil. Cover loosely with plastic wrap and let rise at room temperature for approximately 45 to 60 minutes, until it is about 1½ times its original size.

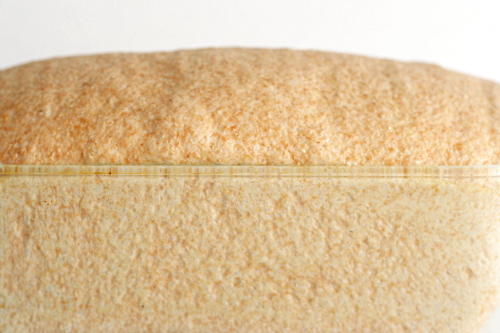
5. Transfer the dough to a lightly floured work surface.  To shape it for a loaf pan, pat it out to a square approximately 1-inch thick, then roll the dough into a cylinder.  Place the dough in a greased 4 by 8½-inch bread pan. Cover the dough loosely with plastic wrap and let rise at room temperature for approximately 45 to 60 minutes, until it is about 1½ times its original size.

6. Preheat the oven to 425F. When the dough is ready to bake, place it in the oven and bake for 20 minutes. Rotate the loaf 180 degrees and continue baking for another 20 to 30 minutes, until the loaf is a rich brown on all sides, sounds hollow when thumped on the bottom, and registers at least 195F in the center.

7. Transfer the bread to a cooling rack and allow it to cool for at least 1 hour before serving.

Copy of IMG_8506

pasta with cauliflower, walnuts, and ricotta salata

copy-of-img_3235

I was recently reminded me of why I unabashedly (okay, maybe a little abashedly) stole Smitten Kitchen’s “one year ago” idea (although all the cool kids are doing it these days it seems). I’ve had this pasta recipe bookmarked since she posted it, and every week when I plan my meals, I consider it, and then pass over it. I didn’t realize I’d been doing this for an entire year until I saw this recipe featured from one year ago.

copy-of-img_3220

Seriously, I love pasta, and we eat it one or twice a week. Also, cauliflower? My favorite vegetable, ever since I was a kid. And quick vegetarian meals are our standard weeknight fare. And, I’ve been meaning to try ricotta salata for ages. I was outrageously overdue for making this recipe.

copy-of-img_3217

But, when I finally made it, I thought it had a lot more potential than it did flavor. The problem is that the recipe’s original author, Alice Waters, took a very easygoing, flexible route with the recipe, providing only approximate ingredient quantities and no recommended cooking times.

copy-of-img_3223

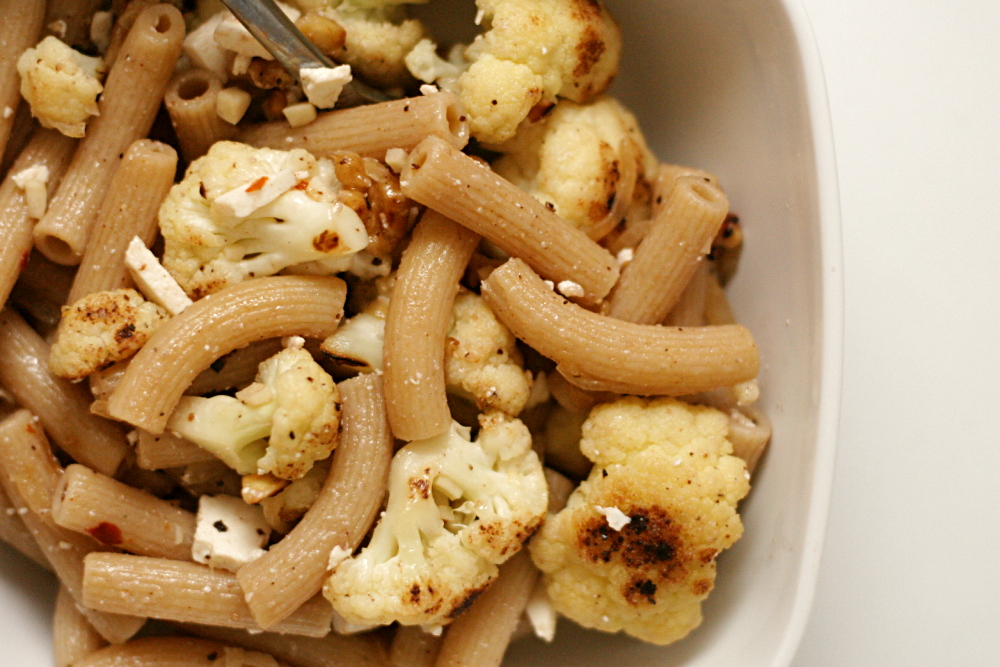
In a nutshell, the cauliflower is pan-roasted, then onions and crushed red pepper are added, then garlic, then lemon juice, white wine vinegar, and toasted walnuts. All of that is mixed with pasta and soft cheese. It’s a nice combination of ingredients and you’d be hard-pressed to make it bad, but ‘not bad’ is generally not my goal for food.

copy-of-img_3225

The next time I made it, in an effort to bump up the flavor, I decreased the pasta significantly. (You could also think of it as increasing the cauliflower, onion, garlic, red pepper flakes, and walnuts.) I’ve also quantified things. Willy-nilly, splash of this, pinch of that recipes drive me crazy and usually end up underseasoned.

Other than the ratio of pasta to everything else, the recipe really isn’t so different from the original. And hopefully it’s reproducible now, so you can have the exact same spicy, fresh flavor from this dish that I enjoyed.

copy-of-img_3228

One year ago: Breakfast Strata with Mushrooms, Sausage, and Monterey Jack

Whole Wheat Pasta with Cauliflower, Walnuts and Ricotta Salata (from Chez Panisse Vegetables via Smitten Kitchen)

Serves 4

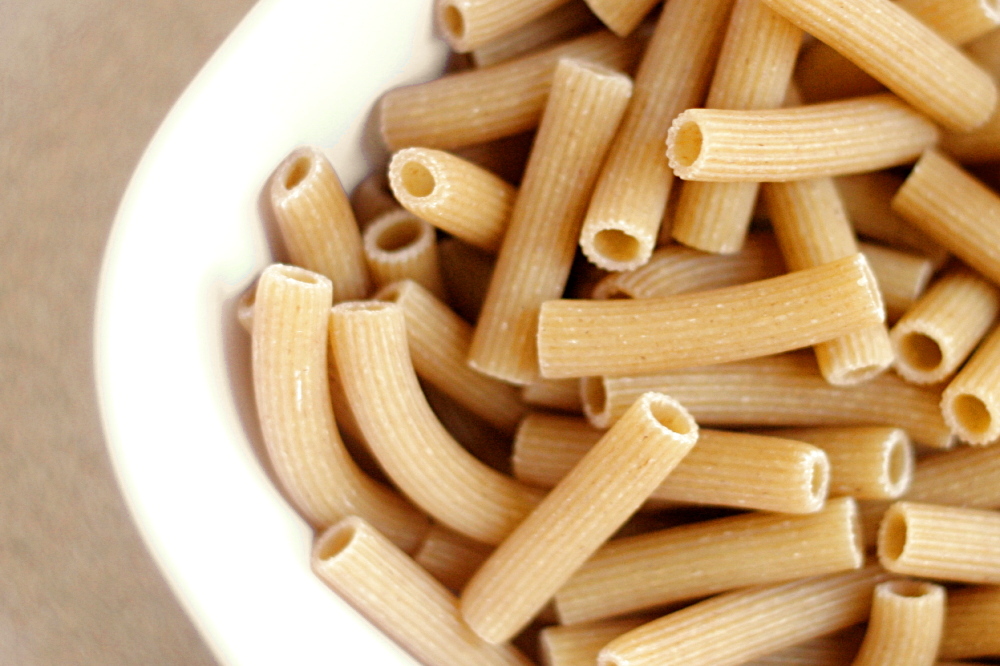
10 ounces whole-wheat pasta
½ cup walnuts
1 tablespoon olive oil (not extra virgin)
2 small heads cauliflower, cut into 1.5-inch florets
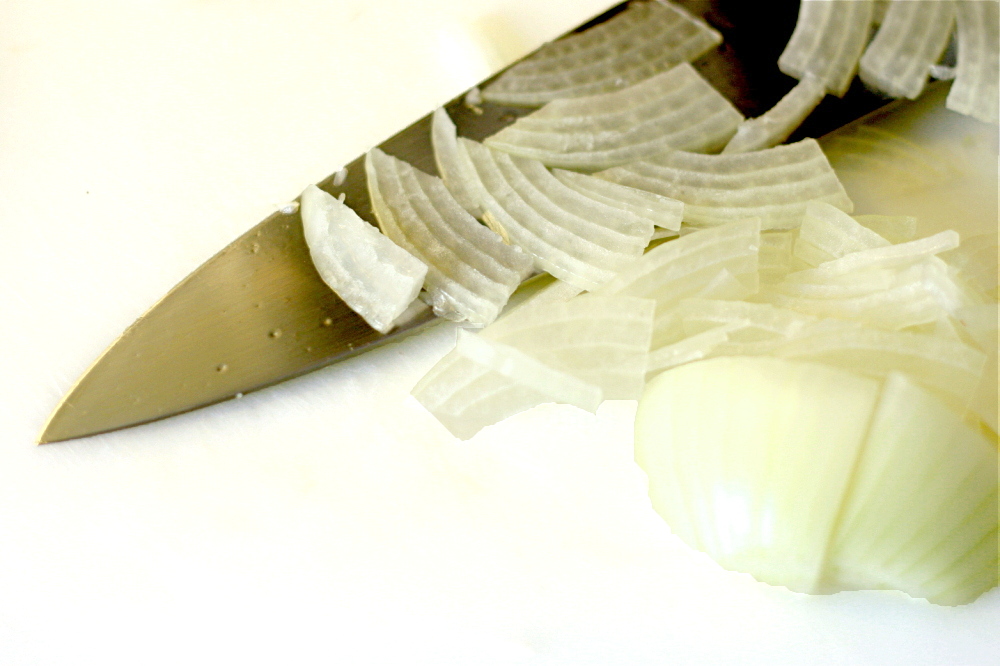
1 large or 2 small onions, sliced very thin
4 cloves garlic, minced
½ teaspoon salt, plus more for the pasta cooking water
¼ teaspoon black pepper
½ teaspoon crushed red pepper
1 tablespoon lemon juice
4 ounces ricotta salata, chopped
extra virgin olive oil, for serving (optional)

1. Bring 3 to 4 quarts water to a rapid boil over high heat. Add 1 tablespoon salt and the pasta. Cook according to package instructions. Before draining the cooked pasta, put about 1 cup pasta cooking water in a separate bowl and set aside. After draining the pasta, return it to the cooking pot.

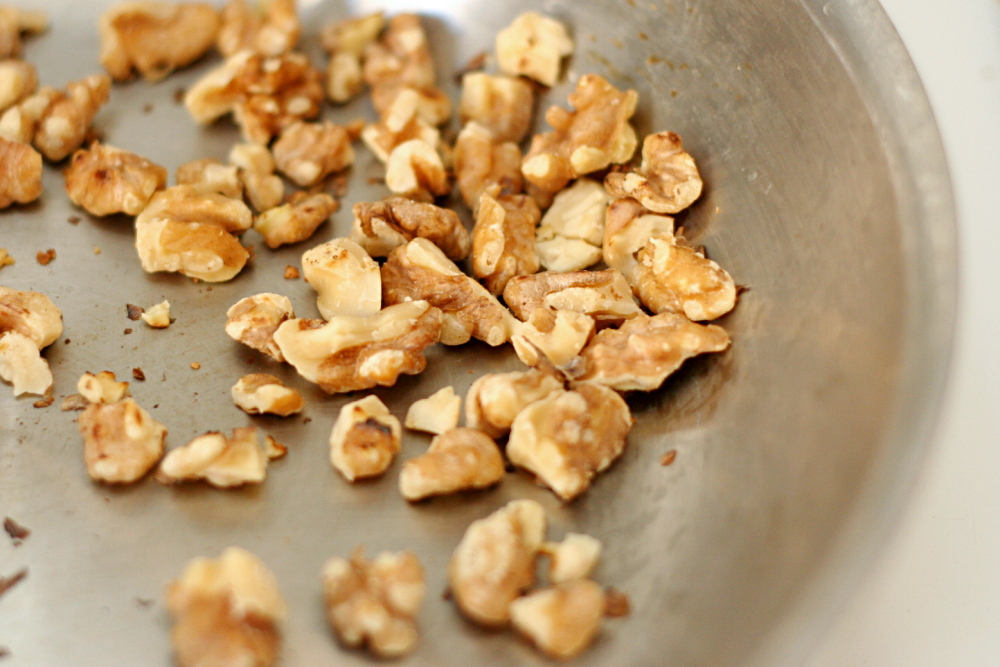
2. Meanwhile, toast the walnuts in a large, not nonstick pan over medium heat until fragrant. Put the walnuts in a small bowl and set aside.

3. Heat 1 tablespoon olive oil in the same pan over medium heat. When hot, add cauliflower and cook, stirring occasionally, until softened, 4-5 minutes. Add onions, red pepper, salt, and black pepper. Continue cooking and stirring until the onions are softened and the cauliflower is crisp-tender. Stir in the garlic, then immediately remove the pan from the heat. Add the lemon juice, walnuts, and cheese.

4. Stir the cauliflower mixture into the pasta. Add enough of the reserved pasta cooking water to moisten the mixture. Adjust the seasonings to taste and serve, garnishing each plate with a drizzle of extra virgin olive oil, if desired.

copy-of-img_3233

cranberry orange muffins

copy-of-img_9788

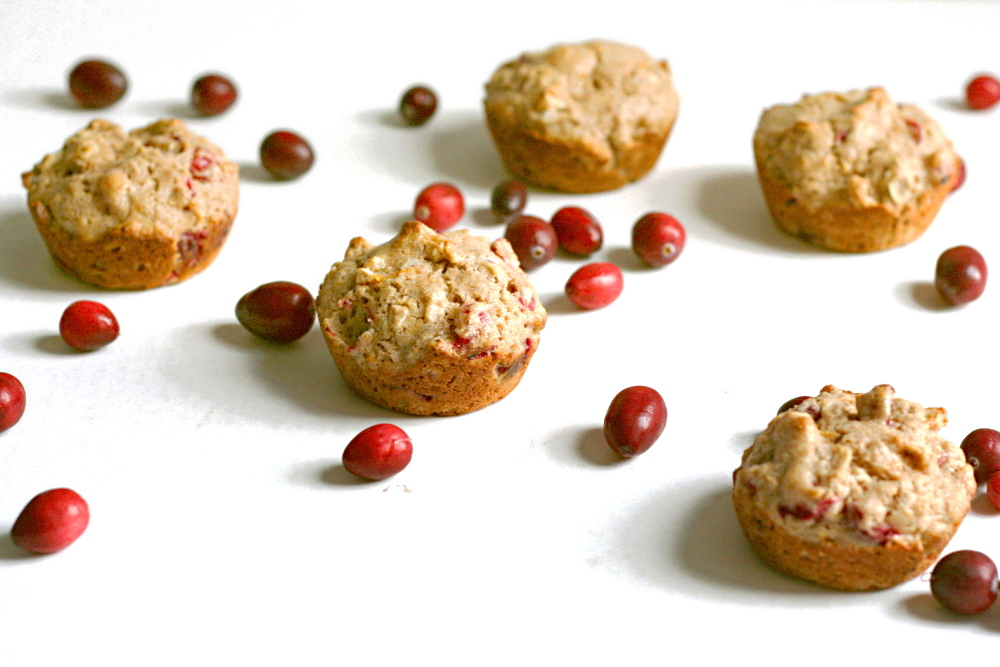
Didn’t I just make muffins? And wasn’t I talking about how I was still on pumpkin? While it’s true that I haven’t moved past pumpkin, I’m definitely excited about cranberries too. Especially cranberry and orange together.

copy-of-img_9771

Seven or eight years ago, I went through a health nut phase where I pretty much eschewed white flour. (You can imagine that that lasted for, like, a week.) I at least substituted half whole wheat flour in most recipes, especially quick breads. I’ve apparently reached a complete turnaround. This recipe calls for 100% whole wheat flour, and I came very close to substituting half of that with white flour.

copy-of-img_9772

But I stuck to the recipe, and I am so glad I did. These muffins rocked, even though I didn’t have quite the right amount of egg (long story), I used traditional instead of quick-cooking oats, and I skipped the glaze. I’m not a huge fan of glaze on muffins – they don’t take to freezing as well, plus it seems too cupcake-like. I also changed the order that the ingredients were added, just like I did with the pumpkin muffins. I added the sugar with the wet ingredients and the zest with the dry ingredients.

copy-of-img_9778

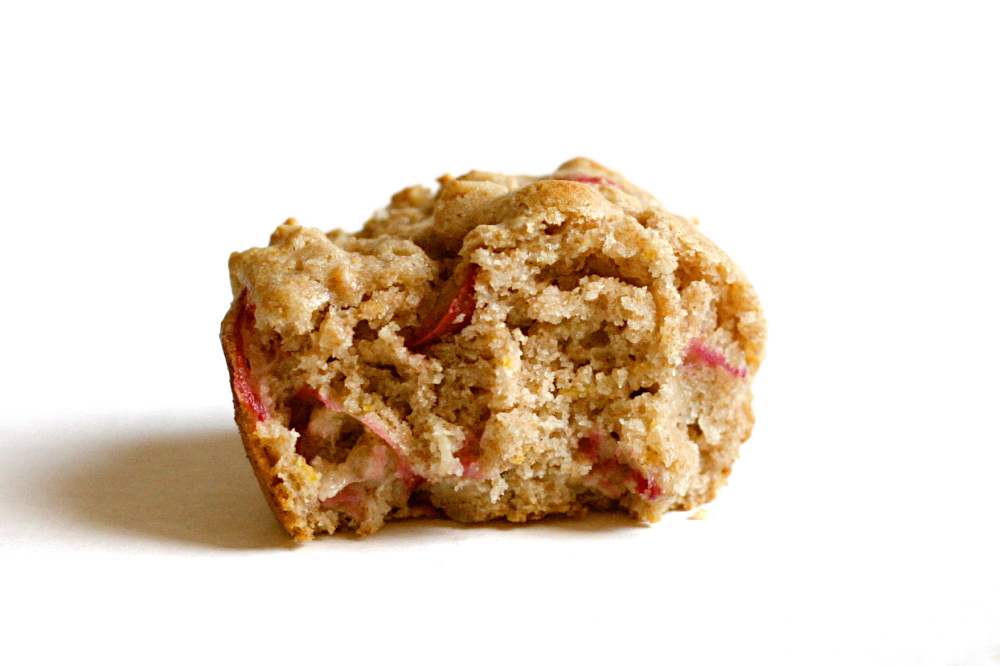
The muffins were nice and light, not at all heavy from the whole wheat flour. The orange flavor was pronounced, which I liked, and the bits of cranberry were perfectly tart and even juicy. All that using 100% whole wheat flour. 2001-me would have been so proud.

copy-of-img_9780

Cranberry Orange Muffins (adapted from King Arthur Flour)

I used traditional oats and didn’t notice any problems, but I could see how quick-cooking oats would incorporate into the dough better. I skipped the nuts because I didn’t have any. I used butter instead of oil. I also skipped the glaze.

Makes 12 muffins

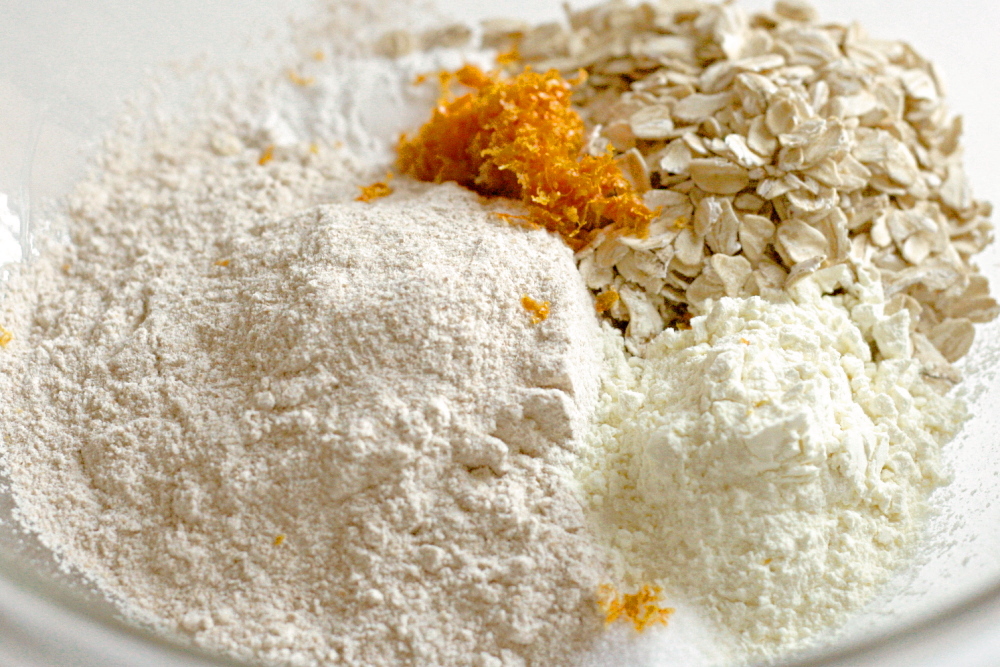
1½ cups whole wheat flour
¾ cup quick-cooking rolled oats
¼ cup buttermilk powder or nonfat dry milk
2 teaspoons baking powder
1 tablespoon orange zest (finely grated orange peel)
½ teaspoon salt
1 cup fresh or frozen cranberries, chopped
½ cup chopped pecans or walnuts (optional)
2 large eggs
⅔ cup (4.67 ounces) sugar
¾ cup milk
⅓ cup melted butter or vegetable oil

Glaze
2 tablespoons orange juice
3 tablespoons sugar

1. Adjust oven rack to middle position and heat oven to 350 degrees. Spray standard muffin tin with nonstick vegetable cooking spray.

2. Whisk flour, oats, milk powder, baking powder, and orange zest in a large mixing bowl. In a separate mixing bowl, whisk egg until broken up. Add sugar and whisk until combined. Whisk in butter (or oil) and milk.

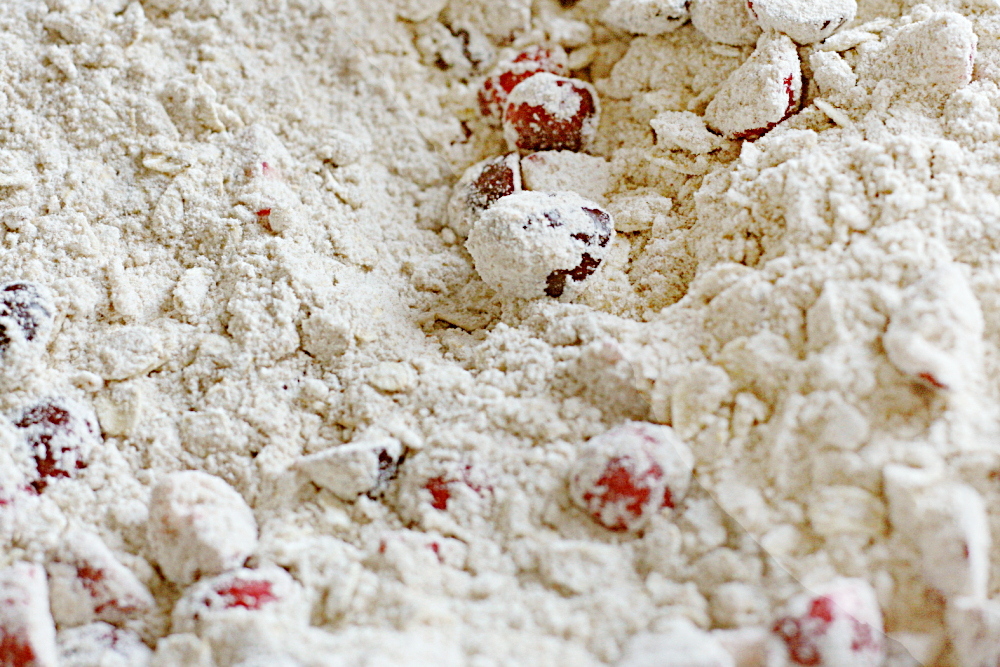
3. Add cranberries and nuts, if using, to dry ingredients and stir to combine. Add milk mixture and fold with rubber spatula until batter comes together. Do not overmix.

4. Divide batter among 12 muffin cups. Bake until toothpick inserted into center of muffin comes out clean, 18-20 minutes. Cool in pan 5 minutes, then transfer them to a rack.

5. If using glaze: In a small saucepan or the microwave, stir together the glaze ingredients. Bring just to a boil, to dissolve the sugar. Dip the tops of the warm muffins into the glaze.

copy-of-img_9783

multigrain pancakes

copy-of-img_9455

This is one of those recipes that’s unabashedly multigrained. The multigrains aren’t sneaking in, trying to pretend this is a regular pancake recipe that just happens to be a little healthier. No, these pancakes are multigrain all the way.

copy-of-img_5792

They’re also, possibly, my favorite pancakes ever. I’m finding that I really enjoy recipes that have whole grain as the primary flavor.

copy-of-img_9452

The ingredient list is a little long for pancakes, and the food processor has to be used to grind up the muesli. I won’t lie that I think that’s a hassle, so what I’ve started doing is grinding the whole box of muesli at once (minus the small portion that’s added to the pancakes unground). That makes the effort involved with making these similar to a regular pancake recipe.

copy-of-img_5804

I don’t always serve these with the apple topping; they’re just as good with maple syrup. But it’s November and apples and cranberries and nuts just seem appropriate. Not only does the topping make these pancakes even more delicious and special than they already are, but it adds a nice serving of fruit to an already fiber-rich breakfast. You can’t beat that.

copy-of-img_5815

Multigrain Pancakes (from Cooks Illustrated November 2006)

Serves 4 to 6.

CI note: Familia-brand no-sugar-added muesli is the best choice for this recipe. If you can’t find Familia, look for Alpen or any no-sugar-added muesli. (If you can’t find muesli without sugar, muesli with sugar added will work; reduce the brown sugar in the recipe to 1 tablespoon.) Mix the batter first and then heat the pan. Letting the batter sit while the pan heats will give the dry ingredients time to absorb the wet ingredients, otherwise the batter will be runny. Unless you have a pastry brush with heatproof bristles, a paper towel is the best means of coating the pan surface with oil. Pancakes will hold for 20 minutes when placed on a greased rack set on a baking sheet in a 200-degree oven. Serve with maple syrup or Apple, Cranberry, and Pecan Topping.

4 teaspoons fresh lemon juice
2 cups whole milk
1¼ cups no-sugar-added muesli (6 ounces), plus an additional 3 tablespoons
¾ cup unbleached all-purpose flour (3¾ ounces)
½ cup whole wheat flour (2¾ ounces)
2 tablespoons brown sugar (light or dark)
2¼ teaspoons baking powder
½ teaspoon baking soda
½ teaspoon table salt
2 large eggs
3 tablespoons unsalted butter, melted and cooled
¾ teaspoon vanilla extract
Vegetable oil

1. Whisk lemon juice and milk together in medium bowl or 4-cup measuring cup; set aside to thicken while preparing other ingredients.

2. Process 1¼ cups muesli in food processor until finely ground, 2 to 2½ minutes; transfer to large bowl. Add remaining 3 tablespoons unground muesli, flours, brown sugar, baking powder, baking soda, and salt; whisk to combine.

3. Whisk eggs, melted butter, and vanilla into milk until combined. Make well in center of dry ingredients in bowl; pour in milk mixture and whisk very gently until just combined (few streaks of flour and lumps should remain). Do not overmix. Allow batter to sit while pan heats.

4. Heat 12-inch nonstick skillet over medium-low heat for 5 minutes. Add 1 teaspoon oil and brush to coat skillet bottom evenly. Following instructions below, add 1 tablespoon batter to gauge temperature of pan. Pour ¼ cup batter onto 3 spots in skillet, using bottom of ladle to spread batter smooth if necessary. Cook pancakes until small bubbles begin to appear evenly over surface, 2 to 3 minutes. Using thin, wide spatula, flip pancakes and cook until golden brown on second side, 1½ to 2 minutes longer. Serve immediately. Repeat with remaining batter, brushing surface of pan lightly with oil between batches and adjusting heat if necessary.
Apple, Cranberry, and Pecan Topping for Pancakes (from Cooks Illustrated November 2006)

Serves 4 to 6.
CI note: The test kitchen prefers semifirm apples such as Fuji, Gala, or Braeburn for this topping. Avoid very tart types like Granny Smith and soft varieties like McIntosh.

3½ tablespoons cold unsalted butter
3 sweet apples (medium), peeled, cored, and cut into ½-inch pieces (about 4 cups) (see note above)
Pinch table salt
1 cup apple cider
½ cup dried cranberries
½ cup maple syrup
½ teaspoon vanilla extract
1 teaspoon fresh lemon juice
¾ cup pecans, toasted and chopped coarse

Melt 1½ tablespoons butter in large skillet over medium-high heat. Add apples and salt; cook, stirring occasionally, until softened and browned, 7 to 9 minutes. Stir in cider and cranberries; cook until liquid has almost evaporated, 6 to 8 minutes. Stir in maple syrup and cook until thickened, 4 to 5 minutes. Add vanilla, lemon juice, and remaining butter; whisk until sauce is smooth. Serve with toasted nuts.

copy-of-copy-of-img_9461

wheatmeal shortbread cookies

copy-of-img_8467

I’ve only recently started to appreciate whole grain food as anything other than a healthy alternative that requires a compromise in flavor. For some foods, this is true – pizza crust is less tender and the dough harder to work with when whole wheat flour is substituted for a portion of the white flour; many rustic breads get most of their flavor from a slow fermentation of white flour; and certainly I’m not interested in making chocolate chip cookies with whole wheat flour.

copy-of-img_8427

But that doesn’t mean that whole grain food can’t be enjoyed for what it is, and not just as a healthy substitute. These cookies are unabashedly whole grain, and that’s part of their charm. But don’t worry – I wouldn’t call them healthy.

copy-of-img_8429

The recipe is straightforward and I had no real problems. I did rework it to be baked in a square pan because I don’t have the 10-inch springform pan that it calls for. Who has all these crazy pans that Martha’s recipes always call for? One step that I followed, but didn’t really understand the point of, was scoring the edges of the cookies halfway through baking. Also, my skewer pricks in the cookies got covered by the granulated sugar sprinkled on top. In retrospect, I could have repricked the cookies after the sugar was added to keep the design.

copy-of-img_8434

Besides that small nitpicking, the recipe was easy. And the cookies were so good! They’re really tender from all that butter. I’m having trouble describing the flavor; all I can think of is “earthy” but that doesn’t sound like a compliment. But the bran really added an extra dimension of flavor that was balanced wonderfully by the butter and sugar.

copy-of-img_8448

Wheatmeal Shortbread Cookies (from Martha Stewart’s Baking Handbook, slightly reworded)

MS note: Be sure to sprinkle the shortbread with granulated sugar as soon as it comes out of the oven; this will help the sugar adhere to the cookie.

1 cup (5 ounces) unbleached flour, plus more for dusting
¾ cup whole wheat flour
¼ cup wheat bran
¾ teaspoon salt
14 tablespoons (1¾ sticks) unsalted butter, room temperature
½ cup (3.5 ounces) packed light brown sugar
granulated sugar, for sprinkling

1. Preheat the oven to 325F. Have ready a 10-inch round springform pan or a 10-inch tart pan with a removal bottom. Alternatively, line a 9-inch square pan with parchment paper.

2. In the bowl of an electric mixer fitted with the paddle attachment, mix both flours, the bran, and the salt on low speed just to combine. Add the butter and brown sugar, and beat until all the ingredients come together and form a smooth dough, about 3 minutes, scraping down the sides of the bowl as needed.

3. Turn the dough out into the pan. Using your fingers, spread out the dough evenly while pressing it firmly into the pan. Use a spoon to flatten the edges.

4. Place pan in oven, and reduce temperature to 300F. Bake until the edges just begin to turn golden, about 30 minutes. Remove pan from oven; using a bench scraper or long, sharp knife, score the cookie into 8 wedges (if using round pan) or 16 squares (if using square pan). Using the tip of a wooden skewer or the tines of a fork, prick the shortbread all over in a decorative pattern, if desired. Return pan to oven, and bake until golden all over, about 15 minutes more.

5. Transfer pan to a wire rack. Sprinkle shortbread with granulated sugar. Remove the sides of the pan (if using pan with removable bottom/sides) or use the parchment paper to lift the cookies out of the pan (if using a square pan). Let stand until completely cool before cutting into wedges. Shortbread can be kept in an airtight container at room temperature for up to 1 week.

copy-of-img_8468

granola grabbers (twd)

No classic cookie recipes have been chosen for TWD since I joined. I like making cookies, so I was looking forward to Michelle’s choice for this week.

With all of the ingredients in this recipe, I thought at first that they’d be similar to Magic Cookie Bars. And then I looked closer at the recipe – 3 cups of granola and almost 3 more cups of other healthy-ish stuff compared to only 1 cup of flour. These were some sort of melding of granola bars and cookies. Hmm…that sounds…healthy.

And it tasted healthy. Too much granola! Too many raisins (any raisins in cookies is too many), too many nuts. I added 1 cup of chocolate chips to the recipe, and it was the saving grace. It also might have caused some problems – the cookies were a little crumbly, I think because there was just too many add-ins, and not enough dough to hold them together.

Dave and some other friends are going backpacking this weekend, so I baked (most of) the cookies as bar cookies, which hold up better with being squashed at the bottom of a pack. Unfortunately, in a rare move for me, I made the whole recipe. I was only able to pawn about half of that off on the backpackers, so I threw the rest in the freezer until further notice. I have a feeling they’re going to get sent to Iraq, which I feel kind of bad about, but I just don’t know what else to do with them. They’re not bad, they’re not good enough to bother eating. Plus, they’re not healthy – they just taste like it.

If you’d like to check out the recipe, Michelle has posted it.

cherry rhubarb cobbler (twd)

Amanda chose possibly the healthiest recipe in the TWD cookbook. A portion of the flour in the biscuits is whole wheat and there’s <gasp> less than a tablespoon of butter per serving.

Combining rhubarb and cherries is a little unusual – Dorie does it because they have contrasting and complimentary flavors. Fair enough, but they also both have notoriously short seasons that only slightly overlap. I was lucky to find fresh rhubarb still available.

I love rhubarb in uses like this – it cooks down so soft as to be unnoticeable except for the sweet-tart flavor it lends. Sweet cherries, it turns out, I’m not so fond of in cooked fruit desserts. It sounds weird, but I’m annoyed at how well they hold their shape. I guess I want them to cook down and blend in with the other filling ingredients.

The biscuits were fine. Not as light and tender as the ones from Dorie’s other cobbler; these were more dense and bready. (I swear I didn’t overmix them.) They weren’t bad by any means, but maybe a little more wholesome than I prefer for dessert.

Dave, of course, loved the whole thing. He generally prefers healthier food than I do. When we eat out, I order steak and potatoes while he gets fish and vegetables. This cobbler was right up his alley.

Amanda will post the recipe on her blog.