cranberry nut dessert

Copy of IMG_1245

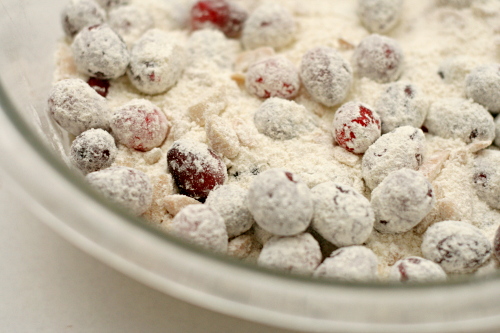
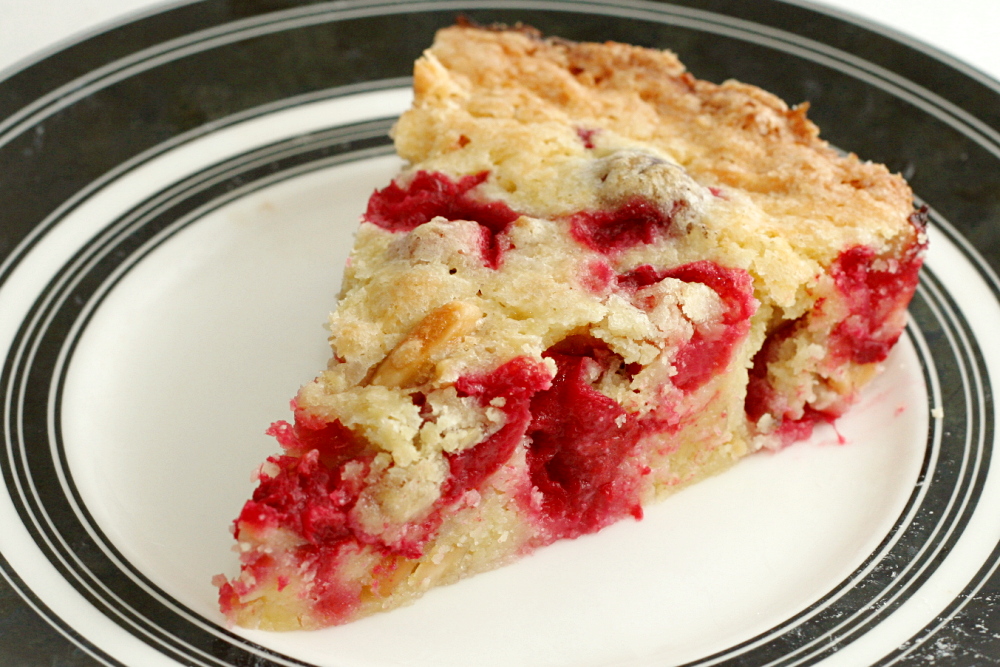
Sometimes I’m too full of myself for my own good. When I saw this on Jen’s site, I noted that she called it ‘cranberry dessert.’ But, in my hubris, I figured, what the hell, it looks like a cake. I’ll call it a cake and serve it as a cake.

Copy of IMG_1202

In retrospect, though, the vague title ‘dessert’ is probably more appropriate. Or maybe cranberry clafoutis? Except with more butter. Cobbler doesn’t quite work because the breading isn’t biscuits.

Copy of IMG_1205

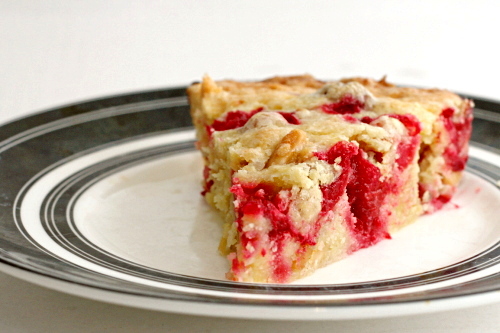
Even looking at the photos now, it looks like a cake. The recipe is mixed like a quick bread, so that’s cake-like.

Copy of IMG_1206

But somehow, when I was eating it, it seemed more like a fruit dessert, maybe because the ratio of fruit to batter is so high. It was fantastic on its own, but it did cry out for a scoop of vanilla ice cream. Next time I won’t deny it.

Copy of IMG_1210

One year ago: Lime Meltaways

Printer Friendly Recipe
Cranberry Nut Dessert (rewritten from Use Real Butter)

Most nuts would work here, but I used lightly toasted almonds and it seemed like a perfect match.

1 cup (4.8 ounces) all-purpose flour
1 cup (7 ounces) granulated sugar
¼ teaspoon salt
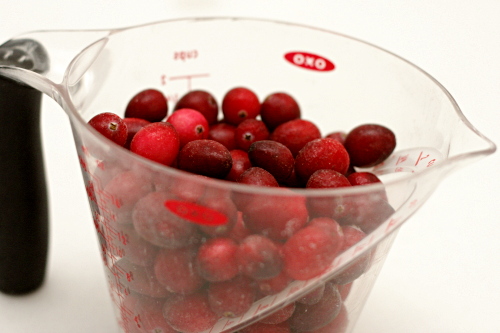
2 cups fresh or frozen cranberries
½ cup chopped nuts
2 eggs
8 tablespoons (1 stick) butter, melted and cooled
½ teaspoon almond extract

1. Adjust a rack to the middle position and heat the oven to 350ºF. Spray a pie pan with spray oil.

2. In a large bowl, combine the flour, sugar, salt, cranberries, and nuts. In another bowl, whisk the eggs until broken up, then whisk in the butter and almond extract. Pour the liquid ingredients into the dry ingredients and stir until just combined.

3. Spread the batter in the prepared pan; bake for 40 minutes or a until toothpick inserted near the center of the pan comes out clean or with a few crumbs hanging onto it. Let the dessert cool for at least 15 minutes before serving. Serve with ice cream or whipped cream, if desired.
Copy of IMG_1248

apple tart

Copy of IMG_1073

I cheated.

I baked.

Copy of IMG_1040

I said I wouldn’t, until Thanksgiving. I considered baking cookies to send to a friend for his birthday, figuring if it wasn’t for myself, it’s allowed, right? I considered making scones to use up some cranberries, figuring that if it wasn’t dessert, it’s allowed, right?

Copy of IMG_1050

And then I baked a dessert, for myself.

But hear me out, okay? I was never holding myself back from baking dough that I’d previously mixed up and frozen – I have three batches of cookie dough in the freezer and baking up one or two cookies each night was always part of the plan.

Copy of IMG_1047

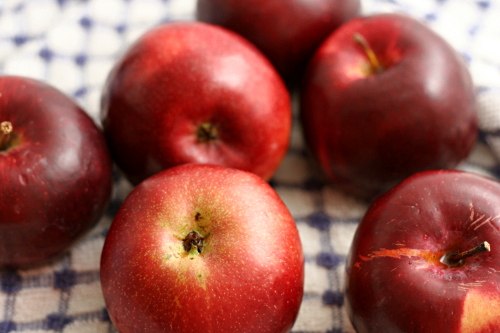
Well, I had tart dough in the freezer too. And if frozen cookie dough is allowed, frozen tart dough is also allowed, right? And come on, I added a bunch of apples to it, so the whole thing is downright healthy. Or something.

Copy of IMG_1048

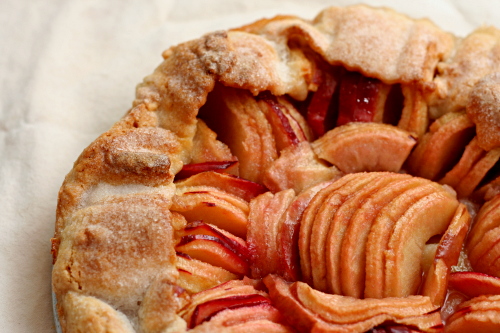
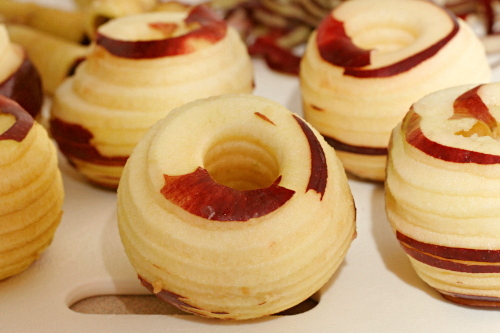
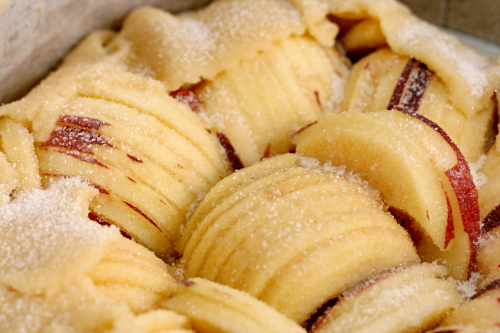
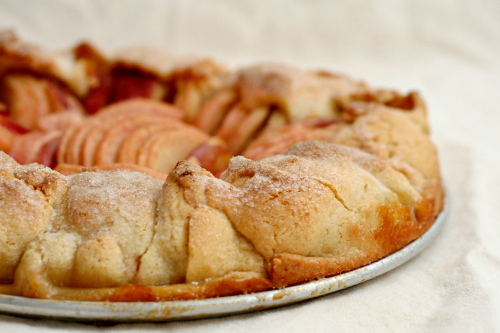
Anyway, it’s a pretty cool recipe. It’s simple, but I love how it eeks out all of the flavor possible from the apples. Tart dough, rolled out quite a bit larger than the 9-inch pan it’s placed in, is filled with slices of apples. The extra dough is folded over the apples, like a galette contained by the tart pan’s rim. The unbaked tart is brushed with butter and sprinkled with sugar. Simple.

Copy of IMG_1054

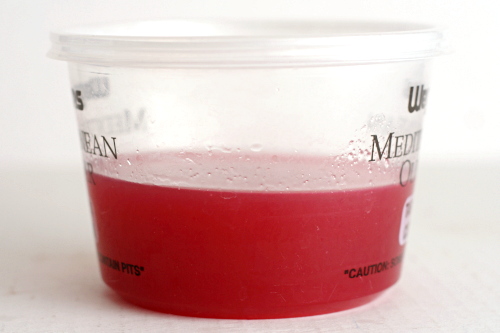
Then, in a interesting and creative move, the apple peels and cores are simmered with water and sugar until the liquid is reduced to a syrup, which is brushed on the baked tart right before serving. What a great way to maximize the flavor of the apples! (I did end up with way, way too much syrup, which I boiled down even further and then used as a topping for apple-cinnamon pancakes the next morning.)

Copy of IMG_1066

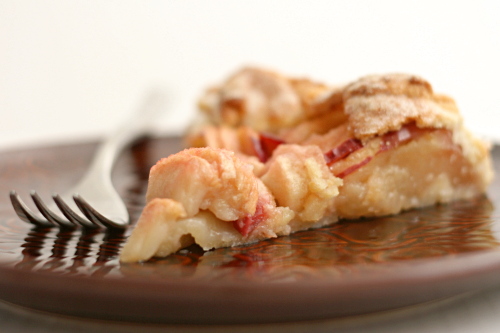
Of course it was good. The apples softened and intensified in the oven, and the crust provided a crisp sweet contrast to the apples. It’s also highly adaptable – I followed the recipe almost exactly, but next time I’ll add a light sprinkle of salt on top of the apples and few drops of lemon juice to the syrup. I’ll consider using a pie crust instead of tart crust as well, because I love that flakiness. If you can’t imagine an apple dessert without cinnamon, add some! But if you want to appreciate apples at their most basic and delicious, absolutely follow the recipe exactly. You can’t go wrong.

Copy of IMG_1084

One year ago: Basic Mashed Potatoes

Printer Friendly Recipe
Alice Waters’s Apple Tart (via Smitten Kitchen)

I didn’t use this tart dough recipe, because I already had some I needed to use up. I needed 6 apples to reach 2 pounds, but for my tart, that was about 1 apple too many to fit. Deb mentioned that she only used 3 tablespoons of sugar sprinkled over the tart right before baking, and I followed her advice. I suggest placing the tart pan (I used a springform pan) on a baking sheet, because mine leaked sugary apple juices.

Dough:
1 cup unbleached all-purpose flour
½ teaspoon sugar
⅛ teaspoon salt
6 tablespoons (¾ stick) unsalted butter, just softened, cut into ½-inch cubes
3½ tablespoons chilled water

Filling:
2 pounds apples (Golden Delicious or another tart, firm variety), peeled, cored (save peels and cores), and sliced
2 tablespoons unsalted butter, melted
5 tablespoons sugar

Glaze:
½ cup sugar

1. Mix flour, sugar, and salt in a large bowl; add 2 tablespoons of the butter. Blend in a mixer until dough resembles coarse cornmeal. Add remaining butter; mix until biggest pieces look like large peas.

2. Dribble in water, stir, then dribble in more, until dough just holds together. Toss with hands, letting it fall through fingers, until it’s ropy with some dry patches. If dry patches predominate, add another tablespoon water. Keep tossing until you can roll dough into a ball. Flatten into a 4-inch-thick disk; refrigerate. After at least 30 minutes, remove; let soften so it’s malleable but still cold. Smooth cracks at edges. On a lightly floured surface, roll into a 14-inch circle about 1/8 inch thick. Dust excess flour from both sides with a dry pastry brush.

3. Place dough in a lightly greased 9-inch round tart pan, or simply on a parchment-lined baking sheet if you wish to go free-form, or galette-style with it. Heat oven to 400ºF. (If you have a pizza stone, place it in the center of the rack.)

4. Overlap apples on dough in a ring 2 inches from edge if going galette-style, or up to the sides if using the tart pan. Continue inward until you reach the center. Fold any dough hanging over pan back onto itself; crimp edges at 1-inch intervals.

5. Brush melted butter over apples and onto dough edge. Sprinkle 2 tablespoons sugar over dough edge and the other 3 tablespoons over apples.

6. Bake in center of oven until apples are soft, with browned edges, and crust has caramelized to a dark golden brown (about 45 minutes), making sure to rotate tart every 15 minutes.

7. Make glaze: Put reserved peels and cores in a large saucepan, along with sugar. Pour in just enough water to cover; simmer for 25 minutes. Strain syrup through cheesecloth.

8. Remove tart from oven, and slide off parchment onto cooling rack. Let cool at least 15 minutes.

9. Brush glaze over tart, slice, and serve.

Copy of IMG_1068

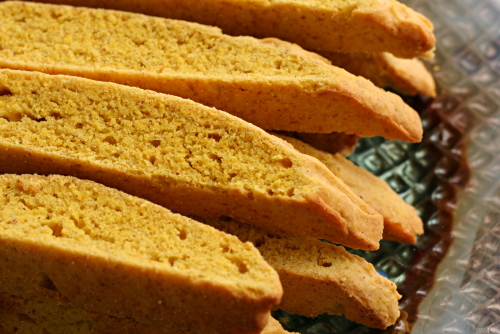
pumpkin biscotti

Copy of IMG_0891

My less-baking-until-Thanksgiving goal is getting annoying. The deal was that for most of November, I would only bake biscotti for Dave, 100% whole wheat bread, and any recipes that were required for my blog. Well, I finished baking November’s Tuesdays with Dorie recipes last week, and my freezer is stocked with whole wheat bagels, pizza dough, and baguettes.

Copy of IMG_0514

So I’ve made a lot of biscotti for Dave this month. It’s been my way to cheat. I’ve been making half batches, not only because that way I get to make more again sooner, but I was a little uncertain about this recipe.

Copy of IMG_0510

The original version didn’t have any butter in it. I’ve made biscotti without fat before, and they were some of the worst biscotti I’ve had. The texture was not crunchy or crisp, but nearly crystalline. In this case, I guess I was hoping that the pumpkin would somehow make up for the lack of fat.

Copy of IMG_0520

It didn’t, and the first batch of these biscotti weren’t great. I added a few tablespoons of butter to the second batch (less than half of what a regular cookie recipe has), and the texture was what Dave and I prefer in our biscotti – crunchy but not teeth-breakingly so. But there was some metallic background taste that Dave and I couldn’t identify, which made our tongues tingle unpleasantly after a bite.

Copy of IMG_0847
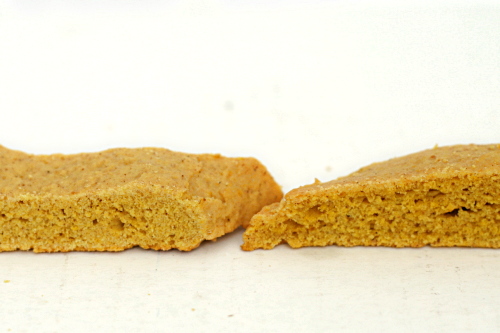
right – half the baking powder

What in the world was that? My guess was that there was too much baking powder, but the amount I used seemed on par with other biscotti recipes. So I tried one more time, this time making two half-batches of dough, one with half the amount of baking powder, one with the same amount.

Copy of IMG_0527

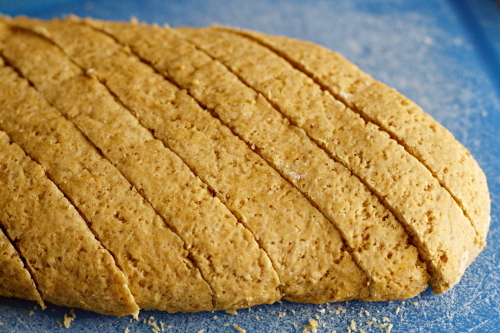
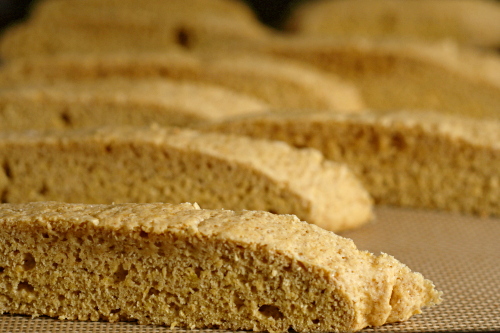
Well, I don’t know what was wrong with that second batch. Maybe I accidentally doubled the baking powder, because when I divided the amount in half, the biscotti didn’t rise correctly. It tasted good and the texture was fine, but it didn’t dome in the middle to make pretty shapes. The half-batch with the full amount of baking powder was perfect – crunchy, smooth and domed, and no metallic taste.

Copy of IMG_0889
left – half the baking powder

Which means I have no more excuses to experiment. I have half a carton of cranberries in my fridge, and I’m just about out of scones stored in my freezer, so I’m itching to make cranberry scones. And I have a friend with a birthday soon, and I want to send treats. But that’s breaking the rules, I suppose. Two more weeks until I get to bake again.

It’s cheating to let myself bake as long as it isn’t desserts for myself, right? Right?

Copy of IMG_0528
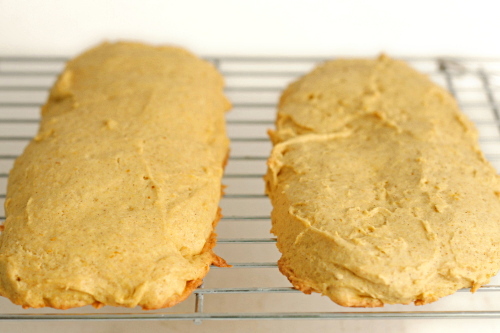
the first, butterless batch

One year ago: Bourbon Pumpkin Cheesecake

Printer Friendly Recipe
Pumpkin Biscotti
(adapted from Simply Recipes)

2½ cups (12 ounces) all-purpose flour
1 cup (7 ounces) granulated sugar
1 teaspoon baking powder
1 teaspoon cinnamon
½ teaspoon nutmeg
pinch ginger
pinch cloves
½ teaspoon salt
2 eggs
6 tablespoons butter, melted
½ cup pumpkin purée
1 teaspoon vanilla extract

1. Preheat oven to 350°F. Sift together the flour, salt, sugar, baking powder, and spices into a large bowl.

2. In another bowl, whisk together the eggs, melted butter, pumpkin purée, and vanilla extract. Pour the pumpkin mixture into the flour mixture. Give it a rough stir to generally incorporate the ingredients, the dough will be crumbly.

3. Flour your hands and a clean kitchen surface and lightly knead the dough. Lightly grease a baking sheet or line it with parchment paper. Form the dough into a large log, roughly about 15-20 inches by 6-7 inches. The loaves should be relatively flat, only about ½ inch high. Bake for 22-30 minutes at 350ºF, until the center is firm to the touch. (Feel free to also form two smaller logs for cute two-bite biscotti; just cut the baking time to 18-24 minutes.)

4. Let biscotti cool for 15 minutes and then using a serrated knife cut into 1 inch wide pieces. Turn the oven to 300ºF and bake for an additional 15-20 minutes. Cool completely.

Copy of IMG_0894

cran-apple crisps

Copy of IMG_0939

It seems to me that there are bakers and there are cooks. There’s overlap, for sure, but most of us seem to be more on one side than the other. I like to cook, and I get a lot of enjoyment from it – sautéing onions, stirring pasta, pouring a bottle of beer into chili. But baking calls to me more.

Copy of IMG_0921

I wonder why? People often say that the most important difference between baking and cooking is the precision required in baking, but I don’t think that’s why I love baking. I don’t like measuring that much. Is it because of my sweet tooth? Maybe, but lately, I crave the baking more than the eating anyway.

Copy of IMG_0919

I think it’s just that baking is more sciencey. It always fascinates me that butter and sugar and flour turn into something totally different. When you cook, the ingredients usually don’t change form much from the beginning to the end. Onions in soup are still distinctly onions, chicken is still chicken, tomatoes are still tomatoes. In baking, the ingredients are transformed.

Copy of IMG_0922

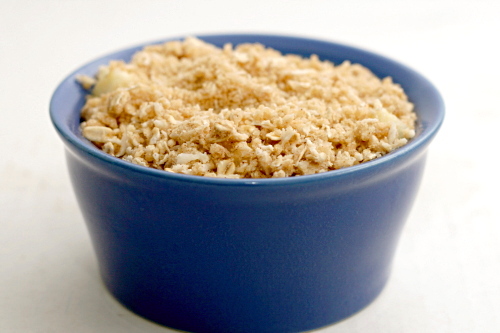
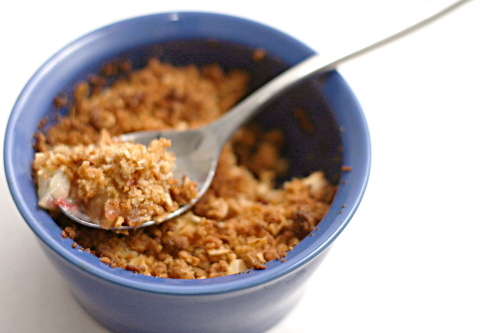
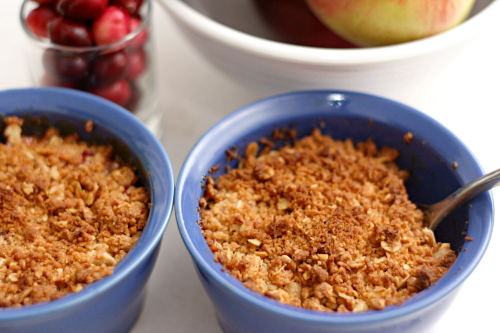
Crisps, though, are more like cooking. The fruit maintains its character, and the crisp topping, although it contains some flour and butter, still has some distinct elements, like oatmeal and often nuts. Perhaps that’s why I rarely make crisps, despite how easy and delicious they are.

Copy of IMG_0928

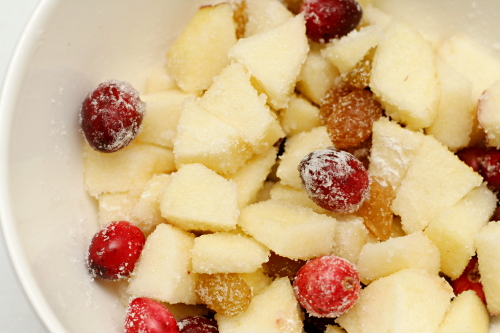
That also means that crisps are exactly what they sound like. You don’t need to worry about it being dry or dense or tough. It’s apple and cranberries. They’re topped with something buttery and crispy. It tastes just how it sounds like it tastes – damn good.

Copy of IMG_0953

Em chose these crisps for Tuesdays with Dorie, and she has the recipe posted.

One year ago: Kugelhopf

Copy of IMG_0951

pumpkin scones

Copy of IMG_0444

Oh, did you want to see something besides scones? I’m sorry, it turns out that the ol’ crumblycookie has become all scones, all the time.

Copy of IMG_0295

No, just kidding. This is the last scone recipe. I just wanted to get through them in one fell swoop, which is what’s kind of fun about NaBloPoMo.

Copy of IMG_0305

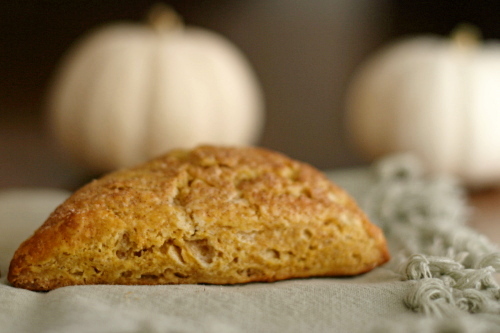
Like most of us, I love pumpkin. The thing is though, that you can’t just add pumpkin into whatever your favorite baking recipe is, because it changes the texture quite a bit. It adds a moist, cakey…I want to say gummy texture, but that sounds negative, and it isn’t necessarily a bad thing. But it also isn’t what you want in scones.

Copy of IMG_0307

So even though I have two great basic scone recipes, I didn’t even consider just adding pumpkin into one of them and seeing what happens. (Although now I’m curious.) So I had to start my search for recipes from scratch, and I settled on this Joy of Baking recipe because the picture shows tall scones with flaky layers.

Copy of IMG_0312

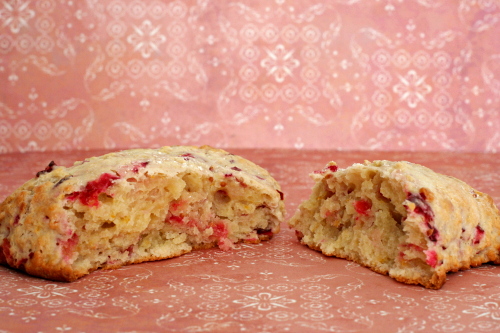
And I nailed it! I can’t imagine a better pumpkin scone. This has everything I want in a scone – the texture walks the line between tender and flaky, it’s sweet but not too much, and the pumpkin and spices are noticeable but not overwhelming. Yet another perfect scone recipe.

One year ago: Gratin Dauphinois

Copy of IMG_0452

Printer Friendly Recipe
Pumpkin Scones
(adapted just a bit from Joy of Baking)

Makes 8 scones

I left out the nuts and raisins, just because I wanted a smooth texture this time. And instead of using the egg wash and turbinado sugar for sprinkling, I brushed the scones with milk and sprinkled them with a mixture of about 1 tablespoon granulated sugar and ½ teaspoon cinnamon. It gave the scones a really nice thin crisp layer after baking.

I’ve also tweaked the order in which the ingredients are added to the dough, because I’m full of myself and I think I know better than the professionals. Or something.

2 cups (260 grams) all purpose flour
½ teaspoons ground ginger
½ teaspoons ground cinnamon
1 teaspoon baking powder
¼ teaspoon baking soda
¼ teaspoon salt
½ cup (113 grams) cold unsalted butter, cut into pieces
⅓ cup (50 grams) raisins
¼ cup (30 grams) toasted and chopped pecans (optional)
⅓ – ½ cup buttermilk
⅓ cup (72 grams) light or dark brown sugar
½ cup fresh or canned pumpkin puree (not pumpkin pie mix)
1 teaspoon pure vanilla extract

Egg Wash:
1 large egg
1 tablespoon milk or cream
Turbinado sugar for sprinkling the tops of the scones (optional)

1. Preheat oven to 400ºF (200ºC) and place rack in middle of oven. Line a baking sheet with parchment paper.

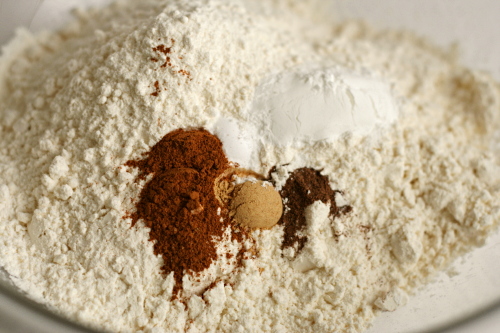
2. In a large bowl, whisk together the flour, spices, baking powder, baking soda and salt. Cut the butter into small pieces and blend into the flour mixture with a pastry blender or two knives. The mixture should look like coarse crumbs. Stir in the raisins and pecans, if using. In a separate bowl, mix together the buttermilk, sugar, pumpkin puree and vanilla, and then add the buttermilk mixture to the flour mixture. Mix just until the dough comes together. Do not overmix the dough.

3. Transfer to a lightly floured surface and knead dough gently four or five times and then pat the dough into a circle that is about 7 inches (18 cm) round and about 1½ inches (3.75 cm) thick. Cut this circle in half, then cut each half into 4 pie-shaped wedges (triangles). Place the scones on the baking sheet. Brush the tops of the scones with the egg wash and sprinkle a little Turbinado sugar on top, if desired.
4. Place the baking sheet inside another baking sheet to prevent the bottoms of the scones from over browning. Bake for about 20 minutes or until golden brown and a toothpick inserted in the middle comes out clean. Transfer to a wire rack to cool.

Copy of IMG_0447

cranberry orange scones

Copy of IMG_1625

This recipe changed the whole shape of my last year. Before making these great scones, I’d spend a large part of both weekend mornings cooking, usually something sweet one day and something savory the other. It made for a nice breakfast category here, but it wasn’t the best way to relax on the weekend.

Copy of IMG_1123

Not anymore. I still often cook something one morning, but on the other, it’s all about scones. I make the dough early in the week and freeze it, then on a lazy weekend morning, I just have to bake them, make coffee (or, more often, wait for Dave to), and sit down to flip through a cookbook. It’s become one of my favorite times of the week.

Copy of IMG_1126

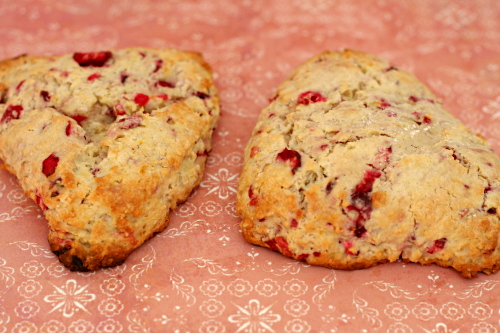
These pictures? They’re from when I made the scones last winter, but it was way past cranberry season, so I’ve been holding onto this blog entry for months and months.

Copy of IMG_1137

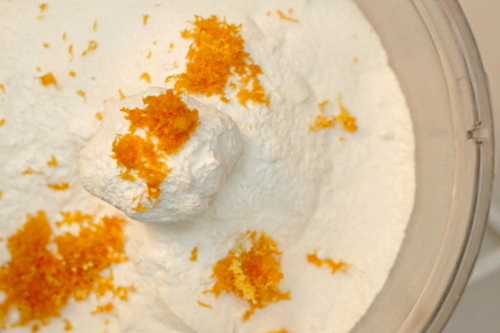
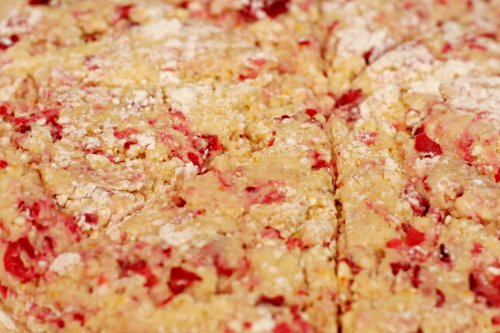
It’s time. Cranberries are showing up in stores, and there is no better way to enjoy them. These are so tender, have just the right sweetness, and make for a stress-free weekend breakfast, even with guests. Even after a year of making scones, these are still one of my favorites.

Copy of IMG_1631

One year ago: Warm Chickpea and Butternut Squash Salad

Printer Friendly Recipe
Cranberry Orange Scones (adapted from Gourmet via Smitten Kitchen)

The recipe originally calls for (Meyer) lemon zest, but orange – or tangerine, which I’ve also used – is such a great partner for cranberry that I couldn’t resist using it instead. I also like increasing the cranberries a bit (already reflected in the recipe).

I’ve baked this recipe at high altitude (at least 5000 feet) with good results. They weren’t quite as pretty, but the taste and texture weren’t affected.

I always flash-freeze scones, then bake them straight from the freezer, adding a couple extra minutes to the baking time.

Makes 8 scones

1½ tablespoons freshly grated orange zest
2½ cups (12 ounces) all-purpose flour
½ cup (3.5 ounces) sugar plus 3 tablespoons
1 tablespoon baking powder
½ teaspoon salt
¾ stick (6 tablespoons) cold unsalted butter, cut into bits
1½ cups fresh cranberries, chopped coarse (I usually do this in the food processor)
1 large egg
1 large egg yolk
1 cup heavy cream

1. Adjust an oven rack to the middle position and heat the oven to 400°F. Line a large baking sheet with parchment paper or a silicone baking mat.

2. In a small bowl, toss together fresh cranberries and 3 tablespoons sugar. In another small bowl, lightly beat the egg and yolk, then stir in cream.

3. In a food processor, pulse the flour, ½ cup sugar, baking powder, salt, and zest until combined. Add the butter and process until the mixture resembles coarse meal. Transfer to a large bowl. (You can also just smoosh the butter into the dry ingredients with your fingers instead of using a food processor.) Stir the cranberries into the flour mixture. Then gently fold the egg mixture into the flour until just combined.
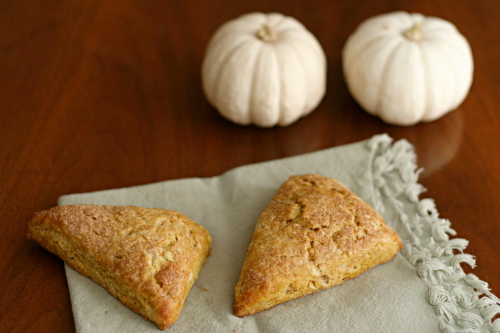
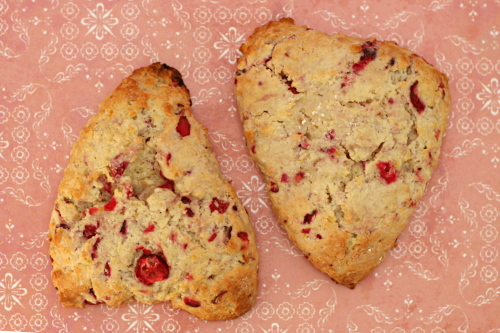
4. On a well-floured surface with floured hands, pat the dough into a 1-inch-thick round (about 8 inches in diameter). With a 2-inch round cutter or the rim of a glass dipped in flour, cut out as many rounds as possible, rerolling the scraps as necessary. (Or cut the circle into wedges, which is my standard method.) Arrange the scones about 1 inch apart on the prepared baking sheet and bake 15 to 20 minutes, or until pale golden. Cool about 10 minutes, then serve.

Copy of IMG_1626

pumpkin and mushroom soup

Copy of IMG_0331

Cooking déjà vu: When you start to make a recipe and then think, “Wait a minute…this seems familiar…have I made this before?!” Generally not a great sign because if you don’t remember it, perhaps it wasn’t worth remembering.

Copy of IMG_1266

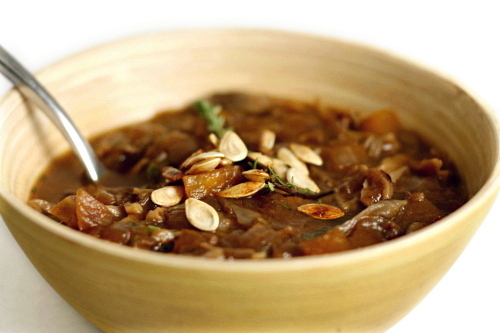
I actually found pictures of this soup from last year, when I’d apparently made it and decided it wasn’t worth sharing. But I didn’t understand how a recipe like this could be anything but good – mushrooms and squash seem like a great match that can only get better with the addition of fall herbs and spices.

Copy of IMG_0315

I don’t think I did too much differently this time – cooked the vegetables longer until they were nice and browned maybe, and this time I stirred in some pureed pumpkin at the end, whereas before I’d just used diced squash at the beginning.

Copy of IMG_0318

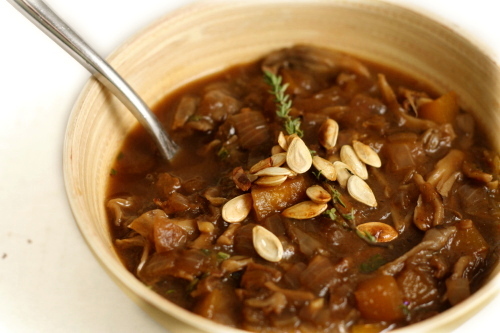
The pureed squash made a huge difference in texture, thickening the soup so much it resembled stew. It was so hearty and delicious, and you’d never guess that there’s no meat in it, especially with that deep brown color. I was right to try this recipe again, because the woodsy mushrooms and the earthy squash are an unbeatable combination.

Copy of IMG_0328

One year ago: Sugar Cookies (for decorating)

Printer Friendly Recipe
Pumpkin and Mushroom Soup (adapted quite a bit from Moosewood Restaurant Cooks at Home)

Serves 4

I kind of feel like this should be called “Squash and Mushroom Soup” because it seems like other types of squash are used more in savory recipes than pumpkin is. You can really use any type of squash you want, as long as it has a similar texture. The same goes for the fresh mushrooms – I used maitake, but cremini, shiitake, button, whatever, they all work.

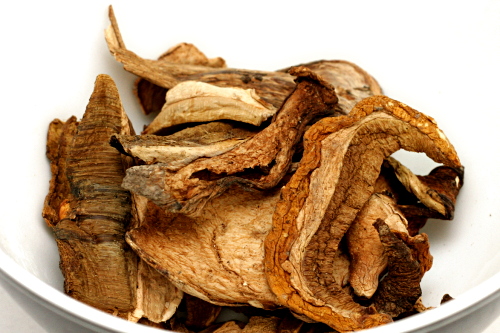
½ ounce dried porcini mushrooms, rinsed
water
2 tablespoons olive oil
1 medium onion, diced
salt and ground black pepper
1 small pie pumpkin, peeled and diced
12 ounces mushrooms, cut into bite-sized pieces
2 cloves garlic, minced
1/2 teaspoon thyme leaves
1 teaspoon sage leaves, minced
pinch nutmeg
¼ cup Marsala or dry sherry
2 cups chicken or vegetable broth
½ cup cooked pureed pumpkin (like the stuff from a can)

1. Place the dried mushrooms in a small saucepan and add enough water to cover. Bring to a boil over medium-high heat, then immediately turn off the heat. Set aside.

2. Heat the oil in a large saucepan or Dutch oven (not nonstick) over medium heat. Add the onions and a pinch of salt and cook, stirring occasionally, until just beginning to brown at the edges, about 8 minutes. Add the squash, mushrooms, ½ teaspoon salt and ¼ teaspoon ground black pepper and continue cooking and occasionally stirring until the mushrooms release their liquid, it evaporates, and the vegetables brown, about 15 minutes.

3. Meanwhile, use a fork to lift the rehydrated porcini mushrooms from the liquid and finely chop them. Save the liquid.

4. Add the porcini, garlic, herbs, and nutmeg and cook, stirring constantly, until fragrant, about 30 seconds. Pour in the wine and cook until it nearly evaporates, scraping the bottom of the pan to release the browned bits.

5. Add the broth, pumpkin, and mushroom soaking liquid (either strain it through a coffee filter or just be careful to leave the grit behind with a bit of liquid) and bring the soup to a simmer over medium heat. Adjust the seasonings and serve.

Copy of IMG_0335

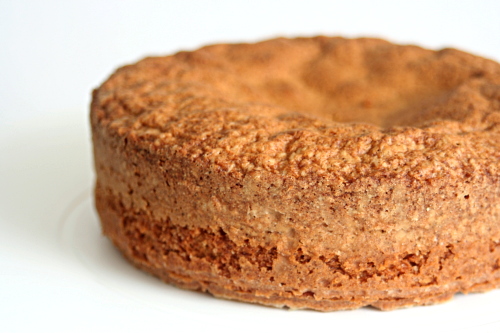
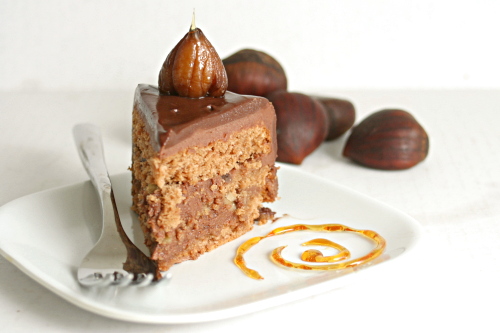
chocolate caramel chestnut cake

Copy of IMG_0807a

My dessert rich-o-meter has chocolate chip cookies right near the middle, with cheesecake at one end and, I don’t know, maybe angel food cake on the other. Although I almost never eat angel food cake. Regular layer cakes tend to be slightly on the less rich side of cookies, until you add frosting of course, and then I figure it’s about the same. So if you disregard the less-rich-than-cookies side of the richometer (pronounced with the stress on the second syllable, for maximum obnoxiousness), that means desserts just span from cookies – pretty darn bad for you – to cheesecake – just about 100% fat.

Copy of IMG_0789

The last few Tuesdays with Dorie recipes have definitely been on the cheesecake end of the spectrum. (Of course, nothing is as bad as the lemon cream tart and peanut butter torte, which are off the charts!) At first I thought this cake was similar to a basic cake, but then it has this chocolate-butter filling, and a chocolate-cream glaze, and two sticks of butter in the cake itself. Whoa doggie.

Copy of IMG_0793

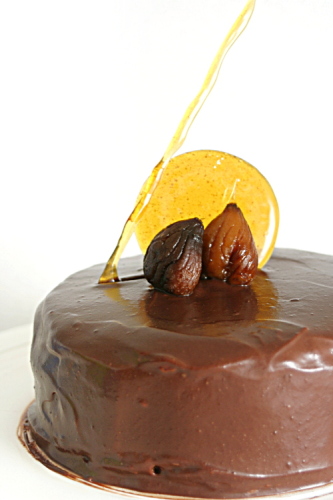
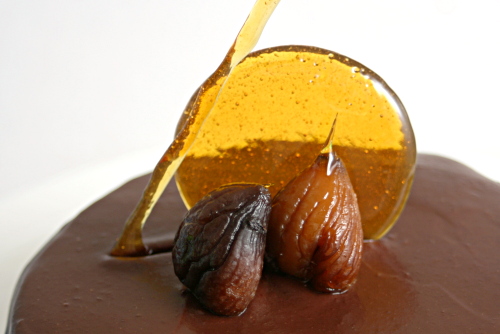
So we have leetle leetle servings, one quarter of the size Dorie recommends. This isn’t my favorite type of cake – I tend to like more classic flavors and textures – but it’s certainly good, with the earthy chestnuts and bittersweet chocolate. Dorie expounds on the virtues of the ganache filling, made by melting chocolate with hot caramel instead of hot cream, and I agree that it lends some extra complexity to the cake.

Copy of IMG_0814

Katya has the full recipe posted. I substituted Nutella for the chestnut cream and decreased the butter in the cake by 2 tablespoons. I also found that refrigerating the ganache filling overnight seemed unnecessary, turning the spreadable mixture into a hard-as-butter (which it mostly is) chunk. I had to wait an hour or so to let it warm up before I could use it on the cake.

One year ago: Rugelach, one of my favorite Dorie Greenspan recipes ever

Copy of IMG_0800

sweet potato hash

Copy of IMG_0431

While I can be, shall we say, particular about preparation, I think keeping an open mind is so important when it comes to both ingredients and certain dishes.

Copy of IMG_0397

For example, stuffing. There’s nothing unpleasant about bread, seasonings, aromatics, and broth baked until the flavors are blended and the top is crispy. When people say they don’t like stuffing, I really think they just didn’t like the stuffing they had when they were young. They just need to try a different recipe (add bacon!) to enjoy it more.

Copy of IMG_0399

As far as ingredients that often inspire pickiness, sweet potatoes have a bad name. For a lot of people, one of the only ways they’ve seen sweet potatoes prepared is in that sugary, marshmallow-topped weirdness at Thanksgiving. Hey! Let’s take something already sweet, cook it in sugar, top it with more sugar, and serve it with dinner! Blech.

Copy of IMG_0413

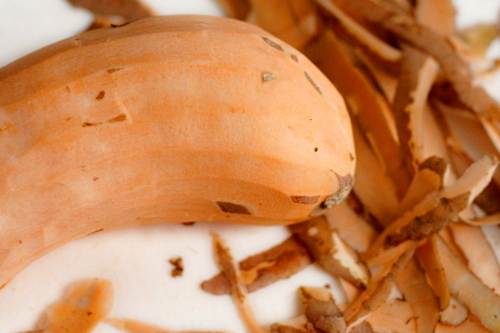
Because I don’t like those sweet potatoes and wasn’t exposed to them prepared other ways, I always assumed I didn’t like sweet potatoes at all. But now I know better! I like them quite a bit in more savory preparations.

Copy of IMG_0416

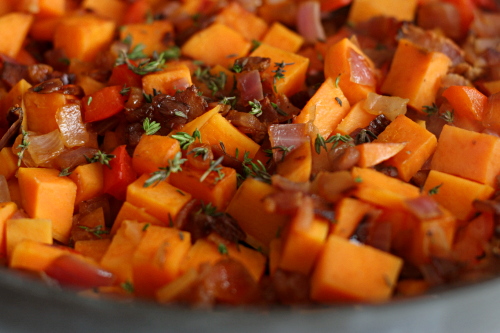
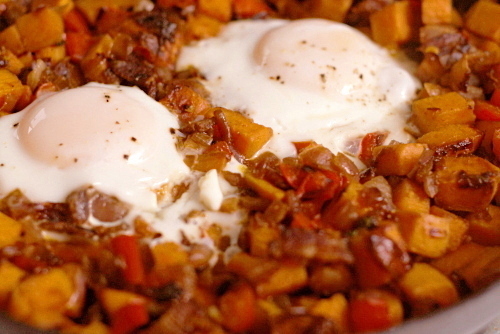
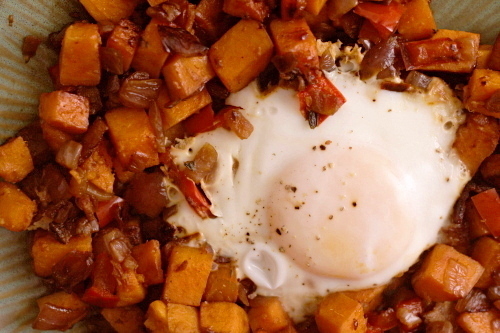
Take this dish. Salty bacon, flavorful slightly caramelized vegetables, and browned sweet potatoes. What is there not to like, especially when the whole thing is topped with an egg? It goes to prove that I could miss out on some great meals if I don’t remember that just because I don’t like an ingredient prepared one way doesn’t mean I won’t like it in other dishes.

Copy of IMG_0422

One year ago: Peter Reinhart’s Pizza Dough

Printer Friendly Recipe
Sweet-Potato Hash with Bacon (adapted from epicurious/Gourmet)

Serves 4

These are the same ingredients in the same proportions as the original recipe, but I’ve tweaked the preparation a bit because a number of reviewers complained that the original was too greasy. Adding eggs on top is also my addition, but Dave and I tried it with and without the eggs, and while it was good without, it was even better with.

½ pound sliced bacon, cut into ¼-inch strips
2 medium onions, chopped
1 large red bell pepper, cut into thin strips
salt and pepper
2 pound sweet potatoes, peeled and cut into ½-inch cubes
1 teaspoon chopped fresh thyme
4 eggs (optional)

1. Cook the bacon in a 12-inch nonstick skillet over medium heat until it renders some fat and begins to brown. Drain off all of the fat except for a thin coating on the pan, then add the onions, red pepper, ½ teaspoon salt, and ½ teaspoon pepper. Cook uncovered, stirring occasionally, until the vegetables are softened, 7-8 minutes.

2. Stir in the potatoes and ½ teaspoon salt. Cover the pan and cook, stirring occasionally, until the potatoes are tender and starting to brown, 10 to 14 minutes. Stir in the thyme and season to taste.

3. If you’re adding the eggs, create four indentions in the hash and break an egg into each. Season the eggs and cover the pan. Lower the heat to medium-low and cook without removing the lid for at least 6 minutes, when you can start testing for doneness. I like my eggs without any runniness at all in the white but with gooey yolks, and it takes around 8 minutes.

Copy of IMG_0432

sweet potato biscuits

Copy of IMG_0056

I love that not just one, but two of this month’s Tuesdays with Dorie recipes are non-desserts. I haven’t baked a TWD dessert in weeks! I’ve gone almost a month with choosing all of my own desserts!

Copy of IMG_0028

I don’t mean to complain; obviously I like being part of the group, or, well, I wouldn’t be. It’s just that I’m only baking for me and Dave, so if a dessert recipe makes 12 servings, that’s all we get for the week. That’s why I have a calculator in the kitchen and many many small oddly shaped pans. Fractions are my friend if I want to bake more than once per week.

Copy of IMG_0030

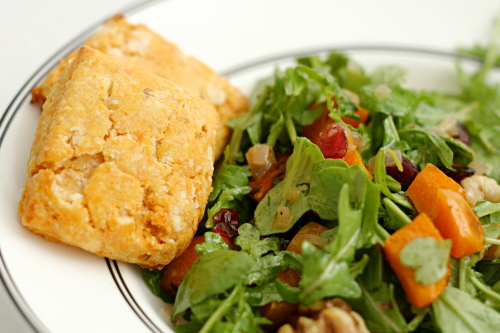
Getting to serve a TWD recipe with dinner is a rare treat. These sweet potato biscuits were a nice complement to the roasted butternut squash salad I made a few weeks ago.

Copy of IMG_0035

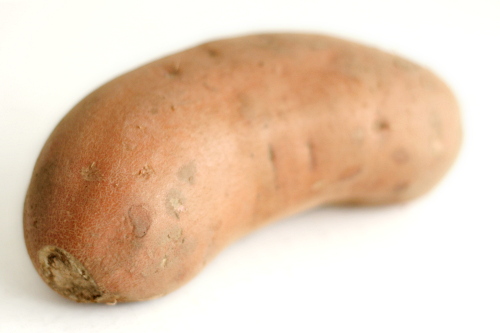
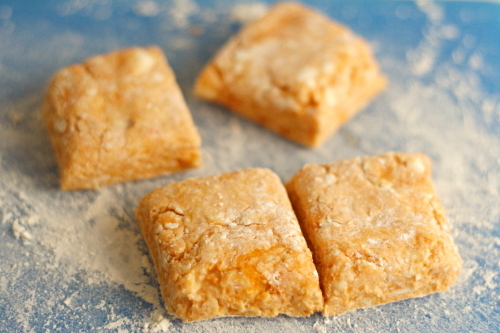
These biscuits are made the standard biscuit way – cut cold butter into flour+flavoring+leavening, then moisten the mixture, in this case with mashed sweet potatoes. It quickly became apparent that my sweet potatoes (bought fresh, then cooked and mashed) weren’t going to be able to turn the dry ingredients into biscuit dough, so I added some buttermilk, which helped.

Copy of IMG_0036

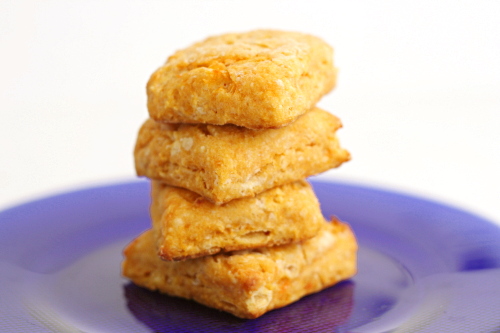
Except that something seems to have gone wrong, because my biscuits didn’t rise hardly at all. I liked the flavor quite a bit, but the texture was oh-so-dense. Still, this is the first sweet potato biscuit I’ve tried, and I quite like the idea. I’ll need to play with some more recipes.

Copy of IMG_0068

Erin chose this recipe for TWD, and she has it posted.

One year ago: Pumpkin Muffins

Copy of IMG_0058