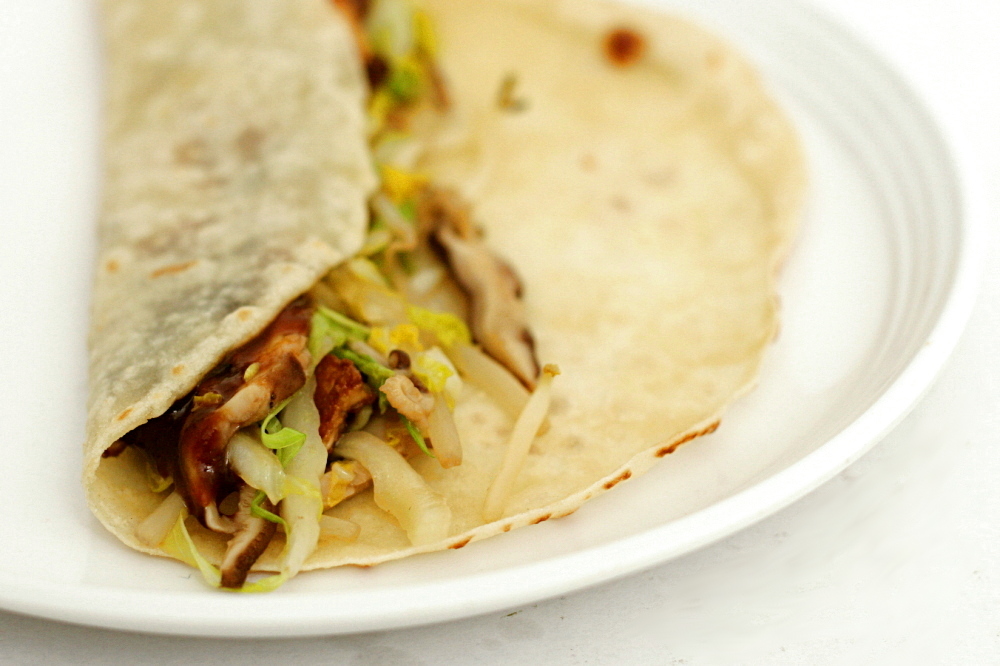
sun-dried tomato jam

Copy of IMG_0278

Crusty bread, cheese, cured sausage, fruit. It’s a seriously underestimated meal. Yes, a meal. Not a particularly healthy one, I admit, but it does cover all of the nutritional bases, as long as you make an extra effort to eat a lot of the fruit. It doesn’t hurt to use 100% whole wheat bread either.

Copy of IMG_0255

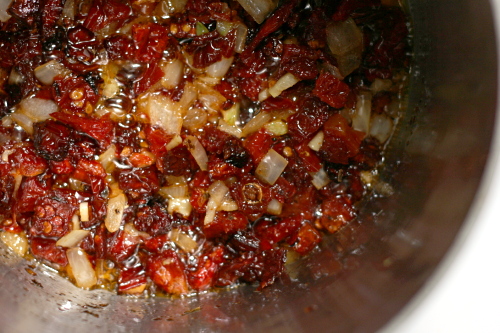
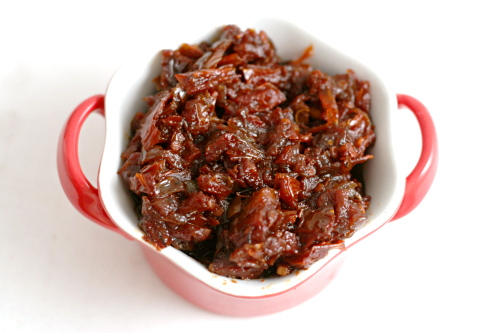
And if you add a bit of tomato jam, you’ve just given yourself one more healthy-ish vegetably option. (“Healthy-ish” and “vegetably” really is how I think about nutrition. It seems to sorta kinda work.) The jam is just sautéed and then stewed vegetables.

Copy of IMG_0266

The result is a perfect counterpart for creamy or sharp or tangy cheese (or one of each!), salty salami, and fresh berries or grapes. The jam is both sweet and savory, fantastic spread on a slice of baguette by itself or combined with cheese. Definitely a great addition to one of my favorite somewhat indulgent meals.  Or maybe you’re a normal person and would serve this as an appetizer?  I guess that would work too.

Copy of IMG_0288

Printer Friendly Recipe
Sun-dried Tomato Jam
(adapted from Everyday Italian via Confections of a Foodie Bride)

The original recipe is for crostini with goat cheese, but I thought the jam was a great addition to a cheese plate on its own.

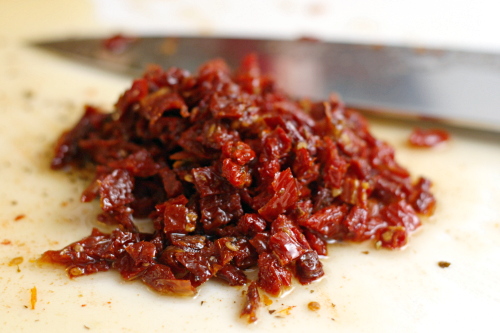
If you can find pre-sliced dried tomatoes, your life will be much easier.  Chopping greasy, slippery tomatoes is the hardest part of this recipe.

Makes about 1½ cups

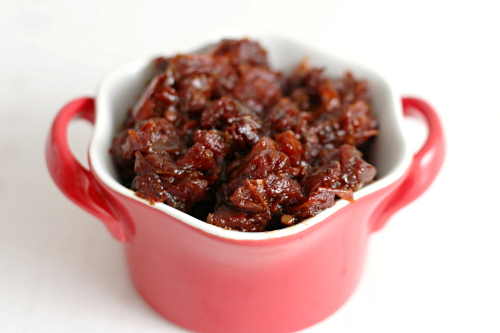
8oz jar sun-dried tomatoes packed in oil, drained and chopped, oil reserved
1 tablespoon olive oil
½ onion, thinly sliced
1 clove garlic, minced
2 tablespoon sugar
¼ cup red wine vinegar
1 cup water
½ cup chicken broth
1 teaspoon chopped fresh thyme leaves
½ teaspoon salt
½ teaspoon freshly ground black pepper

1. Place a medium saucepan over medium heat. Add the chopped sun-dried tomatoes, 1 tablespoon of the reserved sun-dried tomato oil, olive oil, onion, and garlic. Stir and cook until the onions are soft and beginning to brown at the edges, about 5 to 7 minutes.

2. Add the sugar, vinegar, water, chicken broth, thyme, salt, and pepper. Bring the liquid to a boil, reduce the heat, and simmer, covered, for 30 minutes. Remove the cover and continue simmering until most of the liquid is reduced and the mixture is the consistency of jam, about 5 to 10 more minutes. Remove from the heat, let cool slightly, and serve.
Copy of IMG_0280

brown rice with black beans

Copy of IMG_0357

Of all the whole grains, brown rice has been the hardest for me to accept. I realize now that I’d been cooking it wrong for years. I just couldn’t seem to cook it through all the way, and I tried a bunch of different recipes, but it was always crunchy.

Copy of IMG_0345

Then sometime last year, Cooks Illustrated sent me a recipe to test for them for brown rice with andouille, and not only does it have andouille, which, come on, andouille, delicious, but at the time I was religiously making every recipe they sent for me to test. (It got to the point where I’d get the magazines and I’d already have made half the recipes. I’ve since slacked off.) So I only made the recipe because I felt like I had to, plus of course the andouille. But it was fantastic, just so, so good. It was a revelation for me, because it was the first brown rice I’d made that was not just edible, but delicious.

Copy of IMG_0344

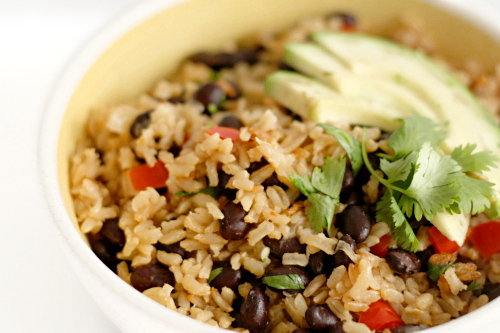
But that isn’t the recipe I’m telling you about today. Ha! When the magazine issue came out, it had a few other variations, and one is just perfect for me. Brown rice, black beans and a bunch of aromatics, how healthy and tasty does that sound?

Copy of IMG_0347

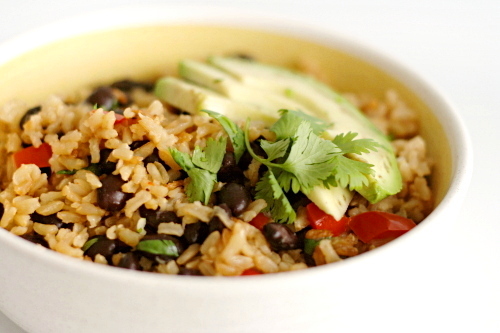
The first time I made it, I followed the directions fairly closely, just adding the scraped-off kernels of one cob of corn at the end of cooking. That was a great addition, especially visually. Corn isn’t in season anymore, so I skipped it this next time. I doubled the black beans the second time, because you can never go wrong with more black beans. I also added an avocado and wow! I mean, it goes without saying that avocado improves almost anything, but it was particularly complimentary with this.

Copy of IMG_0354

If you’ve ever had doubts about brown rice, this recipe will make a believer out of you. And if you’re already a convert, this dish will be a great addition to your repertoire.

Copy of IMG_0355

One year ago: Sushi Bowls

Printer Friendly Recipe
Brown Rice with Black Beans and Cilantro
(from Cooks Illustrated)

I like to double the black beans. Corn, either cut off of the cob or 1 cup frozen and defrosted, is a good addition stirred in with the black beans. One diced avocado is delicious added with the cilantro. I used red pepper, because I like them better than green.

Serves 4 to 6

4 teaspoons olive oil
1 medium onion, chopped fine (about 1 cup)
1 green bell pepper, chopped fine
3 garlic cloves, minced
1 cup low-sodium chicken broth
2¼ cups water
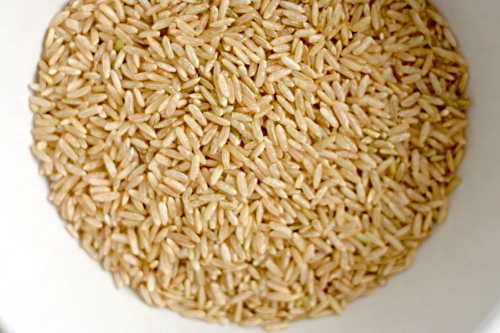
1½ cups brown rice, long-grain
1 teaspoon salt
1 (15.5-ounce) can black beans, drained and rinsed
¼ cup chopped fresh cilantro leaves
¼ teaspoon ground black pepper
1 lime, cut into wedges

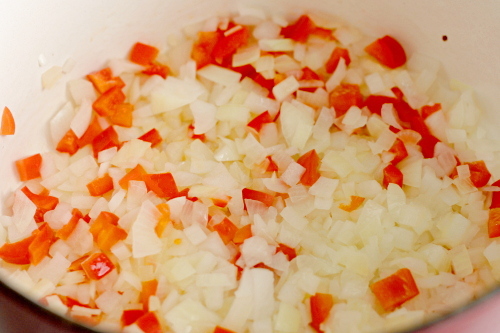
1. Adjust oven rack to middle position; heat oven to 375 degrees. Heat oil in large Dutch oven over medium heat until shimmering. Add onion and pepper and cook, stirring occasionally, until well browned, 12 to 14 minutes. Stir in garlic and cook until fragrant, 30 seconds.

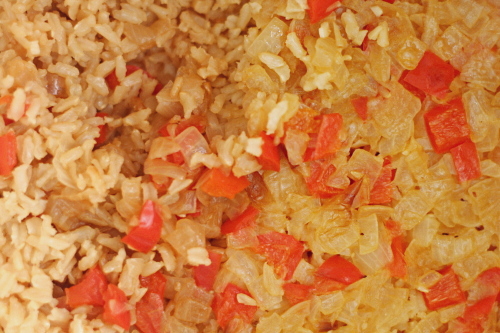
2. Add broth and water; cover and bring to boil. Remove pot from heat; stir in rice and salt. Cover and bake rice until tender, 65 to 70 minutes.

3. Remove pot from oven, uncover, fluff rice with fork, stir in beans, and replace lid; let stand 5 minutes. Stir in cilantro and black pepper. Serve, passing lime wedges separately.

white bean avocado sandwich

Copy of IMG_8653

I believe that people are what they think they are, which is just a less fancy way of saying that you can do just about anything you think you can do. I remember in high school, I consistently got an 89% in my classes, and I always wondered why I hadn’t worked just a bit harder to get an A. But I knew myself as a B+ student, so I worked just hard enough to get a B+.

Copy of IMG_8622

Early on in college, more by luck than design, I got straight A’s one semester. And then I knew I could do it – from then on, I was a pretty solid A student.

Copy of IMG_8627

Lately I’ve been thinking of myself as an indulgent eater. I see so many people on strict diets – raw food, clean food, low carb, vegan. I don’t, and never plan to, follow any of these eating philosophies. I eat refined flours and sugars, red meat and full-fat cheeses, butter and alcohol. When I compared myself to these people, I felt lax in my eating habits. And once I started believing I ate poorly, my eating habits did, indeed, decline.

Copy of IMG_8634

But the truth is, more of the time, I eat very healthfully. All of those treats above? You’ve heard it before – moderation. Most of my snacks are fresh fruit and vegetables. My tiny daily bagel is 100% whole grain. We rarely eat meat on weekdays, and I don’t drink alcohol on weekdays. I do eat dessert every single day, but we’re talking one, maybe two, small cookies.

Copy of IMG_8638

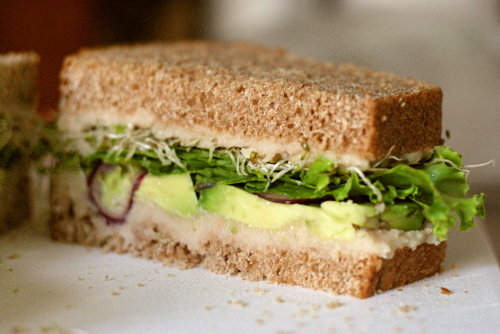
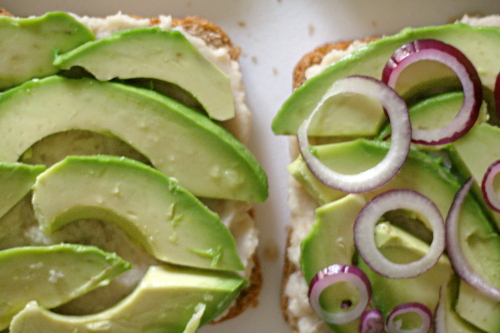
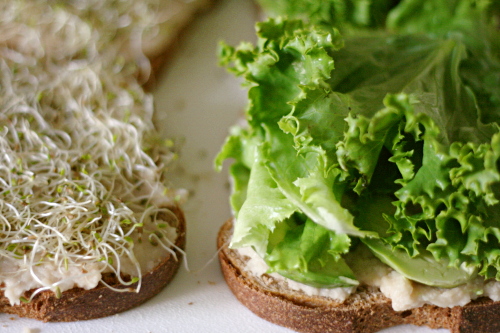
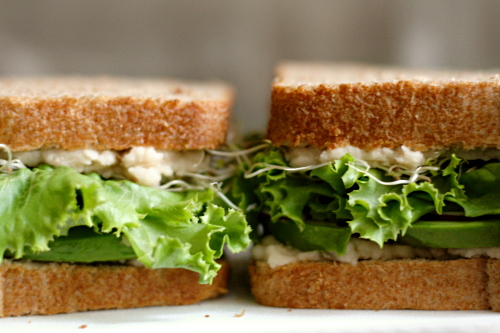
I need to remember that I do follow a good diet regularly, so that making healthy choices is easier. This sandwich, introduced to me by the same friend whose recipes for pumpkin muffins and peanut dip I love, is a perfect example of how I like to eat. Whole grains, beans, and lots of vegetables. It’s easy, filling, portable, and most importantly – delicious.

Copy of IMG_8641

One year ago: Green Chile Rellenos

Printer Friendly Recipe
White Bean Avocado Sandwich

Serves 4

I’ve tried mushing the beans up with a potato masher, but I really do prefer the creamy smooth texture a food processor provides. Also, one thing I’ve learned after making this a few times is to overseason the beans. The seasonings in the beans are flavoring the entire sandwich, so add the lemon juice, salt, and pepper until just past how you’d normally prefer them. Because I’m apparently salt-crazy, I also give the avocado slices a light sprinkling of salt, as well as squeeze some more lemon juice over them.

1 (15-ounce) can white beans, drained and rinsed
1 lemon
salt and pepper
8 slices hearty whole-grain sandwich bread
1 avocado, quartered, peeled, and sliced thin
a few leaves of leaf lettuce, torn into sandwich-sized pieces
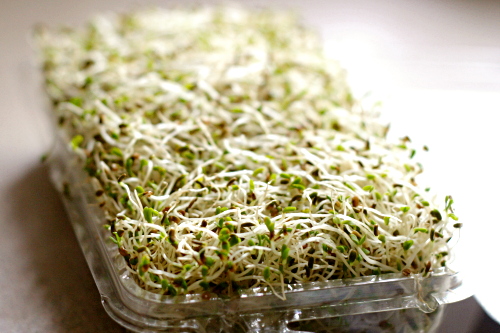
some alfalfa sprouts
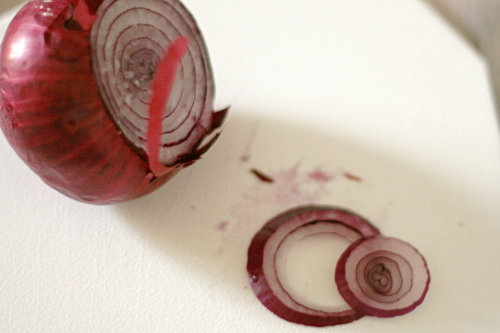
a bit of red onion, sliced thin

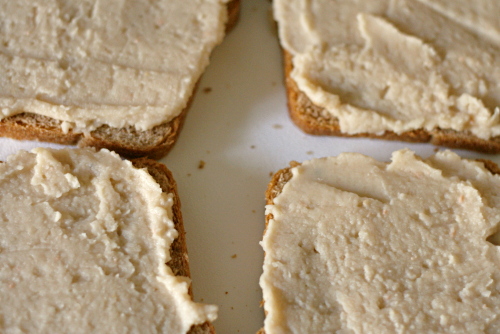
1. In a food processor, puree the beans until they’re completely smooth. Season with lemon juice, salt and pepper to taste (see note).  I took notes on about how much of everything to add and then lost them, but I think a reasonable place to start is 2 tablespoons lemon juice, ¼ teaspoon salt, and ⅛ teaspoon pepper.

2. Thickly spread one side of each piece of bread with the bean mixture. Top four of the bread slices with slices of avocado, a bit of onion, and plenty of lettuce. Press some sprouts into the bean mixture on the other four slices of bread. Place the sprout-bread, spout side down (duh) on the other-stuff-bread, slice the sandwich in half if you want, and enjoy.

Copy of IMG_8649

applesauce snack cake

Copy of IMG_0023

You must make this cake.

I try not to say that. I know everyone has their own preferences. Not everyone likes to bake. There is no shortage of apple cake recipes. But –

You must make this cake.

Copy of IMG_0002

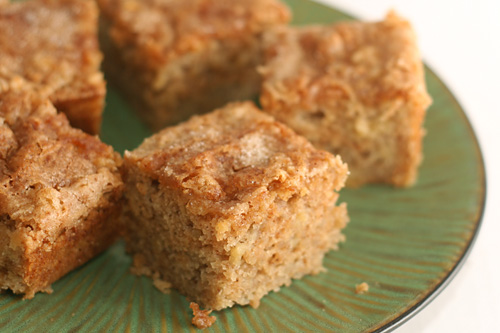
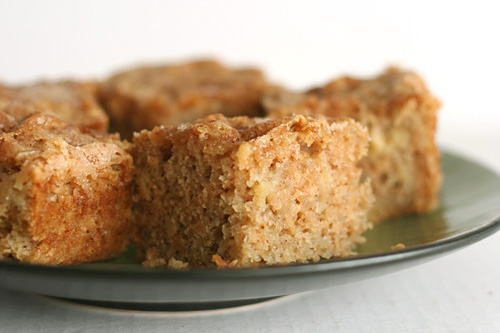
It’s the essence of fall, all in one small unassuming square of cake. It will make your house smell warm and cozy while you bake. The flavor is spot-on apple, and yet there are no chunks of fruit to break up the smooth cake. The texture is soft and moist, with just the thinnest crisp sugar coating on top.

Copy of IMG_0015

Of course, this perfection comes at a price.

The fantastic smell of fall permeating your kitchen comes from reducing apple cider, which takes some time. Getting the chunk-free texture I appreciate so much requires a quick whiz in the food processor, dirtying several large dishwasher-hogging dishes.

Copy of IMG_0007

But, oh, it’s worth it. It’s worth it. Really, while the cider is reducing and hydrating the dried apples, you can prepare the baking pan, measure the rest of the ingredients, and clean up after yourself as you go. Then don’t bother waiting for the hot rehydrated apples to come to room temperature like the recipe hopes you will – mix them with cold-from-the-fridge applesauce and puree them together in the food processor. From that point, the recipe is a simple quick bread, mixing the wet ingredients, then stirring in the dry ingredients and baking.

Copy of IMG_0016

From getting out ingredients to putting the cake in the oven really took maybe 45 minutes. From cutting the cake to eating the cake – darn blog requiring pictures! – took maybe 10 minutes, and it was the longest 10 minutes of my day.

You must make this cake. Seriously.

Copy of IMG_0020

Printer Friendly Recipe
Applesauce Snack Cake
(from Cooks Illustrated)

Makes one 8-inch square cake

I never do Cooks Illustrated’s trick of lining the pan with parchment or foil; it just seems really wasteful to me, and this cake came out of the pan with no problem.

Start the cider and apples simmering before you do anything else. It seems to take longer than 15 minutes for me, so you may want to bump the heat up to just higher than medium (or use a wide pot). And like I said above, I see no reason to wait for the cider mixture to cool and the applesauce (assuming that it’s cold) to warm to room temperature, when you can just combine them and move on with the recipe.

¾ cup (2 ounces), dried apples, cut into ½-inch pieces
1 cup apple cider
1½ cups (7½ ounces) unbleached all-purpose flour
1 teaspoon baking soda
⅔ cup (4¾ ounces) sugar
½ teaspoon ground cinnamon
¼ teaspoon fresh ground nutmeg
⅛ teaspoon ground cloves
1 cup unsweetened applesauce, room temperature
1 large egg, room temperature, lightly beaten
½ teaspoon table salt
8 tablespoons (1 stick) unsalted butter, melted and cooled slightly
1 teaspoon vanilla extract

1. Adjust oven rack to middle position; hear oven to 325 degrees. Cut 16-inch length parchment paper or aluminum foil and fold lengthwise to 7-inch width. Spray 8-inch square baking dish with nonstick spray and fit parchment into dish, pushing it into corners and up sides; allow excess to overhang edges of dish.

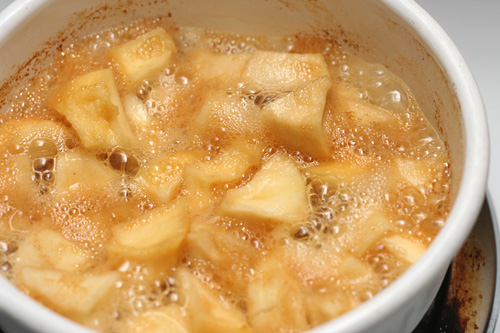
2. Bring dried apples and cider to simmer in small saucepan over medium heat; cook until liquid evaporates and mixture appears dry, about 15 minutes. Cool to room temperature.

3. Meanwhile, whisk flour and baking soda in medium bowl to combine; set aside. In second medium bowl, whisk sugar, cinnamon, nutmeg, and cloves. Measure 2 tablespoons sugar-spice mixture into small bowl and set aside for topping.

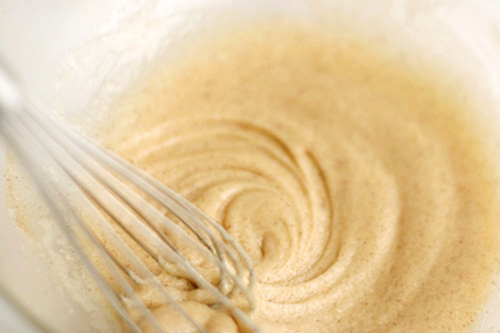
4. In food processor, process cooled dried-apple mixture and applesauce until smooth, 20 to 30 seconds, scraping sides of bowl as needed; set aside. Whisk egg and salt in large bowl to combine. Add sugar-spice mixture and whisk continuously until well combined and light colored, about 20 seconds. Add butter in three additions, whisking after each. Add applesauce mixture and vanilla and whisk to combine. Add flour mixture to wet ingredients; using rubber spatula, fold gently until just combined and even moistened.

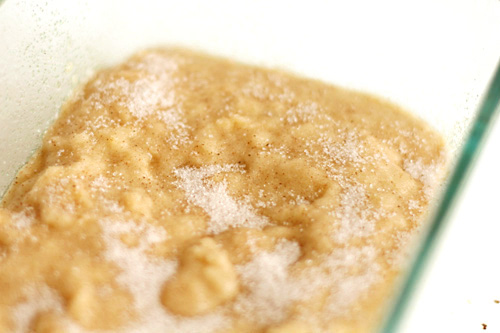
5. Turn batter into prepared pan, smoothing top with rubber spatula. Sprinkle reserved 2 tablespoons sugar-spice mixture evenly over batter. Bake until wooden skewer inserted in center of cake comes out clean, 35 to 40 minutes. Cool on wire rack to room temperature, about 2 hours. Run knife along cake edges without parchment to release. Remove cake pan by lifting parchment overhand and transfer to cutting board. Cut cake and serve.

Copy of IMG_0021

bran muffins

Copy of IMG_7107

Everything I eat is evaluated based on its ratio of nutrition to flavor. That sounds tedious but it isn’t. It’s really just answering one simple question that I think most of us ask before we dig in: Is it worth it?

Copy of IMG_7017

For example, macaroni and cheese: very indulgent, but also very delicious. Definitely worth it, at least once in a while.

Copy of IMG_7022

Raw carrots? Very healthy, but, eh, not my favorite thing to eat. I tend to ignore them unless there’s nothing else. But add some hummus, and you’ve increased the flavor significantly without decreasing the nutrition drastically, and hey, I’ll eat that.

Copy of IMG_7100

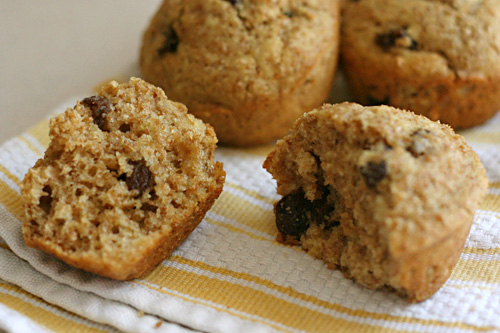
Sometimes I forget that something can be both ridiculously good for you and ridiculously good. And something like these muffins comes along, perfect in every way, both taste and health, and I’m oh-so-pleasantly reminded. Nutrition to flavor ratio? Off the charts.

Copy of IMG_7104

One year ago: Pain Ordinaire

Printer Friendly Recipe
Moist Bran Muffins
(from the King Arthur Flour’s Whole Grain Baking)

Makes about 18

Note that this is a two-day process, as the dough needs to set overnight before baking. Fortunately, at that point it can actually wait in the refrigerator for several days.

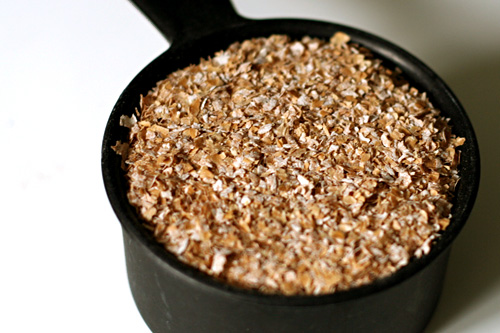
I’ve used both raisins and dried cranberries in these, and both are good. Of course most any dried fruit would work. I’ve also used clementine juice instead of orange juice, and that worked just fine.

¾ cup boiling water
1¼ cups unprocessed wheat bran, divided
¾ cup dried fruit, chopped if large raisins
¾ cup packed light or dark brown sugar
¼ cup vegetable oil
2½ cups whole wheat flour, traditional or white whole wheat
1 teaspoon baking soda
½ teaspoon baking powder
1 teaspoon salt
1 large egg
¾ cup buttermilk
½ cup orange juice

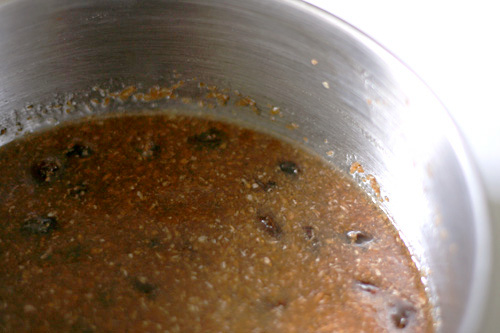
1. Pour boiling water over ¾ cup of the bran cereal in a small mixing bowl. Add the raisins, brown sugar and oil. While the bran mixture cools, blend together the flour, baking soda, baking powder, and salt in a large mixing bowl.

2. Beat the egg with the buttermilk and orange juice in a large measuring cup. Add this mixture to the dry ingredients. Stir in remaining ½ cup bran cereal, and then the bran-raisin mixture. Cover the bowl and refrigerate overnight.

3. The next day, preheat the oven to 375 degrees. Lightly grease a muffin tin. Fill each cup two-thirds full. Bake the muffin until a tester comes out clean, about 23 to 26 minutes.

4. Remove from oven and allow to cool in pan for 5 minutes, then turn out onto a rack to finish cooling, or serve warm.

Copy of IMG_7111

green chile huevos rancheros

Copy of IMG_7337

Do you have a food you love from your hometown that you can’t get anymore? For New Mexicans, that food will always be Hatch green chile. It’s ubiquitous in New Mexico, and you won’t just find it in enchiladas and chile rellenos and the like, but in more unexpected places, like eggs and burgers and pizza. New Mexicans are addicted.

Copy of IMG_7321

So what is a displaced New Mexican to do? Decent green chile simply isn’t available everywhere – the 4-ounce cans of chile that most stores do carry are, sadly, largely devoid of flavor. No, the only way to get good Hatch chile outside of the state it’s grown in is to know someone kind enough to send it to you.

Copy of IMG_7327

So every year during chile season (approximately right now), my mom sends me and my brother each a big box of fresh green chiles. She packs the chiles with newspaper to soak up moisture so they don’t rot (learned that the hard way), pokes holes in the boxes, and sends it 2-day mail. And once we have the chiles, they have to be roasted, peeled, and seeded. The whole process isn’t easy or cheap.

This year, Dave and I have decided that to skip the hassle, we’ll move to New Mexico.

Copy of IMG_7324

Well, no, that isn’t why we’re moving. Really, it just worked out with our job situation. But green chiles (and easier access to some squeezy nephew cheeks that are also in New Mexico) is definitely icing on the cake.

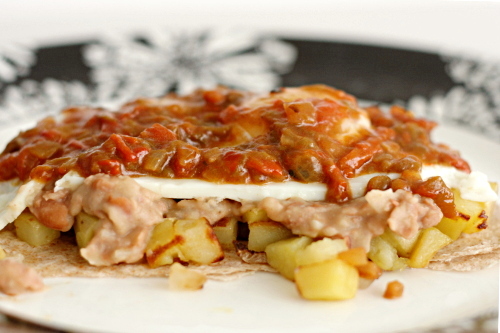
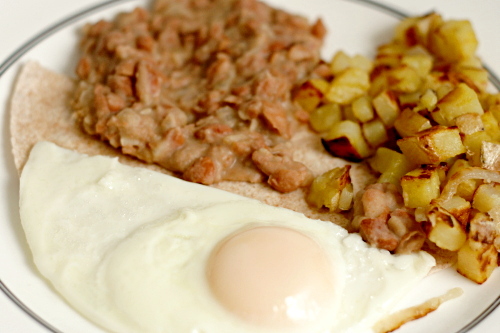
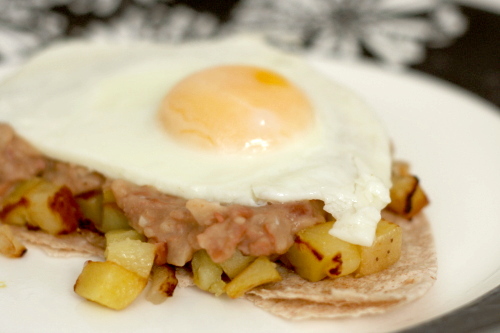
Green chile huevos rancheros is my favorite way to eat green chiles, as well as probably my favorite breakfast. The way I like it, there’s a flour tortilla base, then beans, eggs (over-medium for me) and home fries on the tortilla, all topped by green chile sauce. Definitely a meal worth moving across the country for.

Copy of IMG_7336

One year ago: Dimply Plum Cake

Printer Friendly Recipe
Green Chile Huevos Rancheros

4 servings

If you already have favorite recipes for home fries, pinto beans, and eggs, by all means, use them.

Green chile sauce:
1 tablespoon olive oil
¼ medium onion, chopped
1 garlic clove, minced
½ tablespoon flour
½ cup chicken broth
4 ounces green chile, diced
pinch sugar
1 tablespoon chopped tomatoes (or tomato juice or sauce)
salt

In a medium saucepan, heat the oil over medium heat. Add the onion and cook, stirring occasionally, until it’s just browned around the edges. Add the garlic and stir constantly for about 30 seconds, until fragrant. Mix in the flour, and continue to stir, for about one minute. Slowly add the broth, still stirring, then the chile, tomatoes, sugar and salt. Bring to a simmer, then adjust the heat to low, cover, and let cook for 10-15 minutes, stirring occasionally. (If your sauce is thinner than you like, remove the lid while it simmers.) Taste and adjust the seasonings, if necessary.

Home fries:
1 tablespoon olive oil
¼ medium onion, thinly sliced
16 ounces Yukon gold potato, diced into ¼ inch cubes
½ teaspoon salt (kosher)

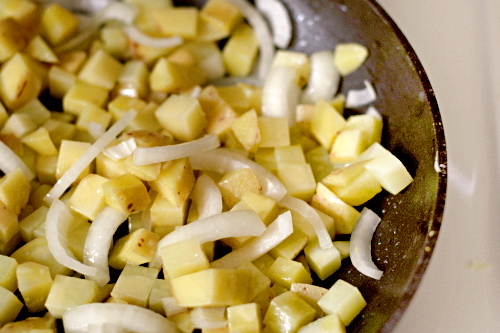
Heat the oil in a nonstick pan over medium heat. (You can use a traditional skillet if you heat it well before adding the oil.) Add the potatoes, onions, and salt, and cover the pan. Cook over medium heat until the potatoes are tender and lightly browned, about 10 minutes, stirring occasionally. Remove the cover and cook until the onions and potatoes are cooked through and nicely browned, another 5-10 minutes. Adjust the seasonings if necessary.

Refried beans:
1 (15 ounce) can pinto beans, drained and rinsed
½ cup chicken broth
1 tablespoon olive oil
¼ medium onion, minced
1 garlic clove, minced
1 teaspoon cumin
¼ teaspoon salt

Heat the oil over medium heat in a medium nonstick saucepan or skillet. Add the onions and cook until the edges start to brown. Meanwhile, using a potato masher, mash the beans until they’re mostly broken up. It’s fine if there are still some whole beans. (If you prefer your beans completely smooth, puree them in a food processor.) Stir the chicken broth into the beans. Add the garlic and cumin to the onions in the pan, and cook, stirring constantly, until fragrant, about 30 seconds. Add the bean mixture and salt and bring to a simmer. Lower the heat to low to medium-low to maintain a bare simmer, and cook the beans until they’re your desired consistency, stirring often. It should only take a few minutes. Adjust the seasonings to taste. If they’re ready before everything else, just cover them.

Eggs:
1 teaspoon oil
4 eggs
salt

Heat the oil in a medium nonstick skillet over medium-low heat. Crack each egg into a small dish. Carefully transfer the eggs to the skillet, then sprinkle them with salt. Add 2 tablespoons water and raise the heat to medium-high. Once the water simmers, cover the pan and lower the heat back to medium-low. Cook for about 3-6 minutes for over-medium eggs. Remove the lid and let the water evaporate.

Assembly:
Place a warmed 6-inch flour tortilla on each of four plates. Top each tortilla with one egg, a quarter of the beans, and a quarter of the potatoes. Divide the sauce evenly between each plate. (Alternatively, layer a tortilla, then beans, potatoes, an egg, and the sauce.)

Copy of IMG_7333

pasta with no-cook tomato sauce and fresh mozzarella

Copy of IMG_8005

I know I’ve been harping on my love of summer lately, and I did the same thing last year. Honestly, while summer is undoubtedly my favorite season, fall is a not-too-distant second, and really, there are aspects I like about every season. But summer doesn’t just have sunlight and warmth and lightning bugs and beach trips and fireworks and…well, all of those other things I love, but very importantly, it has tomatoes.

Copy of IMG_7989

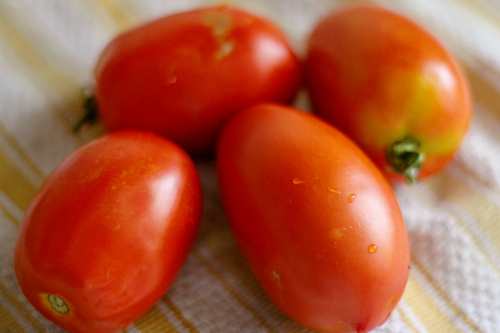
I love fresh summer tomatoes so much that, other than the very occasional container of cherry tomatoes, I don’t bother buying fresh tomatoes any other time of the year. Why set myself up for disappointment? Why bother with those dry, mealy, flavorless winter tomatoes? I’d rather just wait for the real thing.

Copy of IMG_7995

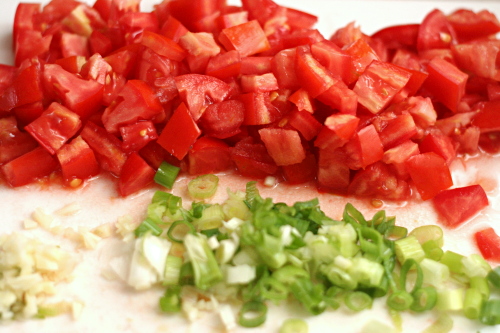
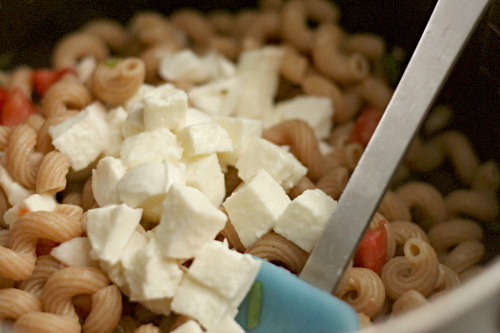
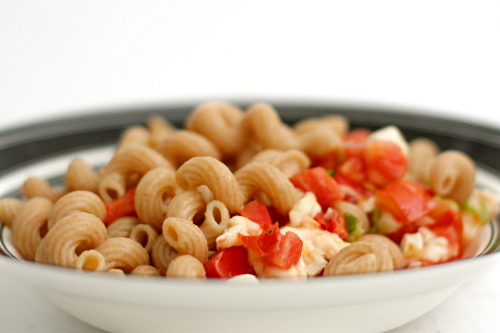
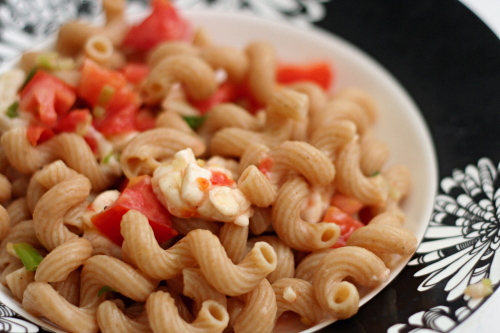
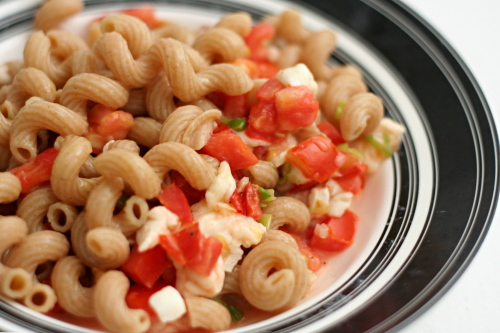
And then – then I go crazy. Gazpacho, BLTs, maybe a potato tomato tart, and this pasta. Oh this pasta. It’s a perfect meal. Super simple, it can be made in the time it takes to boil the noodles. The sauce, uncooked, retains the brightness of tomatoes at their peak, accented with smooth fresh mozzarella, tangy green onions, and fruity extra virgin olive oil.

Copy of IMG_7999

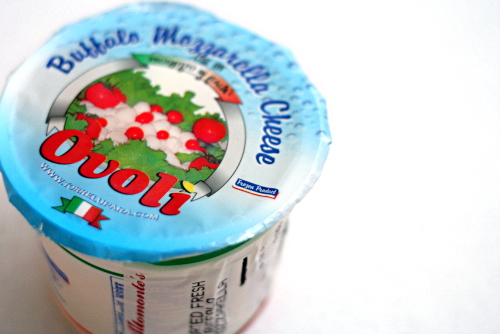
With almost no cooking and so few ingredients, you need to make sure you’re using the best ingredients you can get. Summer tomatoes, of course. Use whatever your favorite mozzarella is – this time I used buffalo mozzarella, but I’ve also tried the little balls my grocery sells in its olive bar, as well as the shrink-wrapped balls that I’m guessing are more widely available. Also, be careful of your garlic – I once made this (for a large group, no less) with some incredibly strong garlic, and it really ruined the whole dish. I recommend toasting the unpeeled cloves, either in a dry skillet or in the oven if it’s already on.

Copy of IMG_8001

Fall is closing in fast (pumpkin and cider and football and colorful trees and crisp air!) but there’s still time! We still have at least a month of wonderful tomatoes left! What are your favorite ways to use them?

Copy of IMG_8006

One year ago: Blueberry Sour Cream Ice Cream

Pasta with No-Cook Tomato Sauce and Fresh Mozzarella (from Cooks Illustrated)

This is the recipe directly from Cooks Illustrated. I do make a few small changes. First, I don’t seed the tomatoes, which does make the pasta a little wetter, but I just can’t throw away so much precious summer tomato flavor. I also use less oil, because, you know, fat and all that. And sometimes I reduce the amount of pasta.

Also, you’ll probably want to warm your serving bowl for this recipe.  I usually put the bowl in the oven, turn the oven on to warm for a few minutes, then turn the oven off, leaving the bowl in there until I’m ready for it.

salt
1 pound pasta (a short, curly type is best)
1½ pounds ripe tomatoes, cored, seeded, and cut into ½-inch dice
¼ cup extra virgin olive oil
1 medium garlic clove, minced or pressed through a garlic press
3 medium scallions, sliced thin
ground black pepper
8 ounces fresh mozzarella cheese, cut into ½-inch cubes

1. Bring 4 quarts water to a rolling boil in a large pot. Add 1 tablespoon salt and the pasta to the boiling water, stir to separate the noodles, and cook until al dente. Drain and return the pasta to the pot.

2. While the pasta is cooking, prepare the sauce. Combine the tomatoes, oil, garlic, scallions, ½ teaspoon salt, and ¼ teaspoon pepper in a medium bowl. Add the tomato mixture and mozzarella to the pasta in the pot and toss to combine. Adjust the seasonings with salt and pepper to taste and serve immediately.

Copy of IMG_8002

farmer’s market salad with spiced goat cheese rounds

Copy of IMG_7094

This is a bit of a misnomer for me, as I haven’t found a convenient farmers market since we moved to Pennsylvania last January. We drove half an hour to one last year and bought some nice eggs, but it didn’t have much in the way of produce. I hear there’s another, 30 minutes in the opposite direction, but honestly, my grocery store sells local produce and I’m lazy.

Copy of IMG_6535

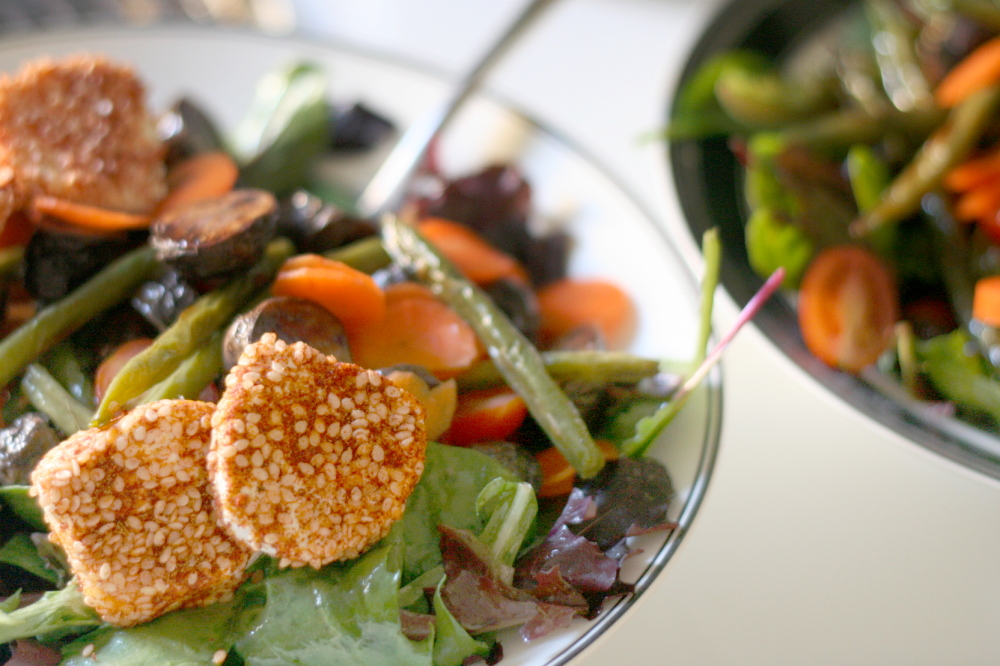
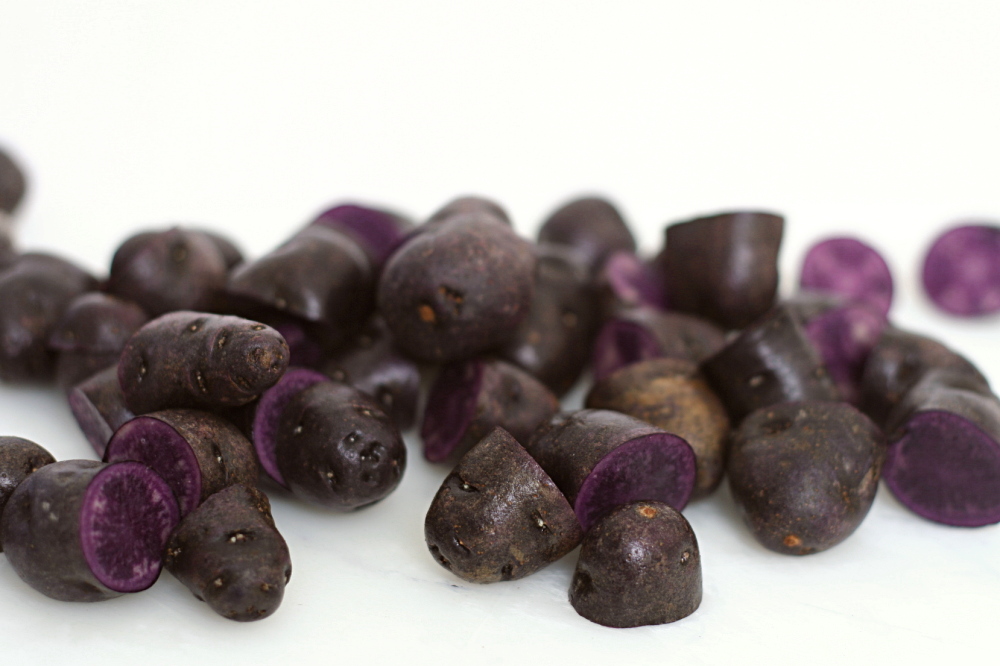
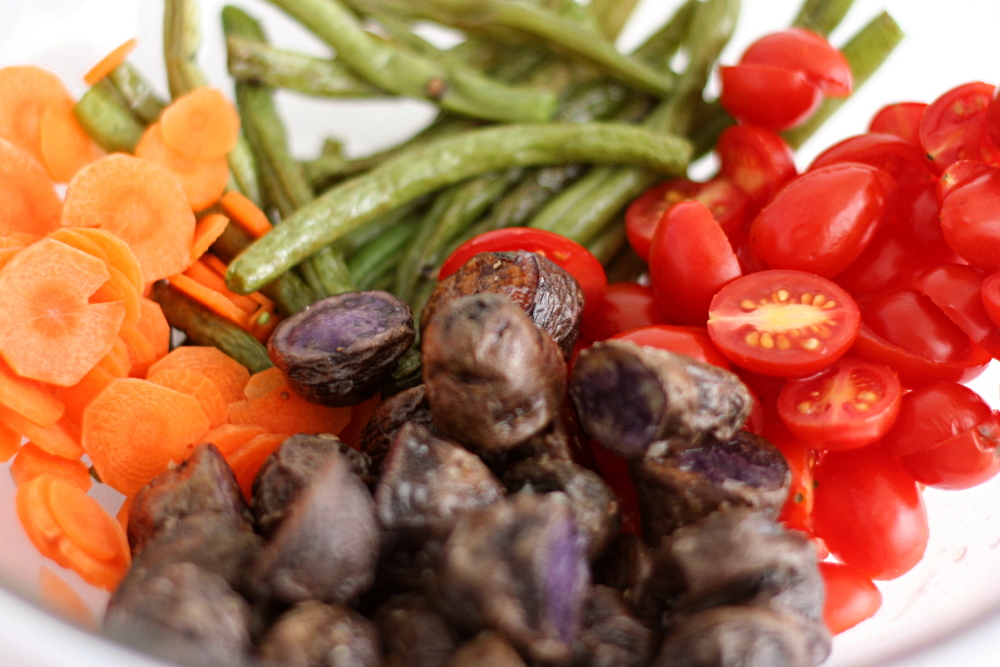
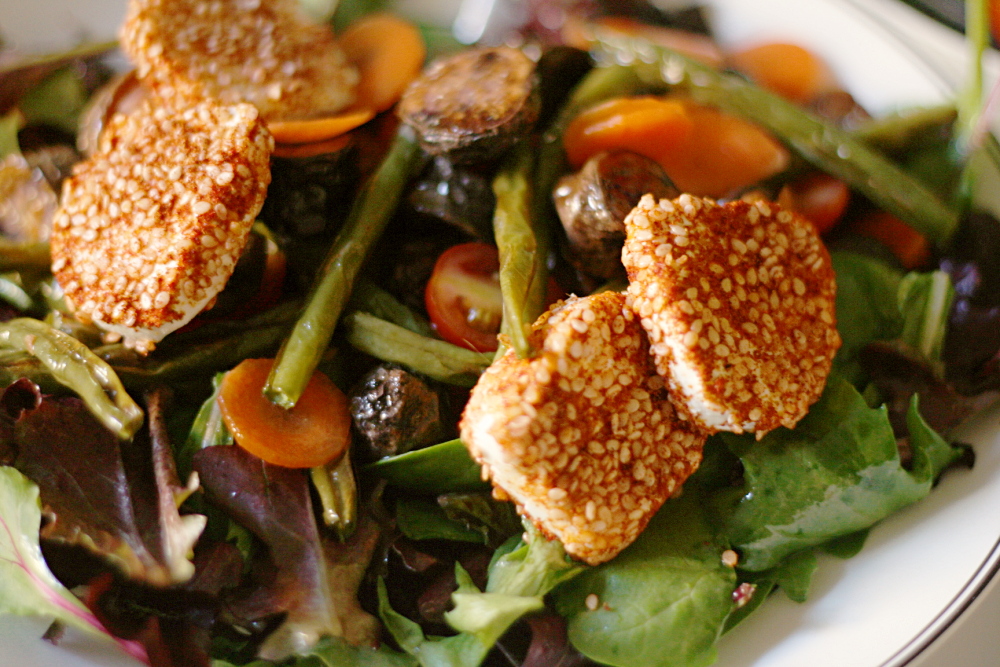
Whether you buy your ingredients at a farmers market or the grocery store, you’ll end up with a delicious salad. We’re talking greens, topped with potatoes, green beans, slivered carrots, tomatoes, and, mmm, goat cheese. I used purple potatoes and I wanted yellow beans (yellow green beans?) for maximum color impact, but couldn’t find them. The original recipe also has black olives, and I included them the first time I made this salad, but they didn’t seem to fit with the other flavors.

Copy of IMG_7054

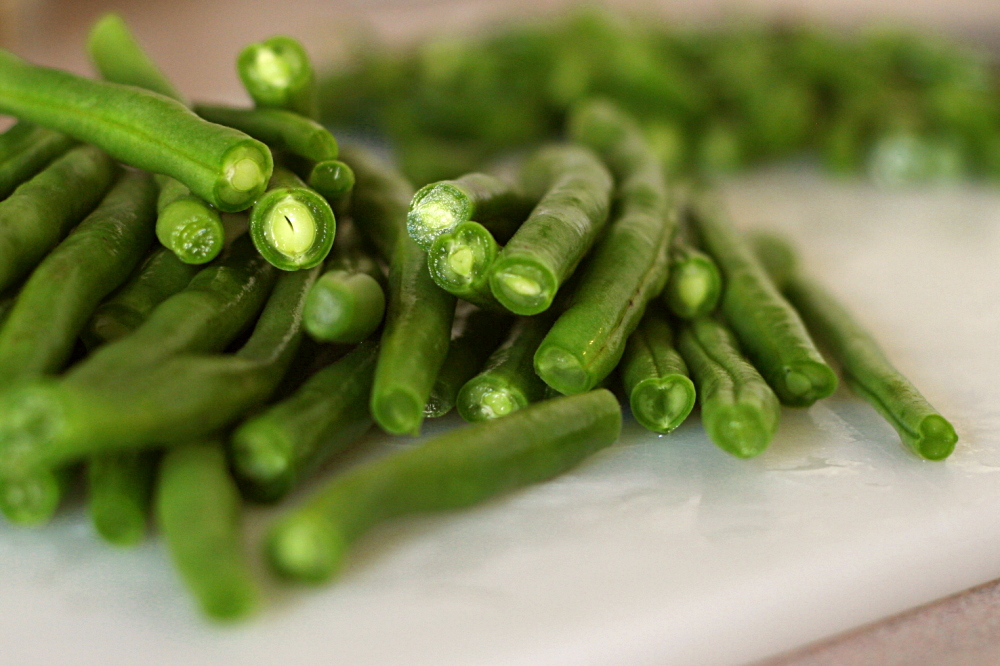
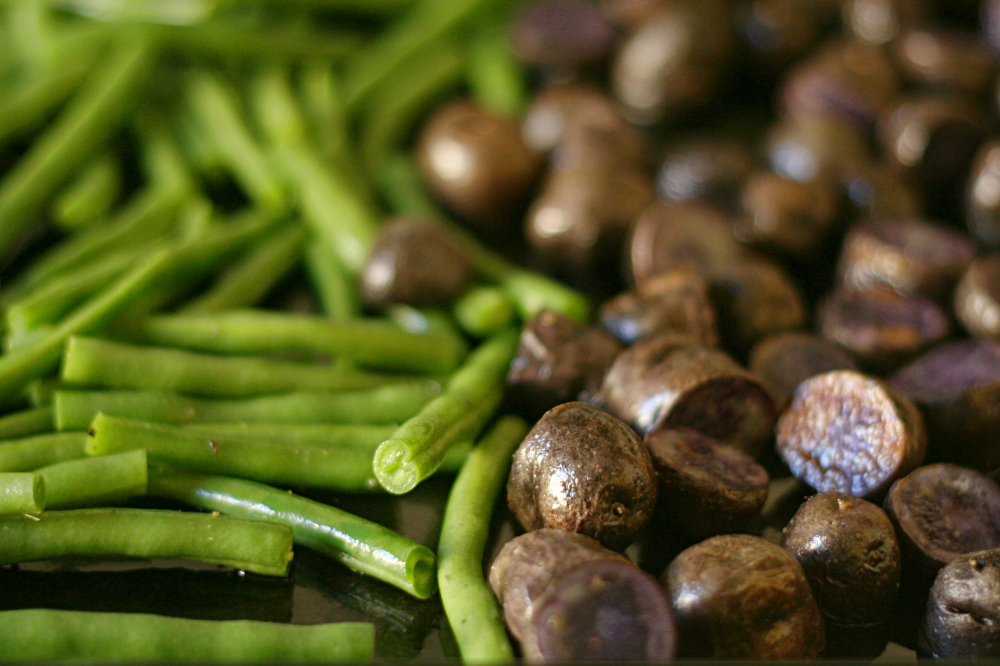
Now let me be honest: I put quite a bit of work into this salad. I roasted the potatoes and the green beans, I cut the carrots into the thinnest of coins, and I dutifully rolled discs of goat cheese in a colorful spice mixture. (Oh, and I unceremoniously dumped a pre-washed bag of mixed greens into a bowl.)

Copy of IMG_7061

Some of this is nice for maximum potential, but not strictly necessarily. The tomatoes? Expendable; I’m not sure they matched the rest of the ingredients anyway. The spices? Couldn’t taste ‘em. And it’s not like you’re really going to improve on goat cheese anyway. The shallot in the dressing? Nah. You could spend half the time, focusing on just the key components of this salad – the greens, dressing, potatoes, beans, and did I mention how much I love goat cheese? – and get a very similar result.

Copy of IMG_7075

On the other hand, if you do you have access to one of those colorful outside markets where the farmers are friendly and the produce is varied, mix it up! It’s a salad, and you’re not going to ruin it by making it your own.

Copy of IMG_6559

One year ago: Filbert Gateau with Praline Buttercream

Farmers Market Salad with Spiced Goat Cheese Rounds (adapted from epicurious)

Makes 4 main-course servings

Goat cheese rounds:
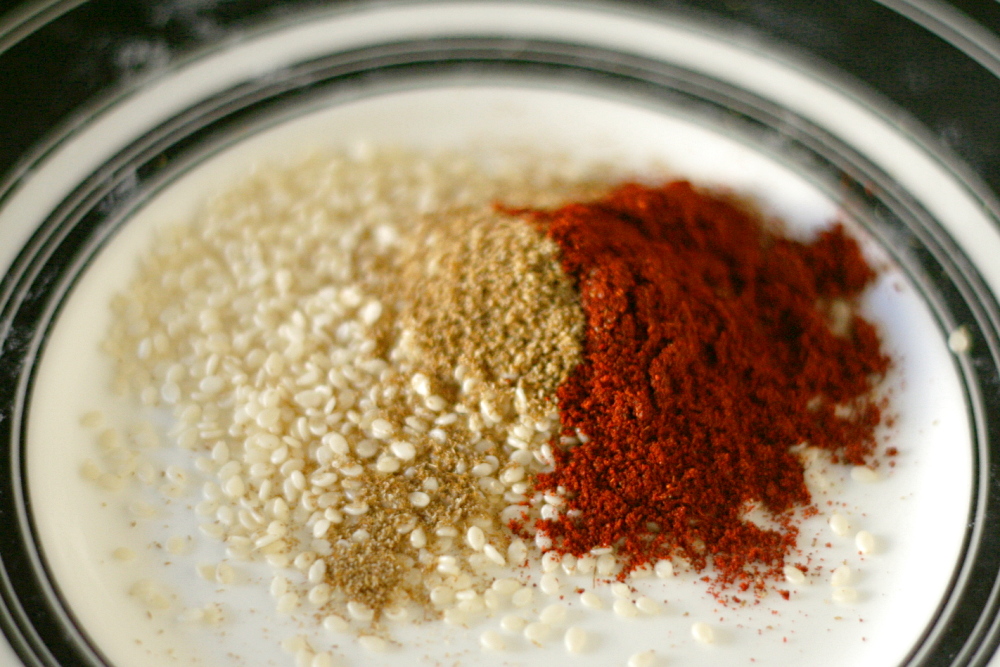
2 tablespoons sesame seeds
2 teaspoons ground cumin
1½ teaspoons paprika
1 teaspoon finely chopped fresh thyme
¼ teaspoon coarse kosher salt
⅛ teaspoon ground black pepper
16 (½-inch-thick) rounds chilled soft fresh goat cheese (from one 11-ounce log)

Vinaigrette:
2 tablespoons red wine vinegar
1 shallot, minced
1 teaspoon chopped fresh thyme
1 teaspoon Dijon mustard
5 tablespoons extra-virgin olive oil
Coarse kosher salt

Salad:
1 pound baby new potatoes (such as Dutch yellow baby potatoes), halved
1 pound green beans (or mix of green and yellow), trimmed
8 cups (loosely packed) mixed salad greens
12 ounces assorted small tomatoes (such as cherry, grape, and teardrop; preferably mix of red and yellow)

For goat cheese rounds:
Line baking sheet with waxed paper or parchment paper. Mix first 6 ingredients in shallow bowl. Dip cut sides of goat cheese rounds into spice mixture to coat. Place on prepared baking sheet. Chill until ready to serve. DO AHEAD Can be made 1 day ahead. Cover and chill. Bring to room temperature before serving.
For vinaigrette:
Whisk first 4 ingredients in small bowl. Gradually whisk in olive oil. Season with coarse salt and pepper. (Can be made 1 day ahead. Cover and refrigerate. Rewhisk before using.)
For salad:
Steam potatoes until just tender, about 10 minutes. Transfer to plate; cool. Steam green beans until crisp-tender, about 5 minutes. Rinse under cold water; drain. Pat dry with paper towels. ( Potatoes and green beans can be made 6 hours ahead. Wrap separately in paper towels. Place in resealable plastic bag; chill.)
Combine greens and basil in large bowl. Add enough vinaigrette to coat lightly; toss. Arrange on large platter. Add potatoes and green beans to same large bowl; add remaining dressing and toss. Arrange potatoes and beans atop greens. Scatter tomatoes and olives over. Surround with goat cheese rounds.

Copy of IMG_7083

strawberries and cream pie

copy-of-img_6404

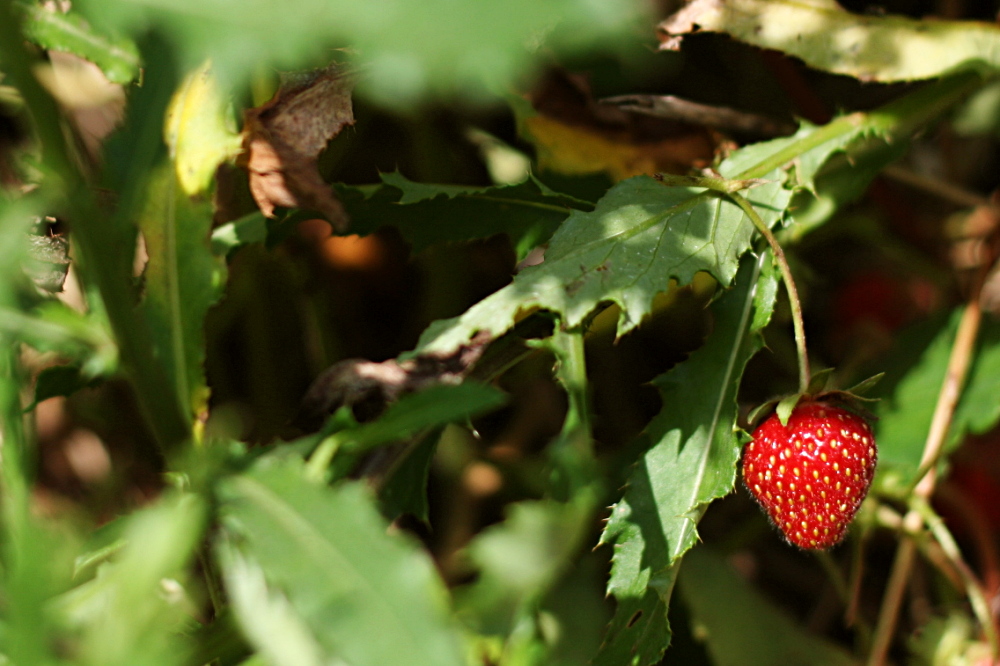
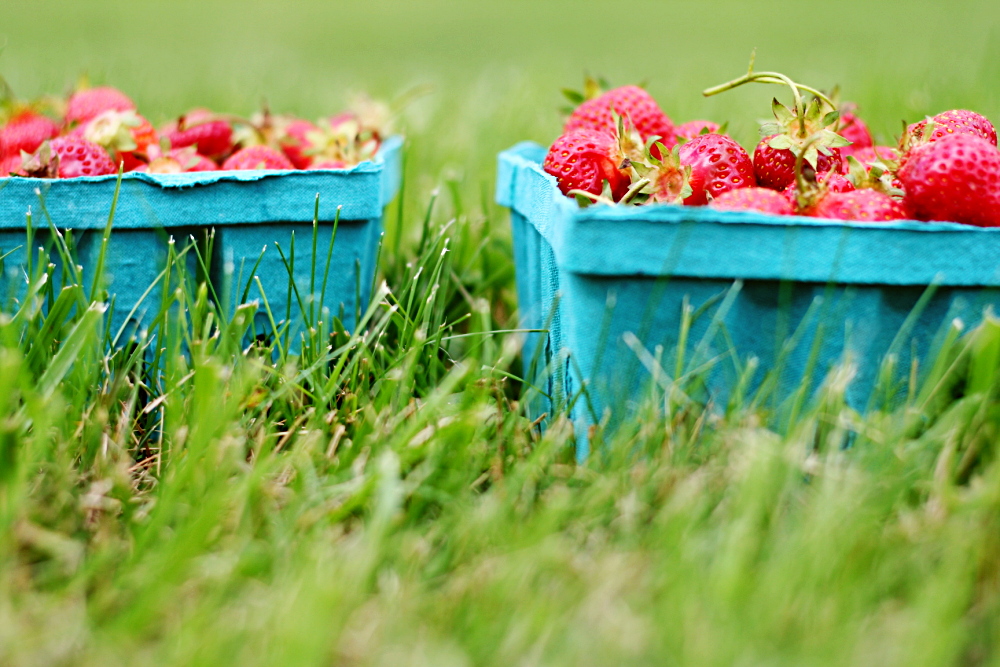
Those U-pick places tend to be better in theory than in practice for me. I do like knowing that my food is picked at its peak ripeness. It makes for some wonderfully sweet strawberries. On the other hand, ew, bugs. And thorns, and rotting berries that you can’t see under all the leaves and you don’t find until you reach under to grab for a nearby berry and squish!

copy-of-img_6327

Not that you shouldn’t try it! Or you could just buy the pre-picked cartons in the farm store right nearby.

copy-of-img_6341

It was worth it in the end though, because I love this pie. I’ve managed to make it once each spring since I found the recipe. And Dave and I managed to eat three-quarters of it within 24 hours this year! That’s something to be proud of.

copy-of-img_6393

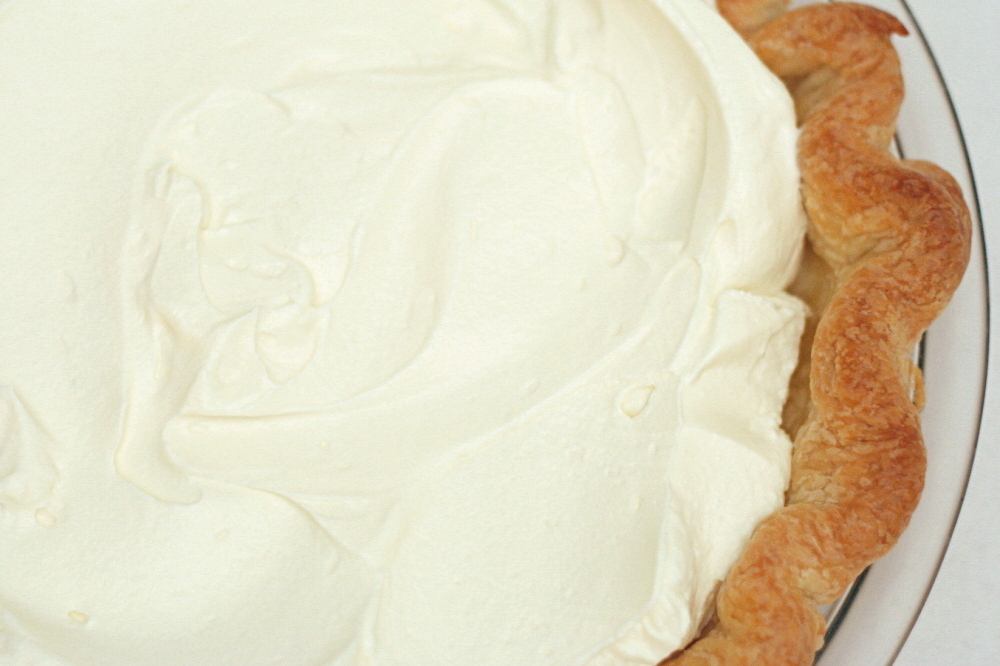
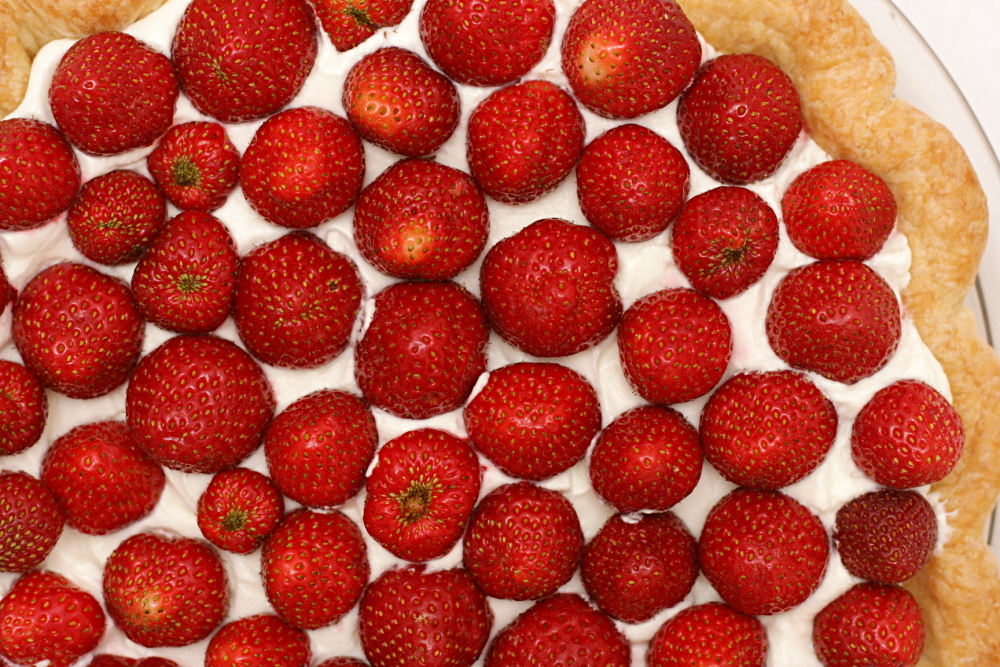
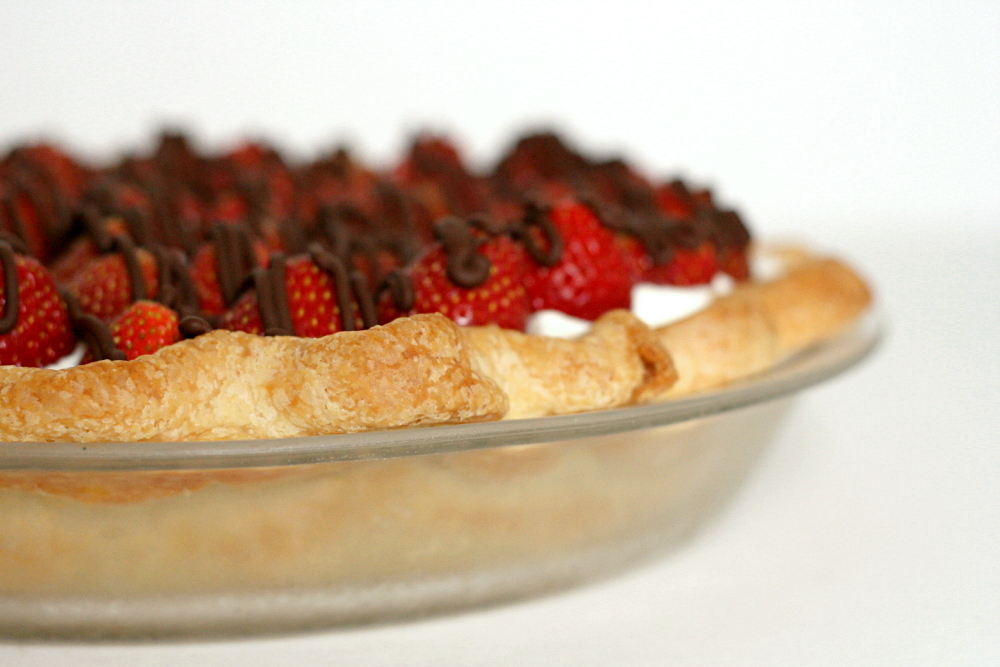
The thing is, I can’t resist cheesecake batter (sugary cream cheese!), and that’s mostly what this pie is. Cream cheese is mixed with sugar and a bit of almond extract, then whipped cream is folded in to lighten it. (I love when heavy cream is used to lighten something.)  The cream filling is topped with strawberries, which are kept whole for maximum visual impact, and then a bit of dark chocolate is drizzled over the top for some contrasting color and flavor.

copy-of-img_6402

You don’t need fresh-picked strawberries for this pie. The little raspberry-sized berries we picked made it a little easier to cut nice slices, but bigger strawberries require less hulling.  And anyway, it’s hard to mess up this pie, with the sweet, creamy filling topped with slightly tart strawberries and just a bit of bitter chocolate, all supported by flaky pie crust.  This is the only strawberry dessert I make a point to make every single spring.

copy-2-of-img_6419

One year ago: Poached Eggs with Arugula and Polenta Fingers

Strawberries and Cream Pie (adapted from Pillsbury’s Complete Cookbook)

Serves 8-10

You could definitely use the full cup of cream in the filling (which is what the original recipe recommends) if you have more cream around for the chocolate, but I didn’t and I kicked myself for not saving a bit of the 1-cup container of cream I’d brought. I used butter with the chocolate instead, but the chocolate hardened too much when it was cold and broke apart into shards when I cut slices.  Cream will keep it softer.

1 cup cold heavy cream, divided
8 ounces cream cheese, softened
1/3 cup (2.33 ounces) sugar
¼ to ½ teaspoon almond extract
1 pie crust for a 1-crust pie, completely baked and cooled
2 pints fresh whole strawberries, hulled
2 ounces bittersweet chocolate, finely chopped

1. In a medium bowl (or the bowl of a standing mixer fitted with the whisk attachment), beat 1 cup minus 1 tablespoon of the cream on medium speed. When the cream is frothy, increase the speed to high and whip until the cream holds firm peaks.

2. In a separate large bowl (or the bowl of a standing mixer fitted with the paddle attachment), beat the cream cheese on medium speed until it’s soft and creamy. Add the sugar and extract and continue beating until combined.

3. Fold about 1/3 of the whipped cream into the cream cheese to lighten the mixture, then add the remaining cream and continue folding until it’s incorporated. Evenly spread the cream mixture in the pie crust. Arrange the strawberries, pointed side up, over the filling.

4. Melt the chocolate with the remaining 1 tablespoon cream over very low heat, stirring constantly, or in the microwave on medium power, or in a double boiler. Drizzle the chocolate over the strawberries. Refrigerate the pie until set, about 1 hour.

copy-of-img_6413

tofu mu shu

copy-of-img_5589

A friend of mine once, oh-so-innocently, asked me if I had any recipes with napa cabbage. Poor guy. You have to be careful talking to me about food, because I can go on forever. I sent him longwinded comments about a bunch of recipes. I also sent a recipe for tofu mu shu, which I overcomplicated by providing two versions, one a super-anal-Bridget-version and the other simpler. Of course I had only made the super anal one. Of course.

copy-of-img_5570

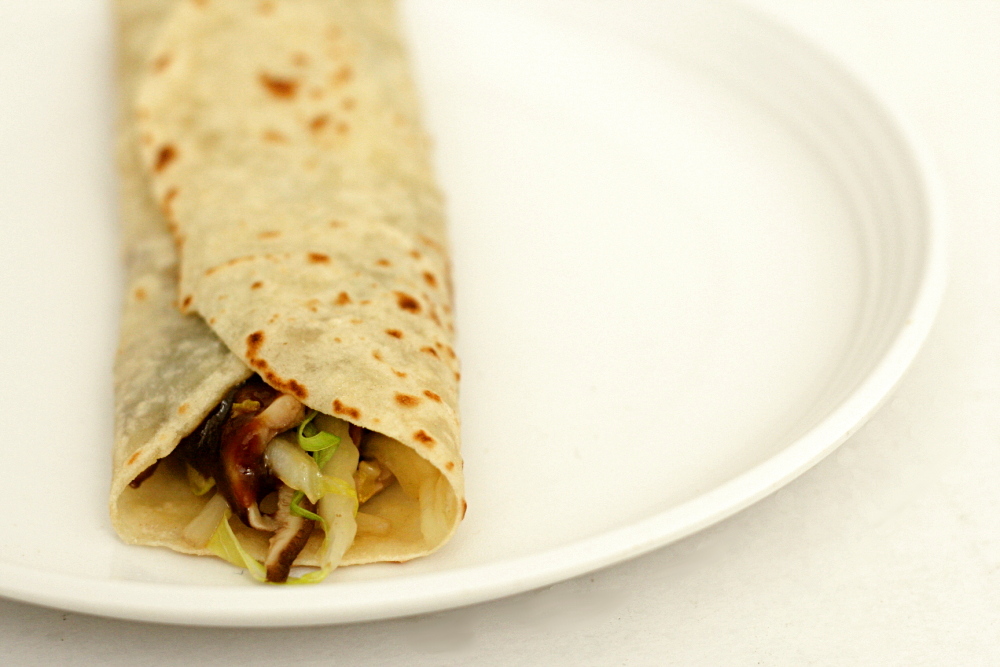
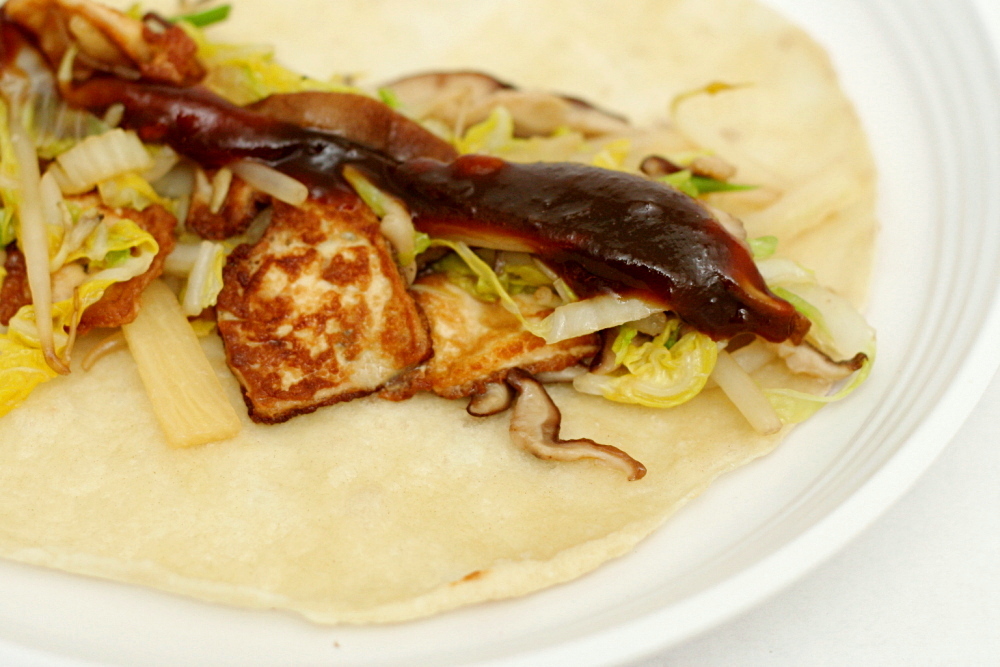
Mu shu is stir-fry wrapped in a thin bread-like shell. The first several times I made it with pork using Jen’s recipe, which is quite delicious. I did want a vegetarian version though, as we tend to save meat for special occasions (you know, like weekends). I haven’t been able to find the dried tofu cakes that Jen recommends substituting for the pork.

copy-of-img_5574

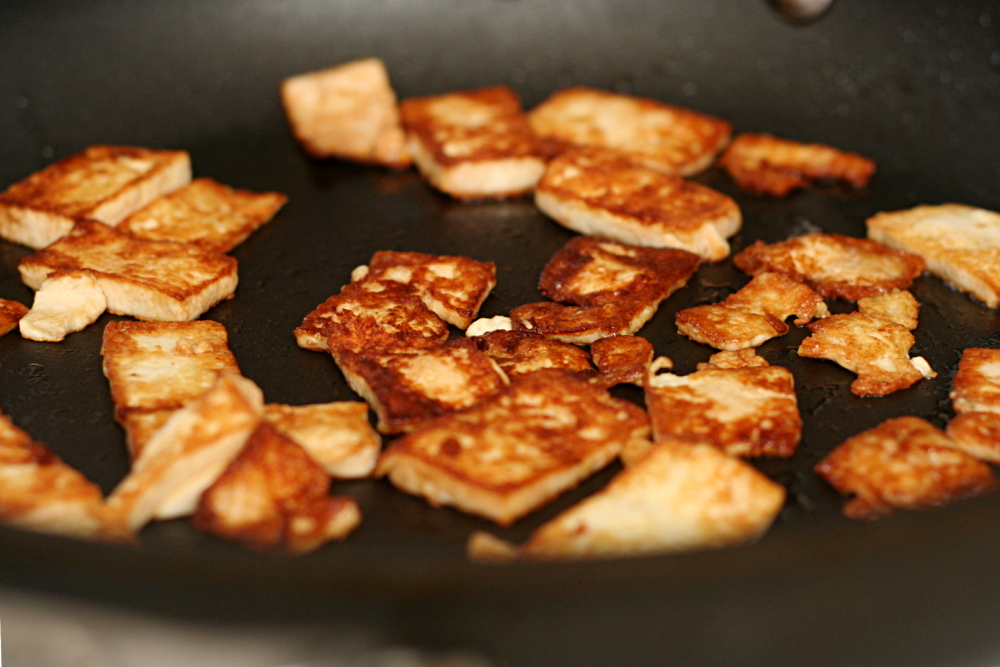
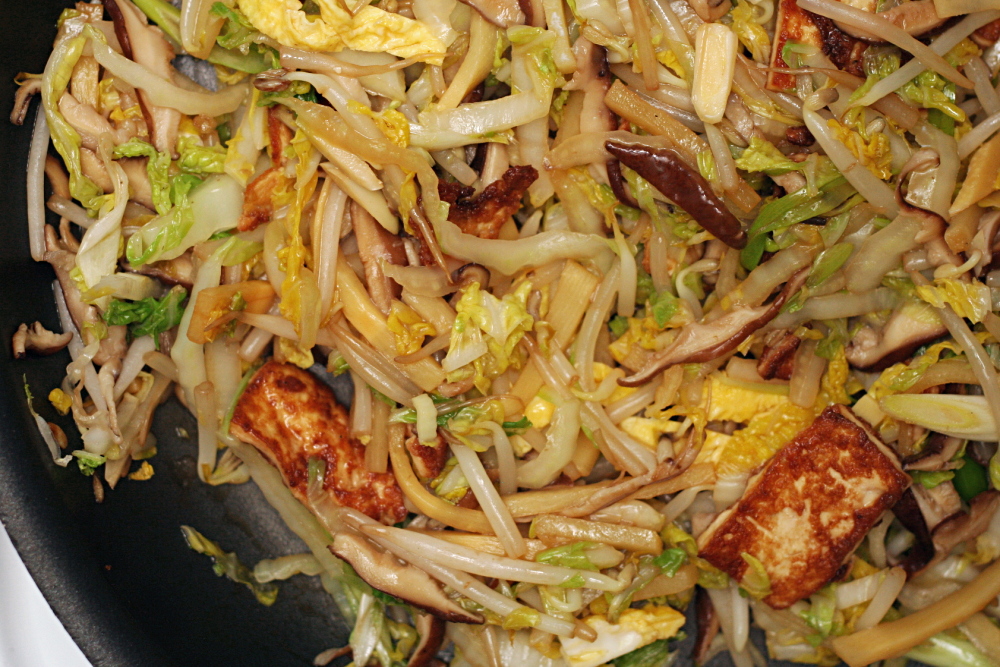
I’ve had good results from pressing firm tofu, marinating it briefly in soy sauce, and sautéing it in a very hot pan. Tofu prepared this way was excellent in mu shu, so it was included in my super-anal-Bridget-version.

copy-of-img_5580

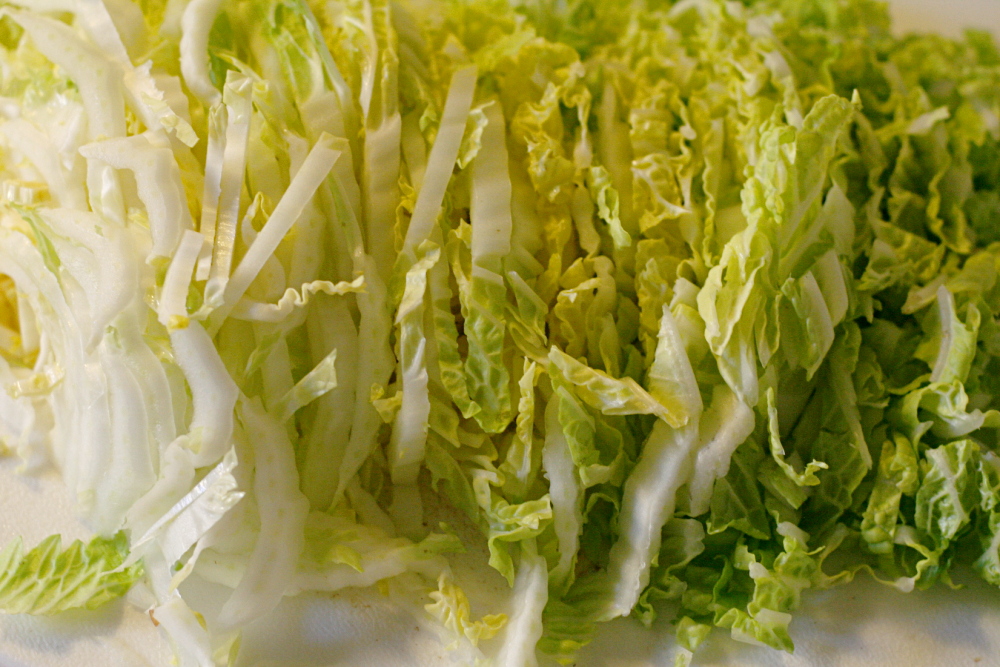
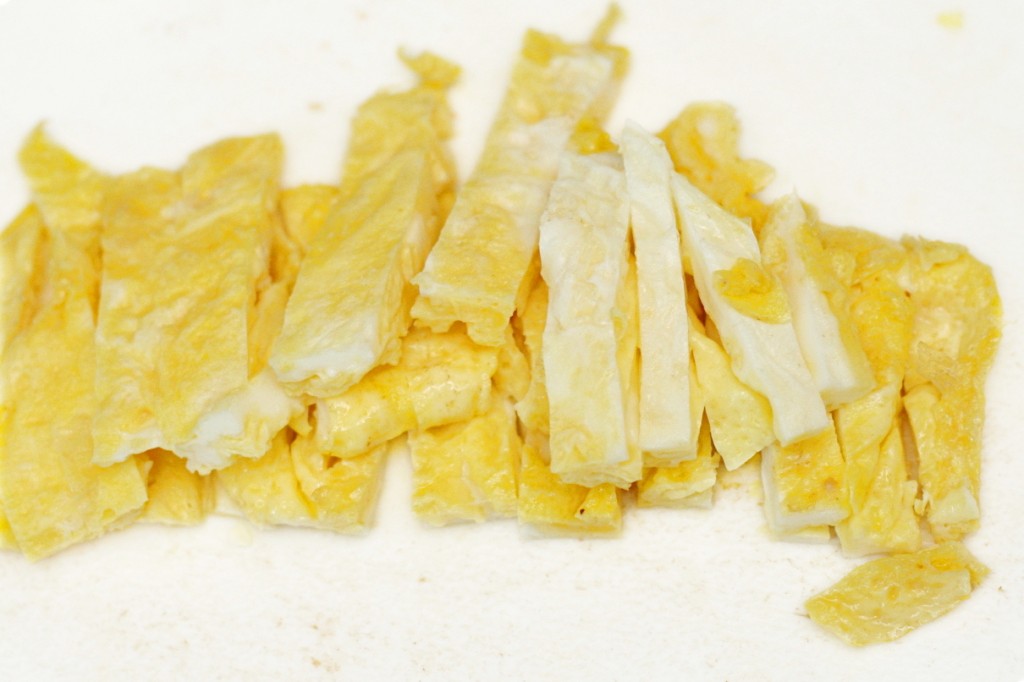
The other difference between my two recipes is the shape of the chopped ingredients. Jen has exceptional knife skills, and her prepped ingredients for mu shu are beautifully julienned. Frankly, it takes me forever to do. Jen also cooks the eggs as one sheet, then removes it from the pan and cuts it into strips, which is far more attractive than clumpy scrambled eggs.

copy-of-img_5582

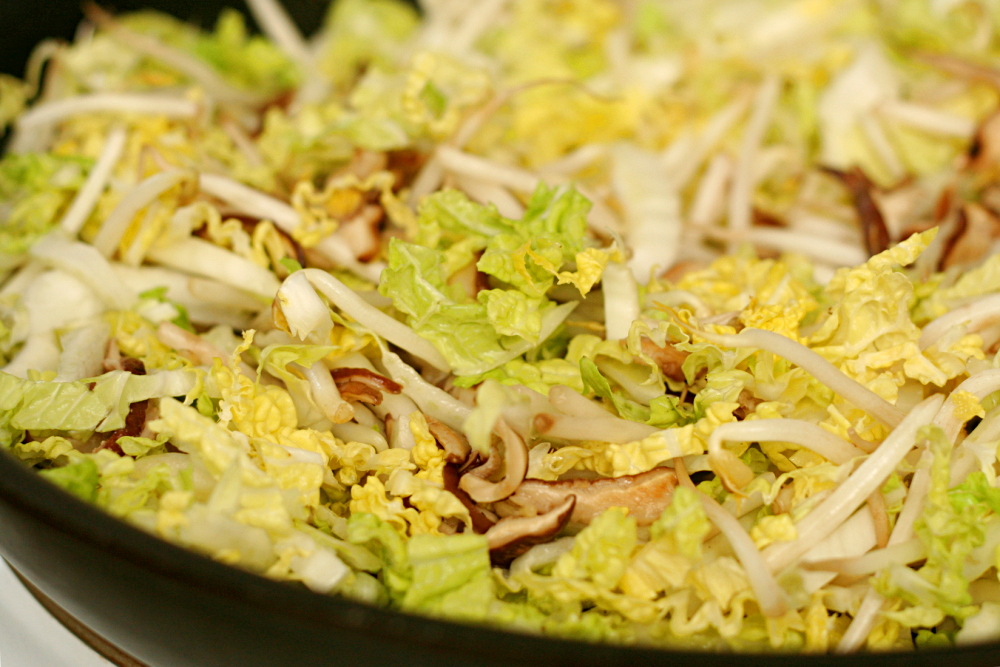
But are crisped tofu, julienned vegetables, and eggs cut into strips worth the extra time? I made my easy version first, with unbrowned tofu, scrambled eggs, and coarsely chopped vegetables. Two days later, I made the other version, sautéing the tofu, cooking the eggs as a sheet, and julienning the vegetables.

copy-of-img_5585

Dave and I didn’t notice a difference in flavor in the finished product. The easy version probably took me about 15 minutes less time. With pre-made mu shu pancakes, that makes this a pretty reasonable weeknight meal.

copy-of-img_5587

One consideration is that the more work-intensive method is more attractive, as the ingredients are all approximately the same shape. That could be an important consideration if you’re serving this to guests. I, for one, am happy to have a simpler version of this, so I can eat it that much more often.

copy-of-img_5588

One year ago: Pecan Honey Sticky Buns

Mu Shu Tofu (adapted from Use Real Butter)

Start to press the tofu before preparing the remaining ingredients.

Serves 6

1 (12-ounce package) firm or extra-firm tofu
3 tablespoons soy sauce
1 tablespoon toasted sesame oil
2 teaspoons cornstarch
3 teaspoons canola oil
3 eggs, beaten
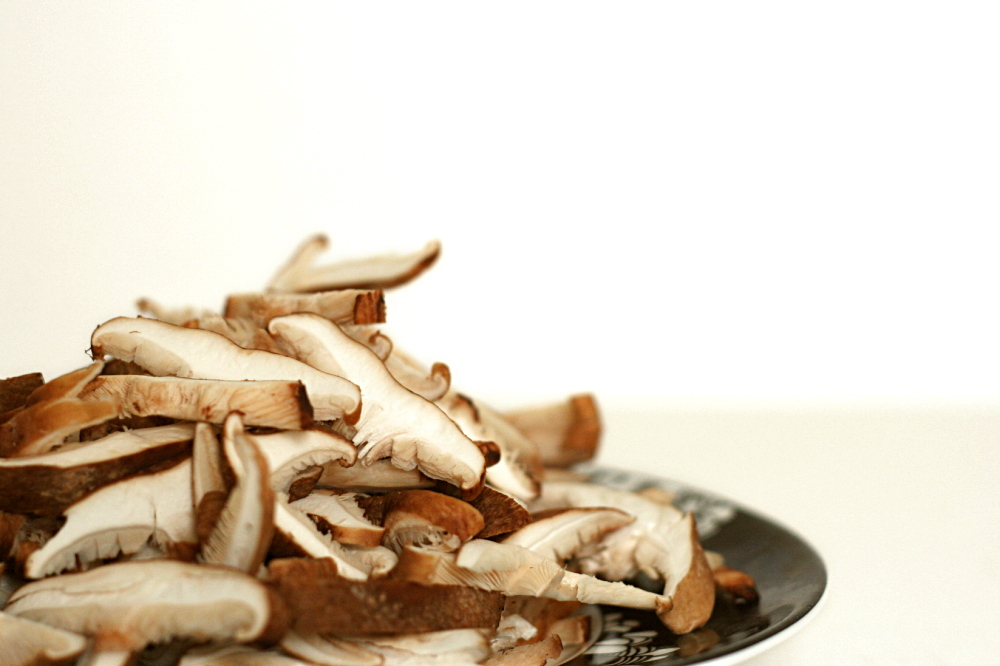
8 ounces shiitake mushrooms, stemmed and cut into strips
3 cloves garlic, minced or julienned
1 medium head napa cabbage, halved and shredded
2 cups bean sprouts
4 green onions, sliced
1 can bamboo shoots, roughly chopped
12 mu shu shells
hoisin sauce

1. Cut tofu in half horizontally to make two flat rectangles. Layer it between double layers of paper towels or clean dish towels. Put all of that in a pie plate and put something heavy on top, maybe another pie plate with some cans in it or something. Set it aside while you prepare the other ingredients.

2. In a small bowl, mix together the soy sauce, sesame oil, and cornstarch. Cut the tofu into strips and add it to liquid ingredients; stir gently.

3. Heat 2 teaspoons canola oil in a 12-inch nonstick skillet over medium-high heat and add the mushrooms. Once the mushrooms are softened (2-3 minutes), add the garlic; cook and stir until fragrant, about 30 seconds. Add the eggs and stir vigorously with wooden spoon until scrambled and barely moist, about 20 seconds. Add the cabbage and bean sprouts. Sauté until the cabbage is wilted but still a little crunchy, 3-4 minutes. Add the remaining ingredients and the tofu mixture. Cook and stir until evenly heated.

4. Heat the mu shu shells according to the instructions on the package. Serve each mu shu shell with a smear of hoisin sauce down the middle. Place several spoonfuls of mu shu on the shell and fold the sides in.

copy-of-img_5593