roasted rhubarb jam

rhubarb jam 7

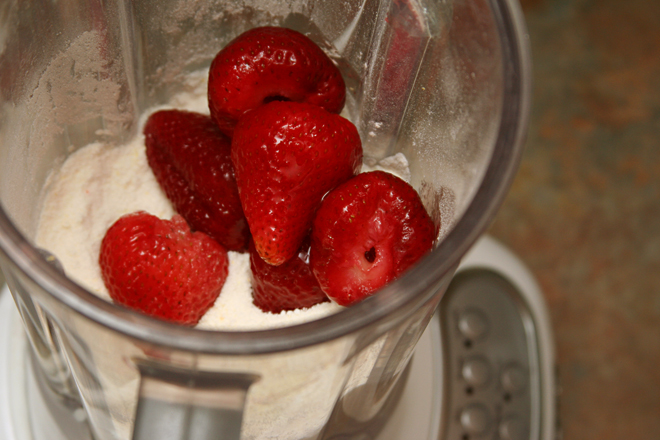
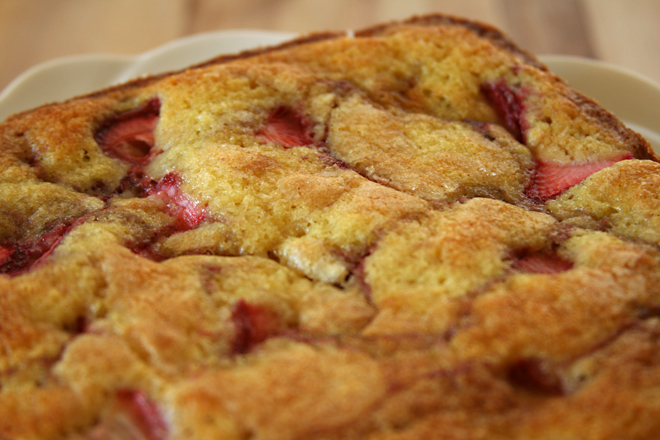
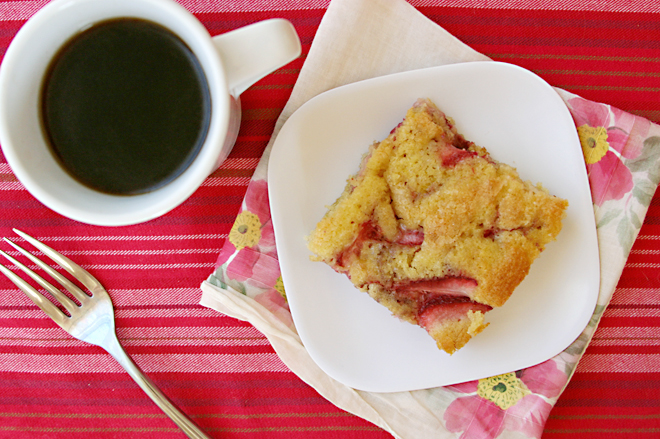
One of the things I’m trying to do with my rhubarb surplus this year is not mix it with strawberries. (Please disregard this statement when my next post is strawberry rhubarb pie.) It isn’t that I have anything against strawberries and rhubarb together. Those two are often paired up for reasons beyond their aligned seasons. Sweet strawberries are a natural match for sour rhubarb.

rhubarb jam 3

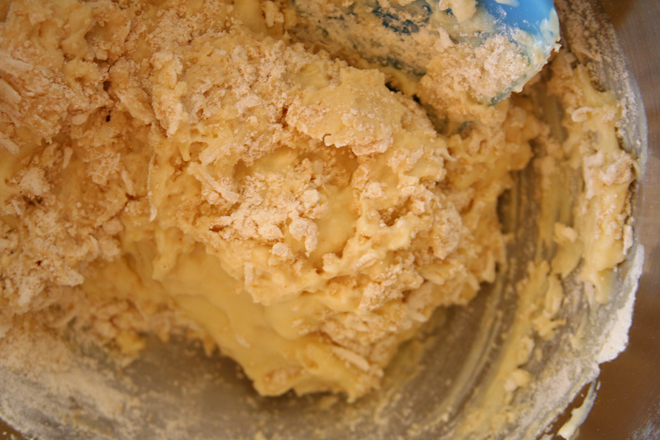
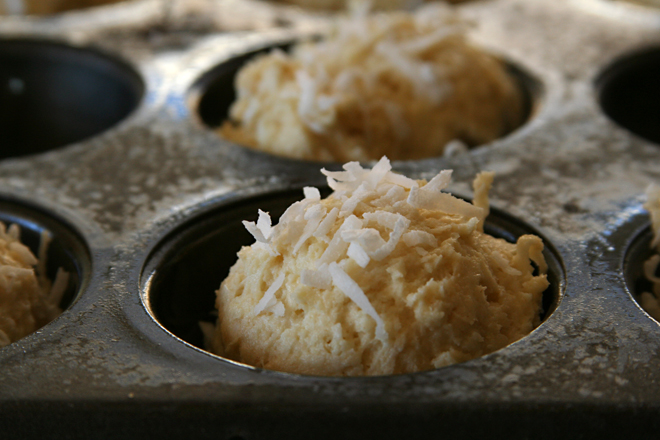
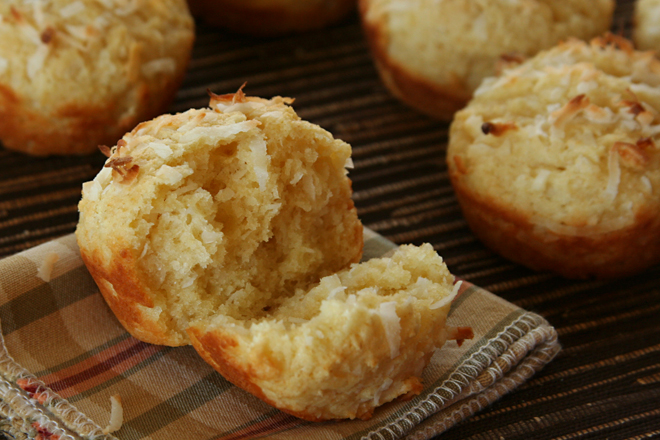
But now that I’m starting to realize how much I enjoy rhubarb for its own merit, I want to use it more often by itself. Mixing it into batter for muffins was a good start, but a simple mostly-hands-off jam is an even more direct way to enjoy rhubarb. All it takes is cutting it up, mixing it with sugar, and giving it a few stirs while the oven softens and sweetens the stalks.

rhubarb jam 4

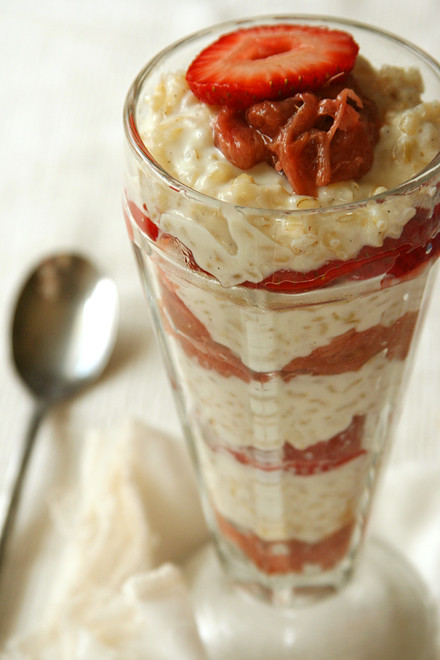
I used a spatula to mash up the roasted rhubarb, but if you wanted something smoother, you could puree it in a food processor or press it through a food mill. The chunky version would go wonderfully with tart plain yogurt, especially with some crunchy granola on top. And I can guarantee that it makes the perfect topping for brown rice pudding – along with some sliced strawberries, of course.

rhubarb jam 9

One year ago: Grapefruit Honey Yogurt Scones
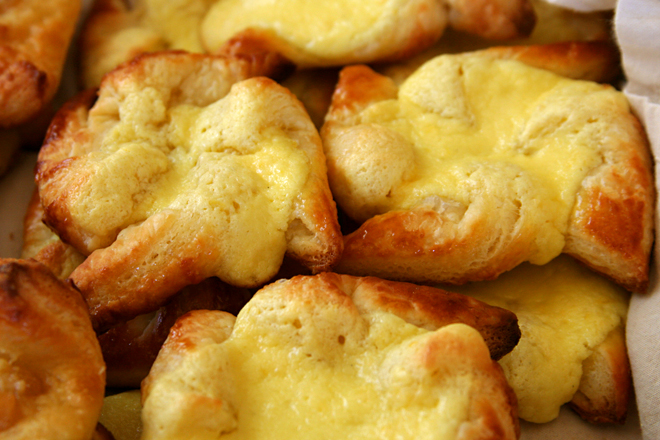
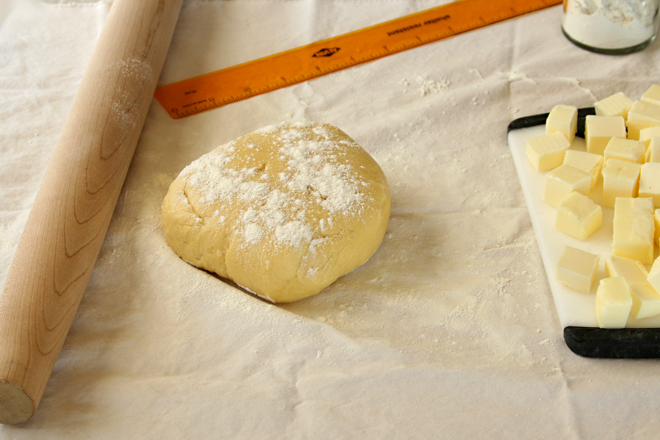
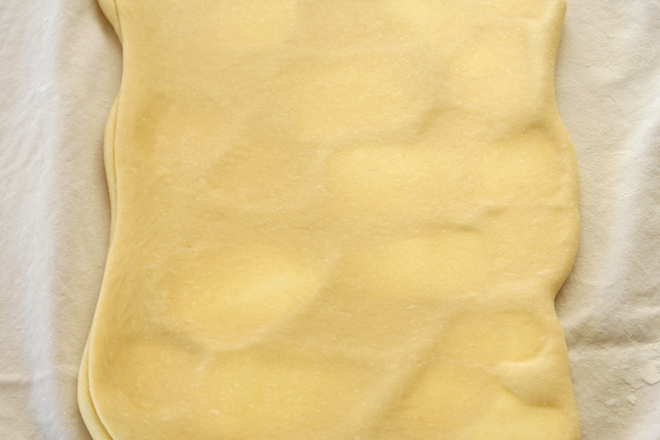
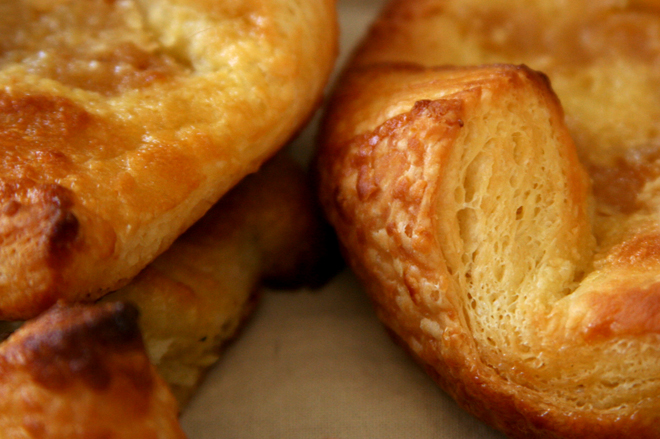
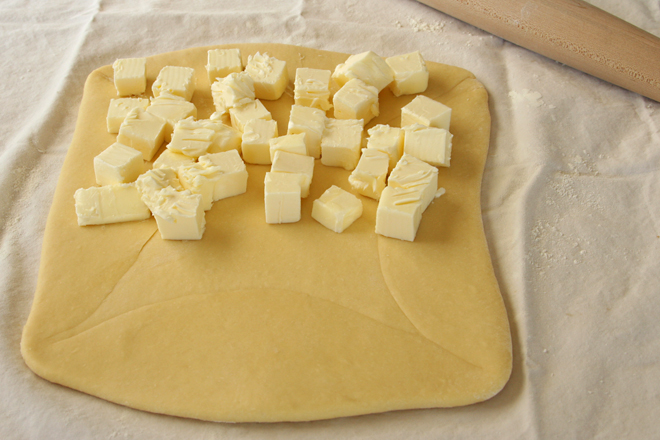
Two years ago: Croissants (Martha Stewart’s recipe)
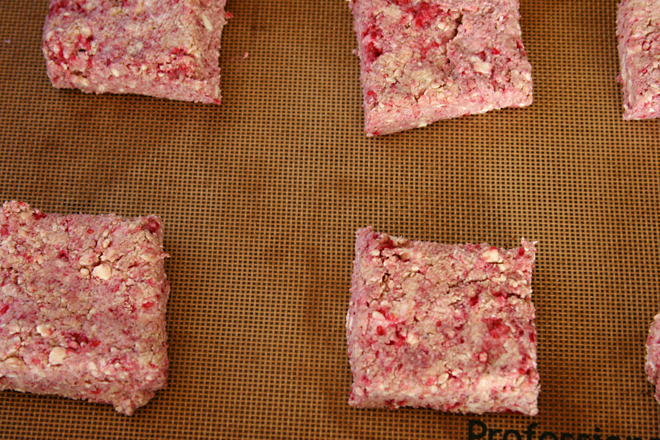
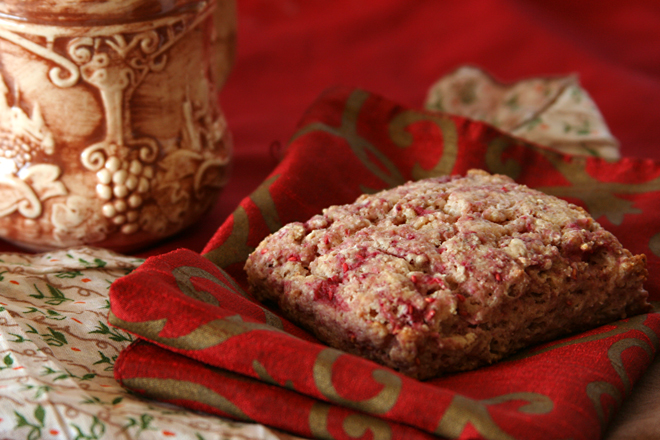
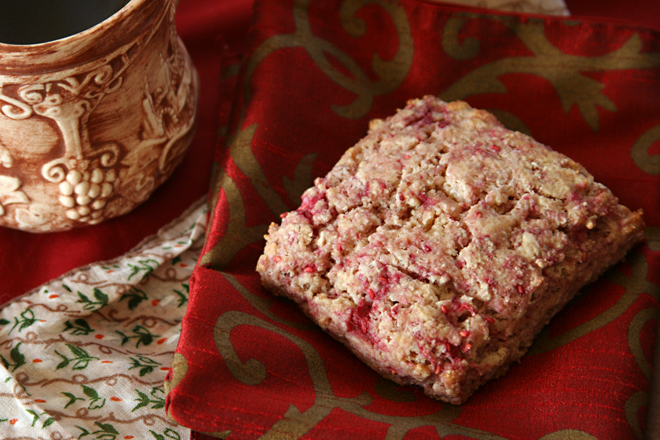
Three years ago: Rhubarb Scones
Four years ago: La Palette’s Strawberry Tart

Printer Friendly Recipe
Roasted Rhubarb Jam (from hogwash)

2 pounds rhubarb, cut into 1-inch pieces
½ cup (3.5 ounces) sugar
Pinch salt

Adjust a rack to the middle position and heat the oven to 400 degrees. In a 9-by-13-inch dish, mix the ingredients. Bake them, uncovered and stirring occasionally, until the rhubarb is soft enough to mash into a spread, about 1½ hours.

rhubarb jam 8

watermelon agua fresca

watermelon agua fresca 7

This is the first watermelon I’ve ever bought. The thing is, I don’t actually like watermelon. Because it tastes like water. And if I want water, I’ll just drink some; no need to eat faintly sugary overly soft fruit.

watermelon agua fresca 1

But, I see now – sugary water, isn’t that the perfect base for a drink? It isn’t quite enough on its own; after all, watermelon is bland. But with some tart lime juice to brighten it up and maybe some mint, now we’re talking. Basically, think of the most supremely refreshing ingredients you can, then blend them up and serve them over ice.

watermelon agua fresca 3

This is so good that Dave had to verify with me that there was no alcohol in it. Yes, a refreshing summer citrusy drink without tequila or rum! I will be buying many, many more watermelons.

watermelon agua fresca 8

One year ago: Strawberry Cream Cake
Two years ago: Turkey Burgers
Three years ago: Potato Galette
Four years ago: Pecan Honey Sticky Buns

Printer Friendly Recipe
Watermelon Agua Fresca (adapted slightly from sunny vegan)

6 servings

8 cups cubed, seeded, peeled watermelon (about a third of a medium watermelon)
6 tablespoons lime juice
4 sprigs mint (optional)
ice
sparkling water

In a blender or food processor, puree the watermelon, lime juice, and mint. Pour the mixture into a fine-mesh strainer (or a colander lined with a single layer of cheesecloth); set aside for 30 minutes for the liquid to drain, stirring occasionally. Discard the solids in the strainer. Serve the remaining liquid over ice, topped off with sparkling water.

watermelon agua fresca 6

meyer lemon semifreddo

semifreddo 4

I traveled to Santa Fe last month for work, and while I didn’t love the day-long meetings all week, it was worth it to eat at Santa Fe restaurants and shop at Santa Fe grocery stores. I stopped at Whole Foods before I even checked in to my hotel, picking up some healthy snacks for the week and some sushi for dinner. I got pizza the next night (pizza – good pizza! – that I didn’t make myself!), but it was back to sushi the third night. The last day, after only six hours of meetings instead of the usual eight, I drove home, but not before making stops at both Whole Foods (where I got, you guessed it, more sushi to snack on during the drive home) and Trader Joe’s.

semifreddo 3

Whole Foods had what must have been the last Meyer lemons of the season, and I couldn’t resist buying a few, even though I already had a bag of organic regular lemons in my cart. I could not, however, decide what to make with them. Like the last time I bought Meyer lemons, well over four years ago, I wanted something that would showcase their flavor so I could figure out just how much different they are from regular lemons.

semifreddo 2

I diluted the flavor only slightly by mixing it with heavy cream, sugar, and egg yolks to make semifreddo. And if you’re paying attention while eating this dessert, the flavor has a little extra something, even beyond the sweeter orange hint of Meyer lemons. However, if you’re distracted by the light and airy texture that comes from freezing whipped heavy cream, I won’t blame you. And this indulgent dessert with a popular but elusive ingredient is all thanks to a week of meetings; traveling for work has its advantages.

semifreddo 5

One year ago: Barbecued Pulled Pork
Two years ago: Grilled Artichokes
Three years ago: Basic Lentil Soup
Four years ago: Asparagus and Arugula Salad with Cannellini Beans and Balsamic Vinegar

Printer Friendly Recipe
Meyer Lemon Semifreddo (from Bon Appétit via epicurious)

Serves 8 to 10

While the recipe indicates that you can use Meyer or regular lemons interchangeably, Meyer lemons are significantly less sour than regular lemons. I used Meyer, but if you use regular, you should probably increase the sugar.

I used a round pan instead of a loaf pan, but other than that, followed the recipe exactly.

½ cup sliced almonds, toasted
1¾ cups chilled heavy whipping cream
1¼ cups (8.75 ounces) plus 2 tablespoons sugar
7 large egg yolks
½ cup fresh Meyer lemon juice or regular lemon juice
1 tablespoon plus 2 teaspoons finely grated Meyer lemon peel or regular lemon peel
¼ teaspoon salt
4 cups mixed fresh berries (such as raspberries, blackberries, blueberries, and quartered hulled strawberries)

1. Line a 9-by-5-inch metal loaf pan with plastic wrap, leaving a generous overhang. Sprinkle almonds evenly over the bottom of the pan. Using an electric mixer, beat the whipping cream in a large bowl until soft peaks form. Refrigerate the whipped cream while making the custard.

2. Whisk 1¼ cups sugar, the egg yolks, lemon juice, lemon peel, and salt in a large metal bowl to blend. Set the bowl over a large saucepan of simmering water and whisk constantly until the yolk mixture is thick and fluffy and instant-read thermometer inserted into the mixture registers 170°F, about 4 minutes. Remove the bowl from over the simmering water. Using an electric mixer, beat the mixture until cool, thick, and doubled in volume, about 6 minutes. Fold in the chilled whipped cream. Transfer the mixture to the prepared loaf pan; smooth the top. Tap the loaf pan lightly on the work surface to remove air pockets. Fold the plastic wrap overhang over top to cover. Freeze the semifreddo until firm, at least 8 hours or overnight. (Semifreddo can be made 3 days ahead. Keep frozen.)

3. Gently mix the berries and remaining 2 tablespoons sugar in a large bowl. Set aside for 30 minutes.

4. Unfold the plastic wrap from the top of the semifreddo; invert onto a platter and remove the plastic wrap. Dip a heavy large knife into hot water; cut the semifreddo crosswise into 1-inch-thick slices. Transfer to plates; spoon the berries alongside and serve.

strawberry lemonade bars

strawberry lemonade bars 8

I’m always trying to find desserts that Dave will eat because they’re so good he can’t resist, and not just to be polite. It isn’t that those desserts don’t exist – crème brulee, eclairs, and tapioca pudding come to mind – it’s just that the desserts he loves don’t require me to use the mixer, and where’s the fun in that? So the real challenge is finding a dessert that Dave loves to eat as much as I love to bake it.

strawberry lemonade bars 1

Strawberry lemonade bars weren’t a sure thing, but it was a good bet, I thought. He does like lemon bars – not as much as, say, snickerdoodles, but more than brownies at least. And his favorite ice cream flavor is strawberry, so strawberry lemonade bars seemed like they’d have potential.

strawberry lemonade bars 2

The browned flaky crust, taken from my lemon bar comparison last year, didn’t hurt, and neither did the creamy filling. The filling was not just a lemon bar filling with some strawberry juice added; it incorporated a generous portion of flour, necessary to hold all the extra liquid together. The result was a bar that was soft and gooey (maybe I should have cooked it longer) and tasted perfectly of lemons and strawberries. I loved the bars, and as for Dave – he liked them enough to eat a couple to be polite.

strawberry lemonade bars 5

One year ago: Caesar Salad
Two years ago: Whole Wheat Brioche
Three years ago: Blueberry Crumb Cake
Four years ago: Spinach Feta Pine Nut Tart

Printer Friendly Recipe
Strawberry Lemonade Bars (adapted from Annie’s Eats via Sophistimom)

For the crust:
8 tablespoons unsalted butter, at room temperature
⅓ cup (1.33 ounces) powdered sugar
1 cup (5 ounces) all-purpose flour
¼ teaspoon salt

For the filling:
1½ cups (10.5 ounces) sugar
⅔ cup (3.3 ounces) all-purpose flour
1½ tablespoons lemon zest (from 3 lemons)
⅛ teaspoon salt
1½ cups (8 ounces) frozen strawberries, thawed
3 large egg whites
1 large egg
⅔ cup freshly squeezed lemon juice (from 3 lemons)
Confectioners’ sugar, for dusting

1. Preheat the oven to 350 degrees. Spray an 8-by-8 inch baking pan with nonstick spray.

2. In the bowl of an electric mixer, beat the butter and sugar on medium-high speed until smooth, 1-2 minutes. Reduce the mixer speed to low and add the flour and salt, mixing just until incorporated.

3. Transfer the dough to the prepared baking pan, pressing into an even layer over the bottom of the pan. Bake the crust for about 25 minutes, or until light golden brown. Remove from the oven, maintaining the temperature.

4. While the crust is baking, prepare the filling. Combine the sugar, flour, lemon zest and salt in a blender. Add the strawberries; blend until smooth. Add the egg whites and eggs; blend until incorporated. Add the lemon juice, processing just until evenly mixed.

5. Pour the filling over the crust and bake until the center is just set and no longer jiggles when gently shaken, about 30-40 minutes. Transfer to a wire rack to cool to room temperature, then cover and refrigerate for at least 2 hours. Dust the top with confectioners’ sugar before cutting and serving.

strawberry lemonade bars 7

double coconut muffins

coconut muffins 7

A friend of mine recently became, as she calls it, a “part-time vegan”, which I take to mean that she avoids eggs and dairy when she’s in charge of what she eats but will eat them if someone else prepares food for her. This started me on search for vegan cookie recipes. Most of what I found called for Earth Balance, but all I could find in my town was a whipped version for spreading, which I didn’t think would take well to baking. Instead, I bought coconut oil.

coconut muffins 1

And then I got busy with other baking projects and set that one aside. That’s where it still sits – “aside.” But unlike my plans to make vegan cookies, the coconut oil is no longer forgotten. And maybe this is a better introduction to a new ingredient – using it with similar flavors.

coconut muffins 3

In these muffins, the coconut oil is combined with shredded coconut to make an intensely, but not overwhelmingly, coconut muffin. In fact, I found that the tanginess of the Greek yogurt was at least an equal player. It was a nice combination with the tropical coconut.

coconut muffins 5

The texture was spot on as well – tender and moist, like the best muffins are. I suppose that makes sense, since these are slightly higher in fat than many muffins. But it’s vegan fat, and that has to be better than butter. I still have half a cup of coconut oil in the fridge, and while I probably should make my friend some cookies, I’m tempted just to make more muffins.

coconut muffins 9

One year ago: Citrus Sunshine Currant Muffins
Two years ago: Honey Ginger Pork Tenderloin
Three years ago: French Yogurt Cake
Four years ago: Lemon Poppy Seed Muffins

Printer Friendly Recipe
Double Coconut Muffins (rewritten but not changed from Smitten Kitchen)

Makes 10 muffins

8 tablespoons (½ cup; 4 ounces) virgin coconut oil
¾ cup (3.6 ounces) all-purpose flour
½ cup (2.4 ounces) whole wheat flour
¾ cup (3.25 ounces) sweetened shredded coconut, divided
1½ teaspoons baking powder
¼ teaspoon table salt
1 cup (8 ounces) Greek-style yogurt, room temperature
⅓ cup (2.33 grams) granulated sugar
1 large egg
1 teaspoon vanilla extract

1. Preheat the oven to 375°F. Spray 10 muffin cups with nonstick spray or line them with paper liners. In a small saucepan, warm the coconut oil just until it melts; don’t heat it until it’s hot.

2. In a medium bowl, whisk together the flours, baking powder, ½ cup shredded coconut, and salt. In a separate bowl, whisk together the egg, sugar, coconut oil, yogurt, and vanilla. Add the coconut oil mixture to the flour mixture and stir until just combined.

3. Divide the batter among the 10 prepared muffin cups. Top each muffin with about a teaspoon of the remaining shredded coconut. Bake until a toothpick inserted into the center of a muffin comes out clean, about 20 minutes. Transfer the muffins to a cooling rack; cool 5 minutes, then remove them from the pan. Serve warm.

coconut muffins 8

raspberry ricotta scones

raspberry ricotta scones 7

I’ve largely gotten out of my scone phase from a few years ago. Back then, I was making a new scone recipe almost once a month. One batch of scones, frozen before baking, would last a couple weekends, which made for some wonderfully relaxed weekend mornings, with nothing to do but turn the oven on, transfer the frozen scones to a baking sheet, and boil water for the French press. Twenty minutes later, I’d sit down with a scone, a mug, and a food magazine.

raspberry ricotta scones 2

The problem with this scenario is that there’s very little nutrition in a scone. I’m not against a little butter for breakfast, but as we’ve become more active lately, we require breakfasts that fill us up and provide energy. I don’t want to imagine Dave on one of his weekly racquetball marathons with nothing but butter, flour, and sugar for fuel.

raspberry ricotta scones 3

On quiet mornings when we don’t have a busy day ahead though, scones hit the spot. And this one is even better, because it does have some extra health benefits from protein-rich ricotta and fiber-rich whole grains. Moreover, this is one of the best scones I’ve ever made.

raspberry ricotta scones 4

I’ve admittedly become more and more enamored with whole grains and the nutty depth of flavor they add to baked goods, and this was a perfect example of how a portion of whole wheat flour isn’t a sacrifice to be made for health reasons, but an improvement in flavor. I think this recipe has me headed toward another scone phase.

raspberry ricotta scones 5

One year ago: Corniest Corn Muffins
Two years ago: How to adapt any bread to be whole wheat
Three years ago: Lemon Cup Custard
Four years ago: Spaghetti and Meatballs

Printer Friendly Recipe
Raspberry Ricotta Scones (slightly adapted from Smitten Kitchen)

Makes 9

Baked scones are best fresh out the oven. If you want to make these in advance, form and cut the scones, then transfer the unbaked scones to a ziploc bag to freeze. There’s no need to defrost before baking, but you will need to add a few extra minutes to the baking time.

I used whole wheat pastry flour, which I prefer in quick breads. But if you only have regular whole wheat flour, I’m sure it will be fine.

¾ cup (6.5 ounces) whole milk ricotta
⅓ cup heavy cream
1 cup (4.8 ounces) whole wheat flour
1 cup (4.8 ounces) all-purpose flour
1 tablespoon baking powder
¼ cup (1.75 ounces) granulated sugar
½ teaspoon table salt
6 tablespoons (¾ stick) cold unsalted butter, cubed
1 cup (4.75 ounces) raspberries, fresh or frozen

1. Adjust a rack to the middle position and heat the oven to 425 degrees. Line a baking sheet with parchment paper or a silicone mat. In a large measuring cup, combine the ricotta and heavy cream.

2. Combine the flours, baking powder, sugar, and salt in the food processor. Add the butter and pulse until the butter is cut into pea-sized pieces. Add the raspberries and pulse a few times to break them down. Add the ricotta mixture; pulse just until the dough is evenly moistened but still looks crumbly.

3. Transfer the dough to a work surface and pat into a ball. Knead the dough a few times, then pat it out into a 7-inch square that is about 1-inch thick. Cut the dough into 9 squares.

4. Transfer the scones to the prepared baking sheet. Bake until golden brown around the bottom edges, 16-20 minutes. Transfer the scones to a wire rack and cool about 10 minutes before serving.

raspberry ricotta scones 8

pear almond danishes and lemon ricotta danishes

danish 14

I went through a baking drought early this year that lasted a few weeks, maybe a month. I couldn’t explain it, but I just wasn’t interested in baking for the first time in years. I was kind of worried – how long would this last? When would my drive to bake come back?

danish 1

Oh it’s back. It crept back in, but it’s in full force now. The last few weeks, in particular, I’ve taken on some ambitious projects. It started with these danishes, made for a brunch potluck that was in the evening after work. The very next day, I stayed up until midnight flooding sugar cookies with royal icing. A week after that, I made two batches of fancy cupcakes for a bridal shower. I breathed a sigh of relief when that was over, but mixed up another batch of sugar cookie dough just one day later. I’ll decorate those sugar cookies this week, plus make a double batch of tiramisu for my friend’s rehearsal dinner on Friday.

danish 5

Baking projects that are for an event in the evening after work are particularly complicated, especially if the event is toward the end of the week instead of shortly after the weekend. It requires careful balancing of chilling time, lunch hours, and evening schedules. Of course it’s worth it when you’re sitting around with your friends, drinking bellinis and eating eggs Benedict and buttery, flaky danishes on Thursday evening after work. Not just worth it, but so enjoyable that I did it again a week later with cupcakes, and a week after that I’m sure it will be something else. My baking obsession is back.

danish 12

One year ago: Chocolate Pots de Creme
Two years ago: Toasted Coconut Custard Tart
Three years ago: Lemon Cream Cheese Bars
Four years ago: Raspberry Bars

Printer Friendly Recipe
Danishes (adapted from Martha Stewart’s Baking Handbook)

I made 18 danishes from this batch of dough, and they were about 3-inches on a side after baking. Bigger danishes are probably easier to work with; many of mine unfolded when the dough expanded during baking, particularly the square shape with the corners folding in.

½ cup warm milk
2 teaspoons instant yeast
10 ounces (about 2 cups) all-purpose flour
3 tablespoons sugar
1 teaspoon table salt
2 sticks butter, room temperature
1 large egg
1 batch of filling (recipes follow)
egg wash (1 egg mixed with ⅛ teaspoon salt and 1 teaspoon water)

1. In a small measuring cup, stir the yeast into the milk. In the bowl of a stand mixer fitted with the paddle attachment, combine the flour, sugar, and salt. Add 2 tablespoons of butter; mix until evenly combined. Pour in the yeast and milk; mix until the dough starts to look shaggy. Switch to the dough hook; add the egg and knead until the dough just starts to look smooth, 2-3 minutes. Wrap the dough in plastic wrap and refrigerate for at least 2 hours or overnight.

2. On a lightly floured surface, roll the dough out to a 12-inch by 8-inch rectangle, about ¼ inch thick. Distribute the softened butter over two-thirds of the dough, leaving a short end free of butter. Fold the non-buttered third over the middle, then fold the last third over the middle, like folding a letter. Pinch the edges to seal. Roll the dough out to a 12-by-8-inch rectangle again, then fold it in thirds again. Rewrap the dough in plastic wrap; chill 1 hour.

danish 3
(see here for an explanation of the creases on the dough)

3. After the dough has chilled, roll it out and fold it in thirds twice more, then chill another hour, and roll and fold twice more. Wrap tightly and refrigerate for at least four hours or overnight. (This is a good point to freeze the dough too; thaw in the refrigerator overnight.)

4. Roll the dough out to a 12-by-18-inch rectangle about ⅛-inch thick. If the dough becomes too elastic and springs back, cover it and place it in the refrigerator for at least ten minutes, then try rolling again. Be patient; the rolling and chilling could take up to an hour. Cut 12 to 18 squares (see note).

5. For pinwheels: Cut from each corner halfway to the center of each square. Dab about ¼ teaspoon of filling into the center of each square, then fold every other corner toward the center, pressing to seal. Top with one (for smaller danishes) to two (for the larger size) tablespoons of filling.

danish 8

For squares with folded corners: Spoon one (for smaller danishes) to two (for the larger size) tablespoons of filling into the center of each square. Fold each corner to the middle of the dough; press to seal.

danish 9

6. Transfer the danishes to a baking sheet lined with parchment paper or a silicone mat. Cover and either chill overnight or set aside to rise. Heat the oven to 400 degrees. When the danish dough is about doubled in height and is starting to look puffy, brush the danishes with the egg wash. Bake one baking sheet at a time until the danishes are golden brown, 20-25 minutes. Transfer the pan to a wire rack; let the danishes cool on the pan for a few minutes before transferring them to cooling racks to cool to room temperature. Serve within a day.

danish 10

Cheese Danish Filling

Makes enough for 1 batch of danishes

1 cup ricotta cheese
6 tablespoons (2.6 ounces) sugar
⅛ teaspoon salt
1 tablespoon lemon zest
1 large egg
2 teaspoons vanilla
2 tablespoons unsalted butter, melted and cooled

Combine all ingredients. Chill.

danish 11

Pear Almond Danish Filling (rewritten from Martha Stewart’s Baking Handbook)

Makes enough for 1 batch of danishes

⅔ cup slivered almonds, toasted and cooled completely
2 tablespoons flour
½ cup (3.5 ounces) sugar, plus 1 tablespoon
¼ teaspoon salt
2 tablespoons butter
1 large egg
2 pears, peeled, cored, diced finely
¼ cup lemon juice

1. In a food processor, grind the almonds, flour, ½ cup sugar, and salt; add the butter and egg; chill.

2. Heat the pears, lemon juice, and 1 tablespoon sugar in a medium nonstick skillet over medium heat, stirring occasionally, until the pears caramelize, 8-10 minutes. Chill.

danish 15

strawberry buttermilk cake

strawberry buttermilk cake 6

I woke up yesterday wanting cake. Not wanting to eat cake, so much, although that part is nice, but wanting to watch butter and sugar swirl in the mixer bowl and gradually turn into a smooth batter. This despite plans to make Danish dough, two Danish fillings, fajitas, grapefruit cookies (which didn’t happen because I’d gotten my mixer fix with the cake), and a batch of Tartine country bread dough to freeze (which didn’t happen because I ran out of flour). No one said anything about being practical.

strawberry buttermilk cake 3

I started poking around the internet for recipes, and chose this one because it uses buttermilk, which I have right now, and it wasn’t loaded with butter, which is always nice when you’re planning to eat cake for breakfast. I did not have any fresh berries, but I always keep strawberries in the freezer for our weekday smoothies. And it didn’t require an hour in the oven; key on a government holiday that included sleeping in.

strawberry buttermilk cake 4

The cake was everything I’d been craving. The most important part of the craving was my favorite mixing method of beating butter and sugar until fluffy, whipping in an egg and vanilla, and alternating the additions of buttermilk and dry ingredients. But cake for breakfast doesn’t hurt either.

strawberry buttermilk cake 5

One year ago: Eggplant Rollatini
Two years ago: Pasta with Baked Ricotta and Sweet Tomato Sauce
Three years ago: Vegetarian Chili
Four years ago: Salmon Cakes, Flaky Biscuits, Hashed Brussels Sprouts

Printer Friendly Recipe
Berry Buttermilk Cake (rewritten but not changed from Gourmet via Smitten Kitchen)

Serves 6

Two things: The original recipe calls for fresh raspberries, which are probably a better choice than the (frozen) strawberries I used. Strawberries are juicier than other berries, so my cake was a little wetter than is probably ideal. I also thought it was too sweet, which could be because strawberries aren’t as tart as raspberries, but still, next time I’ll only use ½ cup of sugar.

1 cup (4.8 ounces) all-purpose flour
½ teaspoon baking powder
½ teaspoon baking soda
¼ teaspoon salt
½ stick unsalted butter, room temperature
⅔ cup (4.67 ounces) plus 1½ tablespoons sugar, divided
1 teaspoon grated lemon zest
½ teaspoon pure vanilla extract
1 large egg
½ cup well-shaken buttermilk
1 cup (5 ounces) fresh raspberries (or other berries)

1. Adjust a rack to the middle position and heat the oven to 400 degrees. Butter and flour a 9-inch round cake pan. In a small bowl, whisk together the flour, baking powder, baking soda, and salt.

2. In a stand mixer fitted with the paddle attachment (or in a medium bowl using a hand mixer), beat the butter, sugar, and lemon zest (if using) on medium-high speed until pale and fluffy, about 2 minutes. Add the egg and vanilla, beating until combined. Reduce the mixer speed to low; add one-third of the flour mixture, then half of the buttermilk. Continue alternating the dry ingredients and buttermilk, ending with the dry ingredients.

3. Scrape the batter into the prepared pan, smoothing the top. Scatter the berries evenly over the top, then sprinkle with the remaining 1½ tablespoons sugar. Bake until the cake is golden and a toothpick inserted into the center comes out clean, 25 to 30 minutes. Transfer the cake to a cooling rack; cool for 10 minutes. Remove the cake from the pan and cool another 10-15 minutes before serving.

strawberry buttermilk cake 7

grapefruit margaritas

grapefruit margarita 4

If 2010 was the year of the vodka gimlet, 2011 was dedicated to margaritas. It started with these, and then when grapefruits went out of season, we tried strawberry margaritas, pineapple margaritas, classic lime margaritas, and, most recently, cranberry margaritas. I love them all, but nothing holds a candle to the grapefruit version.

grapefruit margarita 2

It’s perfectly balanced – not too sweet, not too sour, not too strong. The light grapefruit mellows any harshness from the lime and alcohol, and the result is perfectly refreshing. As an added bonus, one grapefruit yields enough juice for four drinks – which is just the right amount to split between two people.

grapefruit margarita 3

One year ago: Feta and Shrimp Macaroni and Cheese
Two years ago: Apple Muffins
Three years ago: Twice Baked Potatoes with Broccoli, Cheddar, and Scallions
Four years ago: Maple Walnut Cupcakes

Printer Friendly Recipe
Grapefruit Margaritas (adapted from Confections of a Foodie Bride)

Technically 4 servings, but you’ll be sad if you only get one

Of the many grapefruits I have juiced for margaritas, one grapefruit has always resulted in 4 shots of juice. Two limes will usually give two shots of juice, but not always, so it’s best to buy a third just in case.

As with all things, alcohol quality matters. I’ve used Cointreau, Gran Marnier, Gran Gala, Controy (which can only be purchased in Mexico), and Patron Citronge in these, all with good results. I’ve never used a bargain triple sec. For tequila, I tend to buy whatever is on sale in the $20-25 range.

2 shots lime juice
4 shots grapefruit juice
3 shots orange liqueur
3 shots tequila

In a pitcher or 4-cup measuring cup, mix all of the ingredients. Pour over crushed ice in individual glasses; serve immediately.

grapefruit margarita 5

fresh orange cream tart

orange cream tart 5

I’ve come full circle. The second recipe I made as part of Tuesdays with Dorie was a lemon cream tart; the alternative offered for that recipe for lemon haters was this fresh orange cream tart, and now this is the second-to-last thing I baked for the group. I swore after that lemon tart that I was done with citrus creams, because, as good as they are, a full pound of butter in a 9-inch tart is extreme. But it was a never say never situation, because I made a lemon cream as part of this lemon meringue cake and now I’m making an orange cream to say I baked every single dessert recipe in the book.

orange cream tart 1

Fortunately, this time I was smart enough to give them all away without telling my guests that they were eating orange-flavored butter on a cookie. Plus I made them tiny, so each little tartelette only contained maybe one tablespoon of butter. Which is still a lot. It’s good enough that it might be worth the calories. But what I can say for sure is that making this one very rich dessert was worth it to say I finished off an entire cookbook.

orange cream tart 3

Three years ago, one very busy day of candy-making: Candied Orange Peels, Buckeyes, White Chocolate Lemon Truffles, Pumpkin Seed Brittle, Vanilla Bean Caramels

Printer Friendly Recipe
Fresh Orange Cream Tart (from Dorie Greenspan’s Baking: From my Home to Yours)

I skipped both the orange segments and the jelly garnishes.

For the Orange Filling:
1 cup (7 ounces) sugar
Grated zest of 3 oranges
Grated zest of 1 lemon
4 large eggs
Scant ¾ cup fresh blood-orange or Valencia orange juice
3 tablespoons fresh lemon juice
1¼ teaspoons unflavored gelatin
1 tablespoon cold water
2¾ sticks (22 tablespoons) unsalted butter, cut into tablespoon-size pieces, at cool room temperature

1 9-inch tart shell (round or square) made with Sweet Tart Dough or Sweet Tart Dough with Nuts, fully baked and cooled

3 orange segments, for decoration
⅓ cup quince or apple jelly mixed with ½ teaspoon of water, for glazing

Getting Ready: Have an instant-read thermometer, a strainer and a blender (first choice) or food processor at hand. Bring a few inches of water to a simmer in a saucepan.

Put the sugar and orange and lemon zest in a large heatproof bowl that can be set over the pan of simmering water. Off the heat, rub the sugar and zests together between your fingertips until the sugar is moist, grainy and very aromatic. Whisk in the eggs, followed by the orange and lemon juice.

Set the bowl over the pan and start stirring with the whisk as soon as the mixture feels tepid to the touch. You want to cook the cream until it reaches 180 degrees F. As you whisk – you must whisk constantly to keep the eggs from scrambling – you’ll see that the cream will start out light and foamy, then the bubbles will get bigger and then, as it gets closer to 180 degrees F, it will start to thicken and the whisk will leave tracks. Heads up at this point – the tracks mean the cream is almost ready. Don’t stop whisking or checking the temperature, and have patience – depending on how much heat you’re giving the cream, getting to temp can take as long as 10 minutes.

As soon as it reaches 180 degrees F, remove the cream from the heat and strain it into the container of the blender (or food processor); discard the zest.

Soften the gelatin in the cold water, then dissolve it by heating it for 15 seconds in a microwave oven (or do this in a saucepan over extremely low heat). Add the gelatin to the filling and pulse once just to blend, then let the filling cool to 140 degrees F, about 10 minutes.

Turn the blender to high (or turn on the processor) and, with the machine going, add the butter about 5 pieces at a time. Scrape down the sides of the container as needed as you incorporate the butter. Once the butter is in, keep the machine going – to get the perfect light, airy texture, you must continue to blend the cream for another 3 minutes. If your machine protests and gets a bit too hot, work in 1-minute intervals, giving the machine a little rest between beats.

Pour the cream into a container, press a piece of plastic wrap against the surface and refrigerate for at least 4 hours. (The cream can be refrigerated, tightly covered, for up to 5 days or frozen for up to 2 months; thaw overnight in the fridge.)

When you are ready to construct the tart, whisk the cream vigorously to loosen it. Spread the cream evenly in the crust. Arrange the orange segments in the center of the tart and prepare the glaze: bring the jelly and water to a boil. Use a pastry brush or pastry feather to lightly spread the jelly over the orange segments and cream. Serve now or refrigerate the tart until needed.

Sweet Tart Dough

1½ cups (7.2 ounces) all-purpose flour
½ cup (2 ounces) confectioner’s sugar
¼ teaspoon salt
1 stick plus 1 tablespoon (9 tablespoons) very cold (or frozen) unsalted butter, cut into small pieces
1 large egg yolk

Put the flour, confectioner’s sugar and salt in a food processor and pulse a couple of times to combine. Scatter the pieces of butter over the dry ingredients and pulse until the butter is coarsely cut in – you should have some pieces the size of oatmeal flakes and some the size of peas. Stir the yolk, just to break it up, and add it a little at a time, pulsing after each addition. When the egg is in, process in long pulses – about 10 seconds each – until the dough, which will look granular soon after the egg is added, forms clumps and curds. Just before you reach this stage, the sound of the machine working the dough will change – heads up. Turn the dough out onto a work surface and, very lightly and sparingly, knead the dough just to incorporate any dry ingredients that might have escaped mixing.

To Press the Dough into the Pan: Butter a 9-inch fluted tart pan with a removable bottom. Press the dough evenly over the bottom and up the sides of the pan, using all but one little piece of dough, which you should save in the refrigerator to patch any cracks after the crust is baked. Don’t be too heavy-handed – press the crust in so that the edges of the pieces cling to one another, but not so hard that the crust loses its crumbly texture. Freeze the crust for at least 30 minutes, preferably longer, before baking.

To Fully Bake the Crust: Center a rack in the oven and preheat the oven to 375 degrees F.

Butter the shiny side of a piece of aluminum foil and fit the foil, butter side down, tightly against the crust. (Since you froze the crust, you can bake it without weights.) Put the tart pan on a baking sheet and bake the crust for 25 minutes. Carefully remove the foil. If the crust has puffed, press it down gently with the back of a spoon. For a partially baked crust, patch the crust if necessary, then transfer the crust to a cooling rack (keep it in its pan).

Bake for another 8 minutes or so, or until it is firm and golden brown. Transfer the tart pan to a rack and cool the crust to room temperature before filling.

orange cream tart 4