Fall in upstate New York, where I went to graduate school, was amazing. Even my drive through town to work was gorgeous, passing hillsides of brightly colored trees. I lived a couple blocks away from a cider mill, and Dave and I made a point to go there every year for cider, doughnuts, and squash so oddly shaped they looked deformed. It was my favorite place to buy apples too; some, like Empire and Cortland, even named for the area.
The only problem was that fall came too soon, at least for this lover of summer. It seemed like it had hardly warmed up after the long freezing winter before it started getting chilly again. For this reason, I had a strict rule of no fall-inspired foods until October – no pumpkin, no candy corn, no apples.
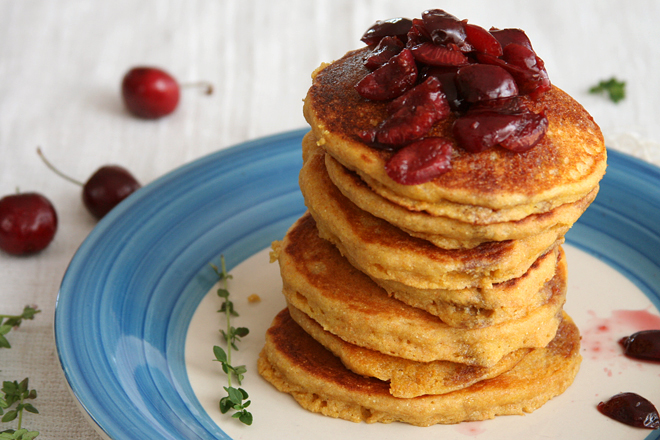
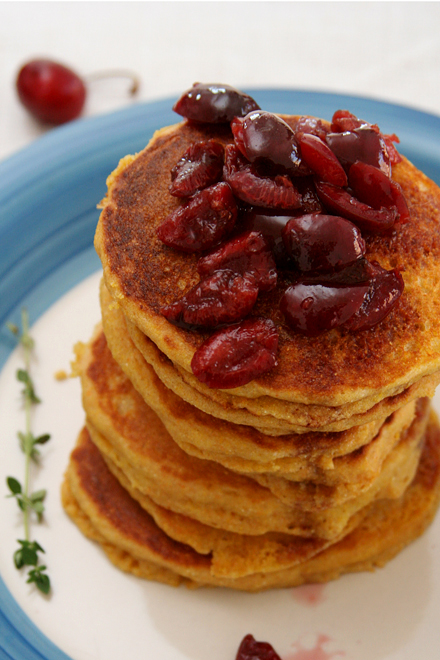
It’s kind of the opposite here in southern New Mexico. I’m tired of being hot and welcome the chill we’re getting in the mornings and evenings. I’m not quite ready for pumpkin – things need to cool off a bit more, so I probably will wait until October. But apples are just right.
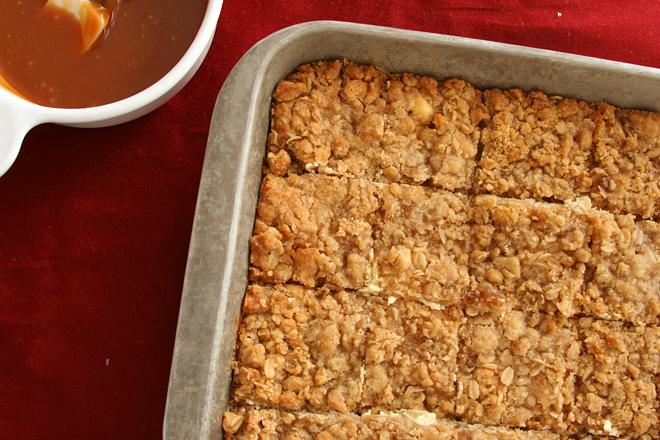
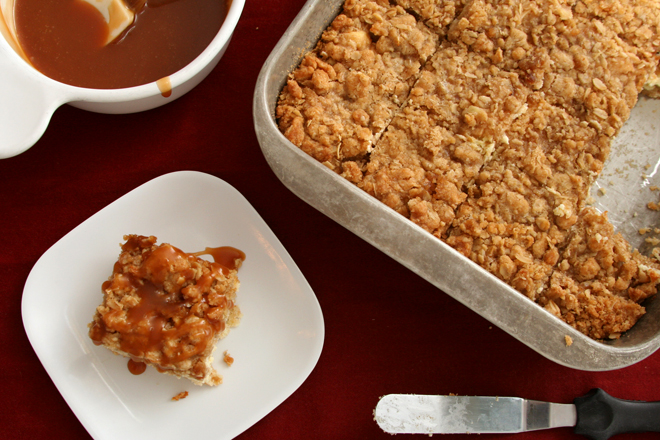
These apples are piled on top of a cookie crust and a cheesecake layer, then topped with streusel and caramel. I saw the recipe on a blog and was aghast at how rich it was until I traced it back to its original source, Paula Deen. This is my first time making one of her recipes, but my understanding it that it’s par for the course.
In this case, it definitely works. I’ll add another apple next time, because the apples were pretty balanced with the other components, and I want them to stand out more. But having those other components come forward is not a bad thing, because each one was so good. Somehow, the combination of everything didn’t make these overpoweringly sweet or unpleasantly rich. Really, these were a perfect fall treat.

Printer Friendly Recipe
Caramel Apple Cheesecake Bars with Streusel (adapted from the Food Network via Closet Cooking; caramel sauce from Smitten Kitchen)
There are a lot of steps, but none of them are hard.
If you like to line your pans with a double layer of aluminum foil for bar cookies for easy removal, this recipe is a good candidate for that. I prefer not to, and the first bar I removed crumbled. The remainder were easy enough to get clean slices of with a spatula.
Streusel:
1 cup (7 ounces) firmly packed light brown sugar
1 cup (4.8 ounces) all-purpose flour
½ teaspoon cinnamon
⅛ teaspoon salt
8 tablespoons (1 stick) butter, room temperature
½ cup quick cooking oats
Apples:
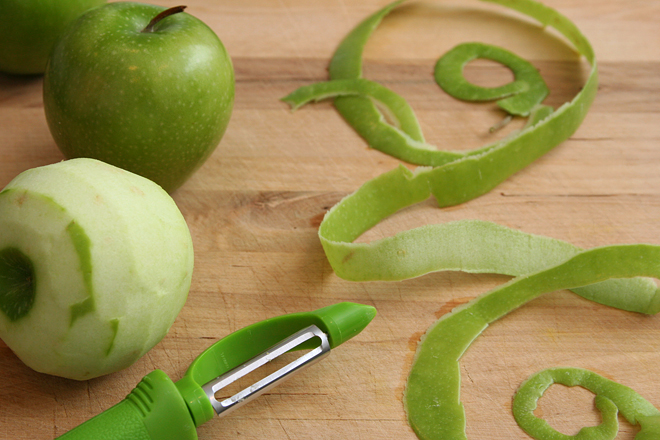
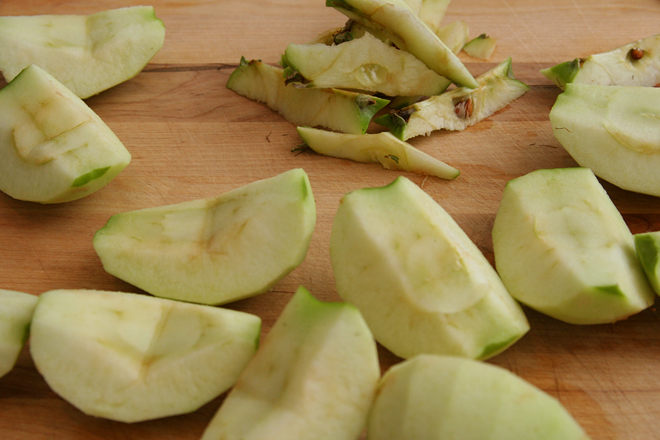
4 Granny Smith apples, peeled, cored and finely chopped
¼ cup (1.75 ounces) sugar
½ teaspoon ground cinnamon
½ teaspoon lemon juice
pinch salt
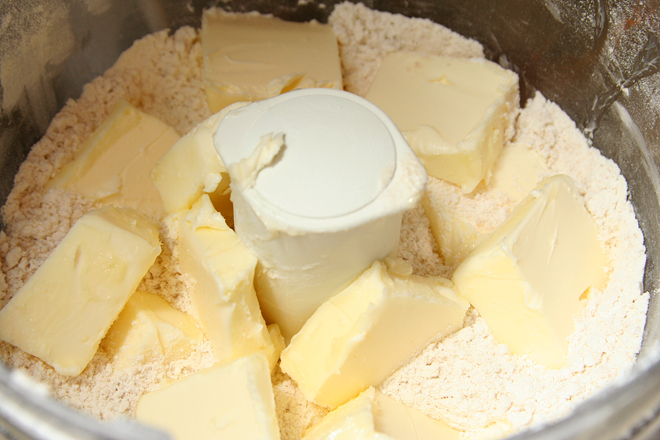
Cookie base:
2 cups (9.6 ounces) all-purpose flour
½ cup (3.5 ounces) firmly packed brown sugar
¼ teaspoon salt
16 tablespoons (2 sticks) butter, room temperature
Cream cheese layer:
2 (8-ounce) packages cream cheese, room temperature
pinch salt
½ cup (3.5 ounces) sugar
2 large eggs
1 teaspoon vanilla extract
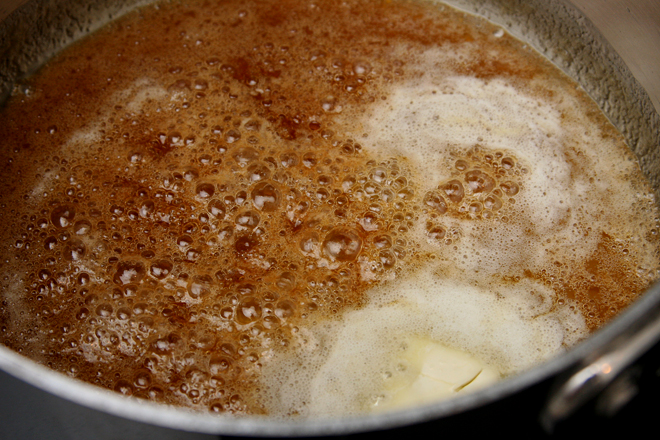
Caramel sauce:
½ cup (3.5 ounces) granulated sugar
¼ cup water
1 tablespoon corn syrup
3 tablespoons unsalted butter, cubes
⅛-¼ teaspoon salt
1 teaspoon lemon juice
⅓ cup heavy cream
1. Adjust a rack to the middle position and heat the oven to 350 degrees. Spray a 9-by-13-inch pan generously with cooking spray.
2. For the streusel: Add the sugar, flour, cinnamon, and salt in the bowl of a food processor fitted with the blade; pulse to combine. Add the butter and process until the mixture is crumbly. Add the oats and pulse just to combine. Transfer to a bowl and chill. Do not wash the processor bowl.
3. For the apples: In a medium bowl, mix everything. Set aside.
4. For the cookie base: Add the flour, sugar, and salt to the food processor bowl; pulse to combine. Add the butter and process until the mixture is crumbly. Press into the bottom of the prepared pan. Bake until lightly browned around the edges, about 15 minutes.
5. For the cream cheese layer: While the cookie base is baking, beat the cream cheese and salt with a mixer on medium-low speed, until softened. Add the sugar and continue mixing until the mixture is smooth. Add the eggs, one a time, mixing just until combined. Mix in the vanilla extract.
6. Pour the cream cheese mixture over the warm crust. Spread the apples over the cream cheese batter, then top with the streusel, breaking it until ¼- to ½-inch chunks. Bake until the top is browned and the cream cheese filling is set, about 30 minutes. Transfer to a wire rack and cool completely.
7. For the caramel sauce: Add the sugar, water, and corn syrup to a 2-quart saucepan. Cover and heat over medium-high heat until simmering, then remove the cover and let simmer until the mixture is honey-colored, swirling the pan occasionally at first and more often as the sugar browns. Add the butter, which will foam violently, and stir to combine. Stir in ⅛ teaspoon salt, lemon juice, and heavy cream. Once the mixture cools slightly, taste and add more salt if necessary. Let the sauce cool to room temperature before topping the bars. (Caramel can be made up to a week in advance.)