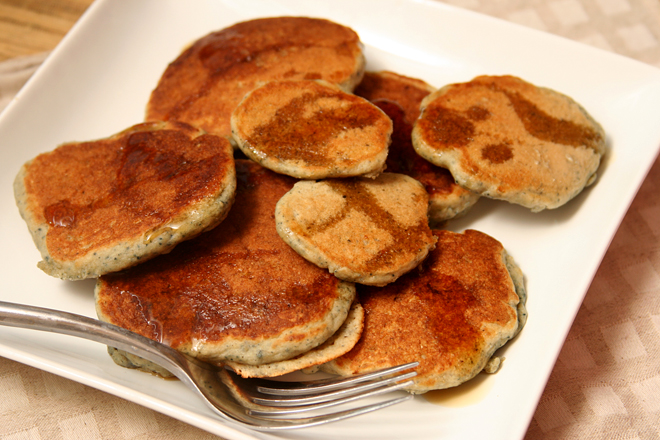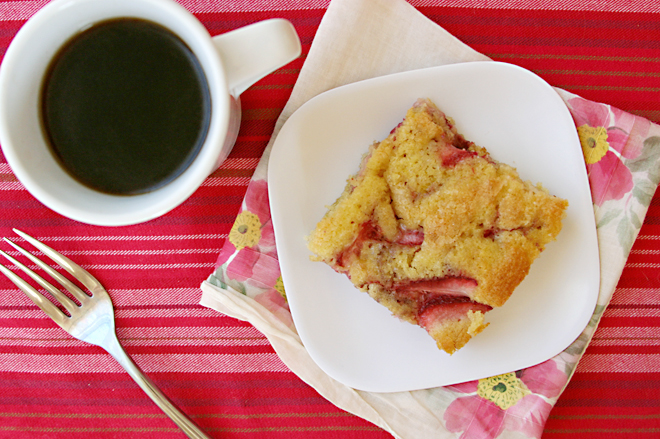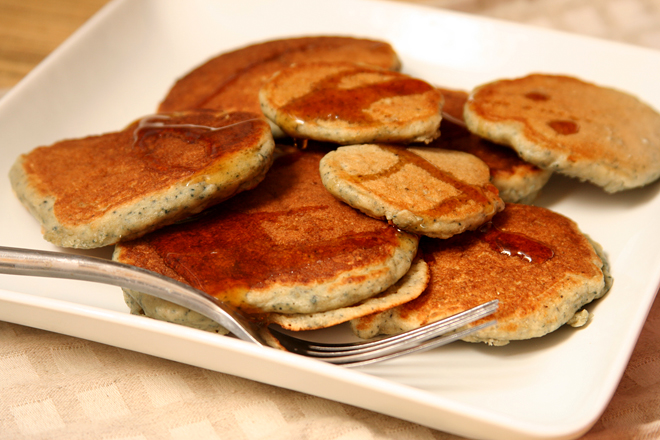
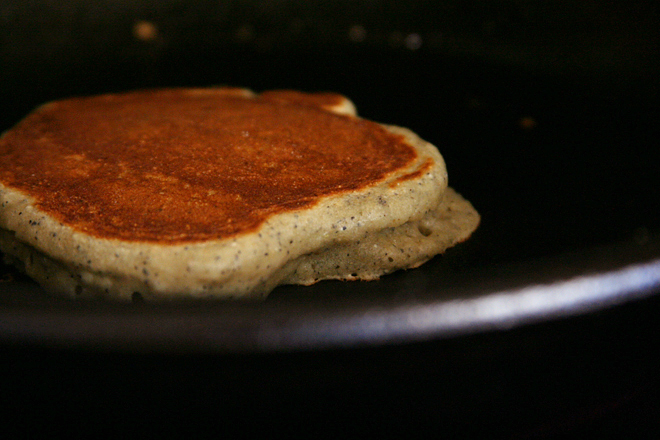
I’m not sure what made these pancakes so perfect – was it the combination of ingredients, with the crunch of cornmeal and depth of molasses, or was it being cooked in a cast-iron skillet? I’ve had a cast-iron skillet for almost a year, and I would say that I use it occasionally, but not often.
The main reason I don’t use it more is because, no matter what anyone says, washing a pan by hand, without soap, is not as easy as throwing it in the dishwasher. But the cast-iron undoubtedly forms a better crust on food, from meat to, yes, pancakes, so there are times when it is absolutely worth the extra cleaning step.
I was a little worried about these pancakes though. There’s no sugar in the batter except for molasses. That couldn’t possibly be sweet enough, right?
It actually was, with a distinct but not overwhelming bitter molasses flavor. And of course I added more sugar in the form of maple syrup on top anyway. The result was perfect pancakes, with a crisply browned exterior and tender middle, all thanks to just the right combination of ingredients – or just the right skillet choice.
One year ago: Salted Herbed Roast Turkey
Two years ago: Green Chile Mayonnaise
Three years ago: Wheat Berries with Caramelized Onions, Feta, and Lentils
Four years ago: Bourbon Pumpkin Cheesecake
Printer Friendly Recipe
Cornmeal Molasses Pancakes (adapted from recipezaar via Joy the Baker)
Serves 2
If you don’t keep buttermilk around, my favorite substitution is a mixture of plain yogurt and milk; for this recipe, use ¾ cup milk and ½ cup yogurt. You can also use regular milk, adding 1 tablespoon of lemon juice or vinegar to the wet ingredients.
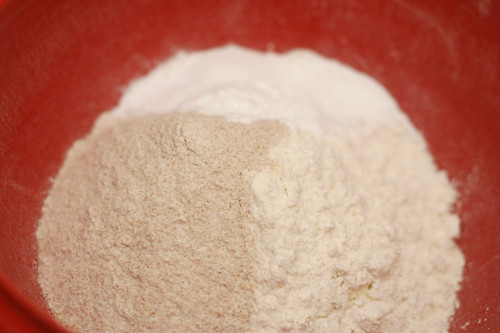
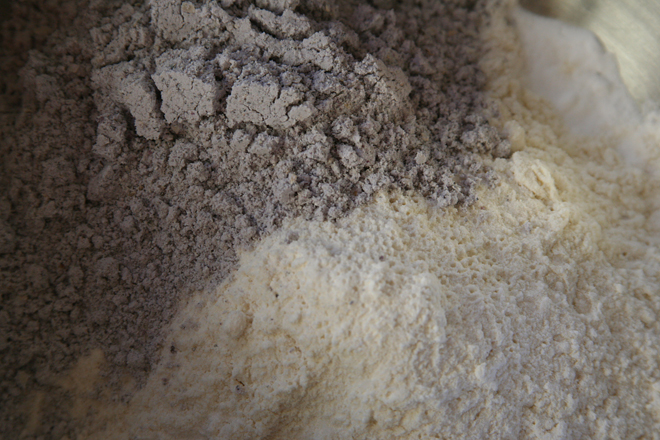
1 cup (4.8 ounces) all-purpose flour
½ cup yellow or blue cornmeal
2 teaspoons baking powder
½ teaspoon baking soda
½ teaspoon salt
1 large egg
1¼ cup buttermilk
1 tablespoon dark molasses
1 teaspoon vanilla extract
2 tablespoons vegetable oil, plus more for cooking the pancakes
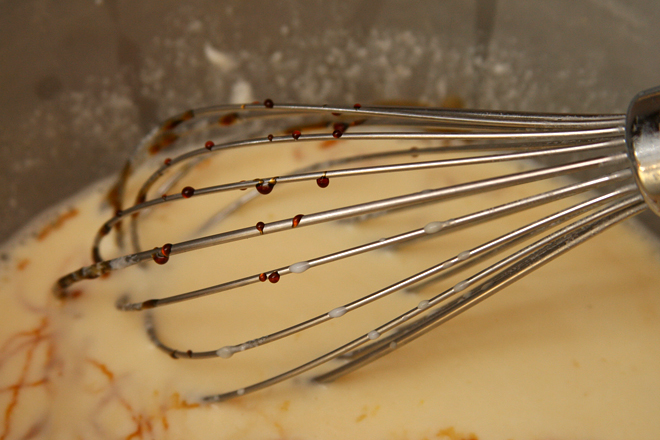
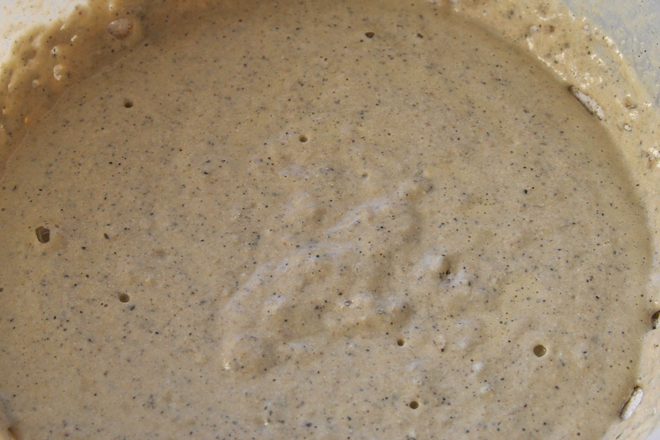
1. In a large mixing bowl, stir together the flour, cornmeal, baking powder, baking soda, and salt. In a separate mixing bowl, whisk the egg until thoroughly combined, then add the buttermilk, molasses, vanilla, and oil. Pour the liquid ingredients into the dry ingredients and whisk gently until the batter is mostly mixed but still contains small lumps. Let the batter rest while the pan heats, at least 5 minutes.
2. Heat a non-stick skillet or a griddle over medium heat. Add a few drops of oil and spread it over the bottom of the pan. Using a ¼ cup measure, pour the pancake batter onto the hot griddle. When the pancakes are golden brown, after about 2-3 minutes, flip to cook the other side another 2-3 minutes. Keep warm in oven heated to 200 degrees.