I had a tough week last week. One day I woke up to little ants crawling all over the kitchen. One afternoon I went to the dentist feeling smug about how often I’ve been flossing and left with an appointment to get three cavities filled. One morning I noticed blisters on my waist that were suspiciously familiar – because they’re exactly like the case of shingles* I had just a few weeks ago. The list goes on from there.
I also learned that I definitely do not have time to make enchiladas on a weeknight, even if the sauce is made in advance. Mixing the filling, heating tortillas, rolling and baking is too much to fit in on top of the daily dose of exercise, laundry, and spraying the kitchen with Raid.
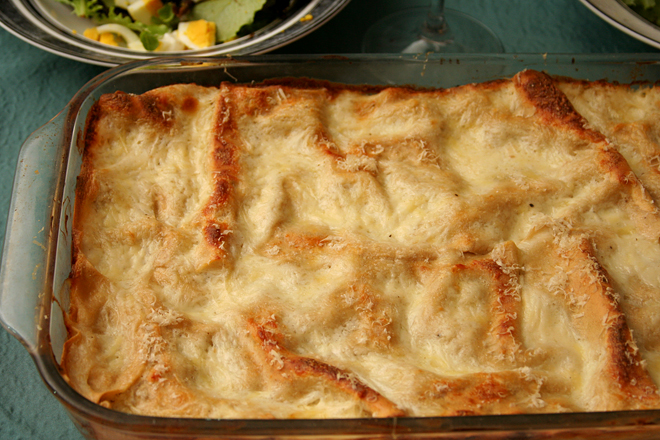
I guess if all’s well that ends well, you could say I had a great week. After a series of challenging days, nothing could have been more relieving than a night spent sipping wine with friends – even if it’s for a wine appreciation class, we’re all furiously scribbling notes, and technically we’re not supposed to be swallowing the wine. And when I got home from class, a delicious dinner was ready, because I’d skipped a workout the day before to fill and roll and all Dave had to do was transfer the enchiladas to the oven while I was out drinking wine. Maybe last week wasn’t so bad after all.
(*Getting shingles isn’t fun, but I’m extremely lucky that I only get mild cases.)
One year ago: Fried Eggs with Garlic Yogurt Sauce
Two years ago: Steak Sandwiches
Three years ago: Pumpkin Cupcakes (comparison of 3 recipes)
Four years ago: Pain Ordinaire
Printer Friendly Recipe
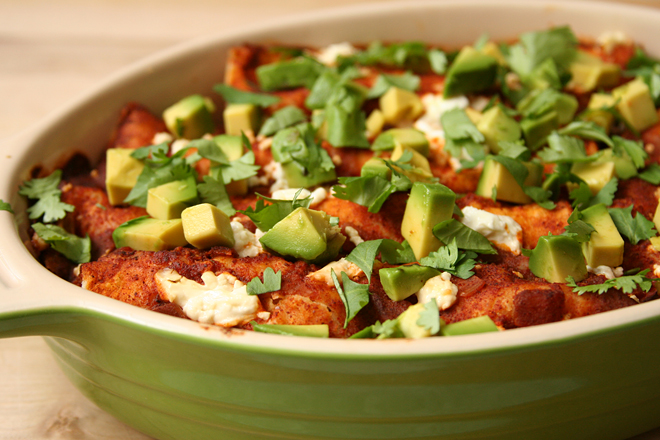
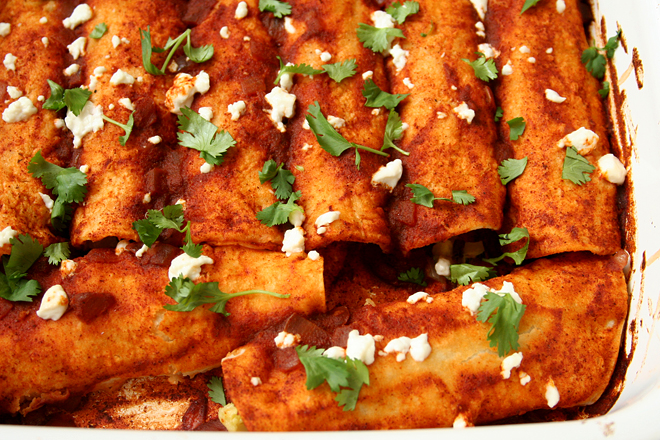
Black Bean-Roasted Zucchini-Goat Cheese Enchiladas (filling adapted from Sprouted Kitchen; sauce from America’s Test Kitchen’s Healthy Family Cookbook via Prevention RD)
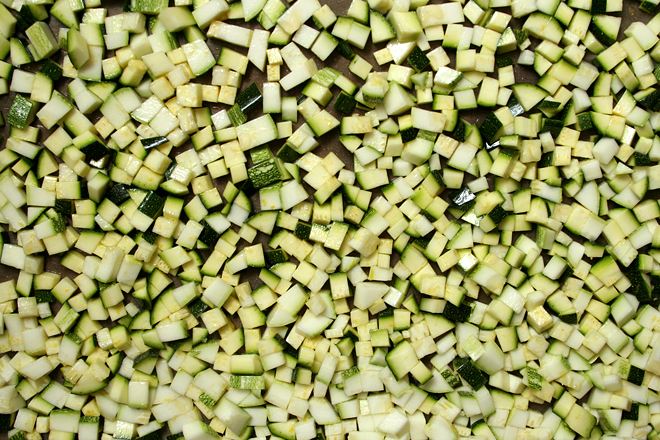
I roasted the zucchini on a baking sheet immediately after dicing them, but because zucchini is so wet, I think they would benefit from being sprinkled with about a teaspoon of salt, then allowed to drain for half an hour or so before roasting. If you have one, spinning them dry in a salad spinner would also help them pick up more roasted brown color in the oven. On the other hand, the enchiladas were delicious without this extra step.
Serves 4
Enchiladas:
3 large zucchini, cut into ¼-inch dice
1 small onion, coarsely chopped
1 tablespoon extra virgin olive oil, divided
zest from 1 lemon
1 teaspoon kosher salt
1 (15-ounce) can black beans, rinsed and drained
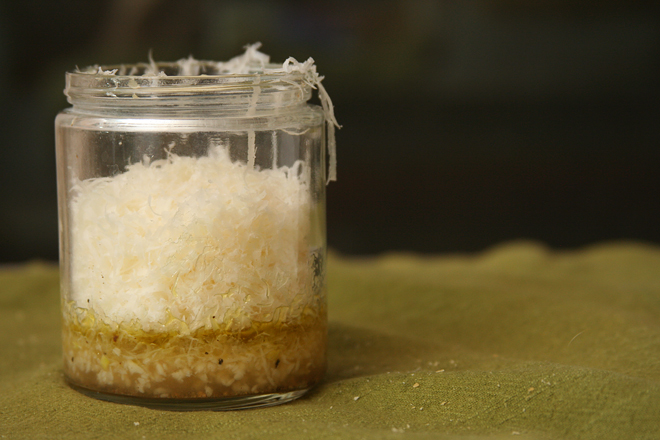
5 ounces goat cheese, divided
12 corn tortillas
Sauce:
1 teaspoon canola oil
½ small onion, finely chopped
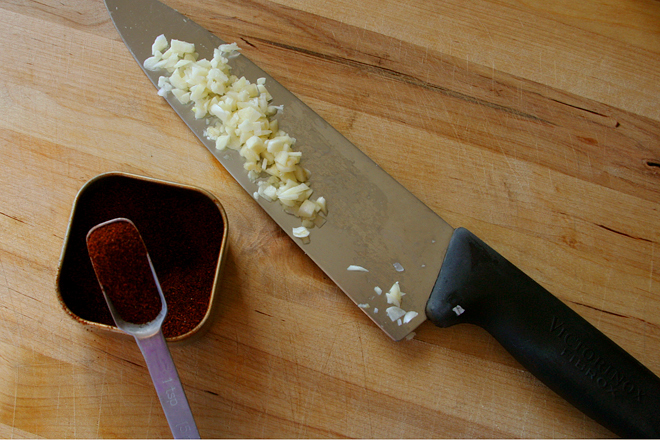
2 cloves garlic, minced
1½ tablespoons chili powder
½ tablespoon ground cumin
1 teaspoon sugar
¼ cup water
1 (8-ounce) can tomato sauce
black pepper, to taste
For serving:
2 avocados, diced
½ cup minced cilantro
lime wedges
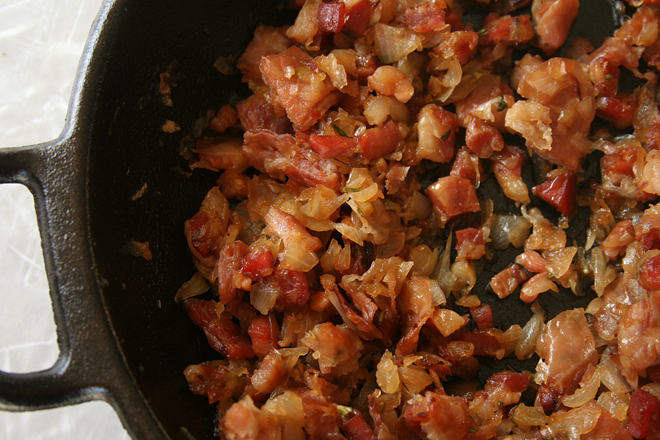
1. Heat the oven to 450 degrees. On a large rimmed baking sheet, combine the zucchini, onion, oil, lemon zest, and salt. Roast, stirring occasionally, until the zucchini is softened and maybe slightly browned, about 30 minutes. Transfer to a large bowl; stir in the black beans and 4 ounces of goat cheese. Reduce the oven temperature to 350 degrees.
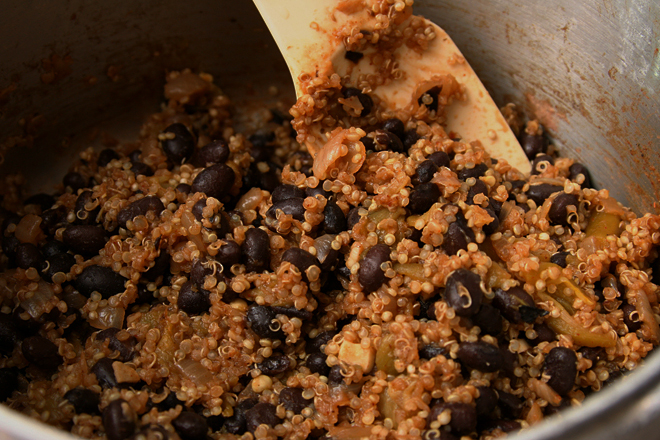
2. While the zucchini roasts, heat 1 teaspoon of canola oil in a medium saucepan over medium heat. Add the onion and cook until translucent and slightly browned around the edges, stirring occasionally, about 8 minutes. Add the garlic, chili powder, cumin, and sugar; cook, stirring constantly, until fragrant, about 1 minute. Add the water and tomato sauce. Increase the heat to medium-high, bring to a simmer, then reduce the heat to medium-low. Maintain a low simmer until slightly thickened, 5 to 10 minutes, stirring occasionally.
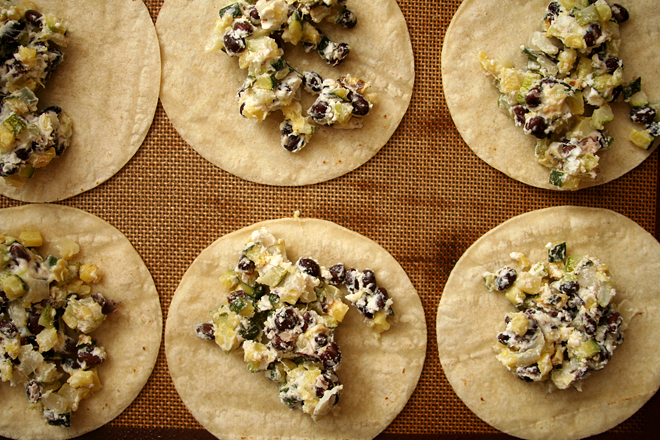
3. To soften the tortillas, brush or spray them with a light layer of oil. Arrange 6 tortillas in a single layer on a baking sheet; transfer to the oven and cook for about 3 minutes; flip the tortillas and continue baking for 2 more minutes, until the tortillas are pliable. Repeat with the remaining tortillas.
4. Spread a thin layer of sauce over the bottom of a 9-by-13-inch baking dish. Divide the filling evenly between the tortillas. Roll the tortillas over the filling, arranging the filled tortillas seam-side down in the baking dish. Cover the rolled tortillas with the remaining enchilada sauce. Sprinkle the remaining 1 ounce of goat cheese over the top of the sauce. Bake uncovered for 25-30 minutes, until the enchiladas are evenly heated. Let set for 5 minutes before serving with chopped avocado, cilantro, and lime.