After grabbing a slice from the office kitchen, one of my coworkers asked me why I decided to add balsamic vinegar to pie. My answer of “because the recipe called for it” surely did not impress him. However, it’s a great question: What does the vinegar add to this pie?
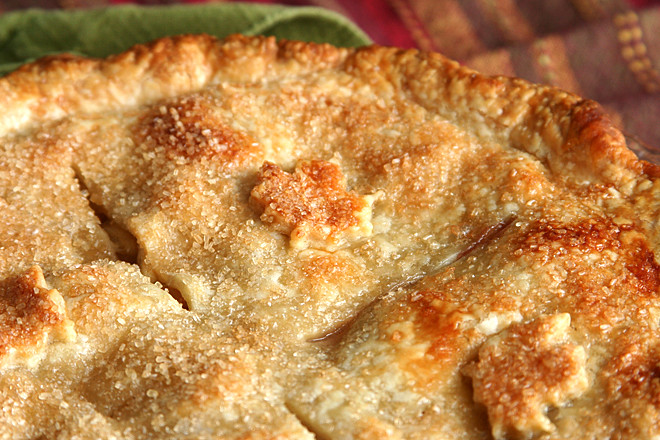
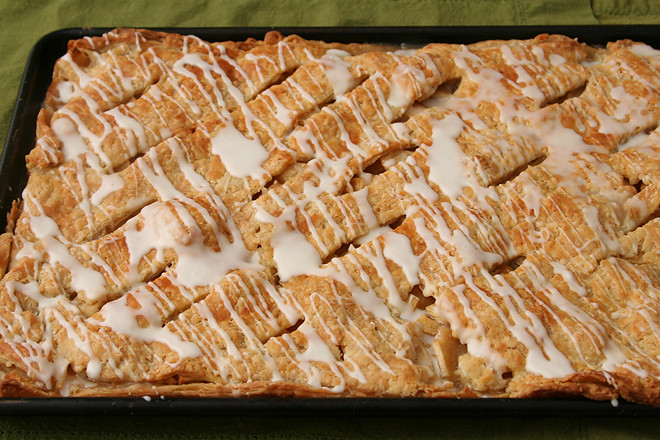
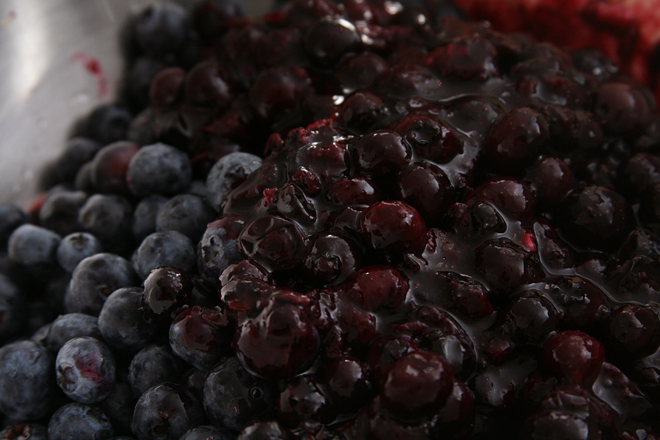
I was surprised that the recipe calls for strawberry juice to be drained off and discarded (we used it in place of the sugar syrup in daiquiris). I suppose the balsamic vinegar is replacing the strawberry juice. No one could taste the vinegar or the angostura bitters in the baked pie, but we all agreed that it was particularly delicious and intensely strawberry-y.

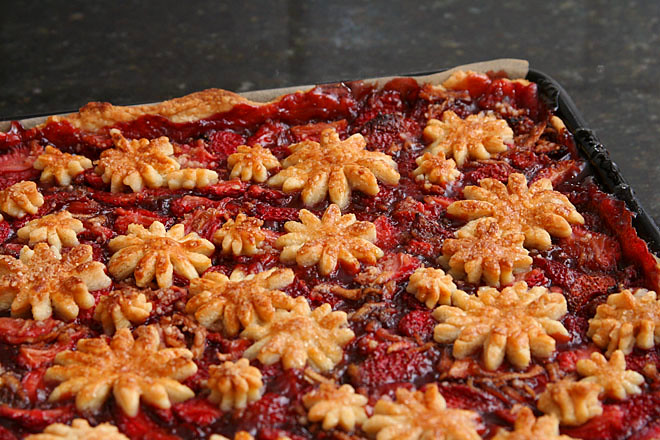
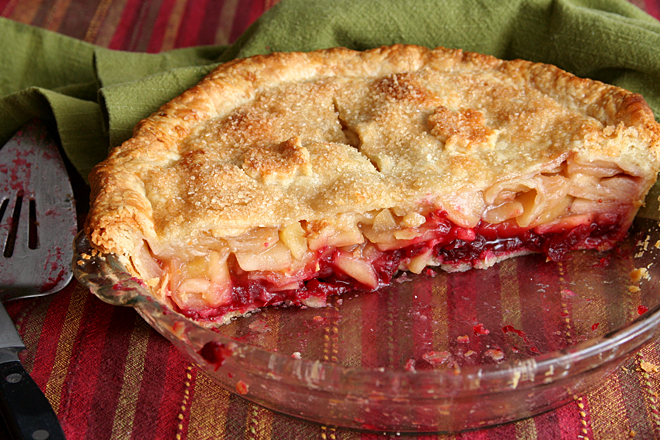
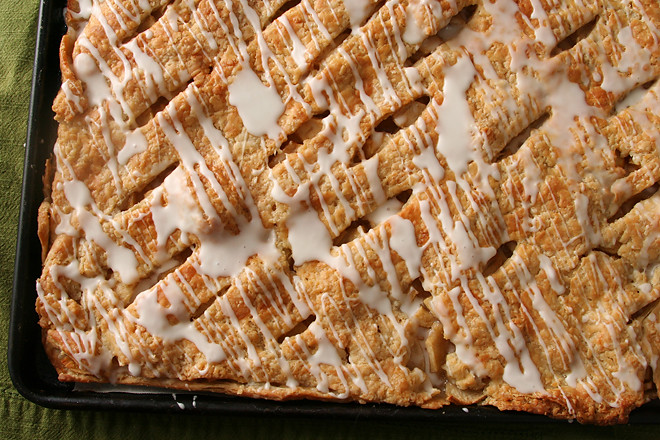
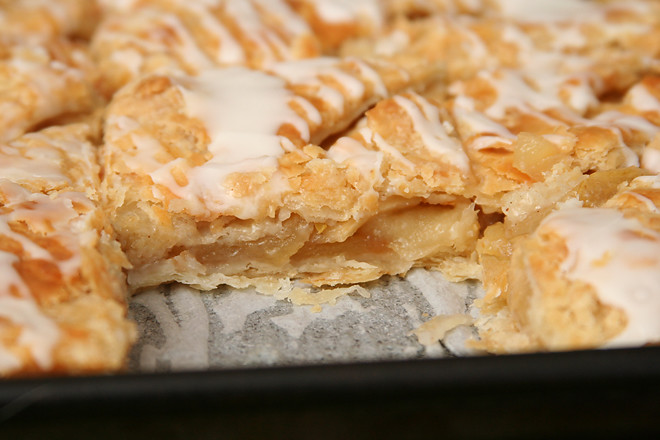
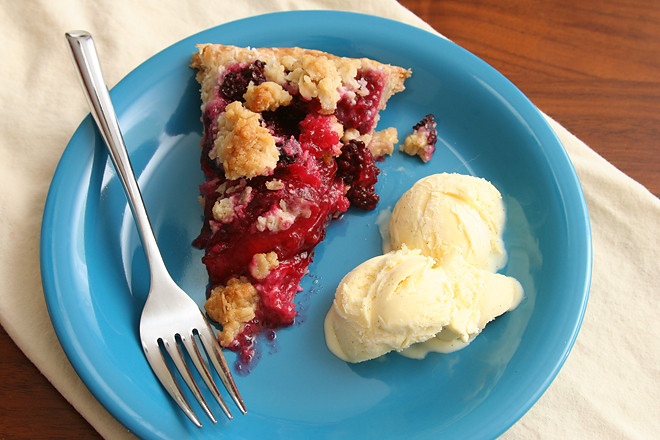
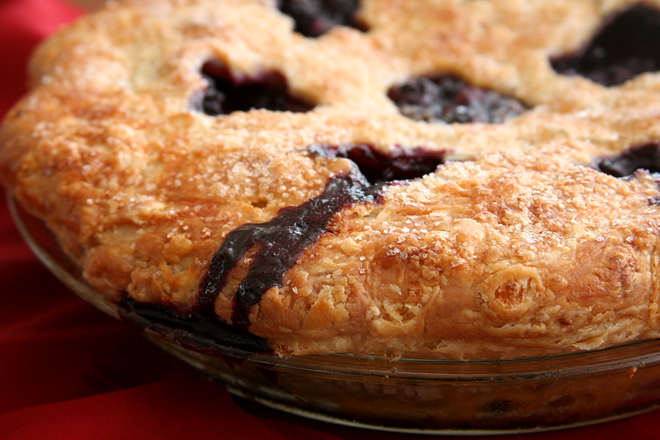
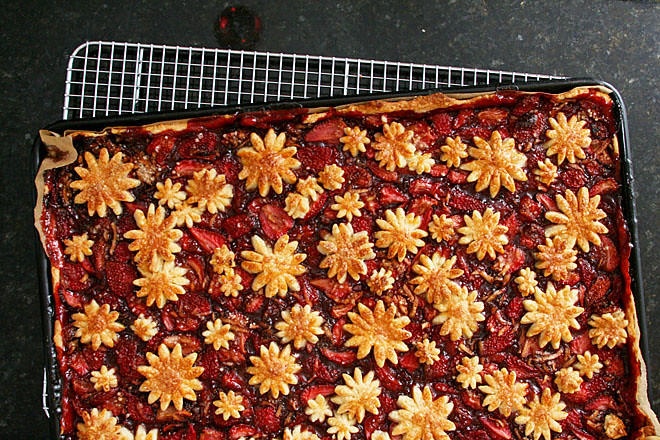
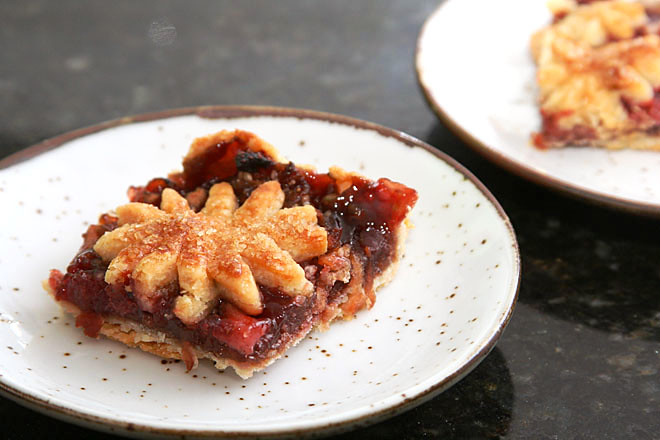
The changes I made from the original recipe weren’t intentional; I was basing my recipe off of a friend, who’d adjusted the thickener herself. As a result, the filling is more solid, which is perfect for a slab pie intended to be eaten out of hand instead of cut into slices and served plated. In the end, even if I can’t explain just what made it so good, there isn’t a thing I’d change about this pie, from the thickener to the straining of juices and nontraditional additions.
Printer Friendly Recipe
Strawberry Balsamic Slab Pie (adapted from Emily Elson’s and Melissa Elson’s Four and Twenty Blackbirds Pie Book via Apple a Day; crust rewritten from Serious Eats)
Crust:
3¾ cups (18 ounces) all-purpose flour
3 tablespoons sugar
1½ teaspoon kosher salt (or ¾ teaspoon table salt)
30 tablespoons butter (3¾ sticks) cold unsalted butter, cut into ½-inch cubes
9 tablespoons cold water
Filling and topping:
4½ tablespoons granulated sugar
3 pounds fresh strawberries, rinsed and quartered
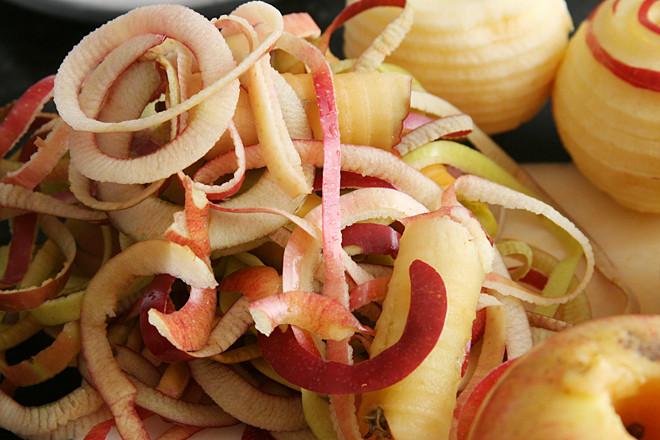
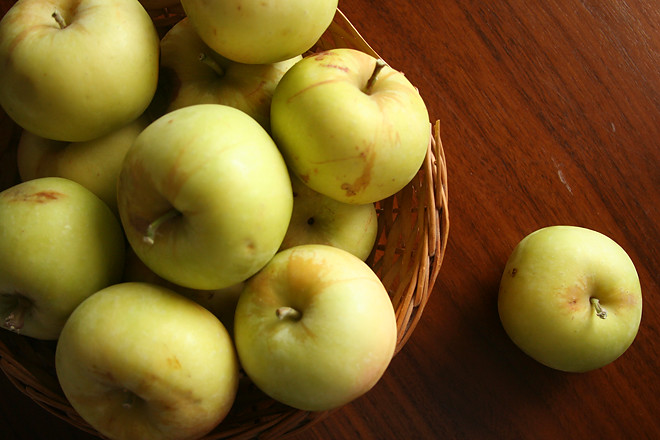
1 large Granny Smith apple, grated
3 tablespoons balsamic vinegar
1 cup (7 ounces) light brown sugar, packed
3 tablespoons cornstarch
3 tablespoons Minute tapioca
3 grinds fresh black pepper
¾ teaspoon kosher salt (or ⅓ teaspoon table salt)
egg wash (1 large egg whisked with 1 teaspoon water and a pinch of salt)
demerara or other coarse sugar, or regular granulated sugar
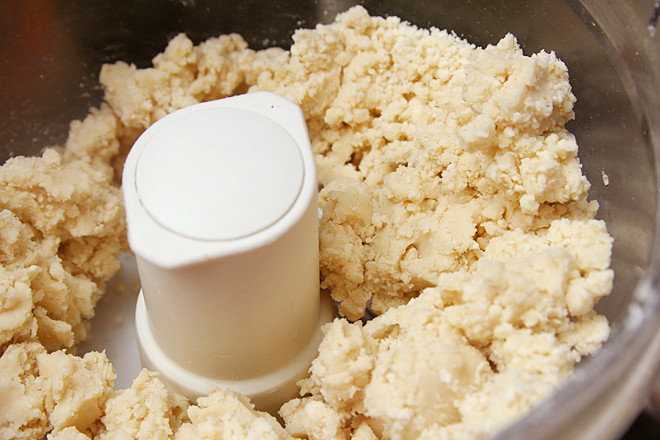
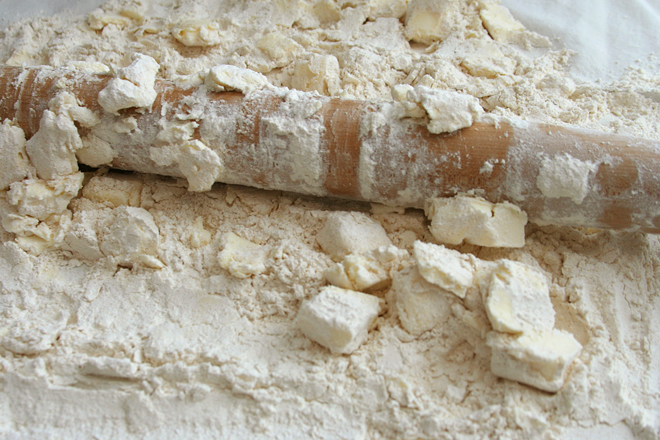
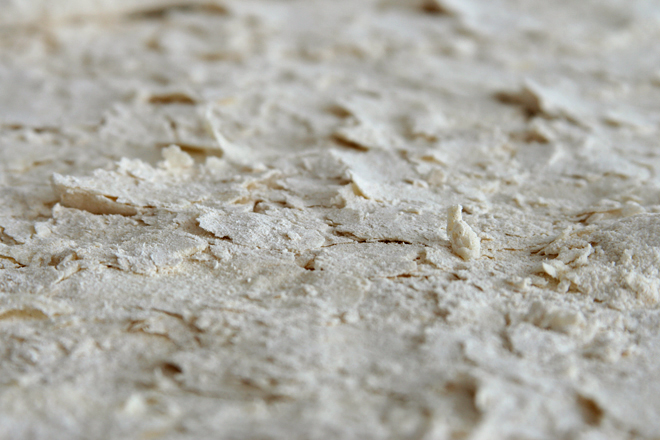
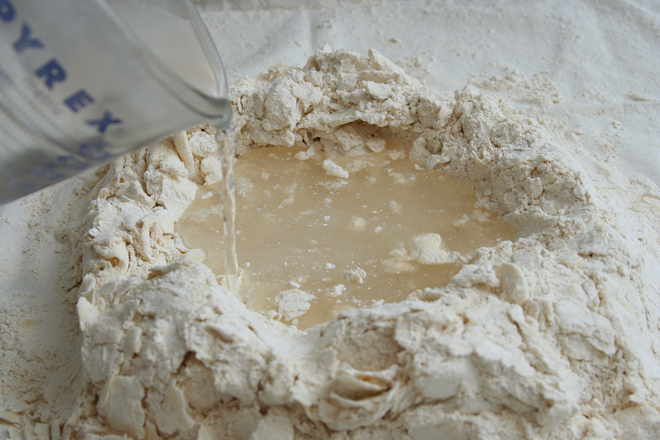
1. For the crust: In a food processor, process approximately two-thirds of the flour, the sugar, and the salt just to combine, a few pulses. Add the butter; pulse until the dough is evenly combined and begins to form clumps. Add the remaining flour and pulse just until the flour is evenly distributed. Transfer the dough to a large bowl; sprinkle the water over the dough and use a rubber spatula to fold the dough until the water is absorbed. Divide the dough into two portions, with one portion slightly larger than the other. Wrap tightly in plastic wrap and refrigerate for at least 2 hours or up to 2 days.
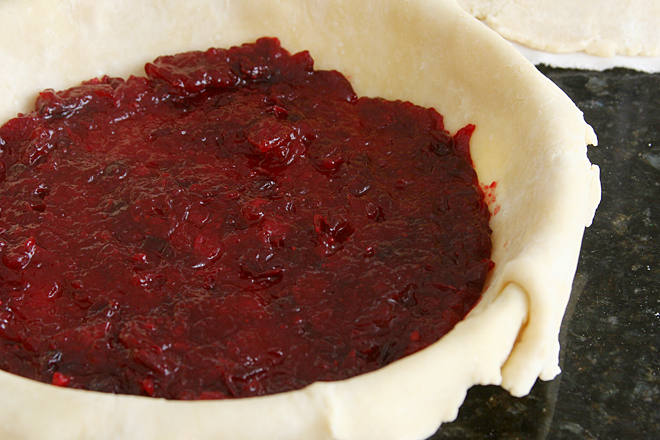
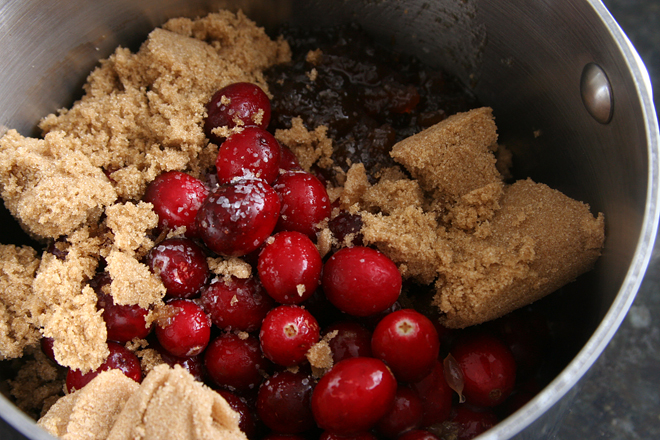
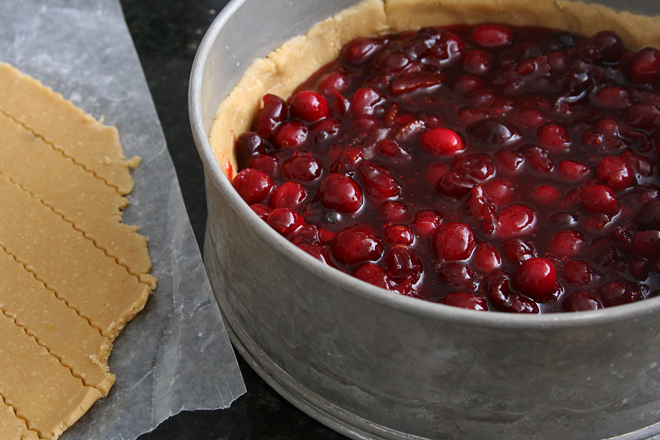
2. For the filling: In a large bowl, combine the strawberries and granulated sugar; set aside at room temperature for 1 hour. Strain the strawberries, discarding the liquid (or reserving it for another use). Return the strained strawberries to the bowl; add the apple, balsamic vinegar, brown sugar, cornstarch, tapioca, black pepper, and salt.
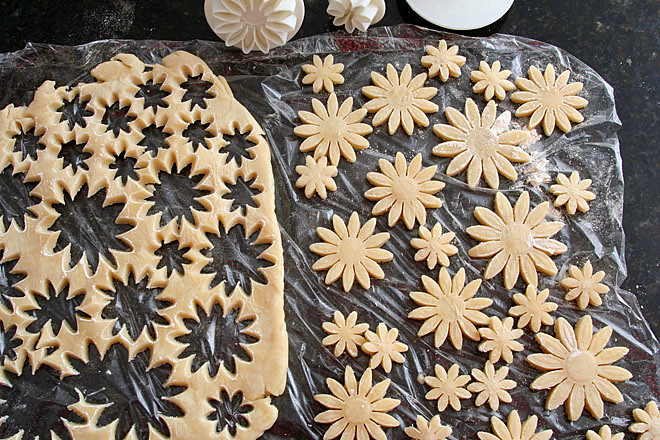
3. Arrange an oven rack to the middle position and heat the oven to 425 degrees. On a 12-by-17-inch sheet of parchment paper, roll out the larger portion of the dough to the edges of the parchment paper. Transfer the dough, still on the parchment paper, to a 10-by-15-inch baking sheet. Roll the smaller portion of dough to a 10-by-15-inch rectangle. Leave it whole to top the slab pie, or cut strips or other shapes.
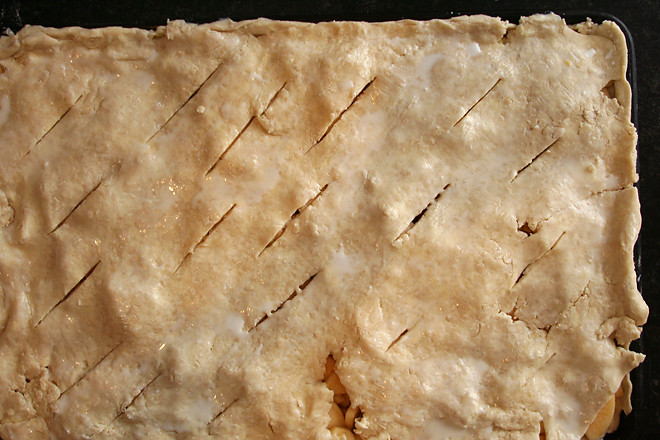
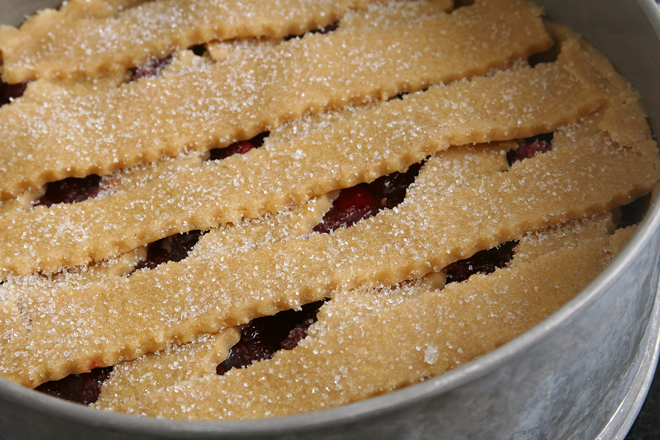
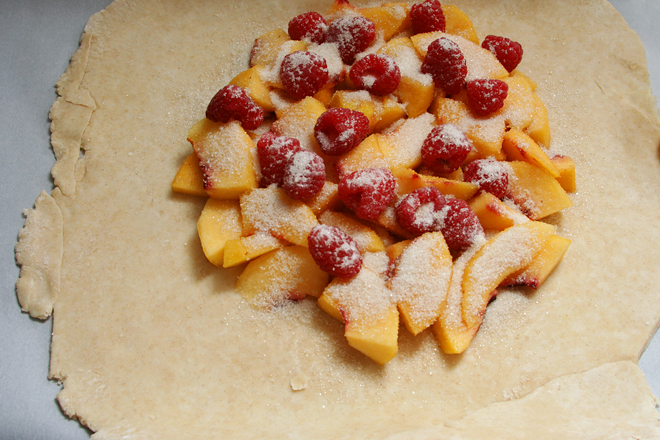
4. Spread the strawberry mixture evenly over the dough in the pan. Top with the remaining dough. If you’ve left the top layer of dough whole, cut many 2-inch slashes into it. Brush the dough with the egg wash and sprinkle with demerara or other sugar.
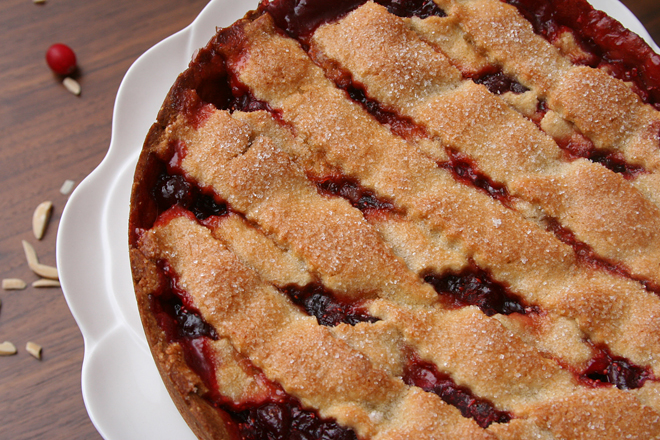
5. Transfer the pan to the oven. Bake for 20 minutes, then reduce the heat to 375 degrees; continue baking for an additional 35 minutes, until the crust is browned and the filling is bubbling. Transfer to a cooling rack; cool to room temperature before serving.