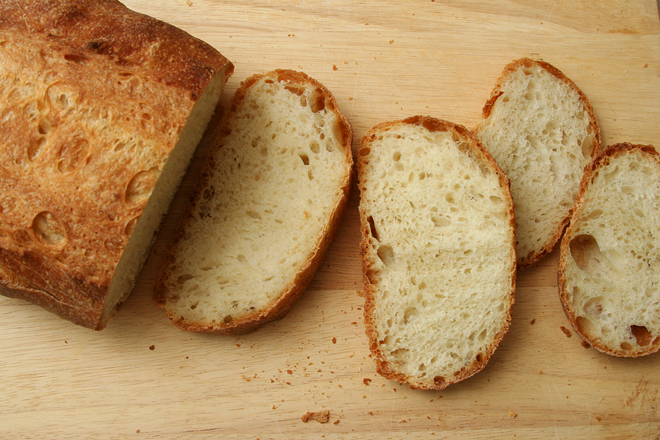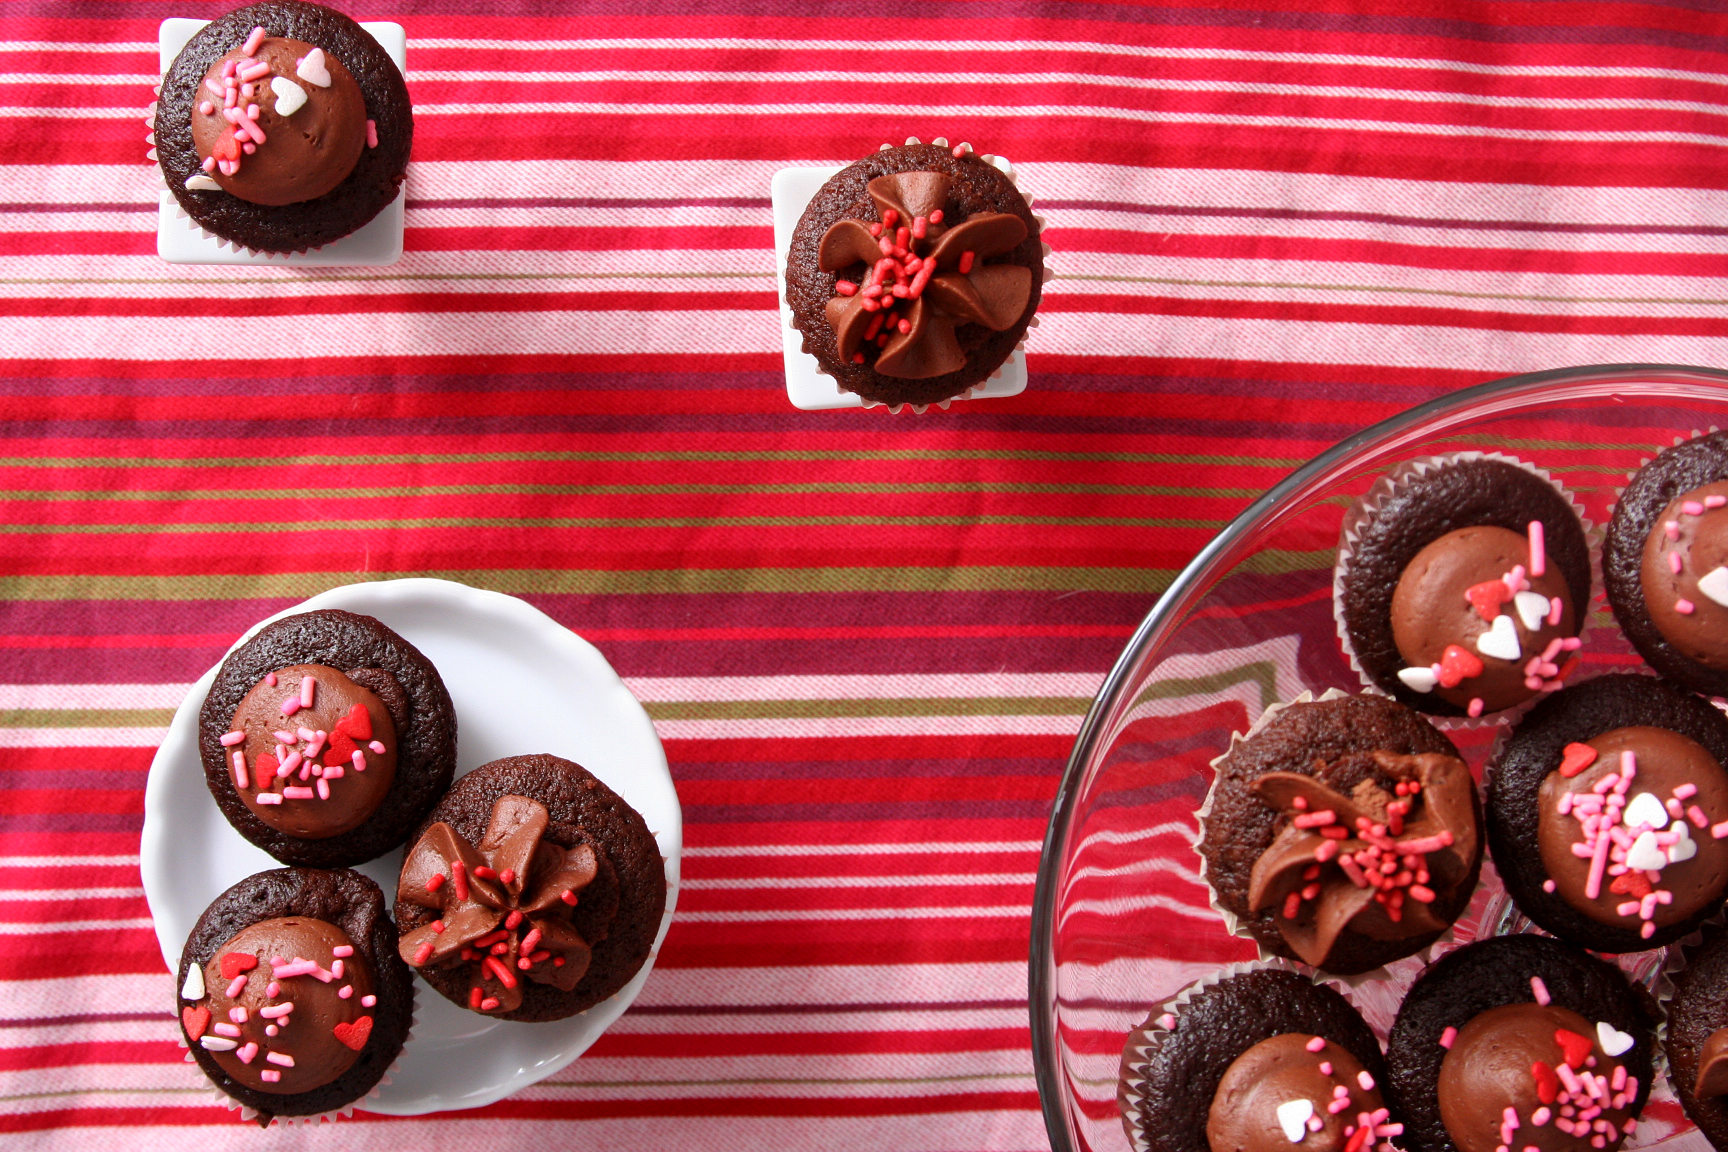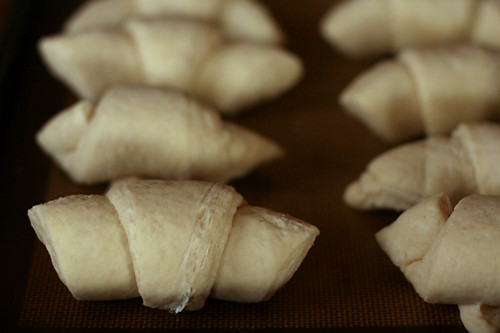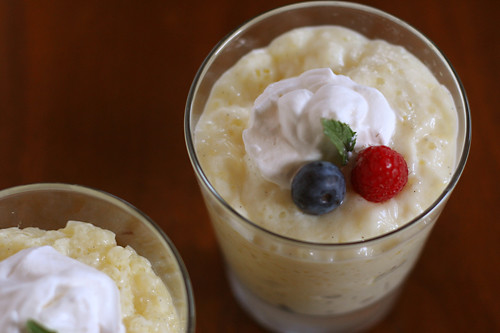
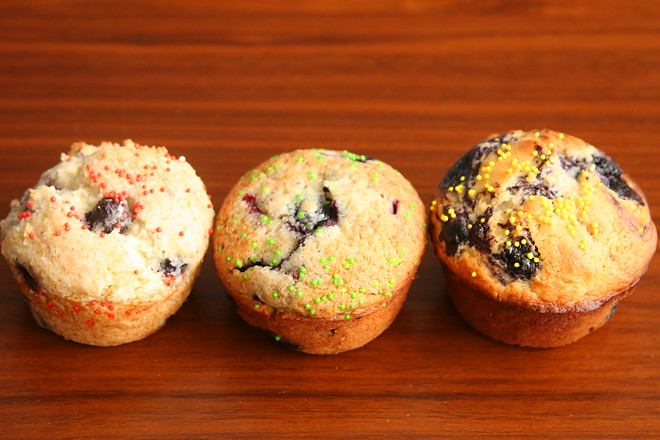
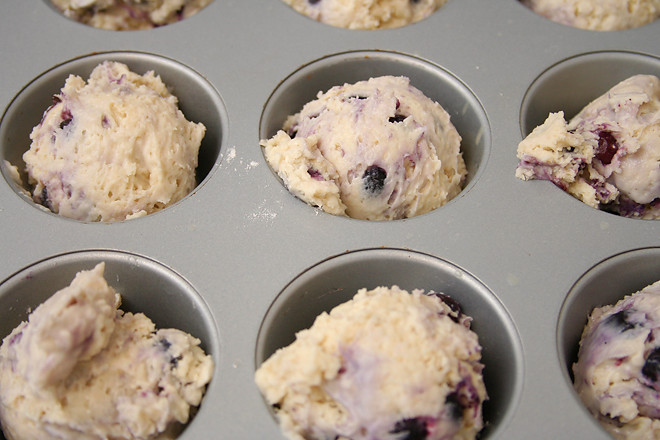
left to right: CI Best, CI Classic, Jordan Marsh
I set out all three sets of muffins at work with a note that said that if my coworkers ate more than one type, I’d love to know their favorite. Someone said he was sure they were all good, but I told him I wanted to know which one I should choose if I could only make one blueberry muffin recipe for the rest of my life. He asked whether I ever repeated recipes anyway. Well…it isn’t common, to be honest. But for something as classic as blueberry muffins, it’s possible that I could. And if I do, I obviously want to make the best recipe.
I chose three recipes that seemed as different as blueberry muffin recipes get:
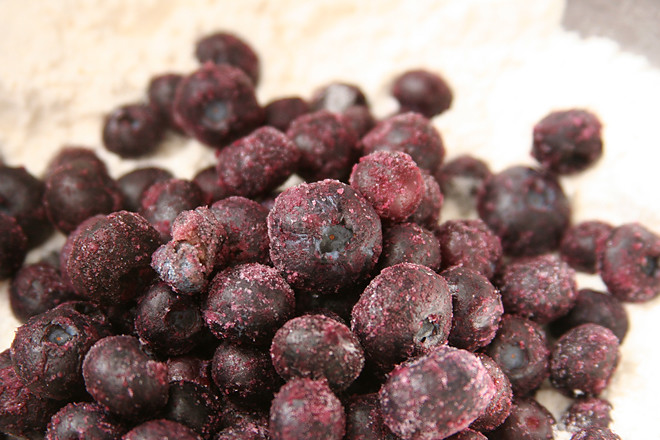
Cook’s Illustrated’s Classic – I wanted to make sure I included a somewhat traditional recipe with no tricks up its sleeve. This one is mixed using the standard quick bread method, in which the dry ingredients are mixed separately from the wet ingredients, and then they’re folded together. The source of dairy is sour cream, and there’s quite a bit of it, and therefore less butter (or oil) than in the other recipes. It also specifies frozen blueberries; Cook’s Illustrated recommends frozen wild blueberries, but those aren’t available at my store.
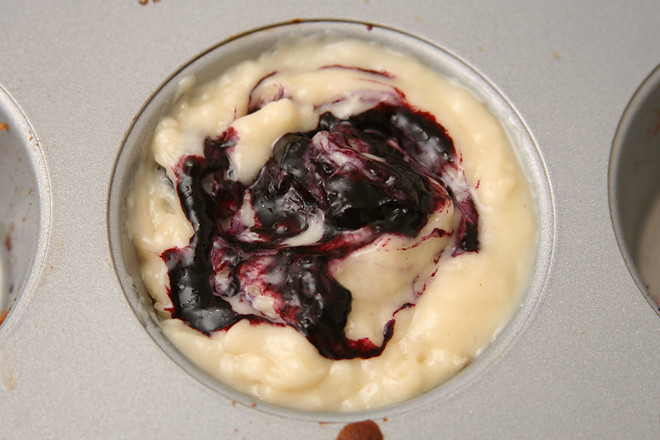
Cook’s Illustrated’s Best – Often with “best” recipes, I wonder if the extra effort is really worth it. In this case, that extra effort involves cooking and mashing half of the blueberries and simmering them until they’re reduced. This mixture is then swirled into each muffin. Other than that step, which was quite easy, the recipe is fairly traditional, with oil standing for half of the fat (in addition to butter).
Jordan Marsh-inspired – These are mixed like most cookies and cakes, with sugar beaten into the butter, then the milk and dry ingredients alternately added at the end. A small portion of the blueberries are mashed and evenly mixed into the dough. This recipe had more blueberries than either of the others.
Out of the twenty or so people who work in my building, only a handful gave me their opinion on the muffins. I can’t blame the rest though, because not everyone wants to eat three half-muffins, and that’s okay. Even with a small response, some trends were clear.
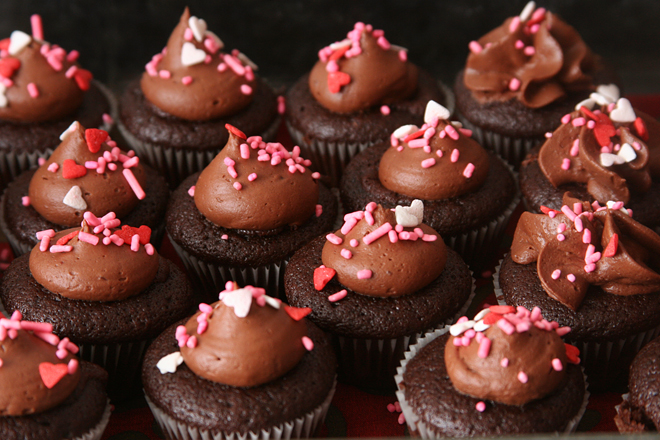
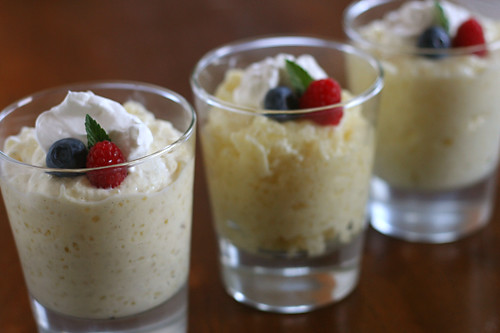
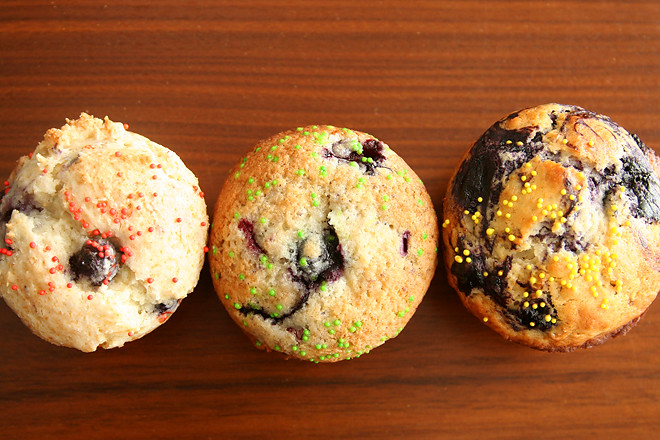
left to right: CI Classic, Jordan Marsh, CI Best
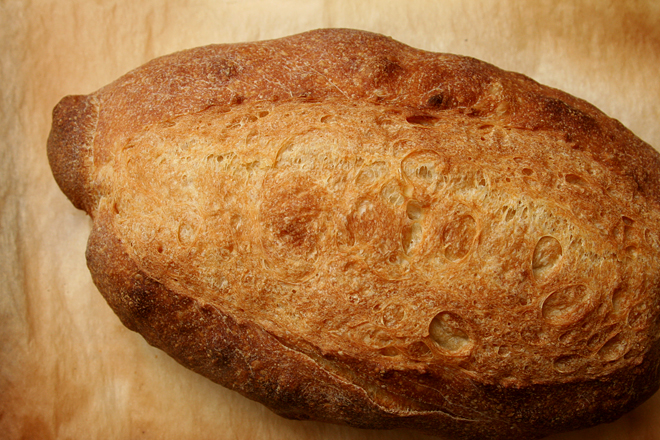
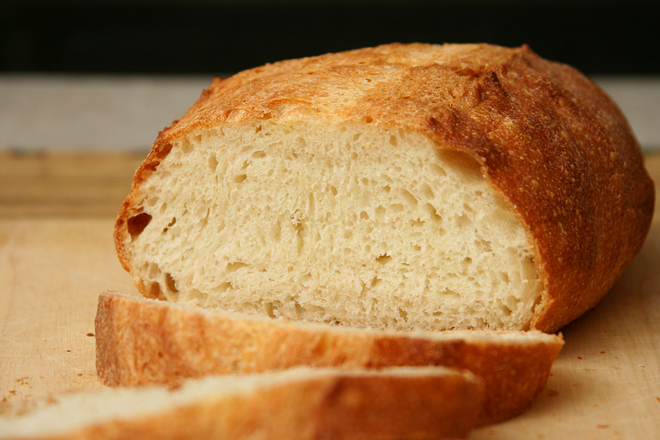
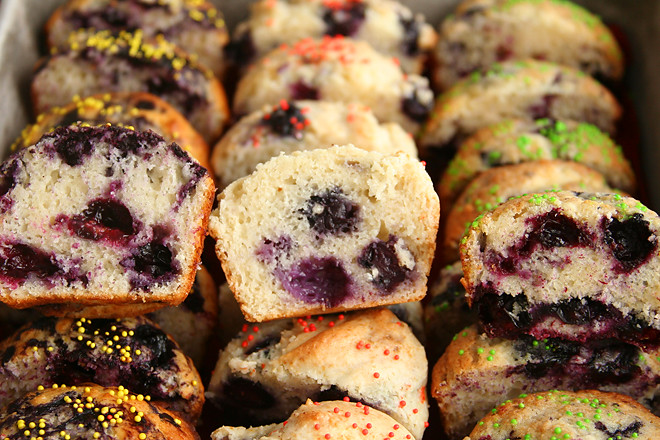
Cook’s Illustrated’s Classic (orange sprinkles) – These baked up pale. This was no one’s favorite, but it was one coworker’s second favorite. I thought they tasted the least blueberry-y, which is not a surprise since they did have slightly less blueberries than the other recipes.
Cook’s Illustrated’s Best (yellow sprinkles) – These browned quite a bit, maybe more than I would have preferred. However, these were the favorite of three people, and one did say that he liked that they tasted darker. One friend liked that it was the least sweet. Despite the blueberry swirl on the top, I didn’t think they had much blueberry flavor, although I have to admit the swirl was pretty. It’s interesting to me that CI’s goal with this recipe was to maximize the amount of blueberries in the muffins without reducing their structural integrity; however, normalized per weight of flour, this recipe has only a tiny bit more blueberries than CI’s Classic recipe.
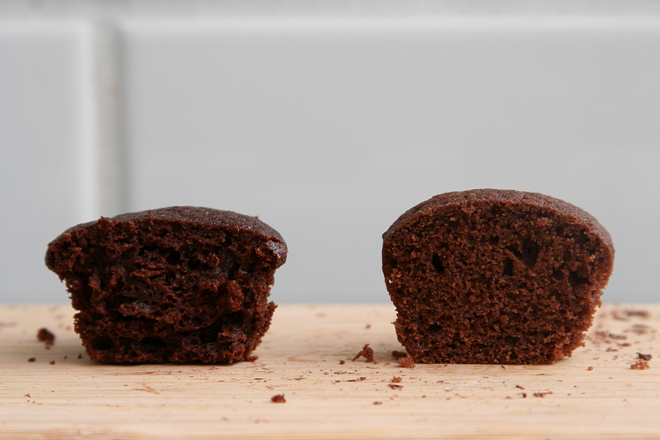
Jordan Marsh-inspired (green sprinkles) – These were my favorite, as well as the favorite of two other coworkers. However, straight out of the oven, I almost discounted them entirely, as they collapsed when removed from the pan. You can see in the pictures that they have so many blueberries, by far the most of the three recipes, that the fruit sunk to the bottom. That hot juicy fruit couldn’t hold up the dough above it, hence the collapsing. However, they did, unsurprisingly, have the strongest blueberry flavor, as well as a nice tanginess. That tanginess is surprising considering that this recipe uses regular milk, not sour cream or buttermilk as in the other two recipes.
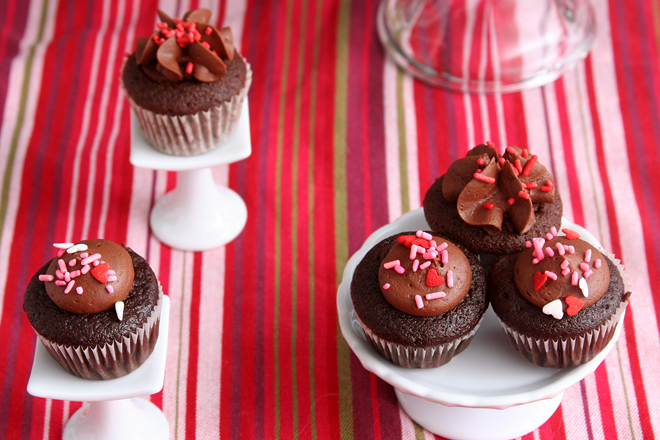
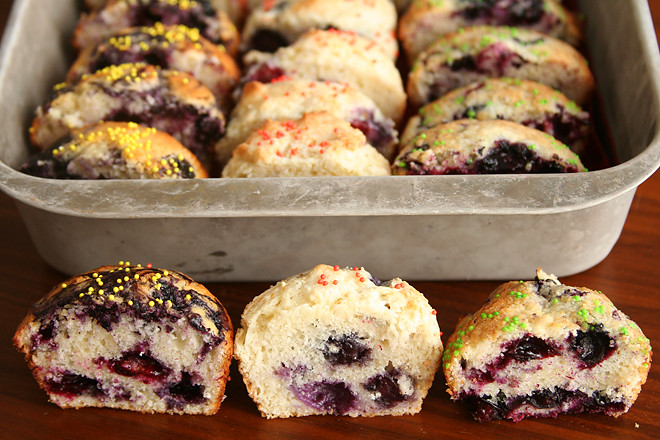
left to right: CI Classic, Jordan Marsh, CI Best
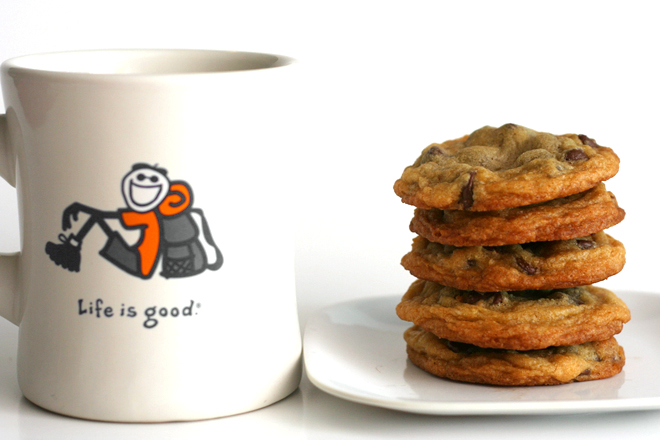
So which will I make in the future? I’m thinking the Jordan Marsh will be my preferred recipe, with slightly less blueberries. Yes, it won’t taste as much of blueberries then, but it will be worth it to have muffins that can stand under their own weight. Even if the the blueberries are reduced from 2½ cups to 2 cups, this recipe has more blueberries than the other two. If I was really ambitious, I could use the method in Cook’s Illustrated Best recipe to simmer a portion of the blueberries and make pretty swirls on the top. As I found, the extra effort of simmering down the blueberries wasn’t much work at all. Was it worth the effort though? Well, maybe not, since I thought a simpler recipe was even better.
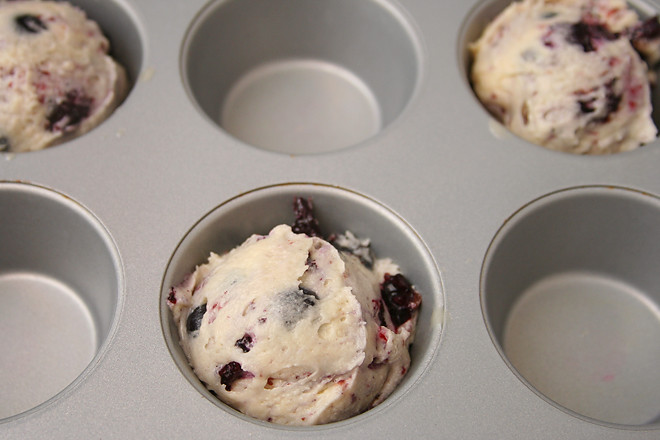
left to right: CI Best, CI Classic, Jordan Marsh
Printer Friendly Recipe
Classic Blueberry Muffins (from Cook’s Illustrated)
Makes 12 muffins
2 cups (10 ounces) unbleached all-purpose flour
1 tablespoon baking powder
½ teaspoon table salt
1 large egg
1 cup (7 ounces) granulated sugar
4 tablespoons unsalted butter, melted and cooled slightly
1¼ cups (10 ounces) sour cream
1½ cups frozen blueberries, preferably wild
1. Adjust oven rack to middle position and heat oven to 350 degrees. Spray standard muffin tin with nonstick vegetable cooking spray.
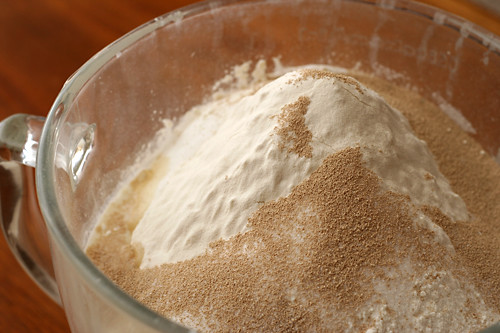
2. Whisk flour, baking powder, and salt in medium bowl until combined. Whisk egg in second medium bowl until well-combined and light-colored, about 20 seconds. Add sugar and whisk vigorously until thick and homogenous, about 30 seconds; add melted butter in 2 or 3 steps, whisking to combine after each addition. Add sour cream in 2 steps, whisking just to combine.
3. Add frozen berries to dry ingredients and gently toss to combine. Add sour cream mixture and fold with rubber spatula until batter comes together and berries are evenly distributed, 25 to 30 seconds (small spots of flour may remain and batter will be thick). Do not overmix.
4. Use ice cream scoop or large spoon to drop batter into greased muffin tin. Bake until light golden brown and toothpick or skewer inserted into center of muffin comes out clean, 25 to 30 minutes, rotating pan from front to back halfway through baking time. Invert muffins onto wire rack, stand muffins upright, and cool 5 minutes.
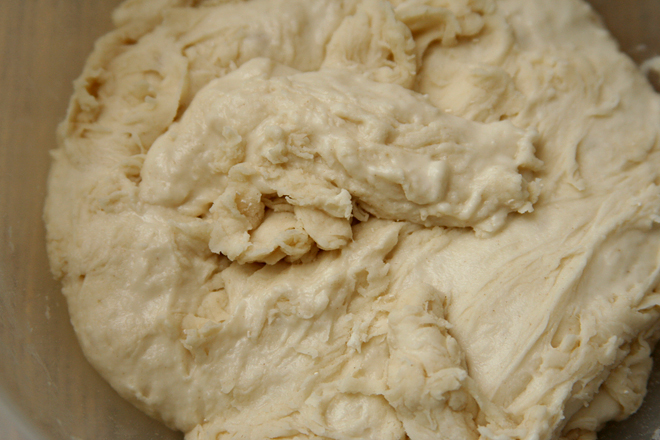
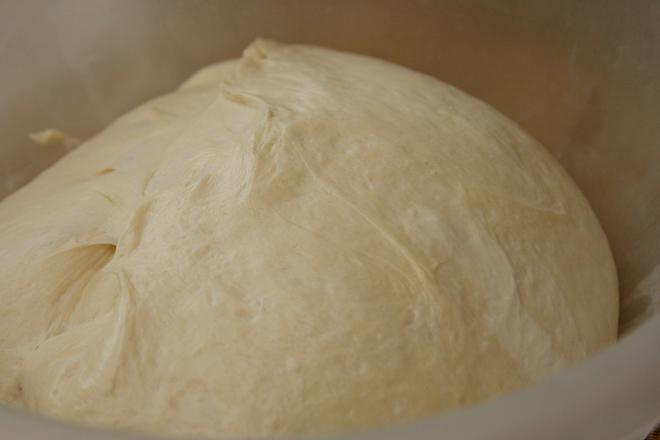
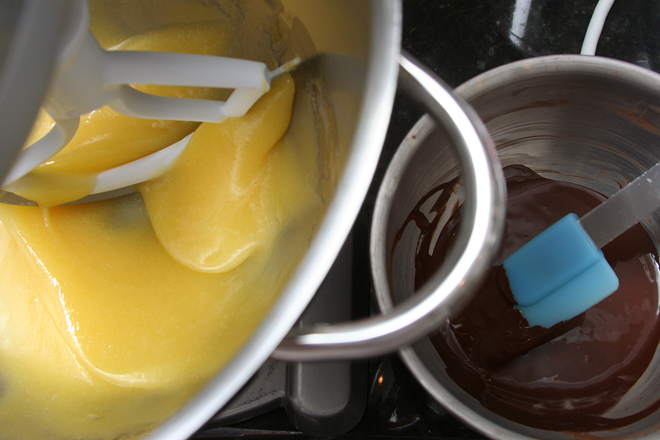
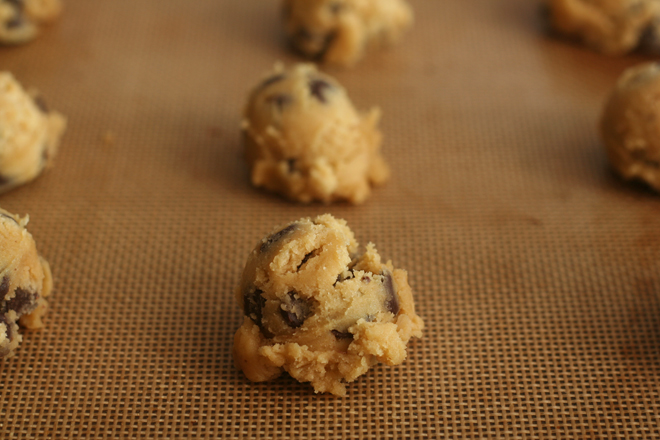
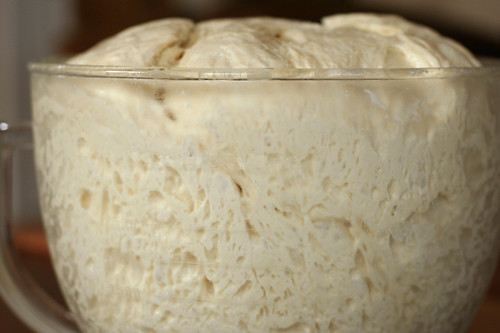
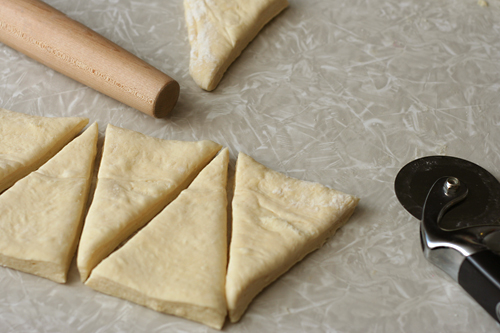
dough for CI Classic
Printer Friendly Recipe
Best Blueberry Muffins (from Cook’s Illustrated)
Makes 12 muffins
2 cups (about 10 ounces) fresh blueberries, picked over
1⅛ cups (8 ounces) sugar, plus 1 teaspoon
2½ cups (12½ ounces) unbleached all-purpose flour
2½ teaspoons baking powder
1 teaspoon table salt
2 large eggs
4 tablespoons (½ stick) unsalted butter, melted and cooled slightly
¼ cup vegetable oil
1 cup buttermilk
1½ teaspoons vanilla extract
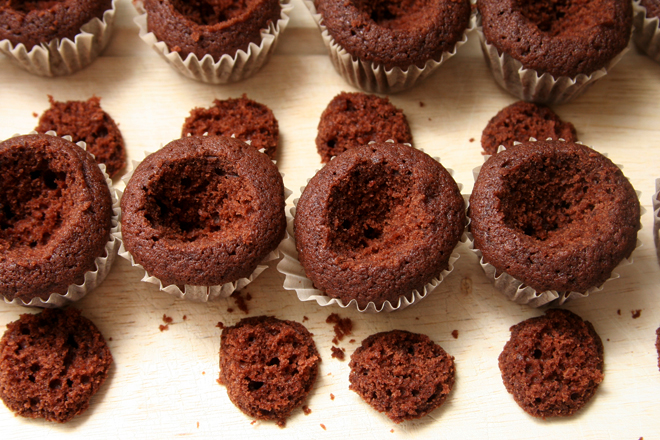
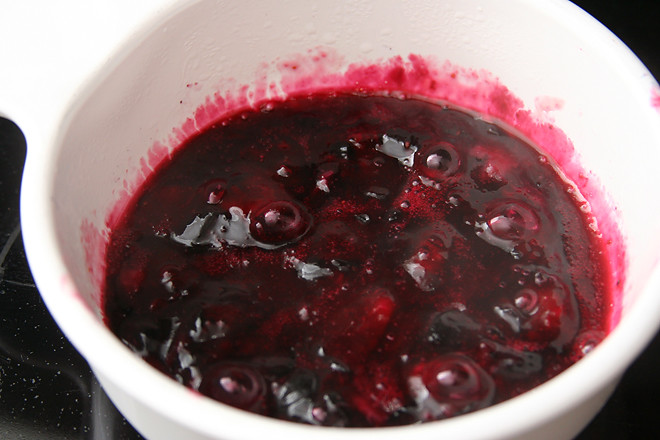
1. Adjust oven rack to upper-middle position and heat oven to 425 degrees. Spray standard muffin tin with nonstick cooking spray. Bring 1 cup blueberries and 1 teaspoon sugar to simmer in small saucepan over medium heat. Cook, mashing berries with spoon several times and stirring frequently, until berries have broken down and mixture is thickened and reduced to ¼ cup, about 6 minutes. Transfer to small bowl and cool to room temperature, 10 to 15 minutes.
2. Whisk flour, baking powder, and salt together in large bowl. Whisk remaining 1⅛ cups sugar and eggs together in medium bowl until thick and homogeneous, about 45 seconds. Slowly whisk in butter and oil until combined. Whisk in buttermilk and vanilla until combined. Using rubber spatula, fold egg mixture and remaining cup blueberries into flour mixture until just moistened. (Batter will be very lumpy with few spots of dry flour; do not overmix.)
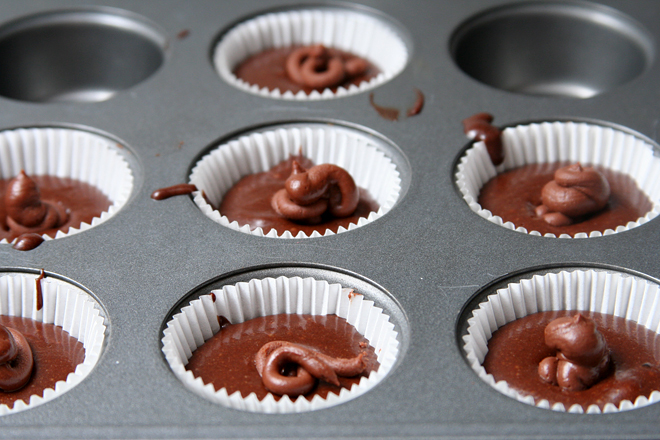
3. Use ice cream scoop or large spoon to divide batter equally among prepared muffin cups (batter should completely fill cups and mound slightly). Spoon teaspoon of cooked berry mixture into center of each mound of batter. Using chopstick or skewer, gently swirl berry filling into batter using figure-eight motion.
4. Bake until muffin tops are golden and just firm, 17 to 19 minutes, rotating muffin tin from front to back halfway through baking time. Cool muffins in muffin tin for 5 minutes, then transfer to wire rack and cool 5 minutes before serving.
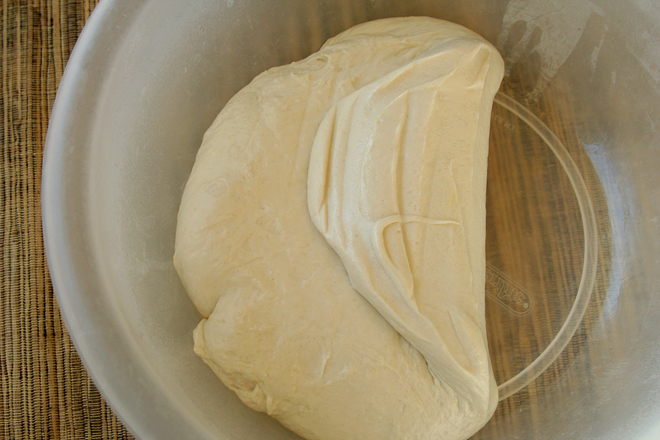
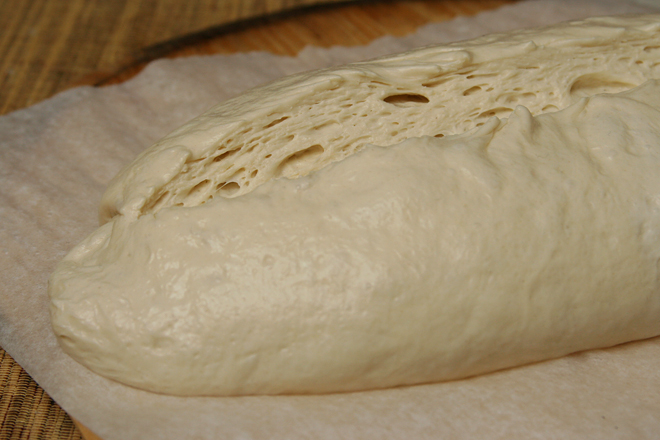
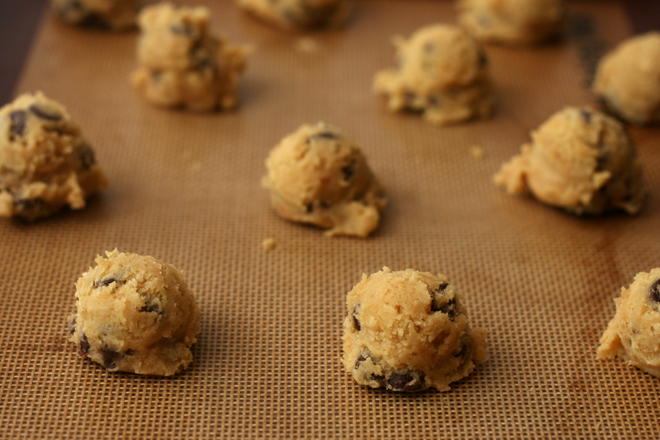
dough for CI Best
Printer Friendly Recipe
Jordan Marsh-Inspired Blueberry Muffins (barely adapted from King Arthur Flour via epicurious)
Makes 12 muffins
In the future, I’ll either reduce the blueberries to 2 cups (mashing ½ cup and leaving 1½ cups whole), or I’ll follow the simmering step in Cook’s Illustrated’s Best Blueberry Muffin recipe with 1 cup of the blueberries, still mashing the same amount (½ cup) and mixing the remaining 1 cup in whole.
2 cups (9.6 ounces) unbleached all-purpose flour
2 teaspoons baking powder
2½ cups blueberries (about 12½ ounces), fresh preferred
8 tablespoons (1 stick) butter
1 cup (7 ounces) granulated sugar
½ teaspoon salt
2 large eggs
1 teaspoon vanilla extract
½ cup milk
1. Adjust a rack to the middle position and heat the oven to 375 degrees. Spray the bottoms of a 12-cup muffin pan with nonstick spray or line with paper liners. In a medium bowl, combine the flour and baking powder. Mash ½ cup of the blueberries, leaving the remainder whole.
2. In a stand mixer fitted with the paddle attachment (or a large bowl if using a hand-held mixer), beat the butter, sugar, and salt on medium speed until light and fluffy, about 2 minutes, scraping down the sides of the bowl as necessary. Add the eggs one at a time, beating well after each addition, then mix in the vanilla. Reduce the mixer speed to low; add half of the dry ingredients, then all of the milk, and then the remaining dry ingredients, beating just until evenly combined. Stir in the mashed and whole blueberries.
3. Divide the dough evenly between the prepared muffin cups. Bake the muffins until their tops are golden and a toothpick inserted into one comes out with no raw batter attached, 20-25 minutes. Cool in the pan for 5 minutes, then remove the muffins from the pan, transferring them to a wire rack.
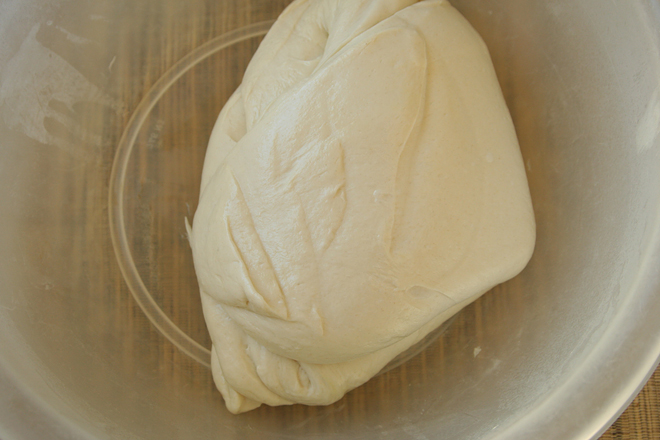
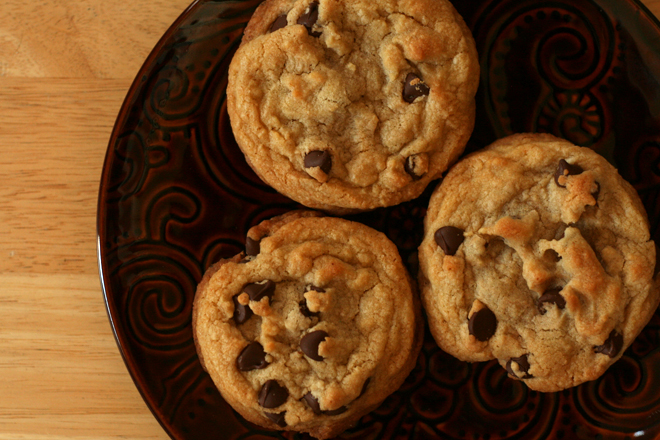
dough for Jordan Marsh