I don’t like brining turkey. The first time I tried it, I disinfected a cooler, carefully monitored the ice quantity throughout the soaking period, then disinfected the cooler again after removing the turkey. The second time, I stuck the turkey and brine in a stockpot, but couldn’t quite fit the lid on the pot, plus there was no way I could fit that in my fridge, so I stuck it outside overnight and hoped it was cold enough out there to prevent my turkey from turning into bacteria food. Brining turkey sucks.
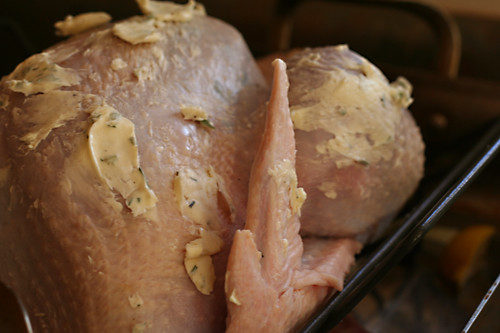
Salting turkey isn’t a picnic, but it’s a heck of a lot more straightforward than brining. Just mix up some salt and herbs and sprinkle it inside the turkey’s cavities, over the skin, and under the skin. The salt draws moisture out of the turkey at first, where the liquid mixes with the salt and then flows back into the turkey, now with flavor. While you’re not actually adding moisture like you are with brining, you’re adding flavor and helping the turkey hold onto its natural moisture. And you don’t have to disinfect a cooler or buy a separate fridge.
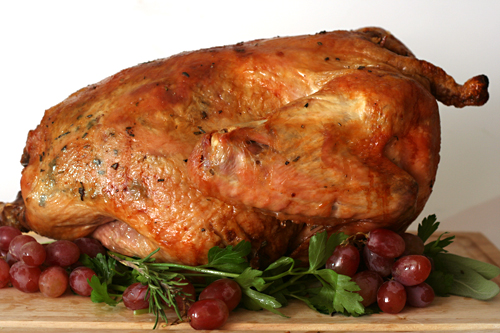
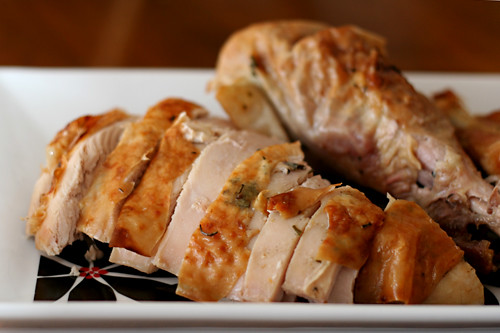
And, more importantly, this was the best turkey I’ve ever eaten. It wasn’t bloated like brined turkey can be, but it was juicy throughout. It also had crisper skin than brined birds do. You can’t argue with a method that is not only easier, but produces even better results.
Two years ago: Buttermilk Scones
Three year ago: Brown Sugar Apple Cheesecake
Printer Friendly Recipe
Salted Roast Turkey with Herbs (adapted from Bon Appétit via epicurious and from Cook’s Illustrated’s Roast Salted Turkey)
Cook’s Illustrated explains that there are two main brands of kosher salt; Morton’s is denser than Diamond. Use the larger amount of salt called for in the recipe if you’re using Diamond Crystal; if you’re using Morton’s, use only 4 tablespoons of salt.
Don’t salt a kosher or self-basting turkey (like a frozen Butterball)! Those are already salted and will end up way too salty if you add any additional salt.
8-12 servings
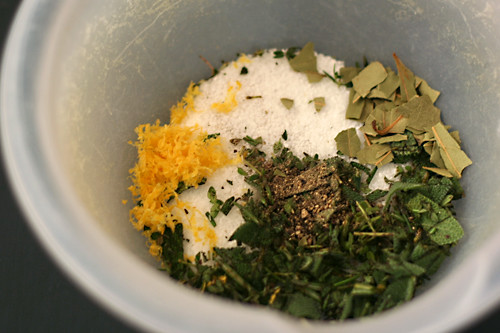
Herbed Salt:
6 tablespoons coarse kosher salt (4 tablespoons if finer-grained kosher salt)
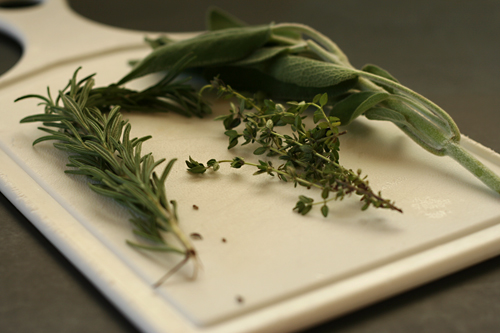
1 tablespoon fresh rosemary, minced
1 tablespoon fresh sage, minced
1 tablespoon fresh thyme leaves
3 small bay leaves, coarsely torn
1 teaspoon black peppercorns, crushed
1 teaspoon finely grated lemon peel
Turkey:
1 14- to 16-pound turkey (neck, heart, and gizzard removed)
1 large onion, coarsely chopped
1 large celery stalk, coarsely chopped
1 whole lemon, coarsely chopped
1 tablespoon fresh rosemary
1 tablespoon fresh sage
1 tablespoon fresh thyme
½ cup (1 stick) unsalted butter, at room temperature
2 cups (or more) unsalted chicken broth or Golden Turkey Stock
1. For the herbed salt: Combine the salt, herbs, and pepper. (Can be made 1 week ahead; cover and refrigerate.) Stir in the lemon peel just before using.
2. For the turkey: Rinse the turkey inside and out (do not pat dry). Pull any fat pads from the main cavity and the neck cavity. Rub about half of the salt mixture over the outside of the turkey. Rub half of the remaining salt mixture in the cavities. Use your fingers to loosen the skin over the breasts and thighs. Rub the last portion of herbed salt under the skin. Transfer the turkey to a large bowl or plate, cover tightly, and refrigerate at least 24 hours or up to 48 hours.
3. Adjust an oven rack to the lowest position; heat the oven to 425 degrees. Rinse the turkey inside and out; pat very dry. Combine the chopped onion, celery, lemon, and herbs; divide the onion mixture between the main and neck cavities. Fold the neck skin under and secure with a skewer. Use kitchen twine to loosely tie the legs together. Place the turkey, breast-side down, on a roasting rack set in a large roasting pan. Spread the butter all over the turkey. Pour two cups of stock or broth into the bottom of the roasting pan.
4. Roast the turkey for 45 minutes. Remove the turkey from the oven; lower the oven temperature to 325 degrees. Using wads of paper towels, turn the turkey breast-side up. Continue to roast until the thickest part of the thigh registers 165 to 170 degrees, 1½ to 2 hours longer.
5. Transfer the turkey, still on the roasting rack, to a rimmed baking sheet. Tent loosely with foil and let rest 30 to 45 minutes before carving and serving.