Search Results for: chocolate chip cookie

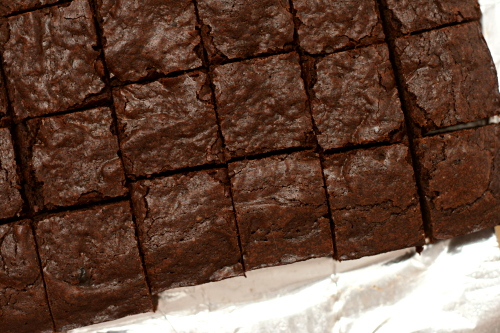
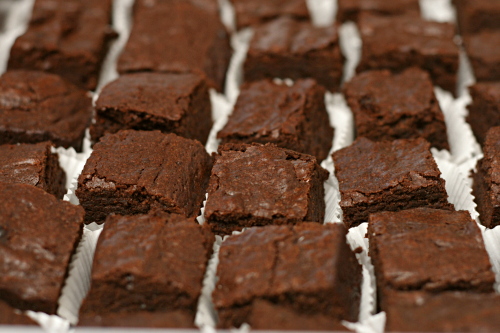
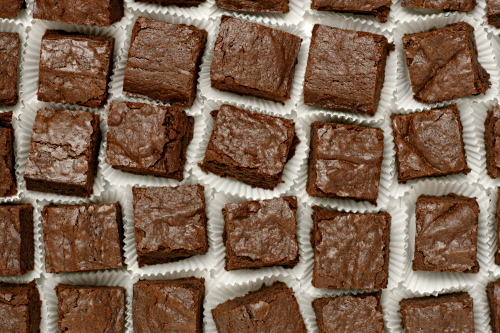
triple chocolate espresso brownies

The best part about having a full-time job is having people to offload desserts to. No, I’m kidding, the best part is the money. No! It’s the feeling of self-worth I get from changing out of my pajamas before noon. Or it’s the belief that I’m making a difference in the world. The knowledge that I’m a contributing member of society. I don’t know, one of those.

Of course I carefully plan out every treat I bring in to share. Most importantly, it has to look enticing. Half-eaten leftovers obviously won’t do. It also needs to be easy to grab; no one wants to deal with forks and plates, they just want to grab a quick snack when they come in to refresh their coffee. I also want to provide a good variety – chocolate one week, fruit or vanilla the next; cupcakes one week, cookies the next. Finally, I like to (overthink things) make something new and interesting: instead of chocolate chip cookies, cream cheese chocolate chip cookies; instead of white cupcakes, margarita cupcakes; instead of brownies, espresso brownies.

People always thank me for bringing in treats, because they are polite and nice, and I always thank them for providing me an opportunity to do something I love. They also mention that I’m ruining their diets, but I figure it’s theirs or mine, and a girl’s gotta do what a girl’s gotta do.

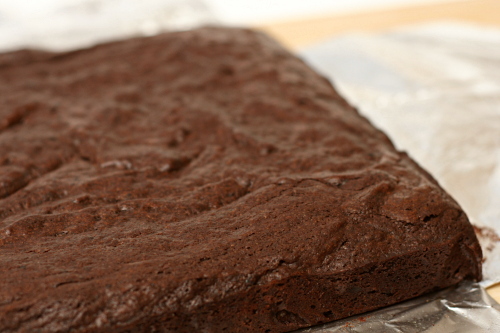
My favorite brownie recipe is a little lighter, cakey-er, and moister than these, but I love this rich fudgy texture with the bitter espresso overtones. Plus they’re perfect to cut into tiny squares, which, once displayed in little crimped cups, satisfy all of the requirements for a treat to bring to work.

Two years ago: Yeasted Waffles

Printer Friendly Recipe
Triple-Chocolate Espresso Brownies
(from Cooks Illustrated)

Either Dutch-processed or natural cocoa works well in this recipe.

5 ounces semisweet chocolate or bittersweet chocolate, chopped
2 ounces unsweetened chocolate, chopped
8 tablespoons (1 stick) unsalted butter, cut into quarters
3 tablespoons cocoa powder
1½ tablespoons instant espresso powder or coffee powder
3 large eggs
1¼ cups (8.75 ounces) granulated sugar
2 teaspoons vanilla extract
½ teaspoon table salt
1 cup (5 ounces) unbleached all-purpose flour

1. Adjust an oven rack to the lower-middle position and heat the oven to 350 degrees. Spray an 8-inch square baking pan with nonstick vegetable cooking spray. Fold two 12-inch pieces of foil lengthwise so that they measure 7 inches wide. Fit one sheet in the bottom of the greased pan, pushing it into corners and up the sides of the pan; overhang will help in the removal of the baked brownies. Fit the second sheet in the pan in the same manner, perpendicular to the first sheet. Spray the foil with nonstick cooking spray.

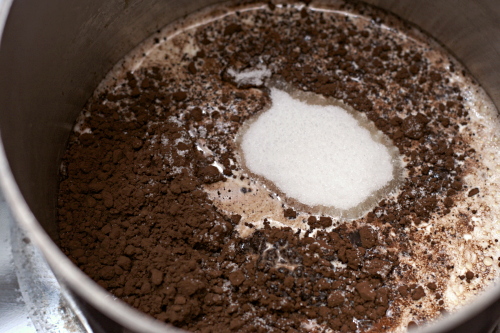
2. In a medium heatproof bowl set over a pan of almost-simmering water, melt the chocolates and butter, stirring occasionally until the mixture is smooth. Whisk in the cocoa and espresso until smooth. Set aside to cool slightly.

3. Whisk together the eggs, sugar, vanilla, and salt in a medium bowl until combined, about 15 seconds. Whisk the warm chocolate mixture into the egg mixture; then stir in the flour with a wooden spoon until just combined. Pour the mixture into the prepared pan, spread into corners, and level the surface with a rubber spatula. Bake until slightly puffed and a toothpick inserted in the center comes out with a small amount of sticky crumbs clinging to it, 35 to 40 minutes. Cool on a wire rack to room temperature, about 2 hours, then remove the brownies from the pan using the foil overhang. Cut into squares and serve. (Do not cut brownies until ready to serve; brownies can be wrapped in plastic and refrigerated up to 5 days.)

strawberry chocolate ice cream pie

The rest of the country (hemisphere, I suppose) is gearing up for summer. Here in the desert though, we’ve been there for a while. This weekend Dave and I hiked over seven miles in 90 degree weather. It’s a dry heat though! (Actually, the hike wasn’t bad at all – it was either shady or windy the whole time, so although we were hot, we weren’t dying. And the dry heat does make a difference.)

the beginning of homemade chocolate ice cream

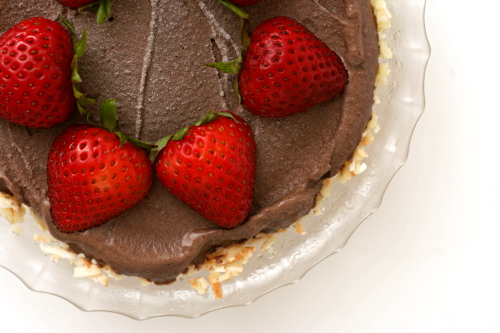
Ice cream pie is perfect for the weather we’ve been having. The specific ingredients called for here aren’t perfect for me though. I eat so many bananas as snacks that the idea of adding them to chocolate ice cream for dessert didn’t sound appealing. Strawberries, however, can be added to most any dessert.

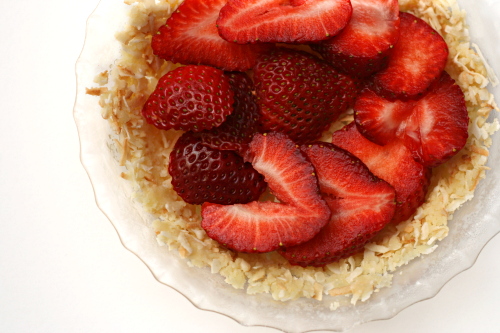
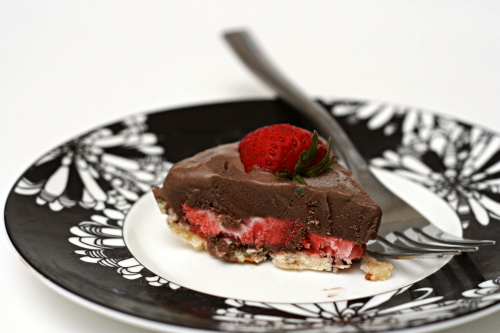
Oh, except maybe not one that’s going to be stored in the freezer like this. Sliced strawberries between the crust and the ice cream turned into ice cubes in the freezer; I should have given them a dip in vodka before freezing them to keep them from freezing so solidly. Other than that, what’s not to love about this dessert? I don’t need to tell you that chocolate ice cream and strawberries are a tempting combination – especially when it’s a hundred degrees out.

Spike chose this recipe for Tuesdays with Dorie, and she has the recipe posted.

One year ago: Chipster-Topped Brownies
Two years ago: Pecan-Honey Sticky Buns

chockablock cookies

Hey, didn’t Tuesdays with Dorie already make these, a chocolate version, a long time ago? And didn’t I already lodge a complaint against cookies that are more add-in than dough? Seriously, sometimes the chocolate chips in chocolate chip cookies get in my way.

And wait, didn’t I already decide that, hey, add-ins maybe aren’t such a bad thing because these are some darn good cookies.

And you know what else about these cookies? There’s only eight tablespoons of butter/shortening in the whole batch! That’s about half as much as most cookies. Which makes it all the harder not to justify having just one more.

Mary chose these and she has the recipe posted. I quadrupled, yes, that’s right, quadrupled the salt. Seemed perfect to me.

One year ago: Chocolate Cream Tart
Two years ago: Fluted Polenta and Ricotta Cake

brown sugar cookies

Do you know where the name for my blog came from? I mean, besides Dave kind of just blurting it out and me realizing it was perfect. I was looking for something that at least somewhat related to my science background – I kind of wanted to be discussing not just the outcome of recipes, but also the way (get it?! huh huh huh do you?) things worked.
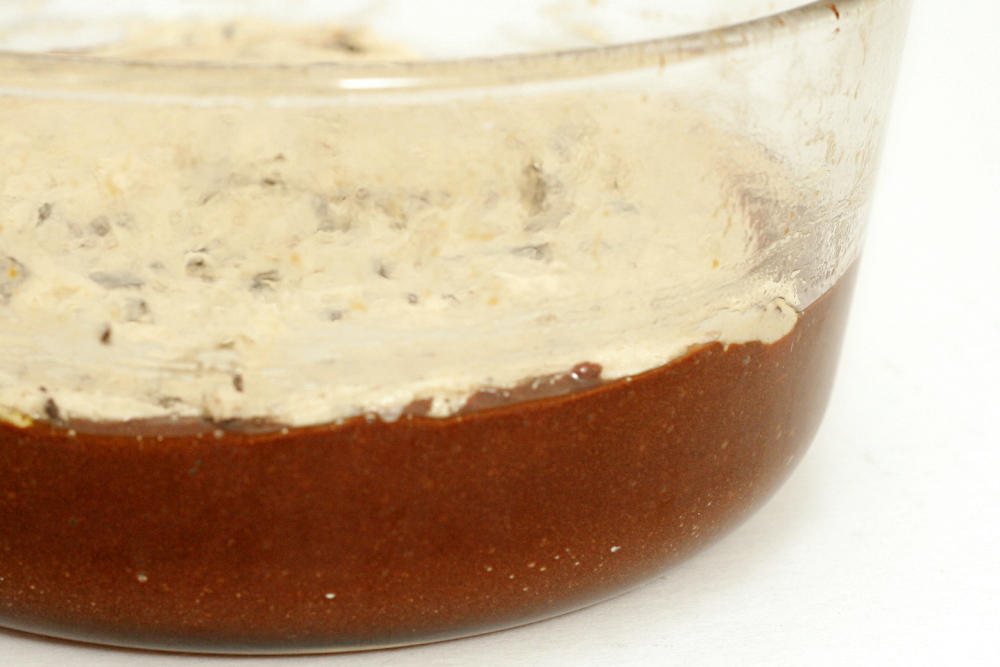
Plus, I had a professor in graduate school who used to bring us cookies, and in fact, he spent a portion of his first lecture talking about crumbly cookies. It all related to gravity and physics and stuff, but mostly I remember the cream cheese chocolate chip cookies he brought that day.

So now I’m the professor, and I bring my students cookies. Is that weird? Probably, but I need someone to offload treats to, and who better than college students? I kept to safe, familiar recipes in the beginning, chocolate chip cookies, snickerdoodles, brownies, but now I’ve started to get a little experimental.

It’s also nice to get feedback from a larger audience besides, you know, myself and sometimes Dave. Not that you want to be telling the person who grades your exams that their cookies totally suck or anything, but I can generally get a vibe.

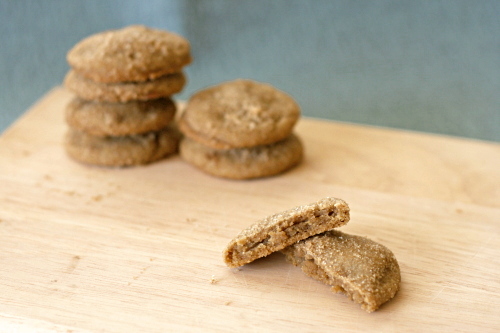
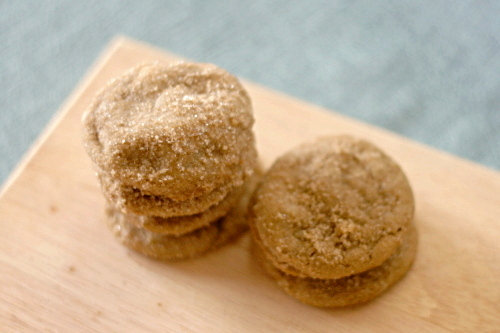
I actually wasn’t completely sold on these cookies. Oh, they were good, of course – what’s not to like about brown sugar and butter? And they were pretty difficult to resist, but still, I think I was expecting something transcendent. I actually think the one seemingly insignificant place I went wrong was rolling the doughballs too thickly in the sugar coating. Too much raw sugar!

My students though, gave rave reviews – more so than normal, so I’m guessing they’re not just trying to get on my good side. So what do I know. Other than a whole lot of sciencey stuff, that is.

One year ago: Pan-Roasted Asparagus
Two years ago: Almond Biscotti (and Hazelnut Dried Cherry variation) – Dave’s favorite biscotti recipe

Printer Friendly Recipe
Brown Sugar Cookies
(from Cooks Illustrated)

Makes 2 dozen cookies

CI note: The most efficient way to bake these cookies is to portion and bake half of the dough. While the first batch is in the oven, the remaining dough can be prepared for baking. Avoid using a nonstick skillet to brown the butter. The dark color of the nonstick coating makes it difficult to gauge when the butter is sufficiently browned. Use fresh brown sugar, as older (read: harder and drier) brown sugar will make the cookies too dry.

My note: I made the cookies smaller, about 1-inch round balls. I baked them for 7-9 minutes. Even with the smaller cookies (and therefore more surface area), I still had far more of the sugar coating mixture than I needed.

14 tablespoons (1¾ sticks) unsalted butter
¼ cup (about 1¾ ounces) granulated sugar
2 cups (14 ounces) packed brown sugar
2 cups plus 2 tablespoons (10.625 ounces) unbleached all-purpose flour
½ teaspoon baking soda
¼ teaspoon baking powder
½ teaspoon table salt
1 large egg
1 large egg yolk
1 tablespoon vanilla extract

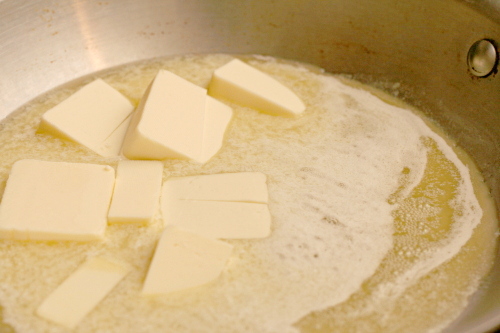
1. Heat 10 tablespoons of the butter in a 10-inch skillet over medium-high heat until its melted, about 2 minutes. Continue to cook the butter, swirling pan constantly until it is dark golden brown and has a nutty aroma, 1 to 3 minutes. Remove the skillet from the heat and transfer the browned butter to a large heatproof bowl. Stir the remaining 4 tablespoons of the butter into the hot butter to melt; set aside for 15 minutes.

2. Meanwhile, adjust an oven rack to the middle position and heat the oven to 350 degrees. Line 2 large baking sheets with parchment paper. In a shallow baking dish or pie plate, mix the granulated sugar and ¼ cup (1.75 ounces) packed brown sugar, rubbing between fingers, until well combined; set aside. Whisk the flour, baking soda, and baking powder together in a medium bowl; set aside.

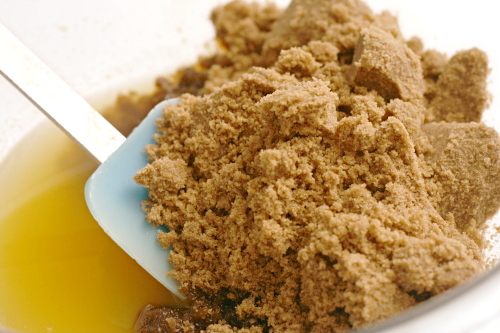
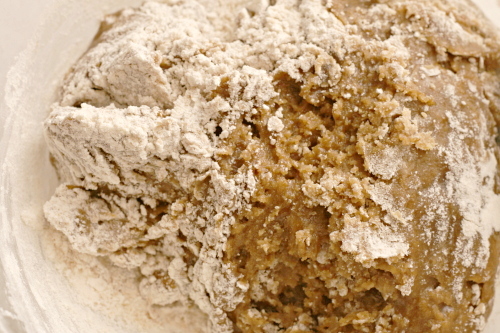
3. Add the remaining 1¾ cups (12.25 ounces) brown sugar and the salt to the bowl with the cooled butter; mix until no sugar lumps remain, about 30 seconds. Scrape down the sides of the bowl with a rubber spatula; add the egg, yolk, and vanilla and mix until fully incorporated, about 30 seconds. Scrape down the bowl. Add the flour mixture and mix until just combined, about 1 minute. Give the dough a final stir with a rubber spatula to ensure that no flour pockets remain and the ingredients are evenly distributed.

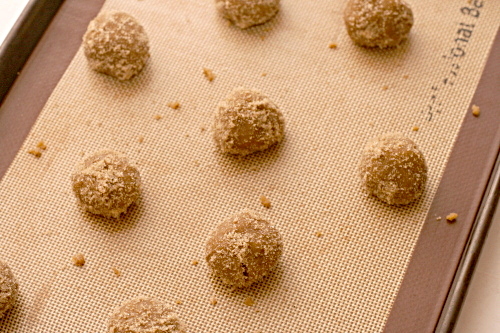
4. Divide the dough into 24 portions, each about 2 tablespoons, rolling between your hands into balls about 1½ inches in diameter. Working in batches, toss the balls in the reserved sugar mixture to coat and set them on the prepared baking sheet, spacing them about 2 inches apart, 12 balls per sheet. (Smaller baking sheets can be used, but it will take 3 batches).

5. Bake one sheet at a time until the cookies are browned and still puffy and their edges have begun to set but the centers are still soft (cookies will look raw between the cracks and seem underdone), 12 to 14 minutes, rotating baking sheet halfway through baking. Do not overbake.

6. Cool the cookies on the baking sheet for 5 minutes; using a wide metal spatula, transfer the cookies to a wire rack and cool to room temperature.

slice and bake brown sugar cookies

Copy of IMG_1207

It’s Thanksgiving! And that means it’s officially Christmastime!

Right?

Oh, it means something about giving thanks? Hmm. That’s cool too.

Copy of Copy of IMG_1129

Still, once the feast is over, it’s all about Christmas. I used to try to hold off thinking about, hearing, and seeing anything Christmas-related until Thanksgiving, but you can imagine how successful that strategy was. These days, I’m more in the ‘if you can’t beat ‘em, join ‘em’ mindset. I didn’t play carols or put up my tree, but I did smile over cute decorations.

Copy of IMG_1153

What better way to kick off the Christmas season than cookies? One of my favorite Christmas cookies, in fact, and I think I finally figured out exactly why I like them so much.

Copy of Copy of IMG_1198

The dough is pretty typical for cookies, with butter, sugar, salt, eggs, vanilla, flour, and leavening. But, it uses twice as much brown sugar as white sugar, which…you guys! It’s chocolate chip cookie dough, without the chocolate! Nothing against chocolate, but that’s pretty much my perfect cookie.

Copy of IMG_1192

Plus, they’re so pretty. It takes a bit of effort to get them into the different shapes, but once they’re formed, you just throw the logs of dough in the freezer, then bake however many you want whenever you want.

Copy of IMG_1190

These cookies are delicious, they’re not hard to make, they look impressive, and their timing is completely flexible. In other words, they’re perfect. There can be no better way to shift into the Christmas season.

Copy of IMG_1208

One year ago: Multigrain Pancakes

Printer Friendly Recipe
Slice and Bake Brown Sugar Cookies

Makes about 8 dozen

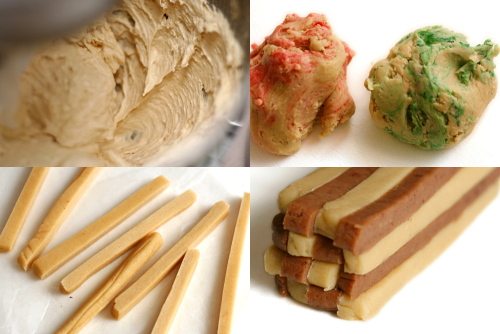
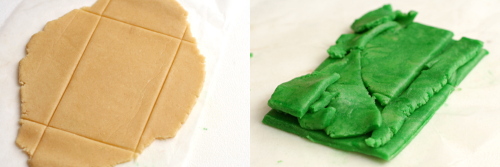
The only slightly difficult part of this recipe is rolling out the dough to an exact size. The best method I found was to initially roll it out to about twice the desired size, then trim the edges to a shape 1 inch smaller in each direction than you eventually want. Place the trimmings on the cut rectangle, cover with wax paper, and roll out to your final desired size (see photos above).

Update 12/22/2011: I like these cookies even better with a ½ cup less flour (3½ cups total).  The dough is stickier, and there’s no way you’d be able to roll it out to the right size, but I’ve decided that simply pressing it to the right size is easier anyway.

4 cups (19.2 ounces) unbleached flour
1 teaspoon baking powder
¼ teaspoon baking soda
2 eggs, preferably room temperature
2 teaspoons vanilla extract
20 tablespoons (2½ sticks) butter, room temperature
1 teaspoon salt
1 cup (7 ounces) firmly packed light brown sugar
½ cup (3½ ounces) granulated sugar
½ ounce unsweetened chocolate, finely chopped

1. In a medium-sized bowl, combine the flour, baking powder, and baking soda. Break the eggs into a small measuring cup, whisk them lightly, and mix in the vanilla.

2. Place the butter in the bowl of a stand mixer fitted with the paddle attachment (or a large mixing bowl if you’re using a hand-held mixer). Beat the butter on medium-low speed until it’s smooth, then add the salt and both sugars. Continue beating on medium-low until the mixture is light and fluffy, about 2 minutes, scraping the sides of the bowl as needed. With the mixer running, gradually add the egg mixture. Once the eggs have been added, scrape the sides of the bowl once, then continue mixing on medium speed for about 1 minute. Reduce the mixer speed to low and gradually add the flour mixture, mixing just until evenly combined. Divide the dough into three equal portions.

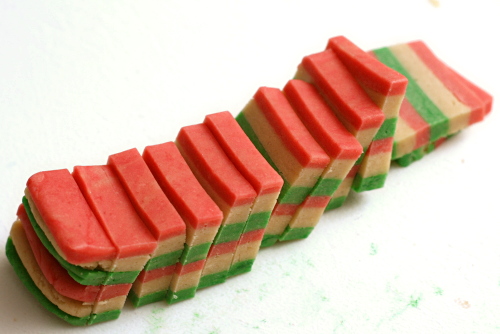
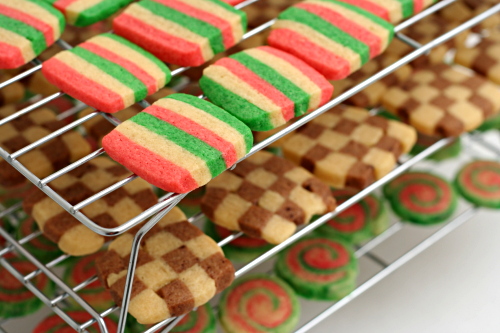
3. For the striped cookies: Divide the first portion of dough into three more equally sized parts. Color one third red, another green, and leave the last one white. Between sheets of wax paper, roll each portion out to a 3-by-9-inch rectangle. Freeze the rectangles for about 10 minutes, until they’re firm enough to cut and stack. Cut each rectangle in half lengthwise to form two 1½-by-9-inch rectangles. Stack the rectangles of dough, alternating colors, to form a block of dough with stripes. Trim the edges if desired. Wrap in wax paper and freeze for at least four hours, or up to 4 weeks.

4. For the checkerboard cookies: Place the chocolate in a microwave-safe bowl and microwave on half power for about 30 seconds. Stir, then repeat the heating and stirring until fully melted, being careful not to burn the chocolate. Divide one portion of dough into two equally sized parts. Mix the chocolate into one half and leave the other plain. Roll each portion into a 9-by-3-inch rectangle. Freeze the rectangles for about 10 minutes, until they’re firm enough to cut and stack. Cut each rectangle into eight 9-by-3/8-inch strips. On a sheet of wax paper, lay four strips next to each other, alternating colors. Press the strips together gently to remove any gaps. Lay another four strips on top of the first layer, alternating colors between layers. Repeat twice more, until there are four layers of four strips each. Trim the edges if desired. Wrap in wax paper and freeze for at least four hours, or up to 4 weeks.

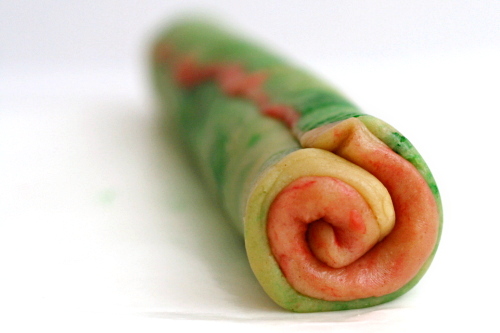
5. For the spiral cookies: Divide the last portion of dough into two equally sized parts. Color one half red and the other green. Between sheets of waxed paper, roll each portion of dough into an 8-by-8-inch square. Without chilling the dough, stack the squares, then tightly roll them together to form a spiral. Wrap the dough in wax paper and freeze for at least fours hours, or up to 4 weeks.

6. When ready to bake, adjust an oven rack to the middle position and heat the oven to 350ºF. Line a baking pan with parchment paper or a silicone mat. Slice the frozen logs into cookies about 1/8-inch thick. Lay the cookies on the prepared pan, about ½-inch apart. Bake for 7-10 minutes, just until the tops no longer look wet. Let the cookies cool on the pan for about 2 minutes, then transfer them to wire racks. Serve at room temperature. Stored in an airtight container, the cookies will be good for at least a week.

Copy of IMG_1220

chocolate caramel chestnut cake

Copy of IMG_0807a

My dessert rich-o-meter has chocolate chip cookies right near the middle, with cheesecake at one end and, I don’t know, maybe angel food cake on the other. Although I almost never eat angel food cake. Regular layer cakes tend to be slightly on the less rich side of cookies, until you add frosting of course, and then I figure it’s about the same. So if you disregard the less-rich-than-cookies side of the richometer (pronounced with the stress on the second syllable, for maximum obnoxiousness), that means desserts just span from cookies – pretty darn bad for you – to cheesecake – just about 100% fat.

Copy of IMG_0789

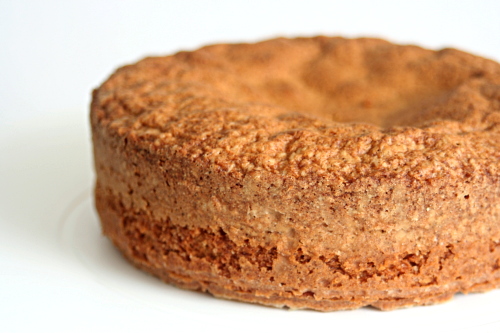
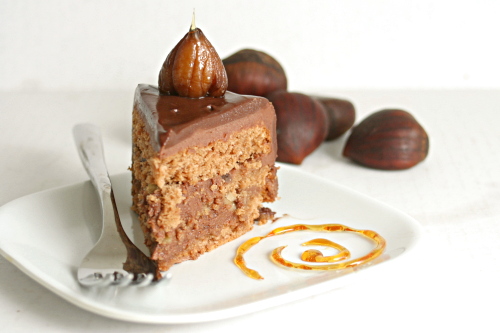
The last few Tuesdays with Dorie recipes have definitely been on the cheesecake end of the spectrum. (Of course, nothing is as bad as the lemon cream tart and peanut butter torte, which are off the charts!) At first I thought this cake was similar to a basic cake, but then it has this chocolate-butter filling, and a chocolate-cream glaze, and two sticks of butter in the cake itself. Whoa doggie.

Copy of IMG_0793

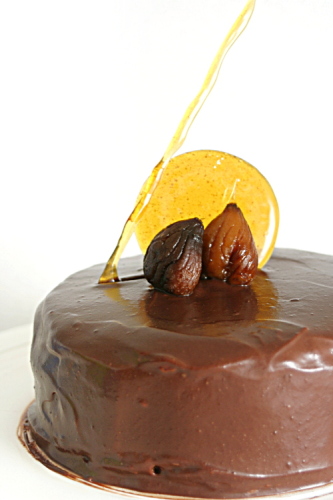
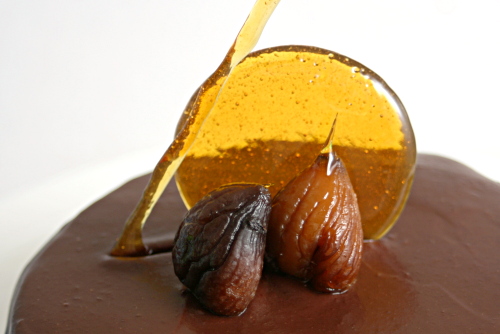
So we have leetle leetle servings, one quarter of the size Dorie recommends. This isn’t my favorite type of cake – I tend to like more classic flavors and textures – but it’s certainly good, with the earthy chestnuts and bittersweet chocolate. Dorie expounds on the virtues of the ganache filling, made by melting chocolate with hot caramel instead of hot cream, and I agree that it lends some extra complexity to the cake.

Copy of IMG_0814

Katya has the full recipe posted. I substituted Nutella for the chestnut cream and decreased the butter in the cake by 2 tablespoons. I also found that refrigerating the ganache filling overnight seemed unnecessary, turning the spreadable mixture into a hard-as-butter (which it mostly is) chunk. I had to wait an hour or so to let it warm up before I could use it on the cake.

One year ago: Rugelach, one of my favorite Dorie Greenspan recipes ever

Copy of IMG_0800

chipster-topped brownies

copy-of-img_5872
(chilled and therefore solid here)

One of my favorite things about the weekend is coffee. On weekdays, I limit myself to a big mug of black tea each day, maybe two mugs on Friday. But I have to be careful with caffeine, because even one mug of black tea makes me a little excited.  The day I made these brownies, I had about twice my normal weekend allotment of coffee at home, and then there was some deal at the bookstore, and I ended up getting a medium instead of my normal small cappuccino. Whoa.

I came home and tried to make dinner and these brownies. Dinner wasn’t too complicated, and this dessert is just a basic brownie recipe topped with a basic chocolate chip cookie recipe. But I couldn’t focus on anything. I kept walking into the kitchen, looking around, and basically thinking, “what should I do, what should I do, what should I do?” Bzzzzzt. That was my brain. Bzzzzt.

copy-of-img_5818

Dinner was sort of a disaster, so I decided to placate myself by skipping right to dessert – only to find that the middle of the pan of brownies was totally raw. That just made me irritated enough to grab a spoon and go to town.

I have no one to blame but myself. I never bothered to check the doneness of the brownies at all. I didn’t pay attention to when they went into the oven, and then at some point later, it occurred to me that I should check on them. I noticed how dark the top was and assumed I’d overcooked them.

copy-of-img_5834

If I had bothered to read the discussion of this recipe on TWD’s site, which of course I hadn’t, I would have known that underdoneness was a common problem. To complicate matters, I made ¼ of the brownie portion and ½ of the cookie portion using a pan ¼ the size of what’s recommended for a full recipe. (Thanks to Caitlin for this advice – it was definitely closer to the ratio of brownie to cookie that I preferred.)

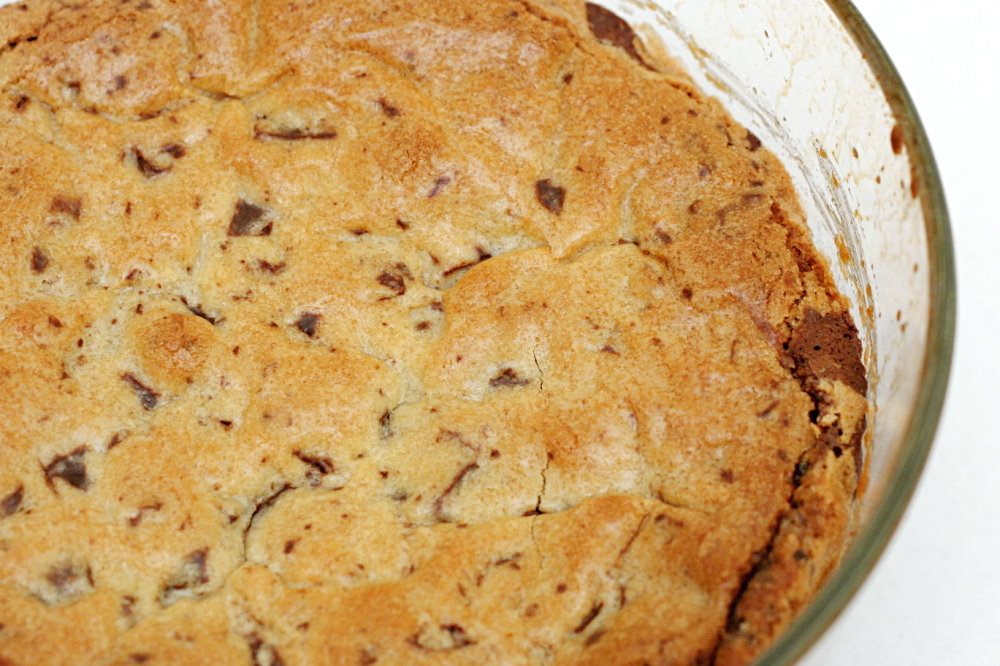
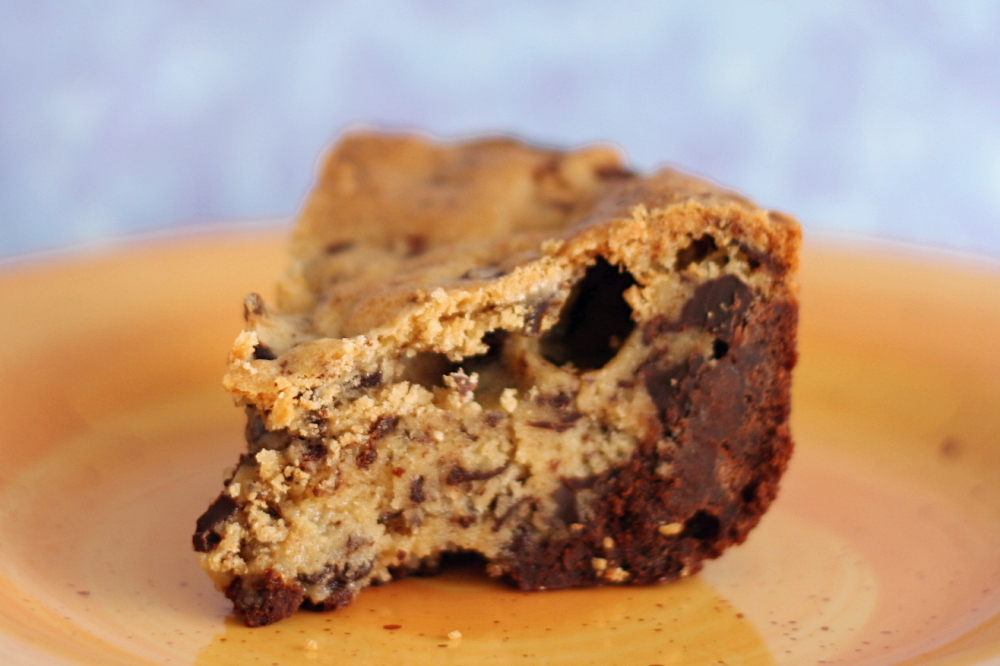
If this is the result, I’m really going to have to be more careful about my caffeine consumption. It’s a good thing that chocolate chip cookie dough is one of my favorite foods, because that and brownie batter is basically what this ended up as.

Chipster-Topped Brownies (from Dorie Greenspan’s Baking: From my Home to Yours)

For the brownie layer:
6 ounces bittersweet chocolate, coarsely chopped
3 ounces unsweetened chocolate, coarsely chopped
16 tablespoons (2 sticks) unsalted butter, cut into chunks
1⅔ cups (11.66 ounces) sugar
4 large eggs
½ teaspoon salt
½ teaspoon vanilla extract
1 cup (4.8 ounces) all-purpose flour
1 cup walnuts

For the cookie layer:
1¼ cups (6 ounces) all purpose flour
½ teaspoon baking soda
½ teaspoon salt
12 tablespoons (1½ sticks) butter, room temperature
¾ cup (5.25 ounces) packed brown sugar
⅔ cup (4.66 ounces) sugar
1 large egg
1 large egg yolk
1 teaspoon vanilla extract
6 ounces bittersweet chocolate, either chips or chunks

Getting Ready: Center a rack in the oven and preheat the oven to 350F. Butter a 9×13 inch pan, line it with wax or parchment paper and butter the paper. Put the pan on a baking sheet.

To make the brownie batter:
Put both chocolates and the butter in a bowl set over a saucepan of simmering water. Stirring occasionally, heat just until the ingredients are melted, shiny and smooth. If the mixture gets too hot, the butter will separate from the chocolate. Remove the bowl from the heat.

Working with a stand mixer, preferable fitted with a paddle attachment, or working with a hand mixer in a large bowl, beat the sugar and eggs on medium-high speed for about 2 minutes, until pale, thick and creamy. Beat in the salt and vanilla extract. Reduce speed to low and mix in the melted chocolate and butter, mixing only until incorporated. Scrape down the sides of the bowl with a rubber spatula, then, still on low speed, add the flour, mixing only until it disappear into the batter. Using a spatula, fold in the walnuts, and scrape the batter into the prepared pan. Set aside.

To make the cookie dough:
Whisk together the flour, baking soda and salt.

Working with the stand mixer in the cleaned bowl or with the hand mixer in another large bowl, beat the butter and both sugars together on medium-high speed until smooth and creamy, about 3 minutes. One at a time, add the egg and the yolk, beating for 1 minute after each addition. Beat in vanilla. Reduce the mixer speed to low and add the dry ingredients, mixing only until they disappear into the dough. Still on low, mix in the chocolate. Drop the cookie dough by spoonfuls over the brownie batter and, using a spatula and a light touch, spread evenly over the batter.

Bake for 50-55 minutes, or until the cookie top is deep golden brown and firm and thin knife inserted into the brownie layer comes out with only faint streaks of moist chocolate. Transfer the pan to a rack and cool to room temperature.

When the brownies are completely cool, carefully run a knife between the sides of the pan and the brownies, then invert them onto another rack, remove the paper and turn right side up onto a cutting board. Cut into bars about 2 inches by 1 inch.

One year ago: Ricotta Spinach Tofu Ravioli

copy-of-img_5837

orange-oatmeal-currant cookies

copy-of-img_4655

Is it possible to have a cookbook crush? I received Tartine in the mail three weeks ago, and I’ve hardly put it down since. I heard about the book when Mark recommended it, so I flipped through it one day in the bookstore. I flip through a lot of the books in the bookstore, but I can usually resist buying. I didn’t buy Tartine immediately, but after my initial look-through, I couldn’t put it out of my mind. The croissants! The shortbread! The banana cream pie!

copy-of-img_4591

There are a number of reasons to be excited about this book. The photography is beautiful. The desserts are garnished elegantly.  The author, Elisabeth Pruett (with her husband Chad Robertson) sets a friendly tone and provides plenty of helpful tips.

copy-of-img_4589

But as with any cookbook, it all comes down to the recipes. What I love about Tartine’s recipes is that they’re classics – lemon bars, clafoutis, gingerbread cookies – but they’re taken up a notch. The banana cream pie has a thin layer of chocolate on the bottom crust to keep it crisp. The croissant dough is built from a sponge and then a slow rise. The lemon bars have a crust made from browned butter that’s topped with an extra thick layer of curd.

copy-of-img_4594

You do have to work for those extra steps, so this book won’t be for everyone. But for someone like me, who enjoys the process as much as the result, the book is a perfect fit. There isn’t one recipe in the book that I’m not eager to make.

copy-of-img_4601

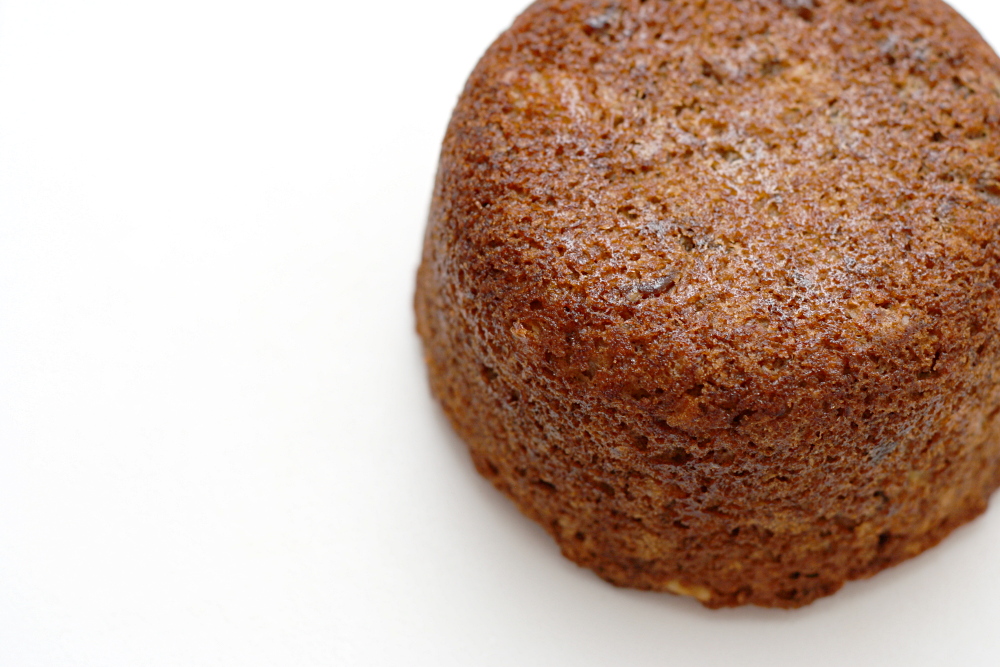
The first recipe I made was the Banana Date Tea Cake, which isn’t something that would normally sound good to me, but that’s what’s special about this book – everything sounds good. And the tea cake was delicious, with a moist, cinnamon-scented crumb that was just a little crisp at the edges. This is definitely one of my favorite banana breads. I have two old bananas sitting around right now, and I’m kicking myself for not buying dates.

copy-of-img_4573
miniature banana date tea cake

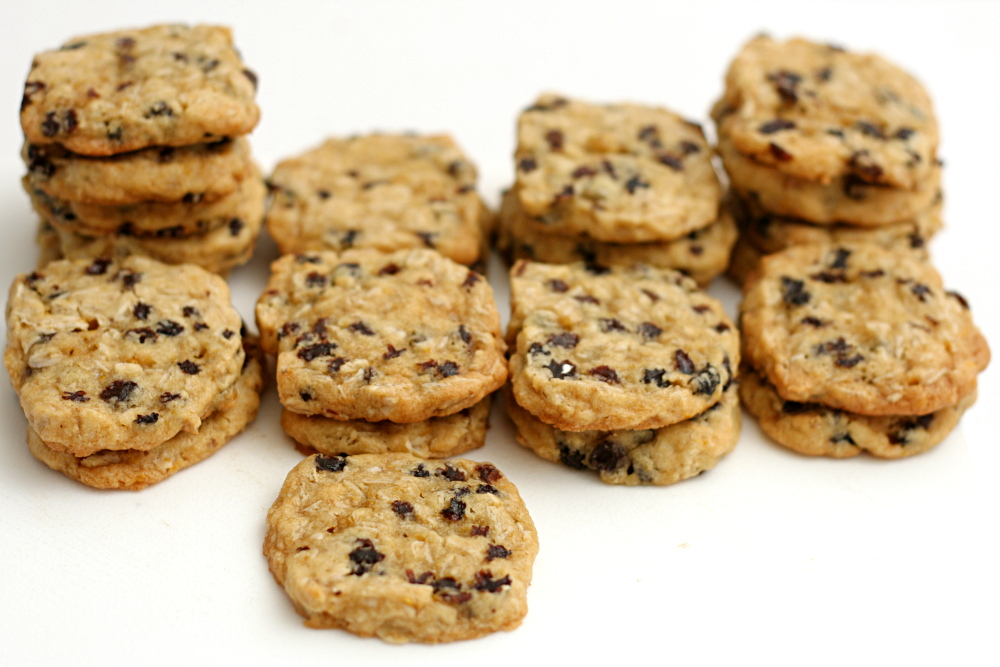
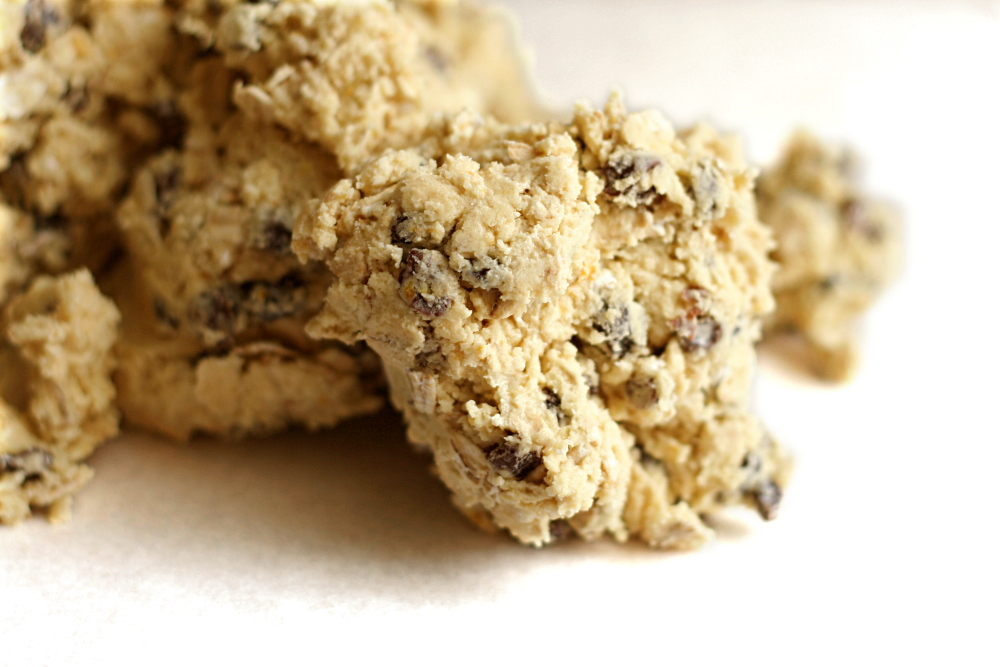
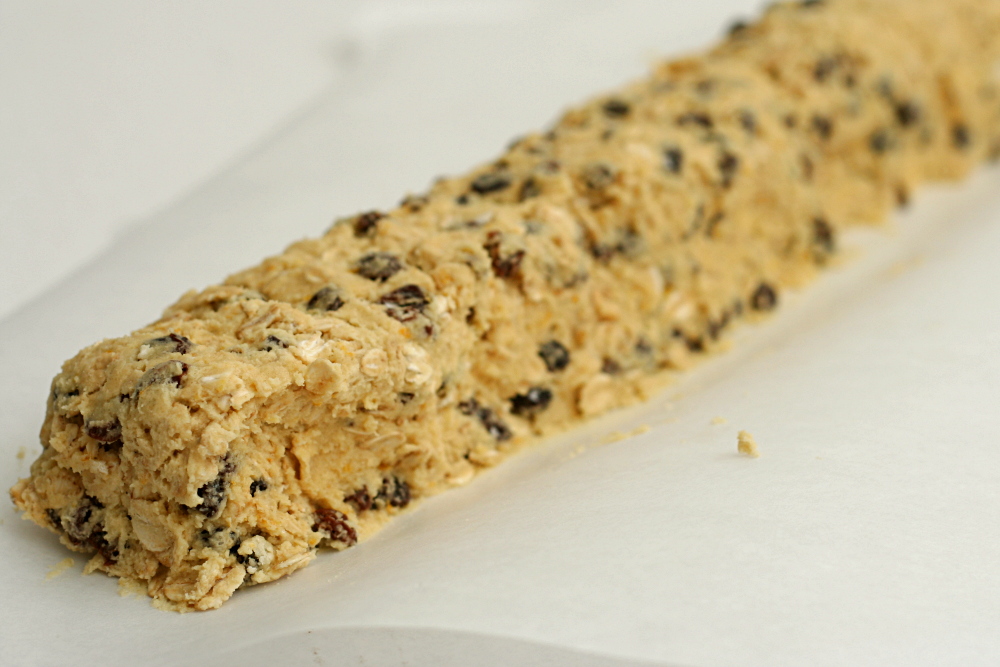
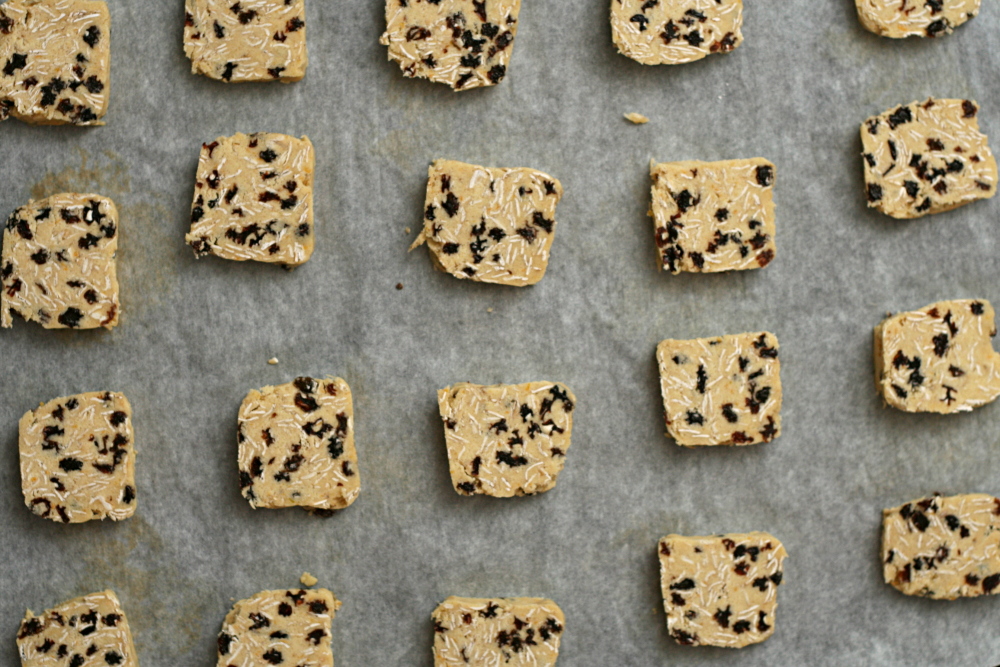
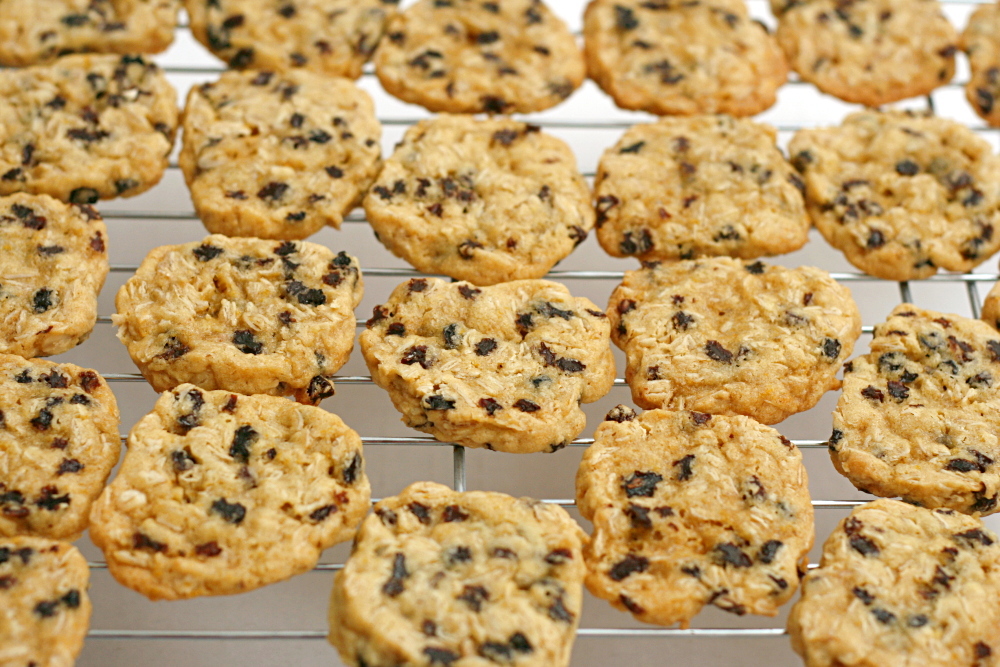
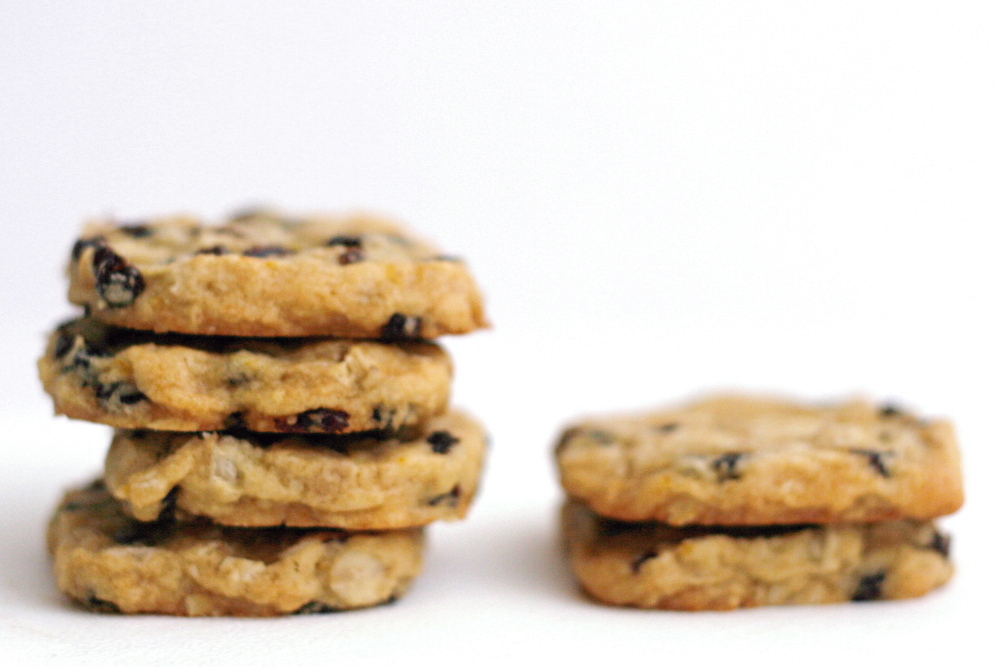
And these cookies honestly might be my new favorite (well…maybe not), and they’re certainly the best oatmeal cookie I’ve eaten. The method is mostly traditional – the butter and sugar are creamed, eggs are beaten in, and the dry ingredients are stirred in just until they’re incorporated. It’s a freezer cookie, so you wrap the dough up and chill it, then when you’re ready to bake, just slice off cookies.

copy-of-img_4644

The cookies are perfectly balanced – slightly crisp on the edges, but mostly a soft chewy center, with tartness from the currants and a hint of orange and of spice. For a cookie, they feel almost light, with currants where chocolate often is and oatmeal adding plenty of healthy bulk. I’m looking for excuses to make them again, and I’m thinking particularly about Mother’s Day. It’s going to be impossible to make my way through Tartine if each recipe is so good that I have to make it twice to get enough.

copy-of-img_4645

One year ago: Red Beans and Rice

Orange-Oatmeal-Currant Cookies (from Tartine, by Elisabeth Pruett and Chad Robertson)

Makes 80 2-inch cookies

The recipe stressed the importance of being chilled overnight, but my dough was plenty chilled after a few hours in the freezer. Zante currants are the kind that you’ll find dried.

1½ cups (7 ounces) zante currants
2 cups (10 ounces) all-purpose flour
½ teaspoon baking soda
½ teaspoon nutmeg, freshly grated
1 cup (8 ounces/16 tablespoons) unsalted butter, at room temperature
1¼ cups (8¾ ounces) sugar
1 large whole egg
1 large egg yolk
1 teaspoon vanilla extract
2 tablespoons light corn syrup
1 tablespoon blackstrap or other dark molasses
½ teaspoon salt
4 teaspoon orange zest, grated
1½ cups (5½ ounces) old-fashioned rolled oats

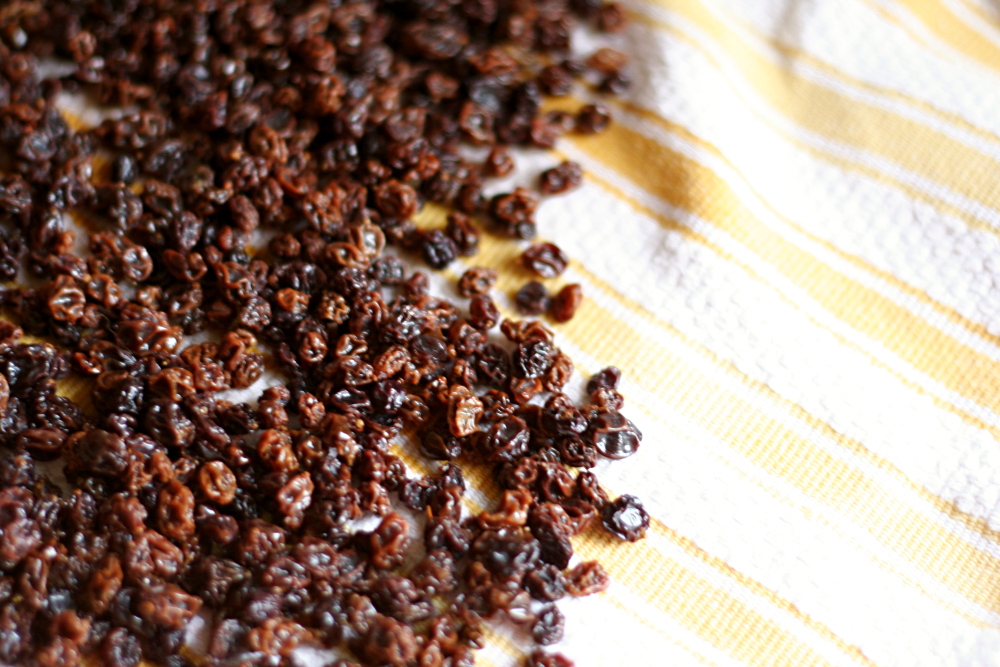
In a small bowl, combine the currants and warm water to cover and set aside for about 10 minutes until the currants are plumped. Drain well and set aside.

Sift together the flour, baking soda, and nutmeg into a mixing bowl and set aside. Using a stand mixer fitted with the paddle attachment, beat the butter on medium-high speed until light and creamy. Slowly add the sugar and mix on medium speed until light in color and fluffy. Stop the mixer and scrape down the sides of the bowl with a rubber spatula as needed. Add the whole eggs, egg yolk, vanilla, corn syrup, molasses, salt, and orange zest and beat until well mixed. Stir in the flour mixture, currants, and oats until well incorporated.

Divide the dough into 2 equal portions. Working on a large sheet of parchment paper, shape each portion into a log about 14 inches long and 2 inches in diameter. Gently Press each log to give it an oval shape. Wrap tightly in parchment paper or plastic wrap and place in the refrigerator or freezer overnight.

Preheat the oven to 350F. Line a baking sheet with parchment paper or a nonstick liner.

Unwrap the logs. Using a sharp knife, slice the logs into ovals about ¼ inch thick. Arrange the ovals on the prepared baking sheets. Bake until the edges of the cookies are lightly browned but the centers remain pale, 7-10 minutes. You may bake both pans at the same time, but rotate them 180 degrees at the midway point if they are not baking evenly. Transfer the cookies to wire racks to cool. The cookies will be soft when they cool. They will keep in an airtight container at room temperature for up to 2 weeks.

copy-of-img_4647

hershey’s perfectly chocolate chocolate cake

copy-of-img_9477

It’s my blog’s first birthday. A year ago, I don’t think I knew how much having a food blog would improve my cooking. By reading other blogs, I’m constantly hearing about new methods, ingredients, and ideas. I also find that I’m forced to choose a variety of recipes from a variety of sources to keep my blog balanced. Taking photos of my food has encouraged me to think more about presentation. And being a member of Tuesdays with Dorie and the Daring Bakers has greatly increased my confidence in baking – not only because I’m baking so often, but I’m always making something new. There are far fewer tasks in the kitchen that intimidate me now compared to a year ago.

copy-of-img_9414

And I hear about other popular recipes. People often recommend Hershey’s Perfectly Chocolate Chocolate Cake when someone asks for a great chocolate cake recipe. I already have a favorite chocolate cake, and I had my doubts that the Hershey’s one could live up to it, especially because it uses cocoa as the only source of chocolate, plus it calls for oil instead of butter. Of course the only way to really figure out which is best is to eat them side by side.

copy-of-img_9466left – Hershey’s; right – Cooks Illustrated

Hershey’s Cake is certainly easier to make. The dry ingredients are mixed, some wet ingredients are added, the batter is beaten for a couple of minutes, and then boiling water is stirred in. The result was a very liquidy batter. It was weird. The Cooks Illustrated recipe is a little more complicated, but isn’t by any means difficult.

copy-of-img_9471

The cakes tasted surprisingly similar. Hershey’s is a little sweeter, but CI’s has a subtly stronger chocolate flavor. The textural differences were more noticeable. The Hershey’s cake had a crust on the top (and I pretty much guarantee that I didn’t overbake it), which I didn’t care for. Cooks Illustrated’s cake had a more even texture, and it was lighter and fluffy. You can see in the picture above that the Hershey’s cake is much denser, especially on the bottom. Both cakes were moist, but I think the Hershey’s cake was more so.

The difference between the two cakes wasn’t as dramatic as I was expecting. Both were good, although I’ll stick to the Cooks Illustrated recipe. Both make for a good blog birthday cake!

copy-of-img_9481

I’m adding a “One Year Ago” feature, copied straight from Smitten Kitchen. It seems like a great reminder for old recipes that are too good to be forgotten.

One year ago: Cream Cheese Chocolate Chip Cookies

For Cooks Illustrated’s Old-Fashioned Chocolate Layer Cake, click here.

Hershey’s “Perfectly Chocolate” Chocolate Cake (from Hershey’s Chocolate)

2 cups sugar
1¾ cups all-purpose flour
¾ cup Hershey’s cocoa
1½ teaspoons baking powder
1½ teaspoons baking soda
1 teaspoon salt
2 eggs
1 cup milk
½ cup vegetable oil
2 teaspoons vanilla extract
1 cup boiling water

1. Heat oven to 350F. Grease and flour two 9-inch round baking pans.

2. Stir together sugar, flour, cocoa, baking powder, baking soda and salt in large bowl. Add eggs, milk, oil and vanilla; beat on medium speed of mixer 2 minutes. Stir in boiling water (batter will be thin). Pour batter into prepared pans.

3. Bake 30 to 35 minutes or until wooden pick inserted in center comes out clean. Cool 10 minutes; remove from pans to wire racks. Cool completely.

wheatmeal shortbread cookies

copy-of-img_8467

I’ve only recently started to appreciate whole grain food as anything other than a healthy alternative that requires a compromise in flavor. For some foods, this is true – pizza crust is less tender and the dough harder to work with when whole wheat flour is substituted for a portion of the white flour; many rustic breads get most of their flavor from a slow fermentation of white flour; and certainly I’m not interested in making chocolate chip cookies with whole wheat flour.

copy-of-img_8427

But that doesn’t mean that whole grain food can’t be enjoyed for what it is, and not just as a healthy substitute. These cookies are unabashedly whole grain, and that’s part of their charm. But don’t worry – I wouldn’t call them healthy.

copy-of-img_8429

The recipe is straightforward and I had no real problems. I did rework it to be baked in a square pan because I don’t have the 10-inch springform pan that it calls for. Who has all these crazy pans that Martha’s recipes always call for? One step that I followed, but didn’t really understand the point of, was scoring the edges of the cookies halfway through baking. Also, my skewer pricks in the cookies got covered by the granulated sugar sprinkled on top. In retrospect, I could have repricked the cookies after the sugar was added to keep the design.

copy-of-img_8434

Besides that small nitpicking, the recipe was easy. And the cookies were so good! They’re really tender from all that butter. I’m having trouble describing the flavor; all I can think of is “earthy” but that doesn’t sound like a compliment. But the bran really added an extra dimension of flavor that was balanced wonderfully by the butter and sugar.

copy-of-img_8448

Wheatmeal Shortbread Cookies (from Martha Stewart’s Baking Handbook, slightly reworded)

MS note: Be sure to sprinkle the shortbread with granulated sugar as soon as it comes out of the oven; this will help the sugar adhere to the cookie.

1 cup (5 ounces) unbleached flour, plus more for dusting
¾ cup whole wheat flour
¼ cup wheat bran
¾ teaspoon salt
14 tablespoons (1¾ sticks) unsalted butter, room temperature
½ cup (3.5 ounces) packed light brown sugar
granulated sugar, for sprinkling

1. Preheat the oven to 325F. Have ready a 10-inch round springform pan or a 10-inch tart pan with a removal bottom. Alternatively, line a 9-inch square pan with parchment paper.

2. In the bowl of an electric mixer fitted with the paddle attachment, mix both flours, the bran, and the salt on low speed just to combine. Add the butter and brown sugar, and beat until all the ingredients come together and form a smooth dough, about 3 minutes, scraping down the sides of the bowl as needed.

3. Turn the dough out into the pan. Using your fingers, spread out the dough evenly while pressing it firmly into the pan. Use a spoon to flatten the edges.

4. Place pan in oven, and reduce temperature to 300F. Bake until the edges just begin to turn golden, about 30 minutes. Remove pan from oven; using a bench scraper or long, sharp knife, score the cookie into 8 wedges (if using round pan) or 16 squares (if using square pan). Using the tip of a wooden skewer or the tines of a fork, prick the shortbread all over in a decorative pattern, if desired. Return pan to oven, and bake until golden all over, about 15 minutes more.

5. Transfer pan to a wire rack. Sprinkle shortbread with granulated sugar. Remove the sides of the pan (if using pan with removable bottom/sides) or use the parchment paper to lift the cookies out of the pan (if using a square pan). Let stand until completely cool before cutting into wedges. Shortbread can be kept in an airtight container at room temperature for up to 1 week.

copy-of-img_8468