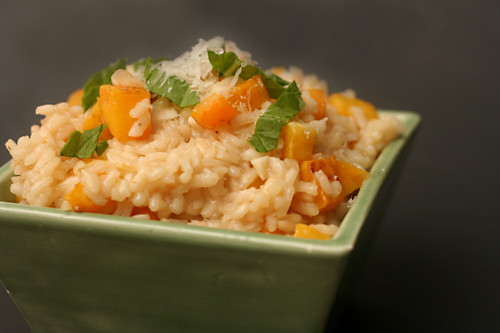
When we were in Italy, we tried to eat whatever the local specialty was. That means that in the first few days when we were on the Mediterranean coast, and then the next couple of days on the Adriatic coast, we ate a lot of spaghetti ai frutti di mare – pasta with a bunch of different types of seafood, basically. We ate it three days in a row, and on one of those days, we also had risotto ai frutti di mare.
In Tuscany, we ate more red meat, and in Rome, every dinner included some version of pasta with fatty pork, whether carbonara, amatriciana, or gricia, the difference between them being whether the sauce includes eggs, onions and tomatoes, or nothing but meat and cheese, respectively. I remember enjoying the gricia and amatriciana, but the carbonara I got was overly sauced in a rich cream and wasn’t at all what I thought it should be.
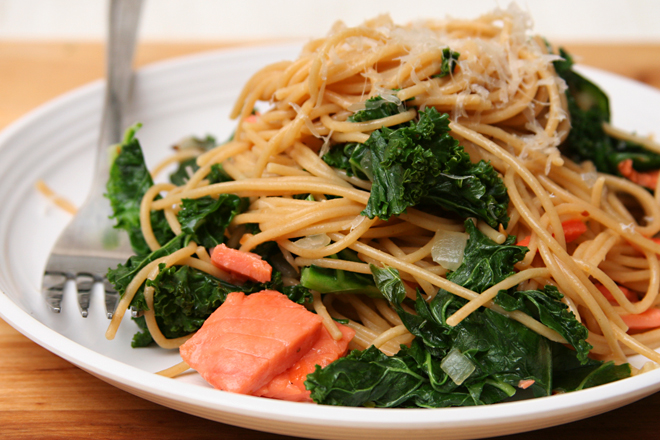
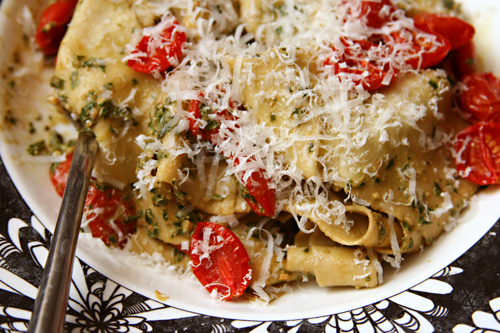
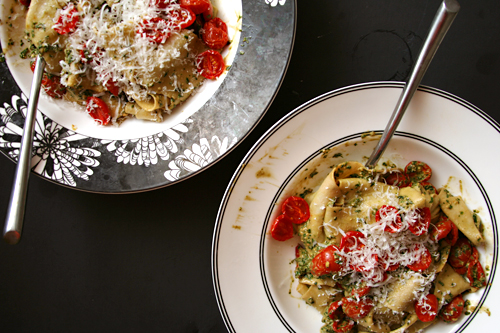
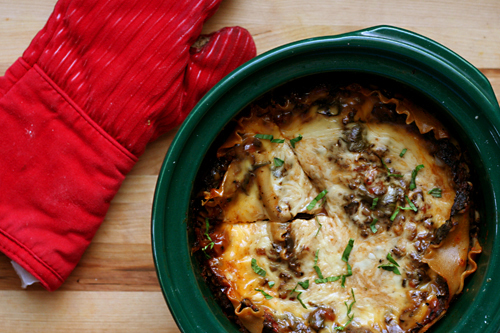
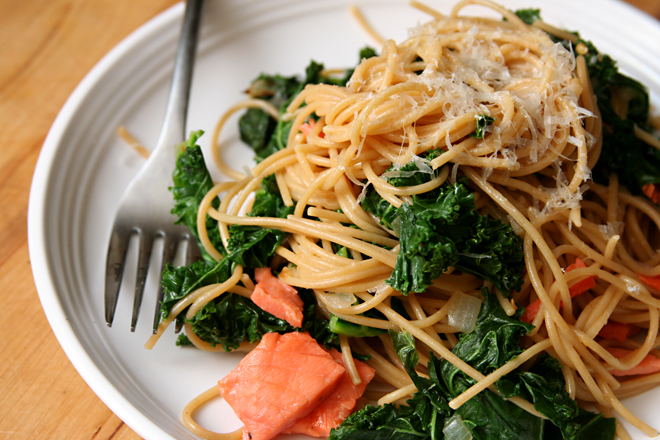
Of course, I had no other traditional carbonara experiences to compare it to, and I still don’t. While I can’t guarantee that the creamy carbonara I had in Rome wasn’t authentic, I know for sure that this one isn’t. Instead of smoky pork, this recipe includes smoky fish, which, if you’re going to be unauthentic, is kind of a perfect way to do it. And while we’re at it, why not throw in some bitter greens? I probably shouldn’t say this out loud, but this carbonara was better than any of the similar pastas I had in Italy.

One year ago: Roasted Chicken Thighs with Root Vegetables
Two years ago: Lamb Stew
Three years ago: German Apple Pancake
Four years ago: Banana Cream Pie
Printer Friendly Recipe
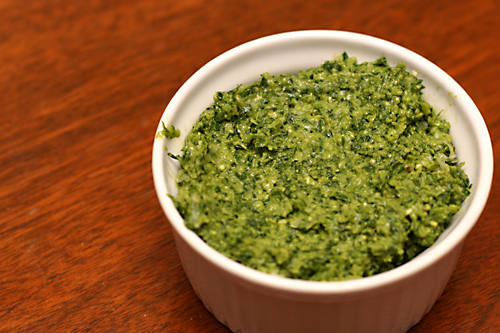
Smoked Salmon Kale Carbonara (adapted from Cara’s Cravings and Gilt Taste)
Serves 4
12 ounces dried pasta
salt
1 tablespoon olive oil
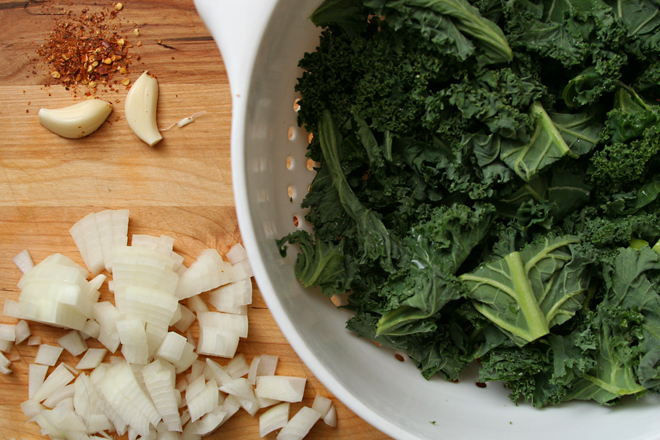
½ small red onion, minced
2 clove of garlic, minced
¼ teaspoon crushed red pepper
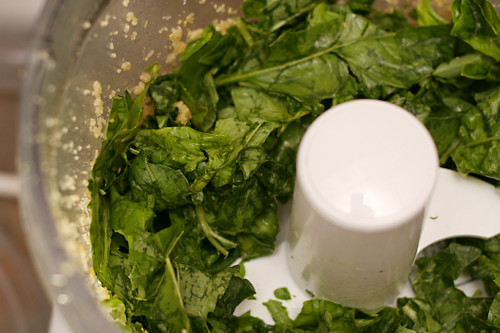
2 large bunches of kale (about 12 ounces), thick stems removed, leaves cut into 1-2 inch pieces
2 eggs
2 ounces (1 cup) grated parmesan cheese
freshly ground black pepper
6 ounces smoked salmon, torn into small pieces
1 tablespoon lemon juice
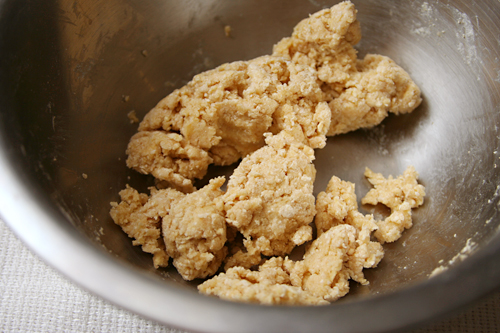
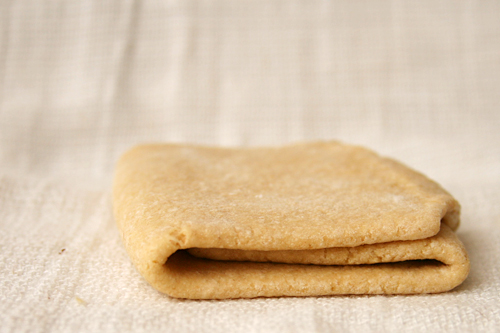
1. Bring 4 quarts of water to a boil; add about 1 tablespoon of salt and the pasta. Cook, according to the package instructions, until just tender. Drain the pasta, reserving 1 cup of the cooking water.
2. Meanwhile, heat the oil in a large skillet over medium heat. Add the onion and a pinch of salt; cook, stirring occasionally, until it just starts to brown around the edges, about 5 minutes. Add the garlic and red pepper; cook, stirring constantly, until fragrant, about 30 seconds. Add the kale; cover the pan and cook until tender, 3-5 minutes, stirring about once a minute. Set aside.
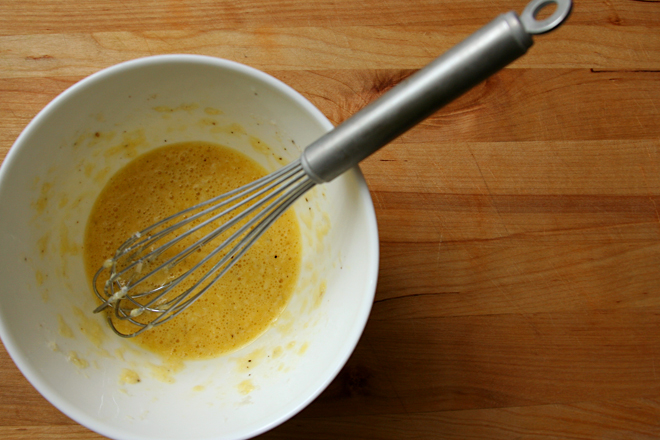
3. Beat together the eggs, cheese, ¼ teaspoon salt, and a pinch of black pepper.
4. Transfer the cooked pasta back to the cooking pot; stir in the kale mixture and salmon. Stirring vigorously, add the egg mixture, then the lemon juice. Serve immediately.