Archives for September 2011

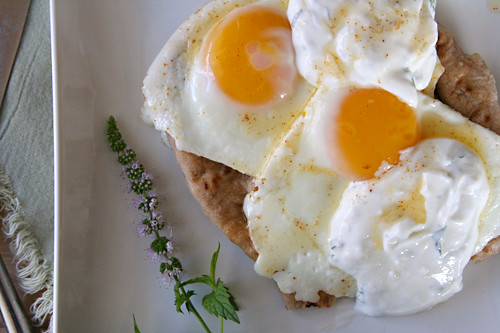
fried eggs with garlic yogurt sauce

eggs garlic yogurt 6

I had no idea what I was in for when I planted mint in my backyard this spring. Not only did I not realize that it would encroach on the basil and oregano to either side of it, not to mention the jalapeno on the other side of the raised bed, but I’m not a big mint eater anyway. Mostly I figured it would make a pretty garnish for desserts.

eggs garlic yogurt 1

When I started to see what I was in for as a mint-grower, I thought I might get into mojitos, but as refreshing as they are, my loyalty still lies with margaritas. Eventually I gave up and let the mint have its way with my raised bed. It went to flower, which happily drew pollinators to my garden for the acorn squash, cucumber, and pea and/or green bean seeds I planted on a whim after all of my tomato plants died.

eggs garlic yogurt 2

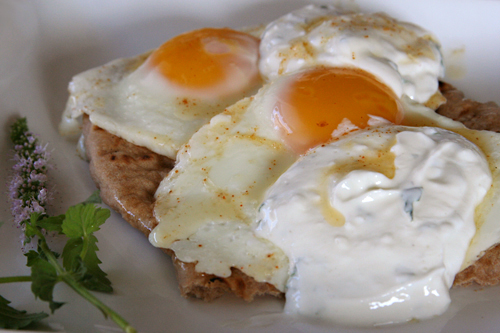
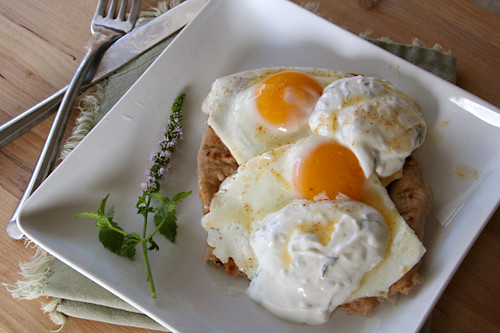
This is one of the few recipes I’ve used mint in regularly this summer, and one of the only savory dishes I like it in. It’s a perfect weekend breakfast, in that it’s easy, healthy, filling but not too filling, and of course, it tastes good. It’s a classic favorite combination of breakfast foods, with eggs on toast covered in sauce, but instead of a rich sauce of egg yolks and butter, it’s a garlicky minty yogurt sauce

eggs garlic yogurt 4

One year ago: Raspberry Lemon Petits Fours
Two years ago: Pumpkin Cupcakes (comparison of 3 recipes)
Three years ago: Lavash Crackers

Printer Friendly Recipe
Fried Eggs with Garlic Yogurt Sauce (original recipe from Linda and Fred Griffith’s Garlic Garlic Garlic via my brother)

Serves 2-4

I’ve simplified the recipe even more than the original, which called for poached eggs plus a butter sauce; I only wanted to use one pan, not two, so I fry the eggs in the seasoned butter and then drizzle any liquid remaining in the skillet over the cooked eggs.

¾ cup Greek yogurt
2 garlic gloves, pressed through a garlic press or minced and mashed
2 teaspoons fresh mint, minced
salt
1 tablespoon butter
⅛ teaspoon cayenne
4 large eggs
4 small pitas or slices of toast or 2 English muffins

1. In a small bowl, stir together the yogurt, garlic, mint, and a pinch of salt. Set aside.

2. In a medium nonstick skillet over medium heat, melt the butter with the cayenne and a pinch of salt. Crack each egg into a small dish; tip them into the prepared pan and sprinkle with salt. Cover the pan, lower the heat to medium-low, and cook for 5-7 minutes for over-medium eggs.

3. Place the pita or toast on plates. Top each with a fried egg and a spoonful of the yogurt sauce, then drizzle any remaining seasoned butter from the skillet over the tops of the eggs. Serve immediately.
eggs garlic yogurt 5

flip over cherry cake

flipover cherry cake 5

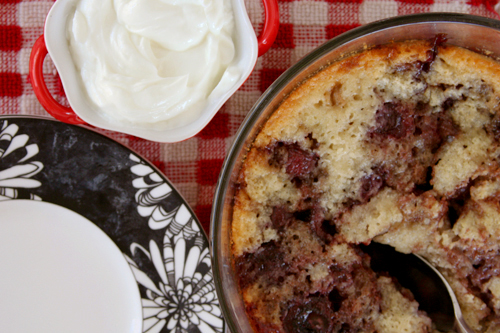
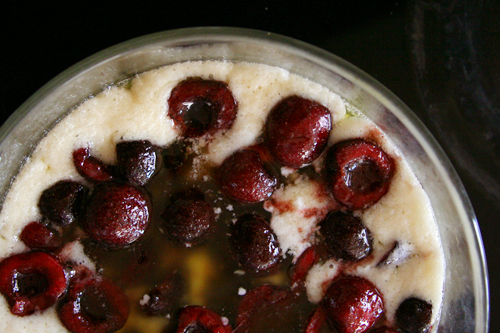
Unless I did something very wrong, calling this a cake is a bit of a stretch. In fact, it’s very similar to a cobbler recipe I’ve made, which used the same technique of pouring batter over melted butter, topping that with the fruit, and baking. It seems an odd method to me; why not mix the butter with the rest of the batter?

flipover cherry cake 3

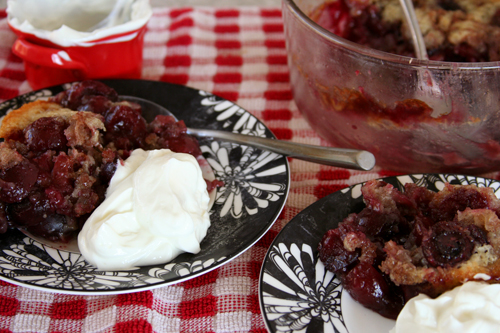
Maybe leaving the butter separate contributes to the “flip-over” aspect of this “cake”, which can also turn it into a cobbler with the dough on top of the fruit. It’s perfectly edible – sugary, fruity, and buttery – but I have to admit that I like my bready parts to be more substantial. On the other hand, a scoop of Greek yogurt made this a good excuse to eat dessert for breakfast.

flipover cherry cake 4

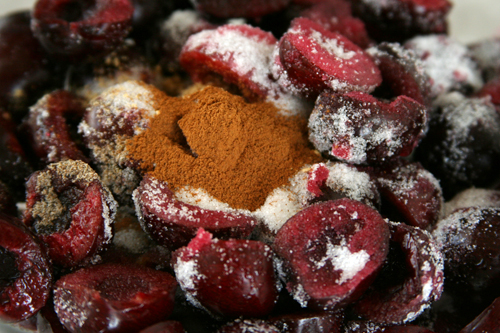
Becky chose this fruity cake/cobbler/pudding for Tuesdays with Dorie, and she has the recipe posted. I substituted cherries for the plums and increased the salt.

One year ago: Tarte Fine
Two years ago: Cottage Cheese Pufflets
Three years ago: Creme Brulee (comparison of 2 recipes, in which Dorie’s won)

flipover cherry cake 7

croissants (tartine bread)

croissants tartine bread 20

My coworker seemed surprised when I told him I was going home at lunch to work on croissants. He wondered if all croissant recipes are so complicated. No. But I chose the most complicated one.

croissants tartine bread 4

I seem to have convinced myself that the recipe with the most steps must produce the best result. By no means is this rule always true, but in this case, it was. Spending my lunch break rolling and shaping buttery dough was a small price to pay for croissants this good.

croissants tartine bread 7

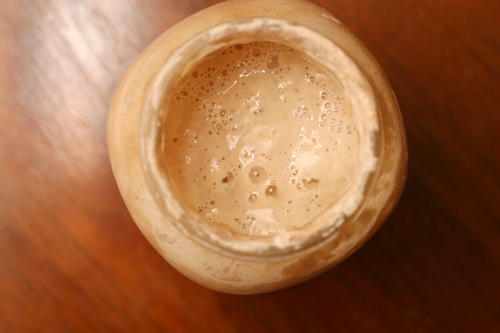
And that’s just the beginning (well, it’s the end of the recipe, but it’s the beginning of me telling you about the recipe). The process starts a couple days earlier, when you feed your starter. If you don’t have a starter, you should make one! It isn’t hard, and I’m more proud of my all wild-yeast bread than anything else I’ve accomplished in the kitchen this year.

croissants tartine bread 11

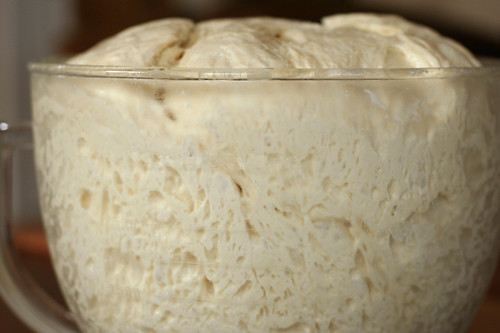
Once your starter is awake and you’ve mixed up another pre-dough with instant yeast, you’ll make your dough, but instead of kneading it, you’ll spend a minute or so fussing with it every half an hour for a few hours. Once it’s risen and chilled, you can roll it out and start working in the butter, and this process takes a few minutes of fussing over the course of several hours too. Then chill the dough some more. Then roll it out some more. Then, finally, you can shape your croissants! But then you have to let them rise for a couple hours before baking.

croissants tartine bread 16

I actually love recipes like this. I love getting to play with dough for just a few minutes at a time, and because the dough is chilled in between, it’s adaptable to my schedule. And in this case, all that fussing paid off with the best croissants I’ve made yet. My coworker grabbed two, and then he didn’t seem to doubt my lunchtime fussing at all.

croissants tartine bread 18

More experiments with croissants:
Tartine Bakery (the recipe in their first book is different than the recipe in their bread book)
Martha Stewart (using fresh yeast)
Martha Stewart (using instant yeast)

One year ago: Taco Pasta Salad
Two years ago: Green Chile Huevos Rancheros
Three years ago: Pan-Seared Steak with Red Wine Pan Sauce

Printer Friendly Recipe
Croissants (adapted from Tartine Bread)

Makes 16 croissants

I’ve shortened the instructions and added volume measurements. Keep in mind though, that the weight measurements are more precise, so if you have a scale, use it (as always).

The original recipe recommends an egg wash made from 2 egg yolks and 1 teaspoon of heavy cream, but I used a whole egg whisked with a pinch of salt (which loosens the protein structure of the egg) because I didn’t want 2 extra egg whites to use up.

I wouldn’t have minded the croissants being just a little bit sweeter. Next time I’ll increase the sugar to ½ cup (100 grams).

You don’t use all of the leaven, because the leftover leaven becomes the starter that you keep and feed and use in the future.

Poolish:
200 grams (1½ cups) all-purpose flour
200 grams (⅔ cup) water, room temperature
3 grams (1 teaspoon) instant yeast

Leaven:
1 tablespoon starter
220 grams (1⅔ cups) all-purpose flour
220 grams (¾ cup) water, room temperature

Dough:
450 grams (1¾ cup) whole milk, room temperature
300 grams leaven
400 grams polish (this is all of the poolish)
1000 grams (7 cups) bread flour
28 grams (4½ teaspoons) salt
85 grams (7 tablespoons) sugar
10 grams (1 tablespoon) instant yeast

400 grams (28 tablespoons, although I used a full pound (32 tablespoons)) unsalted butter
½ cup all-purpose flour
Egg wash

1. To make the poolish: In a small bowl, mix the flour, water, and yeast. Cover and let stand at room temperature for 3-4 hours or store overnight in the refrigerator.

2. To make the leaven: In a small bowl, mix the starter, flour, and water. Cover and let rise overnight.

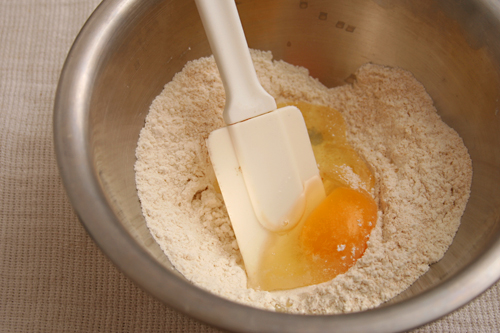
croissants tartine bread 2

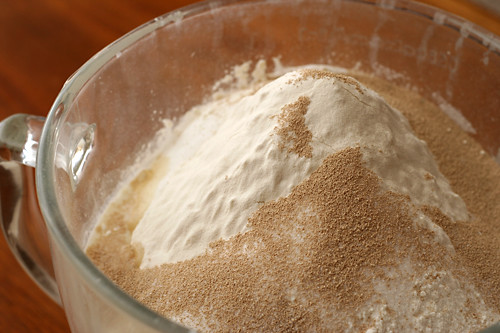
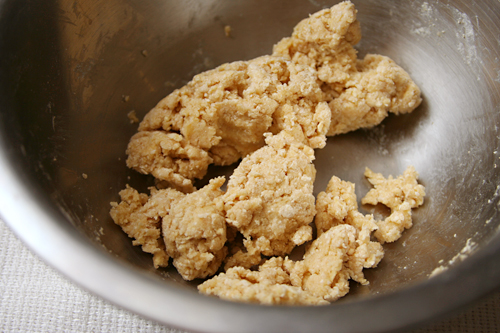
3. Add the milk, leaven, and poolish to a large mixing bowl; stir to break up the doughs. Add the flour, salt, sugar, and yeast; mix thoroughly until there are no bits of dry flour. Cover and let rest for 25-40 minutes. Fold the dough a few times by using a dough scraper to scoop up one side of the dough and drape it over the rest of the dough.

croissants tartine bread 3

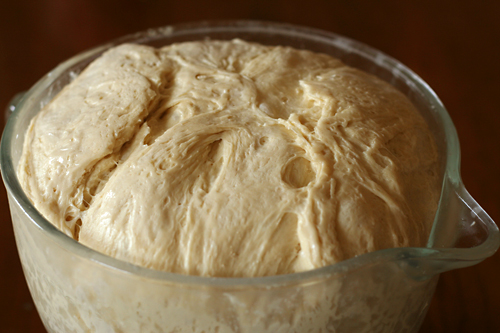
4. Allow the dough to ferment for 3 to 4 hours and give it another few turns every 30 minutes. This takes the place of kneading. Be more gentle with the turning toward the end of the rising time. The dough is ready when it’s slightly increased in volume and is full of air bubbles. Flatten the dough into a rectangle, wrap it in plastic wrap, and refrigerate for 2-3 hours.

croissants tartine bread 5

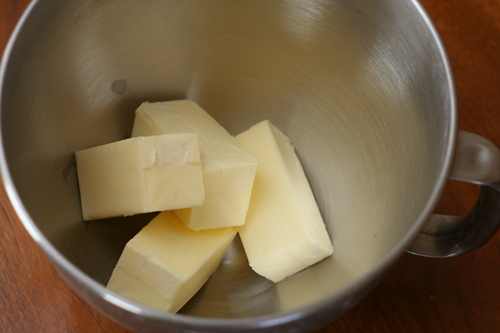
5. Just before rolling out the dough, cut the cold butter into cubes. Gradually adding the ½ cup flour, pound the butter with a rolling pin until it comes together into a cohesive mass. Alternatively, use a stand mixer fitted with the paddle attachment to mix the cold butter and flour. Mold the butter into a rectangle measuring 8 by 14 inches.

croissants tartine bread 6

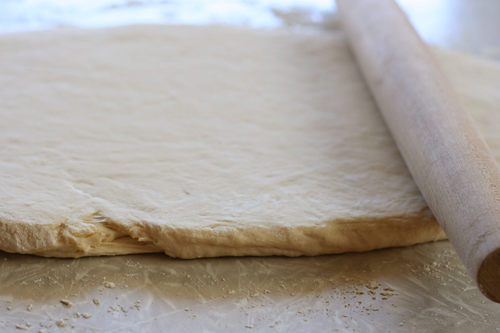
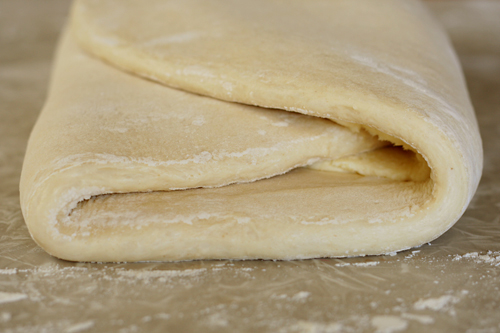
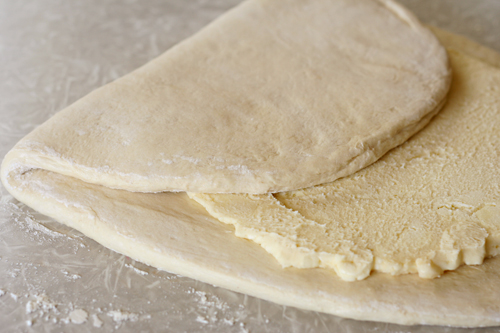
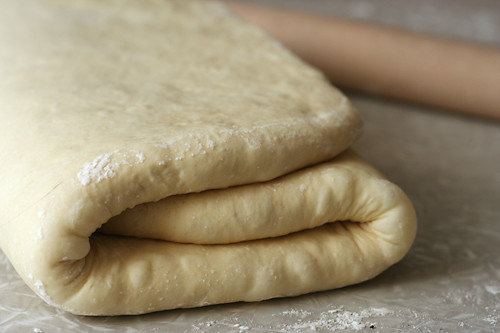
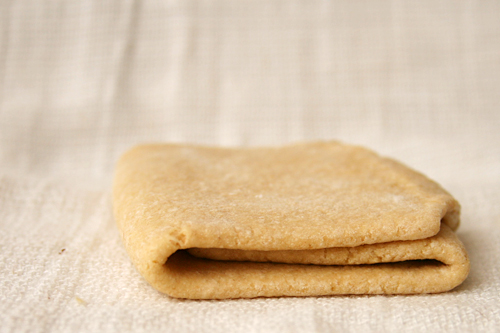
6. On a work surface dusted with flour, roll the dough out to a rectangle measuring 12 by 20 inches. Lay the butter block over the dough so that it covers about two-thirds of the dough. Fold the uncovered third of dough toward the center over the butter. Fold the other end of the dough, with the butter, over the center, as if you’re folding a letter. Turn the dough a quarter turn; roll it again into a 12 by 20-inch rectangle, then fold it in thirds. Wrap the dough in plastic wrap and refrigerate for 1 hour. (You can chill the dough longer, but you’ll need to let it warm up a few minutes before rolling so the butter isn’t too stiff.)

croissants tartine bread 10

7. Remove the dough from the refrigerator. Roll it out to a 12 by 20-inch rectangle, fold it in thirds, rotate it a quarter-turn, and repeat the rolling and folding. Chill for an hour. Repeat the rolling, folding, rotating, rolling and folding once more. Wrap the folded dough in plastic wrap and freeze it for 1-2 hours. If you don’t plant to finish the croissants until the next morning, transfer the dough to the refrigerator after a couple hours in the freezer. (You can store the dough in the freezer for several days at this point, letting it defrost overnight before using.)

croissants tartine bread 14

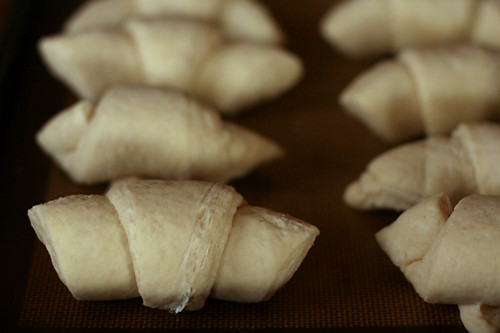
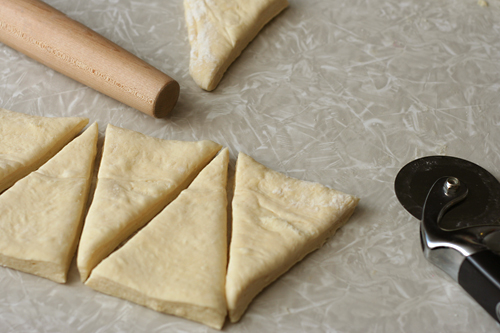
8. Roll the dough into a rectangle that is 18 by 24 inches and is about ½-inch thick. If the dough becomes very elastic, let it rest (preferably in the refrigerator) for several minutes before continuing the rolling. Cut the dough in half to form two 9 by 24-inch rectangles. Cut each rectangle into 8 triangles. Roll up each triangle, starting at the wide side. Transfer the croissants to a parchment-lined baking sheet, spacing them at least an inch apart. Cover them loosely and let rise until they are about 50 percent larger than their original size, about 2 hours. They will be firm, but puffed. (You can also refrigerate them overnight at this point, which is what I did.)

croissants tartine bread 15

9. Heat the oven to 425 degrees. Brush the croissants with the egg wash. Bake until they are deep golden brown, crisp, and flaky, about 30 minutes. Let cool slightly before serving.

croissants tartine bread 17

salt and pepper cocoa shortbread

salt pepper cookies 3

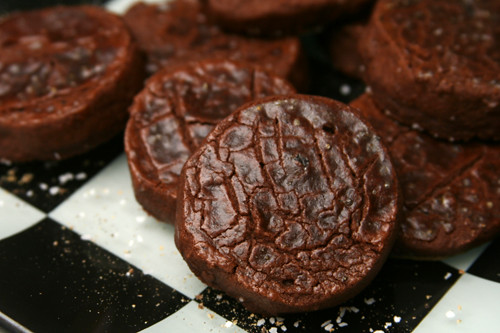
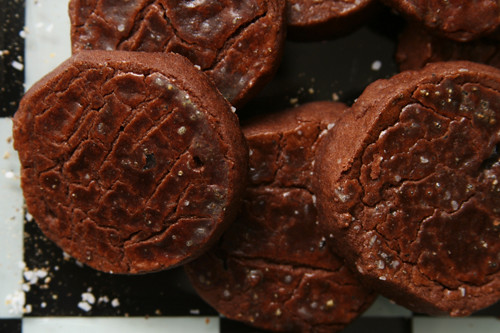
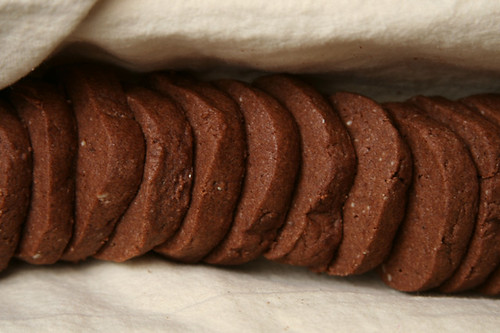
I brought these and the allspice chocolate cookies to work on the same day, and someone asked me if I come up with these flavor combinations on my own. I most definitely do not. Coming up with interesting variations isn’t really my thing. Not only do I love classic, simple flavors, it would just not occur to me to add black pepper to a chocolate cookie.

salt pepper cookies 1

But once confronted with the idea, I’m perfectly happy to try it. I can see how pepper would work with chocolate. I think pepper’s bite could compliment chocolate’s bitterness.

salt pepper cookies 2

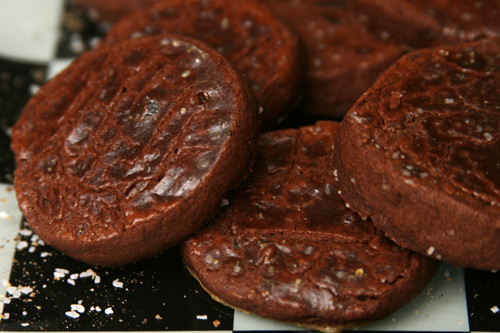
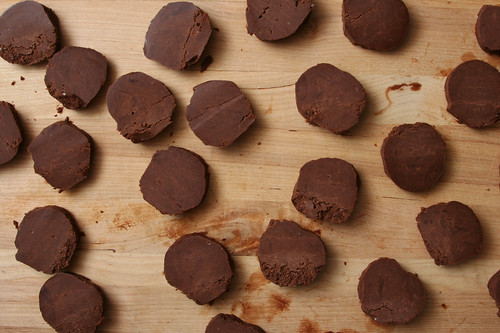
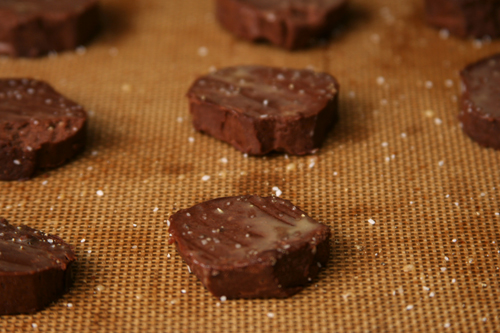
I might have gone a little light on the pepper though. I was worried, I admit. In the end, the cookies were tender and chocolately with salty pockets. I didn’t really notice the pepper, but a few people at work told me they detected it and enjoyed it. I never would have thought of it on my own, but apparently, it works.

salt pepper cookies 5

Tia chose this for Tuesdays with Dorie, and she has the recipe posted. I actually didn’t make any changes this time!

One year ago: Coffee Break Muffins
Two years ago: Flaky Apple Turnovers
Three years ago: Dimply Plum Cake

salt pepper cookies 4

banh mi

banh mi 4

For me, taste will trump authenticity every time. Spaghetti and meatballs is more Italian-American than Italian, most of my favorite sushi rolls didn’t originate in Japan, and Vietnamese banh mi sandwiches include a whole mess of ingredients that aren’t available to me. I don’t want to miss out on any of these foods just because they don’t closely resemble the versions in their original countries.

banh mi 1

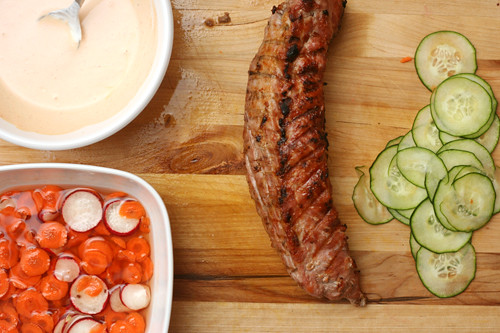
I’m not saying that I have no interest in more authentic versions of banh mi. I’m just saying that a sandwich made of grilled meat, pickled vegetables, fresh herbs, and spicy tangy sauce is too good to wait around for daikon radish to show up at my grocery store, because it never will. Regular radishes will have to stand in for the daikon radish. And I’m sure pâté is a particularly luscious addition, but still not one that’s worth the trouble of searching southern New Mexico for it.

banh mi 2

Besides, the mixture of storebought mayo, sriracha, and fish sauce is good enough to make any sandwich tempting. One with tangy pickled vegetables and tender grilled pork, all piled on an airy baguette, has become one of my favorite sandwiches ever. It may be a far cry from its origins, but it’s too good to care.

banh mi 3

One year ago: Cheesecake (comparison of 3 recipes)
Two years ago: Twice-Baked Potato Cups
Three years ago: Banana and Peanut Butter Stuffed French Toast

Printer Friendly Recipe
Vietnamese-Style Grilled Pork Sandwiches (from America’s Test Kitchen Feed)

I used a mixture of Greek yogurt and mayonnaise, heavy on the yogurt, instead of just mayonnaise in the sauce.

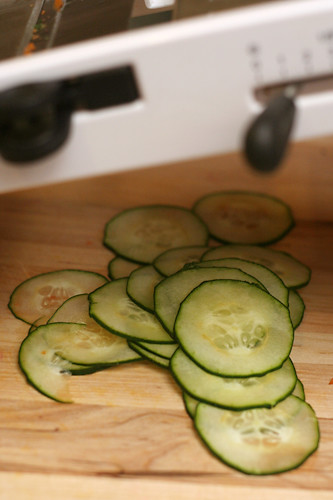
Sliced cucumbers are a nice addition, and as you can see, the carrots and radishes work just fine if they’re thinly sliced instead of julienned. (I haven’t figured out how to julienne things on my mandoline.)

Serves 4

½ cup rice vinegar
3 tablespoons sugar
2 tablespoons sriracha
4 tablespoons fish sauce
1 (6-inch) piece daikon radish, peeled and julienned
1 carrot, peeled and julienned
¾ cup mayonnaise
1 pork tenderloin (about 1 pound)
2 teaspoons five-spice powder
1 (24-inch) baguette, cut into 4 pieces and split partially open lengthwise
1 cup fresh cilantro leaves

1. Combine vinegar and sugar in microwave-safe bowl. Heat until sugar has dissolved, about 90 seconds. Add 1 tablespoon sriracha, 2 tablespoons fish sauce, daikon, and carrot to bowl and toss to combine. Set aside for 15 minutes.

2. Meanwhile, whisk mayonnaise, remaining 1 tablespoon sriracha, and remaining 2 tablespoons fish sauce together in second bowl.

3. Rub pork with five-spice powder. Grill over hot fire until browned on all sides and pork registers 145 degrees, 12 to 14 minutes. Transfer to cutting board, tent with foil, and let rest 5 minutes. Grill bread until lightly toasted, about 1 minute.

4. Slice pork crosswise into thin slices. Drain vegetables. Spread mayonnaise on inner sides of bread halves. Arrange slices of pork on bread and top with vegetables and cilantro. Serve.

cooks illustrated’s ultimate banana bread

banana bread 6

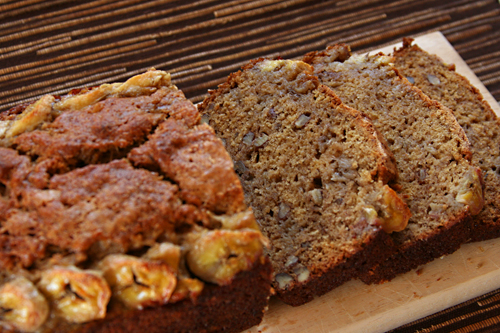
I’ve always wanted to do a banana bread comparison post, and I still plan to someday, but usually I make banana bread for one primary purpose: to use up old bananas. And this recipe is the best for that, because it uses five bananas (six if you include the garnish, which I usually don’t), which is about twice as many as most other banana bread recipes. Furthermore, this recipe actually works better with previously frozen bananas, which mine always are.

banana bread 1

It manages to fit so many bananas into one loaf because the liquid is extracted before the batter is mixed. I love sucking the liquid out of ingredients before using them in recipes, especially quick breads like this zucchini bread. But I have to admit that I hadn’t realized bananas contained so much water. With zucchini, it’s obvious because water droplets immediately appear on a newly cut surface, but bananas had always seemed relatively dry to me.

banana bread 2

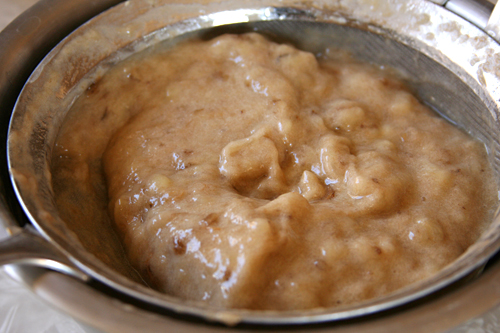
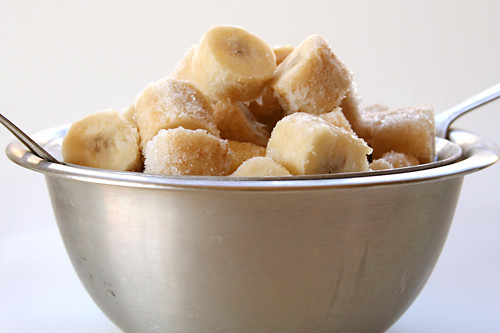
That’s until you freeze and then defrost them, when they turn into a pile of gross brown mush soaking in gross brown liquid. And this is perfect, because the mush is ready to mix right into the batter, and the liquid can be simmered down into a concentrated banana syrup, so not one bit of banana flavor is wasted. And if you don’t constantly have a bag of bananas taking up space in your freezer, of course you don’t need previously frozen bananas for this recipe – a quick trip to the microwave achieves the same effect.

banana bread 3

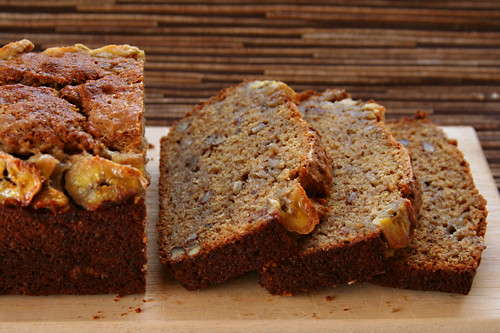
The end result is a banana bread that’s moist and tender, even if I go ahead and utilize my favorite quick bread tricks of subbing half whole wheat pastry flour and reducing the fat by 25% by replacing some of the butter with oil. Plus I figure that all that extra fruit in there contributes more fiber and nutrients. It’s not over-the-top banana-y either, despite containing so much more banana than most loaves. It’s so good that it’s actually worth making just for the sake of eating it, not just to use up the ingredients!

banana bread 4

One year ago: Pappa al Pomodoro
Two years ago: Risotto with Swiss Chard
Three years ago: Gazpacho

Printer Friendly Recipe
Ultimate Banana Bread (from Cooks Illustrated)

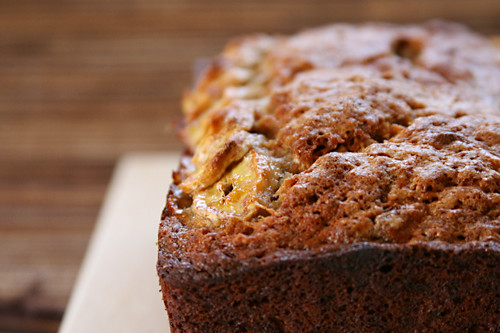
I’ve reproduced Cooks Illustrated’s recipe exactly below. However, I don’t particularly care for the sliced bananas on top. They’re pretty, but they’re too sweet and candy-like (which really doesn’t sound like me, come to think of it).

You can slightly healthy up this recipe by replacing half of the flour with whole wheat pastry flour, and using 4 tablespoons butter plus 2 tablespoons canola oil instead of 8 tablespoons butter. The oil helps keeps the loaf moist, and of course leaving all that butter in contributes flavor.

1¾ cups (8¾ ounces) unbleached all-purpose flour
1 teaspoon baking soda
½ teaspoon table salt
6 large very ripe bananas (about 2¼ pounds), peeled
8 tablespoons (1 stick) unsalted butter, melted and cooled slightly
2 large eggs
¾ cup packed (5¼ ounces) light brown sugar
1 teaspoon vanilla extract
½ cup walnuts, toasted and coarsely chopped (optional)
2 teaspoons granulated sugar

1. Adjust an oven rack to the middle position and heat the oven to 350 degrees. Spray an 8½ by 4½-inch loaf pan with non-stick cooking spray. Whisk the flour, baking soda, and salt together in a large bowl.

2. Place 5 bananas in a microwave-safe bowl; cover with plastic wrap and cut several steam vents in the plastic with a paring knife. Microwave on high power until the bananas are soft and have released liquid, about 5 minutes. Transfer the bananas to a fine-mesh strainer placed over a medium bowl and allow to drain, stirring occasionally, for 15 minutes (you should have ½ to ¾ cups liquid).

3. Transfer the liquid to a medium saucepan and cook over medium-high heat until it’s reduced to ¼ cup, about 5 minutes. Remove the pan from the heat, stir the reduced liquid into the bananas, and mash with a potato masher until fairly smooth. Whisk in the butter, eggs, brown sugar, and vanilla.

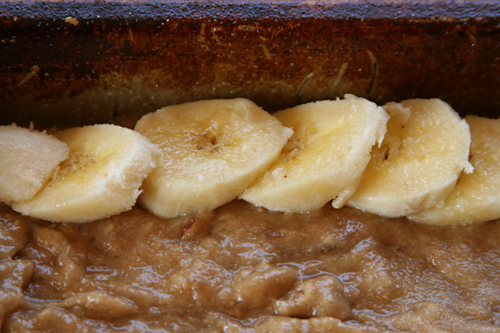
4. Pour the banana mixture into the flour mixture and stir until just combined with some streaks of flour remaining. Gently fold in the walnuts, if using. Scrape the batter into the prepared pan. Slice the remaining banana diagonally into ¼-inch-thick slices. Shingle the banana slices on top of both sides of the loaf, leaving a 1½-inch-wide space down the center to ensure an even rise. Sprinkle the granulated sugar evenly over loaf.

5. Bake until a toothpick inserted in the center of the loaf comes out clean, 55 to 75 minutes. Cool the bread in the pan on a wire rack for 15 minutes, then remove the loaf from the pan and continue to cool on a wire rack. Serve warm or at room temperature.

banana bread 5

dorie’s classic brownies

classic brownies dorie 6

The worst brownie I ever ate was on a layover at the Detroit airport. My flight was delayed, so obviously I deserved a treat. Despite my suspicion of the freshness and quality of desserts from coffee chains, I figured any chocolate was better than none.

classic brownies dorie 1

Except there was, essentially, no chocolate in this brownie. It goes to show how a little cocoa goes a long way in terms of color, but not so much with flavor. What a disappointment.

classic brownies dorie 2

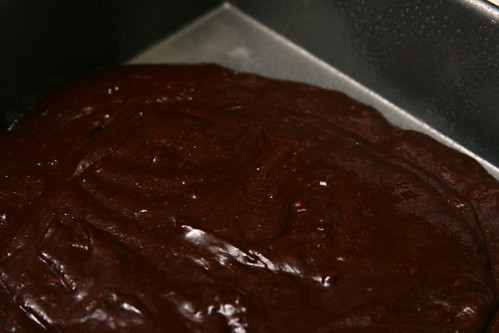
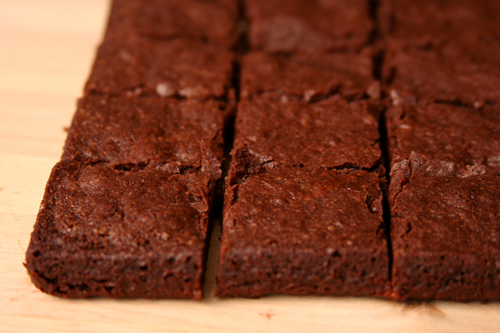
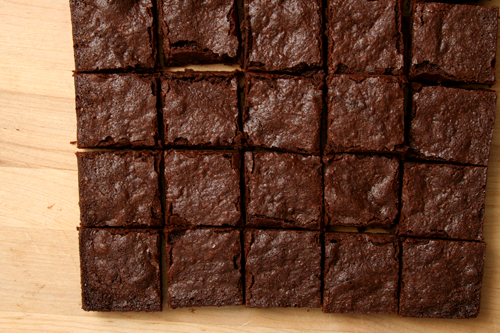
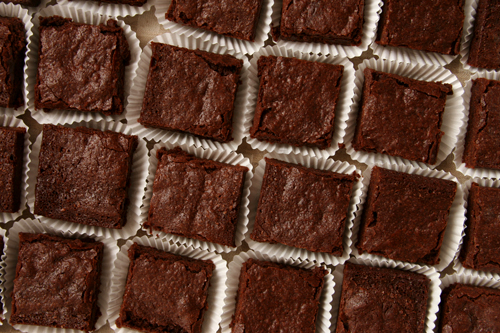
This was not that brownie. This brownie is full of chocolate flavor. It isn’t chewy and it isn’t cakey, but I’m not sure fudgey is the word I would use to describe it either. It isn’t my favorite brownie – my favorite is taller and fluffier – but certainly wasn’t a disappointment.

classic brownies 4

Anne, who chose these brownies for Tuesdays with Dorie, has the recipe posted. The only changes I made were to add the salt (½ teaspoon) and espresso powder earlier in the process, with the melting chocolate, so they would dissolve and be perfectly evenly dispersed in the batter.

One year ago: Peach Upside-Downer
Two years ago: Chocolate Soufflé
Three years ago: Chocolate Chunkers

classic brownies dorie 5

fresh pasta

fresh pasta 9

While I don’t think I’ll ever come home from work, do a load of laundry, get my workout in, and then roll out pasta dough, making fresh pasta is getting easier and faster every time I do it. Some of this is experience – I know where the best place to clamp the pasta roller to the counter is, and I know to err on the side of drier rather than sticky dough. But I’ve also picked up a few tricks along the way.

fresh pasta 1

One is that one egg’s worth of pasta is plenty for a pan of lasagna, starter courses for four people, or main courses for two people (which is the serving size shown here). Another is that, despite what the first recipe I followed led me to believe, thinner sheets of pasta are not always better. Ravioli made from paper thin pasta will fall apart when you try to boil it. Thicker pasta has more substance, more chew. And it requires less work.

fresh pasta 2

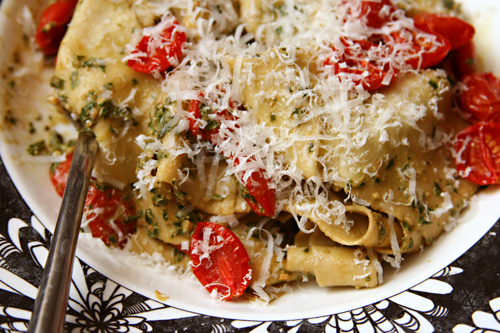
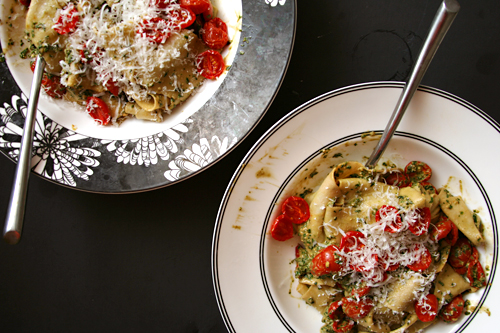
It also doesn’t hurt that fresh pasta is best with simple sauces that enhance rather than bury the pasta you just put all that effort into. With all of my tomato plants dead, the basil in my garden is taking over, so I used one of the many batches of pesto I’ve made lately to top this pasta. I also, in my jealousy over everyone else’s peak season tomato availability, tried roasting store-bought grape tomatoes to get some of that intense tomato flavor.

fresh pasta 3

The pesto was a success, and the tomatoes were fine – one-dimensionally sweet, but not bad. But the pasta was the star, as it was meant to be. And it actually didn’t take me hours to make it.

fresh pasta 7

One year ago: Grilled Corn Salad
Two years ago: 100% Whole Wheat Sandwich Bread
Three years ago: Lemon Pancakes with Blueberry Syrup

printer friendly recipe
Fresh Pasta

Makes 4 main-course servings or 8 first-course servings

You can mix and knead this in a stand mixer instead of by hand.

I’ve successfully substituted up to half of the all-purpose flour with whole wheat flour.

Update 4/17/15 – I’ve gotten in the habit of adding about ⅛ teaspoon of salt and ½ teaspoon of olive oil to this recipe. The oil mostly makes it easier to roll out.

1½ cups (7.2 ounces) all-purpose flour
2 eggs

1. Add the flour to a wide bowl, making a well in the center. Lightly beat the egg and add it to the well. Stir the flour and egg together until thoroughly mixed. Knead, adding flour as necessary to keep the dough from being sticky, until the dough is smooth and elastic, about 5 minutes. Don’t be concerned if you need to add quite a bit of extra flour; the dough should be malleable but not at all sticky.

2. Divide the dough into 6 balls. Work with one ball of dough at a time and leave the others covered with a damp dishtowel. Flatten the dough slightly, then roll it through the widest setting on a pasta roller. Fold it in thirds like a piece of paper going into an envelope, then roll it through the pasta roller again, feeding it with one of the open sides first. If at any point the dough is sticky, brush it with flour. Repeat the folding into thirds and rolling a few times. Without folding, run the pasta through the widest setting once more. Adjust the pasta roller to the next-thinner setting and roll the dough through the machine. Continue to gradually thin the dough. For lasagna, thin to the third-to-last setting; for fettuccine and ravioli, thin to the second-to-last setting. Brush the dough with flour if it starts to stick at all. If the strip of dough becomes too long to handle, cut it into two shorter strips and work with each strip separately. Repeat the rolling, folding, and thinning with the remaining balls of dough, laying the sheets of pasta on dry dishtowels.
3. Bring 4 quarts water to a rolling boil in a large pot. When the water comes to a boil, add 1 tablespoon salt and the pasta to the boiling water and stir to separate the noodles. Cook until al dente, about 5 minutes. Drain and serve with your desired sauce. Instructions for ravioli can be found here; for lasagna, here.

fresh pasta 8

dulce de leche cupcakes

dulce de leche cupcakes 10

This was not my first attempt at dulce de leche cupcakes. My first attempt resulted in cupcakes that rose out of their wells, spread over the top of the pan, and baked into one solid mass. And they tasted like pancakes.

dulce de leche cupcakes 1

They weren’t even really dulce de leche cupcakes. They were brown sugar cupcakes with cream cheese dulce de leche frosting. I’m sure that combination is wonderful, but it wasn’t what I wanted, which was cake that was flavored with dulce de leche. Also cake that didn’t explode in the oven.

dulce de leche cupcakes 2

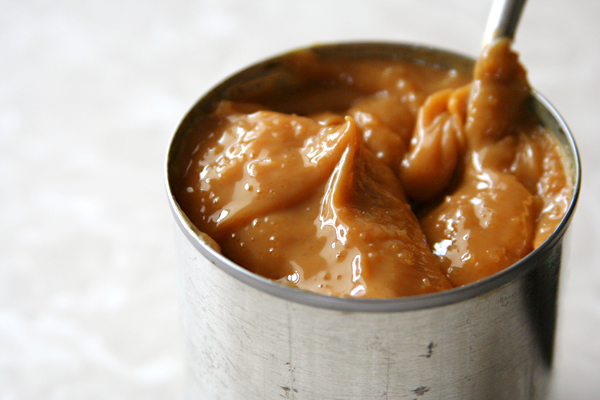
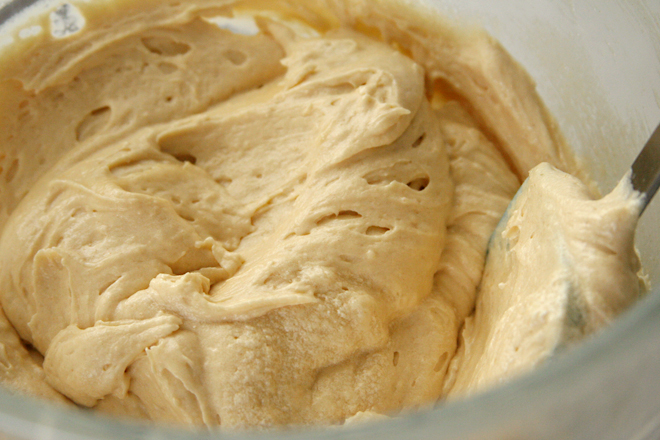
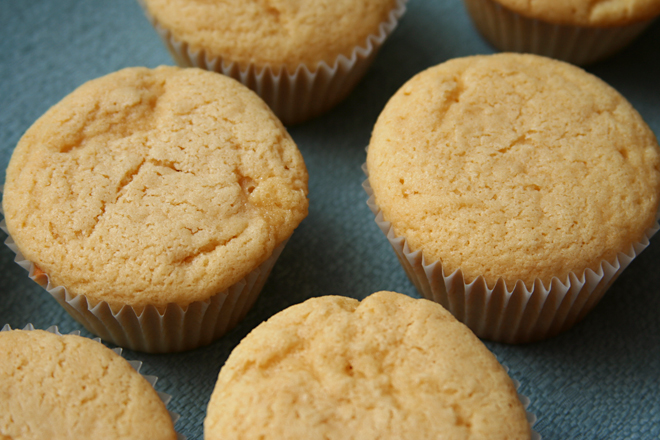
This is the cake that I wanted. It’s based on a yellow cake recipe (similar to Martha Stewart’s, which did well in this comparison), with dulce de leche replacing a portion of the milk. I had my doubts that the caramel flavor would be evident after baking, but I was very pleasantly surprised.

dulce de leche cupcakes 3

And then there’s the buttercream, which might be the best thing I’ve eaten in weeks. It’s so smooth and creamy, and so dulce de leche-y. With a drizzle of pure dulce de leche on top, these cupcakes were perfect, and a very far cry from my first attempt.
dulce de leche cupcakes 6

One year ago: Beer-Marinated Flank Steak
Two years ago: Zucchini Bread
Three years ago: Crawfish (or Shrimp), Roasted Tomato, and Farmer’s Cheese Pizza

Printer Friendly Recipe
Dulce de Leche Cupcakes (adapted from Confections of a Foodie Bride)

I made these twice; the first time, they seemed dry, so I replaced a portion of the butter with canola oil and increased the buttermilk.

1½ cups (7.2 ounces) all-purpose flour
1½ cups (6 ounces) cake flour
2 teaspoons baking powder
¼ teaspoon baking soda
12 tablespoons (1½ sticks) unsalted butter, softened
1⅓ cup (9.33 ounces) granulated sugar
¾ teaspoon salt
½ cup dulce de leche
4 large eggs, at room temperature
¼ cup canola oil
2 teaspoon vanilla extract
¾ cup buttermilk, room temperature
Dulce de Leche Swiss Meringue buttercream, recipe below

1. Adjust an oven rack to the idle position; heat the oven to 350 degrees. Line 24 muffin wells with paper cups. In a medium bowl, whisk together the flours, baking powder, and baking soda.

2. In a stand mixer fitted with the paddle attachment (or a large bowl if using a hand-held mixer), beat the butter, sugar, and salt on medium speed until light and fluffy, about 2 minutes, scraping down the sides of the bowl as necessary. With the mixer running, gradually add the dulce de leche; beat another minute, until thoroughly incorporated. Add the eggs one at a time, beating well after each addition, then mix in the oil and vanilla. Reduce the mixer speed to low; add the dry ingredients in three additions, alternating with the buttermilk and ending with the dry ingredients. Beat each addition just until incorporated.

3. Divide the batter between the prepared muffin cups, filling each cup about two-thirds full. Bake for 16-20 minutes, until a toothpick inserted into the center of a cupcake comes out clean. Transfer the pan to a wire rack to cool. Remove the cupcakes from the pan after 5 minutes. Cool completely before frosting.

Dulce de Leche Swiss Meringue Buttercream

4 egg whites
1¼ cups (8.75 ounces) granulated sugar
Pinch salt
24 tablespoons (3 sticks) unsalted butter, softened
⅓ cup dulce de leche
1 teaspoon vanilla extract

1. In the bowl of a stand mixer (or a large bowl if using a hand-held mixer), combine the egg whites, sugar, and salt. Set the bowl over a pot of simmering water, making sure the bottom of the bowl does not touch the water. Whisk constantly until the mixture reaches 160 degrees.

2. Fit the mixer with the whisk attachment; beat the egg white mixture on medium-high speed until stiff peaks form and it has cooled to room temperature, about 8 minutes. Reduce the mixer speed to medium and add the butter 2 tablespoons at a time, adding more once each addition has been incorporated. Increase the mixer speed to medium-high and beat until the buttercream is thick and smooth, 3-5 minutes. Add the dulce de leche and vanilla; mix until incorporated.

dulce de leche cupcakes 7

chocolate allspice cookies

chocolate allspice cookies 5

September is an ambiguous time. School and football, two signs of fall, have started. Labor Day is over. It might not be meltingly hot out every single day. On the other hand, that all important sign of autumn, fire-colored leaves, hasn’t started except in the most extreme of climates. And besides, tomatoes are still in season. Everyone knows that tomatoes belong to summer.

chocolate allspice cookies 1

When I lived in upstate New York, where summer was disappointingly short, I refused to acknowledge fall until October 1st. I wouldn’t make anything with pumpkin or apples, and I wouldn’t buy candy corn for Dave. (I’m mean.)

chocolate allspice cookies 2

But come October 1st, I was all about fall. I love it for all the reasons everyone loves fall – the colors, the chill, the apple cider. We don’t get any of those things in southern New Mexico, so I welcome what little there is here that feels like fall, no matter when it happens.

Dave thinks anything with ginger or allspice or cloves tastes like Christmas. I say it tastes like fall. And even in early September, I’m not complaining.

chocolate allspice cookies 3

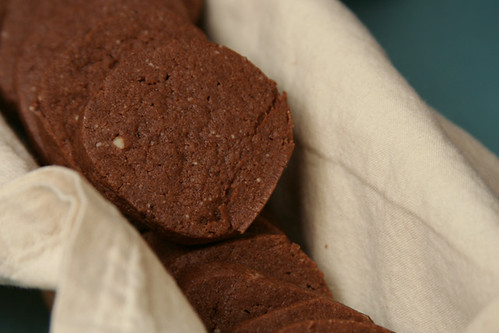
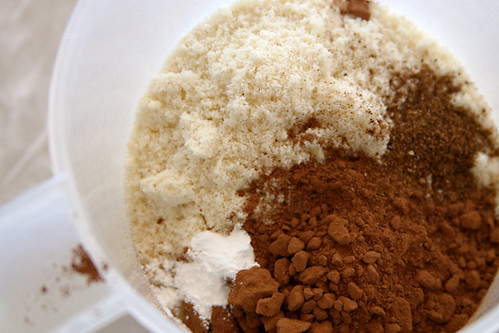
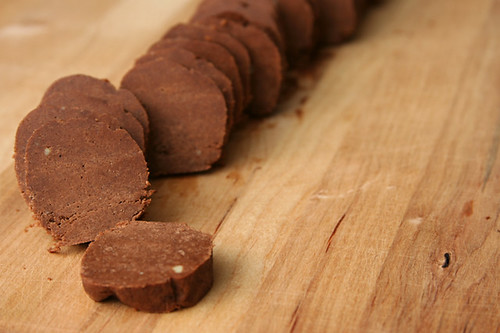
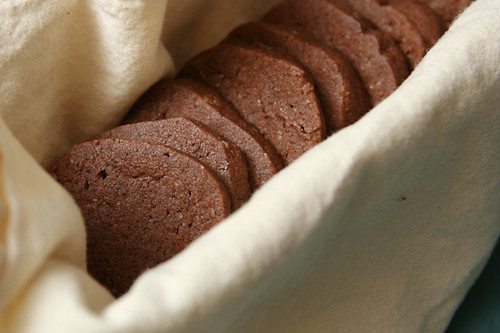
Jessica, who chose these cookies for Tuesdays with Dorie, has the recipe posted. I doubled the spice, plus I freshly ground my allspice berries in a coffee grinder just before mixing the dough. I also increased the salt.  I had ground almonds to use up, so I made the dough in the mixer instead of the food processor.

One year ago: Peanut Butter Crisscrosses
Two years ago: Espresso Cheesecake Brownies
Three years ago: Chocolate Whopper Malted Drops

chocolate allspice cookies 4