Archives for May 2012

focaccia

focaccia 7

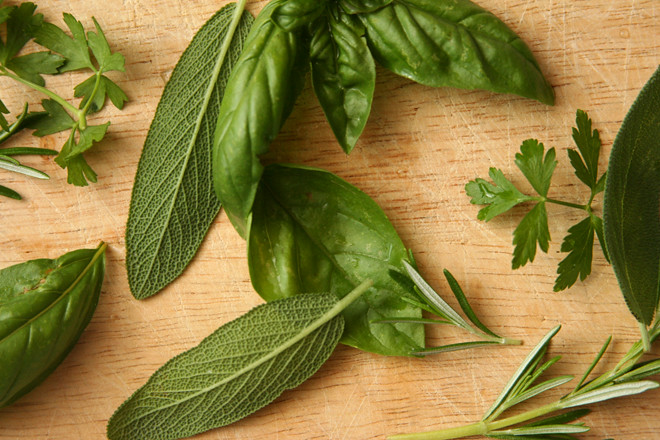
I’ve made focaccia before, years ago, but since Peter Reinhart claims so assertively that his recipe is superior to most focaccia found in America, I thought I’d better give it a try. It has a lot of good things going for it, like herb-scented oil poured on top and a cold overnight fermentation – always a sign of good flavor to come in yeast breads.

focaccia 3

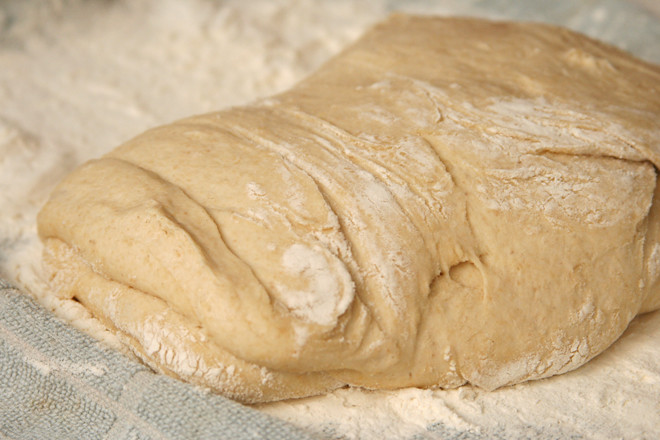
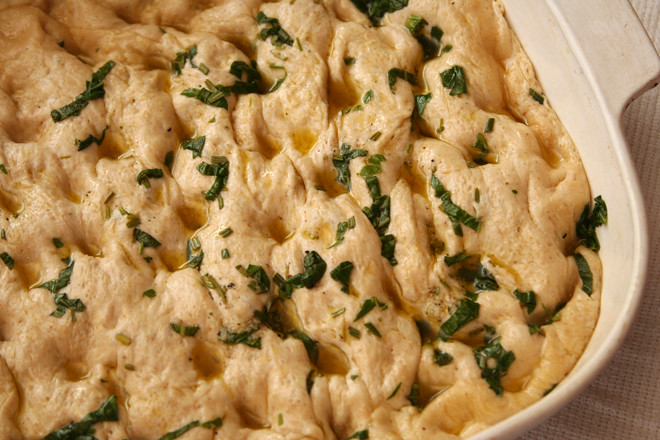
It’s fun to make too. The mixer (if you have one) does most of the messy work, but you still get to play with the soft and stretchy dough to shape it. Then you stick your fingers in the oiled dough to create dimples and spread it into the pan. After that, you throw it in the fridge until you’re ready for it, which is always a good trick for convenience.

focaccia 4

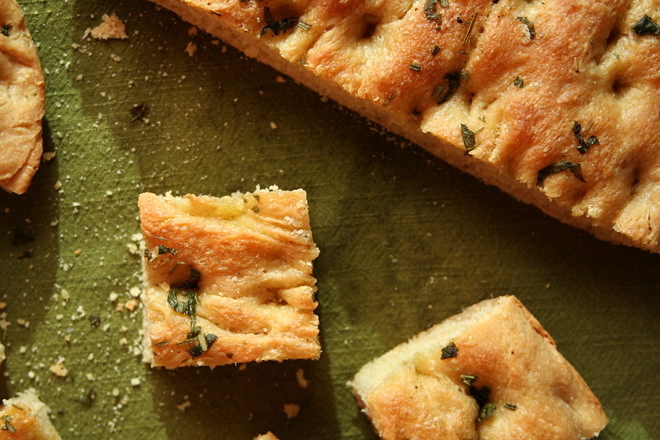
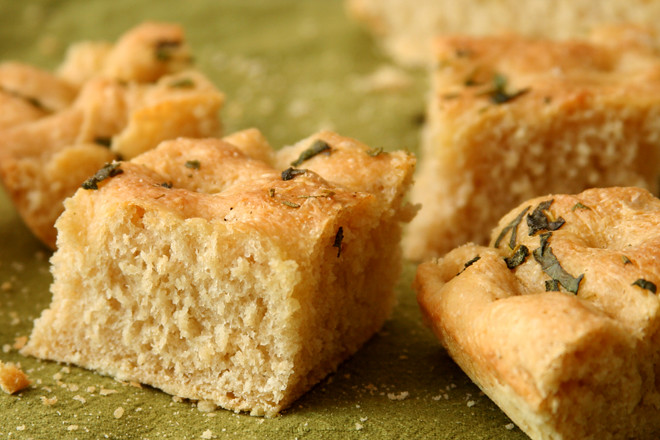
It was definitely good bread, soft in the middle, just a little crisp and almost flaky on top, scented with herbs and olive oil. But – I’m not sure it was the height of focaccia perfection, despite Reinhart’s usually well-deserved swagger. For me, adding a touch more salt or a spoonful of sugar would have given the bread a welcome flavor boost. On the plus side, this gives me the perfect excuse to make more focaccia.

focaccia 5

One year ago: Tartine Country Bread
Two years ago: Spinach Artichoke Pizza
Three years ago: Tofu Mu Shu
Four years ago: Crockpot Pulled Pork

Printer Friendly Recipe
Focaccia (slightly reworded from Peter Reinhart’s Bread Baker’s Apprentice)

For the herb oil:
½ cup olive oil
4 tablespoons chopped fresh herbs (any combination of basil, parsley, rosemary, sage)
¾ teaspoon coarse salt
¼ teaspoon ground black pepper
1 garlic clove, minced

For the bread:
5 cups (22.5 ounces) high-gluten or bread flour
2 teaspoons salt
2 teaspoons instant yeast
2 cups water, at room temperature
6 tablespoons olive oil
½ cup herb oil
Extra olive oil for the pan

1. For the herb oil: Warm the olive oil to about 100 degrees. Add the remaining ingredients; let steep while you prepare the dough.

2. For the bread: In the bowl of a stand mixer, stir together the flour, salt, and yeast. Add the water and oil; mix on low speed with the paddle attachment until all the ingredients form a wet, sticky ball. Switch to the dough hook and mix on medium speed for 5 to 7 minutes, or as long as it takes to create a smooth, sticky dough. The dough should clear the sides of the bowl but stick to the bottom of the bowl. You may need to add additional flour to firm up the dough enough to clear the sides of the bowl, but the dough should still be quite soft and sticky.

3. Sprinkle enough flour on the counter to make a bed about 6 inches square. Using a scraper or spatula dipped in water, transfer the sticky dough to the bed of flour and dust liberally with flour, patting the dough into a rectangle. Let the dough relax for 5 minutes.

4. Coat your hands with flour and stretch the dough from each end to twice its size. Fold it, letter style, over itself to return it to a rectangular shape. Loosely cover with plastic wrap and let it rest for 30 minutes. Repeat the stretching, folding, and resting twice more. After the last (third) fold, cover the dough and let it ferment at room temperature for 1 hour. It should swell but not necessarily double in size.

5. Oil an 18-by-13-inch pan and line with parchment paper. Use a pastry scraper and lightly oiled hands to lift the dough off the counter and transfer it to the prepared pan, maintaining the rectangular shape as much as possible.

6. Spoon half of the herb oil over the dough. Use your fingertips to dimple the dough and spread it to fill the pan simultaneously. Try to keep the thickness as uniform as possible across the surface. If the dough becomes too springy, let it rest for about 15 minutes and then continue dimpling. Don’t worry if you are unable to fill the pan perfectly, especially the corners. As the dough relaxes and proofs, it will spread out naturally. Use more herb oil as needed to ensure that the entire surface is coated with oil.

7. Loosely cover the pan with plastic wrap. Refrigerate the dough overnight (or for up to 3 days).

8. 3 hours before baking, remove the dough from the refrigerator and drizzle the remaining herb oil over the surface; dimple it in. This should allow you to fill the pan completely with the dough to a thickness of about ½-inch. Cover the pan with plastic and proof the dough at room temperature for 3 hours, or until the dough doubles in size, rising to a thickness of nearly 1 inch.

9. Preheat the oven to 500 degrees.

10. Place the pan in the oven. Lower the oven temperature to 450 degrees and bake for 10 minutes. Rotate the pan 180 degrees and continue baking the focaccia for another 5 to 10 minutes, or until it begins to turn a light golden brown. The internal temperature of the dough should register above 200 degrees (measured in the center).

11. Remove the pan from the oven and immediately transfer the focaccia out of the pan onto a cooling rack. Allow the focaccia to cool for at least 20 minutes before slicing or serving.
focaccia 8

watermelon agua fresca

watermelon agua fresca 7

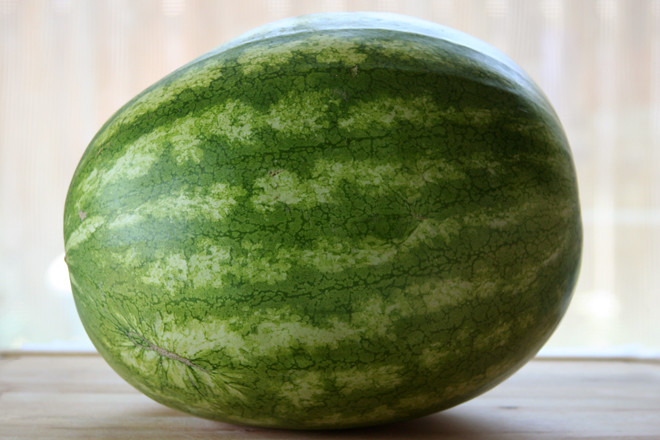
This is the first watermelon I’ve ever bought. The thing is, I don’t actually like watermelon. Because it tastes like water. And if I want water, I’ll just drink some; no need to eat faintly sugary overly soft fruit.

watermelon agua fresca 1

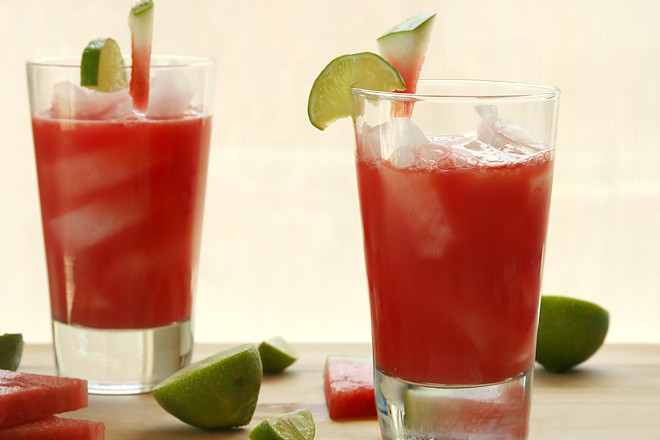
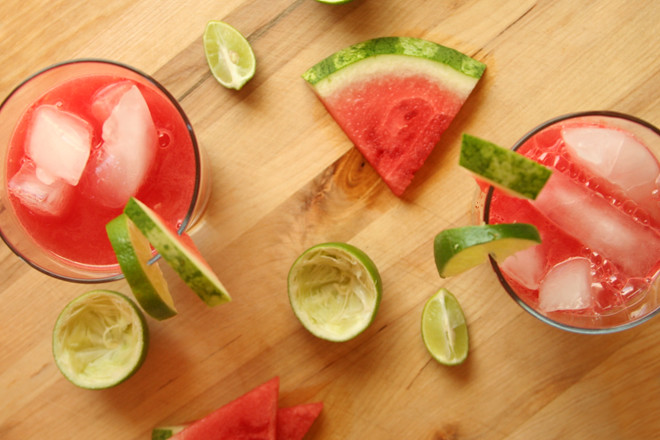
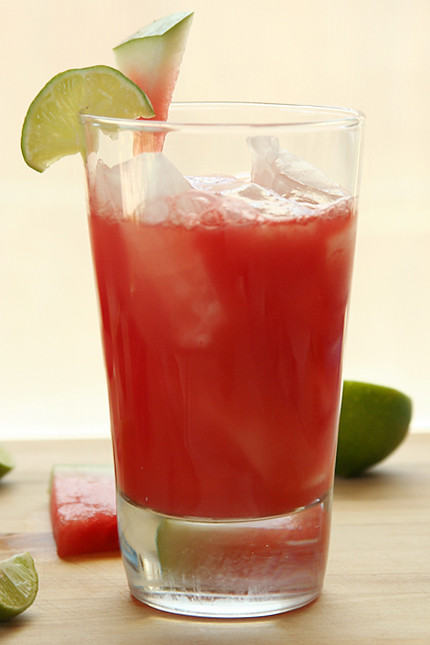
But, I see now – sugary water, isn’t that the perfect base for a drink? It isn’t quite enough on its own; after all, watermelon is bland. But with some tart lime juice to brighten it up and maybe some mint, now we’re talking. Basically, think of the most supremely refreshing ingredients you can, then blend them up and serve them over ice.

watermelon agua fresca 3

This is so good that Dave had to verify with me that there was no alcohol in it. Yes, a refreshing summer citrusy drink without tequila or rum! I will be buying many, many more watermelons.

watermelon agua fresca 8

One year ago: Strawberry Cream Cake
Two years ago: Turkey Burgers
Three years ago: Potato Galette
Four years ago: Pecan Honey Sticky Buns

Printer Friendly Recipe
Watermelon Agua Fresca (adapted slightly from sunny vegan)

6 servings

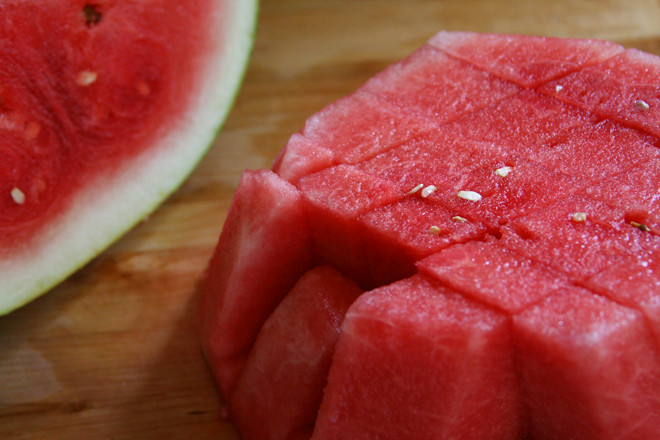
8 cups cubed, seeded, peeled watermelon (about a third of a medium watermelon)
6 tablespoons lime juice
4 sprigs mint (optional)
ice
sparkling water

In a blender or food processor, puree the watermelon, lime juice, and mint. Pour the mixture into a fine-mesh strainer (or a colander lined with a single layer of cheesecloth); set aside for 30 minutes for the liquid to drain, stirring occasionally. Discard the solids in the strainer. Serve the remaining liquid over ice, topped off with sparkling water.

watermelon agua fresca 6

lemon ricotta cookies

lemon ricotta cookies 6

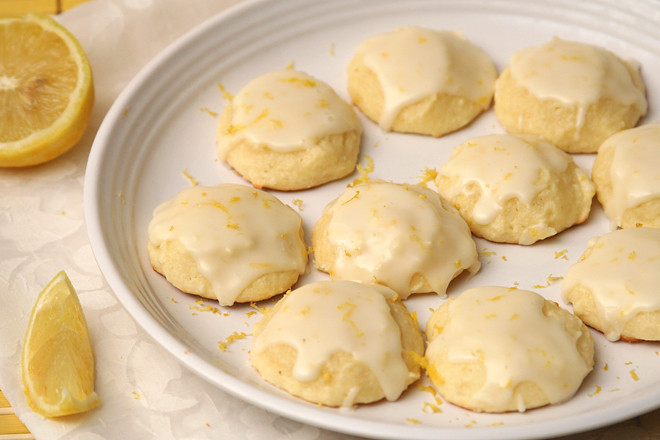
Due to the knee injury that’s kept me from working out at my normal intensity for four months (and counting), I mostly gave up baking for a while. Most of the baking I’ve done recently has been to use up the surplus of organic lemons I keep ending up with as a result of buying them in bags in the Big City. I hoard them until the week before I plan to head back to the Big City, and then I figure that I’d better get rid of them so I can justify buying more.

lemon ricotta cookies 1

I’m not sure my coworkers have noticed the prevalence of lemon treats I’ve brought in to share. It started with the pound cake, and then, weeks later (a departure from the once a week or so I used to bring stuff in), there were these cookies. Next week, it’ll be lemon cream tartelettes.

lemon ricotta cookies 2

I don’t think anyone has minded, considering that several people came by to tell me that these might be the best thing I’ve shared yet. (Questionable.) More tiny glazed cake than cookie, I definitely understand the popularity. But now that I’m almost back to my normal workouts, my coworkers better brace themselves for something besides lemon – by which I mean chocolate, of course.

lemon ricotta cookies 3

One year ago: Basic Coleslaw
Two years ago: Quinoa Tabbouleh
Three years ago: Croissants
Four years ago: Ricotta Spinach and Tofu Ravioli

Printer Friendly Format
Lemon Ricotta Cookies with Lemon Glaze (slightly adapted from Giada DeLaurentiis via Apple a Day)

Cookies:
2½ cups (12 ounces) all-purpose flour
1 teaspoon baking powder
8 tablespoons (1 stick) unsalted butter, softened
2 cups (14 ounces) granulated sugar
zest of 1 lemon
1 teaspoon table salt
2 large eggs
1 (15-ounce) container ricotta cheese
3 tablespoons lemon juice

Glaze:
1 cup (4 ounces) powdered sugar
3 tablespoons lemon juice
zest of 1 lemon

1. Preheat the oven to 375 degrees. Line 2 baking sheets with parchment paper or silicone mats. In a medium bowl, combine the flour and baking powder. Set aside.

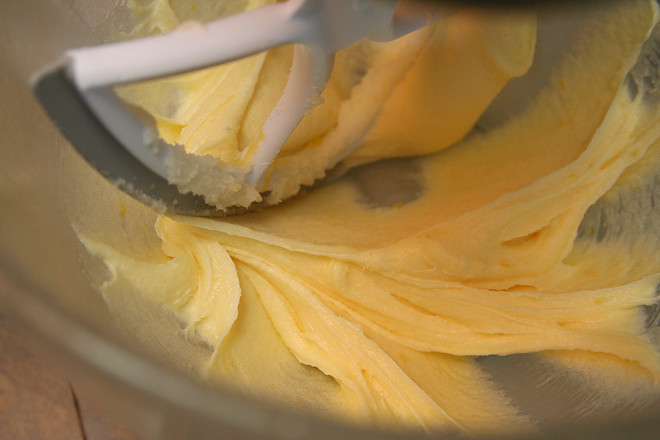
2. Place the sugar, salt, and lemon zest in the bowl of a stand mixer fitted with the paddle attachment (or a large mixing bowl if you’re using a hand-held mixer). Beat on medium-low speed until the sugar looks slightly moist. Add the butter and continue beating on medium-low until the mixture is light and fluffy, about 2 minutes, scraping the sides of the bowl as needed. With the mixer running, add the eggs, one at a time. Add the ricotta and lemon juice, then continue mixing on medium speed for about 1 minute. Reduce the mixer speed to low and gradually add the flour mixture, mixing just until evenly combined.

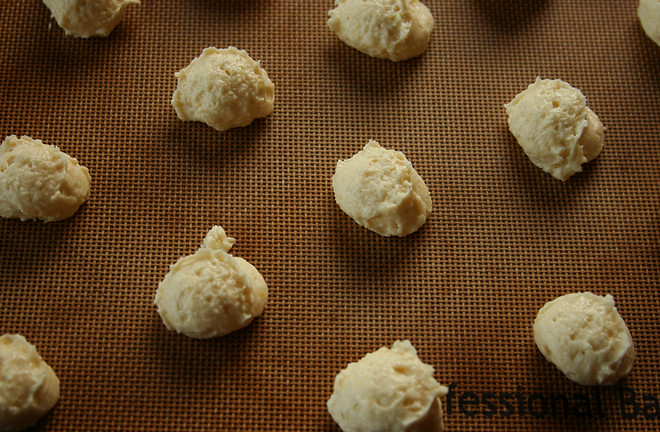
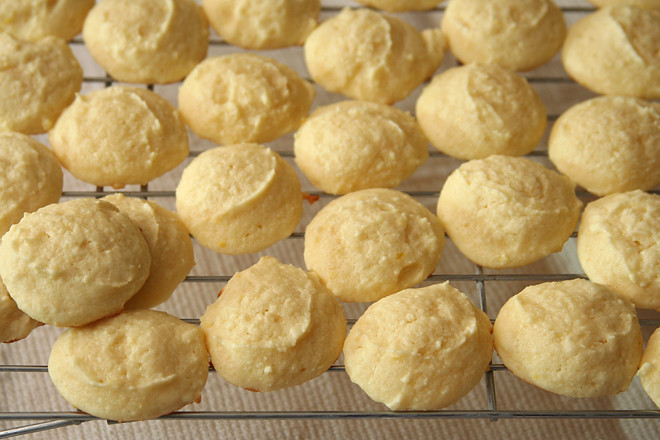
3. Spoon the dough (about 1 tablespoon for each cookie) onto the baking sheets. Bake for 8-11 minutes, until slightly golden at the edges. Remove from the oven and let the cookies rest on the baking sheet for 15 minutes.

4. For the glaze: Combine the powdered sugar, lemon juice, and lemon zest in a small bowl and stir until smooth. Spoon about ½ teaspoon onto each cookie and use the back of the spoon to gently spread. Let the glaze harden for about 2 hours before serving.
lemon ricotta cookies 5

fish tacos

fish tacos 7

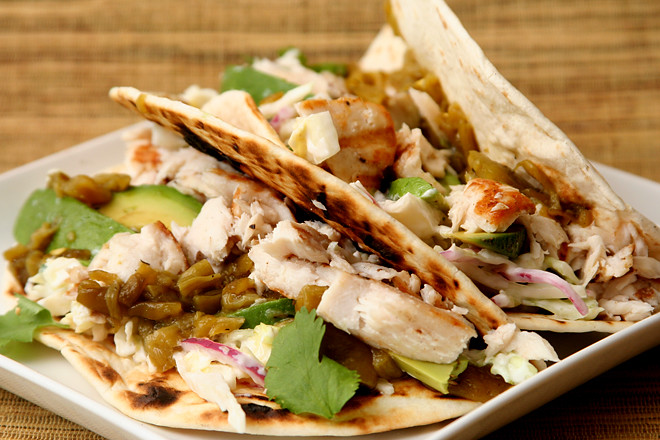
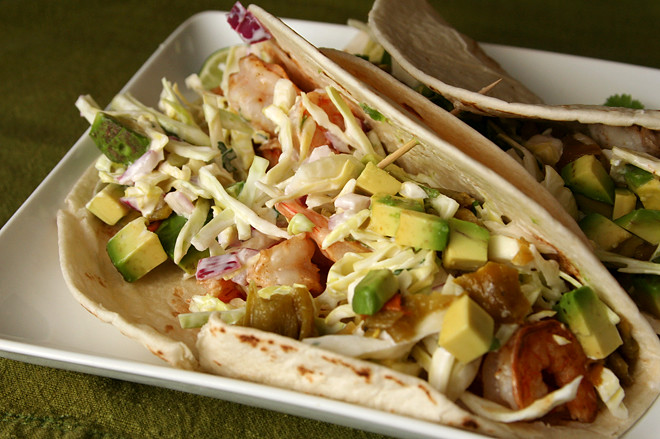
For a while there, I made fish tacos more than any other meal. That might only be once a month or so, but for this household, once a month is considered heavy rotation. Unsurprisingly, with that much iteration, the original recipe has gone through some modifications.

fish tacos 1

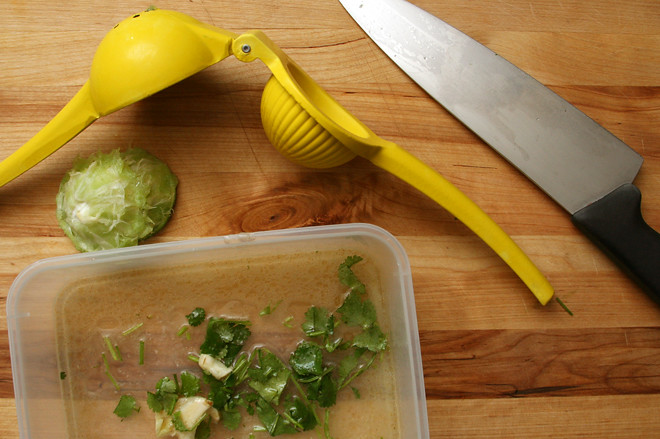
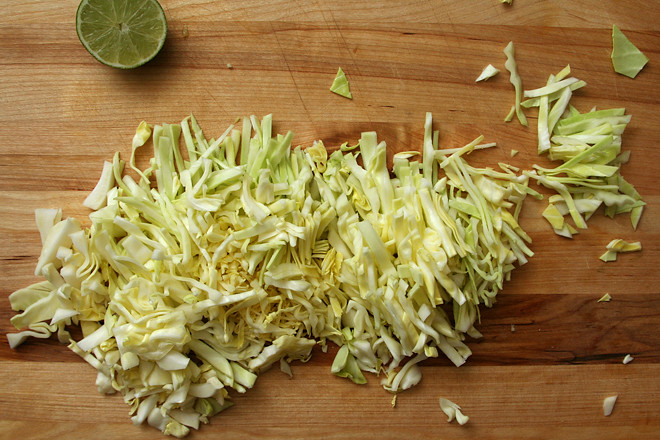
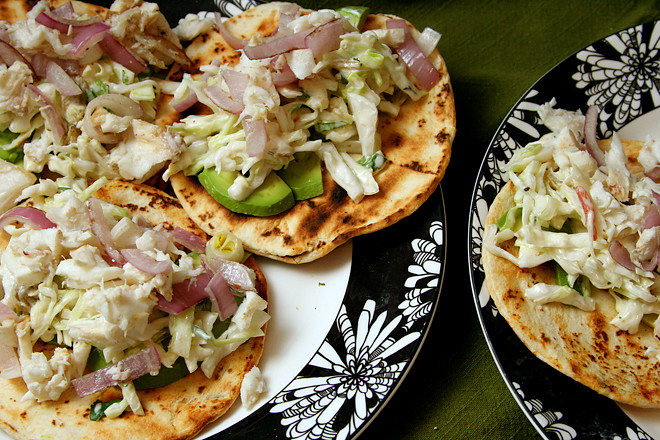
In fact, I now have two versions that I alternate between, an easy weeknight version cooked on the stove, plus a smokier grilled option using a firmer fish. The indoor recipe is similar to the original, except now I like to combine all of the toppings – cabbage, red onion, yogurt-based cilantro-lime sauce – into one slaw before building the tacos, which distributes the flavors better along with taming the onion’s bite and weighing down the cabbage – so you can fit more of it into each taco. The other important tweak is a squeeze of lime juice after the fish cooks, which refreshes the flavor of the marinade.

fish tacos 2

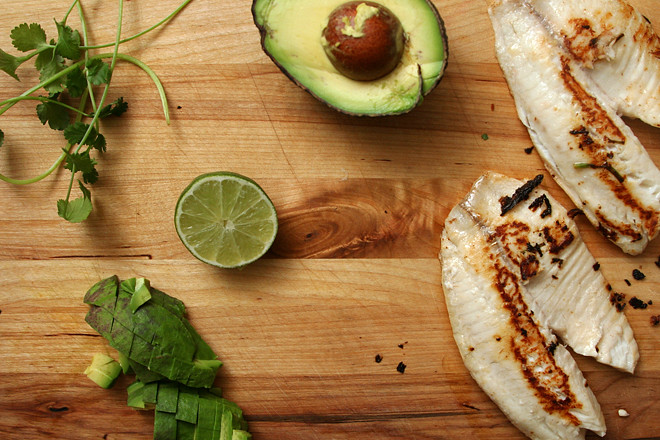
When I have more time, I’ll (have Dave) heat the grill, and we’ll cook the fish outside. I like thin tilapia filets for cooking on the stovetop, but something firmer, like halibut, is required for the grill. And if the grill is already hot, I’m definitely going toast the tortillas on there, and I might consider grilling the onions as well.

fish tacos 3

Sadly, I don’t make fish tacos as often anymore, because I realized that the tilapia available in my town isn’t sustainably produced. Halibut, my favorite variety for grilling, isn’t sold at all here, so I only get to make that when I buy it in the Big City.  But, catfish is readily available here, and it seems like it would make excellent tacos.  I’ll have to test that out with one – or both – of my new and improved fish taco recipes.

fish tacos 4
And if you run out of fish, this recipe works great with shrimp too!

One year ago: Lemon Bars (comparison of 3 recipes)
Two years ago: Cream Cheese Spritz
Three years ago: Strawberry Lemon Sorbet
Four years ago: Snickery Squares

Printer Friendly Recipe
(Grilled or Pan-Seared) Fish Tacos with Cilantro Lime Slaw

Serves 4

Marinade:
¼ cup lime juice (from 3-4 limes)
1 tablespoon olive oil
1 teaspoon salt
¼ teaspoon ground cumin
2 cloves garlic, peeled and smashed
¼ cup minced cilantro, stems and leaves
6 (4 to 5-ounce) tilapia filets if pan-searing; 4 (6-ounce) halibut filets if grilling

Slaw:
2 tablespoons lime juice (from 1-2 limes)
½ small red onion, quartered lengthwise and thinly sliced
¼ teaspoon table salt
⅛ teaspoon ground black pepper
¾ cup Greek yogurt (or a mixture of yogurt and mayonnaise)
¼ cup minced cilantro
½ cabbage, cut into quarters, cored, and sliced thin

For the tacos:
1 tablespoon olive oil (if pan-searing)
1 tablespoon lime juice
8 (5-inch) flour tortillas
other possible toppings: green chile, avocados, cheese, salsa

1. In a medium bowl, combine all of the marinade ingredients, including the fish. Refrigerate 15 minutes.

2. Meanwhile, make the slaw by combining the 2 tablespoons lime juice, red onion, ¼ teaspoon salt, pepper, and yogurt in a large bowl. Add the ¼ cup cilantro and cabbage, folding to evenly coat.

3. To pan-sear the fish: Heat 1 tablespoon of oil in a large nonstick skillet over medium-high heat. Add the fish and cook, without moving, until browned, about 3 minutes. Flip the fish and continue to cook until evenly flaky, an additional 2-3 minutes. To grill the fish: Heat a grill to medium-high. Oil the grill grate; grill the fish for about 8 minutes, turning once halfway through cooking.

4. Using two spoons, shred the fish into bite-size pieces. Pour the remaining lime juice over the fish; toss to combine.  Build the tacos by layering fish, slaw, and desired toppings on tortillas.

fish tacos 6

meyer lemon semifreddo

semifreddo 4

I traveled to Santa Fe last month for work, and while I didn’t love the day-long meetings all week, it was worth it to eat at Santa Fe restaurants and shop at Santa Fe grocery stores. I stopped at Whole Foods before I even checked in to my hotel, picking up some healthy snacks for the week and some sushi for dinner. I got pizza the next night (pizza – good pizza! – that I didn’t make myself!), but it was back to sushi the third night. The last day, after only six hours of meetings instead of the usual eight, I drove home, but not before making stops at both Whole Foods (where I got, you guessed it, more sushi to snack on during the drive home) and Trader Joe’s.

semifreddo 3

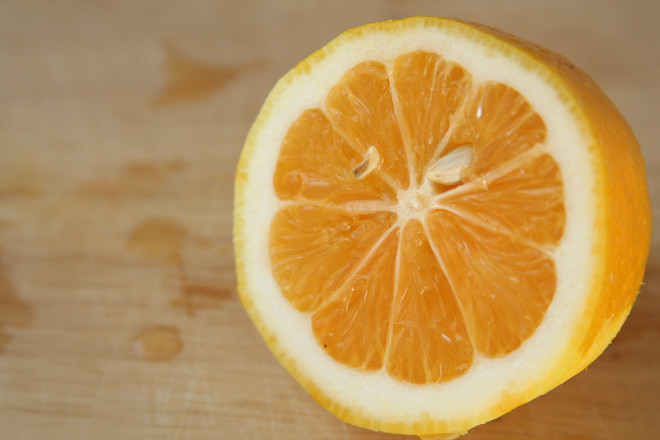
Whole Foods had what must have been the last Meyer lemons of the season, and I couldn’t resist buying a few, even though I already had a bag of organic regular lemons in my cart. I could not, however, decide what to make with them. Like the last time I bought Meyer lemons, well over four years ago, I wanted something that would showcase their flavor so I could figure out just how much different they are from regular lemons.

semifreddo 2

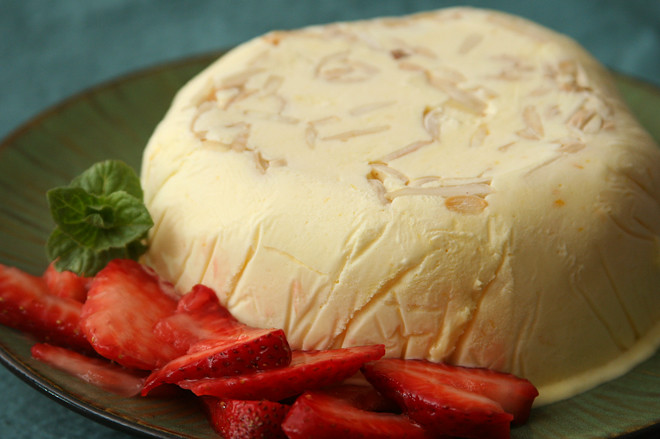
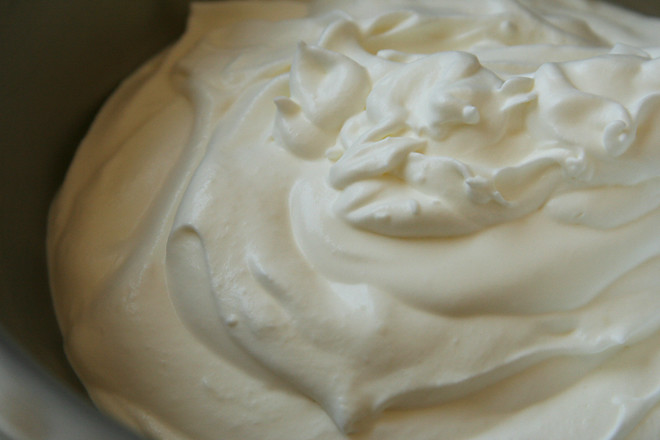
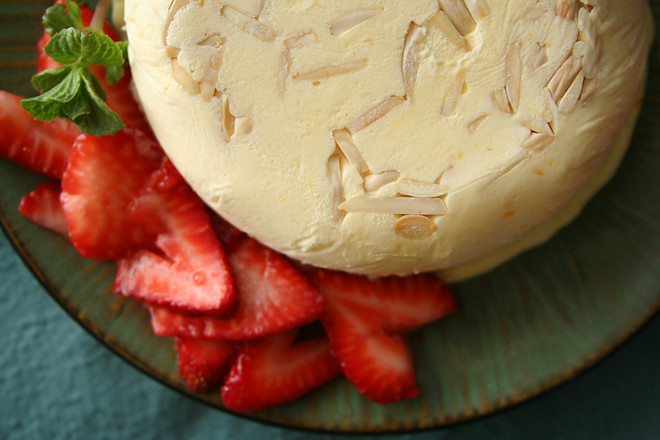
I diluted the flavor only slightly by mixing it with heavy cream, sugar, and egg yolks to make semifreddo. And if you’re paying attention while eating this dessert, the flavor has a little extra something, even beyond the sweeter orange hint of Meyer lemons. However, if you’re distracted by the light and airy texture that comes from freezing whipped heavy cream, I won’t blame you. And this indulgent dessert with a popular but elusive ingredient is all thanks to a week of meetings; traveling for work has its advantages.

semifreddo 5

One year ago: Barbecued Pulled Pork
Two years ago: Grilled Artichokes
Three years ago: Basic Lentil Soup
Four years ago: Asparagus and Arugula Salad with Cannellini Beans and Balsamic Vinegar

Printer Friendly Recipe
Meyer Lemon Semifreddo (from Bon Appétit via epicurious)

Serves 8 to 10

While the recipe indicates that you can use Meyer or regular lemons interchangeably, Meyer lemons are significantly less sour than regular lemons. I used Meyer, but if you use regular, you should probably increase the sugar.

I used a round pan instead of a loaf pan, but other than that, followed the recipe exactly.

½ cup sliced almonds, toasted
1¾ cups chilled heavy whipping cream
1¼ cups (8.75 ounces) plus 2 tablespoons sugar
7 large egg yolks
½ cup fresh Meyer lemon juice or regular lemon juice
1 tablespoon plus 2 teaspoons finely grated Meyer lemon peel or regular lemon peel
¼ teaspoon salt
4 cups mixed fresh berries (such as raspberries, blackberries, blueberries, and quartered hulled strawberries)

1. Line a 9-by-5-inch metal loaf pan with plastic wrap, leaving a generous overhang. Sprinkle almonds evenly over the bottom of the pan. Using an electric mixer, beat the whipping cream in a large bowl until soft peaks form. Refrigerate the whipped cream while making the custard.

2. Whisk 1¼ cups sugar, the egg yolks, lemon juice, lemon peel, and salt in a large metal bowl to blend. Set the bowl over a large saucepan of simmering water and whisk constantly until the yolk mixture is thick and fluffy and instant-read thermometer inserted into the mixture registers 170°F, about 4 minutes. Remove the bowl from over the simmering water. Using an electric mixer, beat the mixture until cool, thick, and doubled in volume, about 6 minutes. Fold in the chilled whipped cream. Transfer the mixture to the prepared loaf pan; smooth the top. Tap the loaf pan lightly on the work surface to remove air pockets. Fold the plastic wrap overhang over top to cover. Freeze the semifreddo until firm, at least 8 hours or overnight. (Semifreddo can be made 3 days ahead. Keep frozen.)

3. Gently mix the berries and remaining 2 tablespoons sugar in a large bowl. Set aside for 30 minutes.

4. Unfold the plastic wrap from the top of the semifreddo; invert onto a platter and remove the plastic wrap. Dip a heavy large knife into hot water; cut the semifreddo crosswise into 1-inch-thick slices. Transfer to plates; spoon the berries alongside and serve.

california roll burgers

sushi burgers 7

I am not the most effusive of food bloggers. I’m not much for “OMG OMG make this ASAP” types of statements. I understand that we all have different tastes, different health requirements, different time constraints; what is a perfect recipe for me might not seem so to you. But, most importantly, those types of statements need to be saved for the really special recipes.

sushi burgers 2

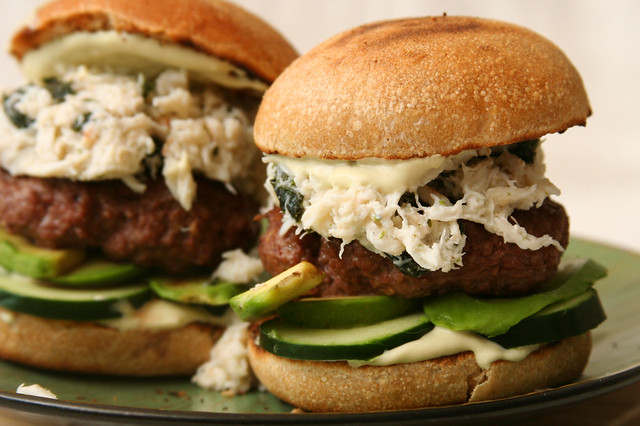
This is a really special recipe. If you consider the best burger I’ve ever eaten to be really special, that is. And I think it is, because I have eaten some pretty fantastic burgers, starting with the classic green chile cheeseburger, including lamb burgers with feta and tzatziki, and not to mention the fancy schmancy fig-glazed burger with onion jam.

sushi burgers 3

All are wonderful, and I don’t plan on giving them up, but this one is my new favorite burger. Admittedly, this is coming from a sushi lover who lives over 150 miles from the nearest sushi restaurant, so I’m always excited when I can get sushi flavors without requiring raw fish or hours of rolling.

sushi burgers 4

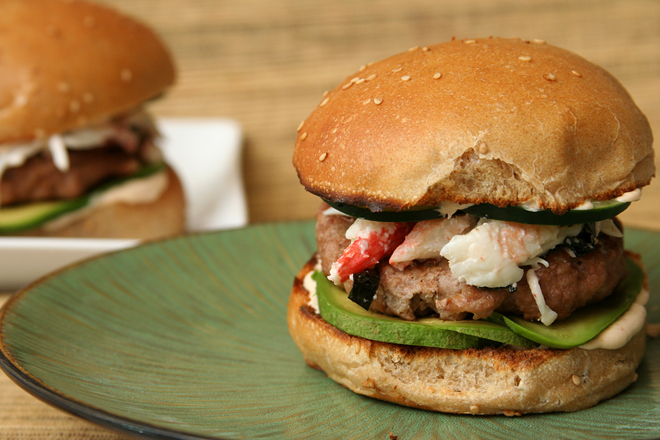
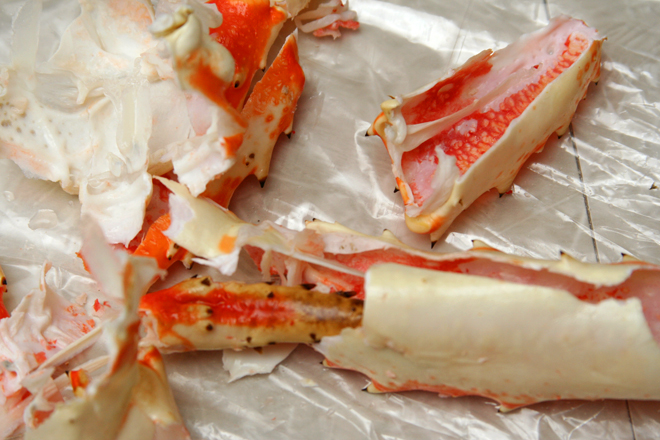
I thought at first that mild turkey burgers would work better with the light shellfish and vegetable toppings, but it turned out that the turkey was too timid, and I could hardly taste it over the king crab, avocado, and wasabi. It was still the best burger I’d ever had though. But I tried again, this time using hearty ground beef instead of turkey and pasteurized lump crab (soaked in milk for 20 minutes to null fishy odors, as per Cook’s Illustrated’s recent crab cake recipe) instead of king crab. And then that was the best burger I’d ever had.

sushi burgers 5

And next time, I’ll get the best of both worlds by using ground beef and king crab, and then that will be the best burger I’ve ever had. This small-town desert girl has figured out how to get her sushi fix, and that’s worth getting excited about.

sushi burgers 6

One year ago: Chocolate Chip Bundt Cake
Two years ago: Stuffed Butterflied Leg of Lamb
Three years ago: Fresh Strawberry Scones
Four years ago: Hash Browns with Sautéed Vegetables and Poached Eggs

Printer Friendly Recipe
California Roll Burgers (adapted from Use Real Butter)

6 burgers

The fish sauce replaces salt in this burger recipe, while also providing a dose of umami. I’ve tried it with regular burgers and didn’t notice any difference, but I like it here because the flavor matched the toppings I used for this burger. If it isn’t something you keep around, use ¾ teaspoon salt instead.

If you prefer, you can replace the Greek yogurt with additional mayonnaise.

1 pound ground beef (no leaner than 90%)
2 tablespoons fish sauce
¼ teaspoon sugar
¼ teaspoon black pepper
6 ounces shelled crab (from 2 king crab legs, or use pasteurized lump crab)
¼ cup mayonnaise, divided
2 sheets nori, cut into strips
¼ cup Greek yogurt
1-2 tablespoons powdered wasabi
1 tablespoon soy sauce
6 burger buns, halved horizontally
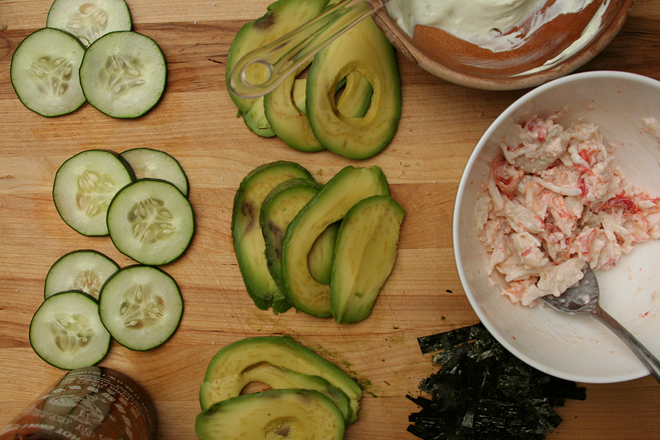
2 avocadoes, peeled, seeded, and sliced
1 cucumber, sliced thinly
sesame seeds

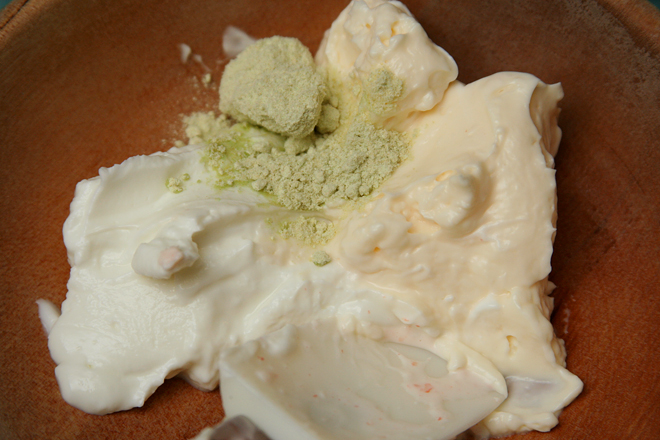
1. In a large bowl, combine the ground beef, fish sauce, sugar, and pepper. Form into 6 patties, about ½-inch thick and 4 inches wide. In a medium bowl, combine the crab, 2 tablespoons mayonnaise, and nori. In a small bowl, combine the remaining 2 tablespoons mayonnaise with the Greek yogurt, wasabi powder, and soy sauce.

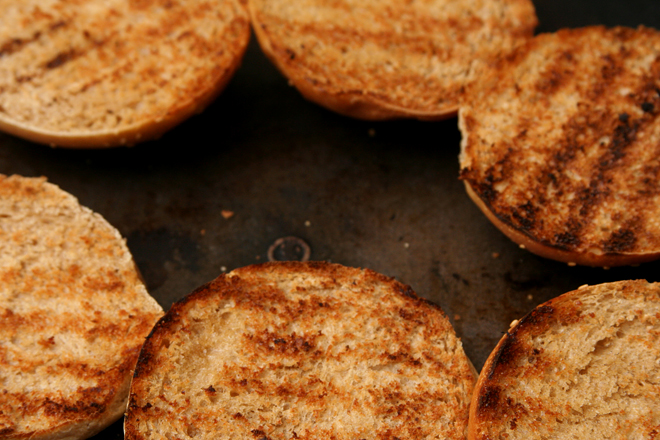
2. Prepare a medium-hot grill. Using a paper towel, grease the grate with vegetable oil. Grill the beef patties for 5 minutes; flip, and continue grilling another 5 minutes. Meanwhile, toast the burger buns on the hottest part of the grill.

3. Spread the wasabi mayonnaise on both sides of the buns. Top with slices of avocado, a burger patty, the crab salad, cucumber slices, and a sprinkle of sesame seeds. Serve immediately.

sushi burgers 9

shrimp ricotta ravioli

shrimp ravioli 6

The day I made these was a Saturday with weather too unpleasant to spend time outside, so it was the perfect time to blast chick music and hang out in the kitchen. My dinner plans were fairly ambitious – crab cakes, roasted asparagus, goat cheese scallion muffins, and for dessert, pizzelles with ricotta filling. While I was already in the kitchen, I went ahead and prepared some things for later in the week, like bagel pre-doughs, burger patties, and hard-boiled eggs. And I thought, if I have extra energy and time, I’ll make shrimp ravioli.

shrimp ravioli 1

The problem is that the shrimp ravioli would be our first course of the night, so I’d have to make it before dinner – before I stood the chance of running out of energy and time. And making ricotta, pasta, seafood broth, shrimp filling, seafood cream sauce, and ravioli is exactly the sort of ambitious project with the potential for wearing me out.

shrimp ravioli 2

In the end, I did manage to get everything made, and what’s even more impressive is that I managed to have fun the entire time. But, all told, I spent about six hours in the kitchen that day. It was glorious. And exhausting.

shrimp ravioli 4

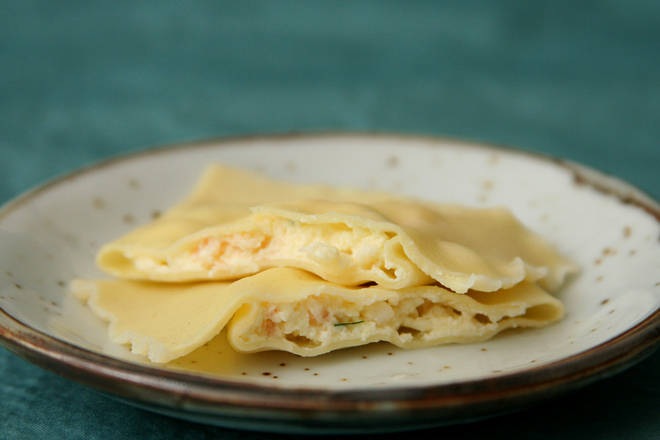
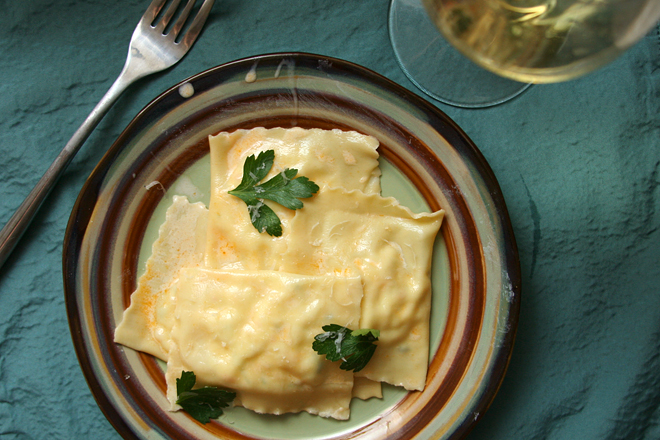
Everything I made turned out really well, but if I had to choose a favorite, I think it would be these ravioli. Even more than the muffins and the crab cakes and the pizzelle, although that’s a tough choice. (Asparagus is not my favorite vegetable; it never stood a chance.) The crab cakes and muffins are probably a better value for your time, but who cares about time when you’re stuck inside on a Saturday?

shrimp ravioli 5

One year ago: Quinoa with Salmon, Feta, and Dill
Two years ago: Cheddar Shortbread
Three years ago: Tiramisu Cake
Four years ago: Peanut Butter Torte

Printer Friendly Recipe
Shrimp Ravioli in Shellfish Cream Sauce

6-8 first-course servings

I really liked the seafood sauce I made, but I only used a bare amount of it, because I didn’t want to overpower the filling.

1 tablespoon butter
1 carrot, peeled and chopped
1 shallot, diced
1 tablespoon tomato paste
1 garlic clove, minced
⅛ teaspoon red pepper flakes
¼ cup white wine
1 cup clam juice
8 ounces shrimp, shells on
8 ounces ricot
1 egg
2 tablespoons grated parmesan
2 tablespoons minced parsley
½ cup heavy cream
1 recipe of fresh pasta, rolled to the second-to-last setting

1. For the seafood broth: In a medium saucepan over medium heat, heat the butter just until the foaming subsides. Add the carrot and shallot and cook, stirring occasionally, until the shallots start to brown around the edges. Add the tomato paste, garlic, and red pepper flakes; cook and stir until fragrant, about a minute. Increase the heat to medium-high, and add the white wine, clam juice, and the shrimp with their shells. Bring to a boil, then reduce the heat to medium-low to maintain a simmer. Remove the shrimp when they curl and turn pink, after about 3 minutes. Peel the shrimp and return the shells to the broth. Simmer uncovered for 20 minutes. Strain the broth, reserving the liquid and discarding the solids.

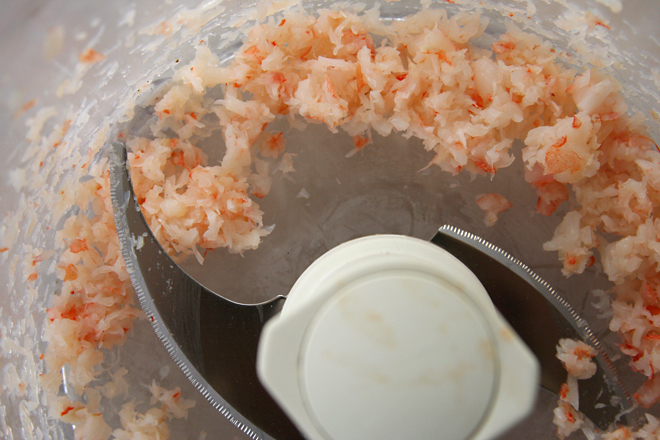
2. For the filling: Transfer the cooked shrimp to a food processor fitted with the steel blade. Pulse until minced. Combine the shrimp with the ricotta, egg, parmesan, and parsley.

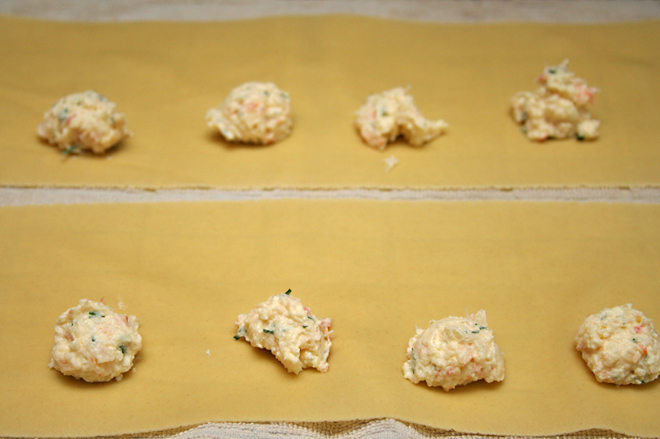
3. For the ravioli: Place one rounded teaspoon of filling every 3 inches along the length of a pasta sheet. Using a pastry brush or your fingers, wet the pasta along the edges and in between the rounds of filling. If the pasta sheet is at least 4 inches wide, fold it lengthwise over the filling. If the pasta sheet is too thin to fold lengthwise, lay a second pasta sheet over the filling. Press around each ball of filling to seal the two layers of pasta together. Use a pizza roller to cut between the filling to form squares of ravioli. Transfer the formed ravioli to a dry dish towel until ready to cook (there’s no need to cover it). Repeat with the remaining dough and filling.

4. Bring a large pot of water to a boil; add a tablespoon of salt and lower the heat until the water is at a lively simmer. Cook the ravioli in small batches until al dente, 2 to 3 minutes, using a skimmer or large slotted spoon to remove the ravioli from the boiling water.

5. For the sauce: Combine the heavy cream and strained seafood broth in a small saucepan. Bring to a boil over medium-high heat, reduce the heat to medium, and simmer until thickened, 6-10 minutes. Gently toss the sauce with the drained ravioli; serve immediately.

shrimp ravioli 8

goat cheese scallion muffins

goat cheese scallion muffins 4

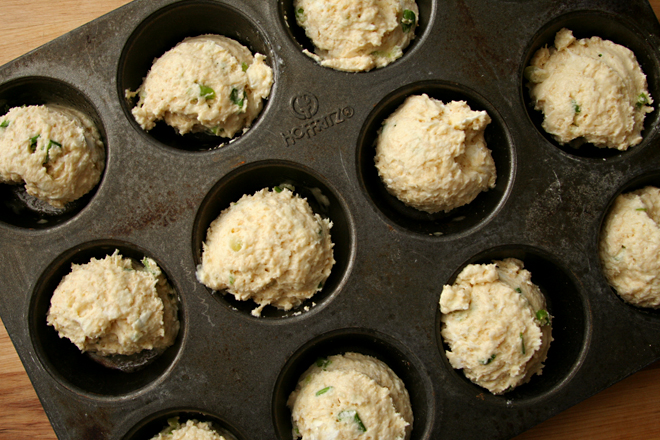
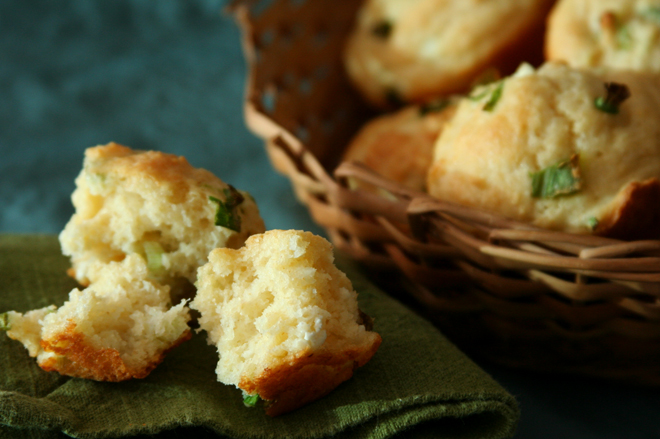
Goat cheese scallion muffins don’t sound very similar to garlic cheddar biscuits, and yet when Dave said these reminded him of Red Lobster’s Cheddar Bay biscuits, I agreed. They have some things in common – there’s cheese and aromatics in both, but goat cheese and cheddar are very different beasts. Besides, who would think that a muffin and a biscuit would have such similar textures?

goat cheese scallion muffins 1

It’s probably because I mixed the batter like I would a biscuit, by cutting the goat cheese into the dry ingredients before stirring in the liquids. The original recipe might have been more muffin-like, with a layer of goat cheese baked between dollops of dough, but I wanted bits of goat cheese spread evenly throughout the muffin. I also used buttermilk instead of milk, counting on the former’s sour tang to add the “zing” that many reviewers complained was missing from muffins made with the original recipe.

goat cheese scallion muffins 3

I must have done something right, because these had plenty of flavor; the goat cheese stood out nicely. It’s hard to say if they live up to the legacy of Red Lobster’s deservedly popular biscuits, but as irresistible as those are, they have one thing those don’t – goat cheese. And plenty of zing.

goat cheese scallion muffins 6

One year ago: Double/Triple Chocolate Cookies
Two years ago: Orange Oatmeal Currant Cookies
Three years ago: Burnt Sugar Ice Cream
Four years ago: Strawberry Cheesecake

Printer Friendly Format
Goat Cheese Scallion Muffins (adapted from Gourmet via epicurious)

Makes 12 muffins

1½ cups (7.2 ounces) all-purpose flour
2 teaspoons baking powder
½ teaspoon salt
1 teaspoon sugar
⅛ teaspoon baking soda
4 scallions, minced
1 egg
6 tablespoons butter, melted and cooled slightly
1 cup buttermilk
4 ounces goat cheese

1. Heat the oven to 400 degrees. Spray the bottoms of a 12-cup muffin pan with nonstick spray or line with paper liners. In a large bowl, combine the flour, baking powder, salt, sugar, baking soda, and scallions. In a small bowl, whisk together the egg, butter, and buttermilk.

2. Using a pastry blender, cut the goat cheese into the flour mixture until the largest cheese pieces are about pea-sized. Add the liquid ingredients; use a rubber spatula to stir until just combined.

3. Divide the batter evenly between the prepared muffin cups. Bake until a toothpick inserted into a muffin comes out clean, 18-22 minutes. Set the pan on a rack to cool slightly, about 5 minutes, then use a thin-bladed knife to remove the muffins from the pan. Serve warm.

goat cheese scallion muffins 5

pizza with lamb meatballs, caramelized onions, and parsley

lamb meatball pizza 7

The disadvantage of only working every other Friday is that the longer 5-day weeks seem like an eternity. When will it end? How can it be only Tuesday/Wednesday/Thursday? I have to wake up to an alarm again? Torture! It’s not that I don’t like my job, it’s just that I like the weekends so much more.

lamb meatball pizza 1

I get by by keeping my eye on the prize, and by “prize”, I mean when I come home from work on Friday afternoon, grab my book and a beer, and go sit in the backyard. I plan the rest of my week so that Friday after work is a No Chore Zone. The groceries should be shopped for, the dishwasher should be emptied, the house should not be a pigsty. I don’t want any detours between putting down my work bag and heading out to the backyard to read in the sun.

lamb meatball pizza 2

An hour or two later, refreshed, I’ll come in to make dinner. These long weeks always call for pizza on Friday. If I lived somewhere with a good takeout option, I would welcome that, but instead, I make my own, which has the added advantage of whole wheat crust and skim milk cheese (I think it melts better anyway). Not to mention – when was the last time you saw lamb meatballs on a pizza menu?

lamb meatball pizza 3

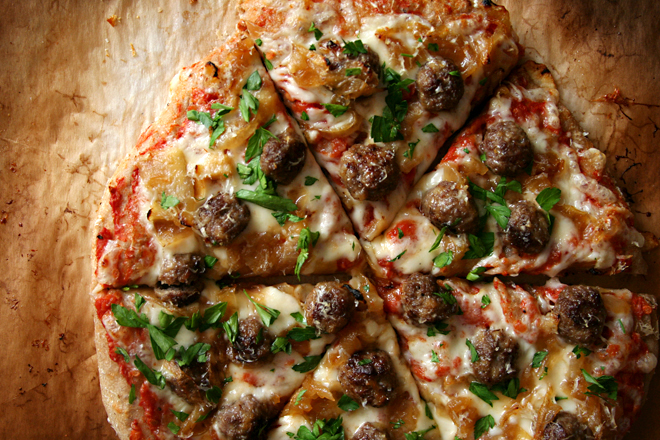
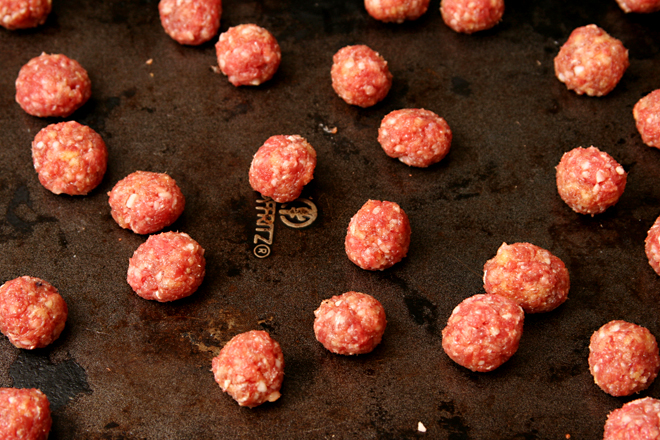
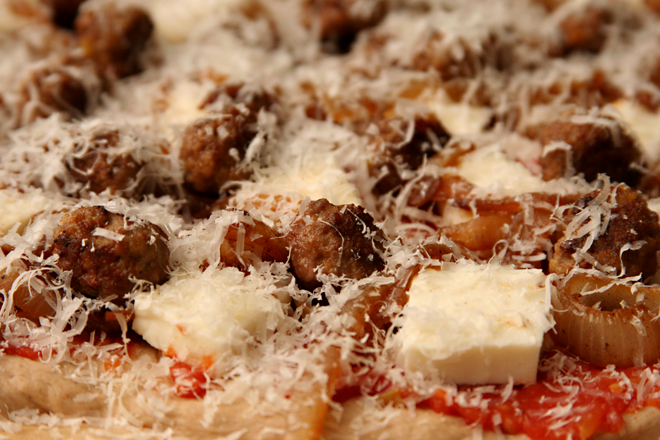
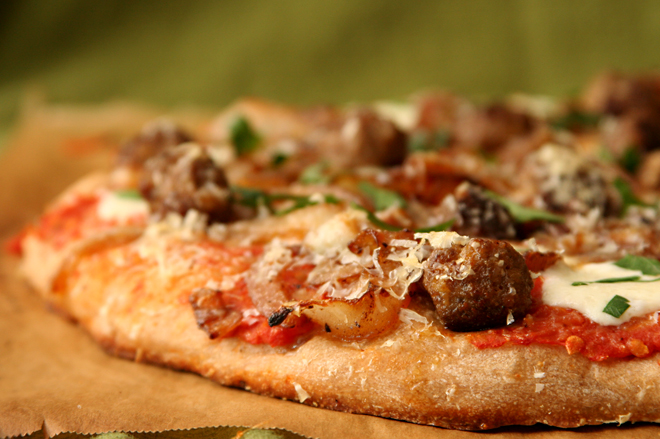
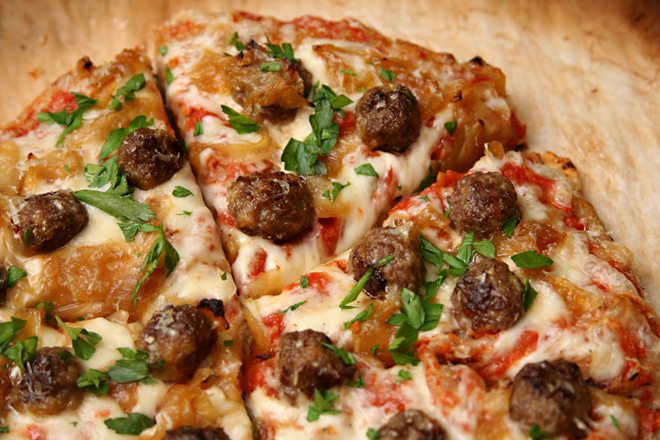
This pizza, one of the best I’ve made recently, is a perfect example of my pizza formula, with savory lamb, sweet onions, bitter parsley, and the traditional acidic tomato sauce and salty cheese. It’s more work than your average pizza, what with the onions needing to be cooked and, most tediously, the tiny meatballs, but it’s worth the extra effort, even on a Friday night after a long workweek – provided that I get my beer and book in the backyard first.

lamb meatball pizza 5

One year ago: Marbled Loaf Cake
Two years ago: Corned Beef Hash
Three years ago: Roasted Baby Artichokes
Four years ago: Rice and Beans

Printer Friendly Format
Pizza with Lamb Meatballs, Caramelized Onions, and Parsley (inspired by Bon Appétit)

Serves 6

I tried this with both fresh mozzarella and the firmer type, and while they were equally tasty, the firmer cheese did a better job of gluing the meatballs to the pizza. Lamb meatballs that roll onto the floor to get coated in cat hair are sad.

12 ounces ground lamb
1 egg
salt
freshly ground black pepper
2 tablespoons olive oil, divided
2 onions, halved and sliced 1/4-inch thick
2 pounds pizza dough (⅔ of this recipe), fully risen
1 (14-ounce) can whole or diced tomatoes packed in juice (not puree), drained
8 ounces (2 cup) shredded mozzarella
1 ounce (½ cup) grated parmesan
¼ cup minced parsley

1. Use your hands to evenly combine the lamb, egg, ½ teaspoon salt, and a pinch of black pepper. Form the mixture into balls about ½-inch in diameter. In a 10-inch nonstick skillet, heat 1 tablespoon oil over medium-high heat until almost smoking. Add the meatballs and cook until well browned on a couple sides, about 4 minutes, turning about once a minute with a spatula. Wipe out the skillet.

2. Heat the remaining tablespoon of oil in the now-empty skillet over medium-high heat until shimmering; stir in the onions and a pinch of salt, and cook, stirring frequently, until the onions just begin to brown, about 8 minutes. Reduce heat to medium-low and cook, stirring frequently, until the onions have softened and are medium golden brown, about 15 minutes longer.

3. Meanwhile, place a pizza stone on the bottom rack of the oven and preheat the oven to 500 degrees. Divide the dough in half; shape each portion into a ball. Let the balls of dough relax for 10 to 30 minutes.

4. Pulse the tomatoes in a food processor 10-12 times, until they’re pureed. Transfer them to a fine-mesh strainer set over a large bowl and let them drain, stirring occasionally, for at least 10 minutes. Discard the liquid in the bowl, transfer the tomatoes from the strainer to the now-empty bowl, and stir in a pinch of pepper and ⅛ teaspoon of salt.

5. Flatten the dough, then pick it up and gently stretch it out, trying to keep it as circular as possible. Curl your fingers and let the dough hang on your knuckles, moving and rotating the dough so it stretches evenly. If it tears, piece it together. If the dough stretches too much, put it down and gently tug on the thick spots.

6. Line a pizza peel (or the back of a baking sheet) with parchment paper and transfer the round of dough to the peel, rearranging it to something reasonably circular. Spread half of the sauce over the dough, then top with half of the mozzarella, meatballs, onions, and parmesan. Transfer the pizza to the hot pizza stone. Bake for 8-10 minutes, until the cheese is bubbling and the bottom of the crust is spotty brown. Remove the pizza from the oven, sprinkle half of the parsley over it, and let it cool on cooling rack for about 5 minutes before slicing and serving. Repeat with the remaining ingredients.
lamb meatball pizza 8

gougeres

gougeres 4

My list of 2012 goals isn’t going too well. I’m keeping up, for the most part (although it has not escaped my attention that the date on this April entry is May 1st), but I haven’t had great successes with all of the recipes. January started off strong, with the lettuce wraps and black bean brownies – which I even made far enough before the deadline that I could try them again with some changes. I was also happy with the ranch dressing.
gougeres 1

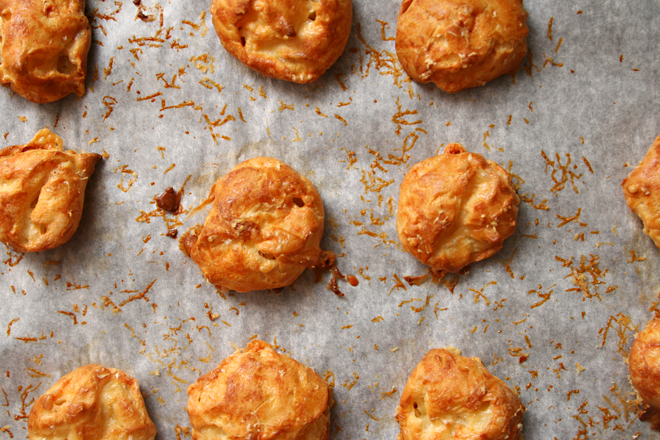
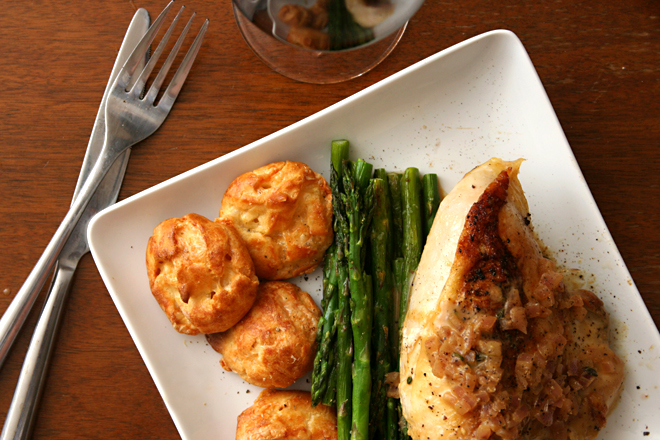
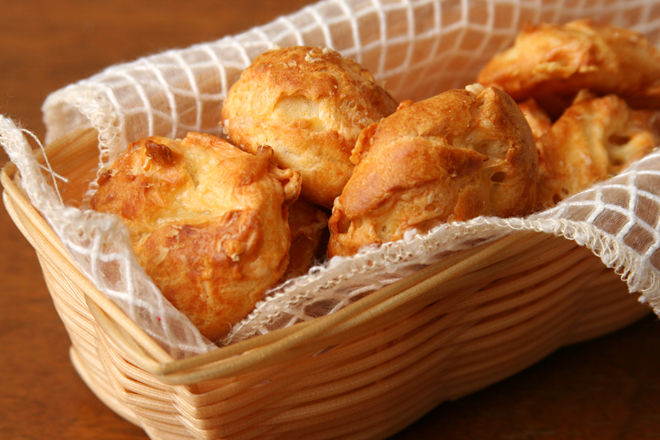
But then things started going downhill. The fancy rice krispy treats fell victim to my refusal to go back to the store for a missing ingredient; the mozzarella got skipped entirely while I search for the right type of milk; the dolmades tasted good but mostly fell apart; and the gougères? I suppose they had the opposite problem. They look just fine – puffy and golden – but they were sadly lacking in cheese flavor.
gougeres 2

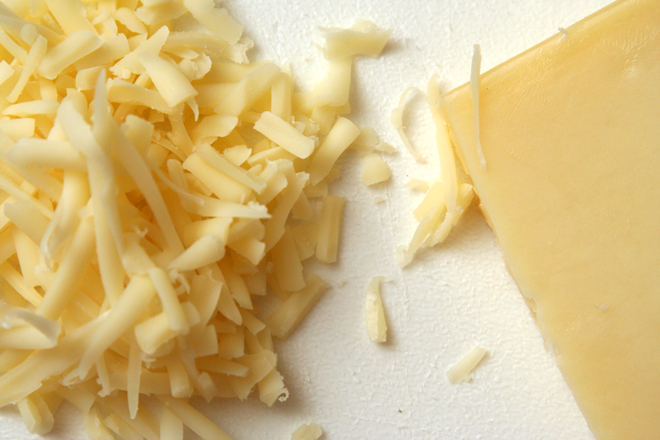
And so, I’m writing this down so I don’t forget: Stop buying the Gruyere sold in this little town. I did this once before and didn’t learn my lesson then. It has the fancy label, but it tastes like wax.

gougeres 3

So maybe this wasn’t my greatest cooking success, although at least it wasn’t a huge fail – they look nice, after all. And as an added bonus, I realized that I’ve already made a recipe that, while it didn’t hold the title of gougères, is nearly the same thing made with cheddar and green onions. I guess I could have checked this one off the list of goals years ago! Maybe this list isn’t going so badly after all.

gougeres 7

One year ago: Fig-Glazed Burgers with Onion Jam
Two years ago: Home Corned Beef
Three years ago: Chocolate Cream Tart
Four years ago: Fluted Polenta and Ricotta Cake

Printer Friendly Recipe
Gougères (reworded slightly from David Lebovitz)

Makes 24-30

I was paranoid about my eggs cooking in the hot saucepan before they could be incorporated into the dough, so I transferred the flour mixture to another bowl before adding the eggs.

½ cup water
3 tablespoons butter, cut into cubes
¼ teaspoon salt
big pinch of chile powder, or a few turns of freshly-ground black pepper
½ cup (2.4 ounces) all-purpose flour
2 large eggs
¾ cup (about 3 ounces) grated gruyere, or another hard cheese

1. Preheat the oven to 425 degrees. Line a baking sheet with parchment paper or a silicone baking mat.

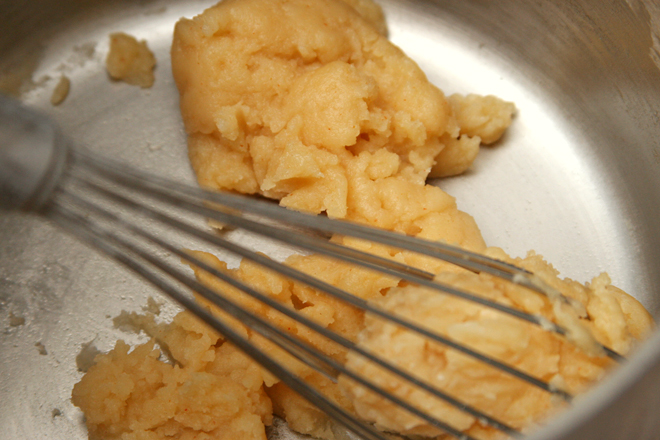
2. Heat the water, butter, salt, and chile or pepper in a saucepan until the butter is melted. Add the flour all at once and stir vigorously until the mixture pulls away from the sides of the pot into a smooth ball. Remove from heat and let rest two minutes.

3. Add the eggs, one at a time, whisking constantly. The batter will first appear lumpy, but after a minute or so, it will smooth out. Add most of the grated cheese, reserving some for topping; stir until well-mixed.

4. Scrape the mixture into a pastry bag fitted with a wide plain tip and pipe the dough into mounds, evenly-spaced apart, making each about the size of a small cherry tomato. (You can also divide the dough into mounds using two spoons.) Top each puff with a bit of the remaining cheese.

5. Bake for 10 minutes, then turn the oven down to 375 degrees; bake for an additional 20 to 25 minutes, until the gougeres are golden brown. Serve warm.

gougeres 6